|
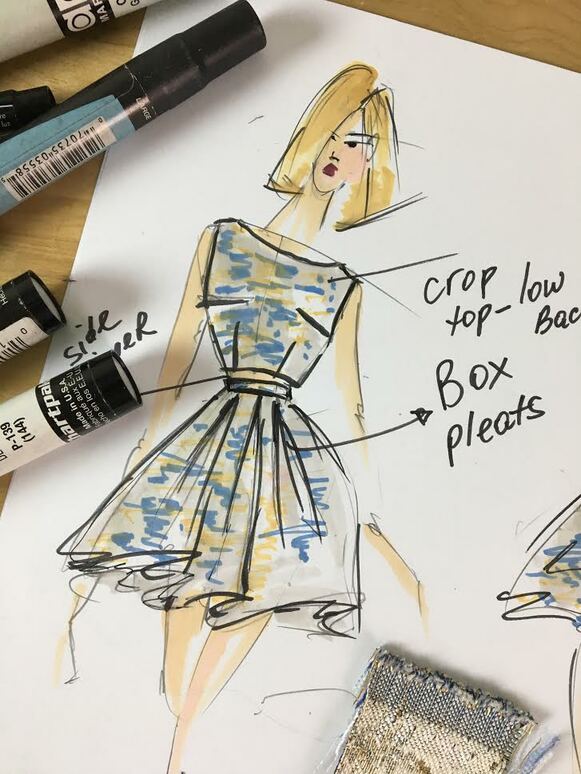
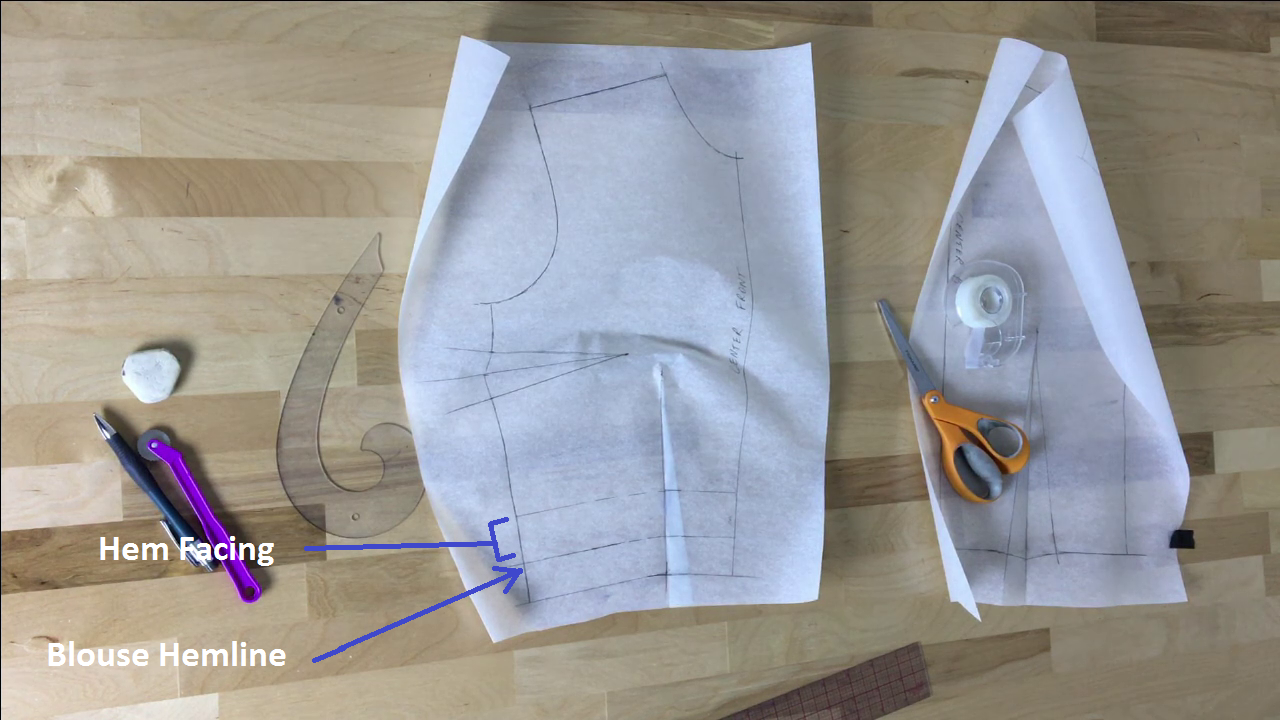
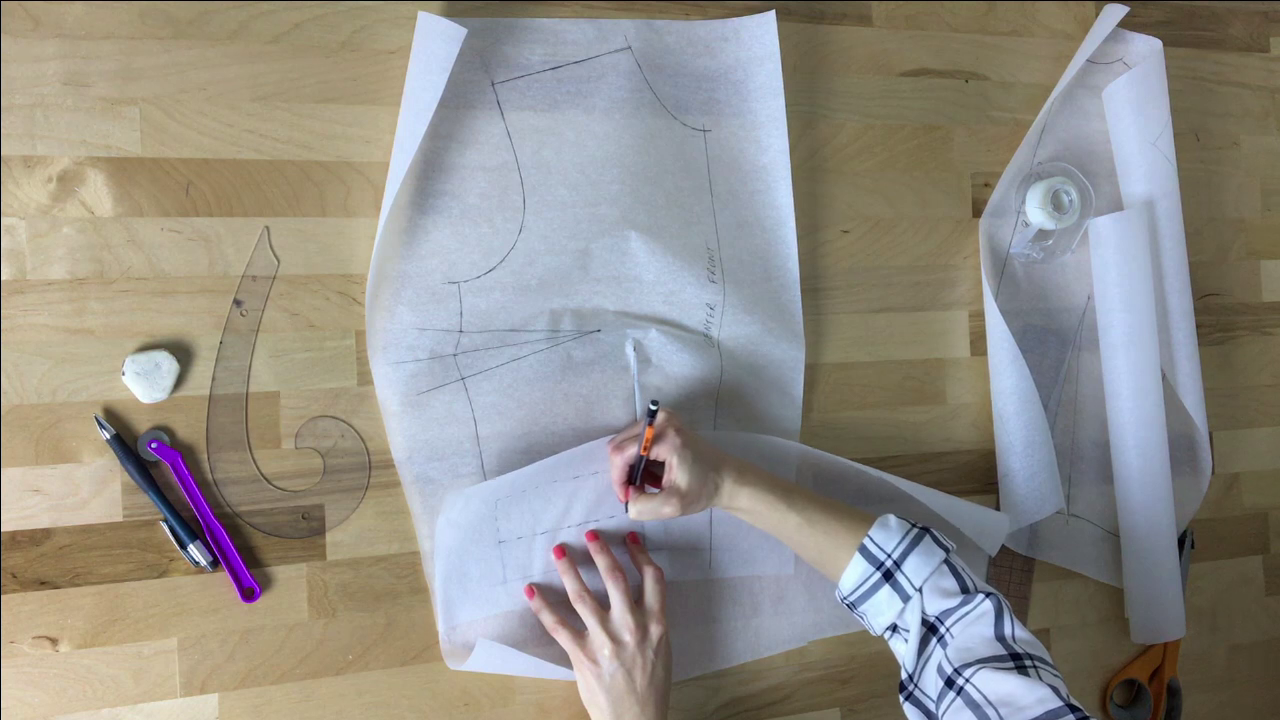
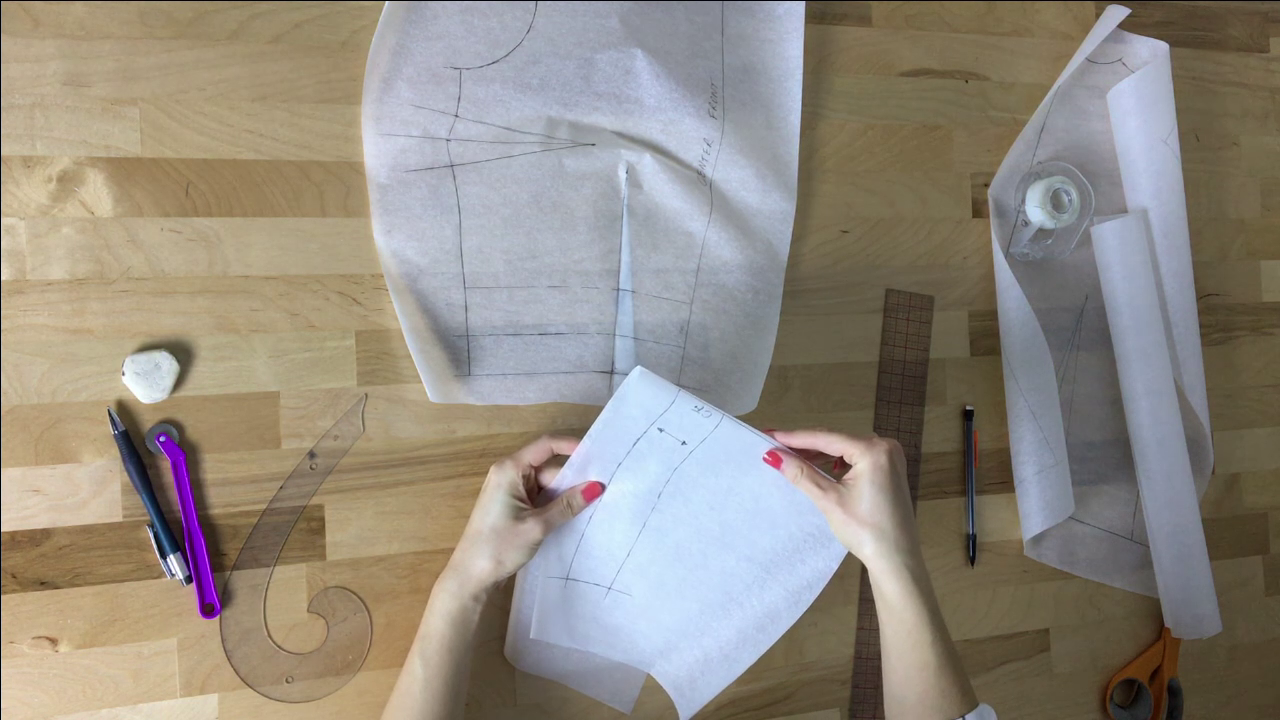
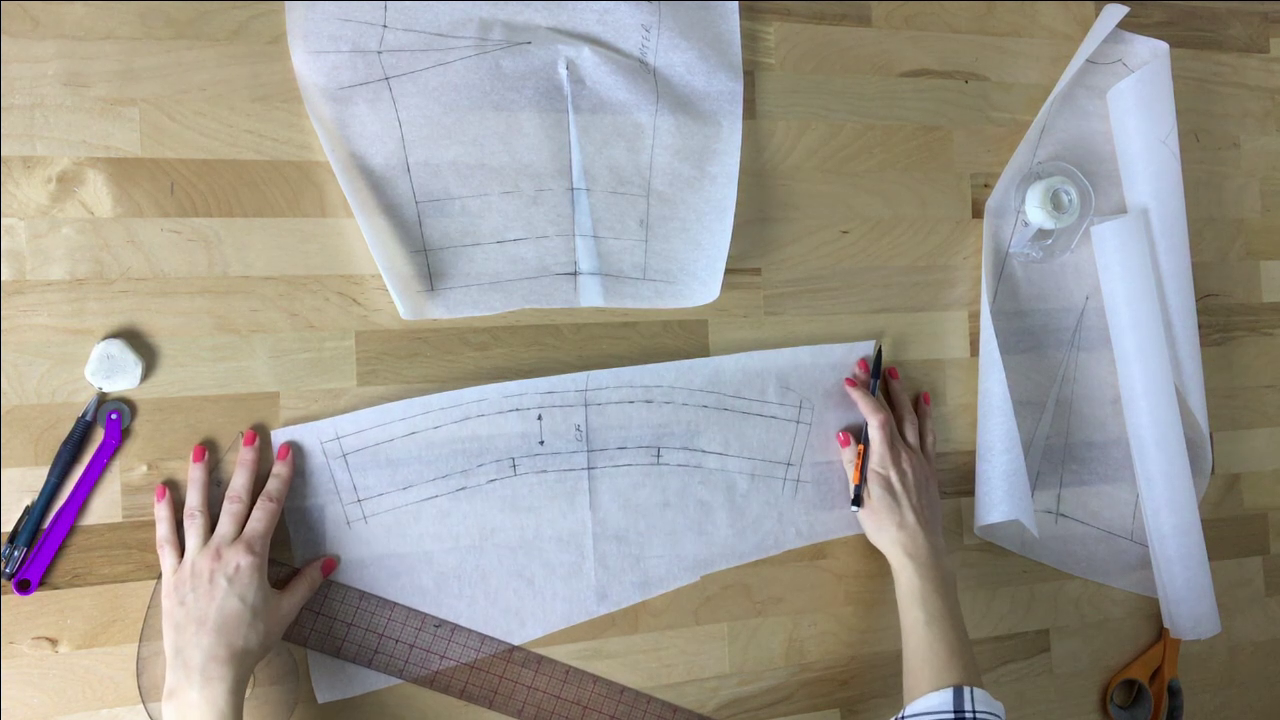
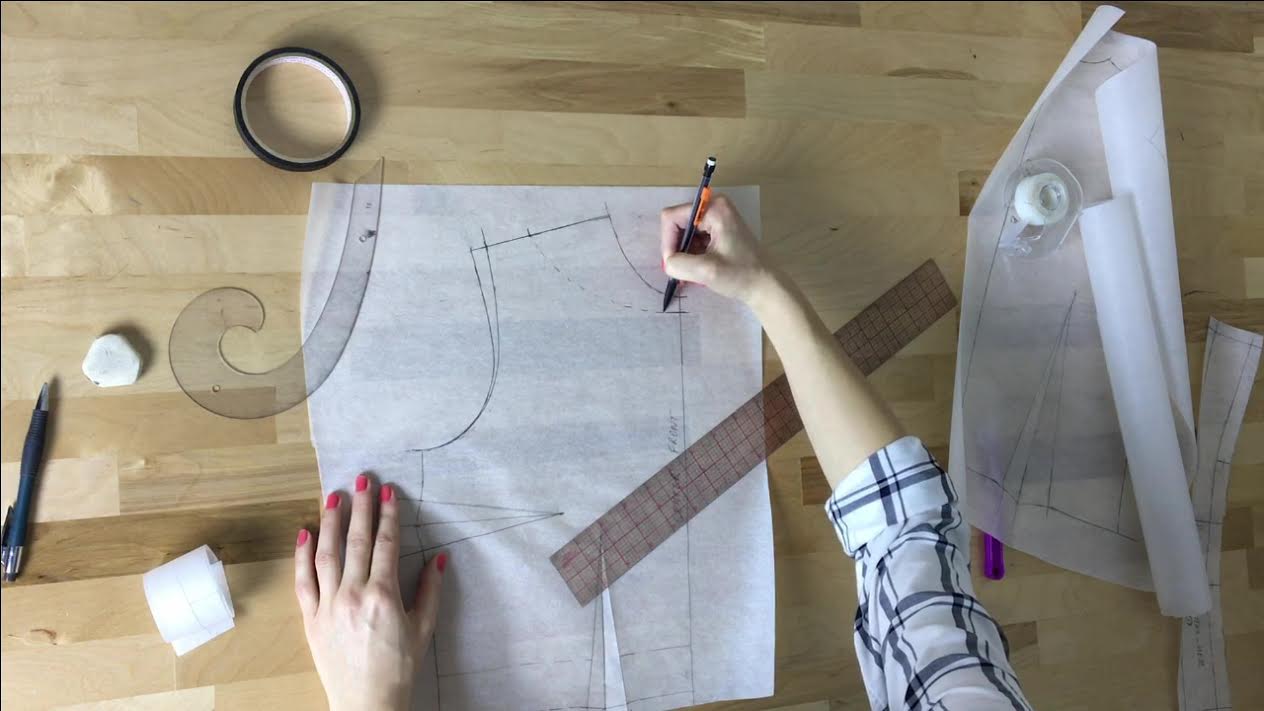
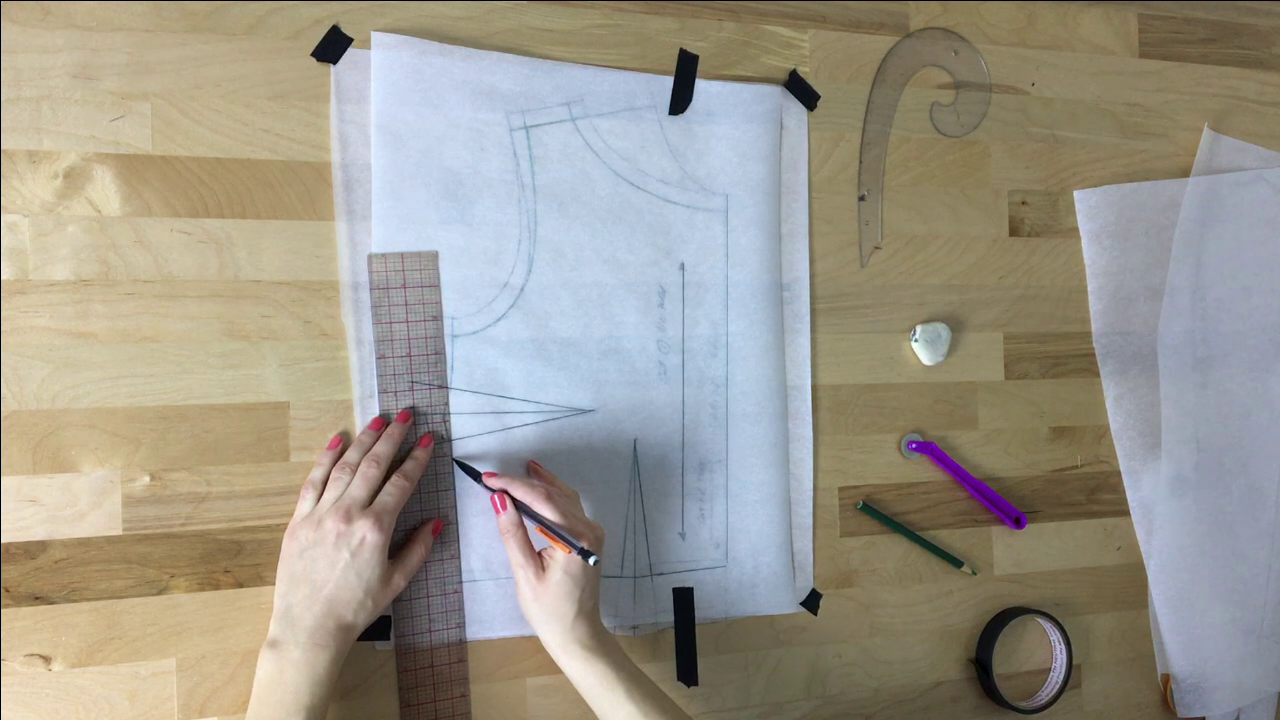
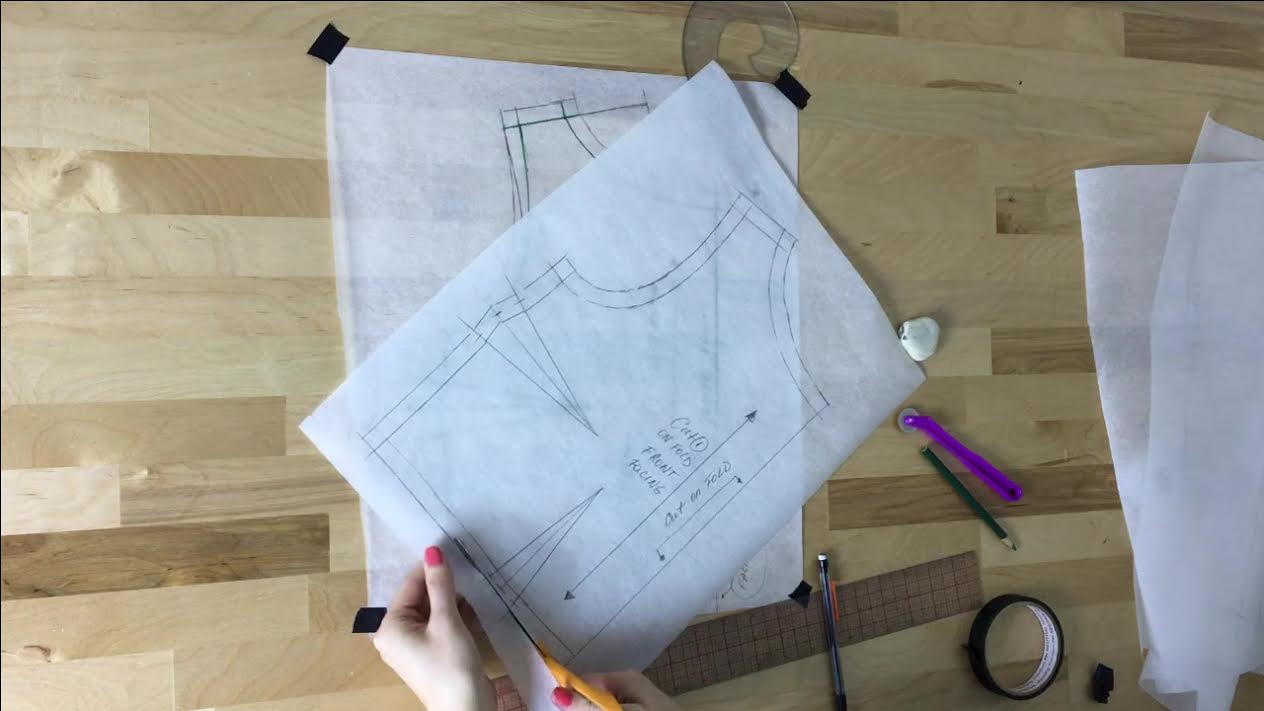
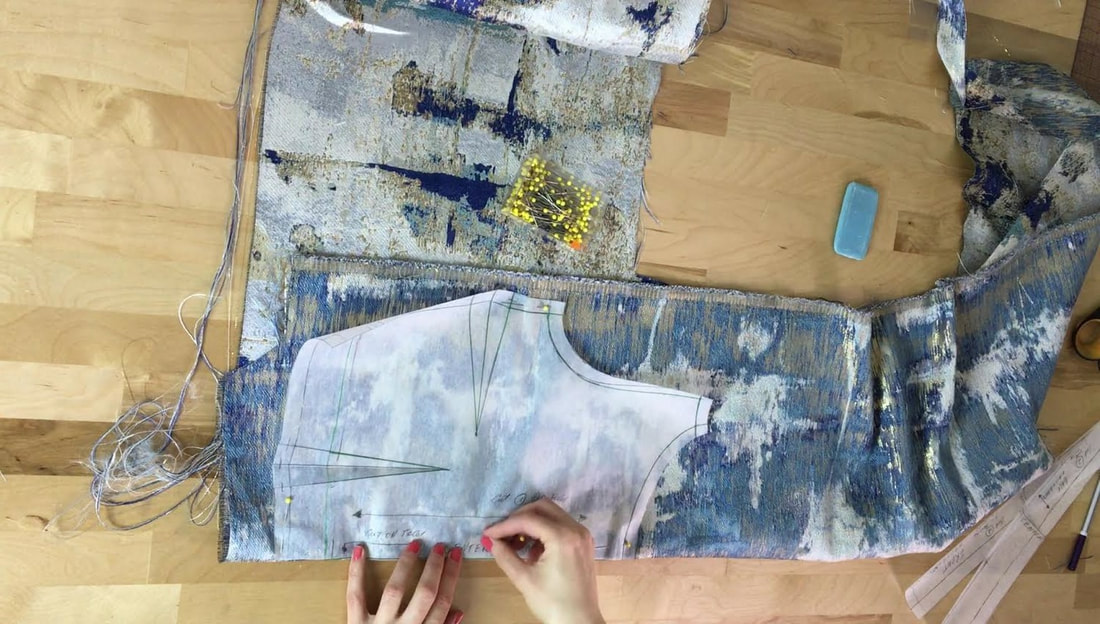
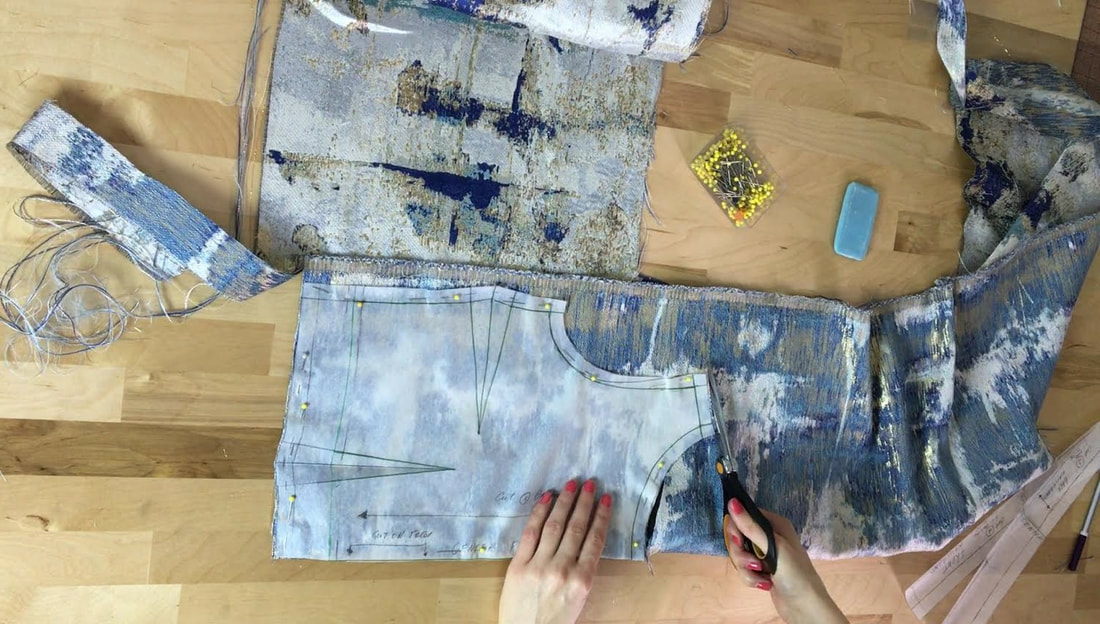
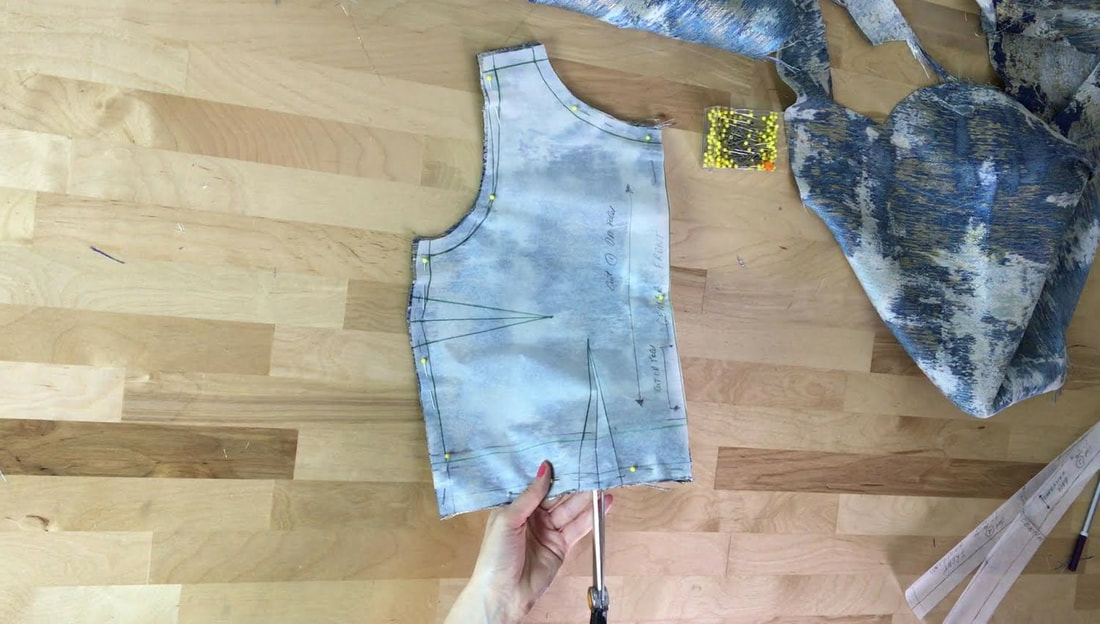
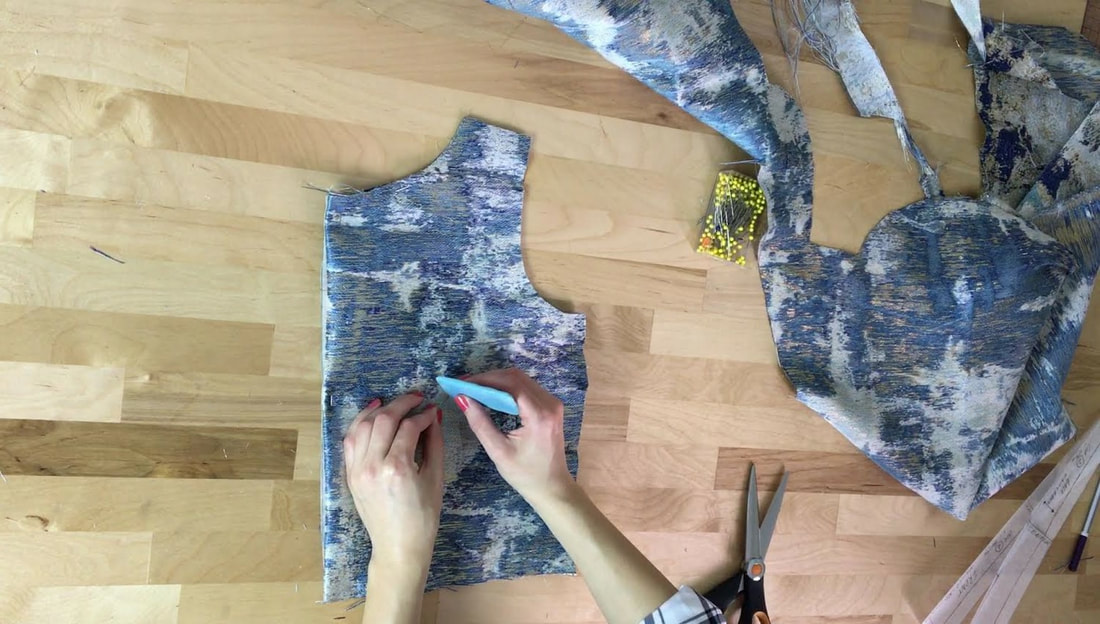
For the past few weeks, you've seen glimpses of this lined crop top go through some of its development stages. From a simple sketch to the more complicated sewing process in between, this blouse's construction progressed with minimal hiccups along the way. When all is said and done, it is so rewarding to see everything come together into a garment that fits and functions exactly as I envisioned it. I can certainly attest to that as I got the chance to wear the blouse (paired with a matching skirt to come soon!) at this year's Heart To Heart Gala. As you go through the video sewalong and the steps below, you'll be able to access related tutorials that give you a detailed look at each process and sewing technique. Designing And Sketching The BlouseIt all started with a sketch. Or rather, two yards of fabric I came across at the fabric store while browsing for something completely unrelated. I didn't have the design in mind at the time but this blue-gold abstract print reminded me of my undying love for classically full, structured skirts of which you'll see more in the skirt sewing tutorials to come. The medium weight nature of this fabric provided the perfect canvas for finally taking on the project. For the design development and sketching video, check out: The Start Of A Sewalong- Sketching And Conceptualizing A Two Piece Cocktail Dress. Drafting The Sewing Patterns From ScratchPattern drafting is not always the "funnest" part of the process but it is the most important. Needles to say, I take it extremely serious. If you don't start with a good set of sewing patterns, you will most likely encounter lots of unnecessary difficulties later on in the sewing process. Sounds a little extreme doesn't it? The truth is, when drafting patterns from scratch, most fit corrections should happen at the patterning level and not when all fabric pieces have already been cut and sewn together. Not that you can't make corrections afterwards, but it does become more complex and time consuming. The patterns for this lined blouse are a bit on the difficult end. Drafting them from scratch will require some understanding on how lining and facings work. Although this particular design doesn't include neckline or armhole facings, it does have a hem facing which can be a bit more difficult to draft for a garment that has darts. Why? The waist dart should remain closed while both the front and back hem facings are being drafted. This technique can feel sort of unnatural and not particularly comfortable to work with. Check out the detailed step by step tutorial on how to draft all the pattern pieces for this lined blouse here: How To Make Patterns For A Fully Lines Cropped Blouse. To give you the summary of some of the basic concepts, here are the main takeaways from the process of drafting these patterns: 1. When generating a sewing pattern for a new design, use a basic pattern as a template. This basic pattern should be adjusted to fit perfectly for whichever size you're working with. 2. Transfer the front and back basic pattern lines to a separate piece of pattern paper. No need to transfer the seam allowance as you'll be adding it after applying all the alterations. You can now use these two pattern copies as a blueprint for drafting the new design! 3. Since mine is a cropped style, I shortened the hem by closing the dart, and after adding hem allowance, trimming the desired length at the bottom. It is important to have the vertical waistline dart closed during this step so that its bottom edge maintains the correct shape. Repeat this step on both front and back, making sure to trim the hem by equal amounts on both patterns. 4. Use the new hemline to generate the front and back hem facing patterns. Measure up from the new hemline, and draw the top edge of the hem facing (following the shape of the blouse hemline) directly on the blouse pattern. The hem facing 5. Transfer the hem facing outline to a separate piece of paper. If your patterns are cut on fold style like my front pattern is, use the fold-and-transfer method to extend the hem facing into a continuous piece. Add the corresponding/matching seam allowance along each edge. Repeat the process for both front and back hem facing patterns. Once complete, cut them out along the outer edges of the seam allowance. 6. Now that hem facings are out of the way, alter the neckline and armhole curves as desired. The best way to do this, as you'll see in the detailed patterning tutorial for this blouse, is to decide the shape an depth of the neckline first and then mark these points on the center front and shoulder seam lines. Use a dash line to sketch the general shape of each curve and smoothing each one into a continuous line using your ruler and french curve. My blouse has a dropped neckline at the back (sort of open back) and a narrow shoulder seam. Once the neckline and armholes are adjusted, alter any other seams as desired by measuring, shaping and using your french curve and ruler to smooth out the final lines. In this case, I'm leaving the side seams as they are since the basic blouse I'm working from already has the form fitted style I'm after. Before adding seam allowance and cutting out the front and back blouse patterns, use them as a blueprint to generate the front and back lining. 7. The lining will essentially be the mirror image of each corresponding front and back piece. In this example, the lining will be fully sealed into the top edge of the hem facing, thus it is recommend to add a bit of excess to its (lining) bottom edge. Doing so will prevent any possible tension and pulling during wear. Add a second line that is lower than the top edge of the hem facing line on both front and back blouse patterns. Everything from this new line up corresponds to the lining pattern. Transferred all pattern lines corresponding to the front and back lining to separate pieces of pattern paper as shown. 8. Add seam allowance to both lining and blouse self pieces (4 patterns total). Next, cut along the outer edges of the allowance to complete each pattern. When sewing a lined garment, I like to work with 1/2" seam allowance on almost all edges. Regardless of what seam allowance you add to your patterns, I recommend choosing a simple measurement that you find easy to work with. For this blouse design, there should be 6 total pattern pieces: 1 front blouse self (cut on fold), 1 back blouse self (cut on fold), 1 back lining (cut on fold), 1 front lining (cut on fold), and 2 hem facings (front and back). Pinning And Cutting The Lining And Self Blouse PatternsFor me personally, the cutting process is when I start to really get excited (butterfly-in-stomach excited, that is). I've always been more tactile in nature and just love to feel the fabric in my hand! The truth is, once you have the fabric in front of you, the design starts to come alive even before the pattern pieces are cut. In the cutting process, I recommend working on a large table with a good light source. Good work conditions do make the process a lot more pleasant but I also understand you may not have a professional cutting table at home. For a good chunk of my learning process, I cut and marked all my pattern pieces on the dinning table (which still has tracing wheel perforation marks on it... sorry mom). Anyways, working on the floor is just as acceptable so don't limit yourself, especially if your sewing patterns are significantly larger in size. The patterns for this blouse are fairly small with the front being cut on fold style which conversely, makes them more manageable in the cutting process. Here's a step by step walk through on how to align and cut a sewing pattern on fold: Cutting A Blouse Pattern On Fold And Transferring Darts. 1. As is usually the norm when working with patterns that should be cut on fold, I folded the fabric such that the print (or the fabric's right side) is enclosed on the inside of the fold. This is important since you want all markings transferred from the pattern onto the fabric to correspond to the fabric's wrong side. Dart lines are commonly transferred onto the fabric to be used in the sewing process. Having these lines marked on the wrong side of the fabric not only preserves the fabric's face from damage, it also facilitates sewing the dart excess inward. 2. For the front pattern: Align the fabric's fold with the pattern's cut on fold edge and pin the pattern to the two fabric layers along the seam allowance edge as shown. Cut the fabric carefully, following the outer edge of the seam allowance as shown. For the back pattern: Since my back pattern piece is not cut on fold, I cut two identical pieces of it following the same fabric alignment described above, with the exception of not placing the pattern on fold. Cut the lining pieces following the same logic as described for the blouse self. Last but not least, cut the front and back hem facing pieces and back each one with fusible interfacing. I used the hem facing patterns to also cut the interfacing pieces. Once the patterns are cut, and prior to removing the pins, transfer dart leg notches (and any additional notches your patterns may have) onto the fabric. 3. The contrast lining I'm using for this blouse is a bit sturdier than conventional lining fabrics like the ones used for blazers and coats, for example. Using a sturdier lining with my structured fabric allows me to skip adding neckline and armhole facings, without jeopardizing the stability and structure of this tailored blouse. Ideally, if you choose not to use facings in combination with the lining, it is recommended to back any curved edges (neckline and armholes) with interfacing for added durability/stability. 4. Transfer all dart lines and the dart fold line using a fabric marking pencil or tracing wheel and transfer paper combination. Sewing And Clean Finishing The Lined Blouse:If there ever was a most rewarding and concurrently frustrating part of the design-to-construction process it is the sewing stage. As a beginner, I used to find the actual sewing portion to be intimidating and at times, downright confusing. Fast forward to today, and putting all the fabric pieces together into a finished garment has become my most favorite part of the dressmaking process. It took years of practice and making lots of mistakes to get here, but there is nothing more satisfying to me now than seeing a clothing item come alive into a 3 dimensional object. The tailored blouse design in this sewalong involves all the techniques that would've been terrified me 8-10 years ago. Sewing full lining, understitching, inserting an invisible zipper into a seam, sewing the lining to the zipper opening and sealing lining edges to the garment's hem are all tasks that boarder on intermediate to advanced sewing. Additionally, the order of how they are performed in the sewing process is just as important as executing each technique itself. If you are sewing something similar and experiencing difficulties, use the video above as an order of operations guide! Keep in mind that skipping one step over the other may actually complicate things, so try to keep them in consecutive order. 1. Sewing The Darts A rule of thumb for me when I sew is: All darts get sewn first! Not only are darts a bit more challenging to sew, they have to be completed first before sewing any seams that house them. Sewing the darts first will also allow you to visually separate the front from the back pieces (front has bust darts), and the flat fabric will start looking more 3 dimensional. Sewing darts is one of those things that takes a while to get comfortable with. If you are still in the learning stages, there are a few things you can do to achieve a perfectly sewn dart with minimum amount of frustration. I recommend these 2 techniques for facilitating the dart sewing process as a beginner:
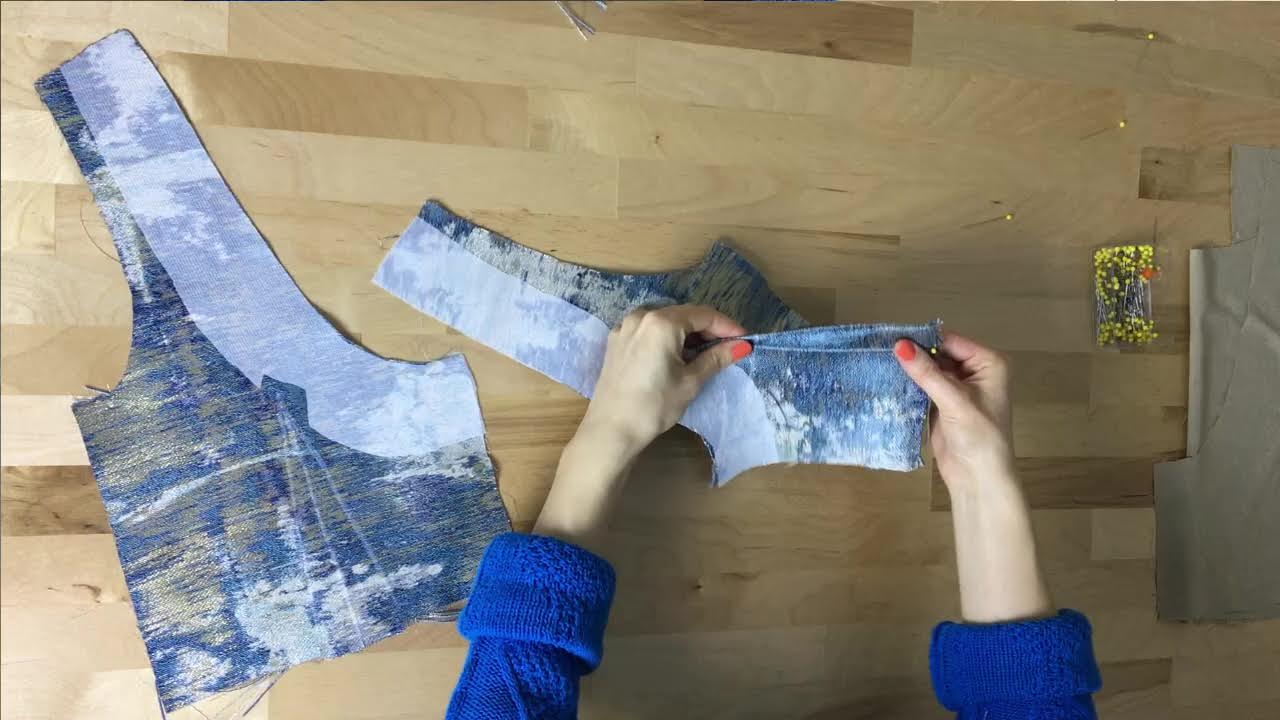
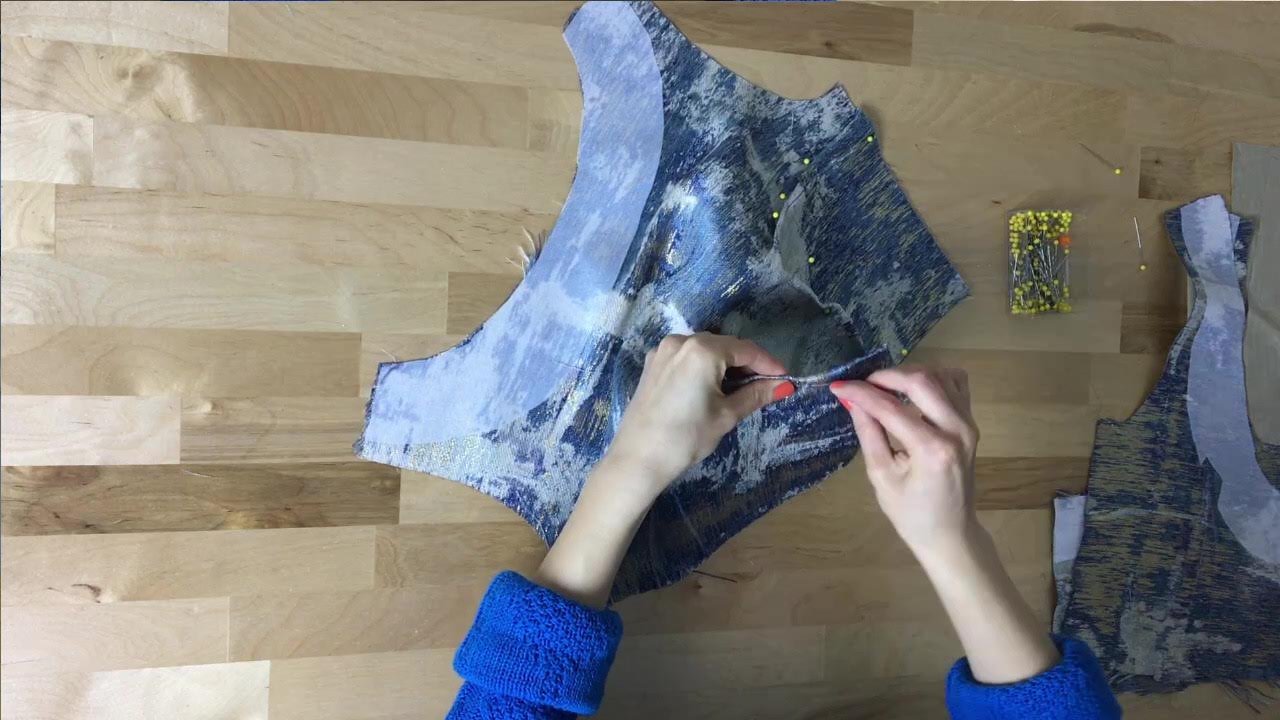
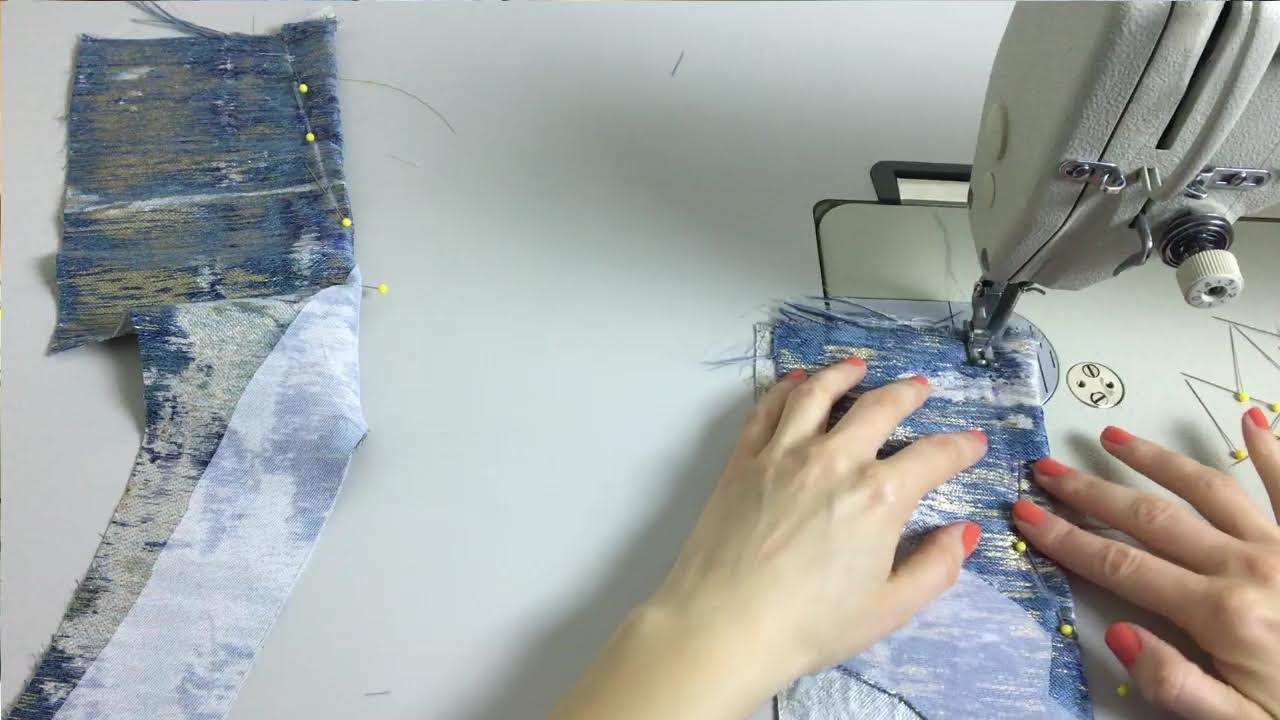
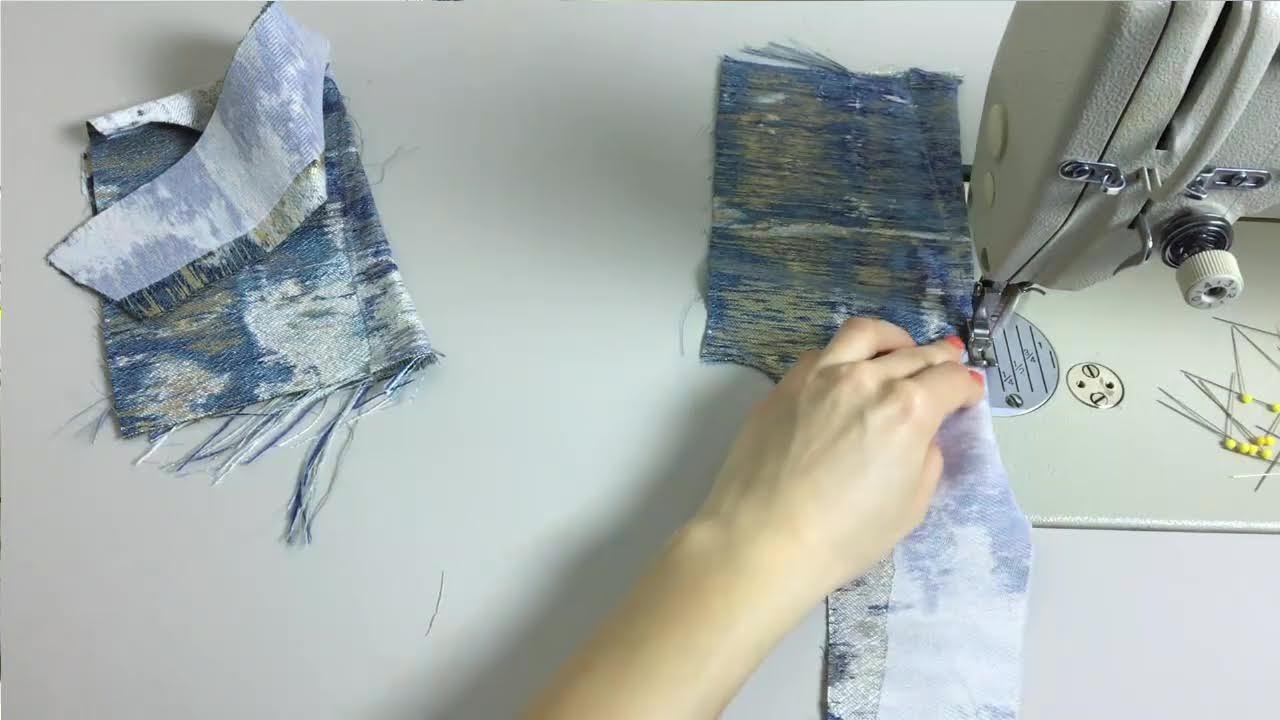
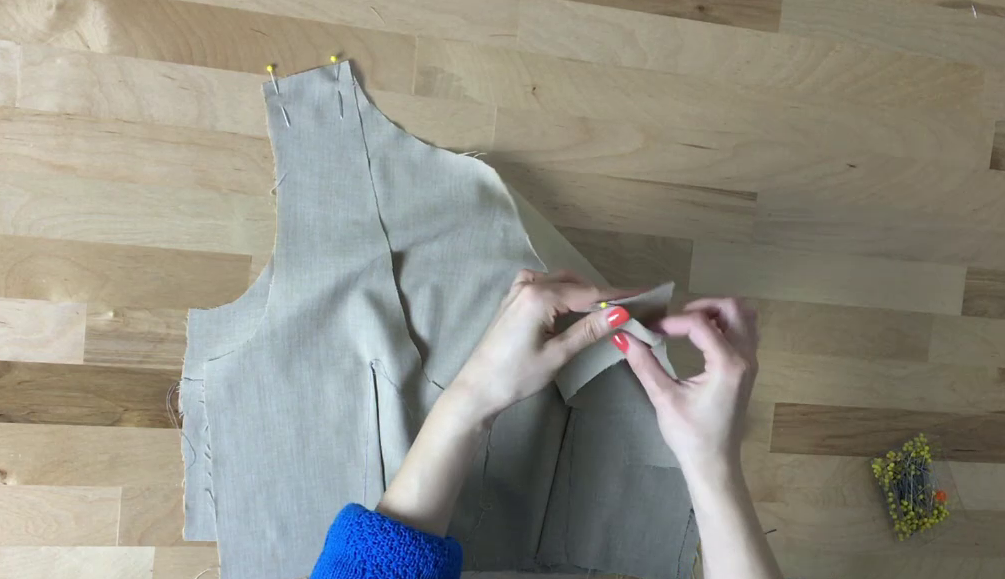
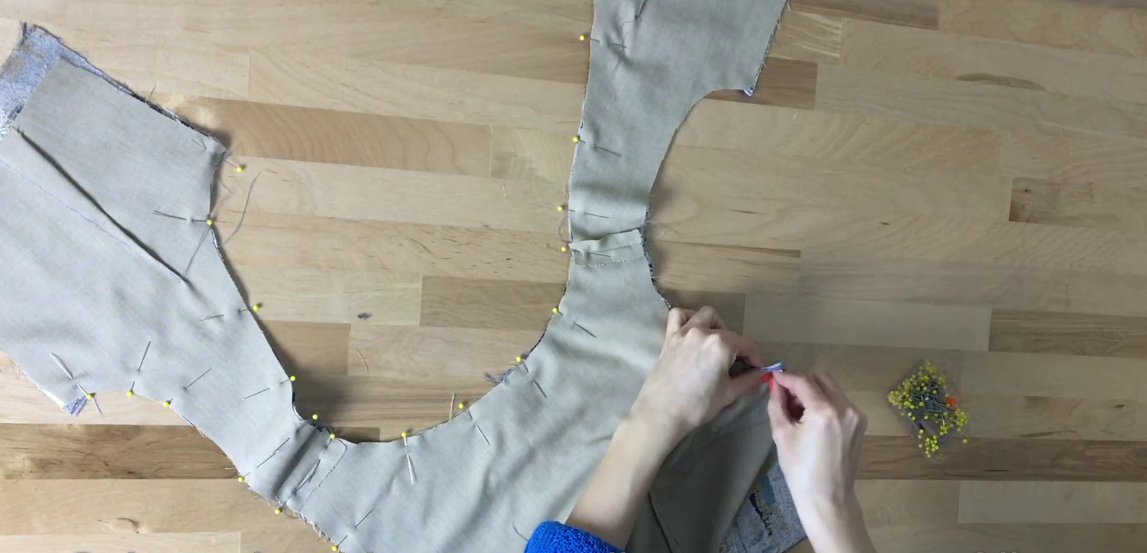
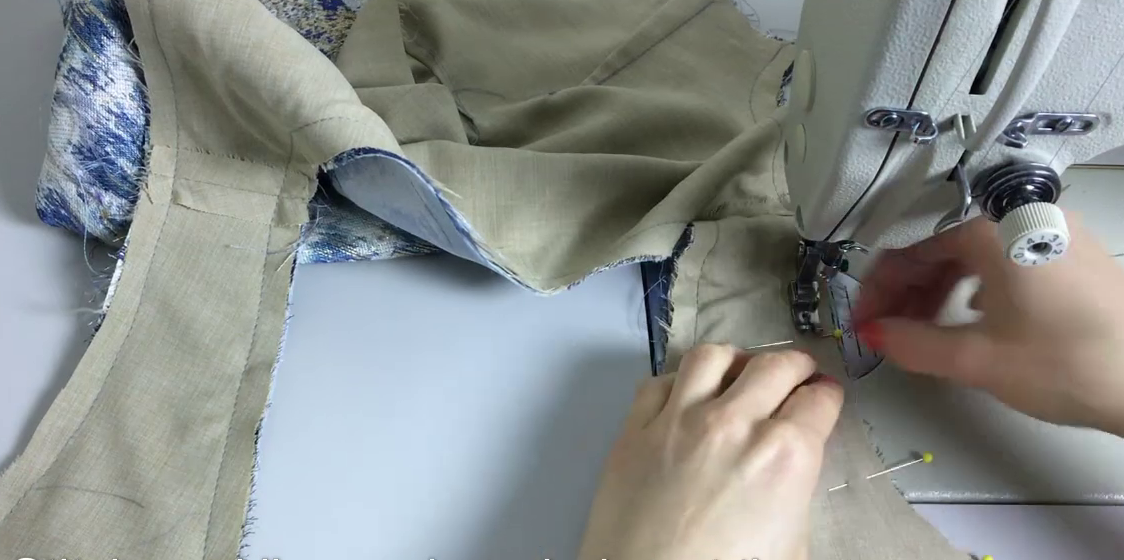
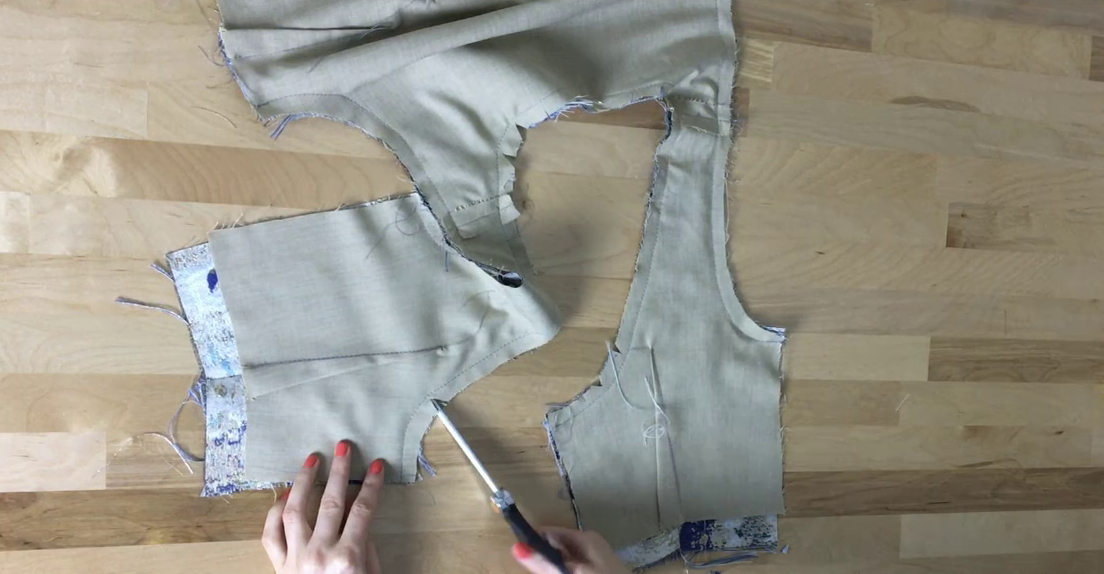
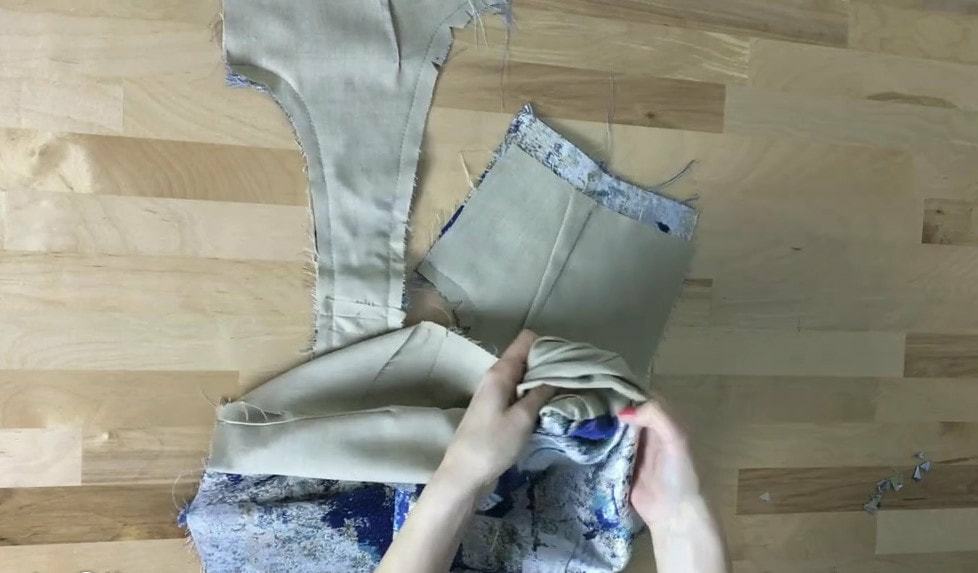
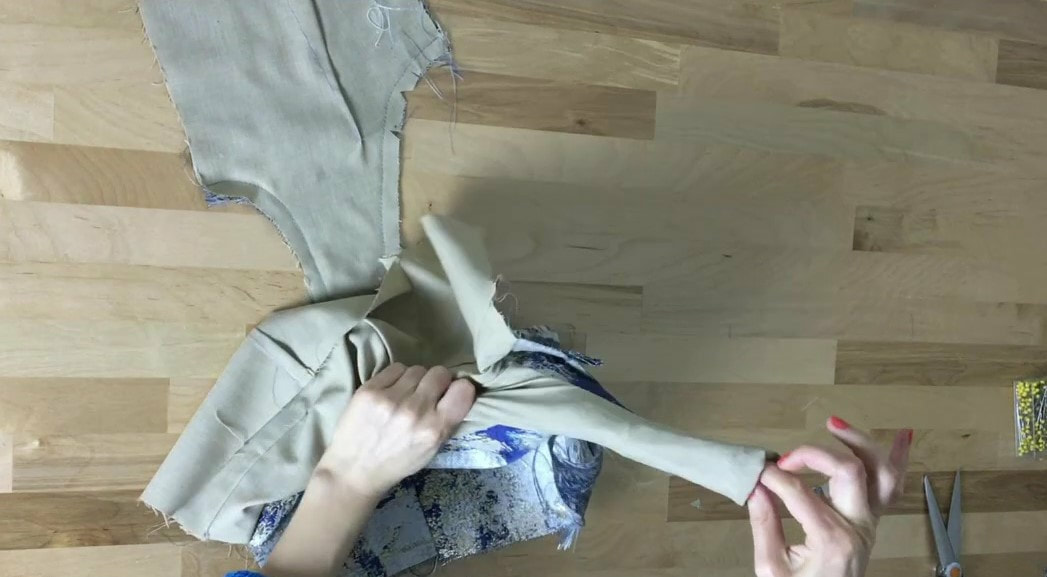
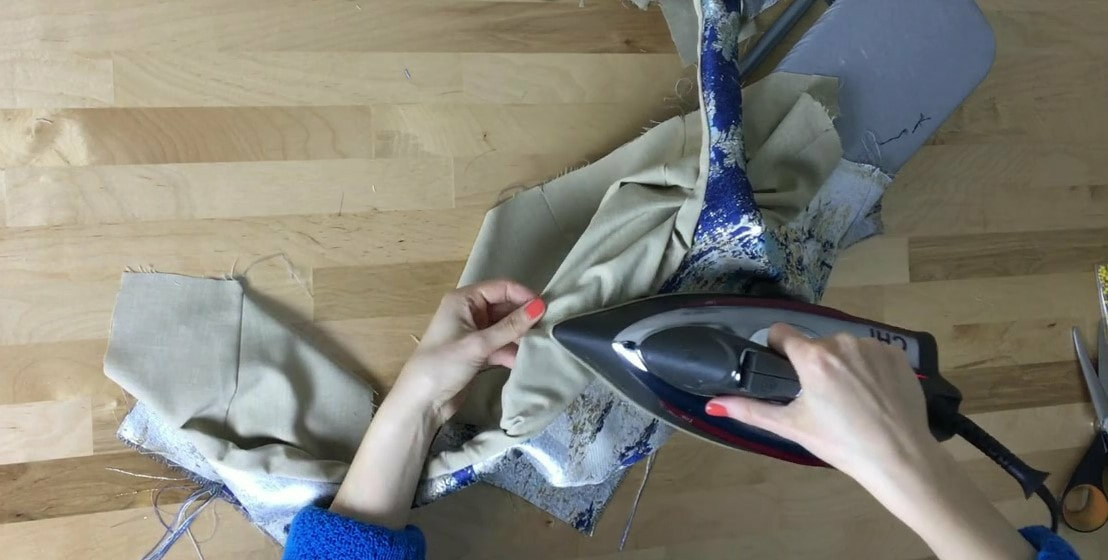
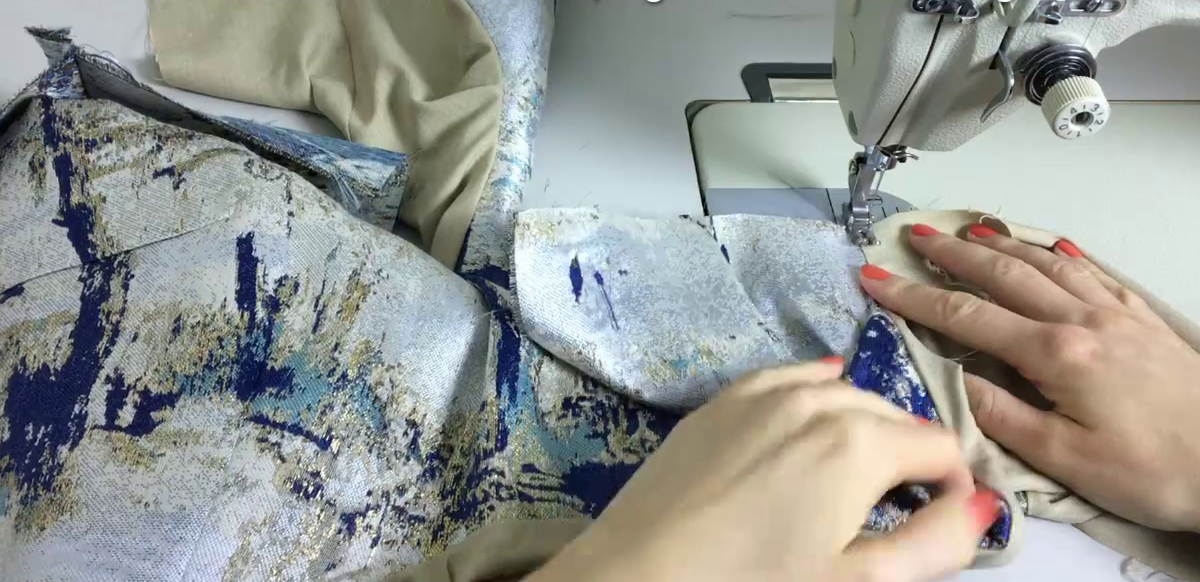
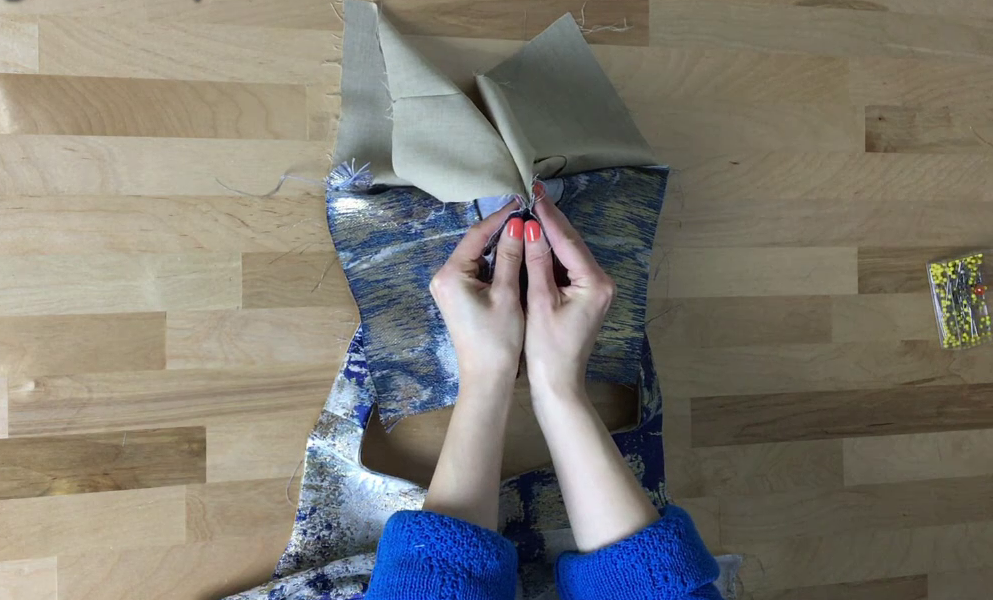
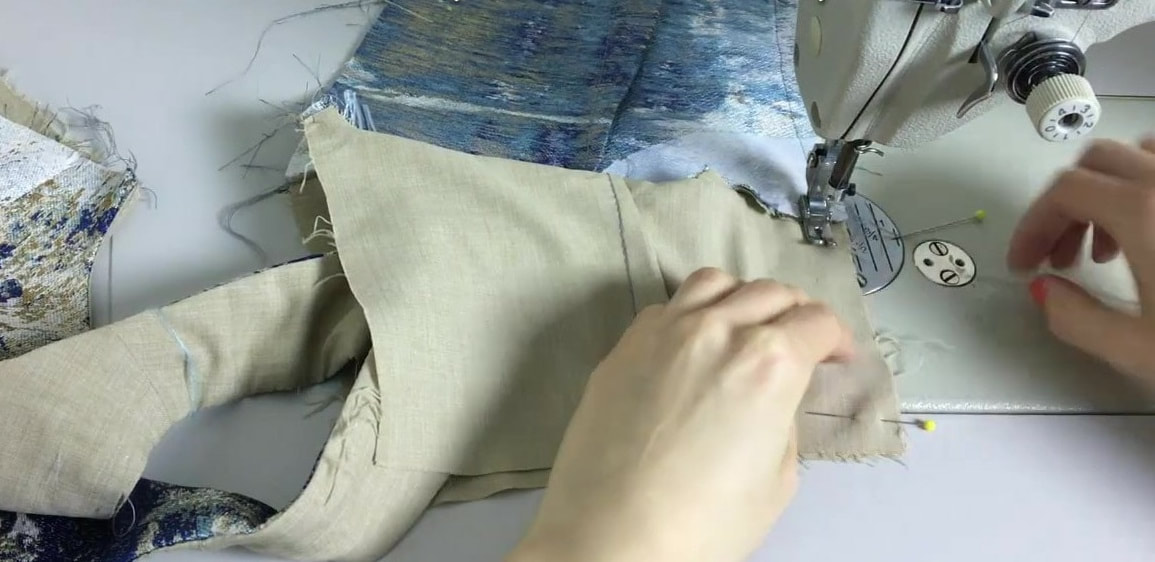
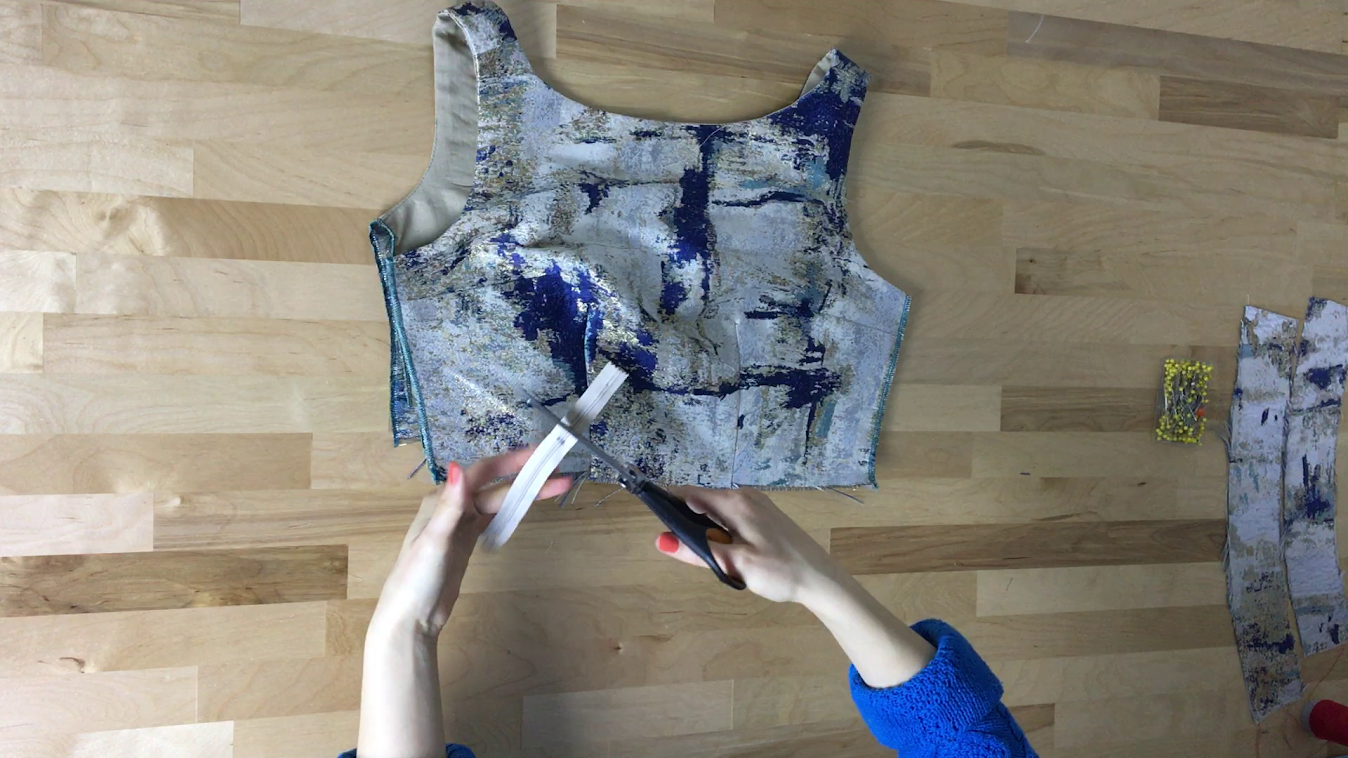
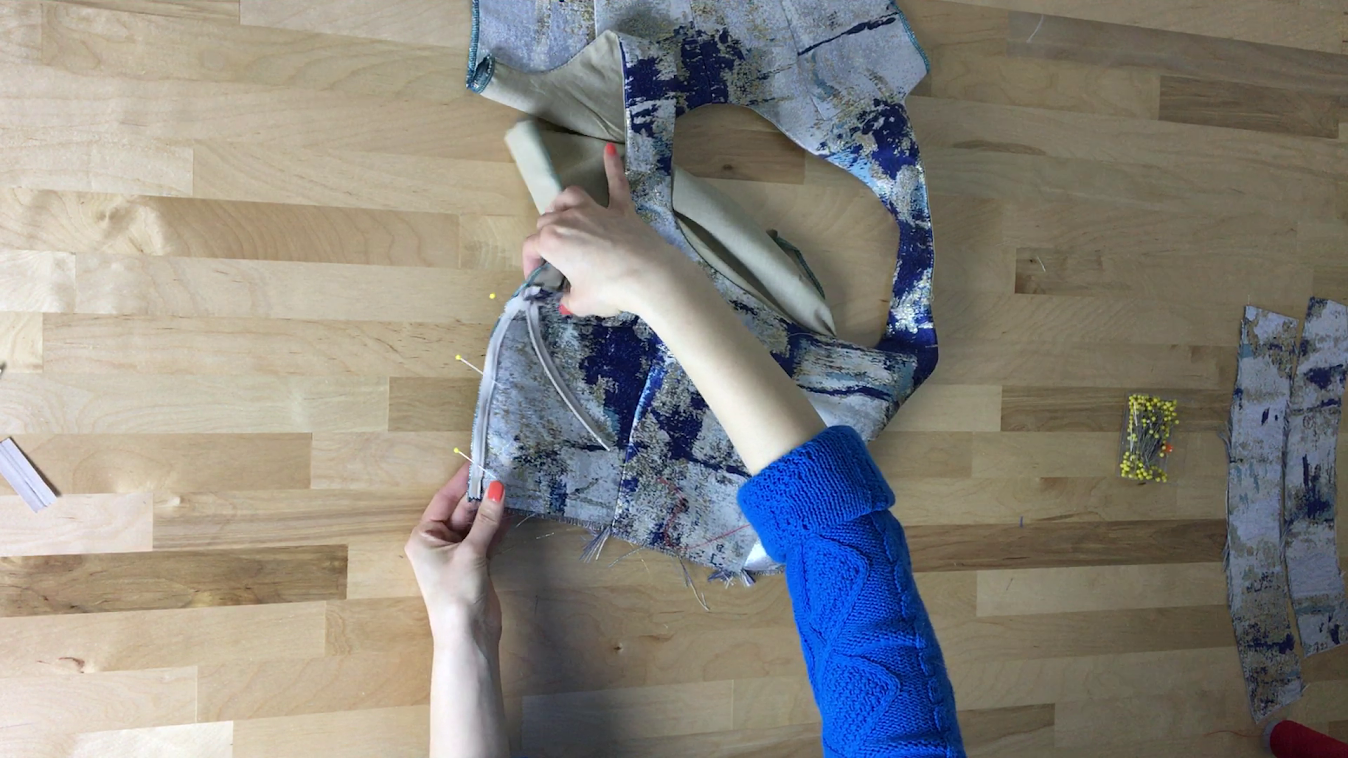
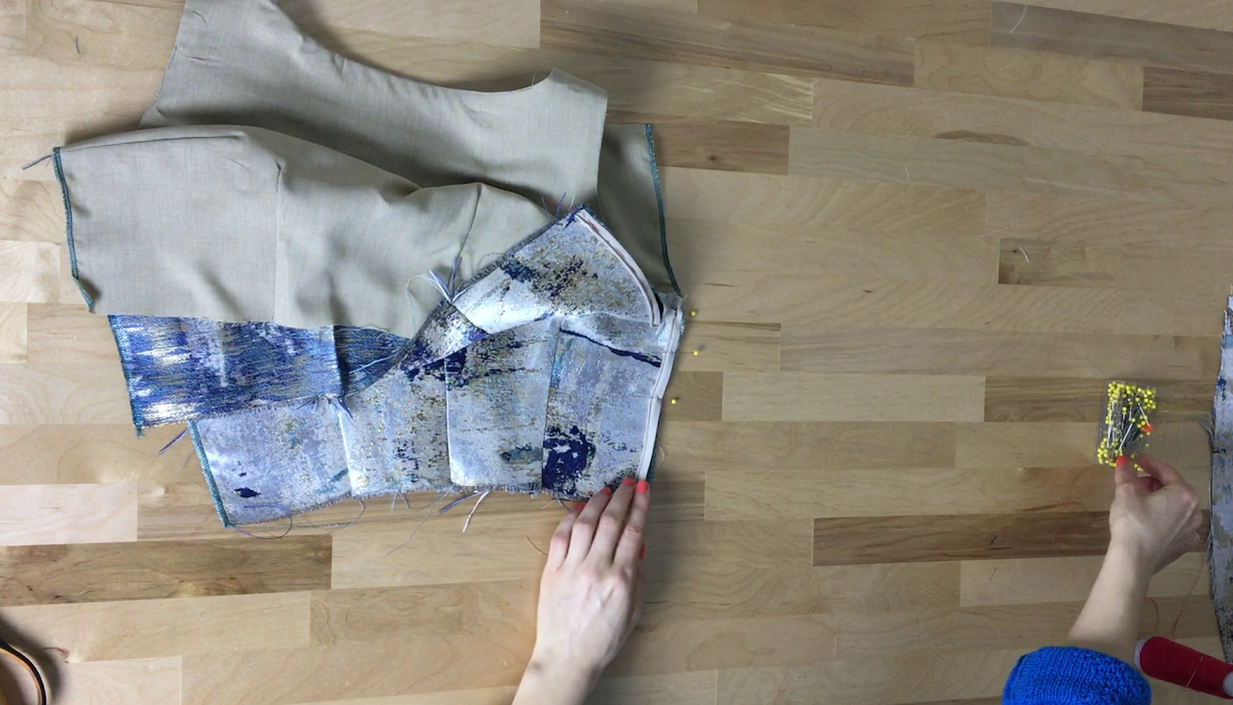
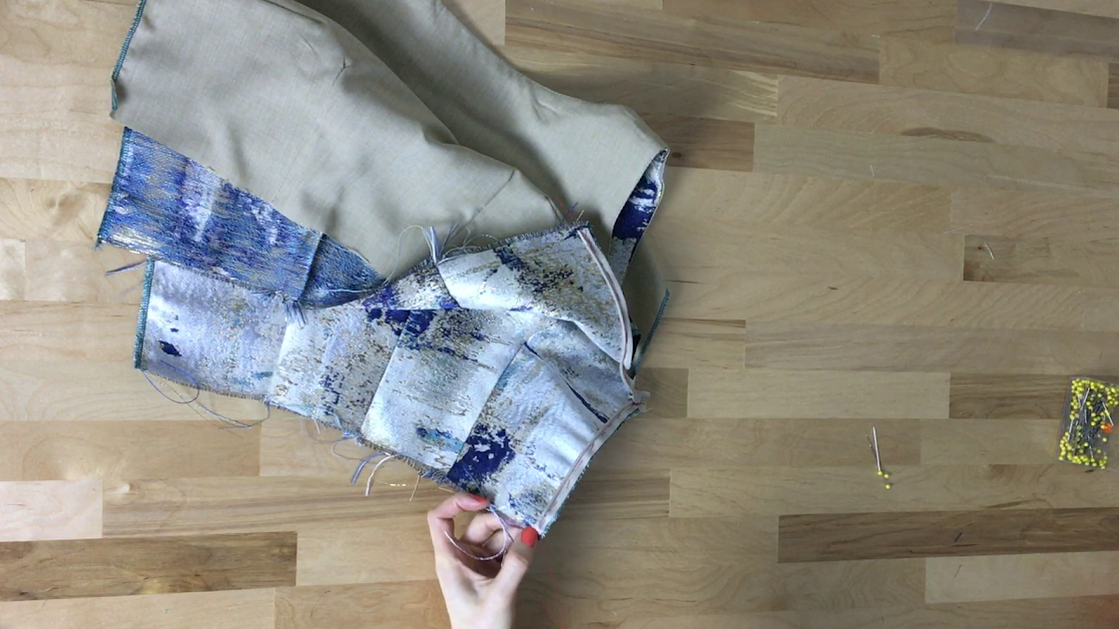
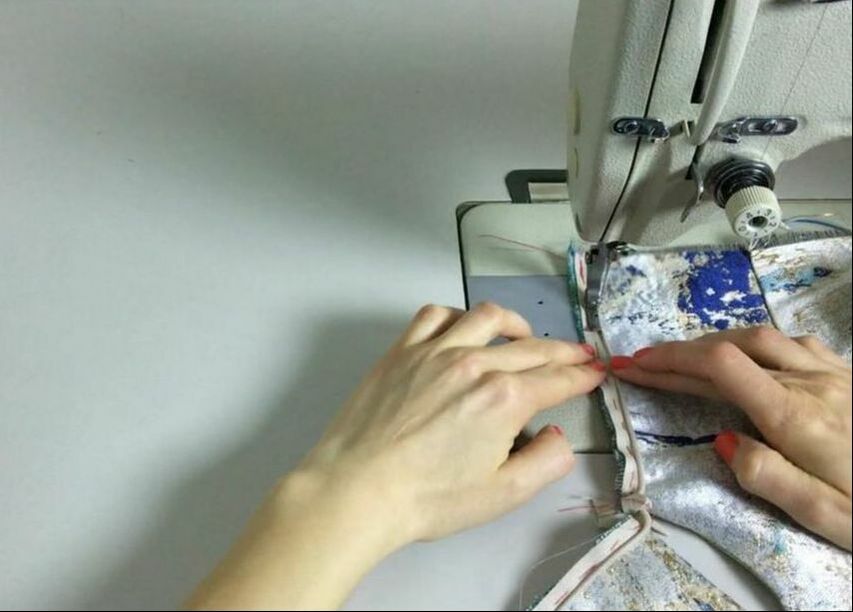
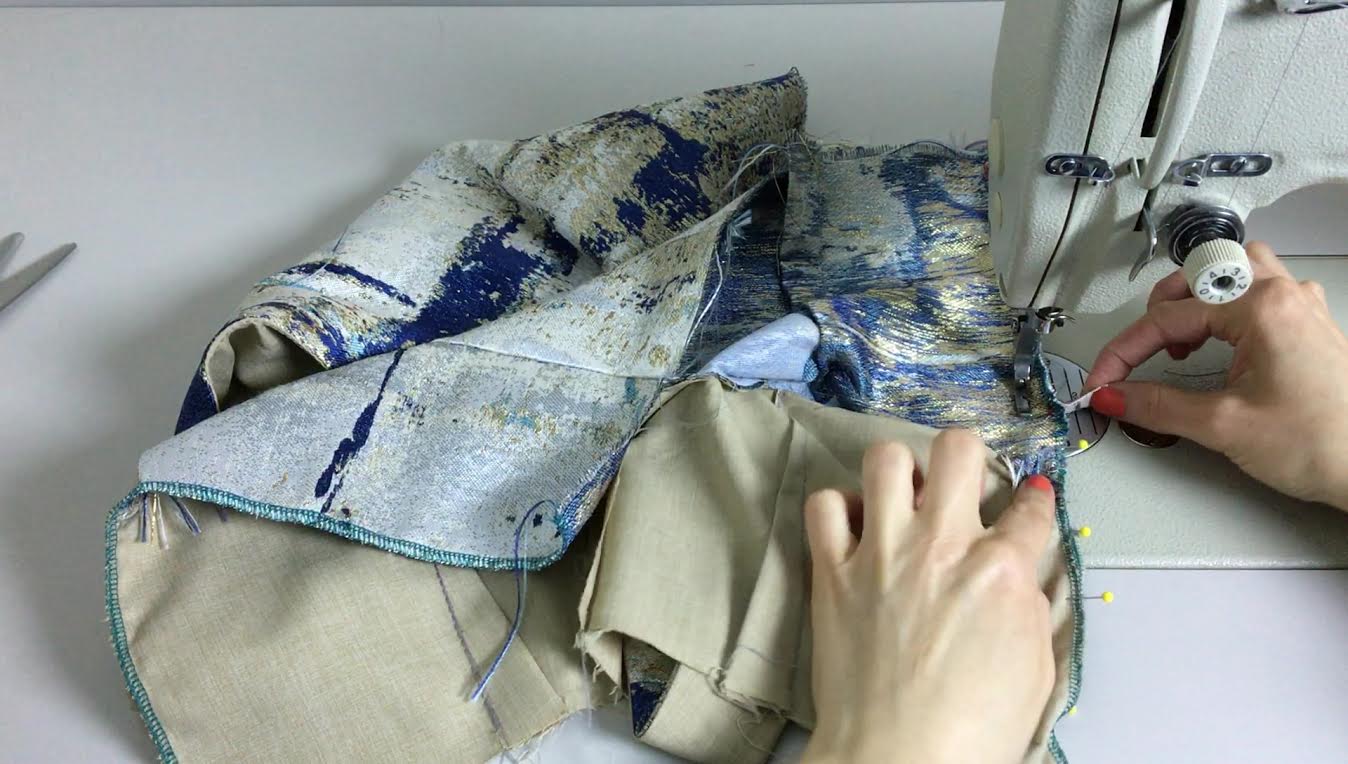
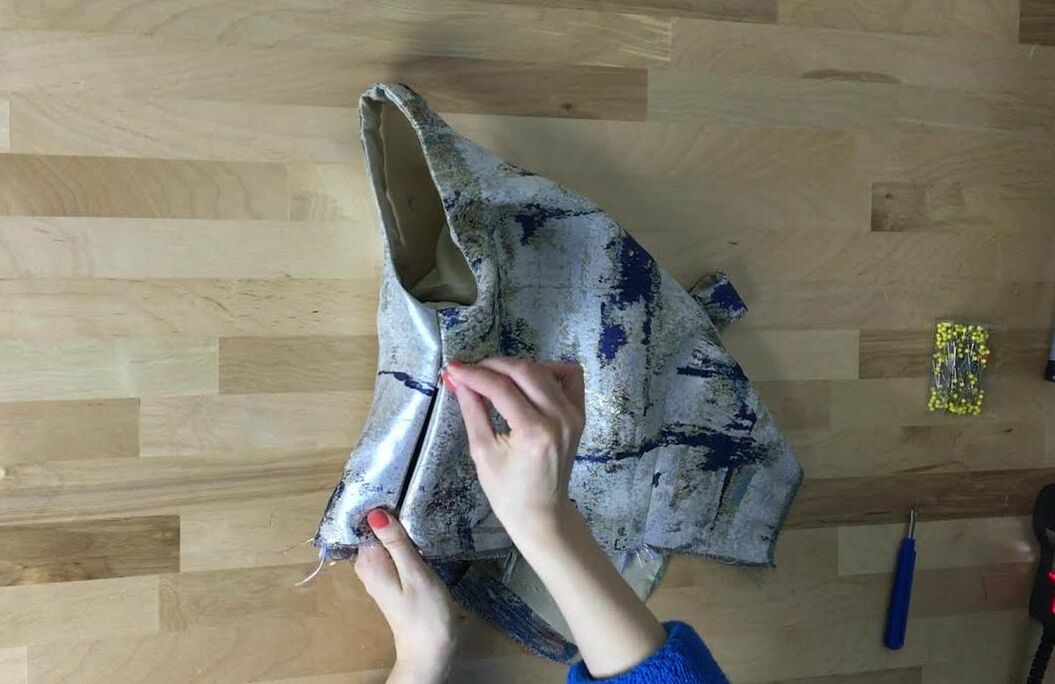
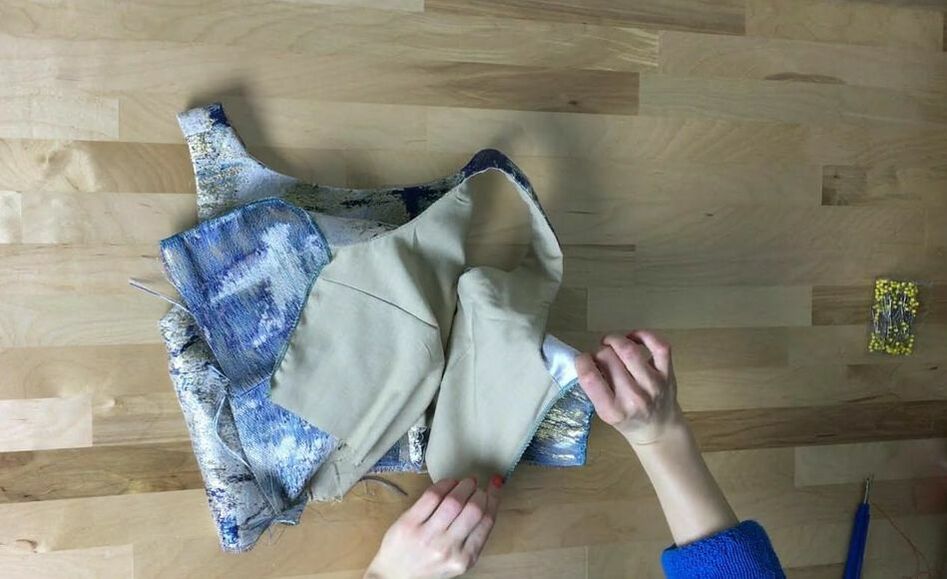
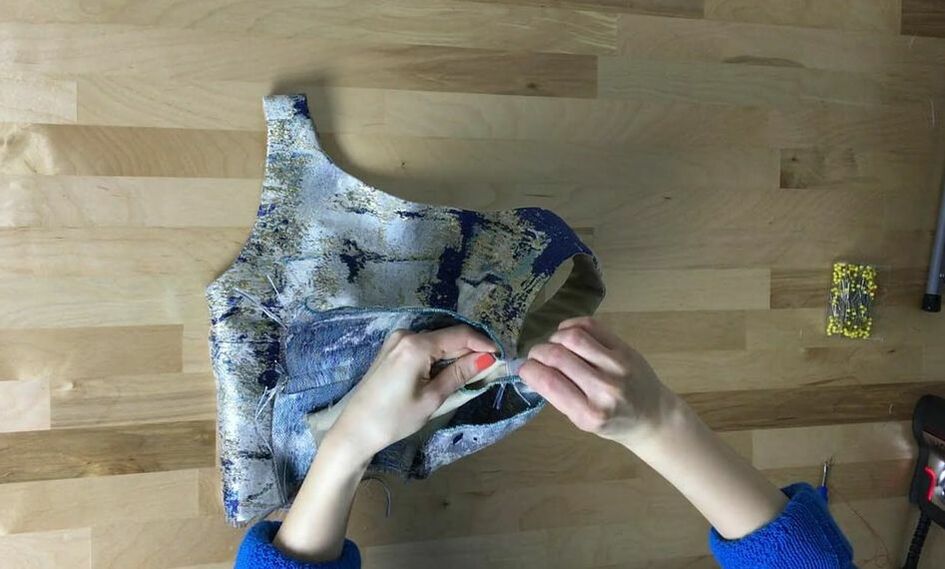
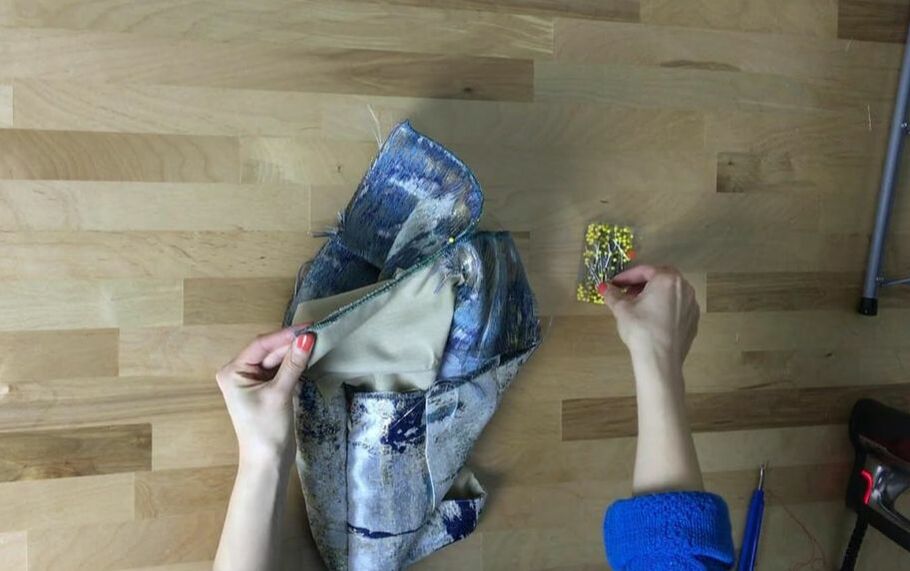
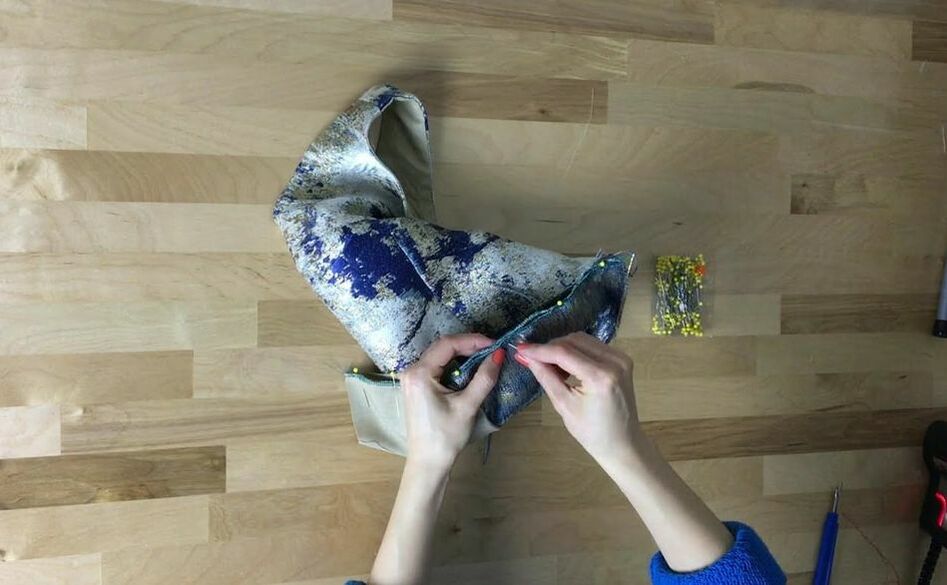
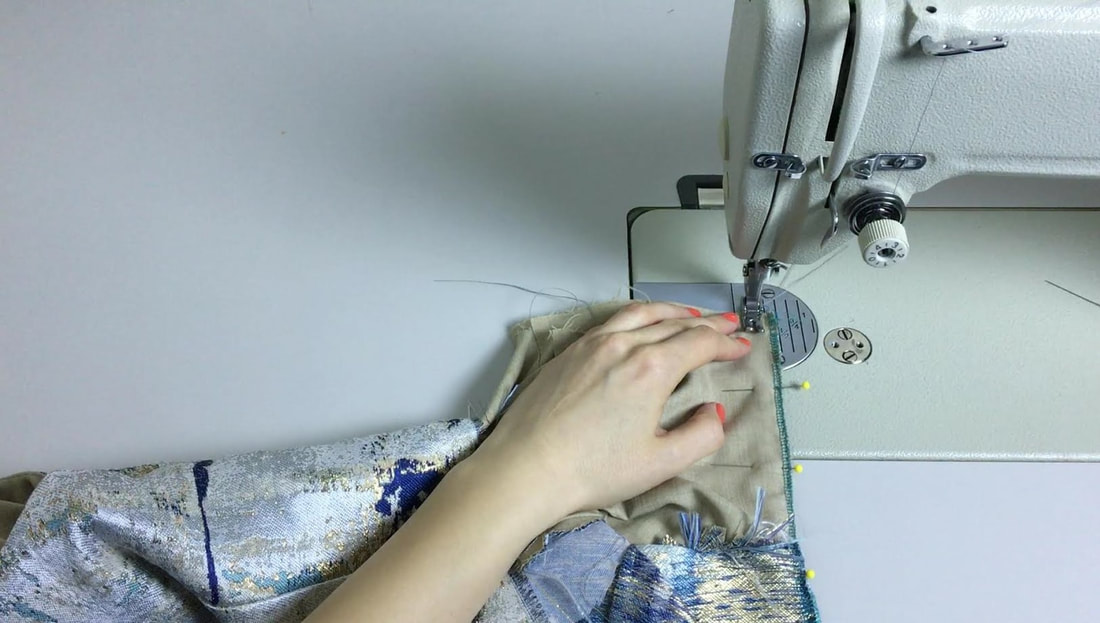
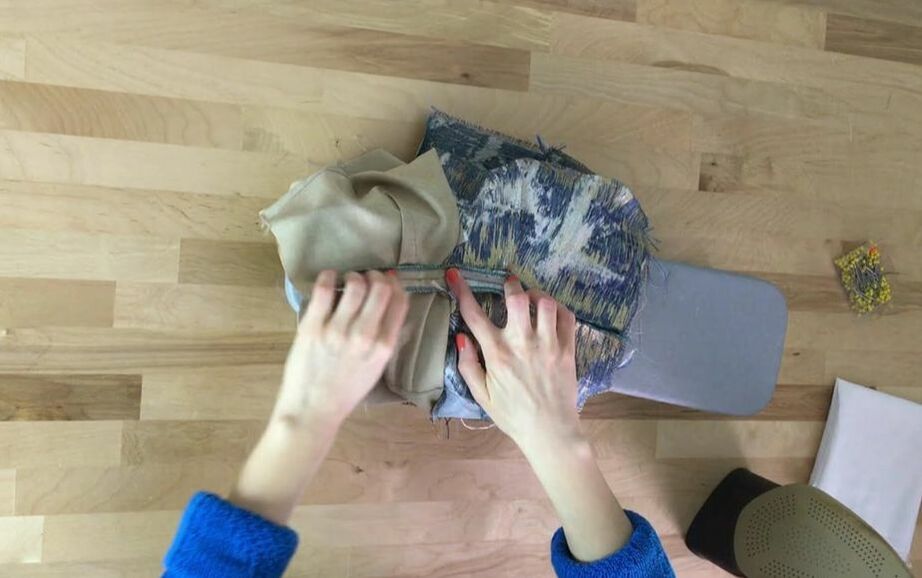
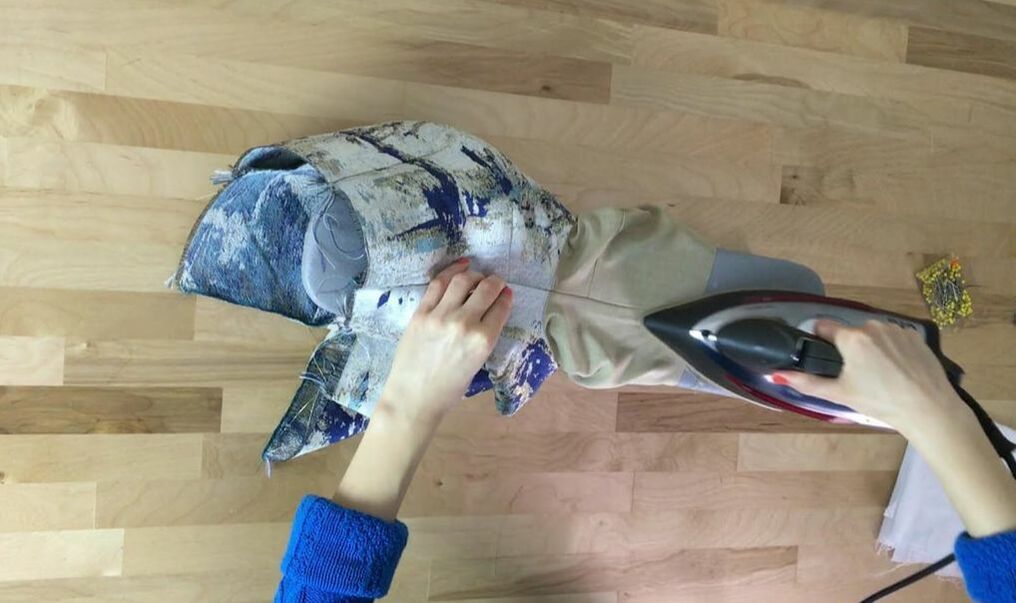
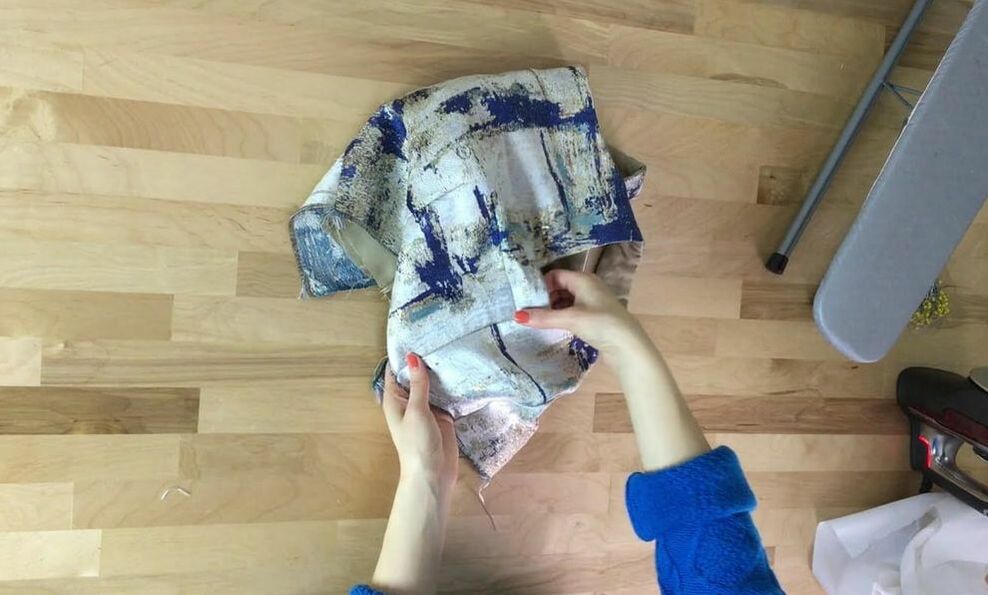
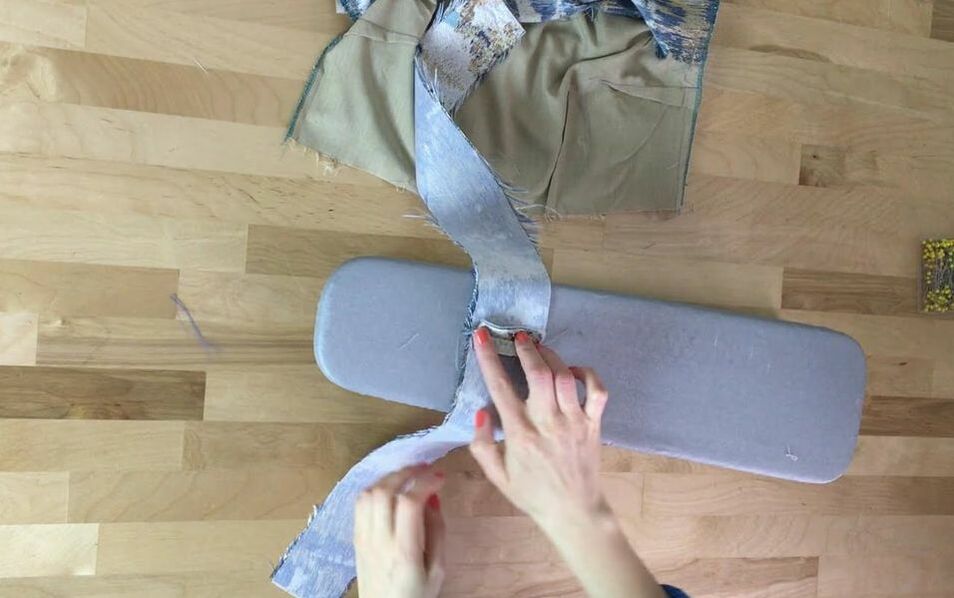
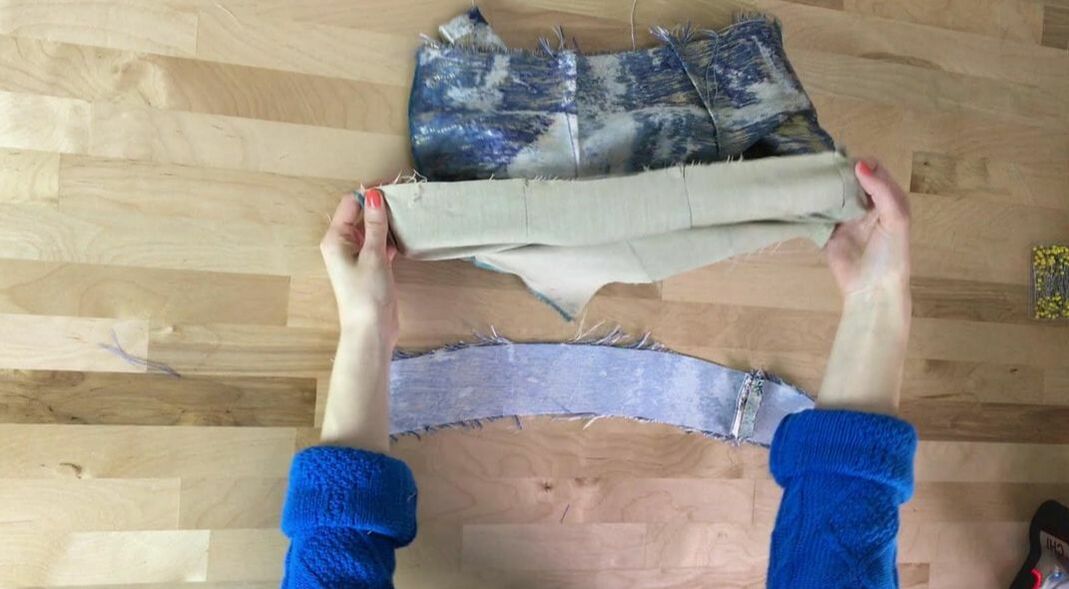
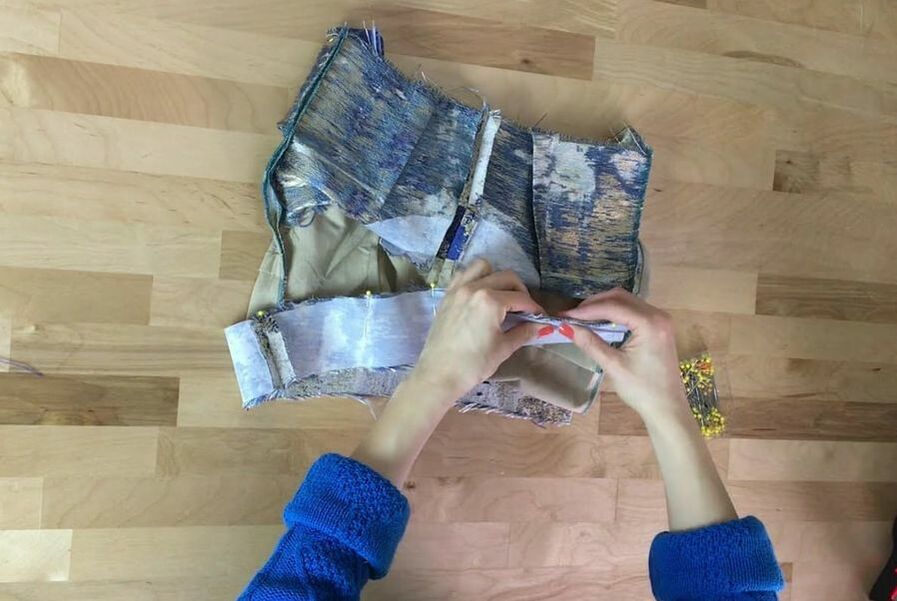
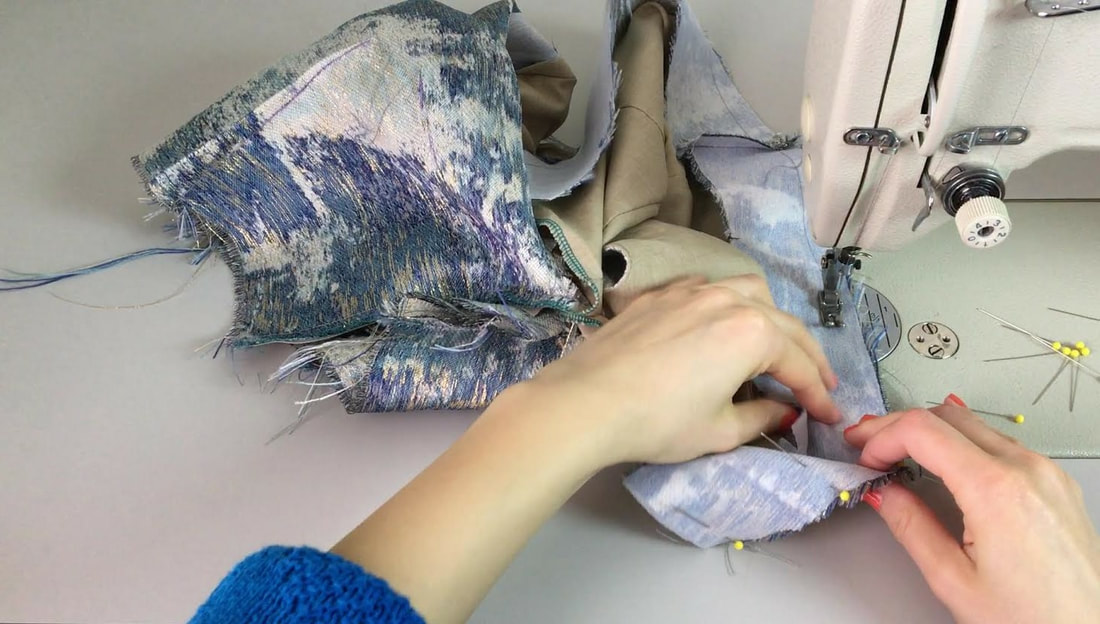
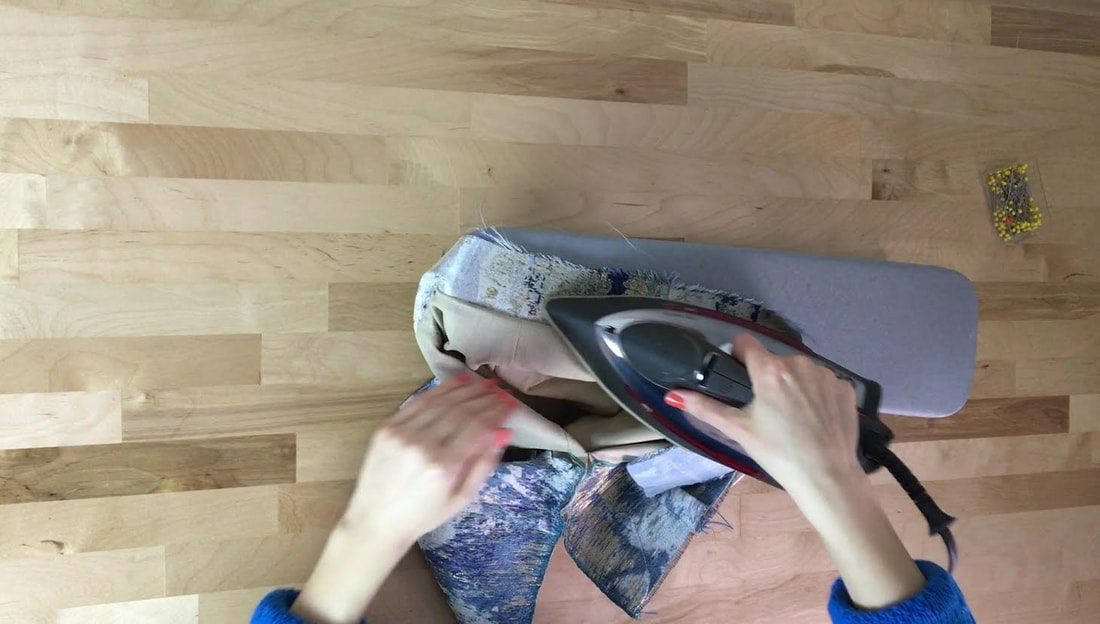
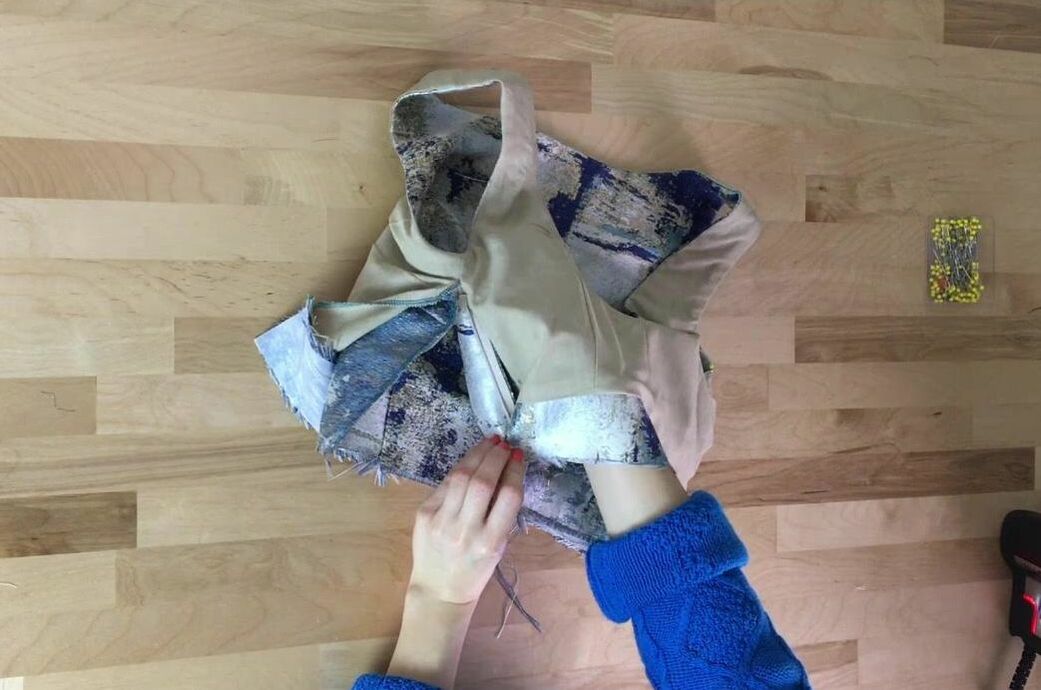
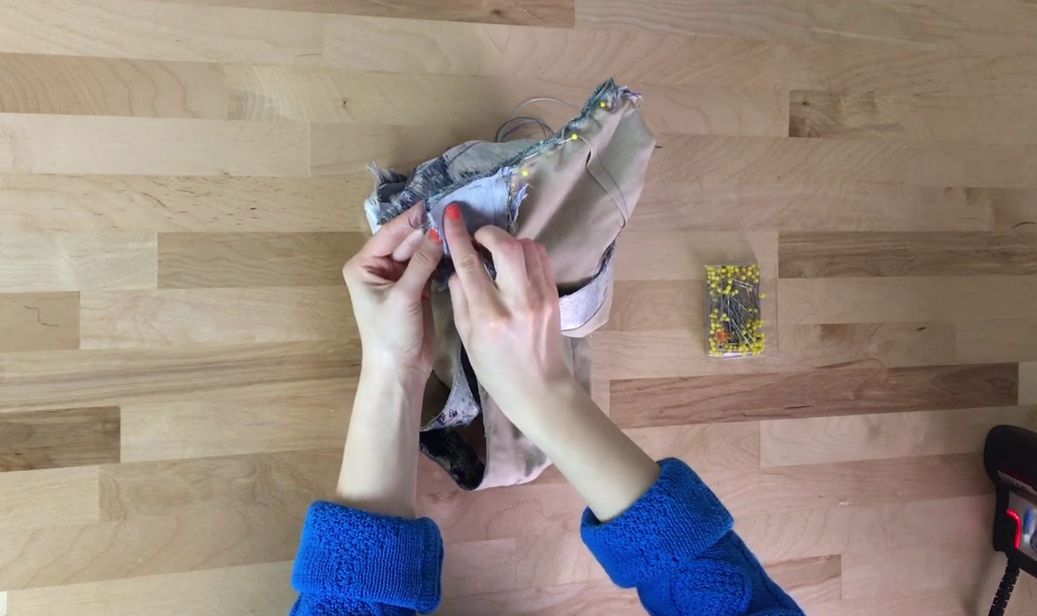
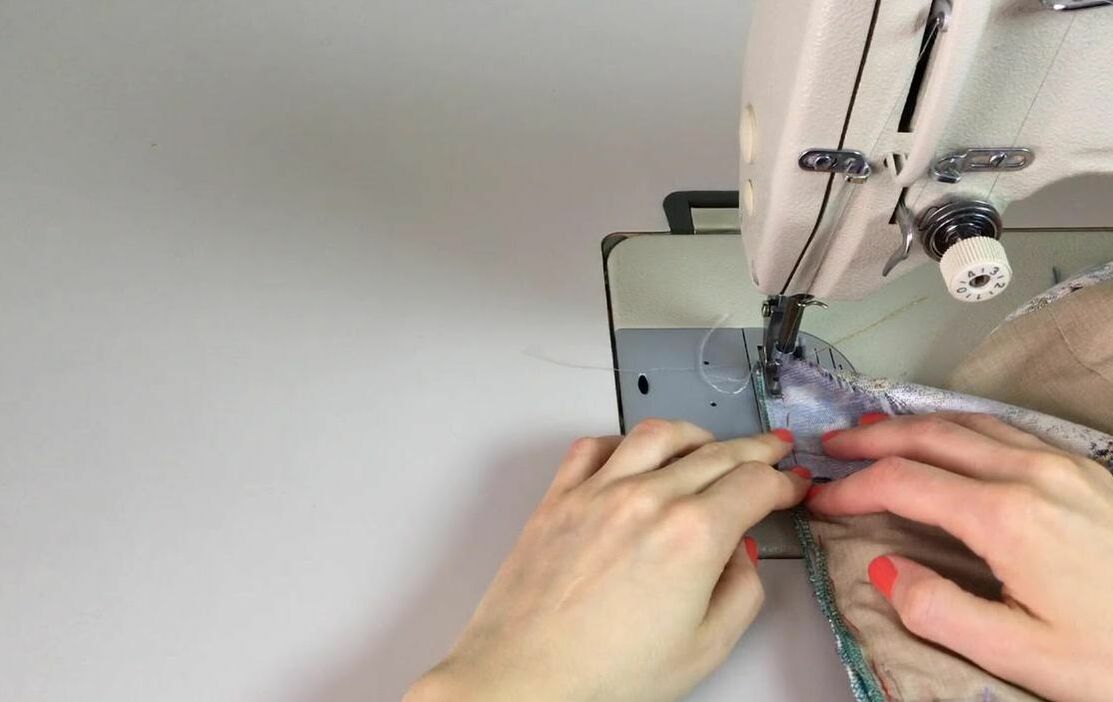
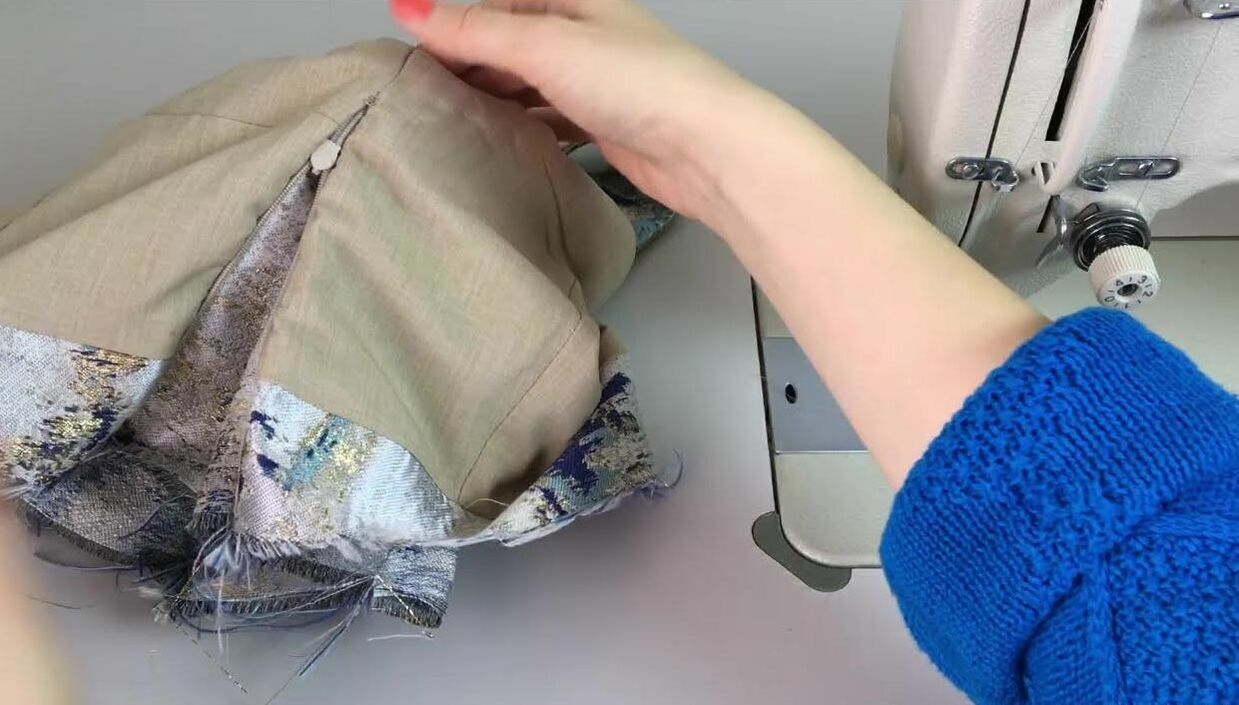
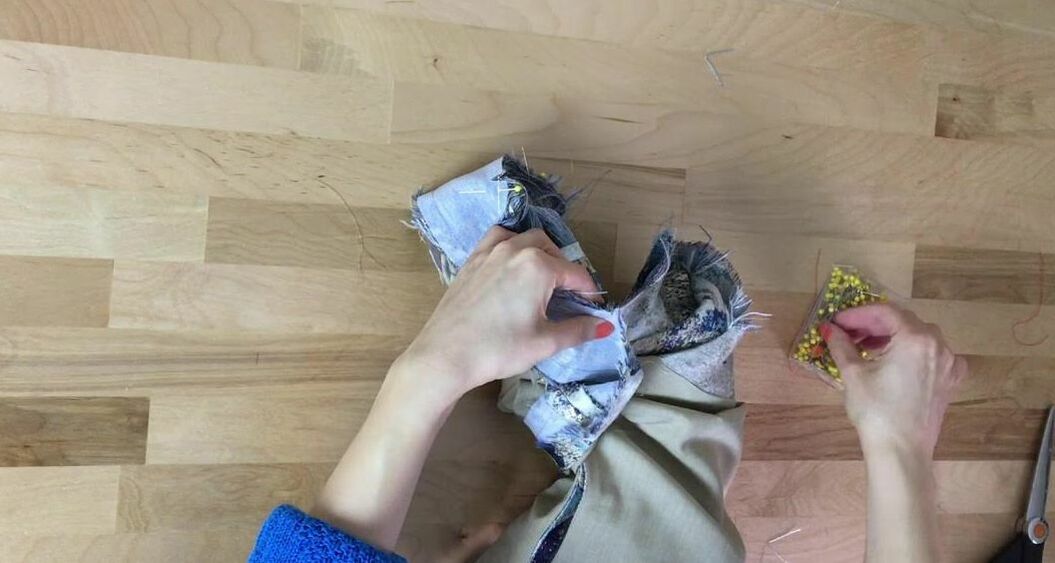
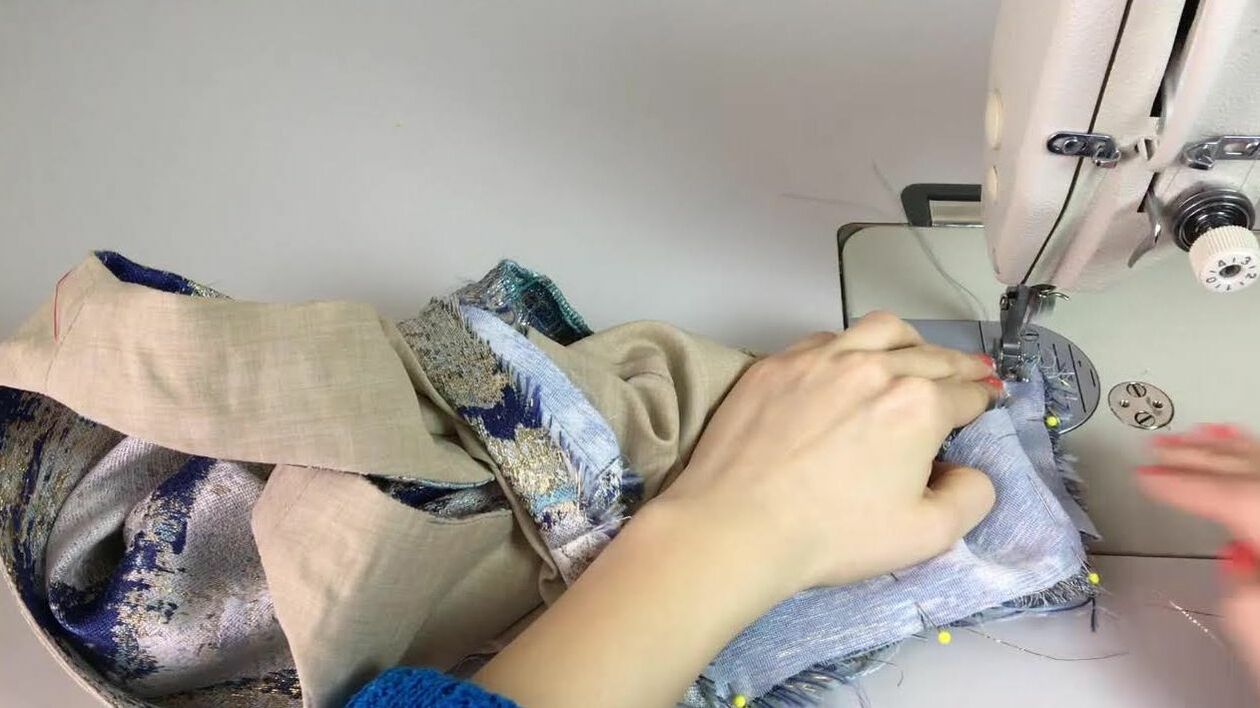
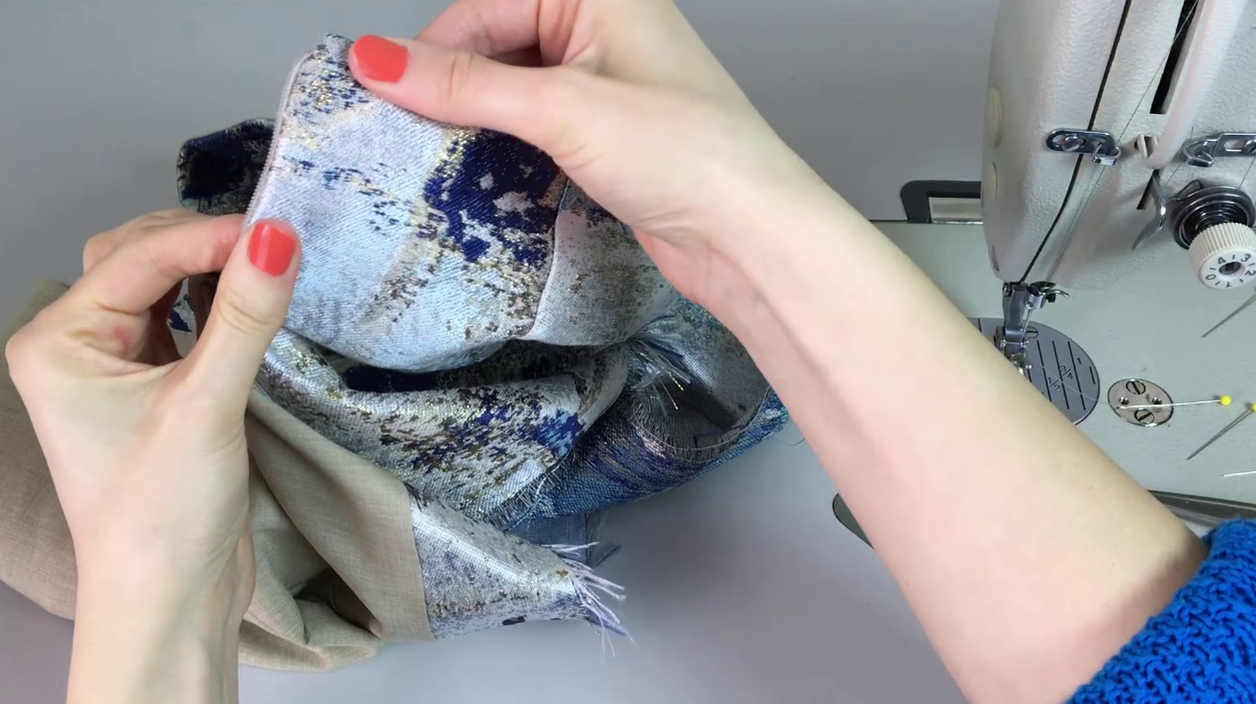
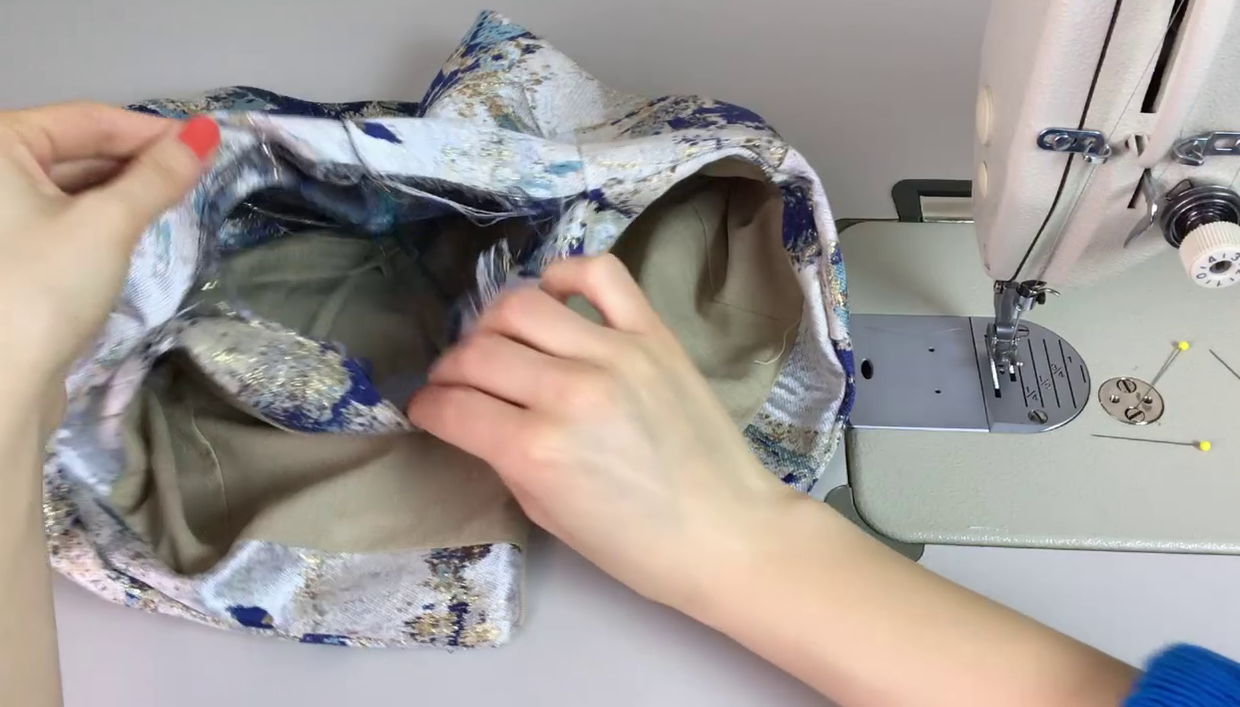
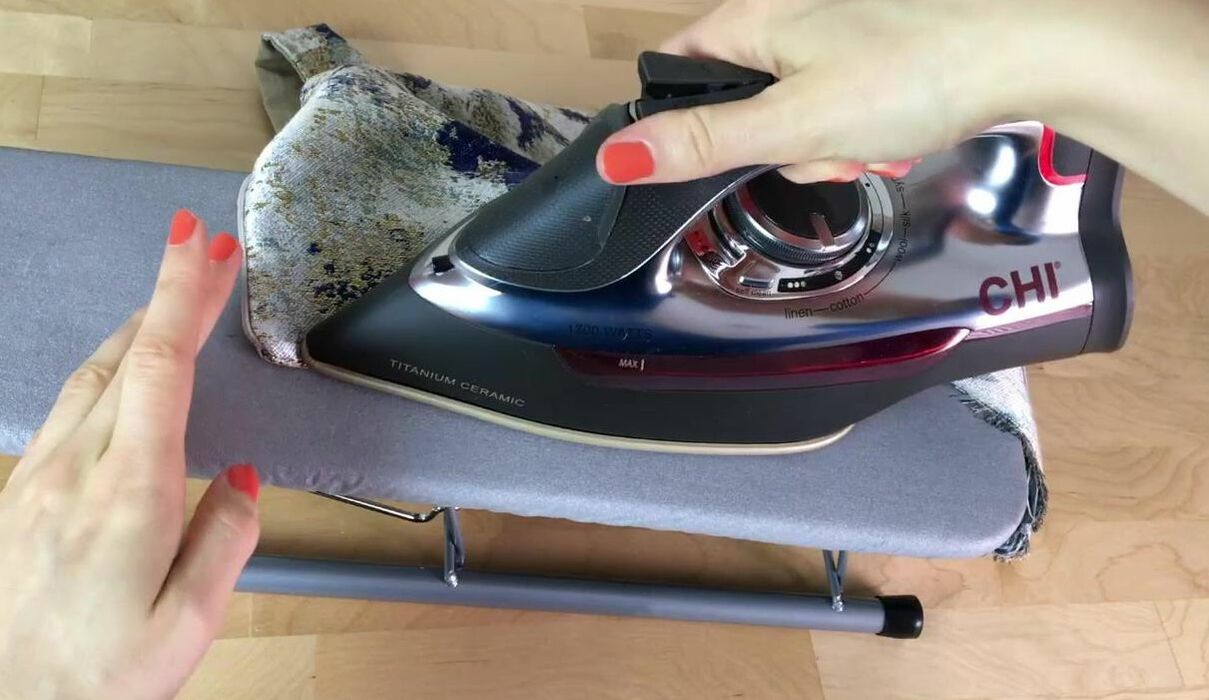
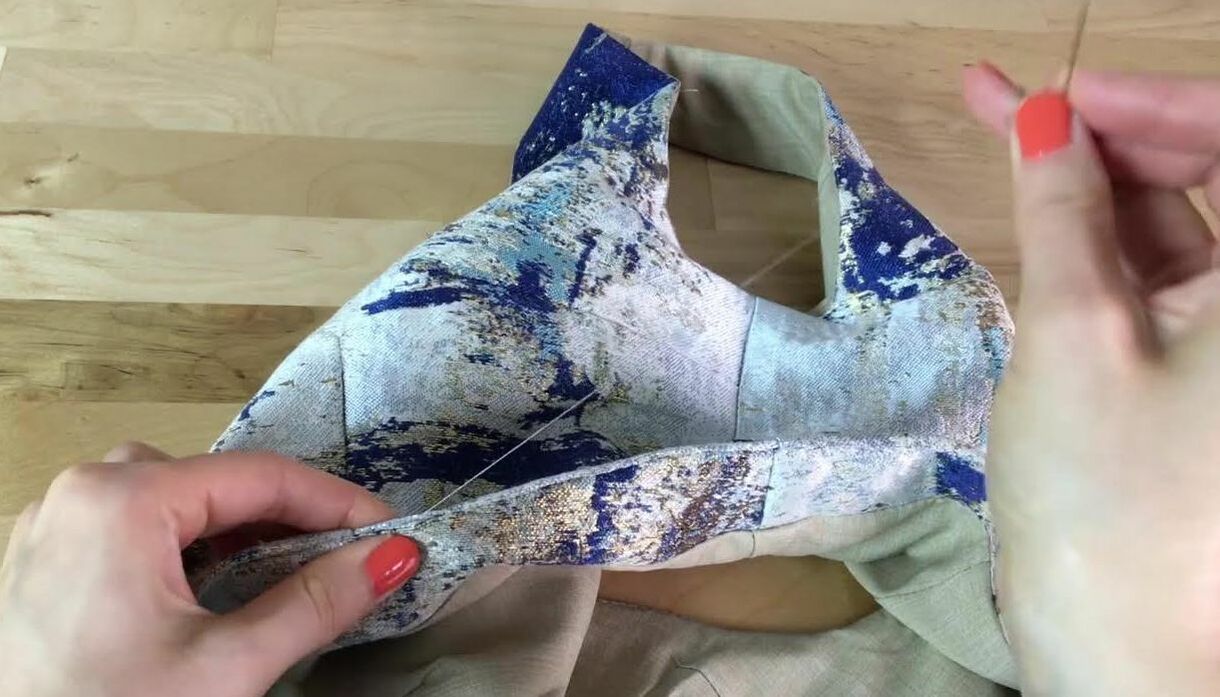
1. Fold the darts down the fold line as shown above. Doing so will naturally align both dart legs on top of each other. 2. Insert pins through both dart legs to keep their alignment and the dart's excess in place. Repeat this step on all blouse and lining pieces that have darts. Keep in mind that the fold (excess) should always correspond to the wrong side of the fabric. I highly recommend hand basting the folded dart to prevent it from shifting during the machine stitching process, especially if you don't feel quite comfortable with your sewing machine yet. Check out a few useful exercise you can practice on your sewing machine in this tutorial: 4 Practice Exercises For Getting Comfortable With Your Sewing Machine 3. After the dart excess is pinned (or basted) in place, stitch directly on top of the visible dart line, from the wider part of the dart towards the vanishing point. The vanishing point is the location where all dart lines come together to form an angle. Sew all the darts (bust and waist) including those on the lining pieces. Tie the loose threads at the vanishing point to prevent the machine stitch from unraveling during wear. Iron the excess of the horizontal darts (bust) down, towards the waistline. All vertical darts, in this case, the waistline darts, should be ironed with the excess pointing towards the center front. The easiest way to iron darts is to work on the fabric's face side. 2. Attaching The lining And Sewing The Center Back Seam After the darts are stitched and ironed, the next step is to attach the lining to the blouse self layer. When I drafted the patterns for this blouse design, I added an intentional center back seam to facilitate this process. This seam, although not serving a functional purpose during wear, is essential for sewing the full lining using a fairly easy technique. As you'll see in the video sewalong above, the back opening will provide a simple way to pull the lined blouse on it's right side after the neckline and armhole edges have been sewn together. This technique also works if you have a vertical seam that separates anywhere down the front. Check out the full tutorial on how to sew this lining style here: How To Sew Full Lining To A Fitted Blouse With Darts. 1. First thing's first, sew the shoulder seams of the blouse and those of the lining separately first. Once stitched, iron the seam allowance. 2. Align and pin the necklines and armholes of the lining and blouse self such that the right side of both pieces are touching. Dart excess should correspond to the outside. For easy removal during machine stitching, pin perpendicular to each edge as shown above. 3. Carefully machine stitch the armholes and the neckline curves following the appropriate seam allowance throughout. 4. Very important: Clip wedges into the seam allowance of the neckline and armhole curves up to, but not through, the machine stitch. This is essential in releasing tension and helping the lined edges lay flat. To learn more about clipping seam allowance for tension release, check out this tutorial: Clipping Seam Allowance During Sewing- How And When To Use The Fabric Clipping Method. 5. Turn the blouse on it's right side by pulling from one end of the center back opening until all the exposed seam allowance is enclosed on the inside. 6. Iron the seam allowance along the curved edges towards the lining layer as shown, and understitch the lining at about 1/8" from the seam that connect lining and self. For more on under stitching, check out this tutorial: 7. Understitch the lining at about 1/8" from the seam that connect lining and self. For more on understitching, check out this tutorial: How To Understitch During Sewing And Why It Is Needed Iron the neckline and armholes flat to complete the edge finish. 8. Last but not least, stitch the center back seam closed. To do so, separate the lining layer form the blouse self and align the two edges of the seam such that the face sides of both lining and self are touching and corresponding to one another as shown above. Stitch the seam at the designated seam allowance. For my blouse, it is 1/2". Iron the seam allowance open and fold the lining layer inwards to complete back of the blouse. 3. Sewing The Invisible Side Zipper The task of sewing a zipper used to send chills up my spine when I was learning how to sew. Along with sewing sleeves, inserting a zipper can be one of the most intimidating aspects of the dressmaking process for a beginner. As you become more experienced, you'll fall in love with one or two types of zipper applications and just stick with it for most of your sewing projects. For me, it is the invisible zipper. It is easy to sew, versatility and provides a clean finish. In this instance, I inserted an invisible zipper into the right side seam. The most efficient way to insert an invisible zipper into a seam is to sew it first, before the seam is stitched together. Always keep the seam edges separated until after the zipper application. Due to my blouse's cropped style, I shortened my invisible zipper by hand using this easy tack stitch technique. To learn how to shorten a zipper by hand, check out this step by step guide: How To Alter A Zipper: Shortening And Prepping A Zipper For Dress Placket Use. 1. Open the zipper all the way and align each zipper tape portion to the corresponding seam edge, making sure the face of the zipper is touching the face of the fabric. Pin the zipper to the seam opening to keep this alignment in place. If this sounds a bit confusing, follow the more detailed steps in this tutorial: How To Sew An Invisible Zipper Into A Seam With Lining 2. Baste through the zipper tape and each seam edge as shown. Doing so will keep the zipper properly aligned and prevent it from shifting during machine stitching. 3. Using a regular zipper foot (or an invisible presser foot if your machine comes equipped with one), stitch right in the crease next to the zipper teeth as shown. 4. Once both zipper portions are permanently attached, stitch the rest of the side seam (excluding the lining layers), starting right next to the zipper and sewing away from it as shown above. Continue using the zipper presser foot for this step. Close the zipper to ensure everything is aligned and working properly. If anything needs to be adjusted, you may have to take the machine stitches out with a seam ripper and start all over. Conversely, if the zipper looks good and works well, remove the temporary basting stitches (applied prior to machine stitching) to finish the zipper application. Before moving on to finishing and sealing the lining, follow the steps below (and/or in the video sewalong above) to sew the other side seam and attach the hem facing. 5. Sewing The Other Side Seam After the invisible zipper is sewn in, finish the other side seam following the same logic as sewing the center back seam above. 1. On each separate edge, pull the lining away from the blouse layer and align the two edges together such that the face of both lining and self (blouse layer) are touching. The seam that connects the lining to the blouse self should be overlapping and matching perfectly as shown. 2. Insert pins perpendicularly along the entire edge to keep the two fabric layers together. 3. The seam will extend from one end of the lining to the end of blouse layer. Both portions should be pined together (shown above) to complete the side seam. 4. Stitch at the designated seam allowance ( 1/2" in this case) from one end of the lining or blouse self (depending onw here you start) all the way to the opposite end. 5. Iron the seam allowance open as shown above. I like to use a sleeve ironing board to iron all my seams as it allows for more precision and comfort. Once ironed, fold the lining in towards the inside of the blouse. 6. Prepping And Sewing The Hem Facing When you arrive at sewing the hem facing, you can go one of two ways: Sew the bottom edge of the lining to the hem facing first, then sew the hem facing to the blouse hemline second. Or, sew the hem facing to the blouse hemline first, then complete it by sewing it to the bottom edge of the lining. My blouse has a zipper opening at the side seam, thus the easiest way to attach the hem facing is to sew it to the lining edge first before moving on to clean finishing the zipper area and eventually, the hemline. Making the choice between these two options can seem a bit complex but as we go through the next steps, you'll hopefully develop an understanding of why one is better over the other in certain situations. 1. To start with, sew the front and back hem facing pieces together at the side corresponding to the closed seam on the blouse. Leave the other side corresponding to the zipper area open. As is conventional for almost all seams, make sure the right side of both front and back facings are touching. Once stitched together, iron the seam allowance open as shown above. 2. Align and pin the top edge of the hem facing (the edge without notches) to the bottom edge of the lining such that the face of both fabric layers are touching. Insert the pins horizontally, perpendicular to the edge for easy removal during stitching. For more clarity on this step, use the video sewalong above as a guide. 3. Machine stitch the hem facing at the designated seam allowance. For my blouse, the allowance is 1/2". 4. Once the hem facing is permanently stitched, iron it such that the seam allowance is pointing up, towards the lining layer (shown above). 7. Sealing And Finishing Lining Edges To The Zipper And Hem 1. Start with the zipper opening first. Flip each lining edge over the open zipper such that the zipper tape is enclosed between the lining and blouse self layer. The fabric edges should be enclosed on the inside, between the lining and blouse (self) layers. 2. Pin all 3 layers (lining, zipper tape, blouse self) together along the edges of both zipper portions. Before machine stitching, I highly recommend hand basting these layers together as it will prevent shifting during the stitching process. This technique can be a bit challenging so a basting stitch can go a long way to harness more control and prevent errors. For a detailed guide on sewing and sealing lining edges to the zipper opening and hemline, check out this tutorial: How To Sew An Seal Lining Edges To The Zipper And Hem Of A Blouse. 3. Use the zipper presser foot on your sewing machine to stitch the lining to the zipper tape and blouse layer underneath. Follow the zipper teeth as a guide but be careful not to accidentally sew directly through the coils. Once both sides are stitched, flip the lining on its right side to expose the zipper coils. The edges of the zipper tape and the seam allowance of both blouse and lining should be enclosed on the inside. 4. Last but not least, lets clean finish the hemline. I like to use a similar technique as the zipper finish above. Keeping the zipper open, flip the hem facing over the coils such that its (facing) face is touching the right side of the blouse layer. Both hem allowance edges should be aligning perfectly. 5. Stitch from one end of the open zipper to about half way down the hemline. 6. Flip the blouse back on its right side. At this point, you should have a clean 90 degree corner at the bottom of one zipper portion. Half of the blouse hem allowance should be enclosed on the inside. 7. Repeat the step above on the other end of the zipper opening, leaving an unstitched gap of about 5-8". Use this opening to pull the other end of the blouse hem on its right side as shown above. 8. Iron the finished hemline carefully making sure to turn each edge of the gap opening in at the designated hem allowance (1/2" in this case). 9. Use a slip stitch (or any other blind stitch you prefer) to close the hemline gap. The stitch should completely blend into the blouse hem with the location of the opening being invisible on the finished garment. And with that, the cropped lined blouse is complete! For a quality finish, I like to give all my clothing items one last press before taking them out into the world. Stay tuned for the matching skirt sewalong to come! Similar Tutorials You May Like: 4 Ways To Lay Out A Sewing Pattern For Cutting: Understanding Fabric Grain And The Selvage Edge How To Sew A Seam: The 3 Rules. Video Tutorial: How To Sew An Invisible Zipper Into A Seam Video Tutorial: How To Sew Full Lining To A Fitted Blouse With Darts How To Sew And Seal Lining Edges To The Zipper And Hem Of A Blouse How To Make Patterns For A Fully Lines Cropped Blouse How To Understitch During Sewing And Why It Is Needed How To Prep And Shorten A Zipper By Hand The Basics Of Interfacing For Sewing Beginners
0 Comments
Leave a Reply. |
The Blog:A journey into our design process, sewing tutorials, fashion tips, and all the inspiring people and things we love. Doina AlexeiDesigner by trade and dressmaker at heart. I spend most of my days obsessing over new fabrics and daydreaming new ideas. Sadie
Executive Assistant & Client Relations Manager Archives
November 2019
Categories
All
|
-
Sewing Tutorials
-
Basics
>
- Aligning Pattern Grainlines To Fabric
- Preparing Fabrics For Sewing
- Pinning Sewing Patterns To Fabric
- Placing Sewing Patterns On Fabric For Cutting
- Rotary Cutters or Fabric Scissors?
- Cutting The Sewing Patterns
- What Are Notches And How To Use Them In The Sewing Process
- Transferring Notches From Pattern To Fabric
- Transferring Seamlines to Fabric
- Staystitching
- Backstitching: A Complete Guide
- Hand Basting: A Complete Guide
- Sewing Continuous Bias Binding
- Darts >
-
Sewing Seams
>
- The Basics Of Seams And Seam Allowance
- How To Sew A Straight Seam
- Sewing Curved Seams
- Sewing Corner Seams
- Trimming And Grading Seam Excess
- Notching/Clipping Seam Allowance for Tension Release
- Sewing Topstitched Seams
- Sewing Corded Seams
- Sewing A Slot Seam
- Sewing A Gathered Seam
- Sewing Bias Seams
- Sewing Seams With Ease
- Sewing Seams With Crossing Seamlines
- Sewing Unlike Fabric Seams
- How To Iron Seams: Ironing Tools And Conventions
- Sewing With Knit Fabrics
- Understanding Stitch Length And Tension
- Sewing Unique Fabric Seams
-
Seam Finishes
>
- Seam Finishing Techniques - Overview
- Applying A Pinked Seam Finish
- Applying A Bias Bound Seam Finish
- Serging And Zigzag Seam Finishes
- Sewing A Self-Bound Seam Finish
- Sewing A French Seam Finish
- Sewing A Hong Kong Seam Finish
- Sewing A Mock French Seam Finish
- Sewing A Turned-and-Stitched Seam Finish
- Sewing Overcast Hand-Applied Seam Finishes
- Sewing A Flat Felled Seam
- Sewing A Hairline Seam Finish
-
Hem Finishes
>
- Garment Hem Finishes: Overview
- Sewing A Double Fold Hem Finish
- Sewing A Single Fold Hem Finish
- Sewing Bound Hem Finishes
- Sewing An Exposed Double Layer Bound Hem
- Sewing A Folded-Up Bound Hem with Pre-folded Binding
- Sewing A Hong Kong Hem Finish
- Sewing A Band Hem Finish
- Sewing A Bias Faced Hem Finish
- Sewing A Twill Tape Hem Finish
- Sewing A Rolled Hem Finish
- Sewing A Shaped Hem Facing
- Using Fusible Hem Tape And Webbing
- Finishing A Lace Fabric Hem
- Finishing A Leather Hem
- Sewing Faced Hem Corners
- How To Finish Lining At The Hem
- Finishing Fabric Corners by Mitering >
- Interfacing A Hemline: Lined And Unlined Examples
-
Sewing Pockets
>
- Curved Patch Pocket With Flap
- Unlined Square Patch Pockets
- Lined Patch Pockets: Two Ways
- Extension On-Seam Pockets
- Separate On-Seam Pocket
- Front Hip Pockets
- Bound Double Welt Pocket
- Double Welt Pocket With Flap
- Self-Welt Pocket (Using Single Fabric Layer)
- Slanted Welt Pocket (Hand-Stitched)
- Faced Slash Pockets: Overview >
-
Sewing Zippers
>
- Sewing Zippers: General Information
- Sewing A Centered Zipper
- Sewing A Lapped Zipper
- Sewing An Invisible Zipper
- Sewing A Fly Front Zipper
- Sewing A Closed-End Exposed Zipper (No Seam)
- Sewing An Exposed Separating Zipper
- Sewing Hand Stitched Zipper Applications
- Sewing A Zipper Underlay
- Sewing A Placket-Enclosed Separating Zipper
- Sleeveless Finishes >
-
Neckline Finishes
>
- Sewing A Neck Shaped Facing
- Sewing An All-In-One Neck Facing
- Neck And Garment Opening Combination Facings >
- Sewing A Bias Faced Neckline Finish
- Sewing A Band Neckline Finish
- Bound Neckline Finishes: Overview >
- Sewing A Semi-Stretch Strip Band Neckline
- Ribbed Neck Band And Classic Turtleneck
- Decorative Neckline Finishes >
- Finishing Facing Edges >
-
Extras
>
- A Complete Guide on Interfacing
- Sewing Bound Spaghetti Straps
- Sewing Spaghetti Straps To A Faced Neckline
- Sewing Ruffles: Overview
- Patterning And Sewing A Circle Ruffle
- Sewing A Gathered Heading Ruffle
- Sewing Double Layer Gathered Ruffles
- Sewing A Gathered Ruffle Into A Seam
- Sewing A Gathered Ruffle To A Fabric Edge
- Sewing A Fabric Surface Slit
- Sewing A Slit Seam
- Hand-Applied Straight Stitches
- Hand-Applied Blind Stitches
- Hand-Applied Overedge Stitches
- Hand-Applied Tack Stitches
- Hand-Applied Decorative Stitches
-
Basics
>
- Custom Bridal
- Custom Apparel
- About
- Blog
Services |
Company |
|



 RSS Feed

