
A single fold hem finish is perhaps one of the simplest to complete. Not only does it provide an effective hemming technique, but a super fast one as well.
|
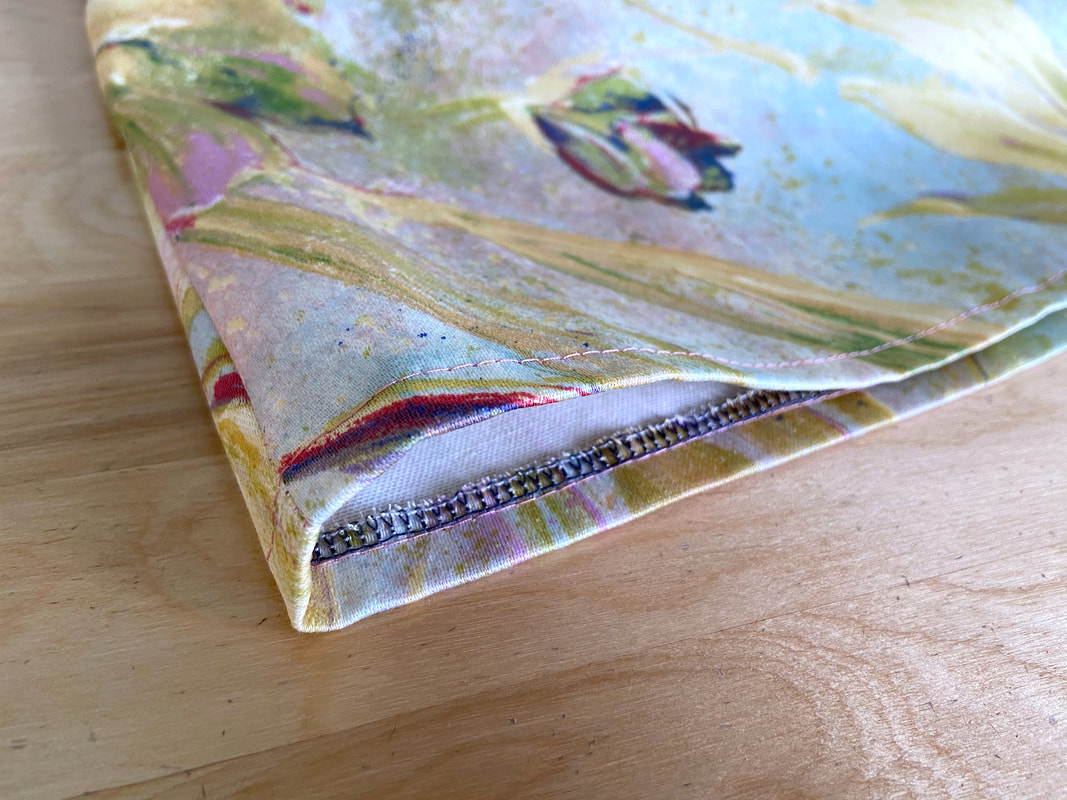
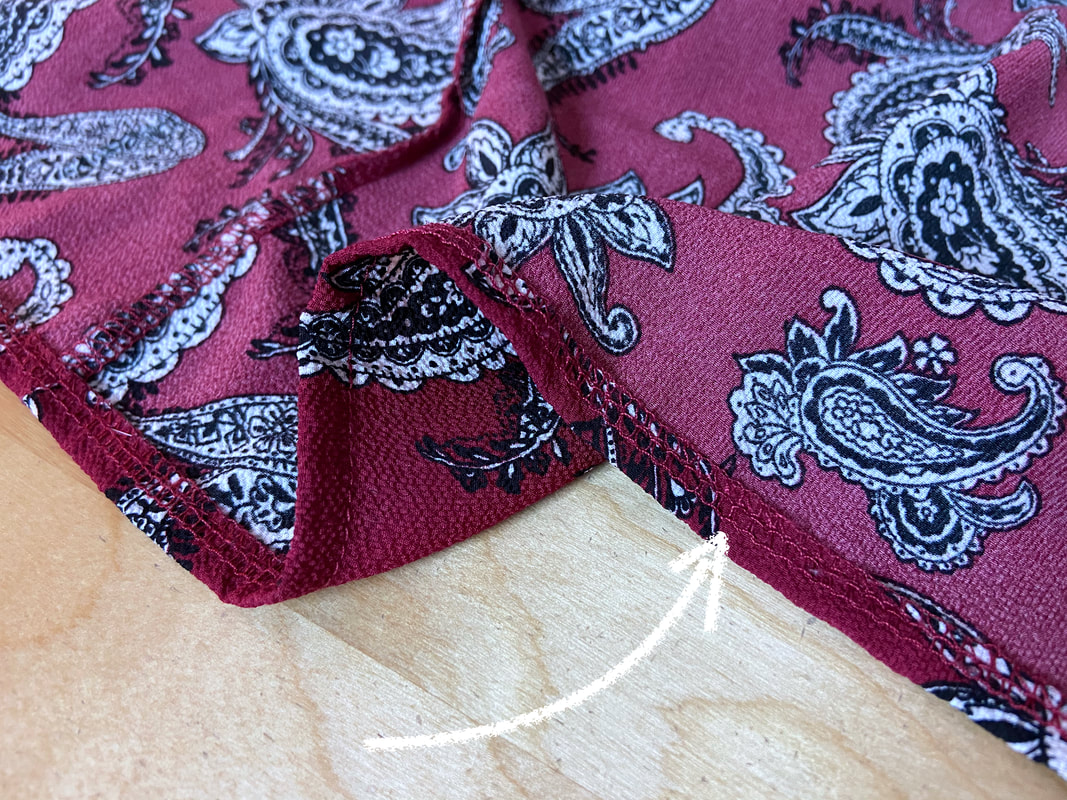
The machine stitched version leaves a topstitch along the hem's finished edge.
|
|
The hand blindstitched option provides an invisible finish on the face of the application.
A single fold hem is most appropriate for light-to-medium weight garments that feature a more casual style. At the manufacturing level, it is considered an inexpensive technique since it can be machine applied with a single stitch.
|
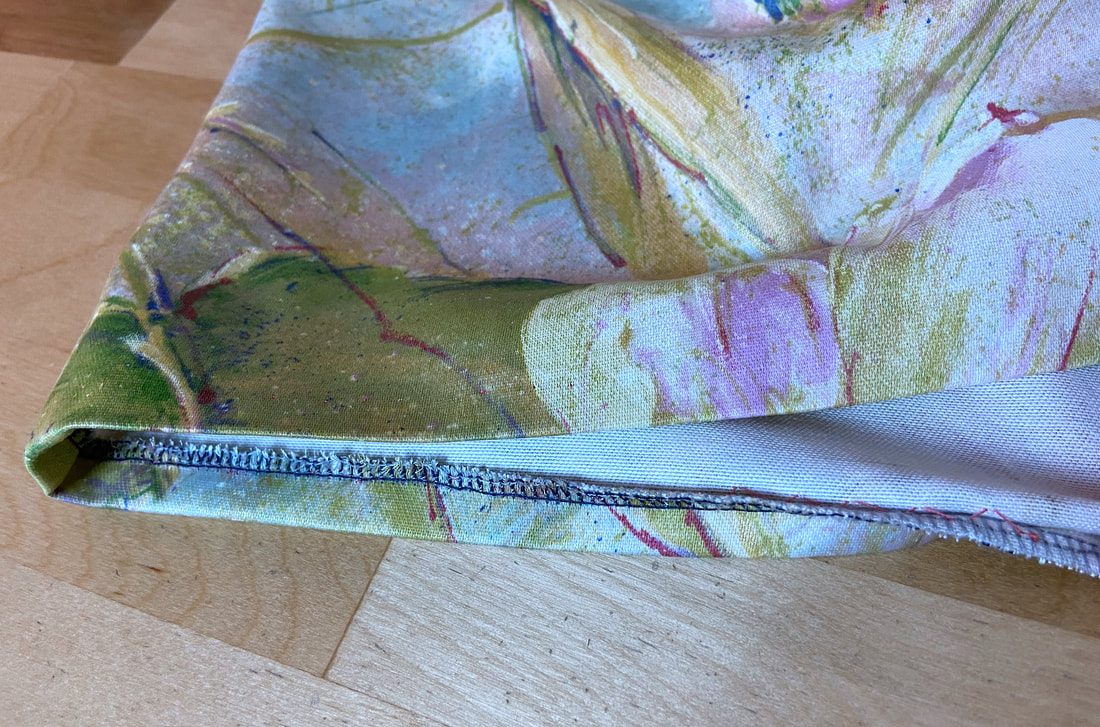
Since the hem allowance is only folded once, the hem’s cut edge is left exposed on the inside of the garment. For that reason, this edge must be clean finished separately to contain fraying and provide a more professional finish. This is done prior to folding in the hem allowance. The raw edge of the hem allowance will need to be contained with an overedge stitch, binding, bias tape or twill tape (to name just a few) prior to being folded and secured. Doing so is especially important if the fabric frays or unravels easily.
|
Some industrial machines can fold, topstitch and simultaneously clean finish the hem allowance edge in a single run. This application usually leaves a double row of topstitching on the right side of the finished hemline. Most garments that feature this type of hem finish are for the most part, very affordably priced.
While the underside of a finished hem is not visible from the right side of the garment, if the design has a high-low hem, the appearance of the hem's underside should be considered. Ideally, a single folded hem is often not the highest quality technique for a garment that has an exposed wrong side. As an alternative, a double fold finish, which fully encloses the fabric raw edge within a second fold, provides a cleaner, more uniform finish.
Follow the steps in this tutorial to learn how to sew a double-folded hem: Sewing A Double Fold Hem Finish
How To Sew A Single Fold Machine Stitched Hem
|
To start with, make sure all garment seams that intersect the hemline are stitched, finished and ironed. It is extremely important to do this prior to finishing the garment hem. This is part of the reason why completing the hemline is almost always left as a last step in the dressmaking process.
|
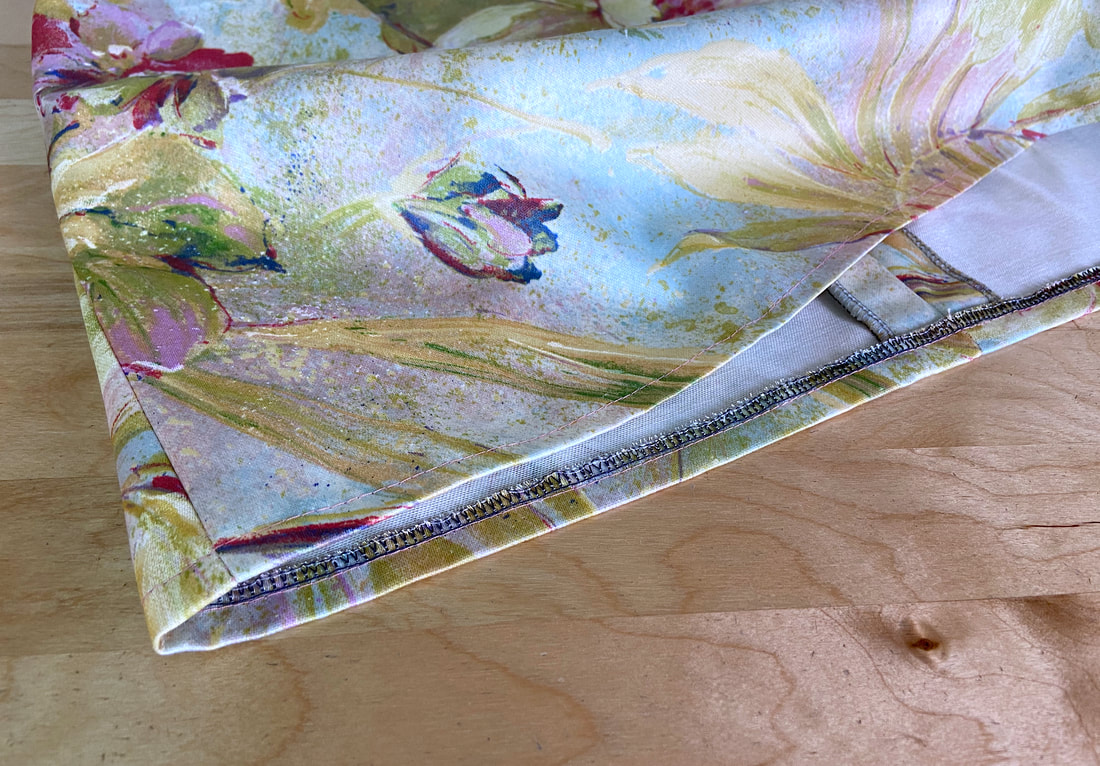
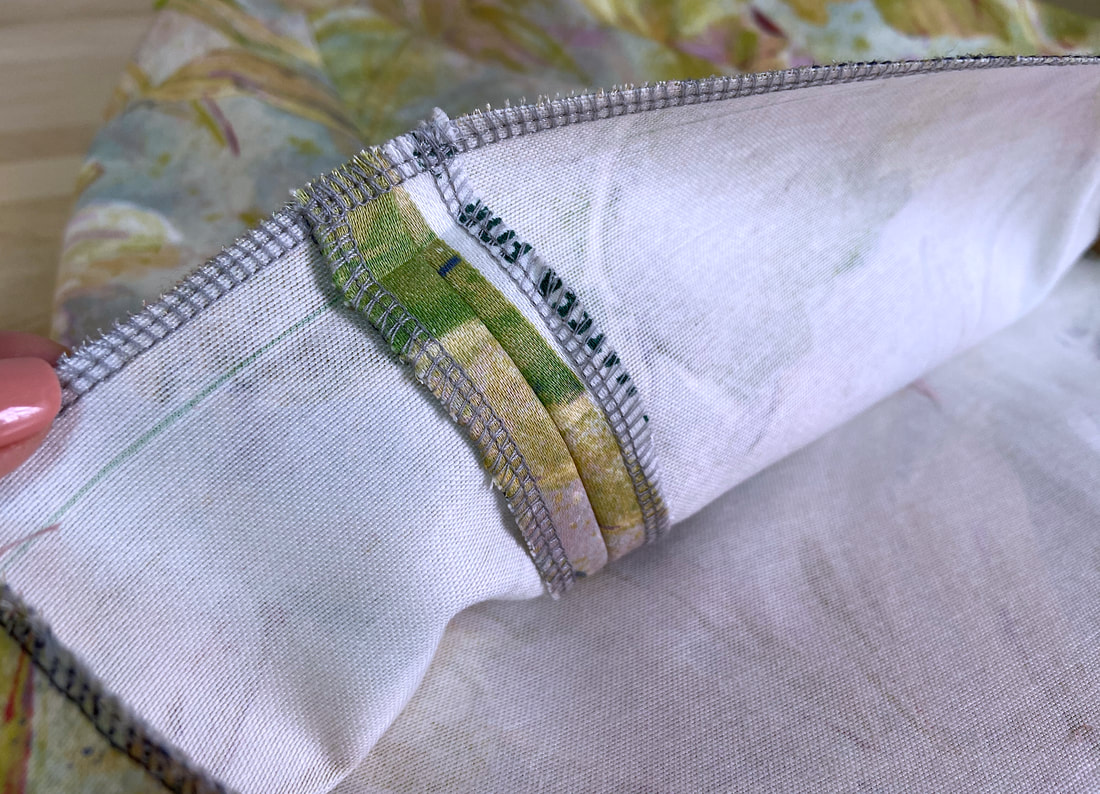
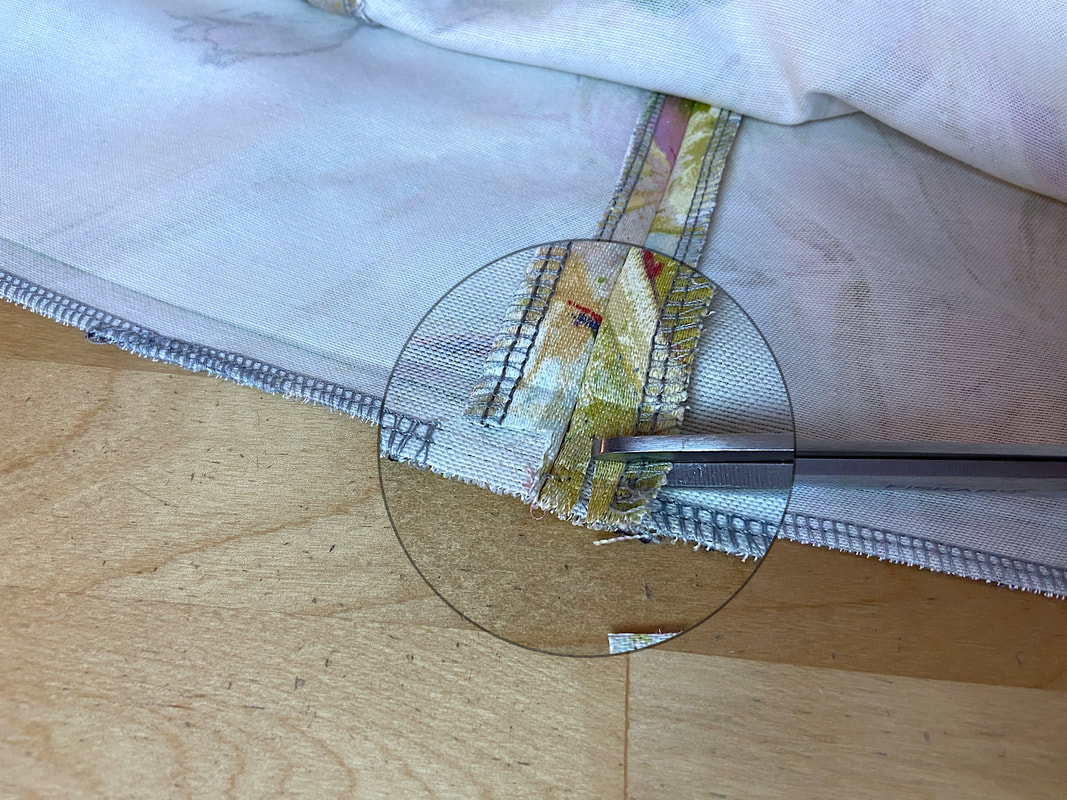
To eliminate bulk at the crossing seams, trim the seam allowance at the area where they overlap with the hem allowance as shown. While you may be ok skipping this step for some lightweight fabrics, trimming these seam allowances when working with thick, textured fabric will ensure a less bulky, flat hemline.
|
1. Apply a finish to the hem allowance raw edge. You should do this regardless of how much the fabric frays.
Remember, a single fold hemming technique leaves the hem allowance's cut edge exposed. Securing it with either an overedge stitch, like zigzag or serging, or a double fold binding, does not only prevent unraveling, it also contributes to the garment’s long-term durability.
In this tutorial, a serging stitch is used to finish the hem allowance edge.
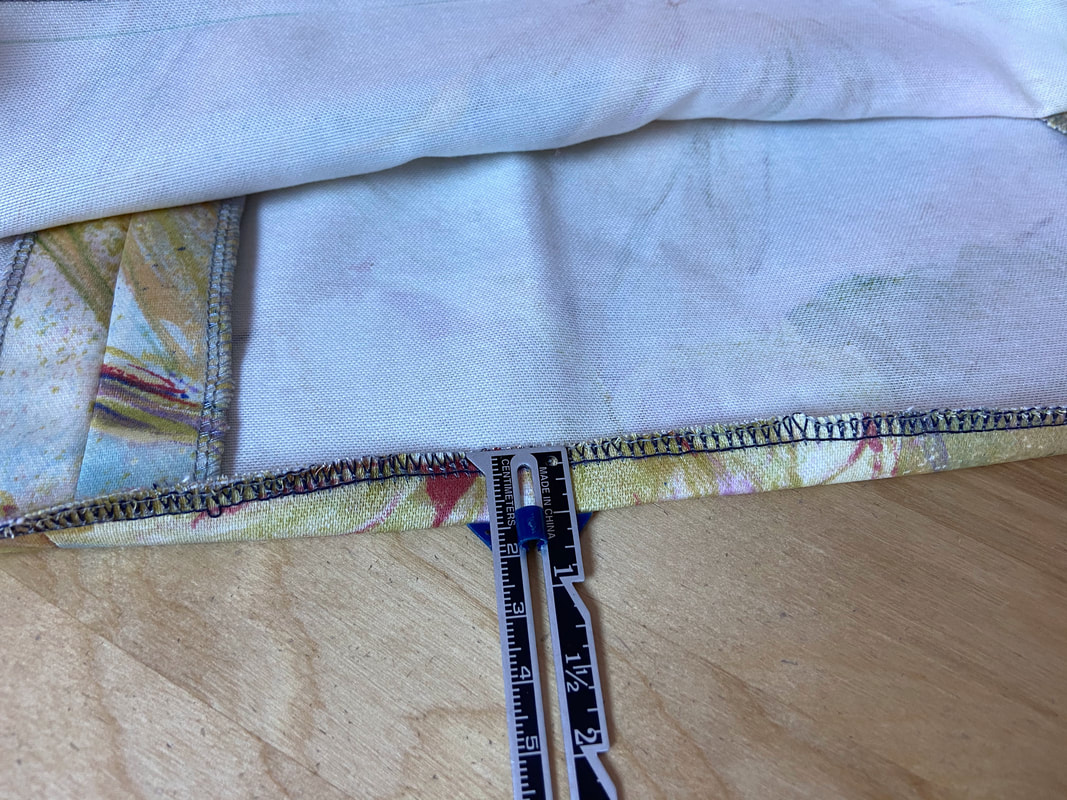
2. If not already marked, determine the location of the hemline by measuring the hem allowance width from the bottom cut edge up. In this case, the hem allowance is ½”.
|
|
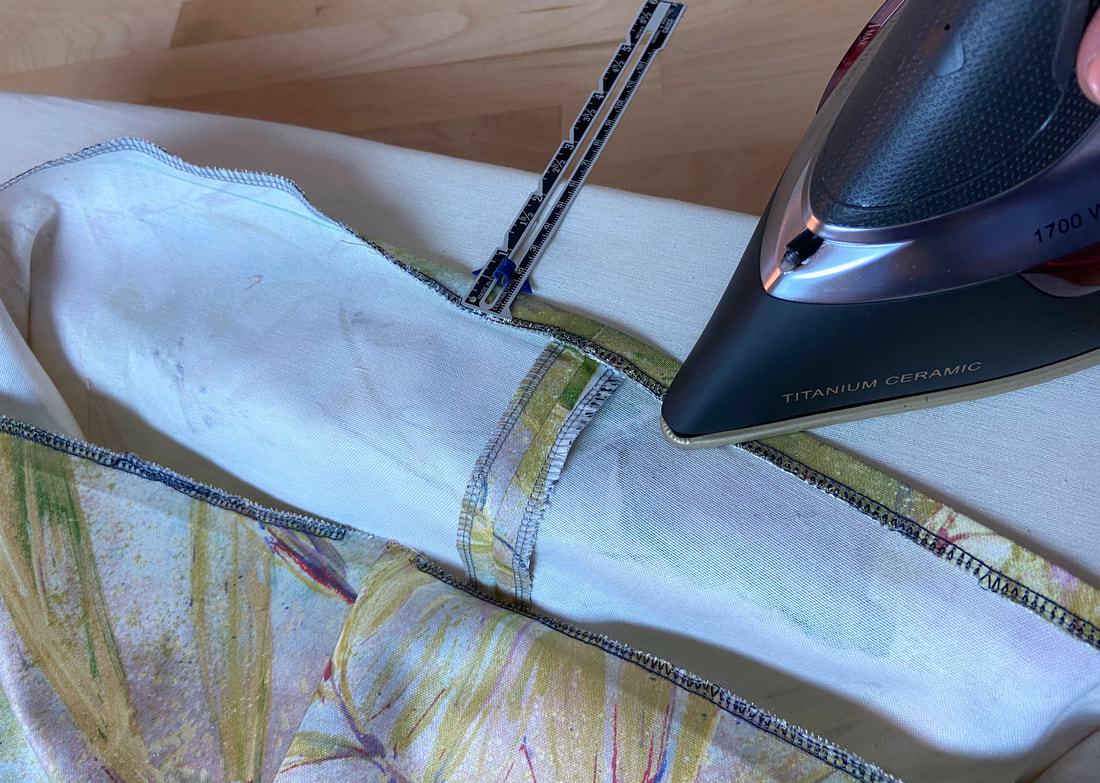
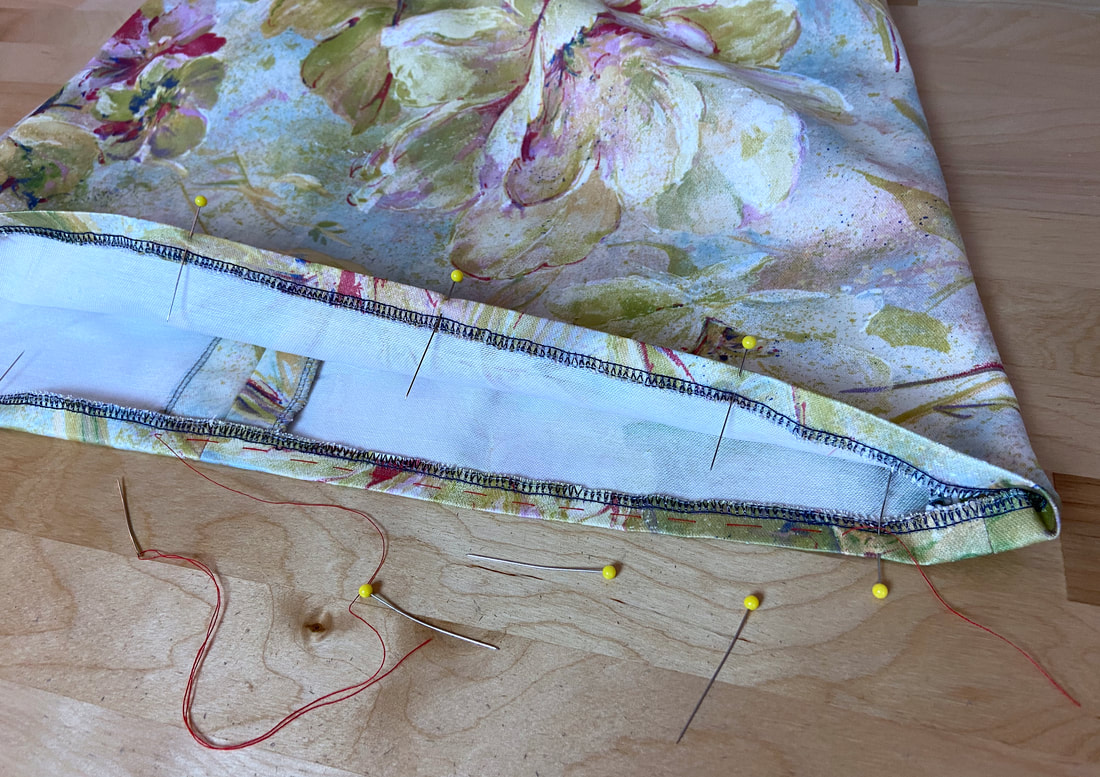
Using a ruler or a gage pointer (super helpful for hem finishes!) measure ½” from the hem allowance edge, and fold at this location to crease the finished edge of the hemline. Fold towards the wrong side of the garment. Iron this initial fold.
|
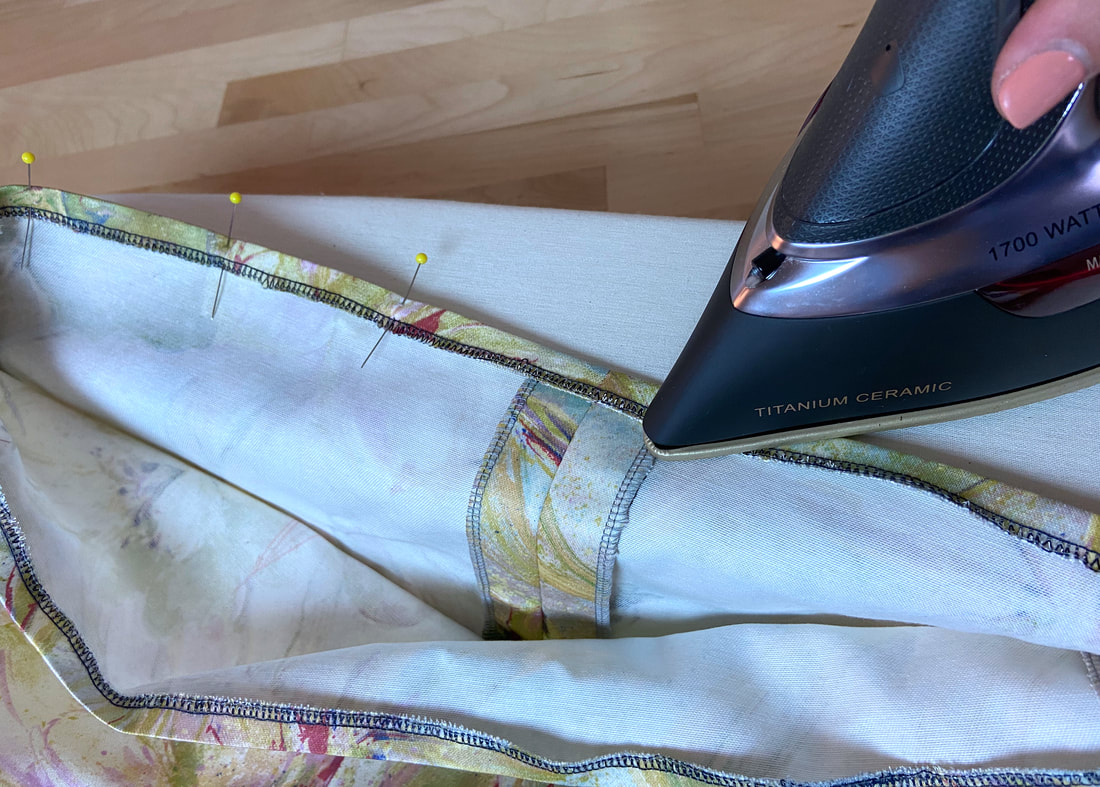
3. Continue folding and pressing the hem allowance to complete the finished hemline edge.
|
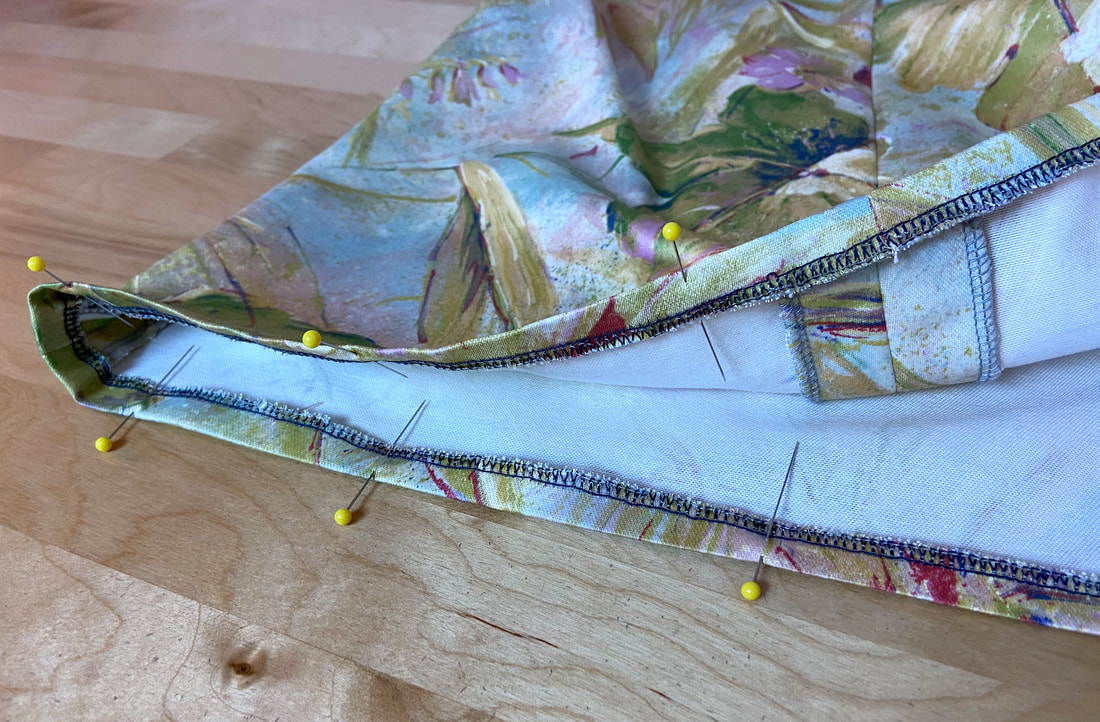
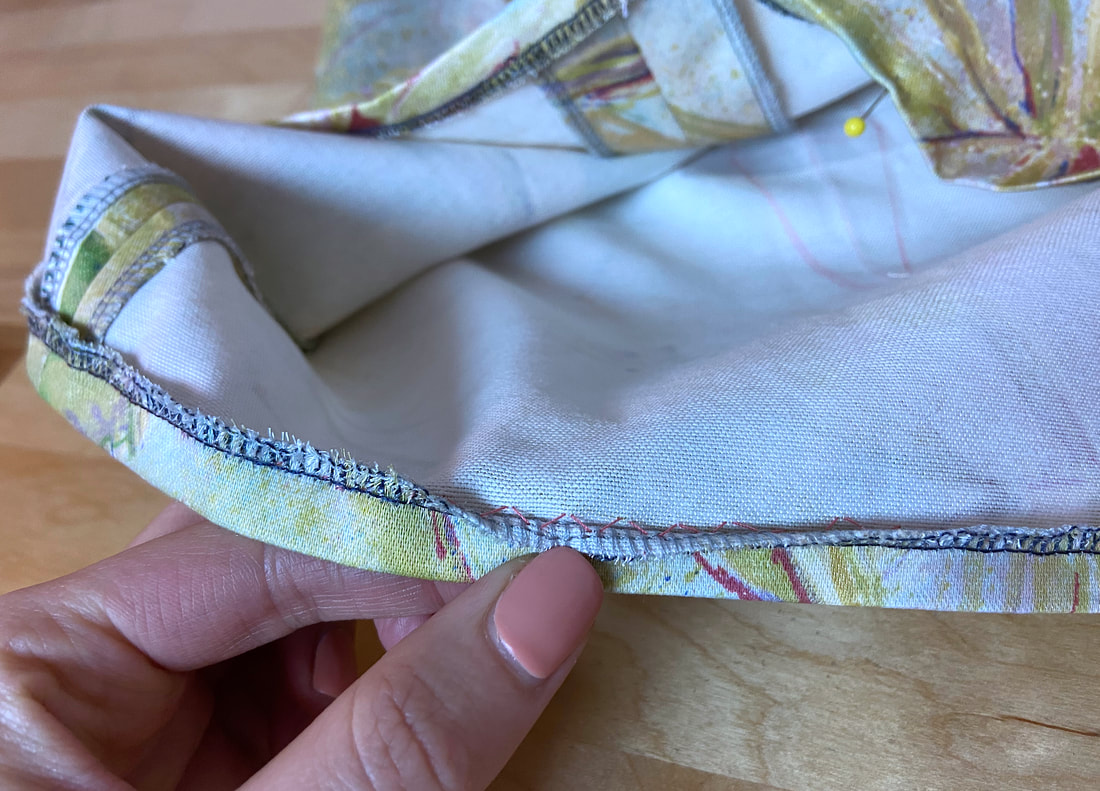
Insert pins horizontally as you fold to keep the hem allowance layer flat and pointing inwards as shown.
|
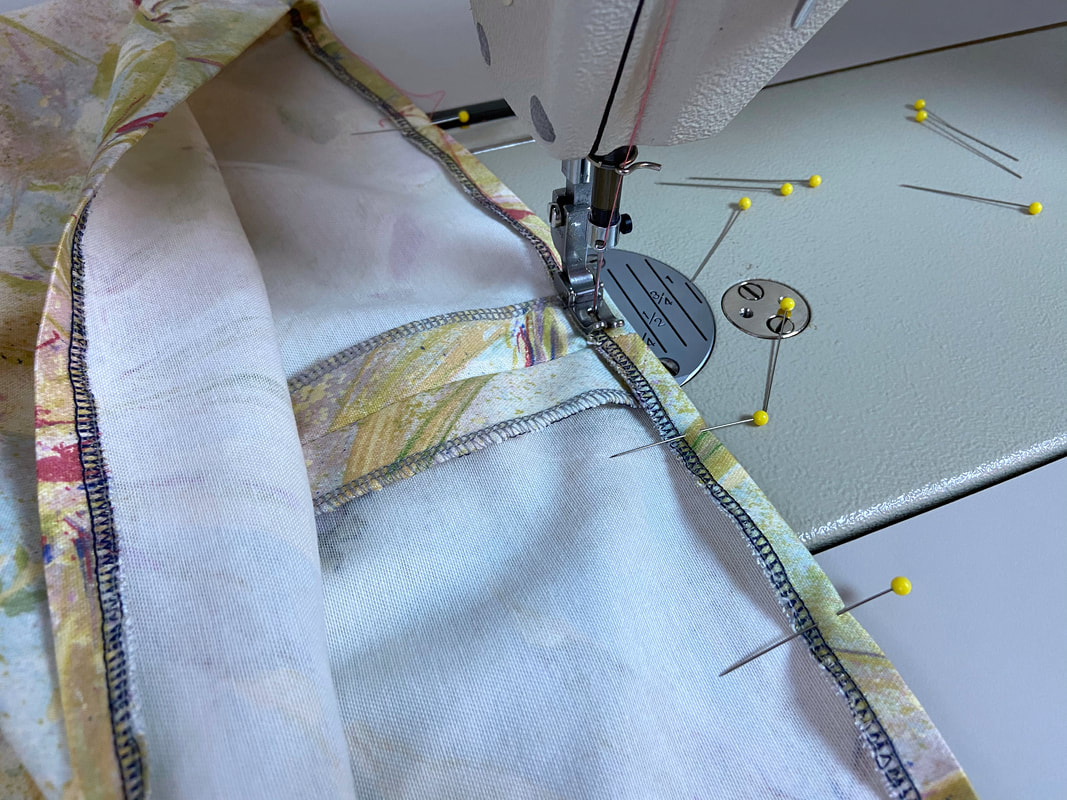
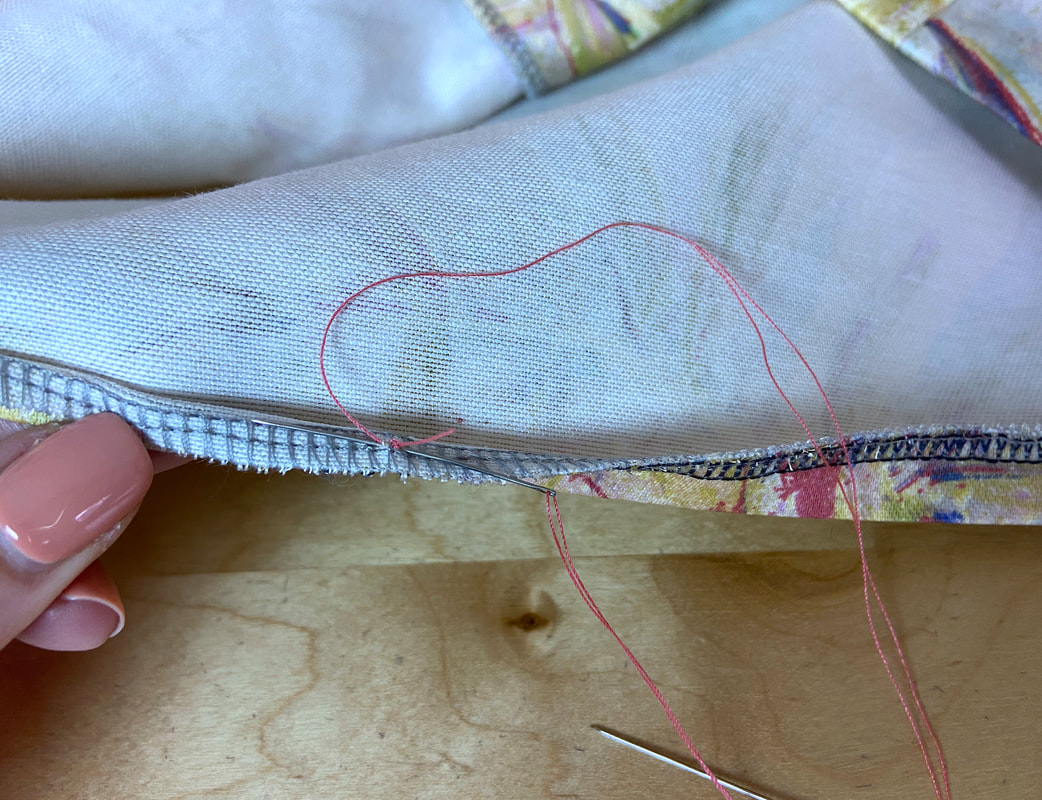
4. Before applying the final stitch, it may be a good idea to temporarily hand baste the folded hem allowance for extra stability. Using hand basting instead of pins keeps the folded layers extra secure during machine stitching, especially if working with flimsy, slippery fabrics.
|
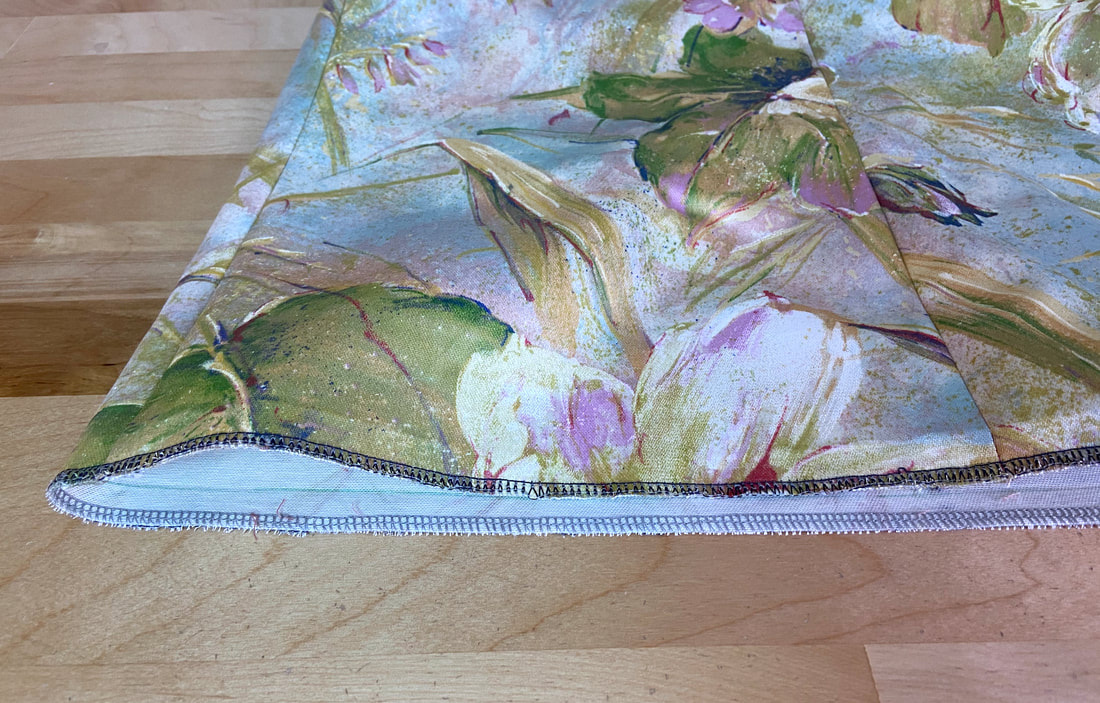
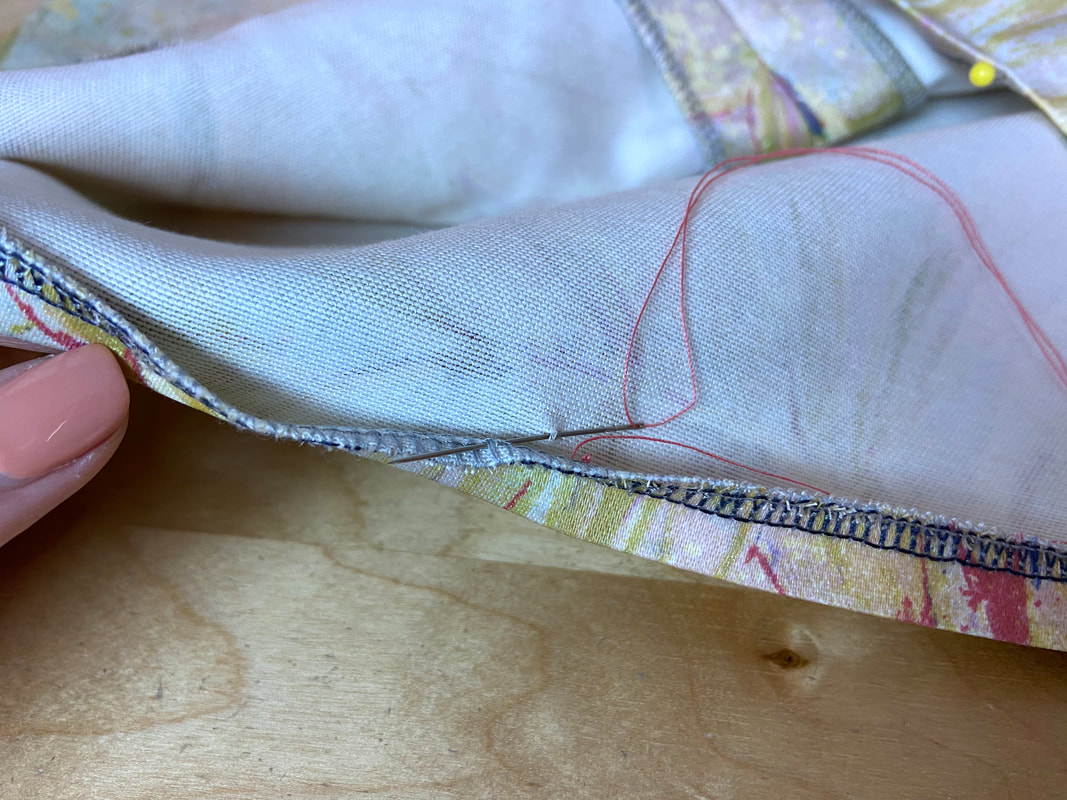
5. Working from the wrong side of the hemline, stitch next to the hem allowance edge using the overedge stitch (serging, in this case) as a guide. Anytime you sew a topstitched hem finish, it helps to work from the wrong side of the garment where you can see the hem allowance edge and catch it evenly during machine stitching.
|
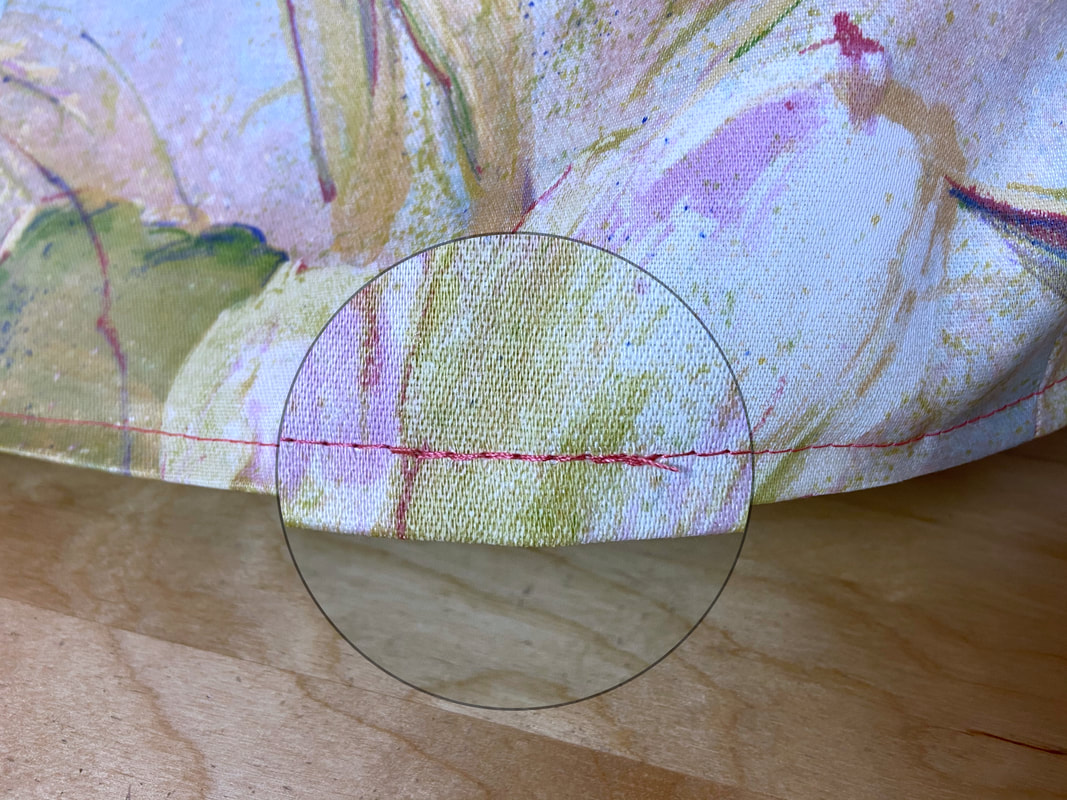
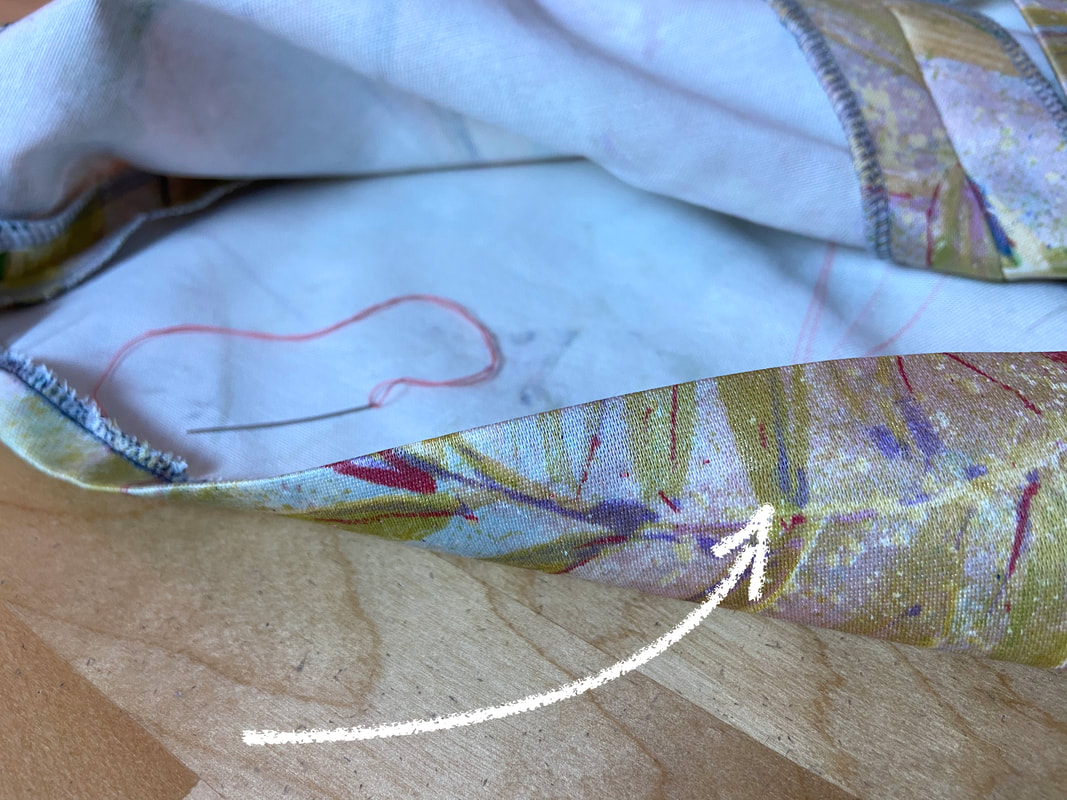
6. Overlap the stitch ends to lock the threads and prevent the machine stitch from coming undone with use.
|
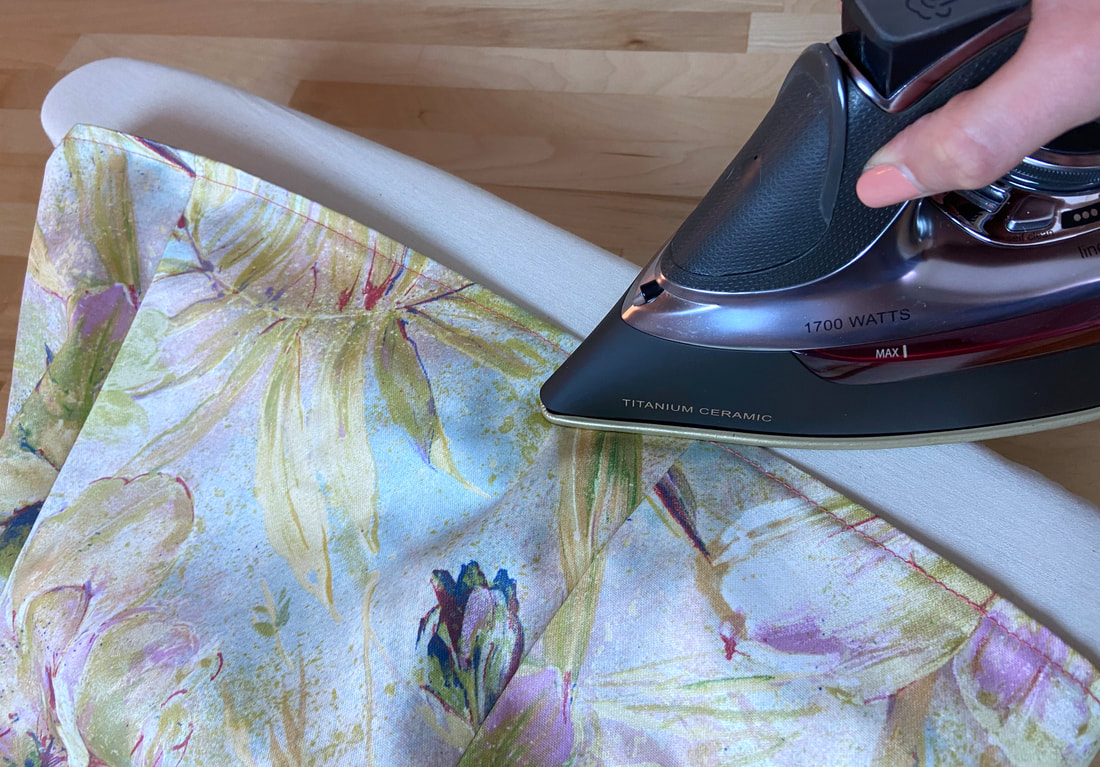
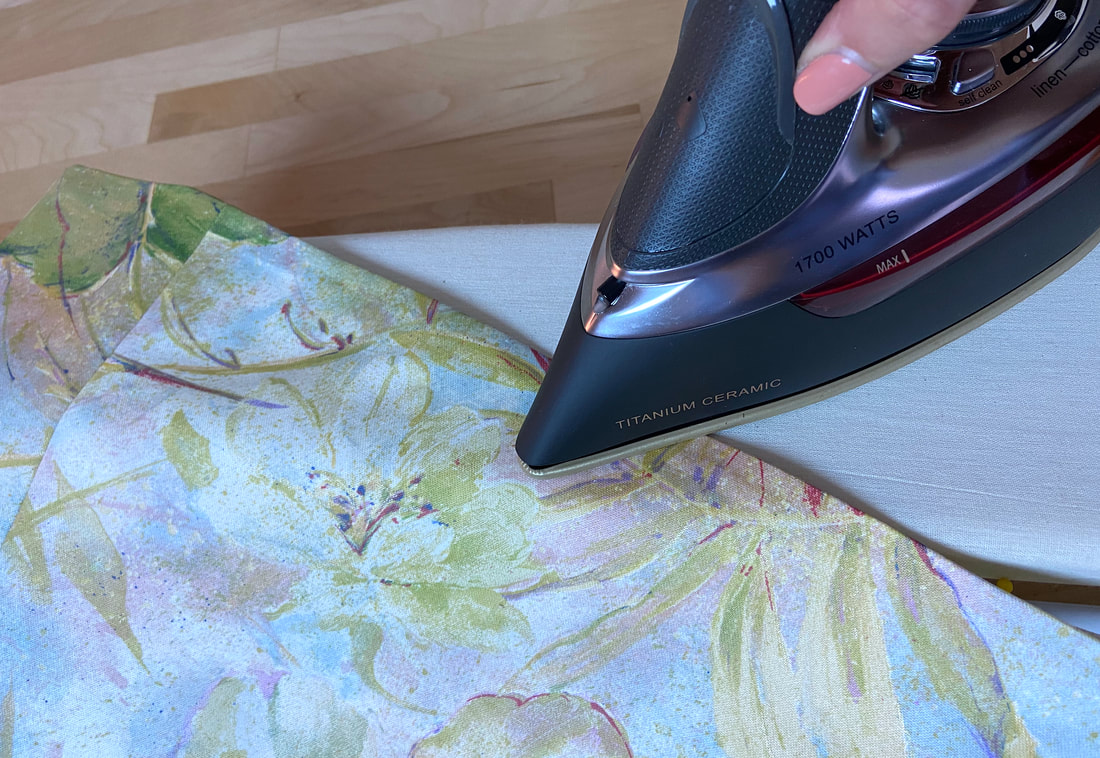
7. As a last step, iron the finished hemline in the same direction the stitch was applied. Use a protective cloth for heat sensitive fabrics.
Blindstitching A Single Fold Hem By Hand
Design-wise, applying a machine topstitch just along the hem, when no other topstitching is present on the garment, can have a downgrading effect on quality.
If you are sewing a style that is not compatible with machine topstitching, whether due to fabric or design, you can apply an invisible finish by blindstitching the hem allowance edge instead.
|
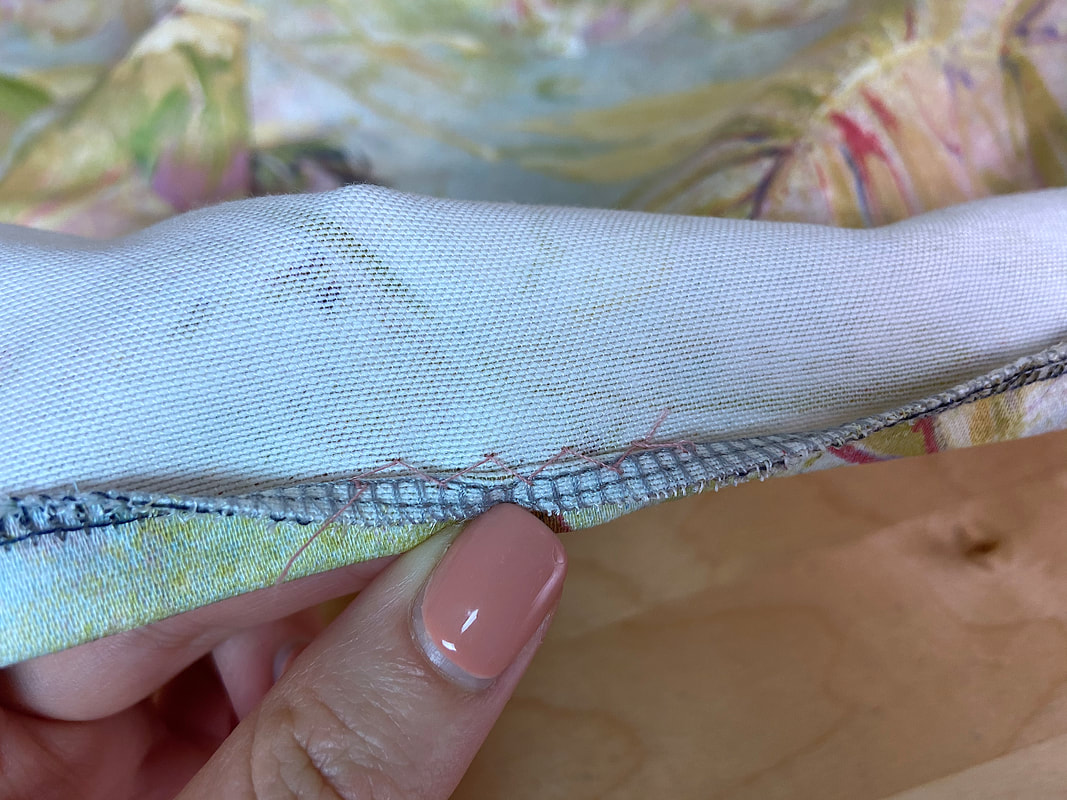
Blindstitching provides a way to secure the hem allowance to the inside of the garment without applying conventional stitches that are visible on the face of the hem.
To finish a single fold hem using a hand-applied blindstitch, you can use either a catchstitch or a slipstitch. They differ a little in construction process, look and durability.
|
|
1. Follow Steps 1-4 above to clean-finish, fold and secure the hem allowance edge.
|
2. Starting at the exposed hem allowance edge, stitch a few times in place to secure the hand stitch. Use matching color thread.
|
3. Next, catch 2-3 threads from the wrong side of the garment then again through the hem allowance edge as shown.
You should have about 1/8” distance between the alternating stitches.

|
4. Continue slipstitching as described until the entire hemline is finished. Don’t pull the stitches too tight as you risk distorting/wrinkling the finished hem.
|
There should be no visible stitches on the right side of the garment.
|
5. As a last step, iron the finished hem. Use a protective cloth if working with a heat sensitive fabric.
For additional information on blindstitching, check out this tutorial: Sewing Hand-Applied Blind Stitches
 |
All content, including images and text, may not be copied, replicated, or redistributed without express written permission. This website is regularly screened and monitored for content protection.
|
