Good seam alignment and an evenly positioned stitch, while important, are not quite enough for sewing the perfect seam.
There are two important factors that will impact a seam’s smoothness and quality and they both relate to your sewing machine: stitch length and stitch tension. Both should be chosen carefully based on type of fabric and how many layers you are stitching through.
Stitch Length
Stitch length is a fairly intuitive, simple concept.
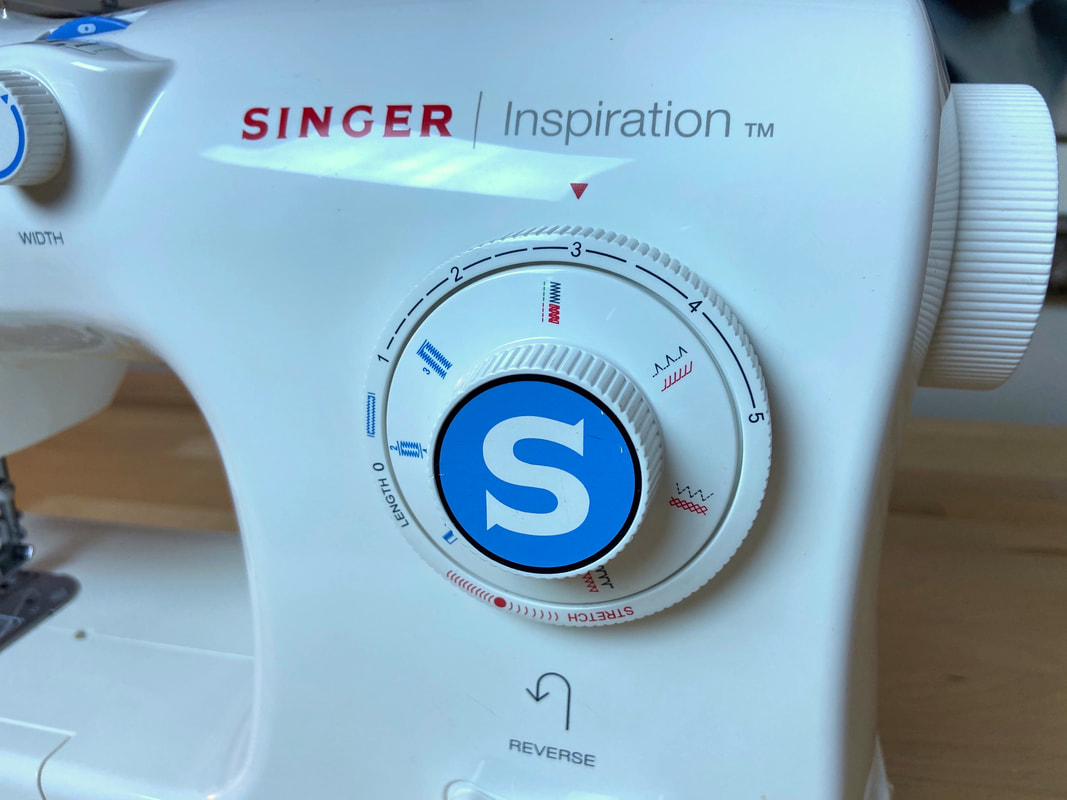
Your sewing machine has a variety of stitch length settings, ranging from very narrow to a basting stitch. The length of the individual stitches determines the final stitch density.
The shorter each individual stitch is, the denser the stitching will appear. A shorter stitch provides increased durability, and allows for more control during the stitching process.
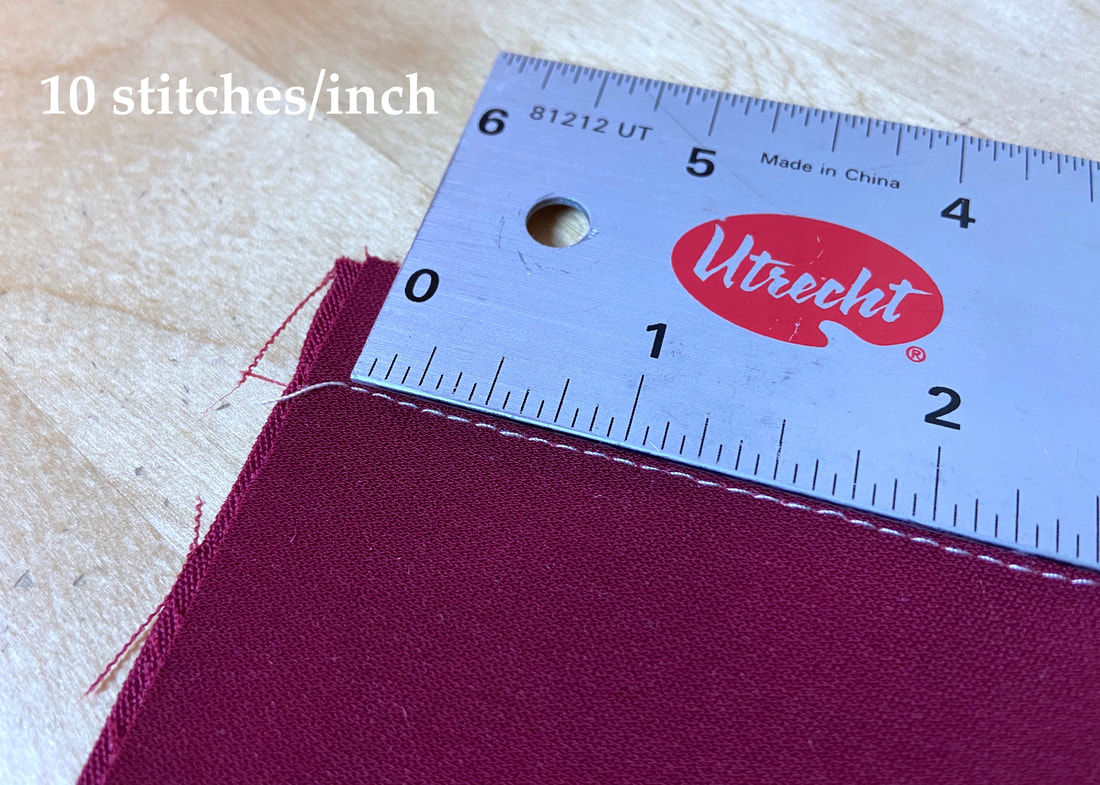
To measure stitch denseness, count the amount of stitches in a 1” portion. The larger the number of stitches in the 1” section, the shorter the stitches and thus the denser they are in relation to each other.
Conversely, a 1” section that has less amount of stitches represents a longer stitch length.
Counting the density of a stitch is a more practical way to determine stitch length. You could, of course, measure each individual stitch in millimeters, but that is simply out of scope for what we need in the dressmaking process.
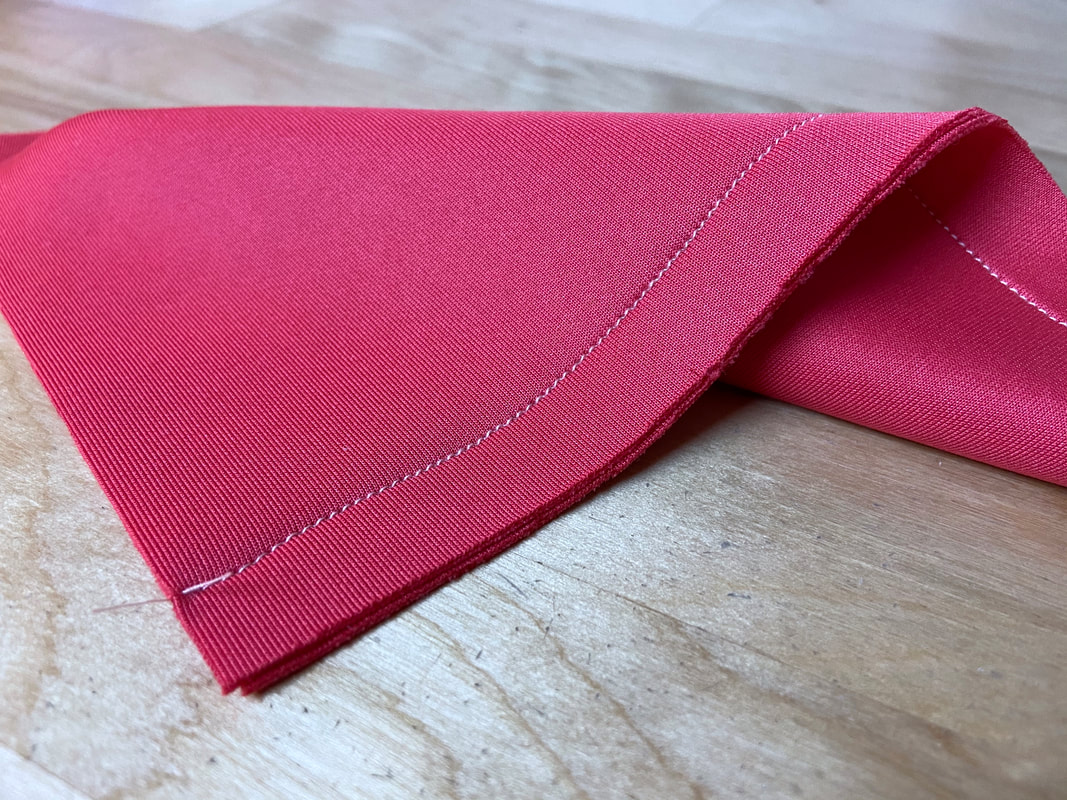
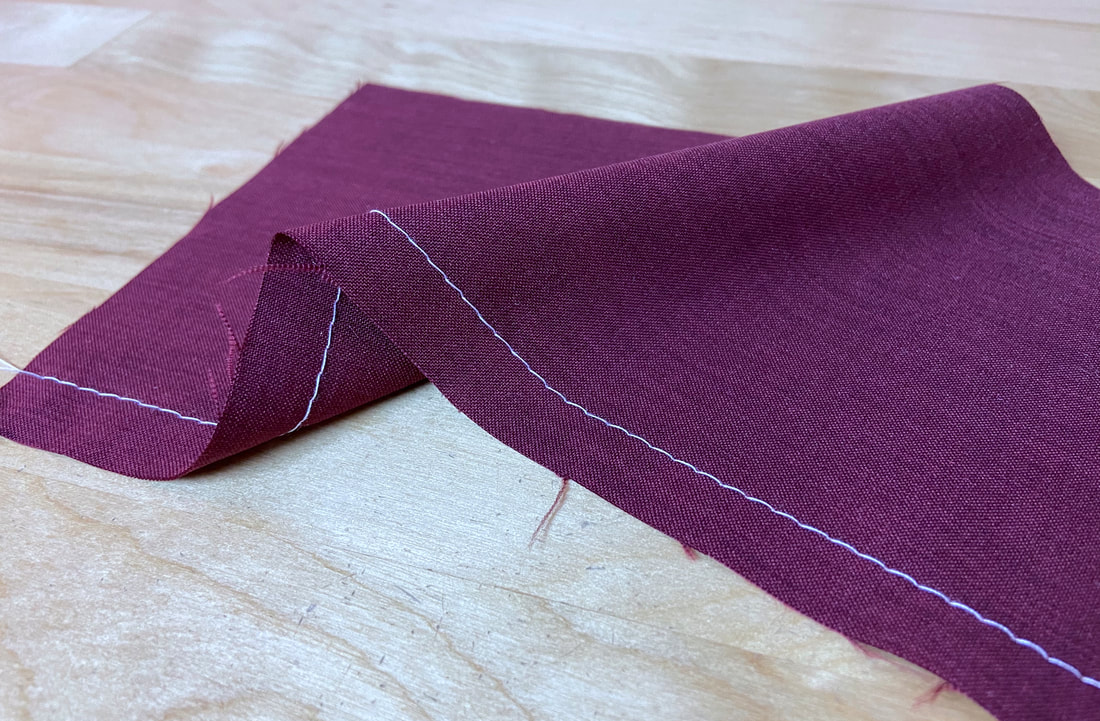
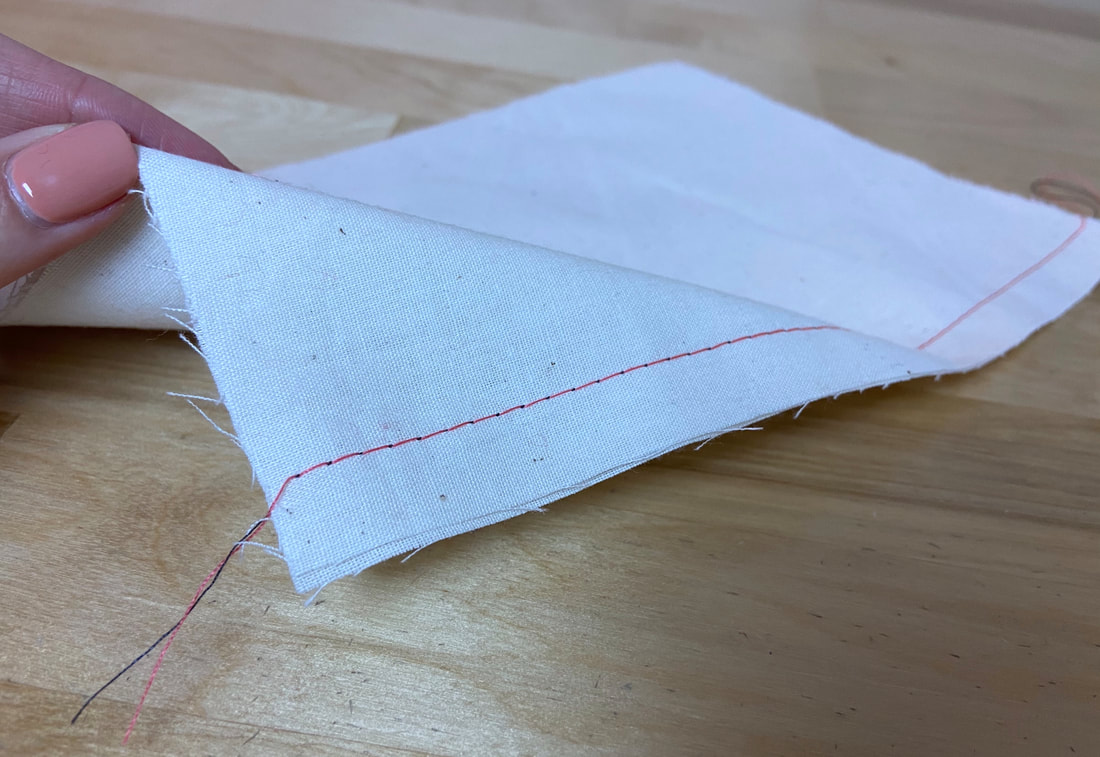
So what stitch length is applicable for most fabrics? Usually, 10-12 stitches per inch, as shown in the image above, should work well with most projects.
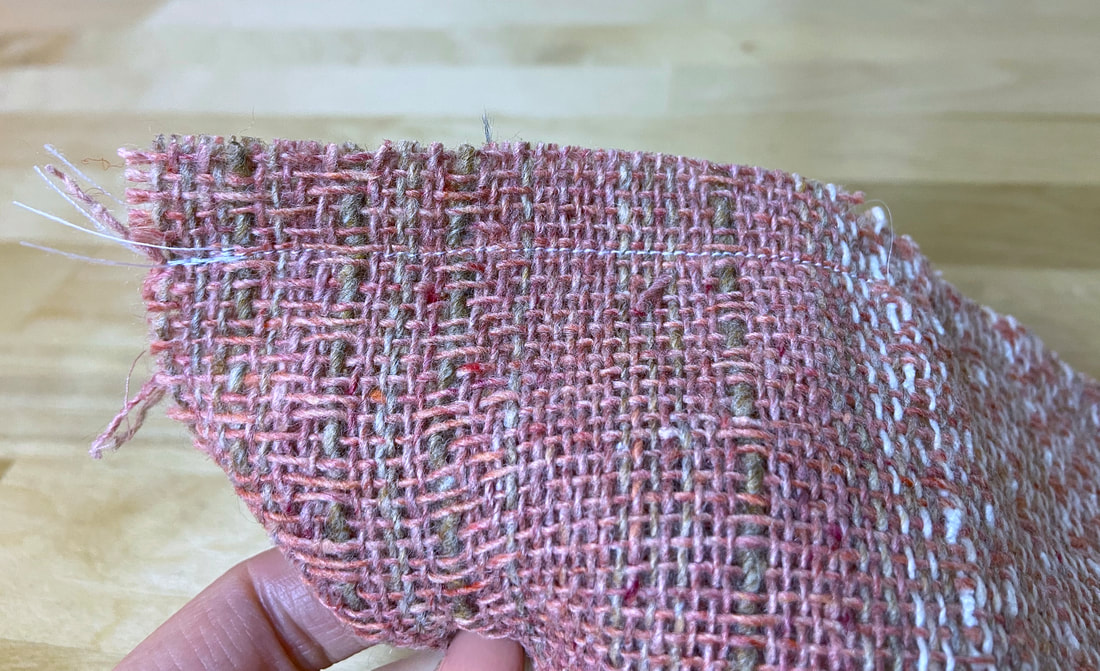
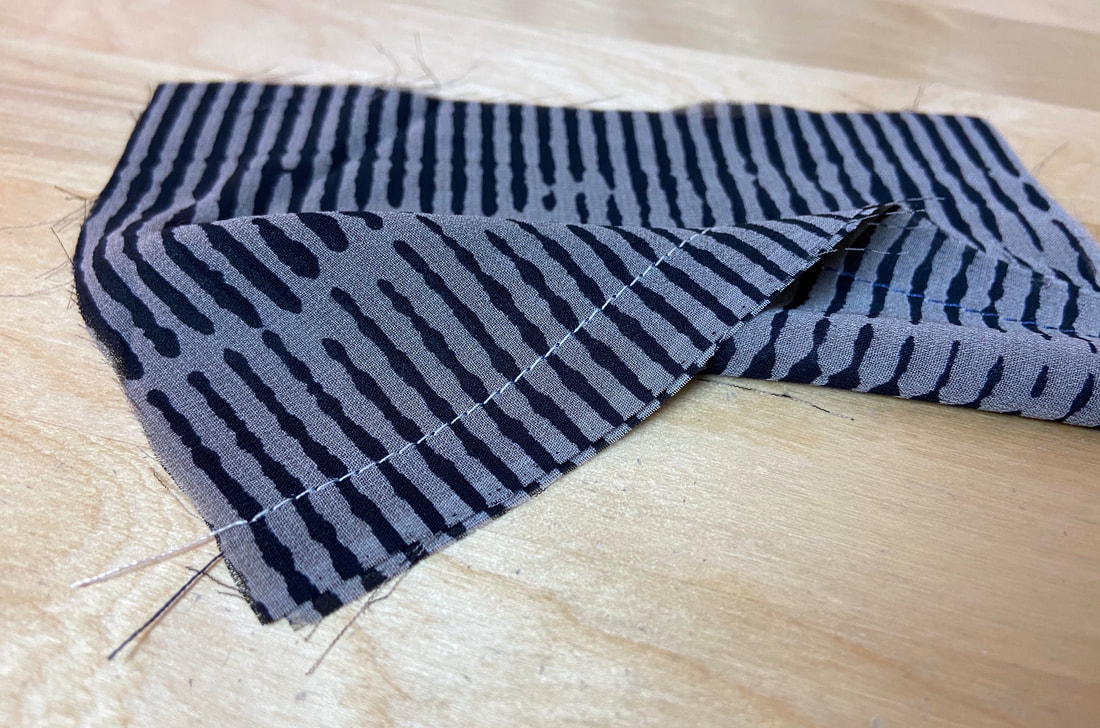
However, if your fabric is loosely woven, very thin and lightweight, you should use a shorter stitch length (12-16 stitches per inch) to increase durability and allow for more control during the stitching process.
A shorter stitch length should also be used with stretchy knits that are sewn using a straight stitch instead of a zigzag. For knits in particular, the shorter stitch should be used in tandem with slightly stretching the seam as the stitch is applied.
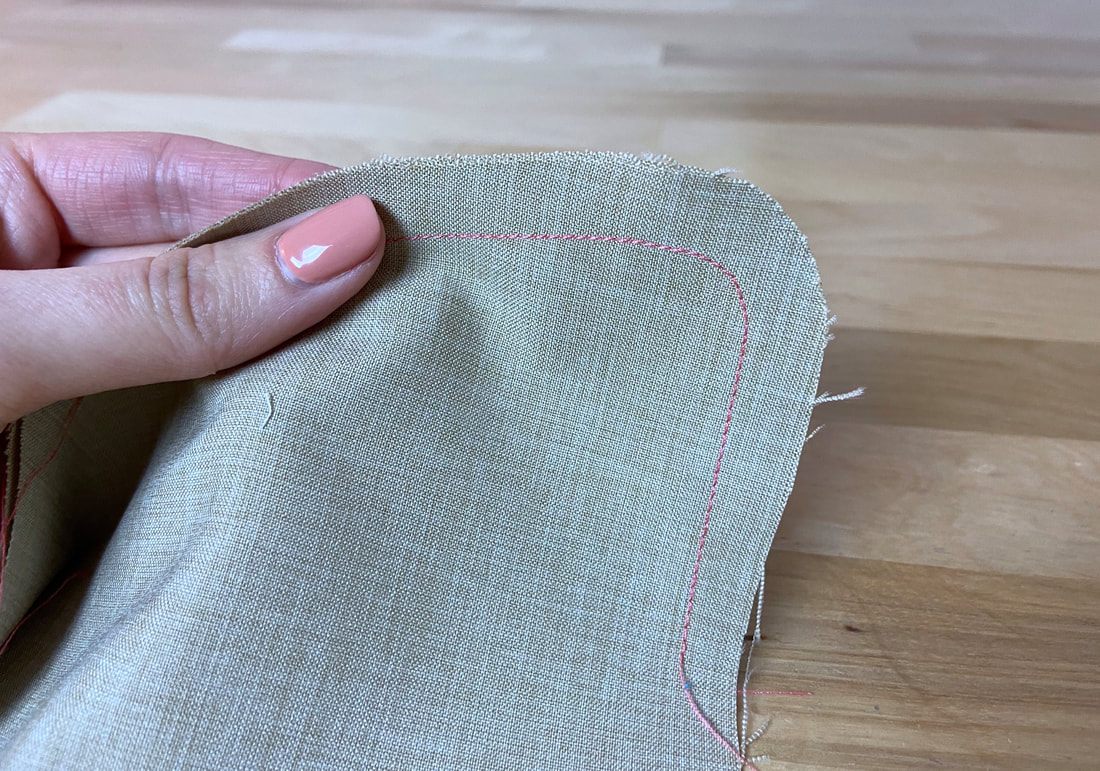
A shorter stitch also provides more comfort and control along curved seam edges.
Medium length stitches (10-12 stitches per inch) are considered standard, and work well with a variety of fabrics from light-to-medium weight, and even certain heavy fabrics.
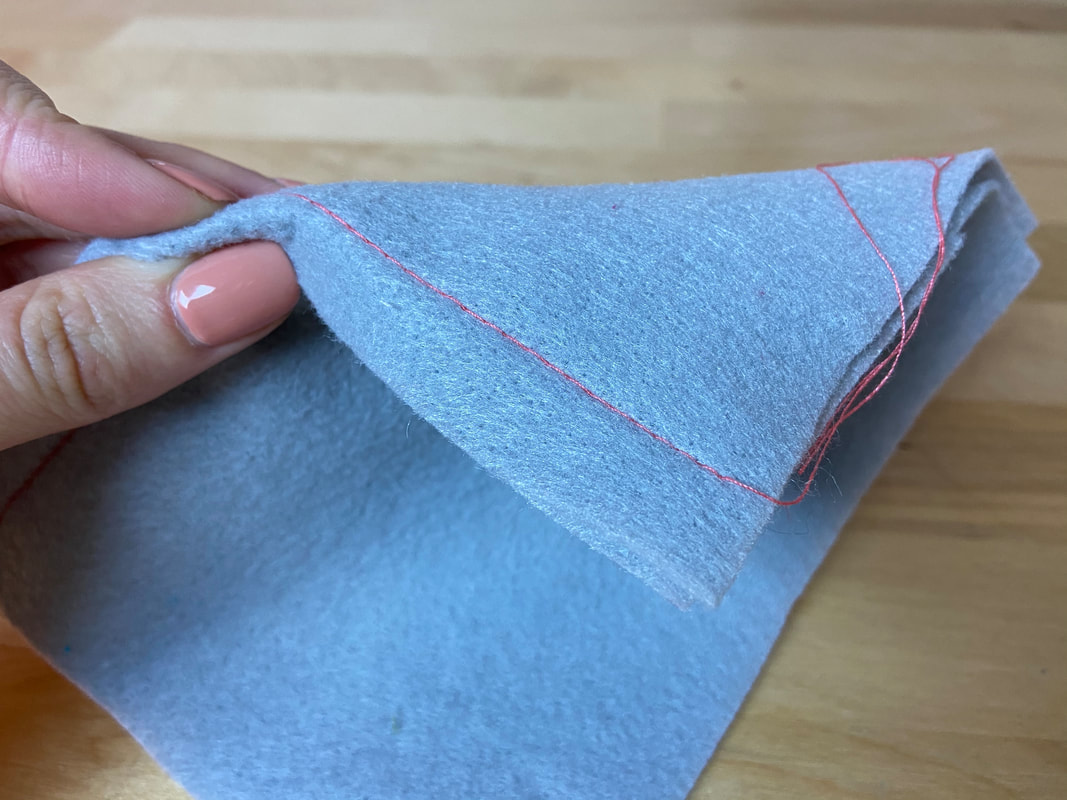
A longer stitch length (8-10 stitches per inch) is used to sew through thick fabrics and multiple fabric layers. A longer stitch is also most suitable for fabric structures that are easily damaged by needle marks, such as leather and vinyl.
The longest stitch length available on a sewing machine is considered a machine basting stitch. While machine basting can be used to sew through bulky, thick and textured layers, it is also utilized as a tool in the construction process.
A machine basting stitch can be used as a temporary way to keep edges together in the sewing process. This is often the case when sewing zippers and slot seams.
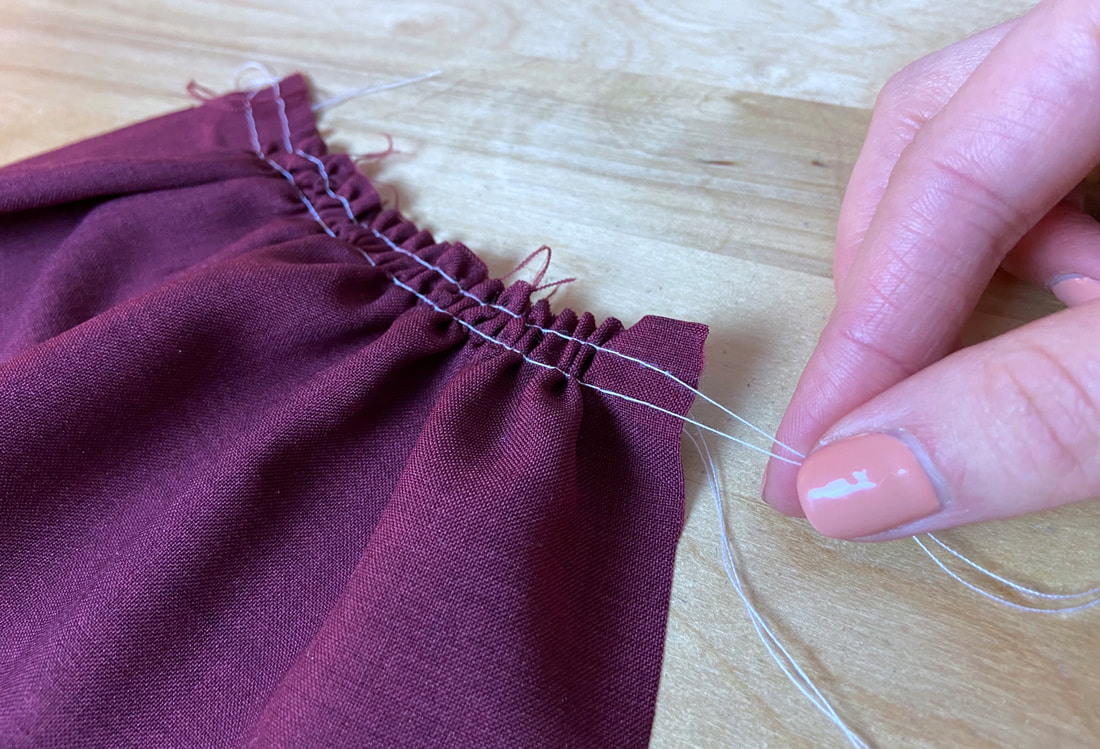
A basting stitch is also be used for gathering heavier, thicker fabrics since it allows the threads to be pulled much easier in the gathering process.
Below is a basic guide on stitch length based type of fabric, its thickness and structure:
Lightweight fabrics (both soft and structured): 10-16 stitches/inch
Examples: challis, organza, silk charmeuse, crepe de chine, lining, chiffon, voile.
Mediumweight fabrics (both soft and structured): 10-13 stitches/inch
Examples: chambray, crepe, corduroy, denim, faille, shantung.
Heavyweight soft fabrics:10-13 stitches/inch
Examples: terry cloth, fleece, wool coating, velour.
Heavyweight structured/crisp fabrics: 7- 12 stitches/inch
Examples: heavy coating, heavy tweeds, canvas, burlap, thick jacquards, double faced wools and acrylics, fur.
Understanding Sewing Machine Tension
Machine tension is another important aspect of sewing the perfect seam.
With today’s newer sewing machine models, you don’t have to worry much about adjusting tension manually. Most machines should now have automatic stitch tension controls which adjust tension based on how thick the fabric is, or the number of layers being fed under the presser foot.
Thread tension is not an easy concept for a sewing beginner to understand. Needless to say, almost all beginners have dealt with a frustrating tension issue at some point or another.
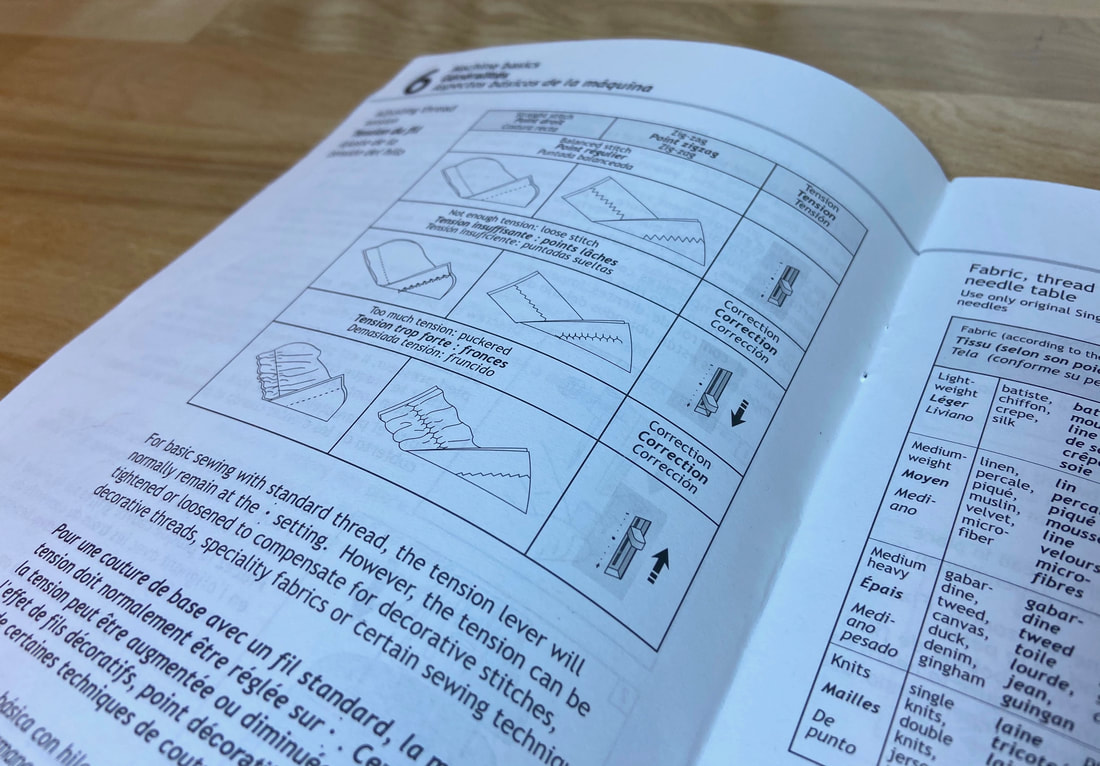
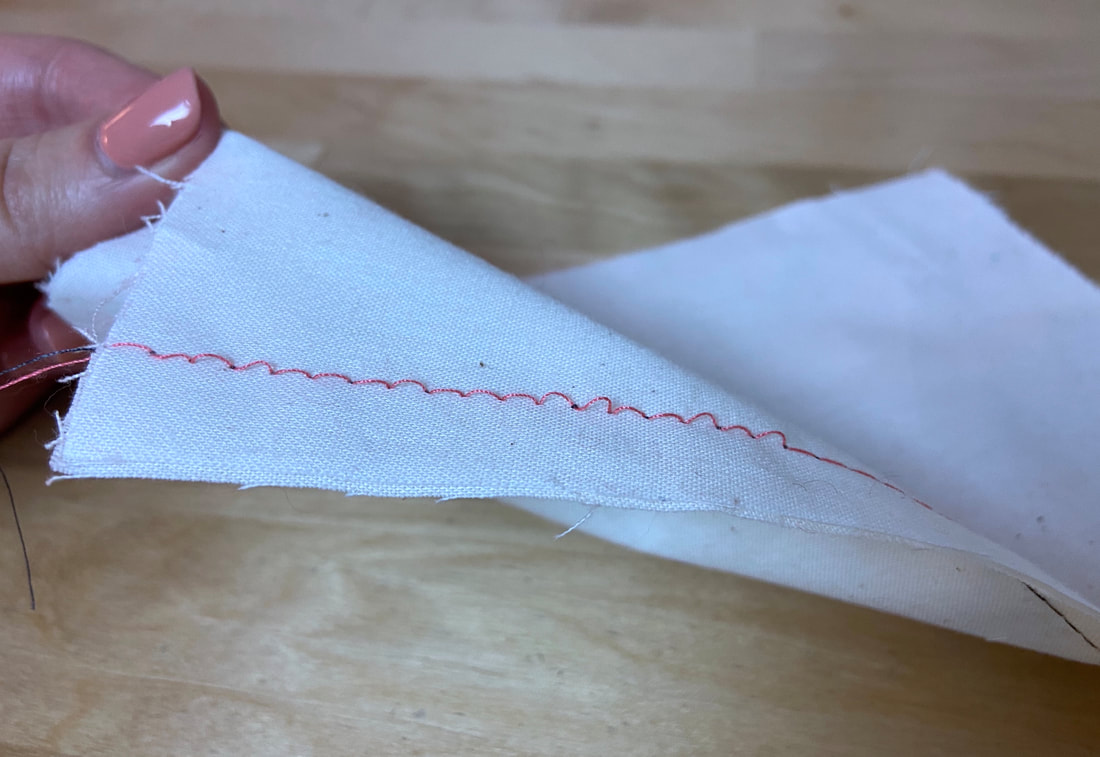
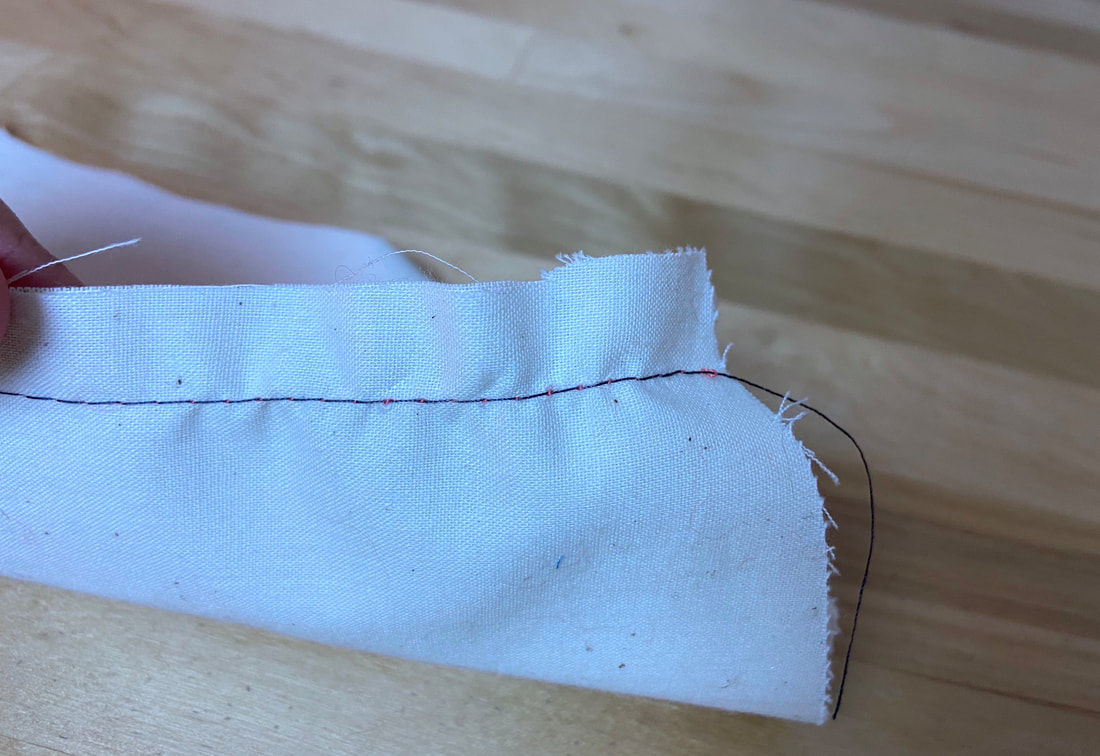
You can recognize a tension issue in your stitch when the stitching creates visible strain and pulling in the seam, or vice versa, when the stitch is too loose and doesn’t lay flat against the fabric surface.
Before you start messing with the tension button, review your machine’s manual. Tension is usually lowered on thicker fabrics and increased on lightweight ones.
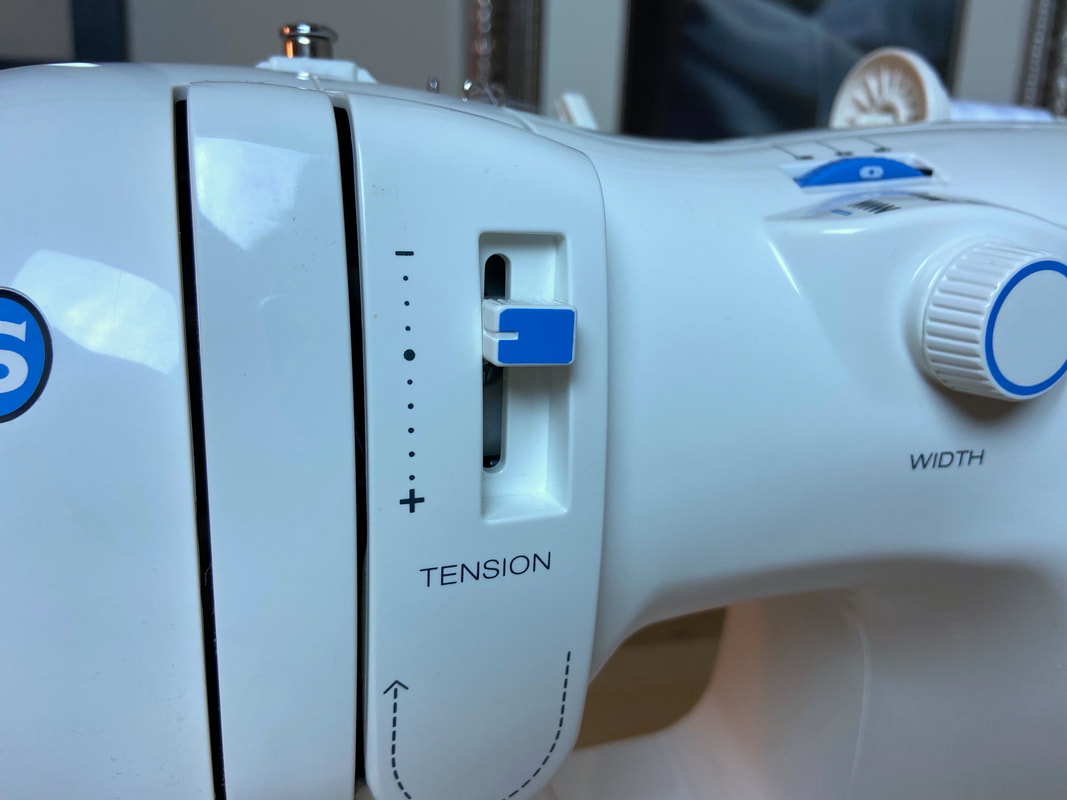
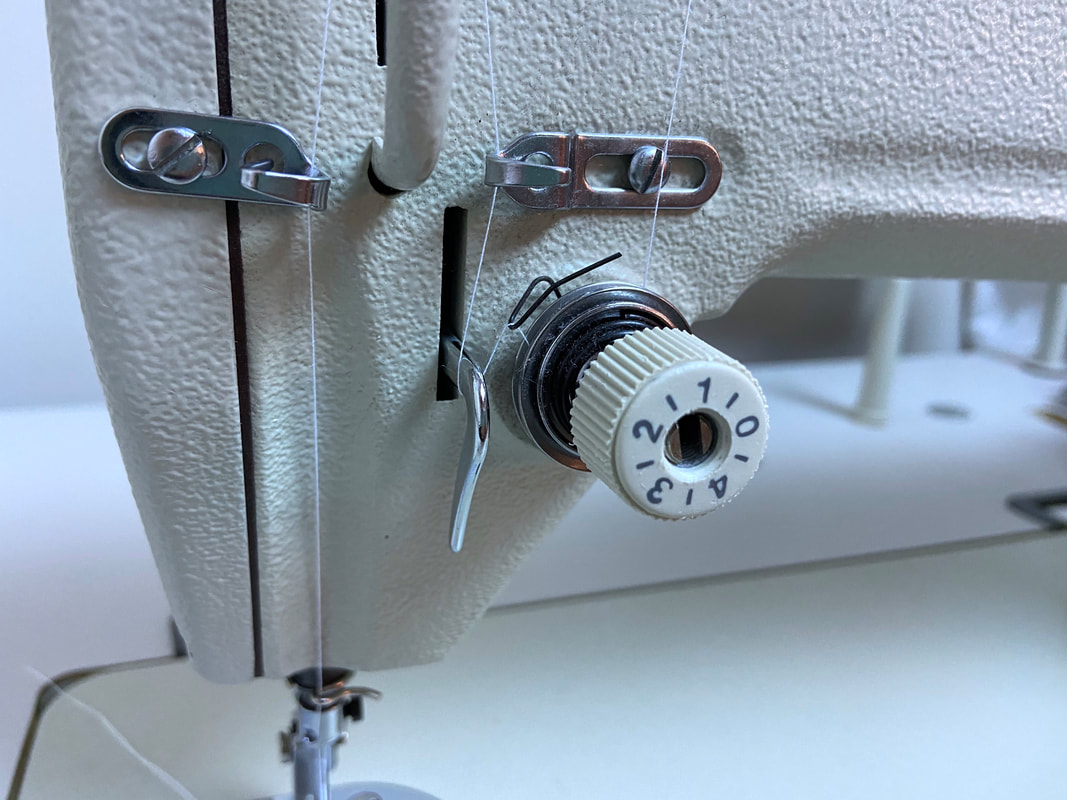
All sewing machines have an upper thread tension control which feeds the upper thread through two tension discs. When tension is increased, the discs are closer together. When decreased, they are further apart.
The control dial marked with a range of numbers is used to make adjustments to these tension discs.
Keep in mind that when adjusting upper thread tension using the numbered dial, the machine should be threaded and the presser foot should be down. Tension disks remain open when the presser foot is up. To perform proper tension adjustments, the disks should be closed.
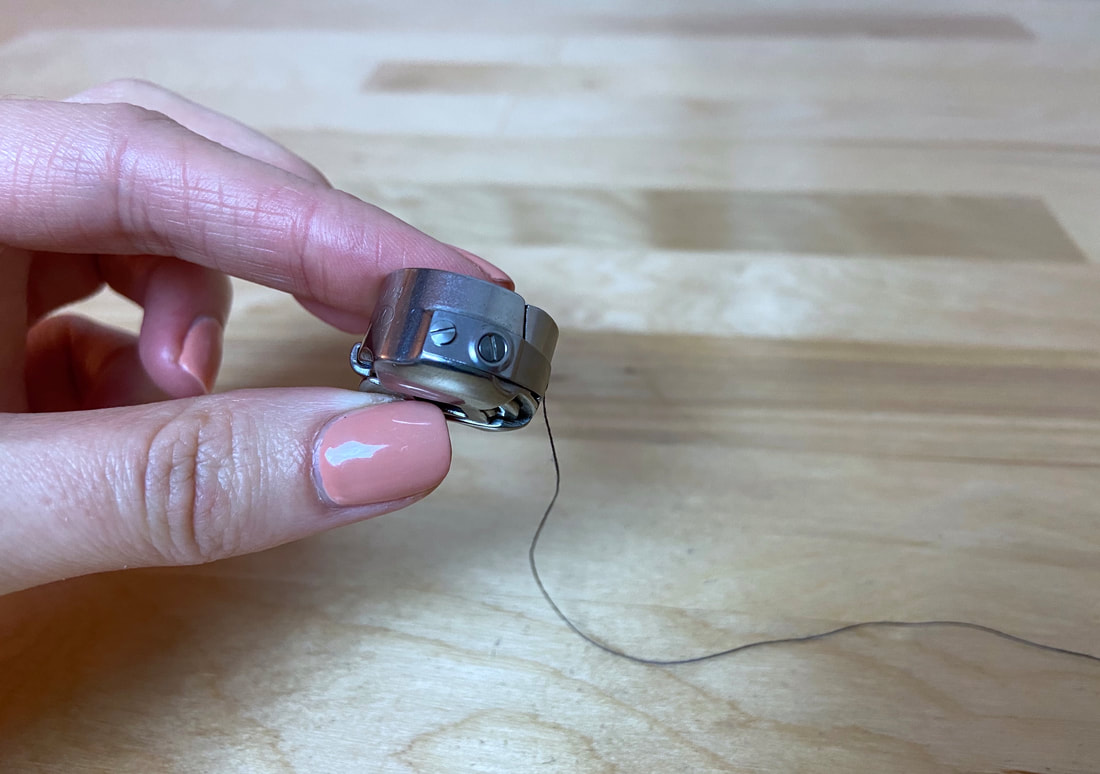
Most sewing machines also have a bobbin tension adjustment. On both built-in bobbin cases as well as removable ones, there should be a little tension screw used to adjust bottom thread tension.
The screw is tightened clockwise to increase tension and loosened counterclockwise to decrease tension. The bobbin case should always be threaded when its tension is adjusted.
The good news is, you will rarely have to adjust bobbin tension. Adjusting just the upper thread tension by turning the readily available dial, will fix most stitch tension issues.
Recognize Tension Issues In A Stitch
In general terms, when tension is too tight (lower number) the stitch will hold a lot of stress, puckering and preventing the seam from laying flat. Vice versa, when the tension is weak (higher number on tension dial), the stitching will appear to be loose and the individual stitches will not lay flat against the fabric surface.
To understand the steps necessary to fix a unique thread tension issues, you must analyze the stitching itself. In particular, look at the links between the bobbing thread and the top thread.
In a perfectly balanced stitch, you should not be able to easily spot the stitch links since they are located right between the two fabric layers comprising the seam. The stitch will look flat and smooth on both sides.
If the links are pulled to the top fabric layer as you stitch, the top thread tension is too tight or the bobbin tension is too loose.
The fix: Switch the top thread tension to a higher number on the tension dial. Stitch again, if this adjustment doesn’t fix it, the bobbin tension will need to be increased by turning the small bobbin screw clockwise.
If the links are pulled towards the bottom fabric layer (underside of the stitch), the top thread tension is too loose or the bobbin tension is too tight.
The fix: Increasing the top thread tension to a higher number should fix the issue. If it does not, the bobbin thread tension will need to be released by turning the screw counterclockwise.
Unless you have years of experience, you may not 100% know how a fabric or a seam will react to a specific stitch length or tension setting. It is always a good idea to pre-test a scrap of the same fabric until you find the perfect combination. When pre-testing tension, make sure you use the same amount of fabric layers and the same alignment as you would in the final seam.

