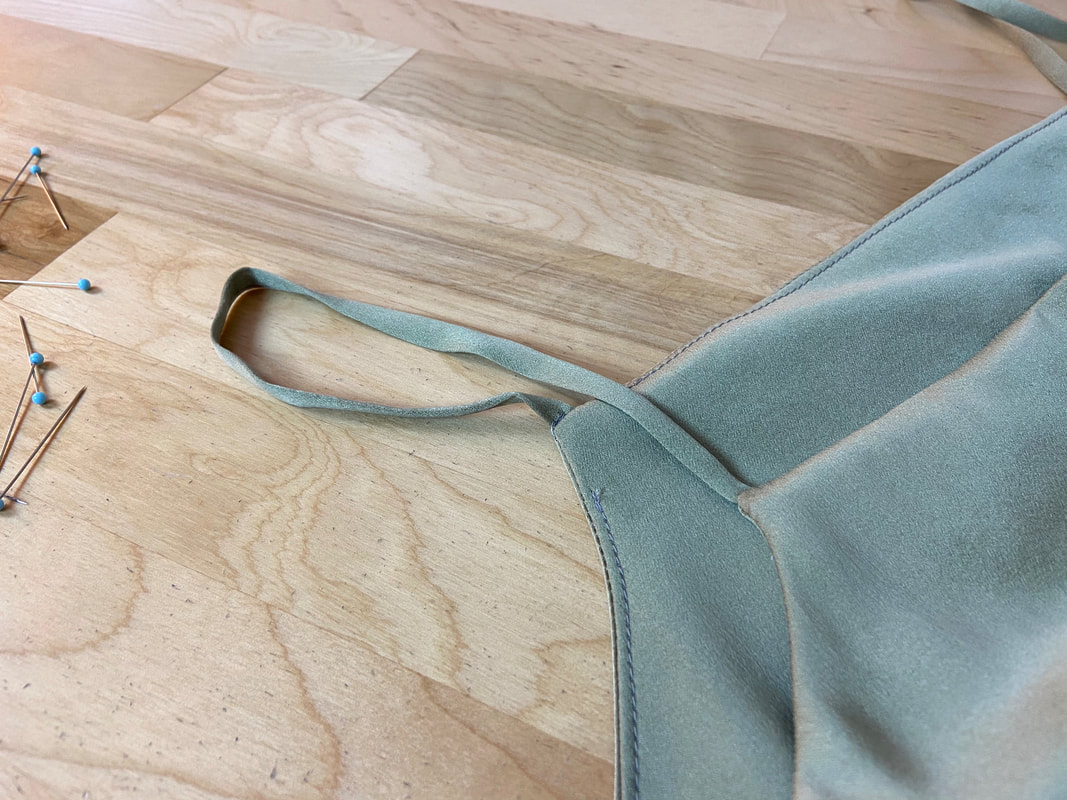
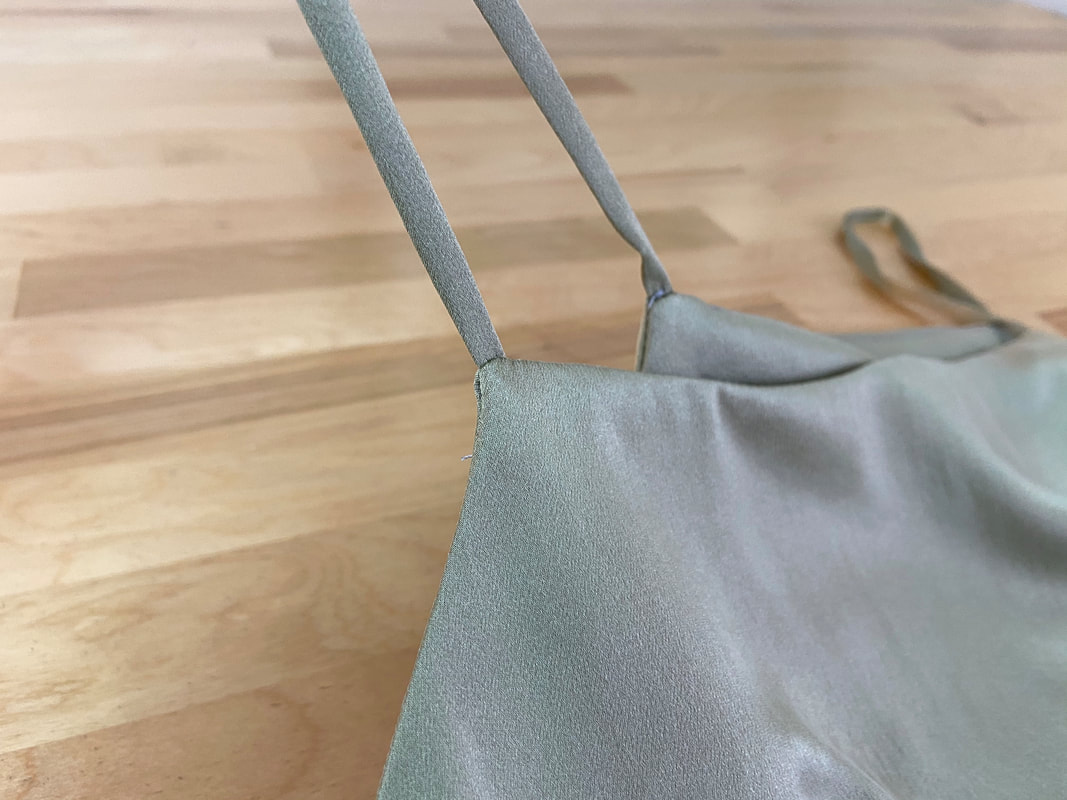
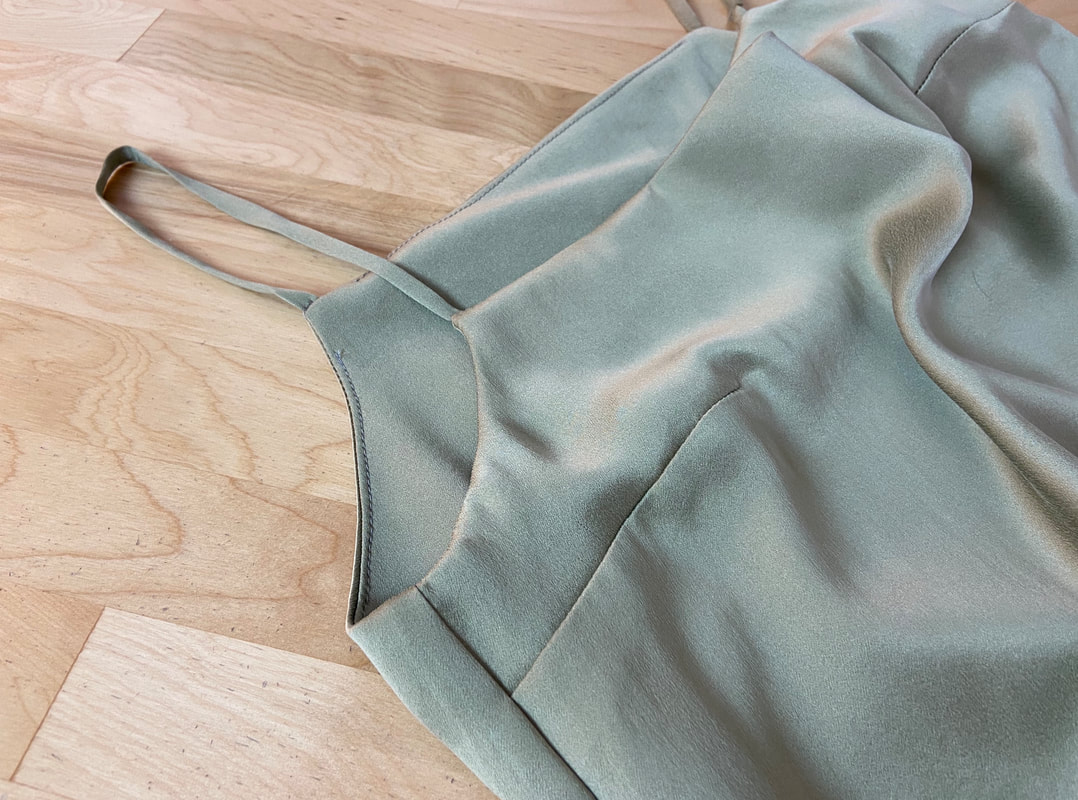
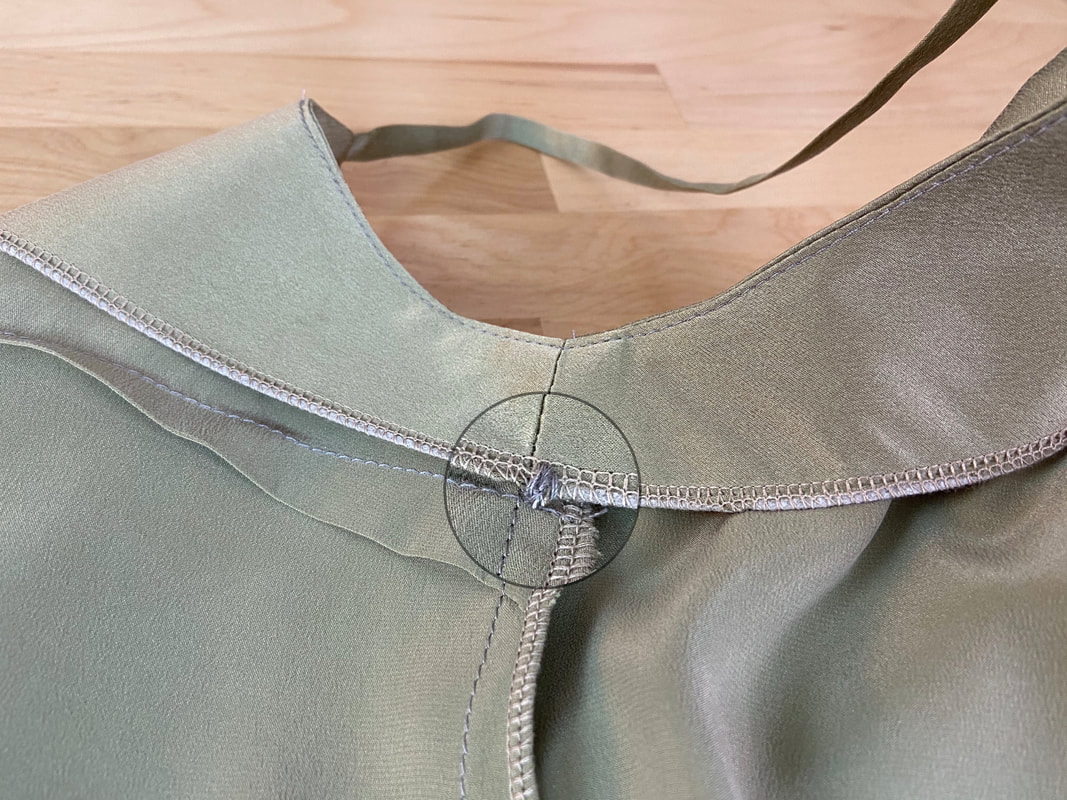
In this tutorial, you will learn how to sew the most common of all spaghetti strap styles. As opposed to the binding shortcut outlined in this previous tutorial: Sewing Bound Spaghetti Straps, today’s classic construction technique entails the spaghetti straps being sewn individually and then attached to the corresponding front and back neckline edges by means of a facing or lining.
This conventional method provides a finish that is clean, professional, and higher-quality than the bound application noted above.
The most conventional way to construct the individual spaghetti straps is by using a cording technique. With this technique, all fabric raw edges are fully enclosed, and no topstitching is visible on the straps' face side.
Unless the spaghetti straps are unusually wide, your pattern set will most likely not provide the strap pattern(s). When sewing thin spaghetti straps, you really don’t need patterns. Similar to making your own bias binding, the fabric strips used in the strap construction are easy to measure, cut and ultimately, sew.
Naturally, the thinner the initial fabric strip, the thinner the resulting spaghetti straps will be. In the example below, you’ll learn a clever way to make very thin (1/4”) spaghetti straps in just a few simple steps. You can use the same logic (and construction steps) to sew thicker straps as needed.
In terms of spaghetti strap width, the general rule is that lightweight, thin fabrics work well with both narrow and wide straps. However, a heavy, thick fabric works well with a wide strap but not a very narrow one.
If working from a pattern set, you should be given the precise measurements (both width and length) for the final spaghetti straps. You can also use these specifications to choose the appropriate fabric for your project.
Most spaghetti straps are connected to the neckline edge at the location where the neckline meets the armhole edge. Both the armhole and neck edges are then clean-finished with either a full lining, all-in-one/bias facing, and in some cases, bias binding.
The individual spaghetti straps are always stitched to the garment first before the neckline and armhole edges are enclosed within a facing or lining. In this example, the garment’s neck and armhole edges are finished with an all-in-one facing. A simple outline of the consecutive sewing steps is as follows:
1. Sew the individual spaghetti straps.
2. Sew the spaghetti straps to the front and back neckline edge at each corresponding location.
3. Complete the separate all-in-one facing.
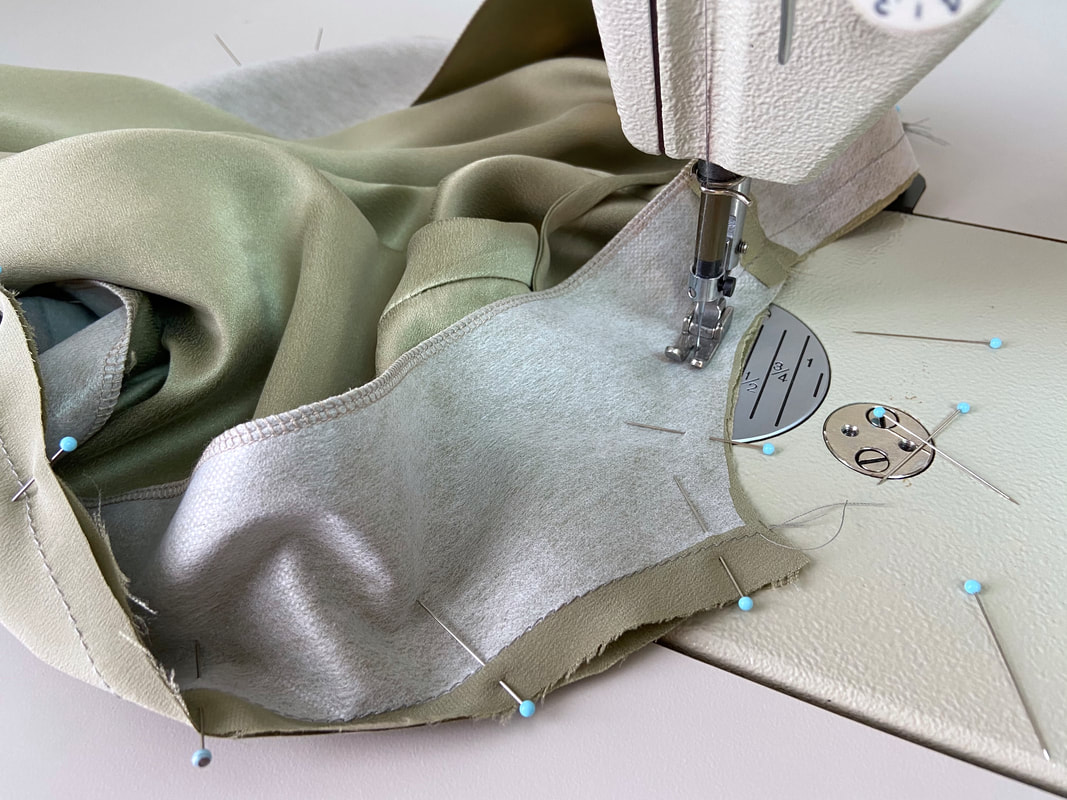
4. Sew the all-in-one facing to the neck and armhole edges, enclosing the spaghetti strap ends between the two fabric layers (facing and garment).
2. Sew the spaghetti straps to the front and back neckline edge at each corresponding location.
3. Complete the separate all-in-one facing.
4. Sew the all-in-one facing to the neck and armhole edges, enclosing the spaghetti strap ends between the two fabric layers (facing and garment).
Let’s get started with sewing the separate spaghetti straps first.
How To Construct The Individual Spaghetti Straps
In this tutorial, the final spaghetti straps are ¼” wide and 10.5” long. The initial fabric strip should be cut about 2-3” longer than the needed length (10.5”). The spaghetti straps will be trimmed to the final length in the sewing process outlined below.
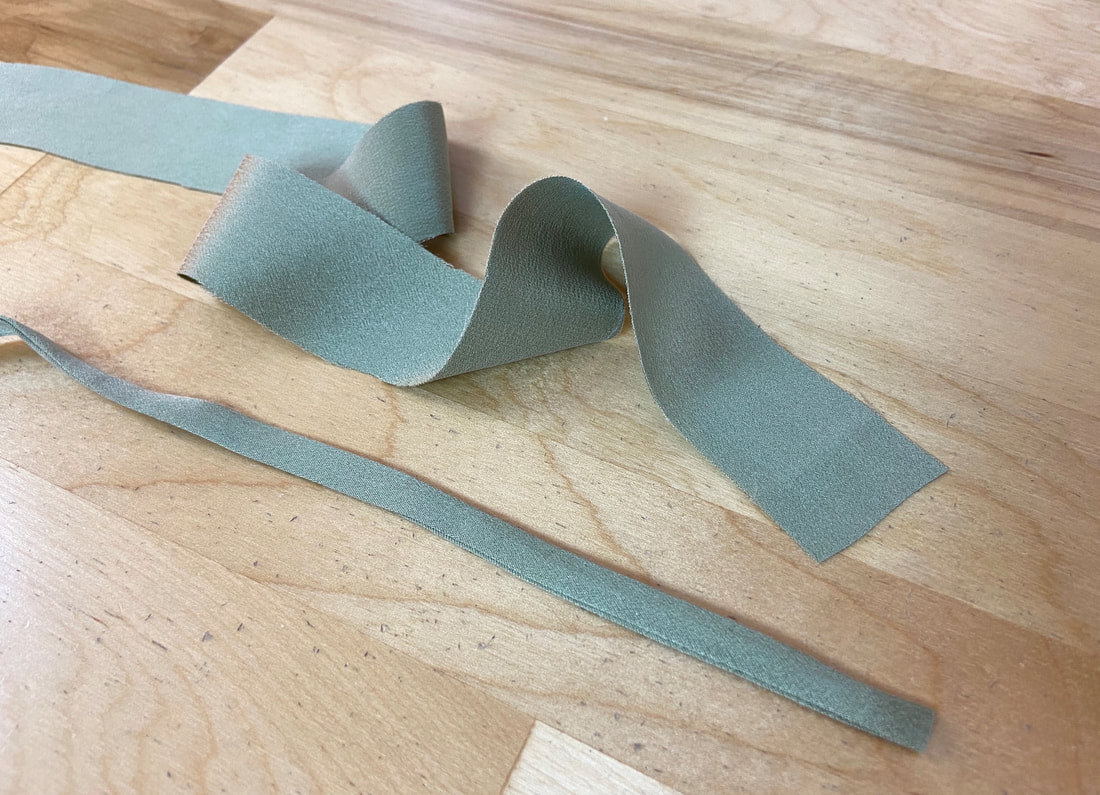
To construct spaghetti straps that are ¼” wide, you’ll need a fabric strip that is 1” wide. ½” of this width accounts for the spaghetti strap body while the other ½” accounts of a ¼” seam allowance along each lengthwise edge.
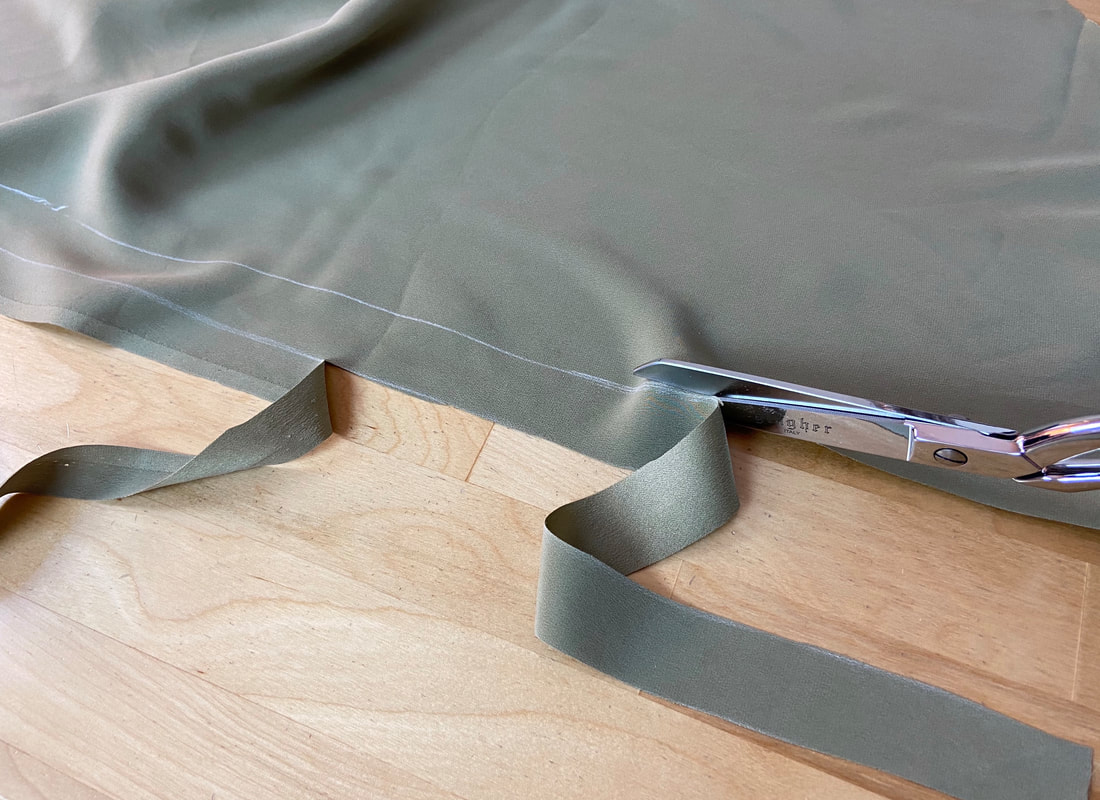
1. Draw the 1” fabric strip parallel to the selvage edge as shown. Make sure the strip is long enough to account for the spaghetti strap length and at least an additional 2”. In this case, two 1” fabric strips are cut at approximately 14” in length. Cut the fabric strip down the marked lines.
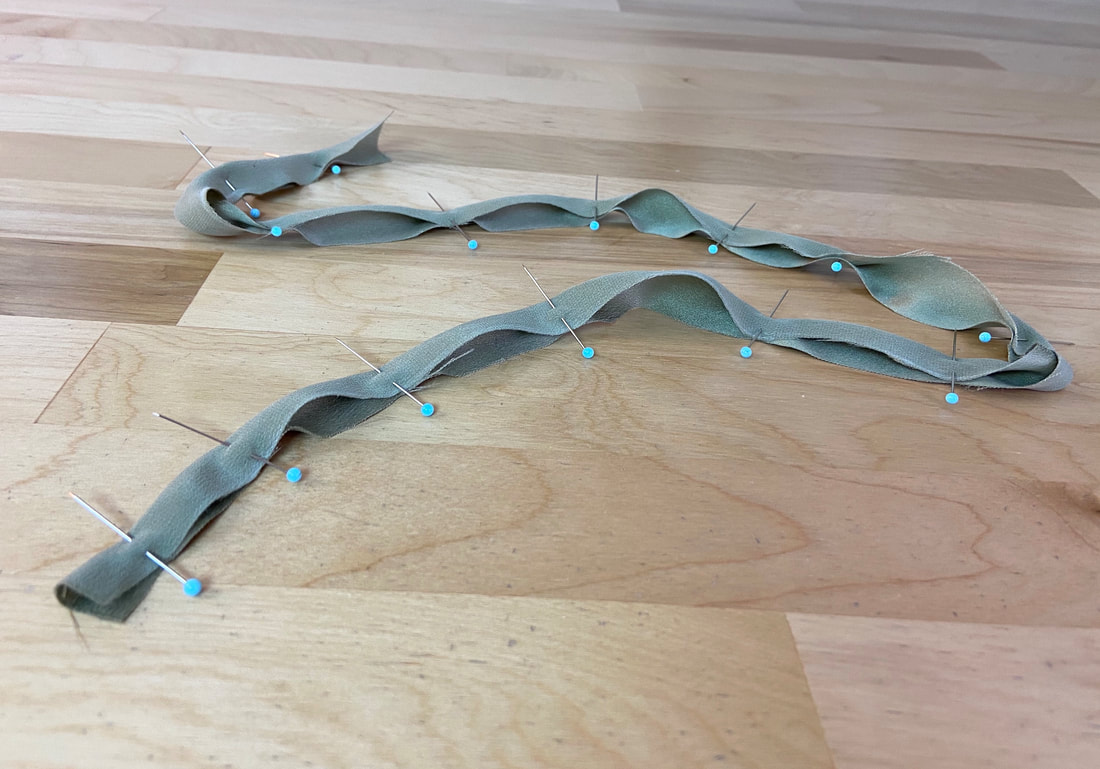
2. Fold each fabric strip lengthwise down the center with fabric face sides touching, and insert pins perpendicular to the edges as shown.
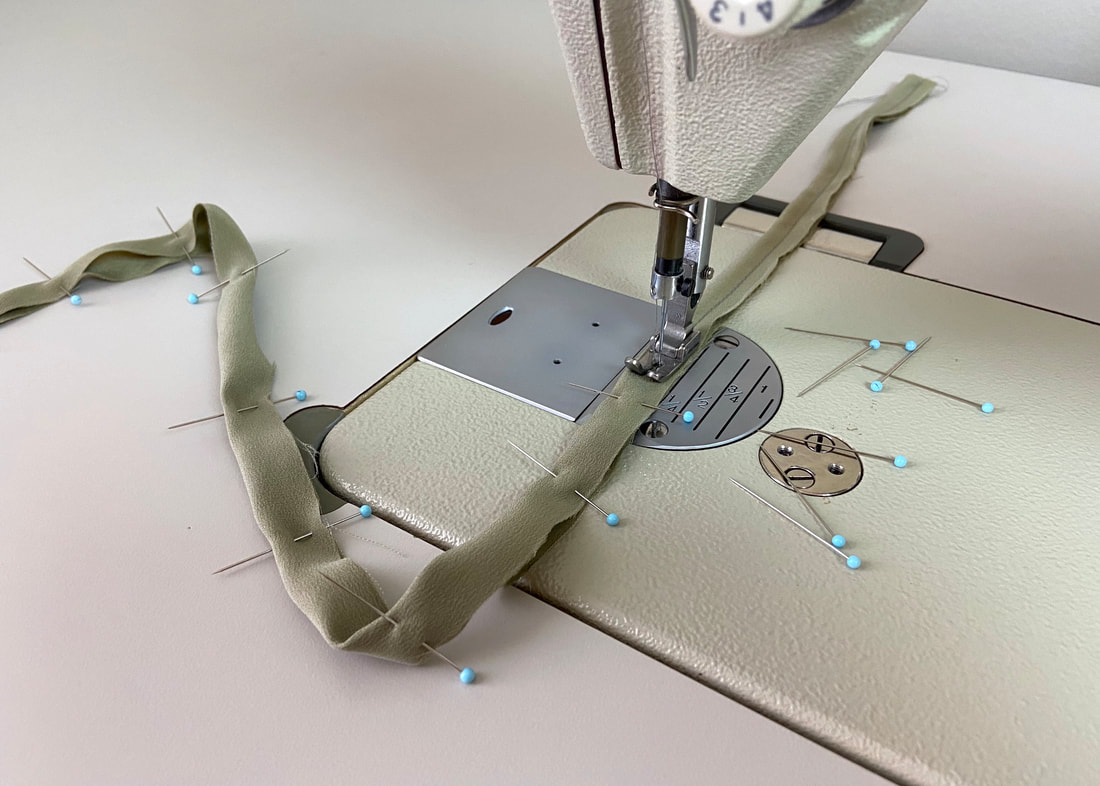
3. Stitch the edges together at 1/4” seam allowance.
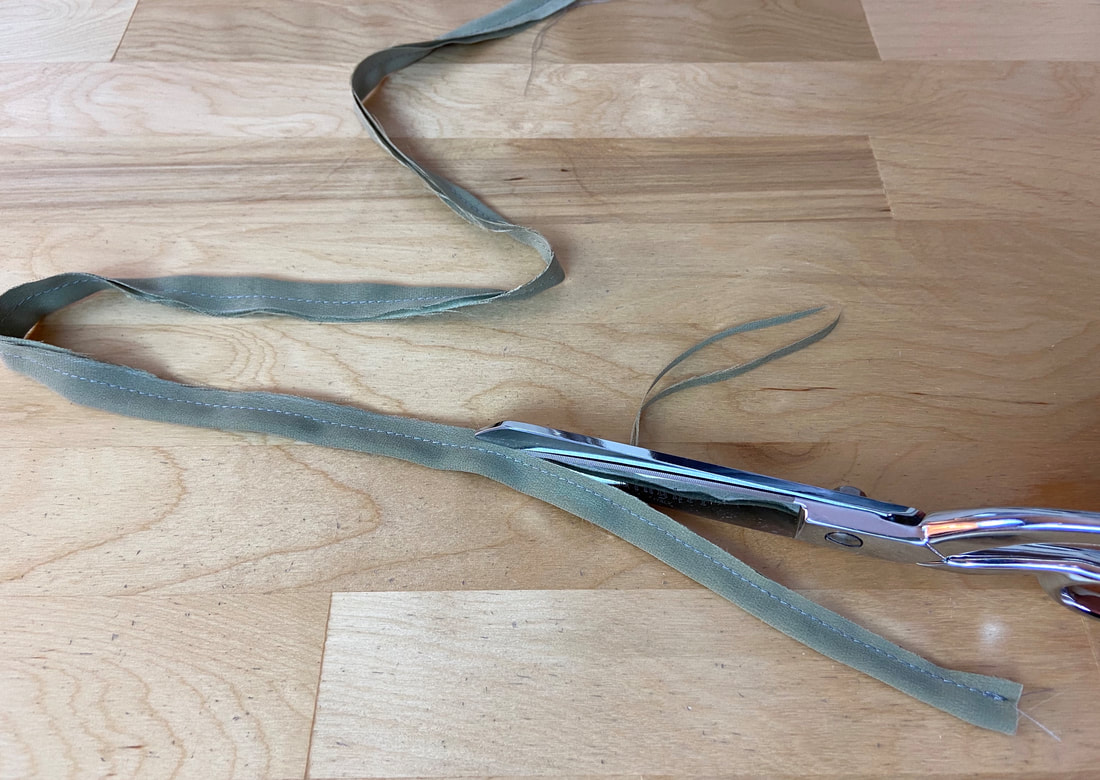
4. Trim the seam allowance down to about half its width to minimize bulk.
Now for the fun part- turning the cording on its face side:
Since the spaghetti straps in this case are quite thin, we’ll use a bodkin to pull one end of the cording through to the other side- this will turn the entire strap on its face side.
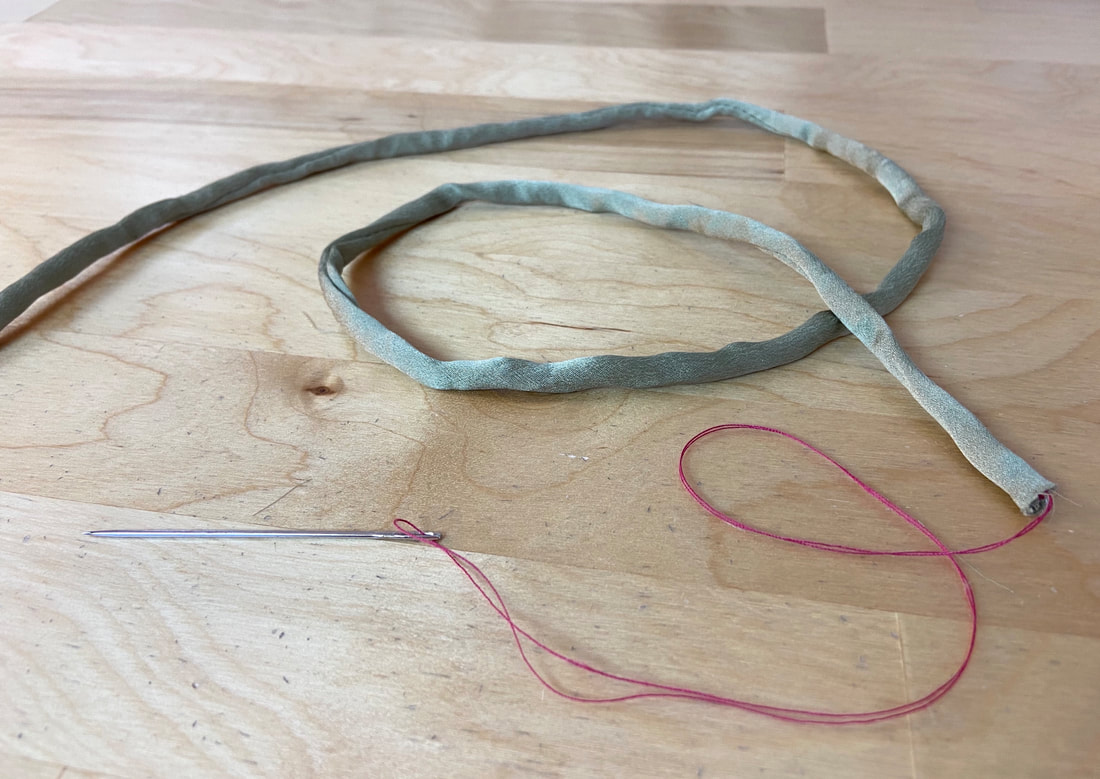
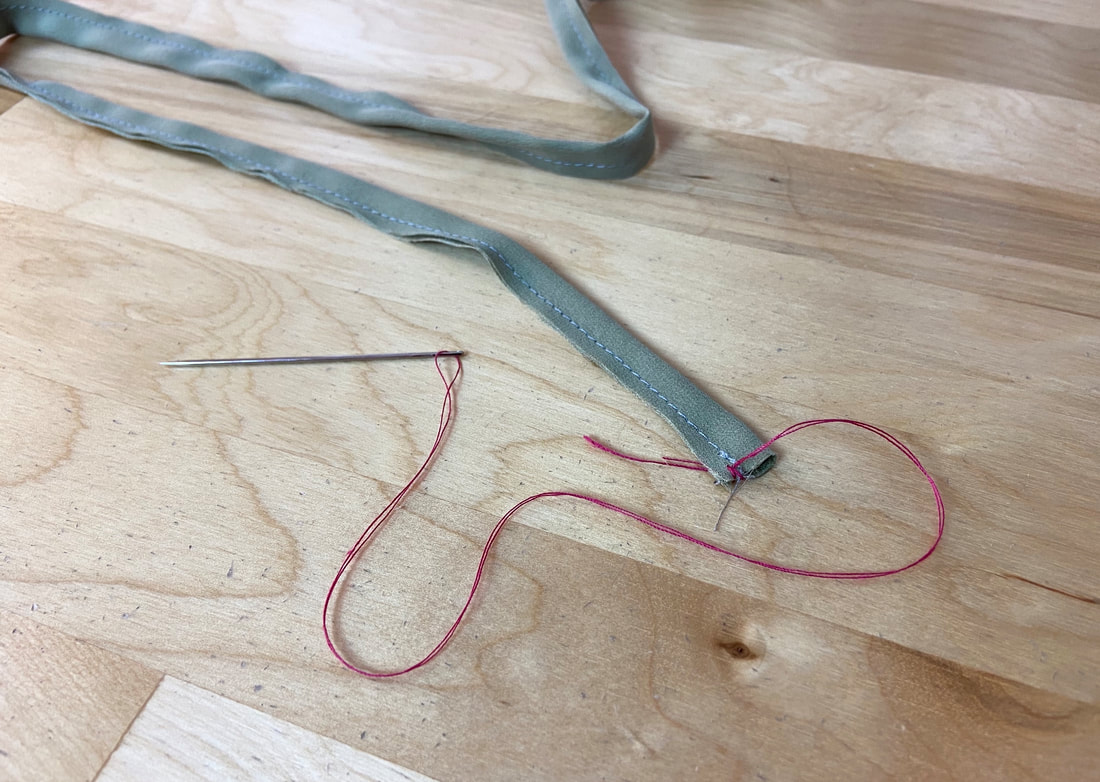
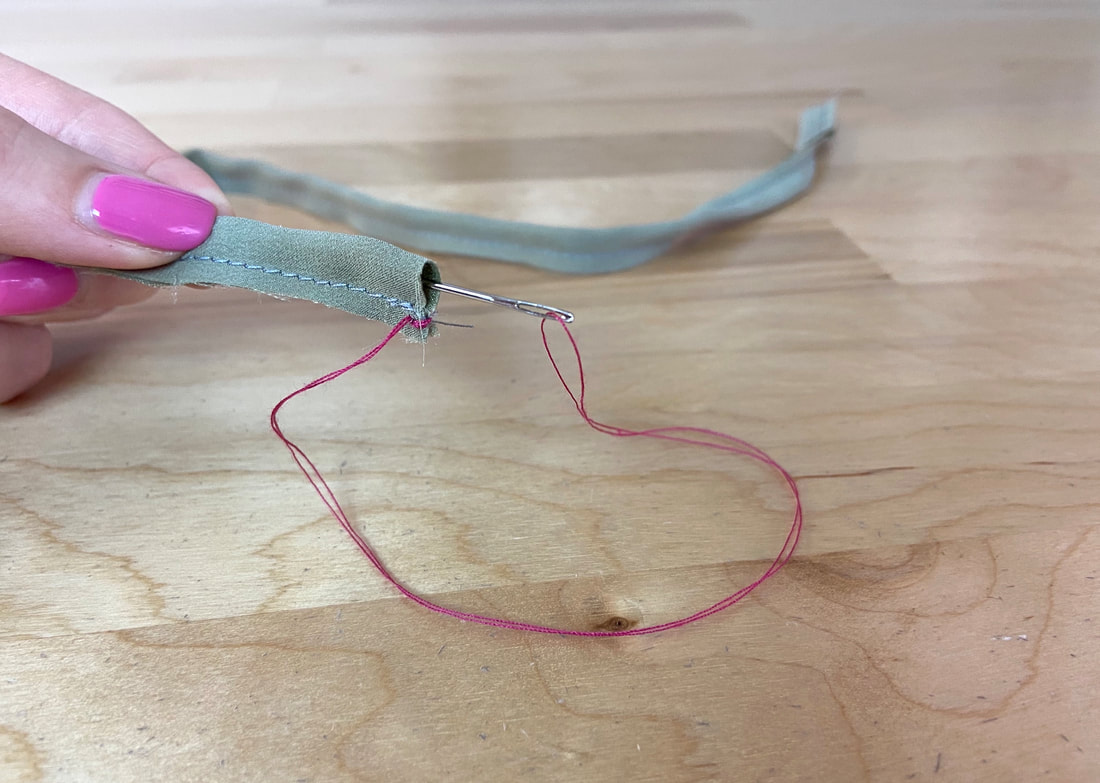
5. Thread a bodkin and stitch in place a few times at one end of the cording as shown.
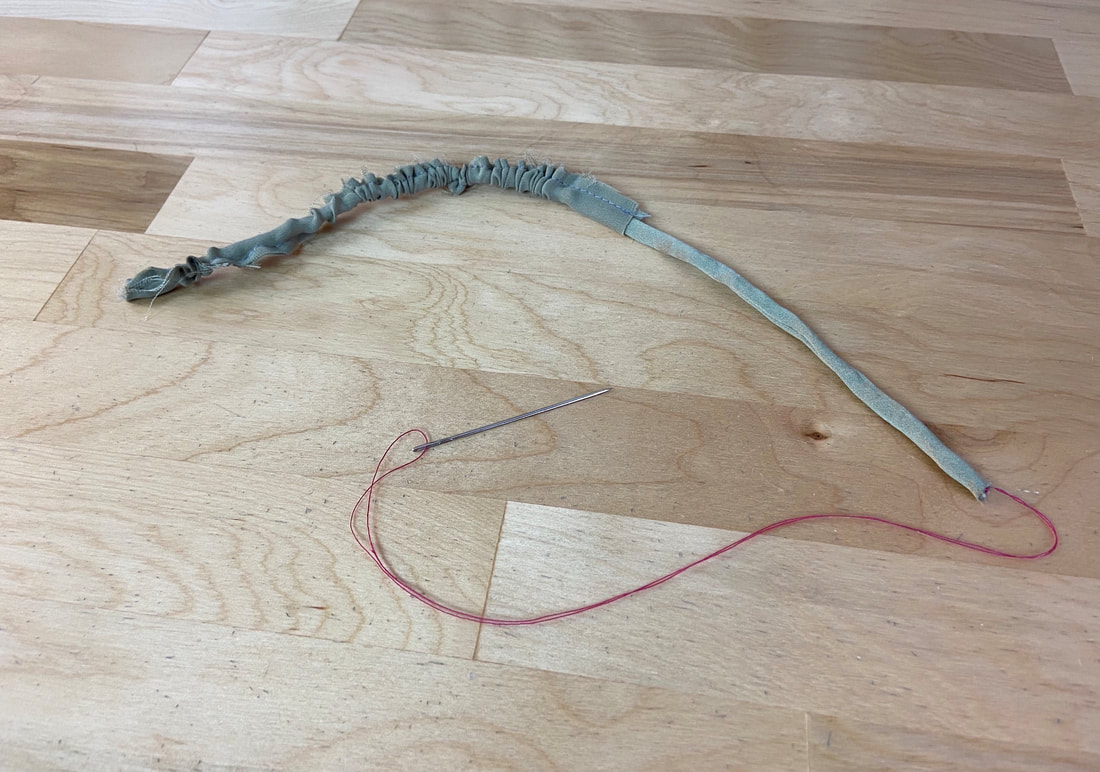
6. Next, pull the bodkin through the tubular strip until you arrive at the other end. Pull the bodkin out through the other end while gently pulling the body of the cording to its face side. This self-enclosed cording will serve as your final spaghetti straps. All you have to do now is iron and trim them to length.
Note: If your spaghetti straps are wider (1/2”, for example) you can use a safety pin instead of a bodkin to turn the strap on its right side.
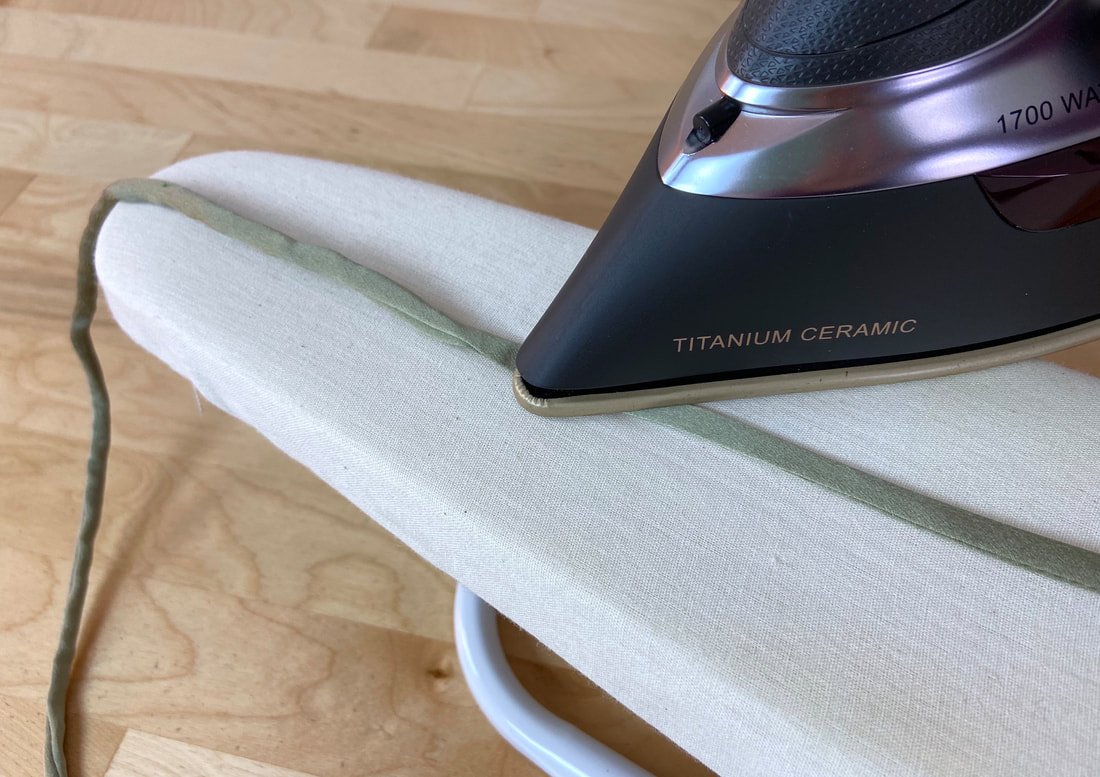
7. Iron the finished spaghetti strap with the seamline aligned to the side (as shown) or down its center.
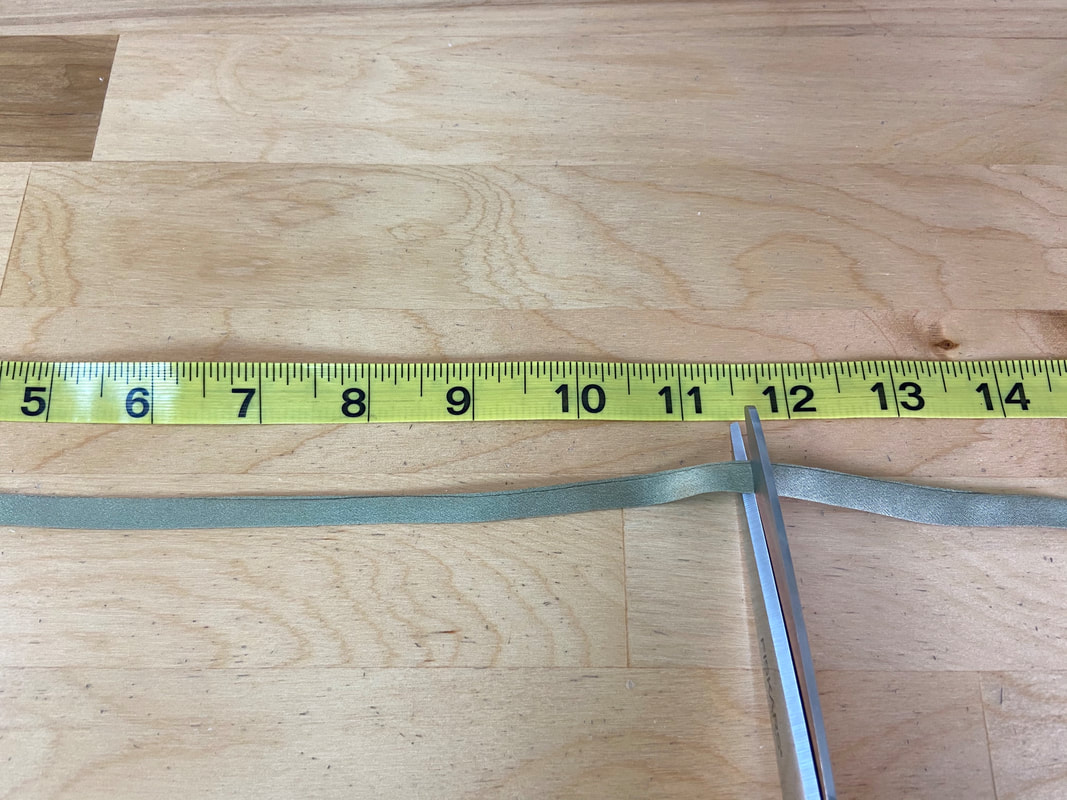
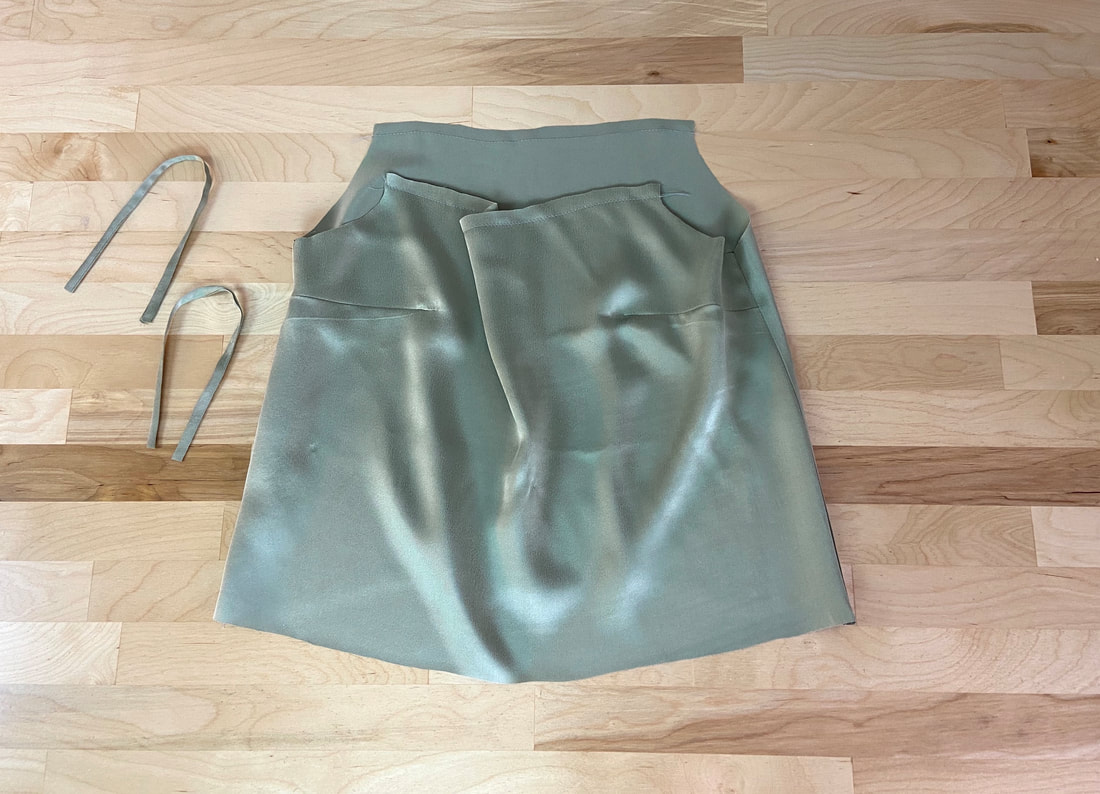
8. Next, trim the spaghetti straps to the required length plus seam allowances. In this tutorial, the finished spaghetti strap will measure 10.5” in length. ½” seam allowance is added on both ends of each spaghetti strap; thus, the two cording pieces are trimmed to 11.5” each.
Attaching The Finished Spaghetti Straps To The Garment Neckline
1. To start with, sew and finish the garment side seams. Don’t forget to also staystitch the curved neckline edges, especially if working with fabrics that are prone to stretching and destabilizing.
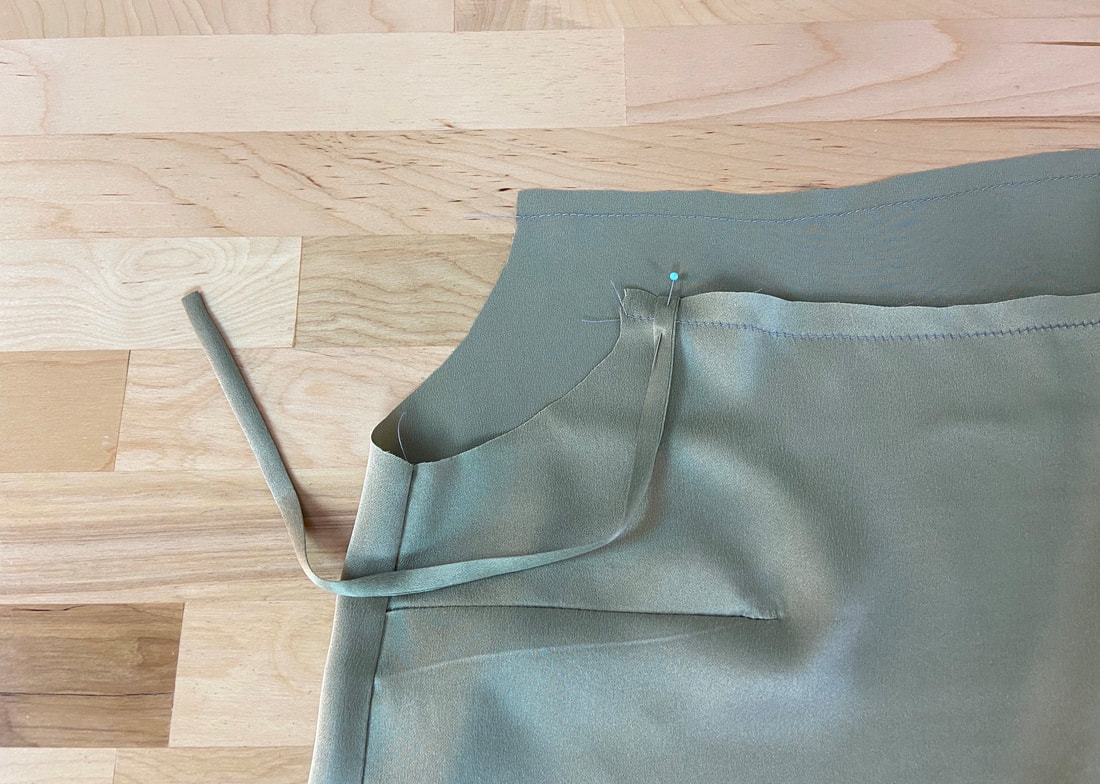
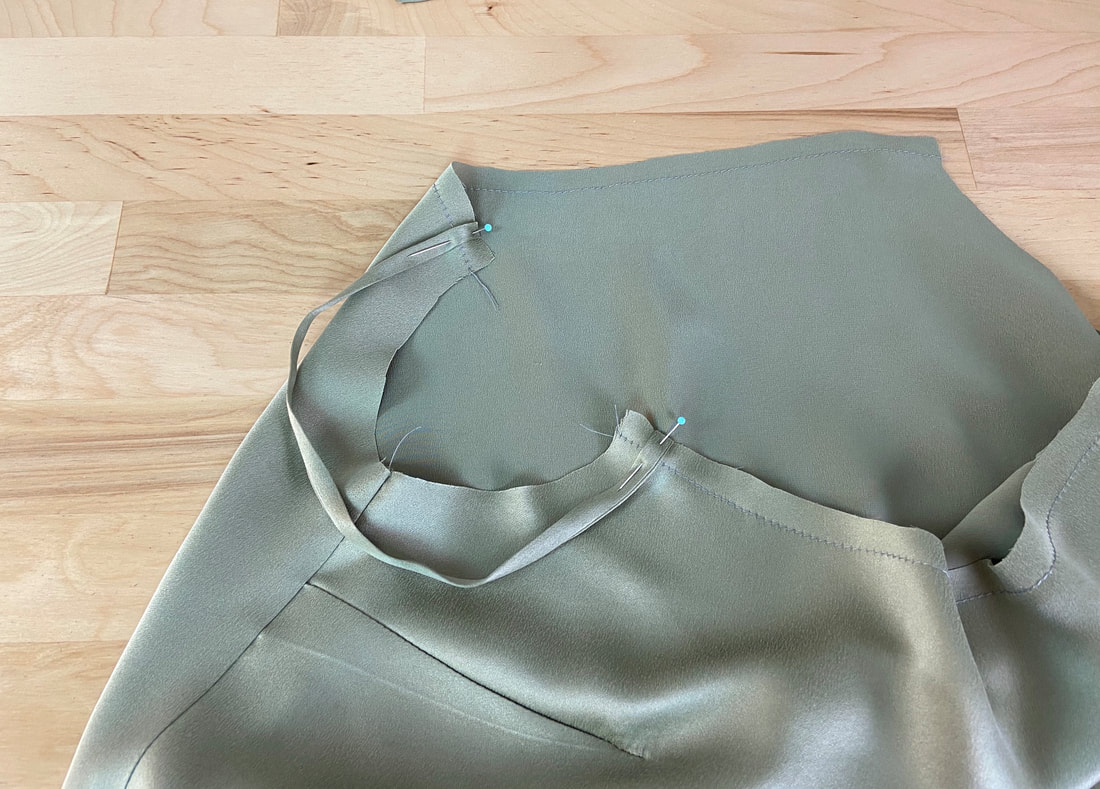
2. Align one end of the spaghetti strap to the front neckline edge at the intersection of the neckline and armhole seamlines as shown. The raw end of the spaghetti strap should align with the neckline raw edge. Insert a pin perpendicular to the edge.
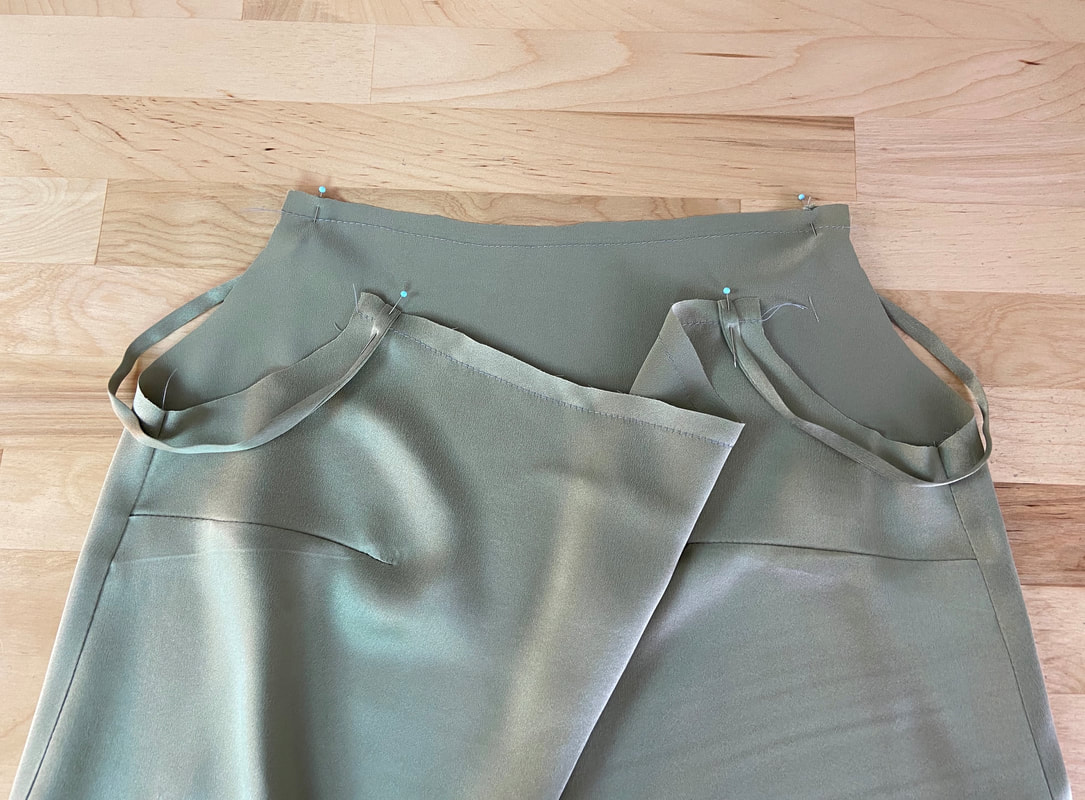
3. Align the other end of the spaghetti strap to the back neckline edge in the same manner. Make sure the spaghetti strap is kept straight and has not twisted in the process. Insert a pin to hold the back end of the strap as shown. Do one last check to make sure the spaghetti strap lays properly flat in this position.
4. Repeat the strap alignment and pining process on the other side of the neckline/armhole.
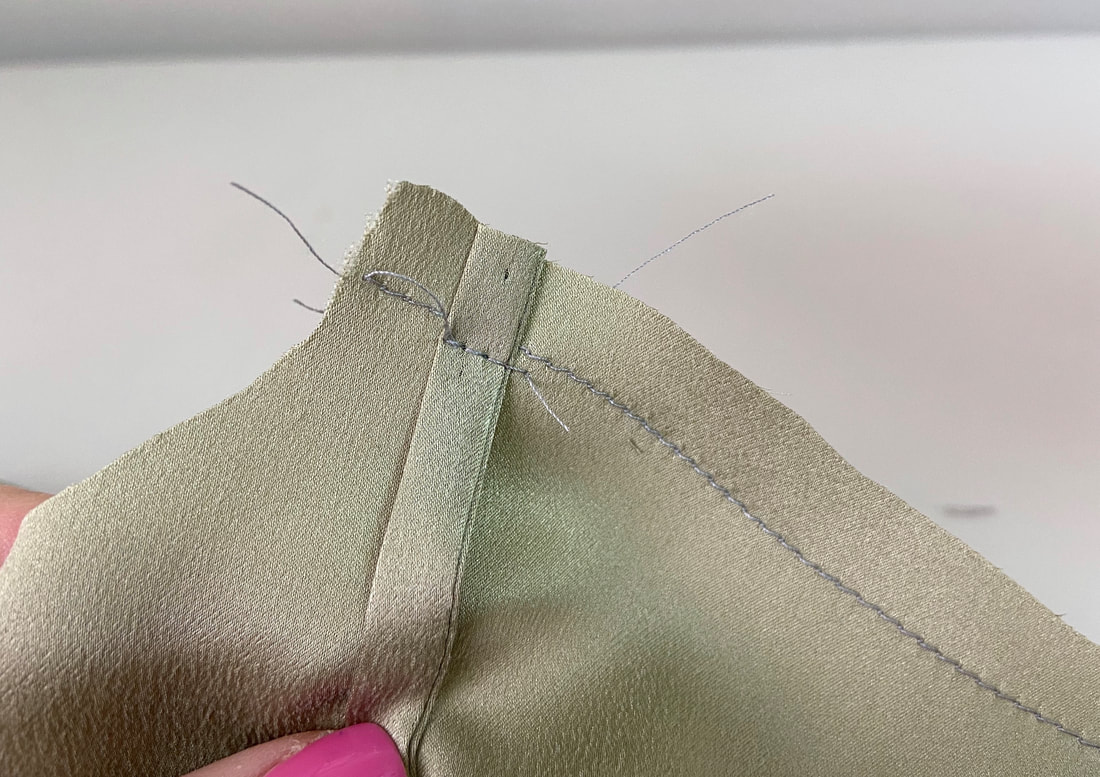
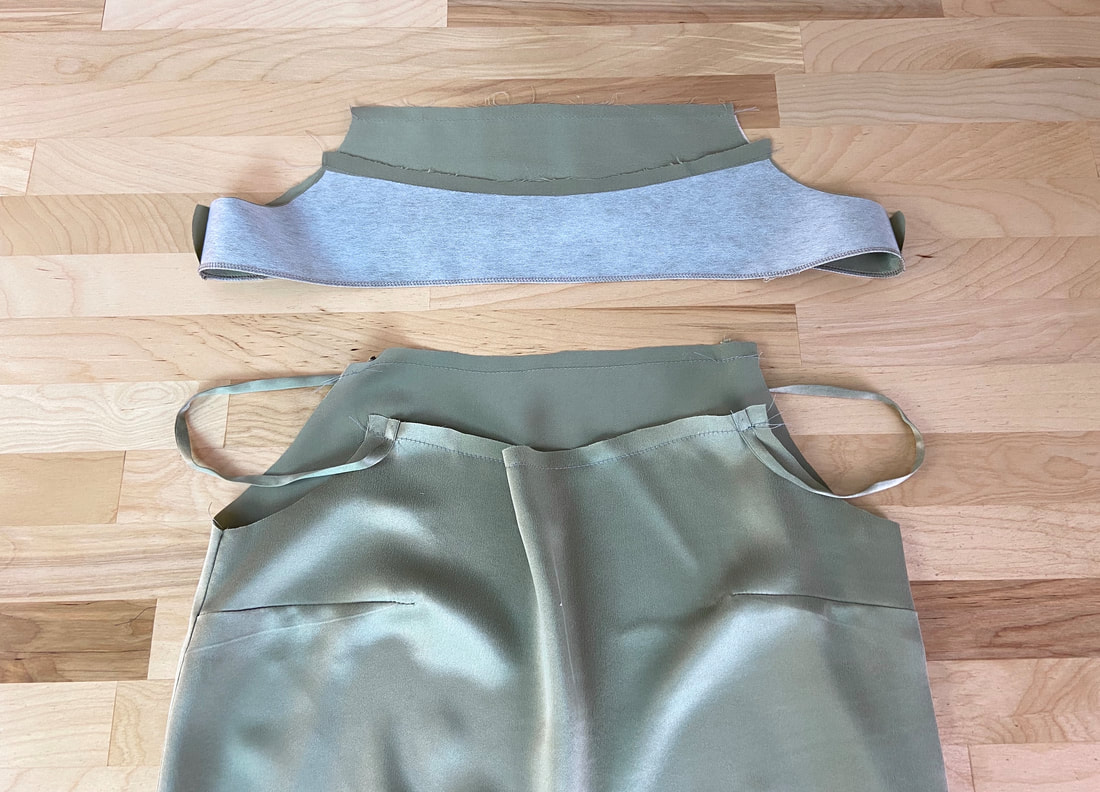
5. Machine stitch each end of the spaghetti strap to the garment layer, stitching a little above the seamline as shown. This stitch is used to hold the strap in place and will not show on the outside of the garment. Repeat this stitching process with the second spaghetti strap.
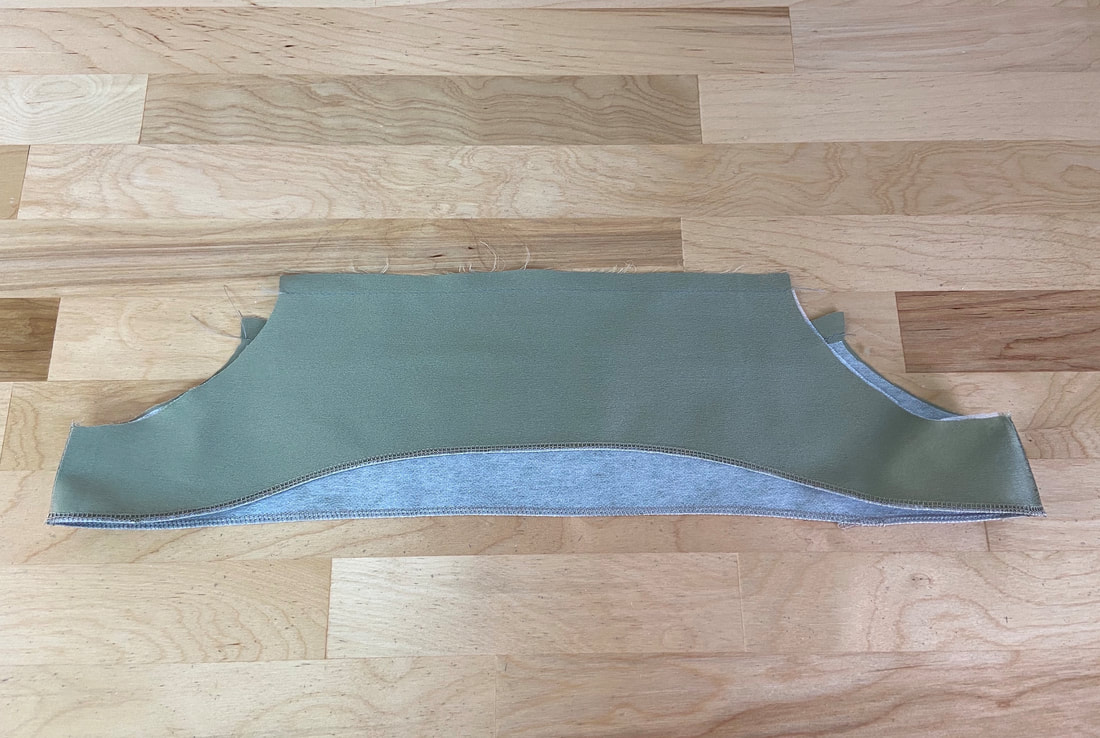
6. Complete the separate all-in-one facing unit by stitching and finishing the facing’s side seams and bottom edge as shown.
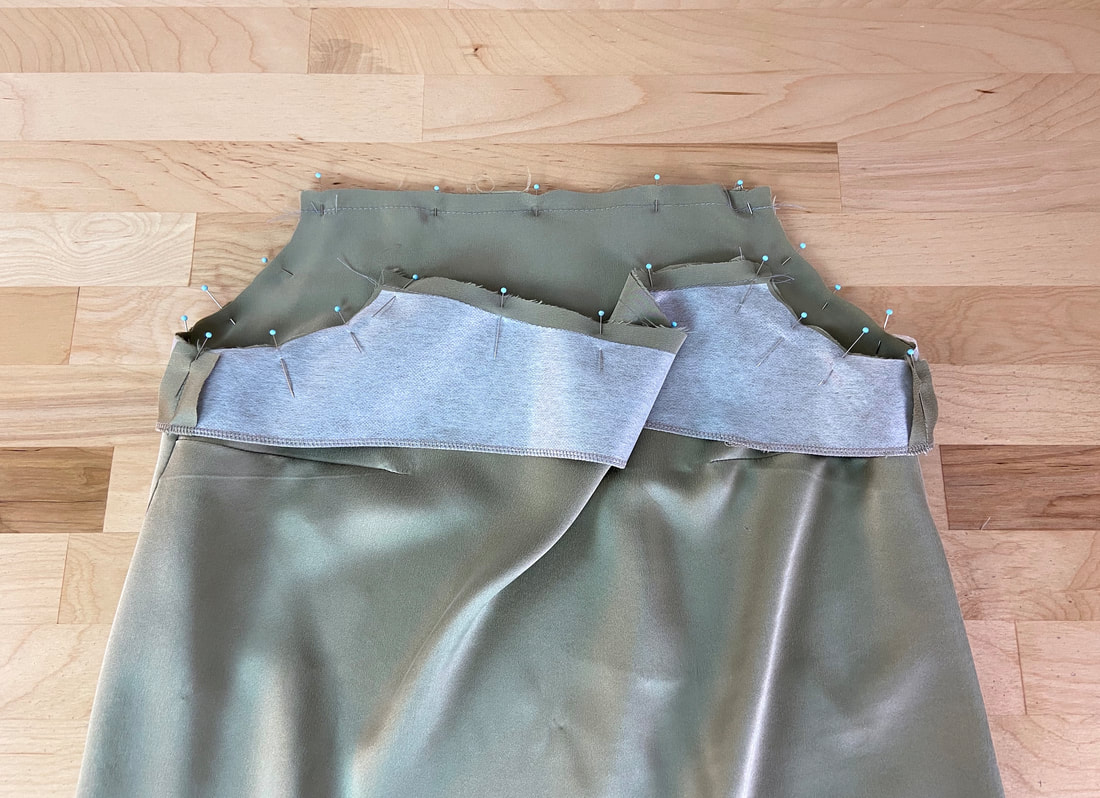
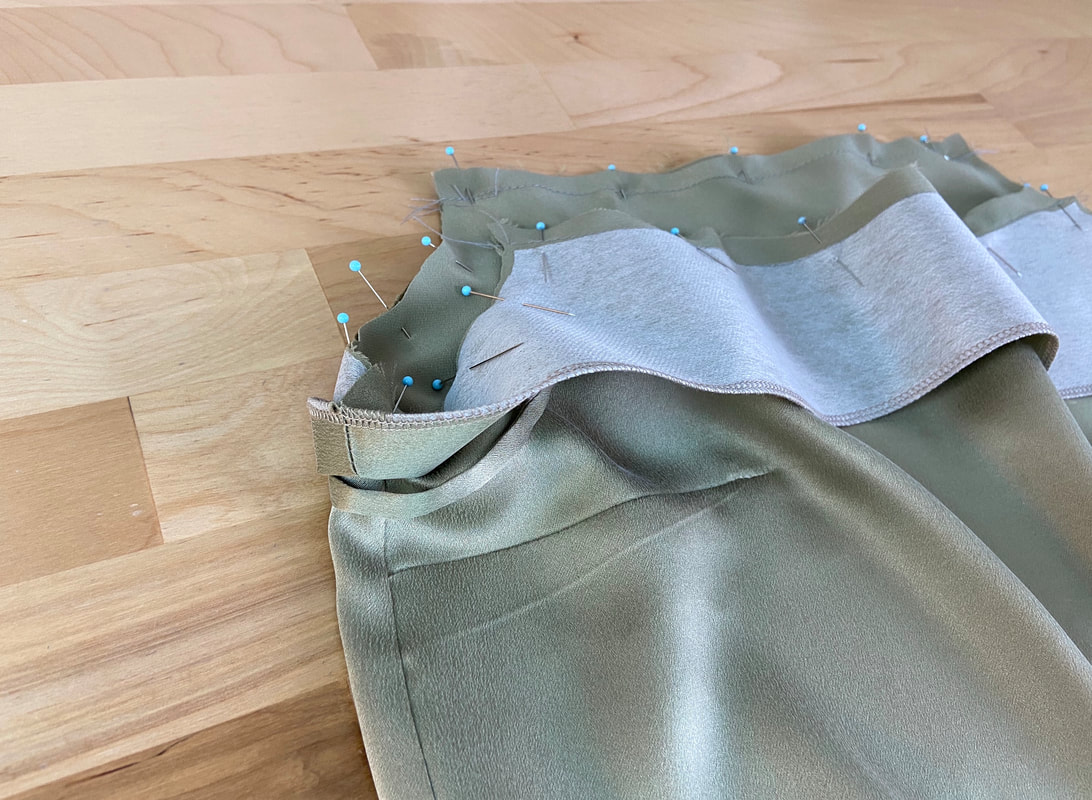
7. Keeping the spaghetti strap flat, align the all-in-one facing to the garment’s neckline and armhole edges. Fabric face side should be touching, and all corresponding neckline and armhole edges should align perfectly. Insert pins perpendicular to the edges to keep the facing and garment layers in place.
The spaghetti straps should be sandwiched in between the two layers and directed downward.
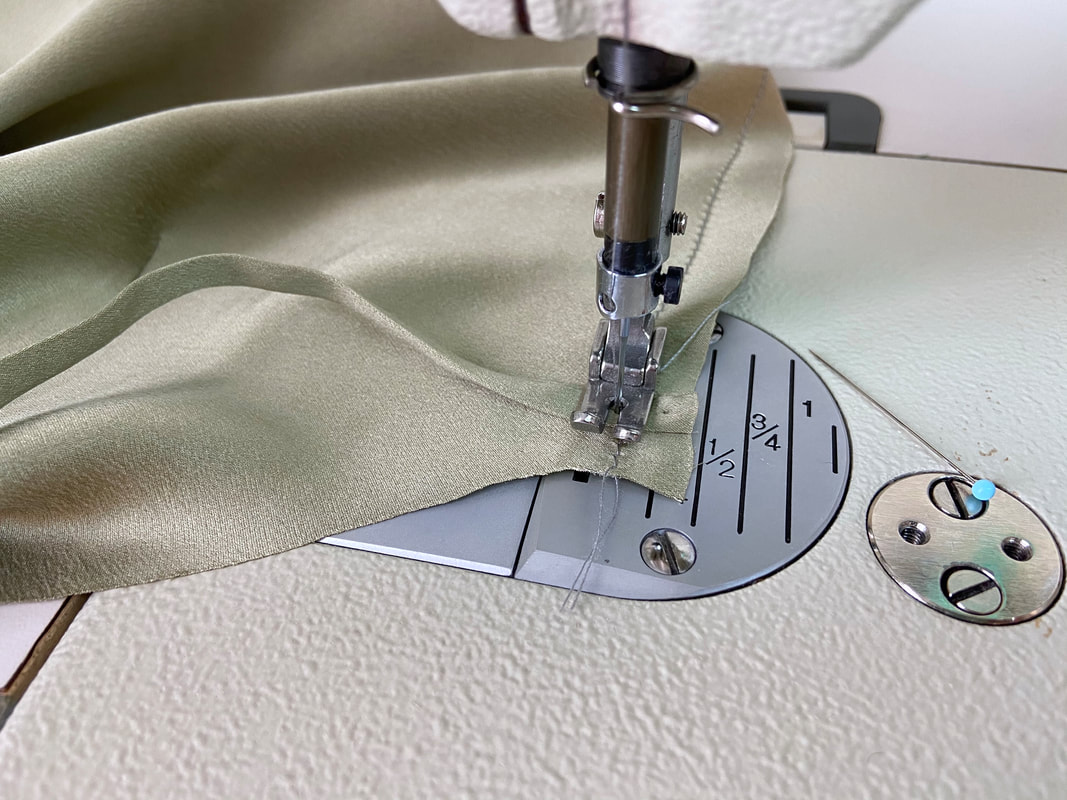
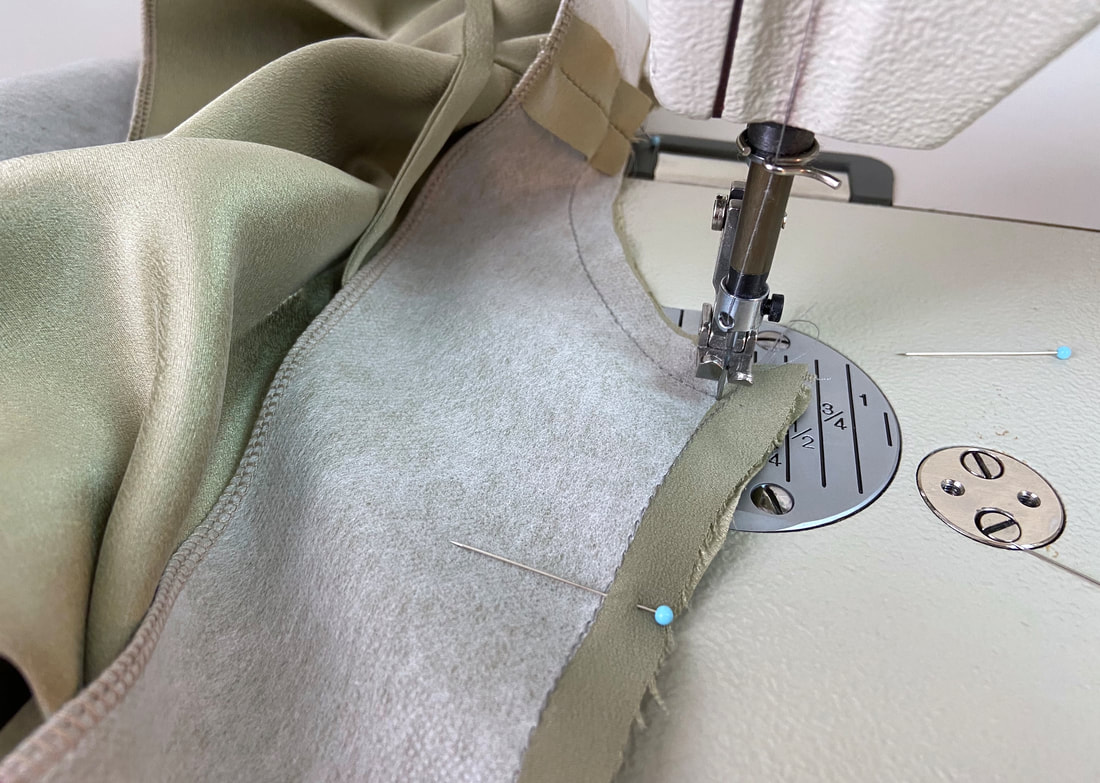
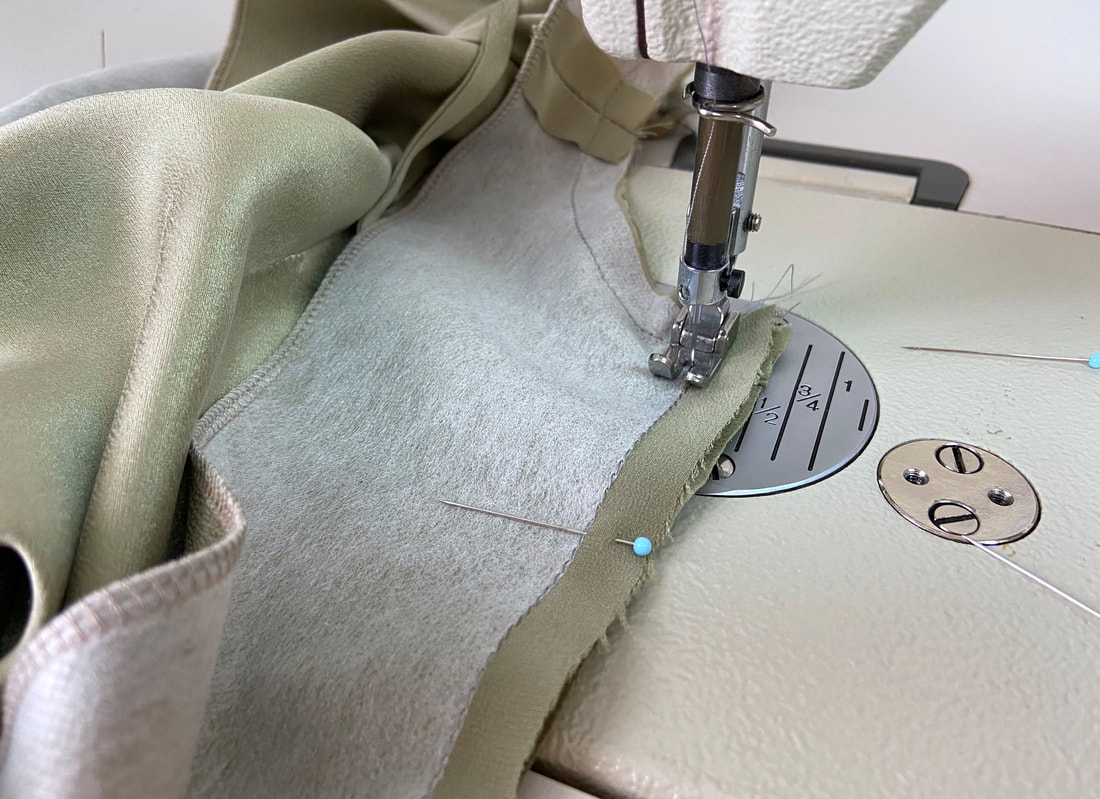
8. Machine stitch at the designated seam allowance (1/2” in this case) continuously along both armhole and neckline edges.
Pivot the stitch as you transition from neckline to armhole. At this transition point, be careful not to stitch through the sides of the spaghetti straps. Keep them away from the needle as you move up the top portion of the armhole edges.
9. Once finished, apply another 1”-long overlaying stitch at the location intersecting the spaghetti straps. This additional stitch will reinforce the strap connection, providing a more durable finish.
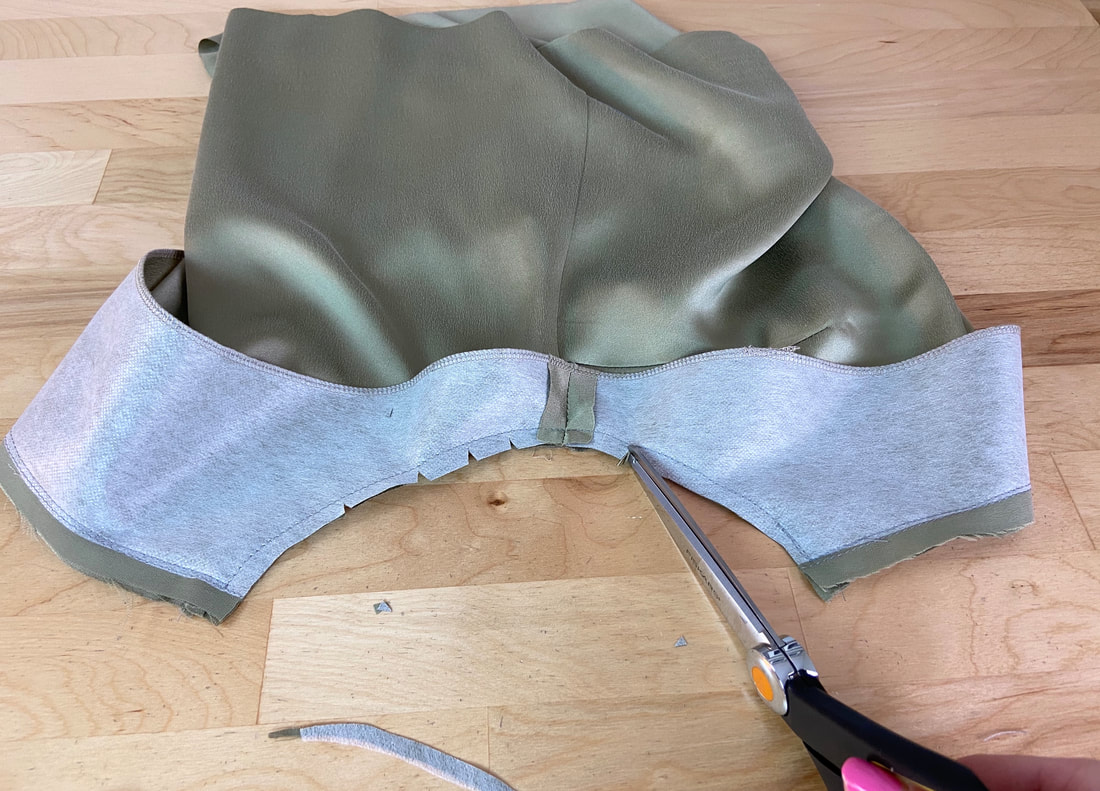
10. As is customary for all facings, trim the seam allowance edges and clip wedge notches into the seam allowance along the curved areas of the armhole and neckline.
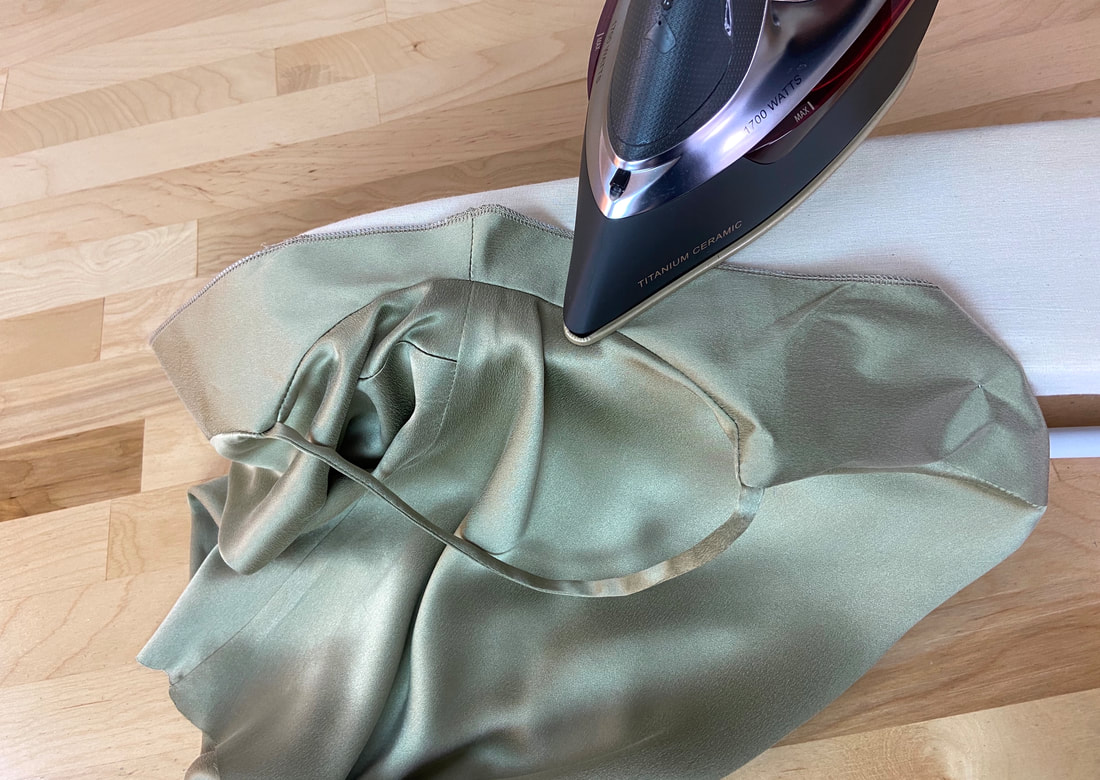
11. Iron the all-in-one facing seam and all seam allowances away from the garment.
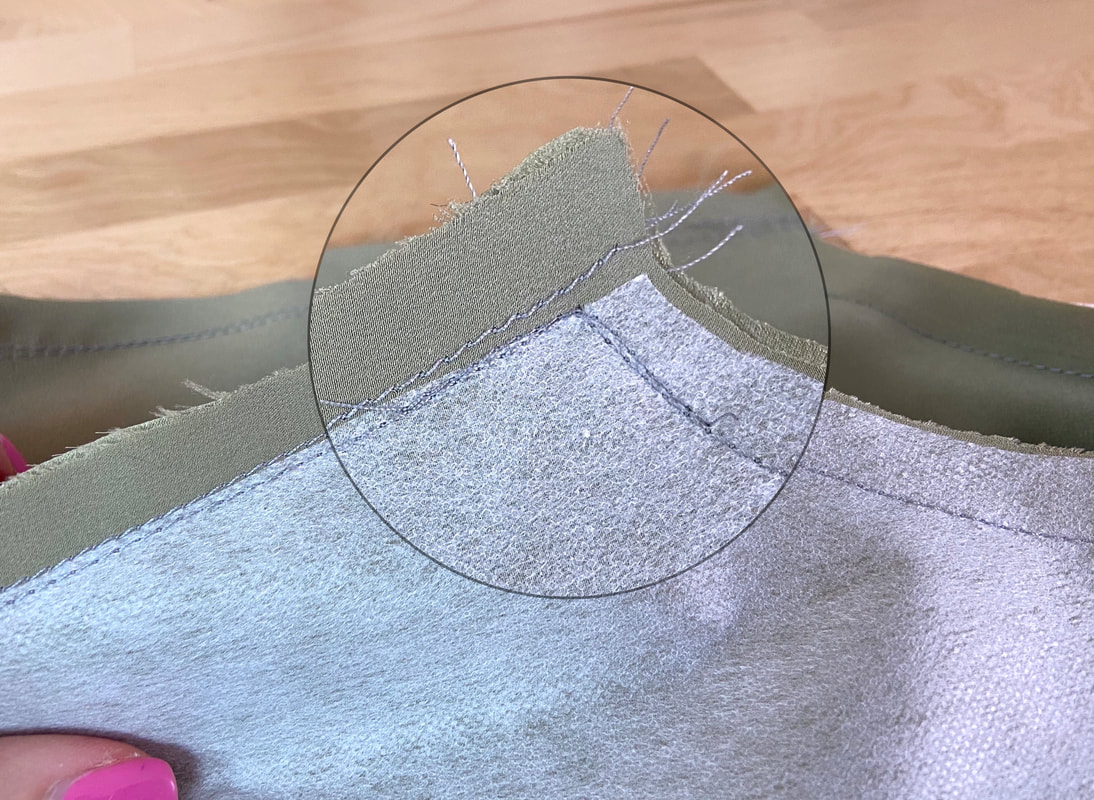
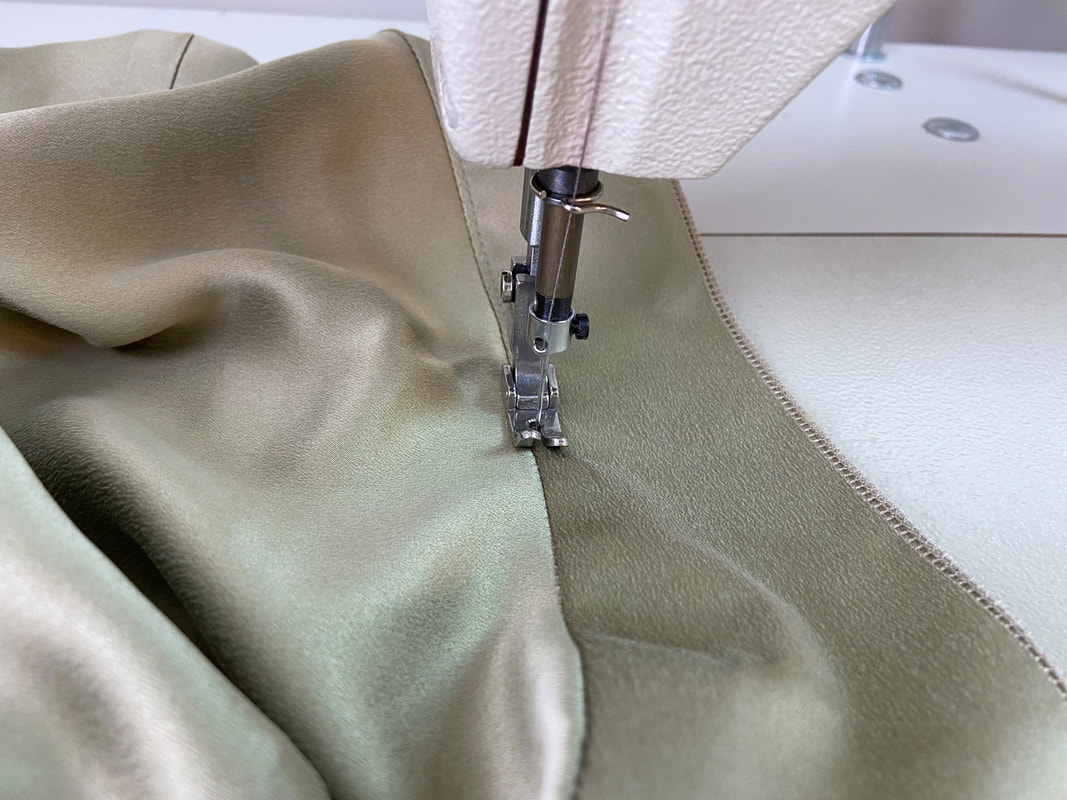
12. Stitch next to the seamline through all layers of the facing and seam allowance underneath (including the spaghetti strap ends). This is called understitching and it will prevent the facing from rolling towards the outside of the finished garment edges.
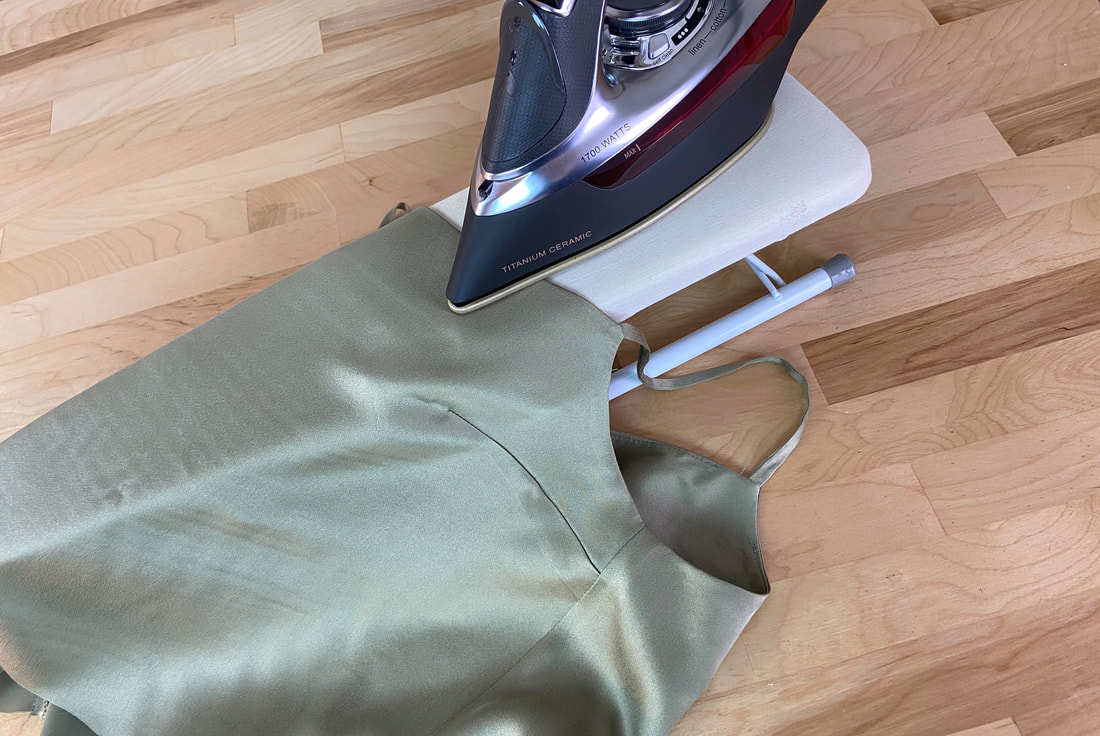
13. Turn the facing towards the inside of the garment and iron the finished neckline and armhole edges. It is easiest to do this over a sleeve board or tailor’s ham. The spaghetti strap ends should be fully enclosed within the facing and perfectly aligned at each corner.
14. Last but not least, tack the inner facing edge to the seam allowance at each garment side seam. You can use a bar tack, a cross tack or a simple whipstitch. More on tack hand stitches in this tutorial: Hand-Applied Tack Stitches

