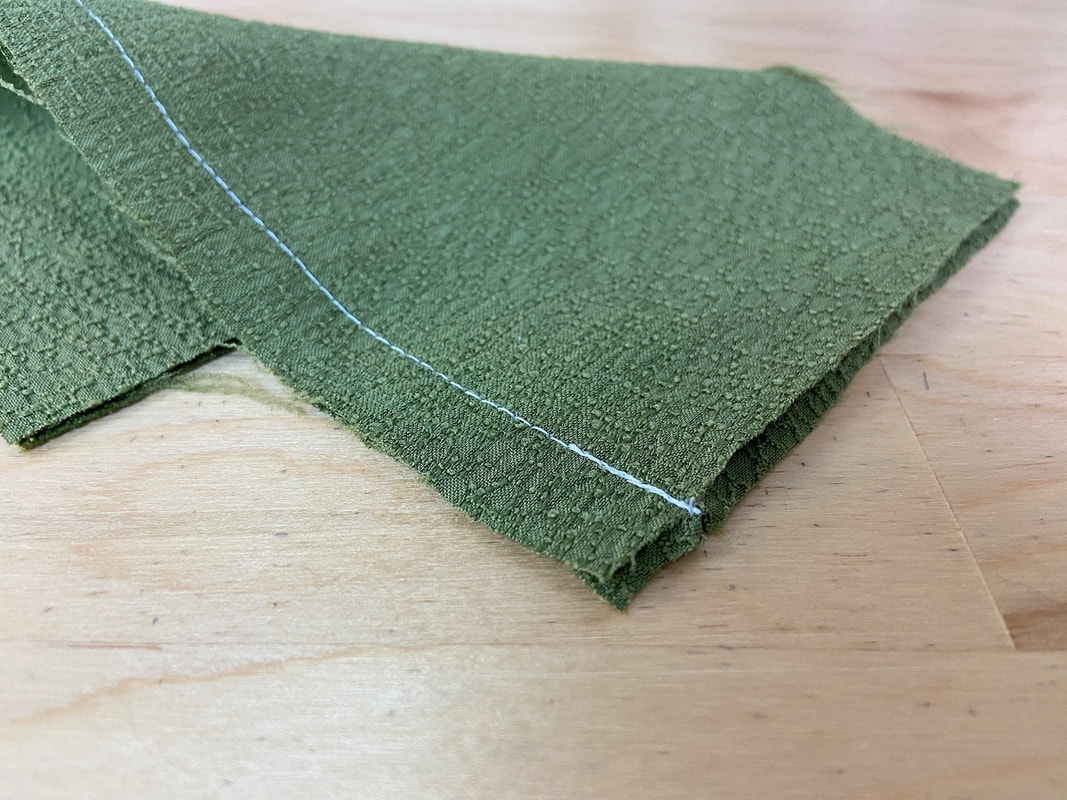
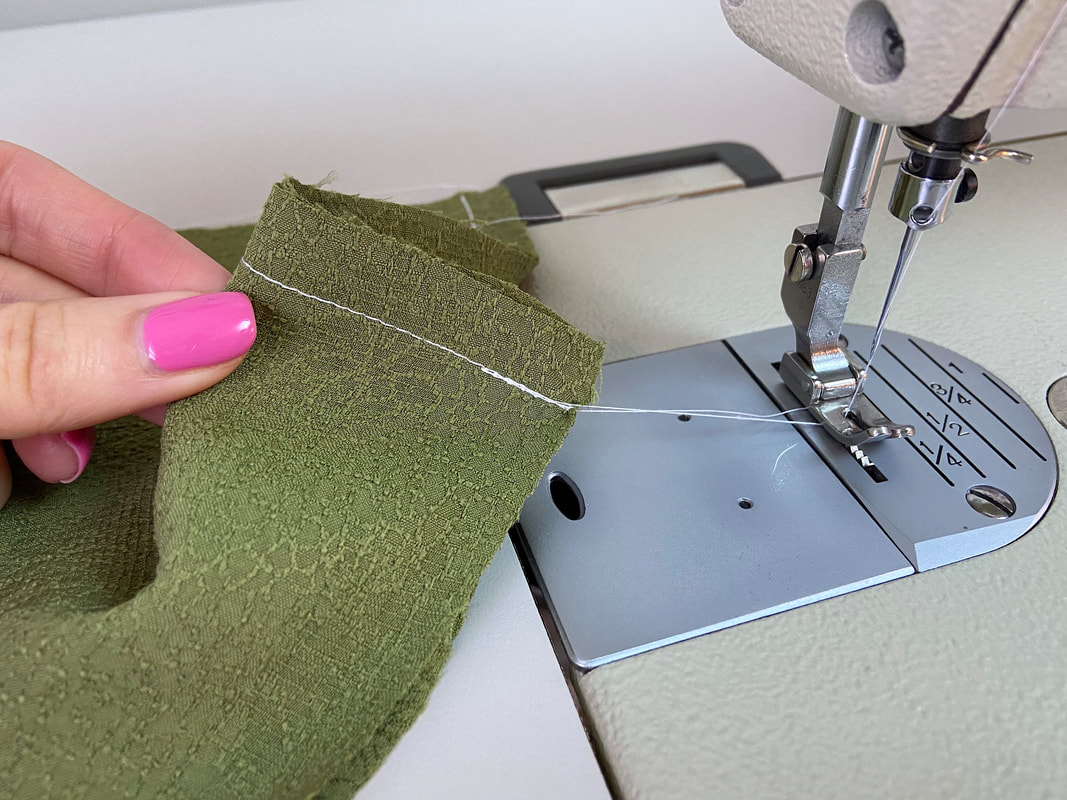
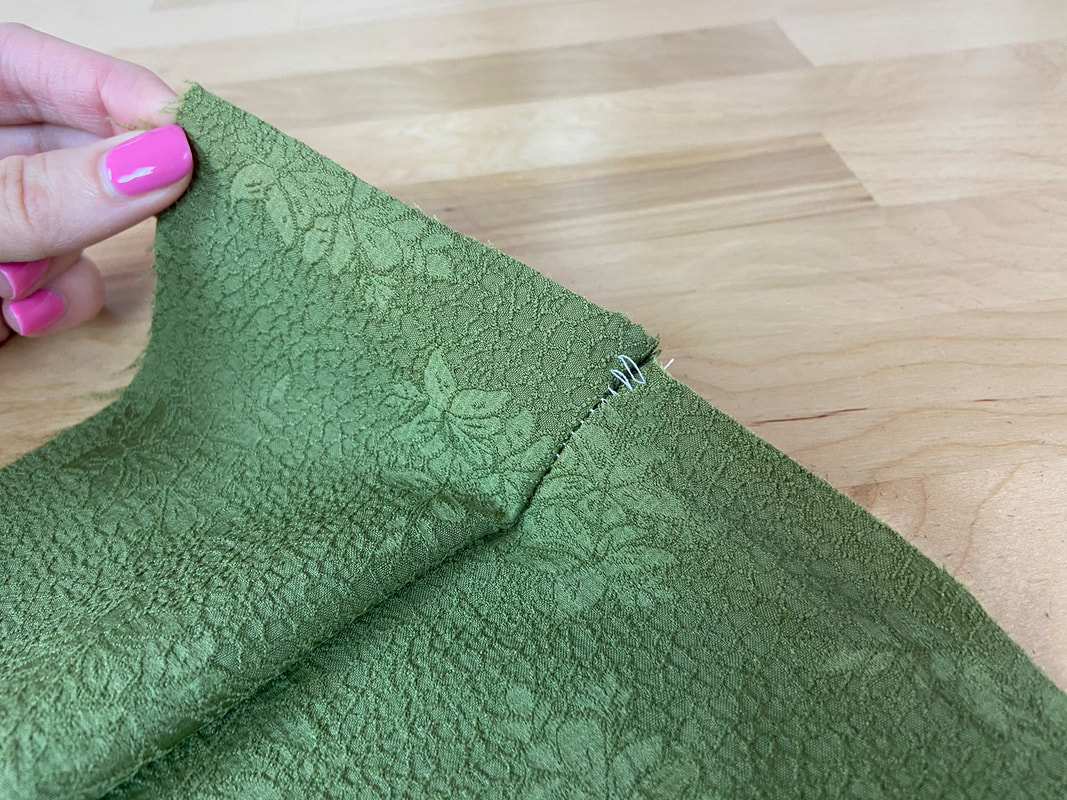
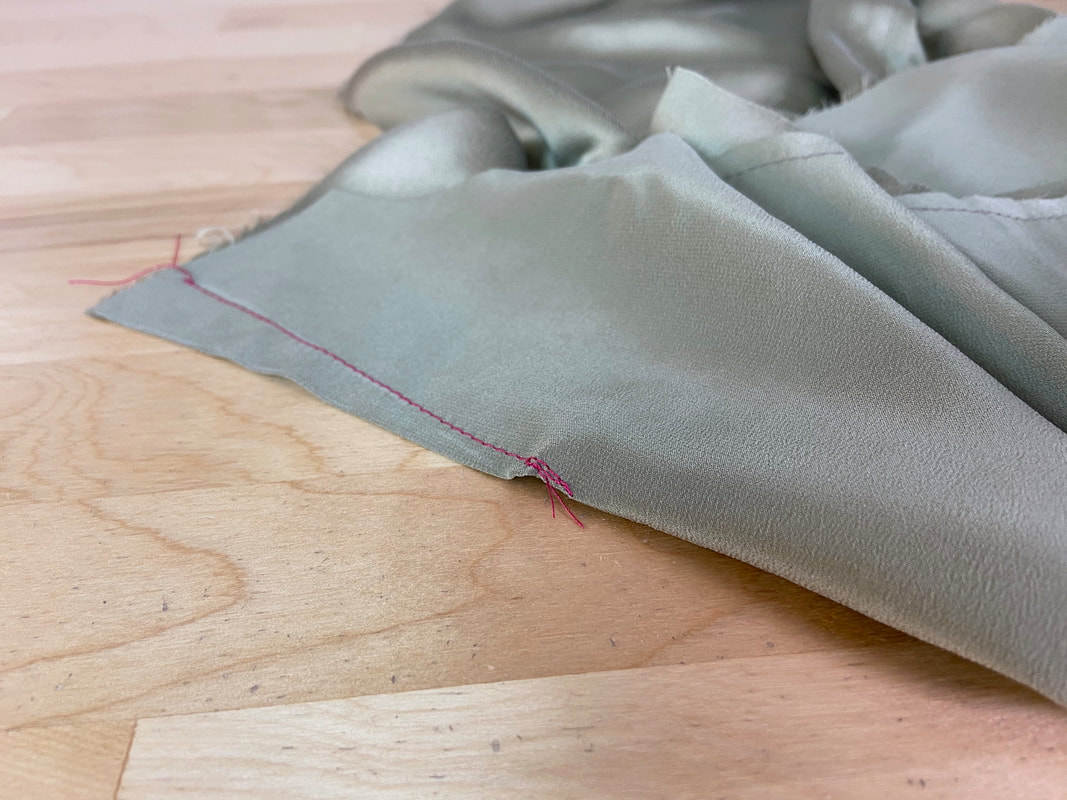
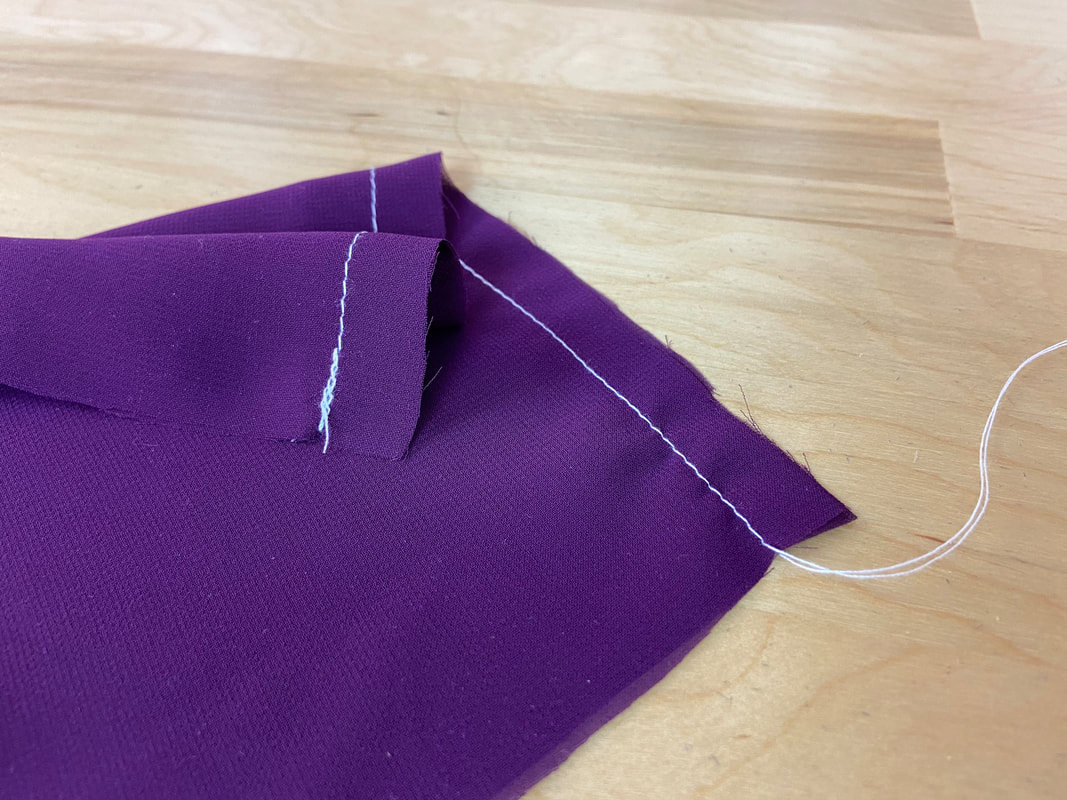
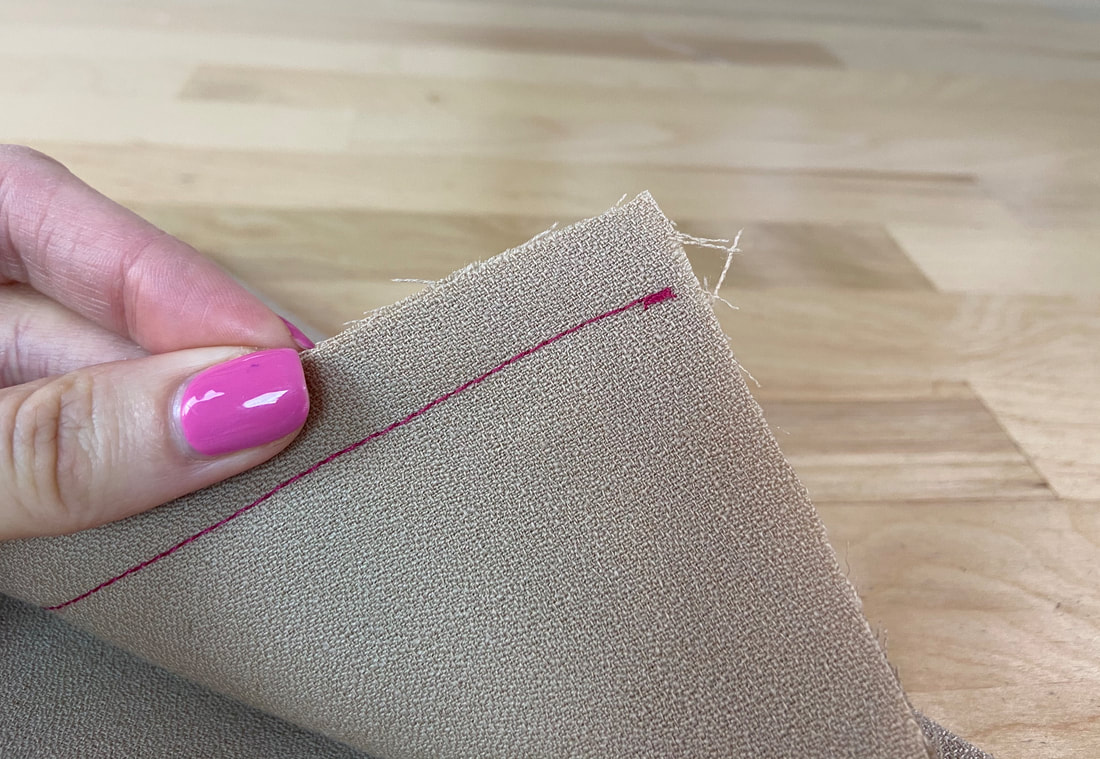
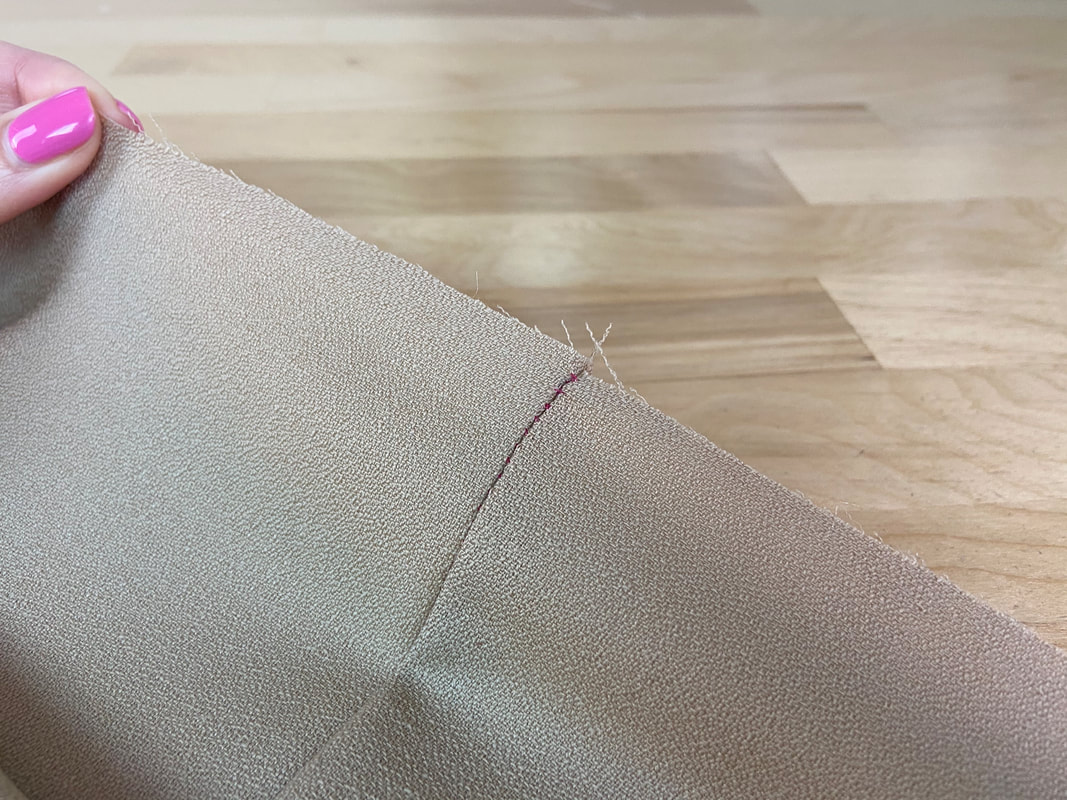
Backstitching plays and important role in the durability and quality of a seam. A backstitch is applied directly on the sewing machine using the reverse stitch button. As the name implies, it is used to reverse the stitch in backward direction such that it locks the straight stitch in place.
Locking the stitch, especially at the beginning and end, will prevent it from unraveling both in the garment construction process as well as during the garment’s final wear and care cycles. As you practice and become more advanced, backstitching will become a habitual beginning and end to each one of your machine stitches.
How To Backstitch a Seam
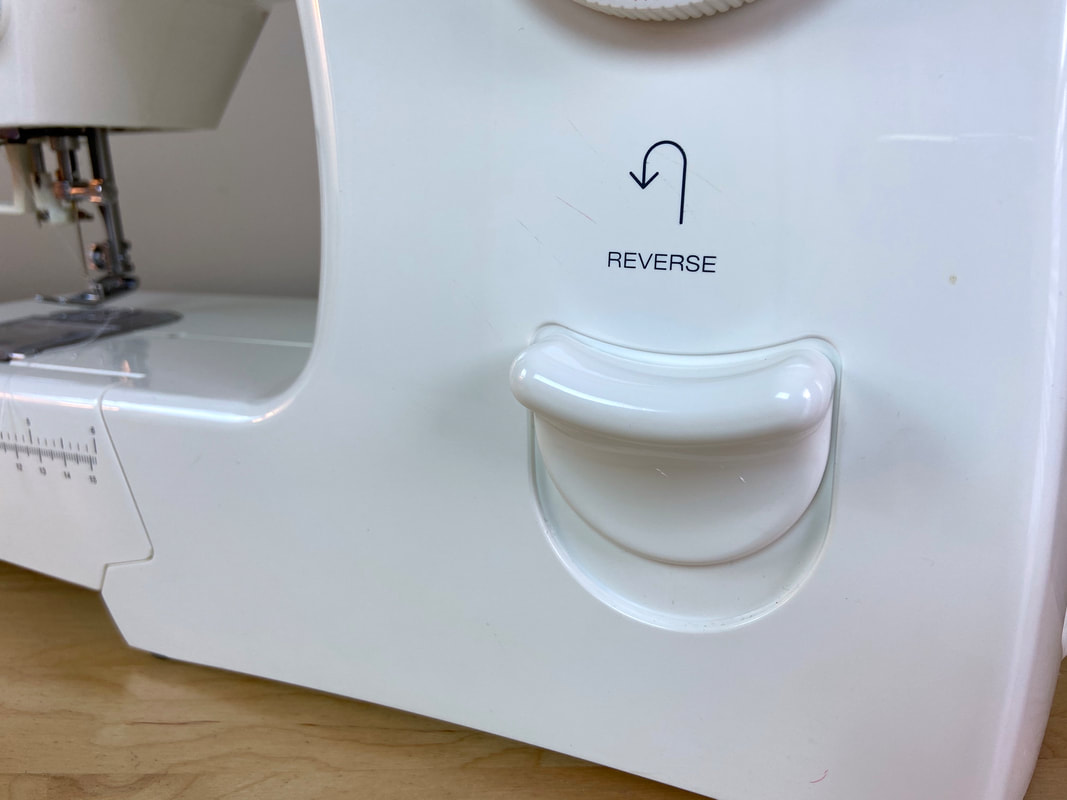
To start with, it important to first locate and understand how to use the reverse button on your sewing machine.
The reverse button is usually pretty obvious and should be very comfortable to use. It is almost always located on the front of the sewing machine. It can be a large button or a lever that when pressed and held, reverses the stitching direction backwards.
While you should always backstitch at the beginning and end of each one of your stitches, there are some exceptions:
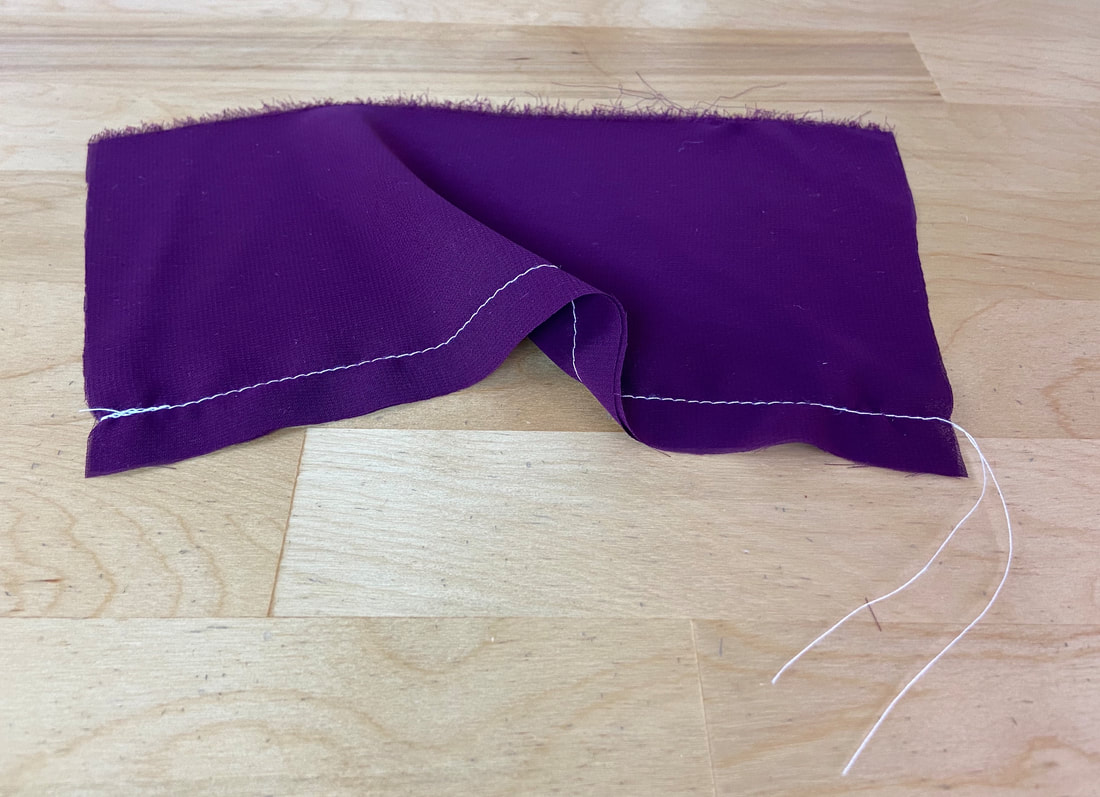
If working with thin, lightweight fabrics that tend to tense or wrinkle when stitched, you should only backstitch at the beginning, leaving the other end of the stitch open.
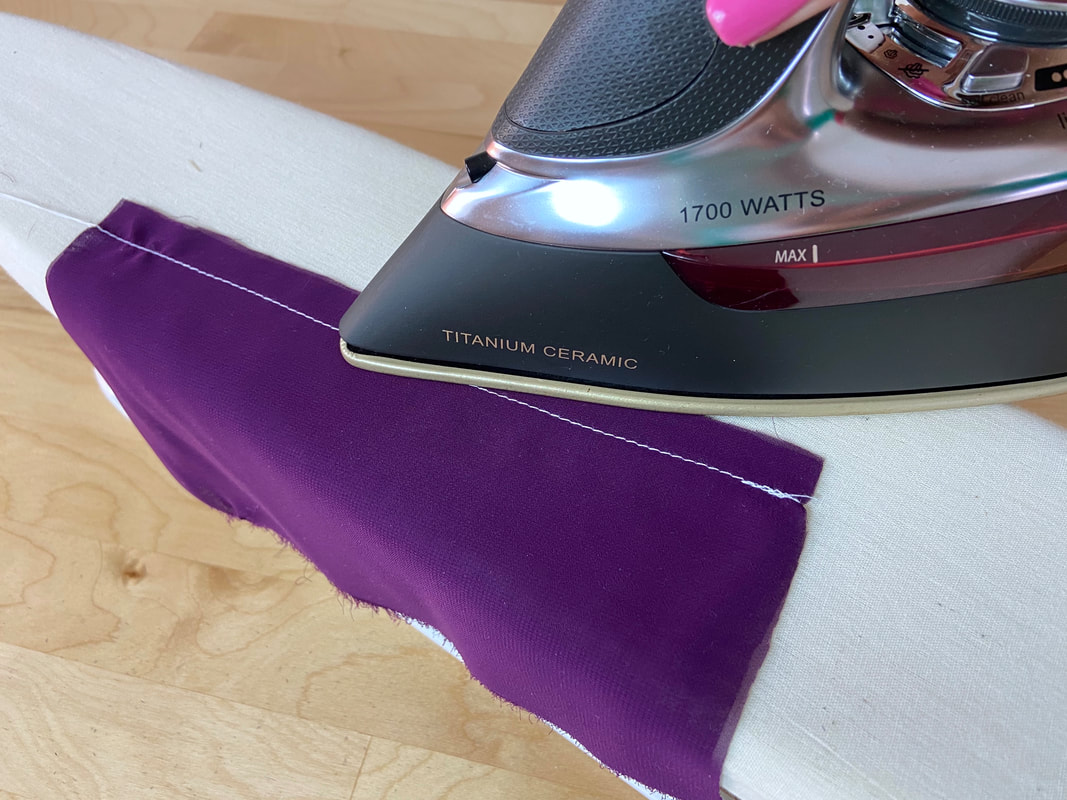
The wrinkling and stitch tension can then be released through the open stitch end by ironing the stitched seamline in its direction.
If working with crisp, easy to sew fabrics that are not affected by machine stitching, backstitch at both beginning and end of the stitch as usual.
To Backstitch By Machine:
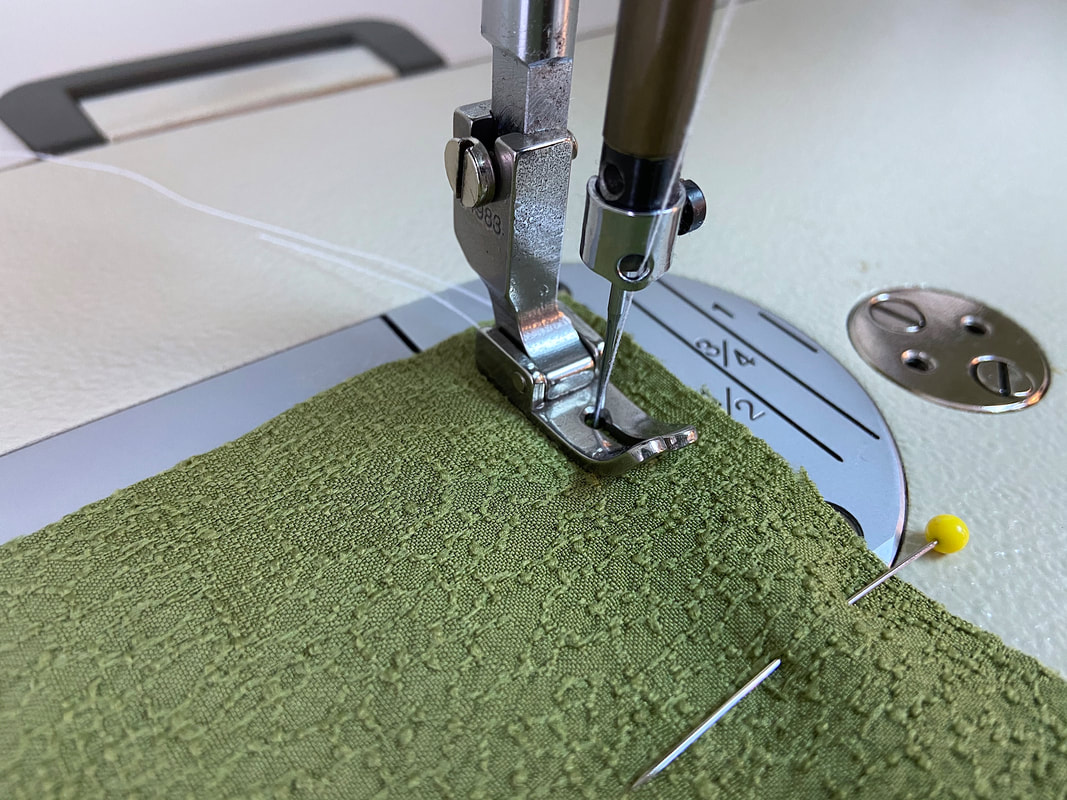
1. Insert the needle at about ½” down from the top edge of the seam.
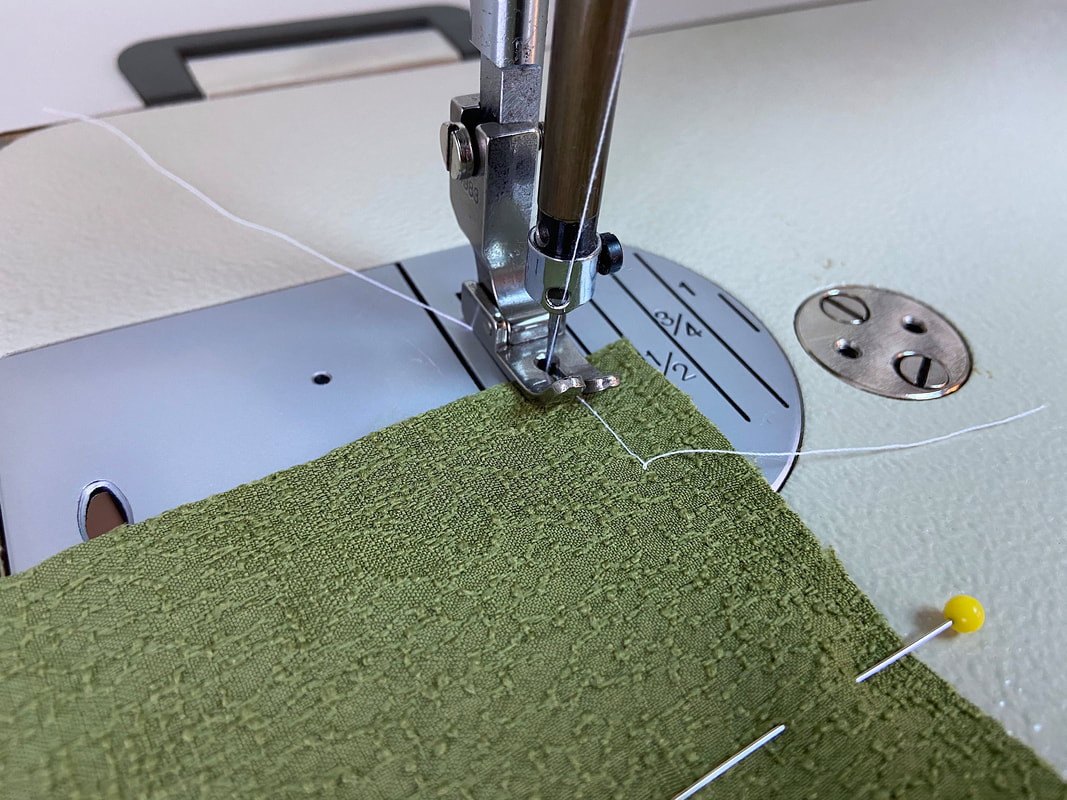
2. Press and/or hold down (depending on your machine) the reverse button and simultaneously press the pedal to stitch backwards. End at the top edge of the seam.
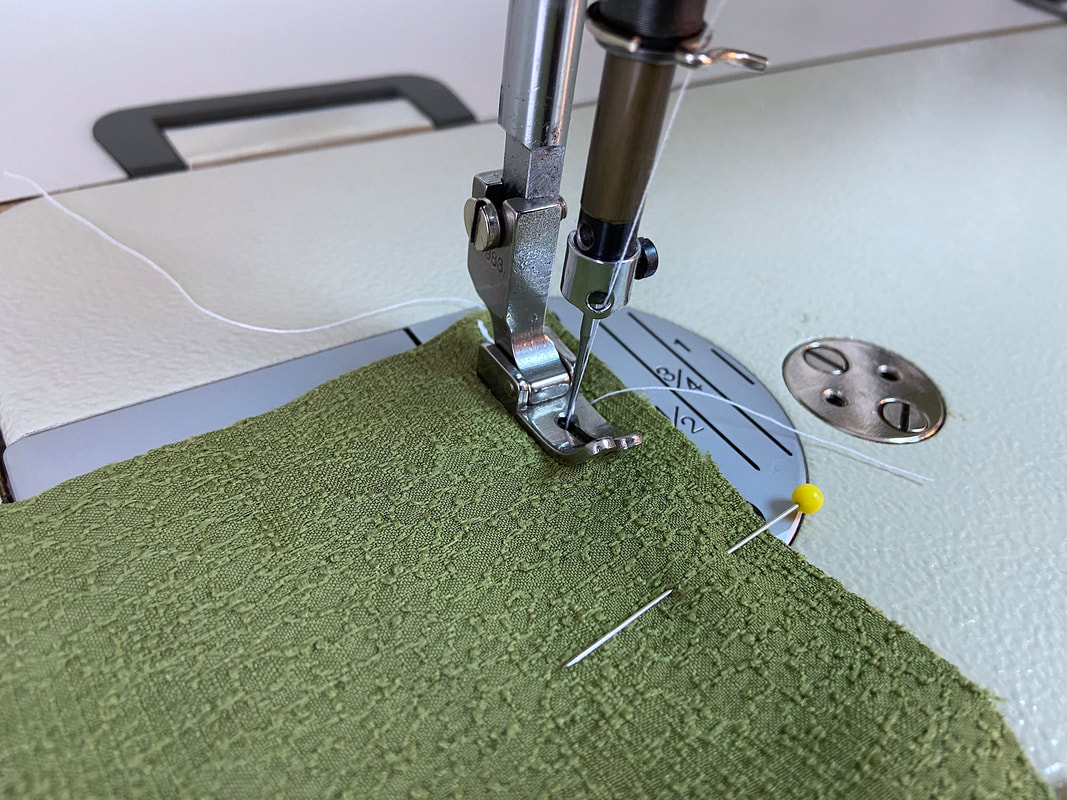
3. Release the reverse lever/button and stitch forward directly on top of the reverse stitch.
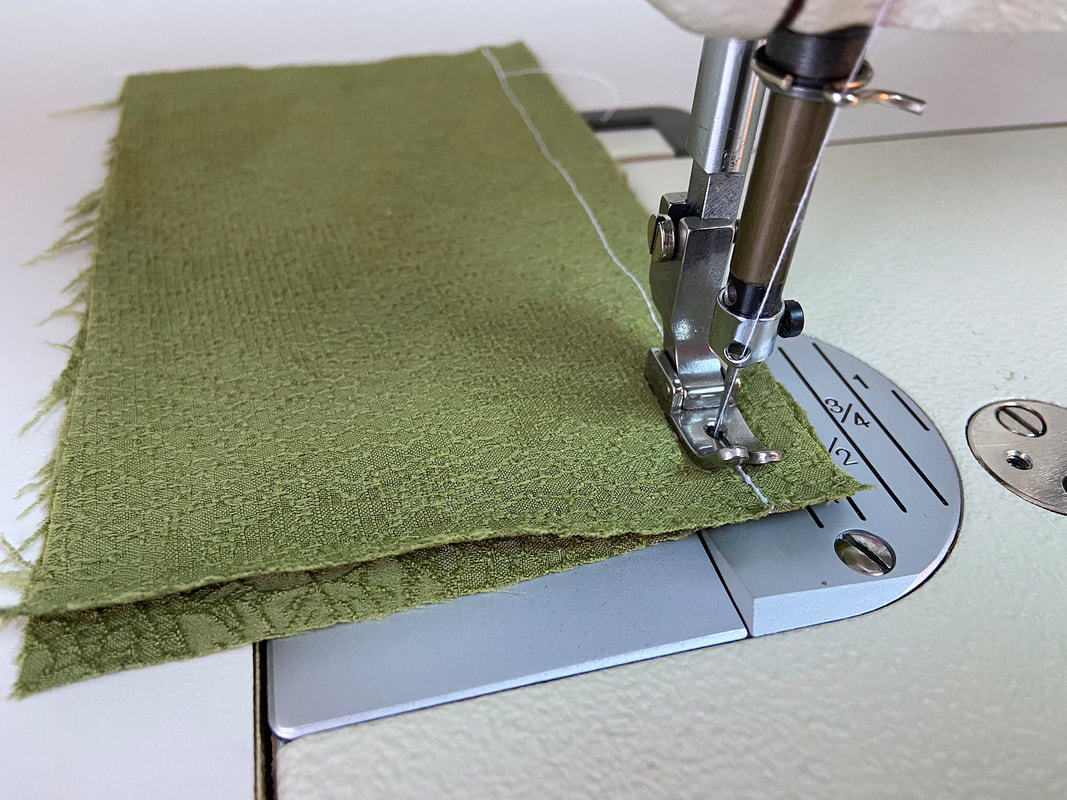
4. Continue stitching the rest of the seam until you arrive at the bottom edge of the seam. When you reach the very bottom of the seam, hold the reverse button again and press the paddle to stitch backwards about ½”.
5. Next, release the backstitch control and stitch forward again to the very end of the seam- this will completely lock the threads and prevent the stitch from unraveling.
As you continue sewing the garment, you’ll find that if you don’t backstitch your seams, the fabric edges will spread apart as you match them to other corresponding seams or pieces. Backstitching will keep all the seam sealed at each end, thus making the rest of the construction process much easier and enjoyable.
When NOT To Machine Backstitch:
While backstitching is highly recommended at the beginning and end of most seams, there are instances when backstitching can damage, strain or distort a garment’s seamline.
- You should not backstitch at a dart vanishing point. The dart point should be smooth and well defined. Due to the fact that the vanishing point ends up on a fabric fold, a backstitch can pucker and create tension if applied at this vulnerable location. Backstitching is not always an exact science, thus if it ends up not overlapping the stitches perfectly, you risk distorting the dart seam transition on the face of the garment.
- Backstitching should be avoided on very fine, flimsy fabrics. If you know your fabric is difficult to work with, it is a good idea to test a scrap for backstitching prior to applying it directly on the garment. Although rare, some fabrics will completely pucker and wrinkle at the edges when backstitched. In these cases, machine backstitching should be avoided. Use hand backstitching instead.
- As noted above, leave one of the stitch ends open if you notice slight tension or pulling in the seamline. If you suspect there to be some potential strain in the seam, even if not completely visible, it is always safer to leave one end not backstitched- this end can be used as a tension release point in the ironing process.
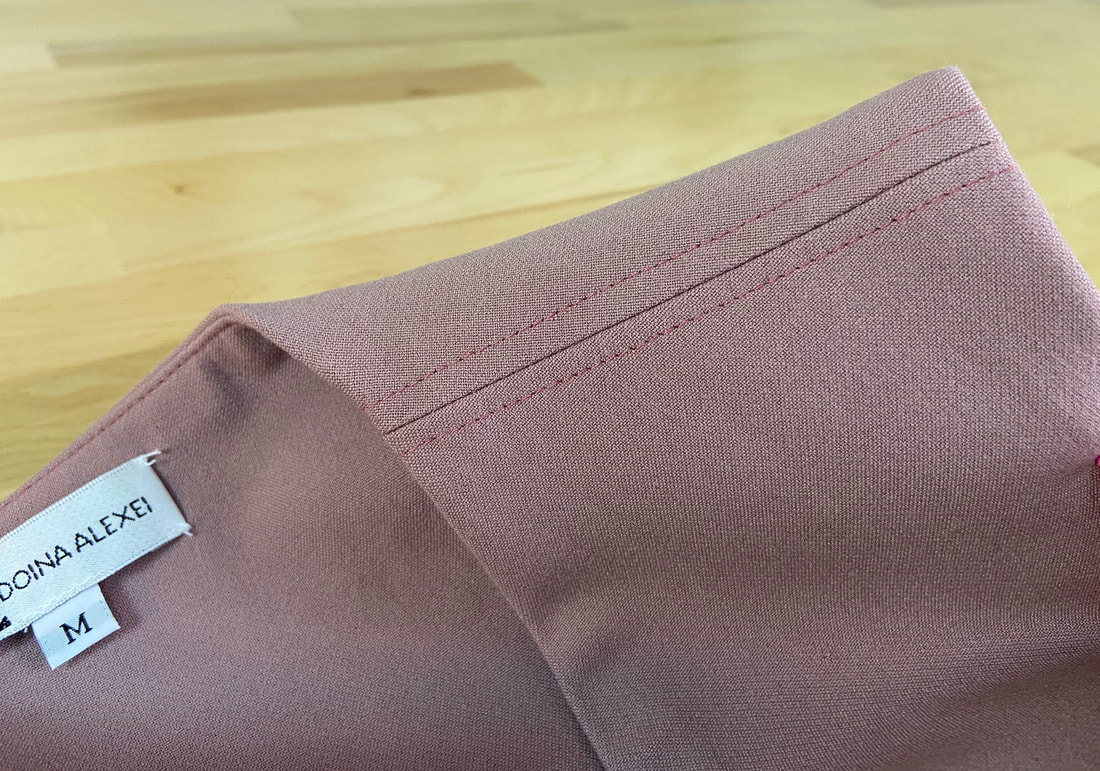
- Don’t backstitch at the beginning and end of decorative stitching applied to the fabric surface. Backstitching is a purely functional technique. Its main purpose is to securely hold fabric layers together at each end of a seam.
For a decorative topstitch, backstitching should be avoided as it will distort the balanced look of the finished stitch lines.
How To Backstitching By Hand
If you find yourself in any of the scenarios described above, being unable to reinforce a seam with backstitching when needed, you can always apply a quick backstitch by hand.
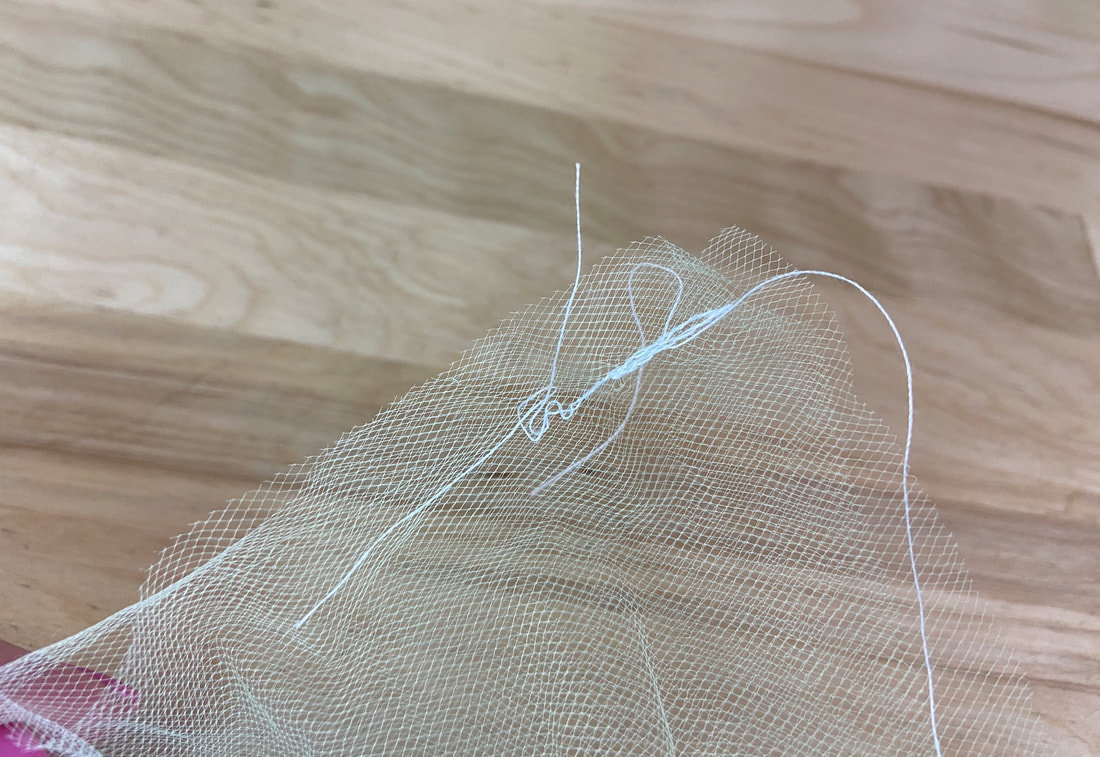
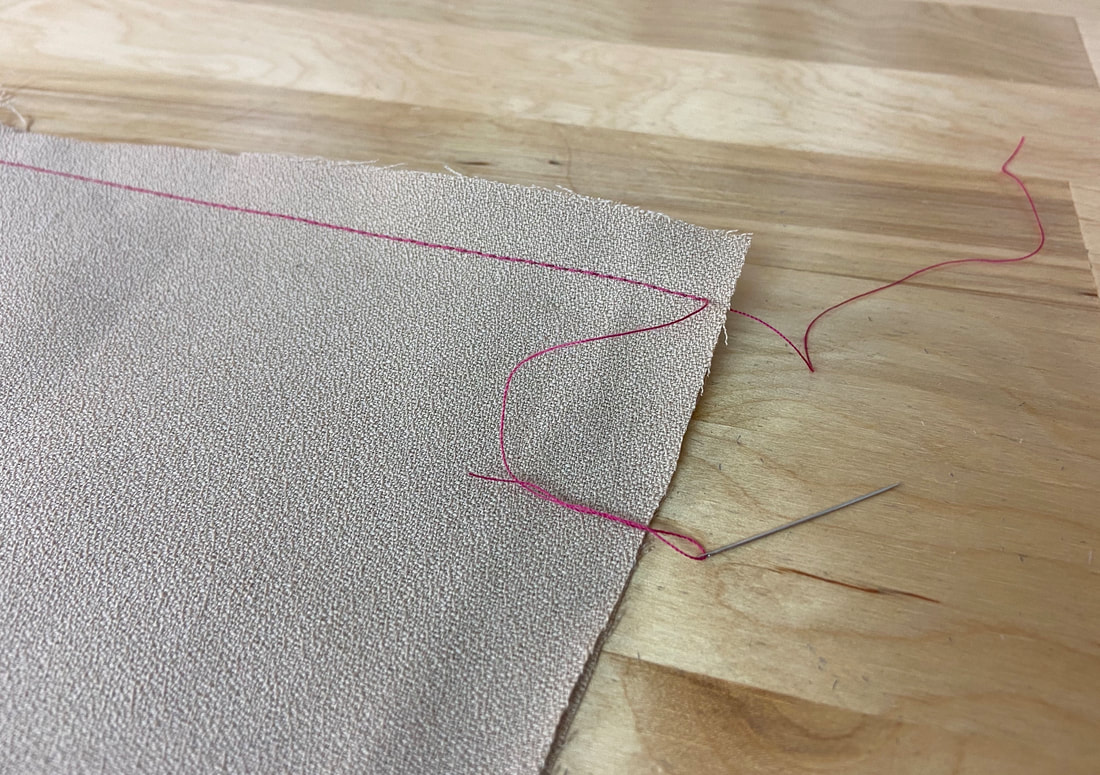
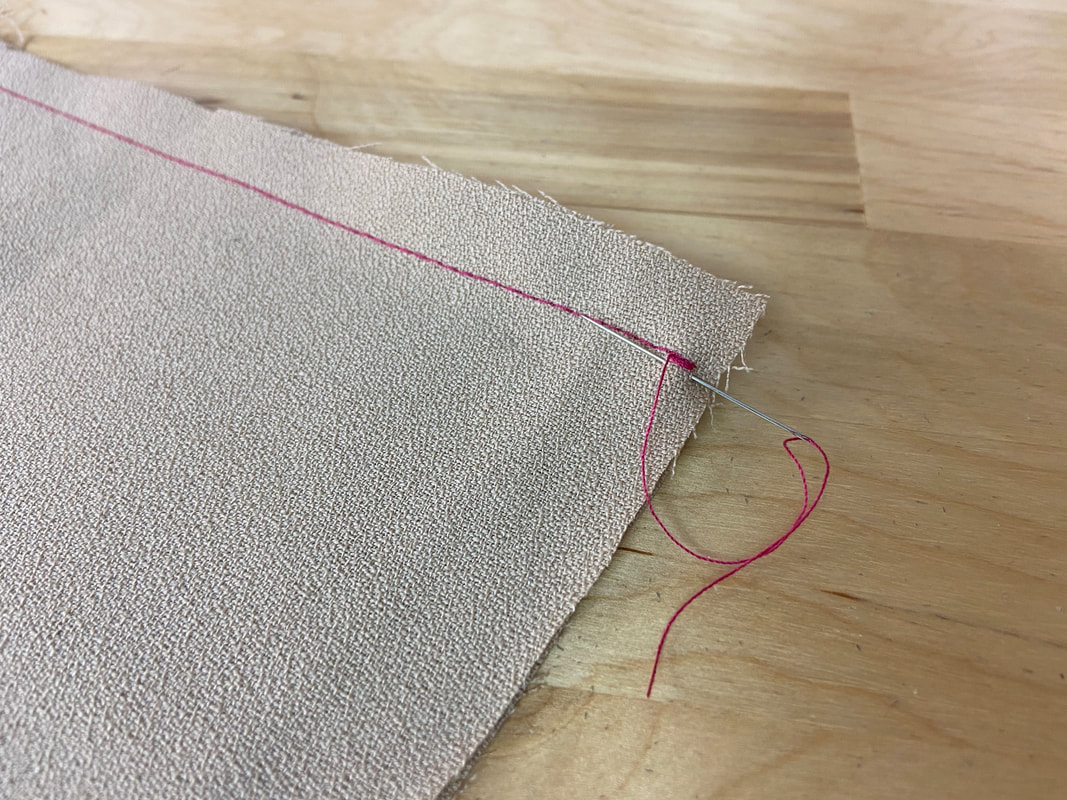
Hand backstitching is the same as simply stitching in place a few times until the stitch is secured. Conveniently, you can use one of the loose threads from the machine stitch to apply the backstitching- just make sure you leave yourself enough length to do so.
1. Thread one of the loose thread-ends through a hand sewing needle.
2. Stitch in place a few times directly at the end or on top of the existing stitch line. Don’t pull too hard as you stitch. 4-5 stitches should do the job.
3. When you feel that the stitching is secured, trim the loose thread.
To test that the hand backstitch is functional, pull the fabric layers apart and make sure the backstitched end does not become loose or come undone.
Note: While hand backstitching can be used anytime a seam needs reinforcement, it is not necessary on dart vanishing points. To keep the dart seams smooth and tension-free, the loose threads at the vanishing point should be hand-knotted and trimmed.

