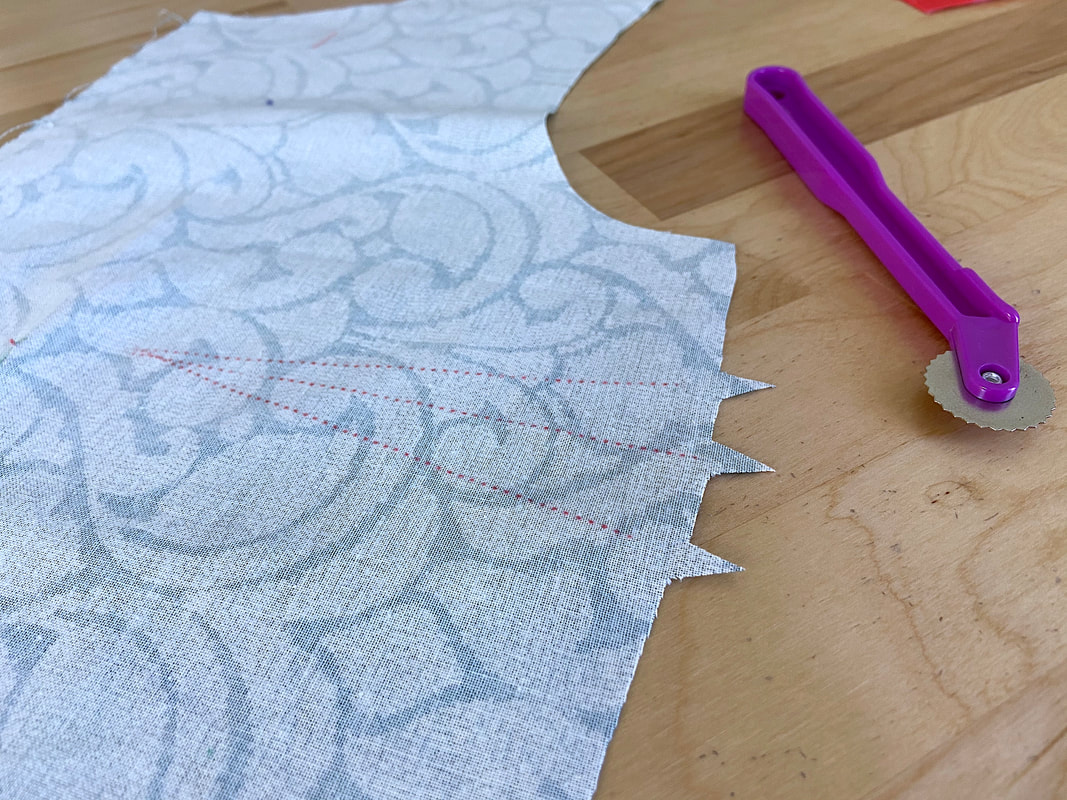
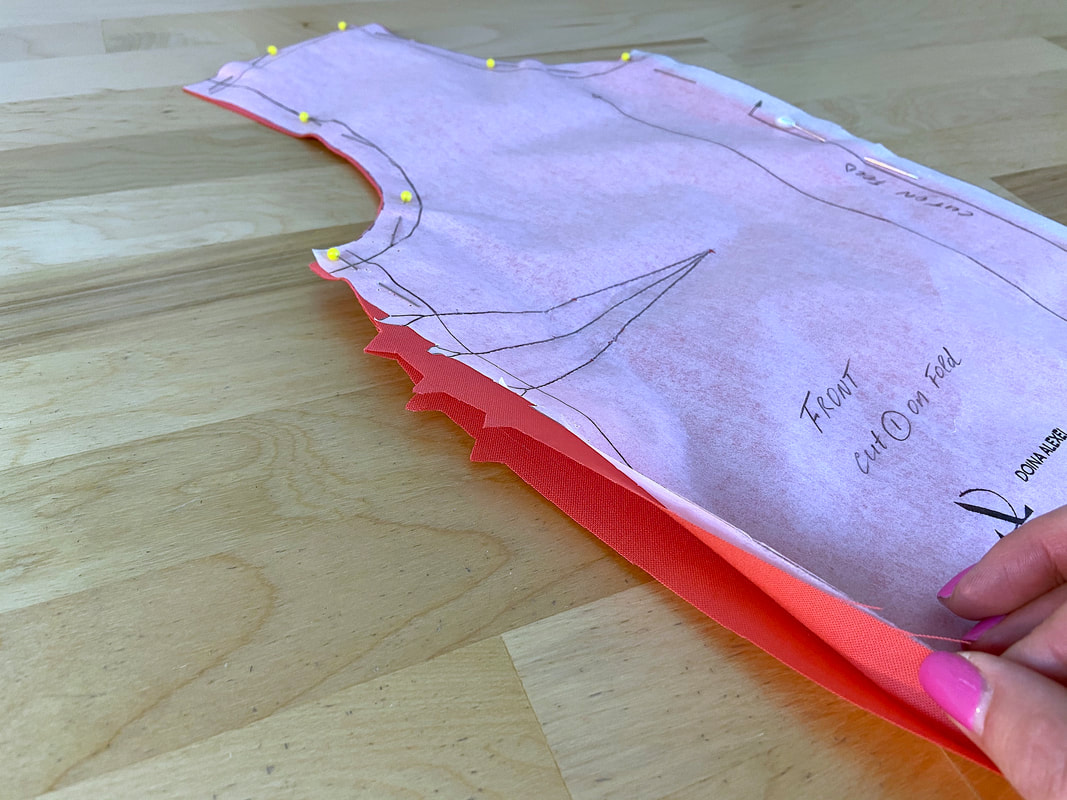
Transferring dart lines from your patterns onto the corresponding fabric pieces is an important step in the sewing process.
Just like any notations in the marking process, darts should be transferred to fabric after the pattern has been cut but before separating it from its corresponding fabric pieces. In other words, marking, if needed, should be completed before the pattern is unpinned.
Darts are the most common sewing elements that require transferring from pattern to fabric. Dart transfer involves both the use of line marking and notch transfer. In a previous marking tutorial, you learned how to transfer different types of notches onto fabric. Today, you’ll learn all about transferring darts.
Why should dart lines be transferred onto fabric?
- To provide a stitching line during the actual sewing process.
- To mark the correct dart intake in the sewing process.
- To help match the two dart legs when folding the dart.
- To provide marks for where the dart starts and ends up blending at the vanishing point.
- If dart lines are not transferred onto the fabric surface, it would be very difficult to correctly fold and sew the dart in the garment construction process.
Note: Very advanced dressmakers can sew a dart using only using the notches at the wide opening of the dart and the vanishing point alone without the need for transferring the actual dart lines.
Dart Transfer Techniques Used In Dressmaking
The method used to transfer darts onto the fabric surface should be chosen based on how well the marks would show on the fabric at hand without damaging or staining it. There are four main techniques you can use to mark darts, each one discussed in more detail below.
Any of these methods can be utilized as desired as long as the technique chosen leaves a distinguishable mark which in terms, can be efficiently used in the sewing process.
Before deciding on what marking technique is best suitable for the project at hand, pre-test a fabric swatch to see which of the techniques described below leave the best marks without bleeding through to the face of the fabric.
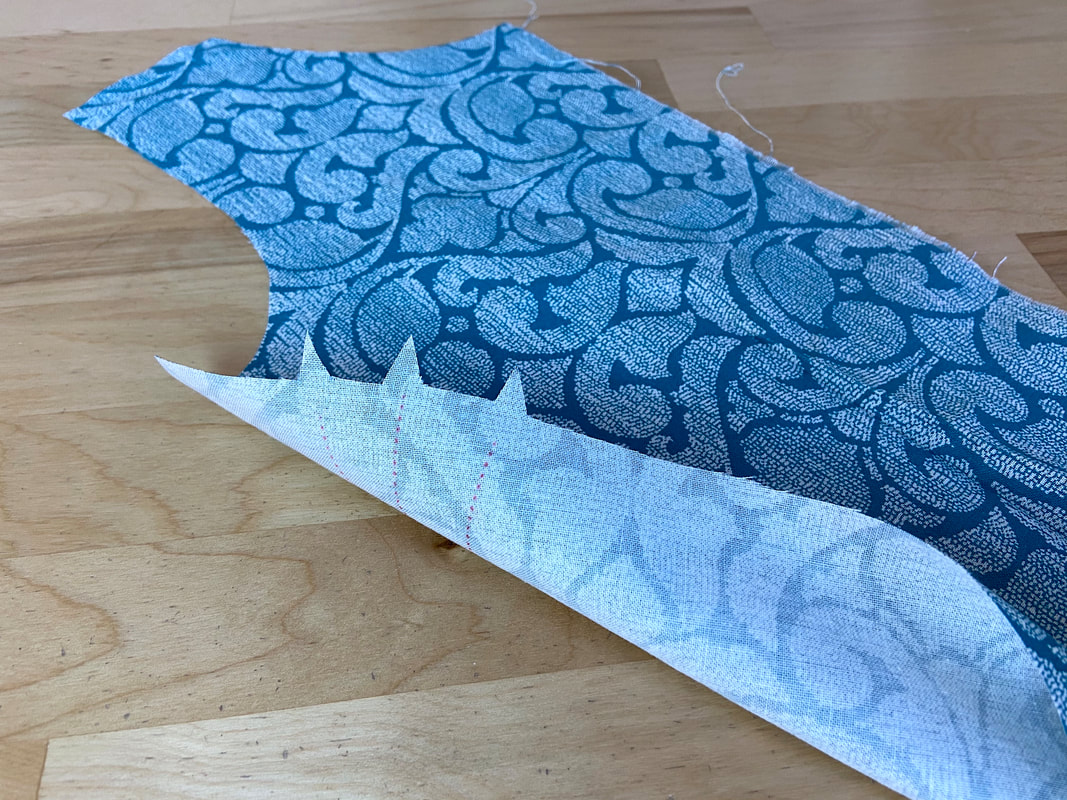
Keep in mind that dart lines should always be transferred onto the wrong side of the fabric. Doing so not only facilitates the sewing process but also protects the fabric’s right side.
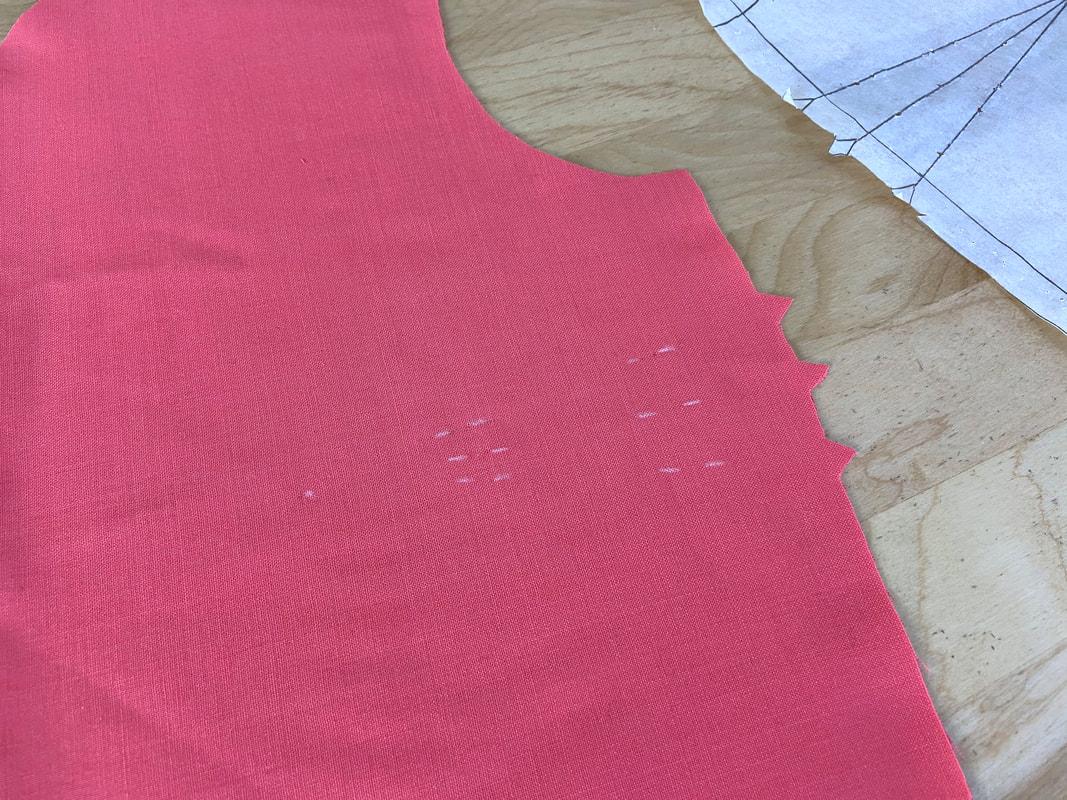
Method 1: Tracing Wheel And Tracing Paper
This technique works great for non-transparent fabrics that are solid in color featuring no bold prints on their wrong side. It is the perfect technique to use in the process of learning how to sew especially when practicing with muslin or solid cotton fabrics.
Use tracing paper that provides the most contrast against the fabric’s wrong side. Luckily, fabric stores sell tracing paper in packs that include multiple colors suitable for a variety of projects.
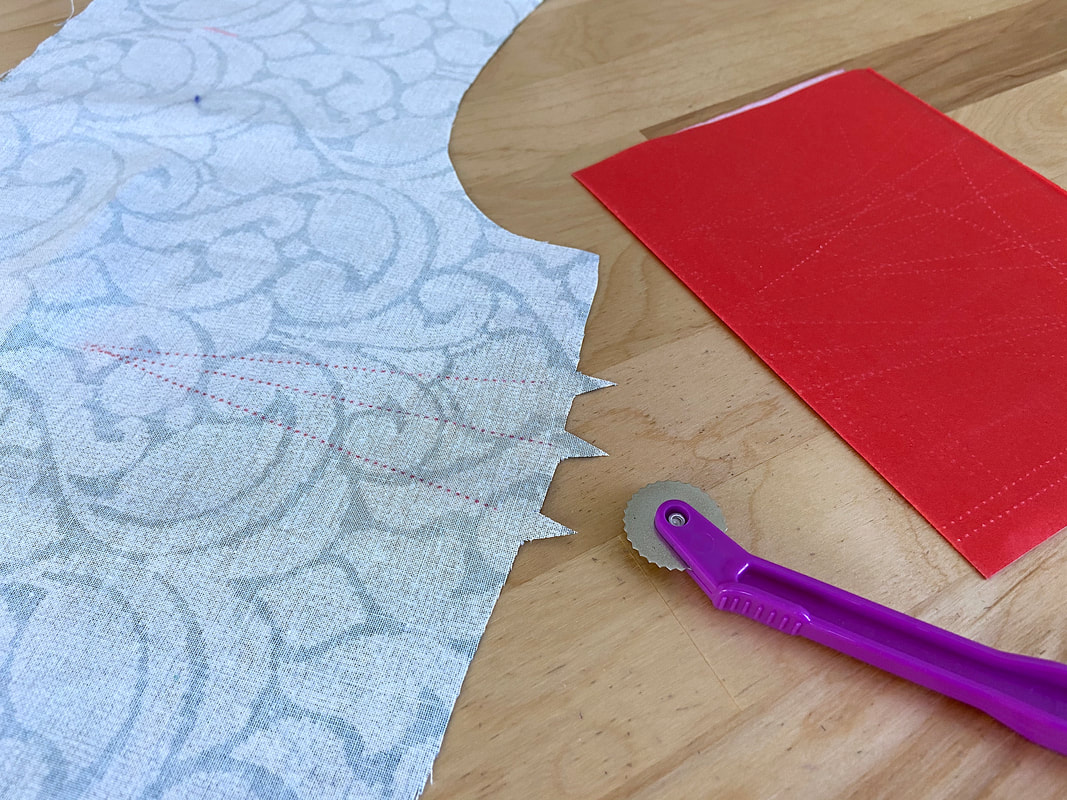
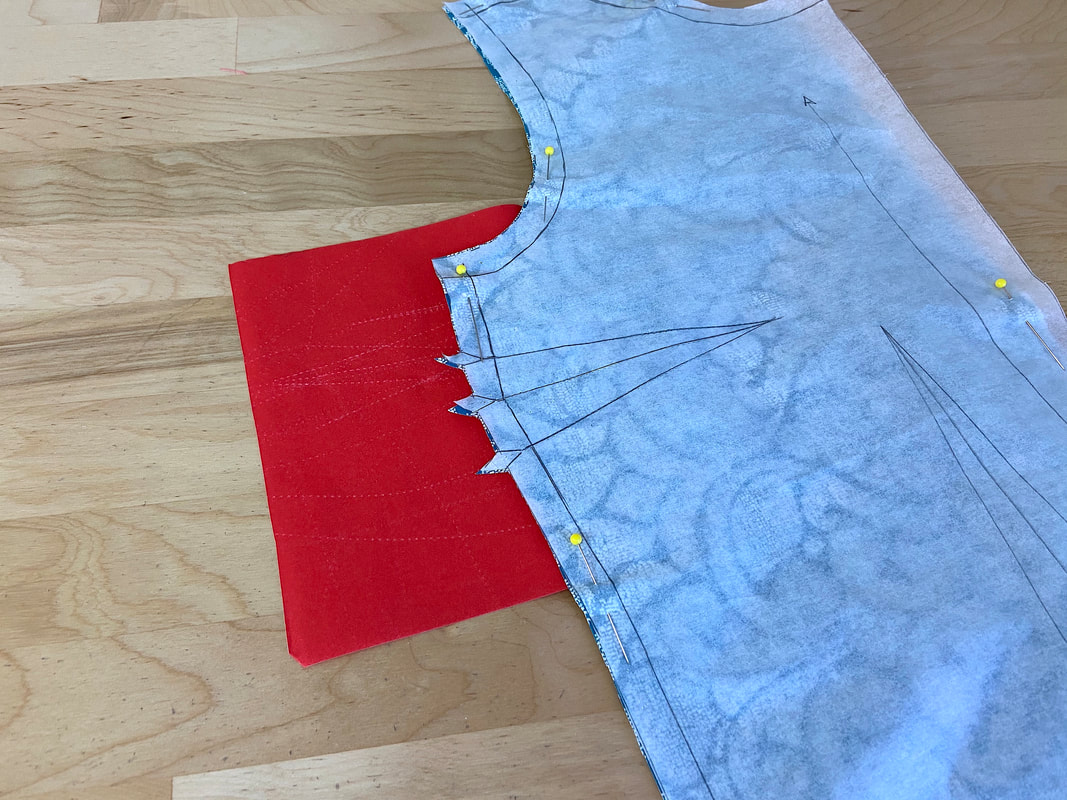
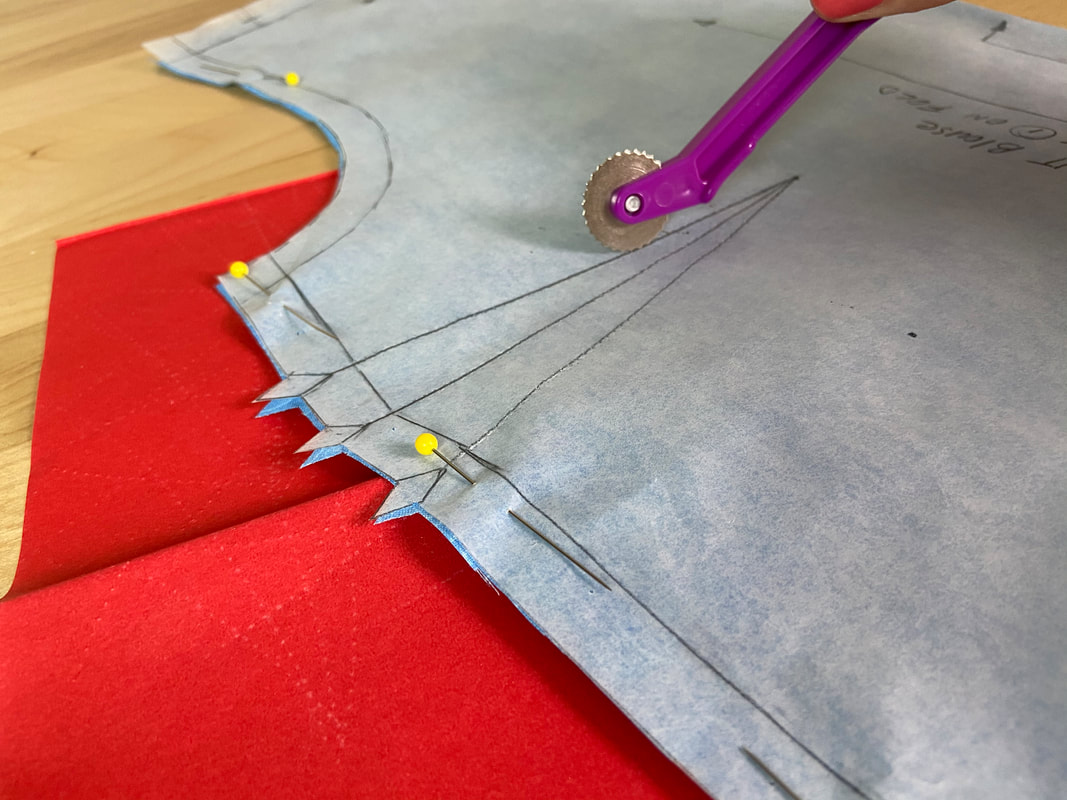
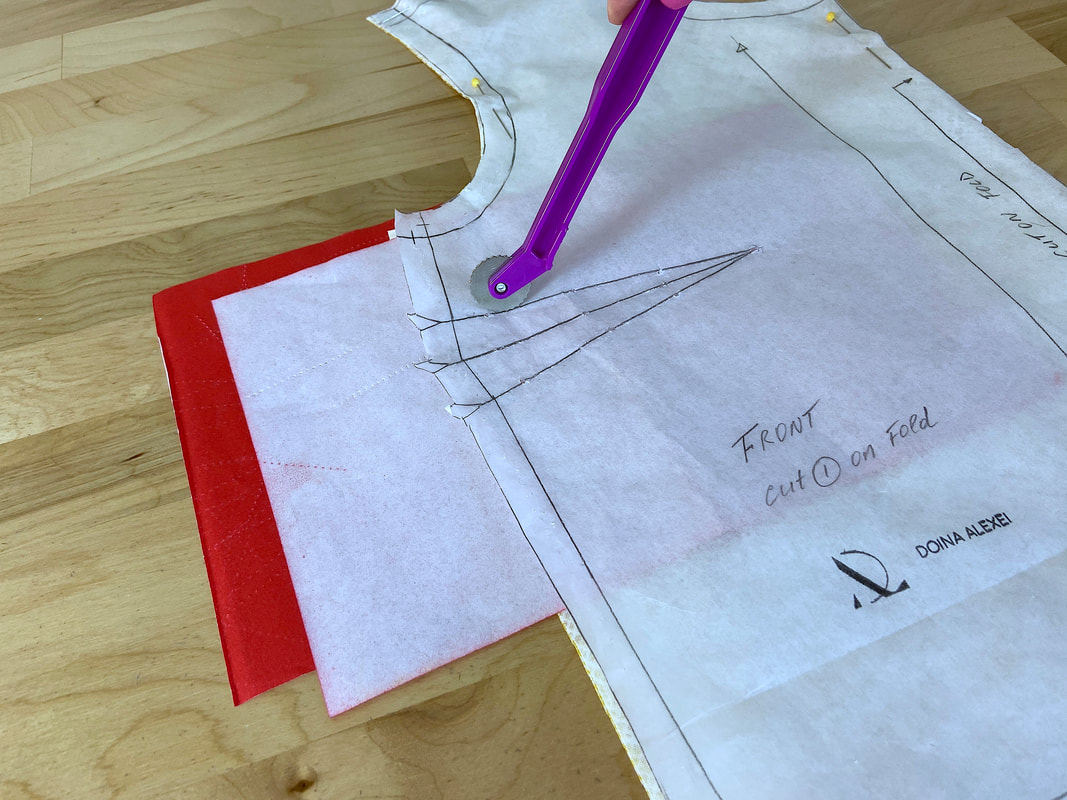
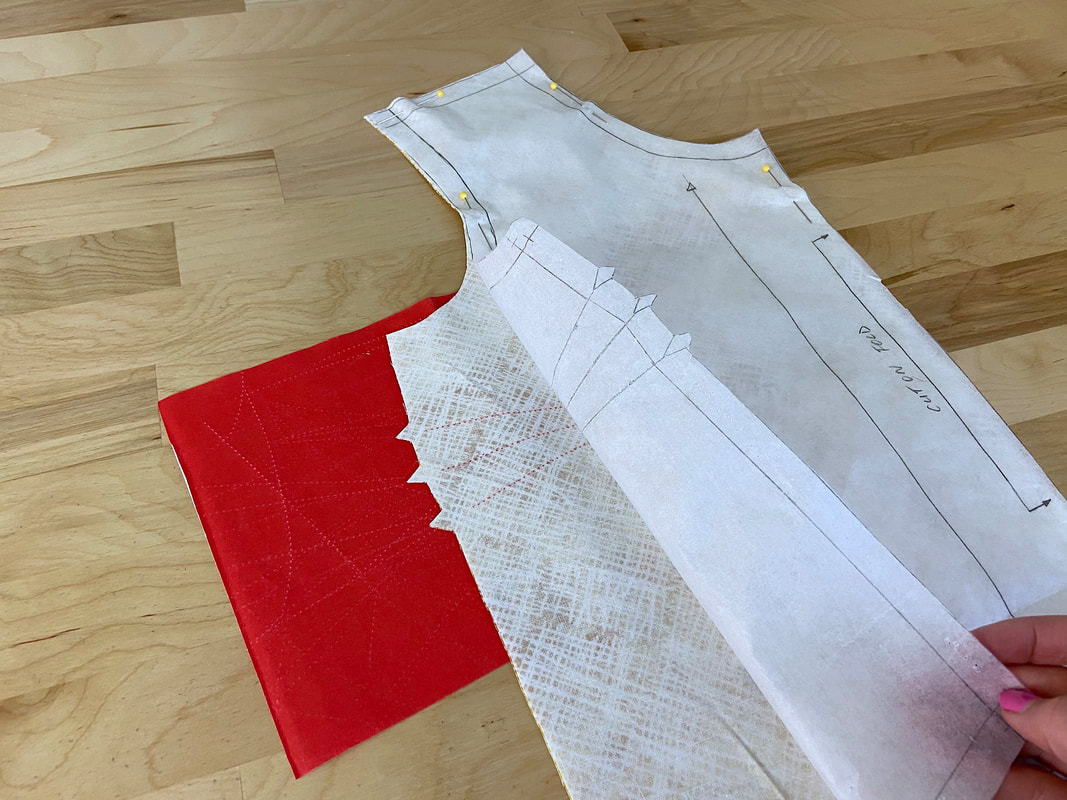
1. Place the tracing paper underneath the pinned pattern at the dart location with the wax side touching the wrong side of the fabric.
2. Use your tracing wheel to firmly trace along each dart leg and the dart fold line.
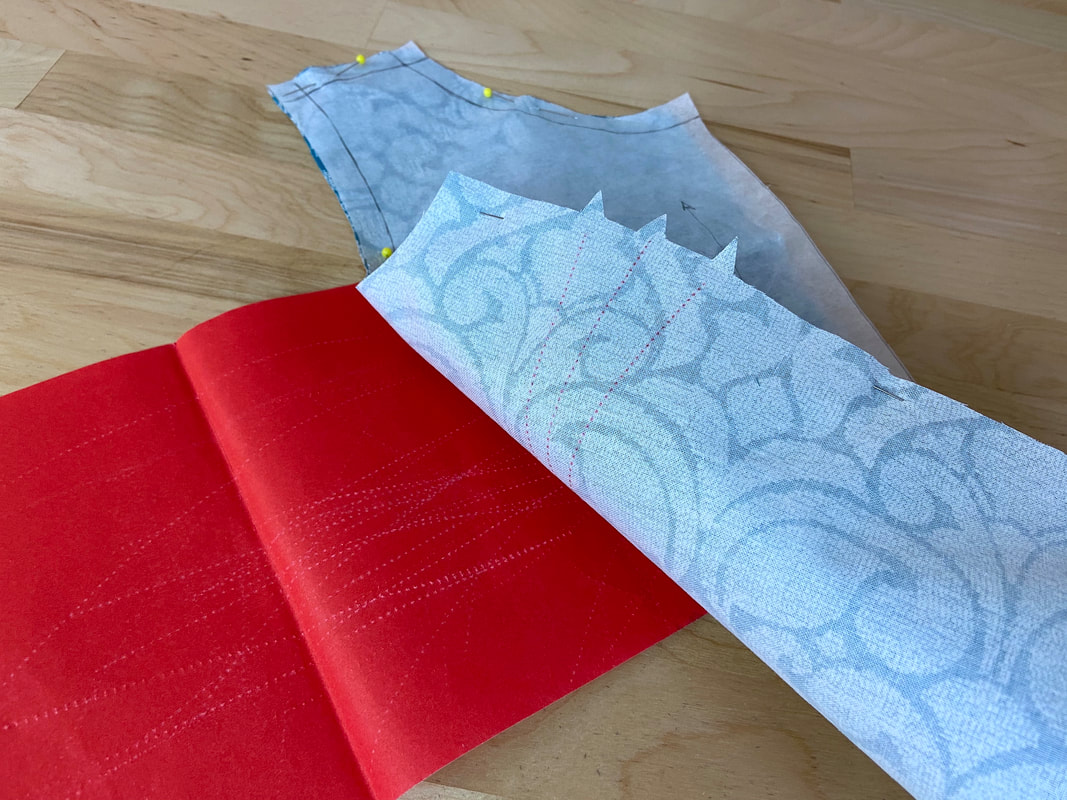
The tracing wheel will leave a dotted line on the wrong side of the fabric. Make sure the vanishing point is clearly visible on the transferred dart.
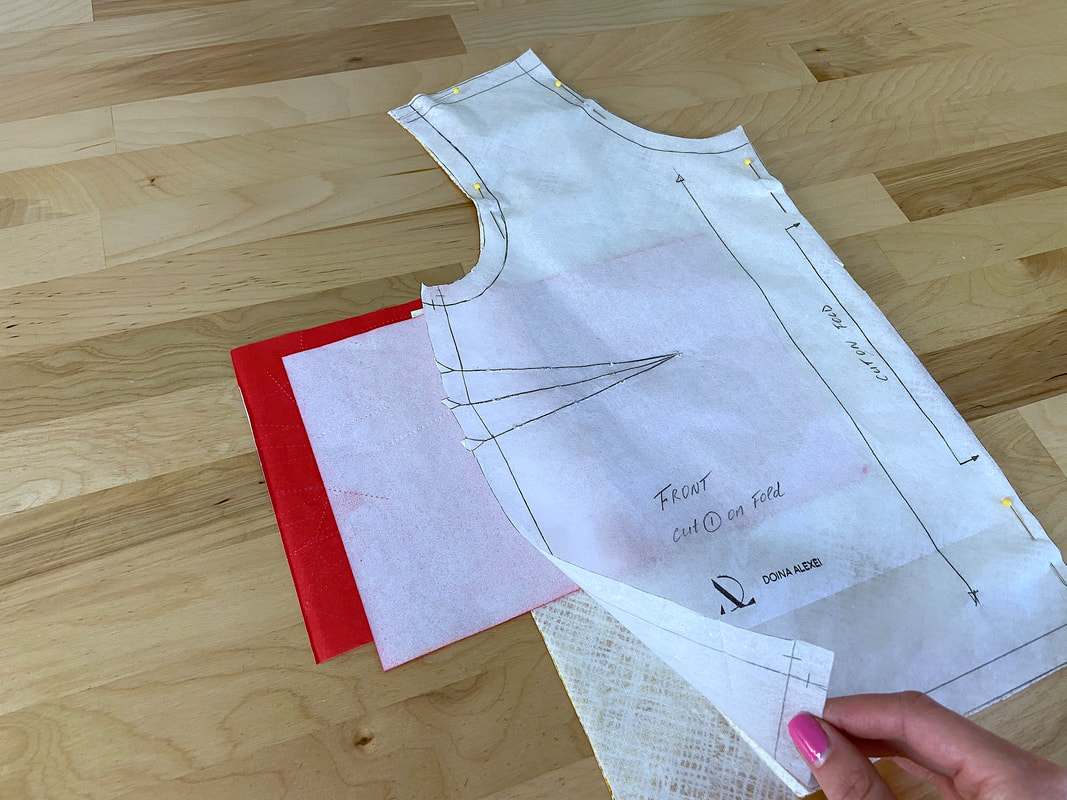
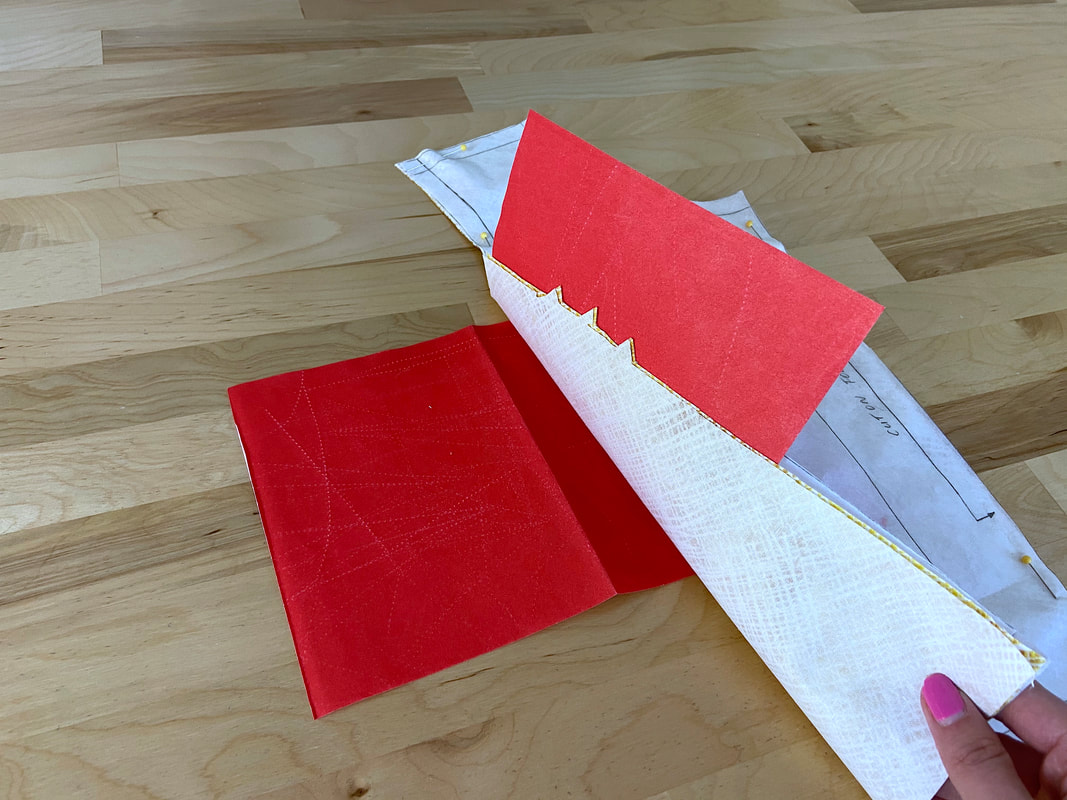
3. If the fabric is folded, you can trace the darts simultaneously by using two pieces of tracing paper and placing them with the face touching the wrong side of the fabric on both sides of the fold.
4. Trace on top of the dart lines, using enough force to capture all fabric layers underneath.
Serrated tracing wheels are suitable with most fabrics. However, if working with difficult to mark fabrics that are delicate or feature a bolder print, use a smooth tracing wheel to achieve more defined transfer lines.
The only downside to using the tracing wheel technique is that the perforations and pressure applied in the transfer process will damage the paper pattern with continued use.
While great for basic fabrics, the tracing wheel method is not suitable for a large range of textured or boldly printed fabrics. Tracing wheel marks are also very difficult to transfer through thick fabric layers.
Method 2: Tailor Chalk (Or Fabric/Quilting Pencil) And Pins
The pencil-and-pins technique is fast, uses a small amount of tools, and is the most universal. It provides an easier way to mark on textured, thick fabrics.
The tailor chalk and pins technique requires the initial transfer of the dart’s vanishing point and a few points along the dart lines. These points are then connected into straight lines directly on the wrong side of the fabric surface.
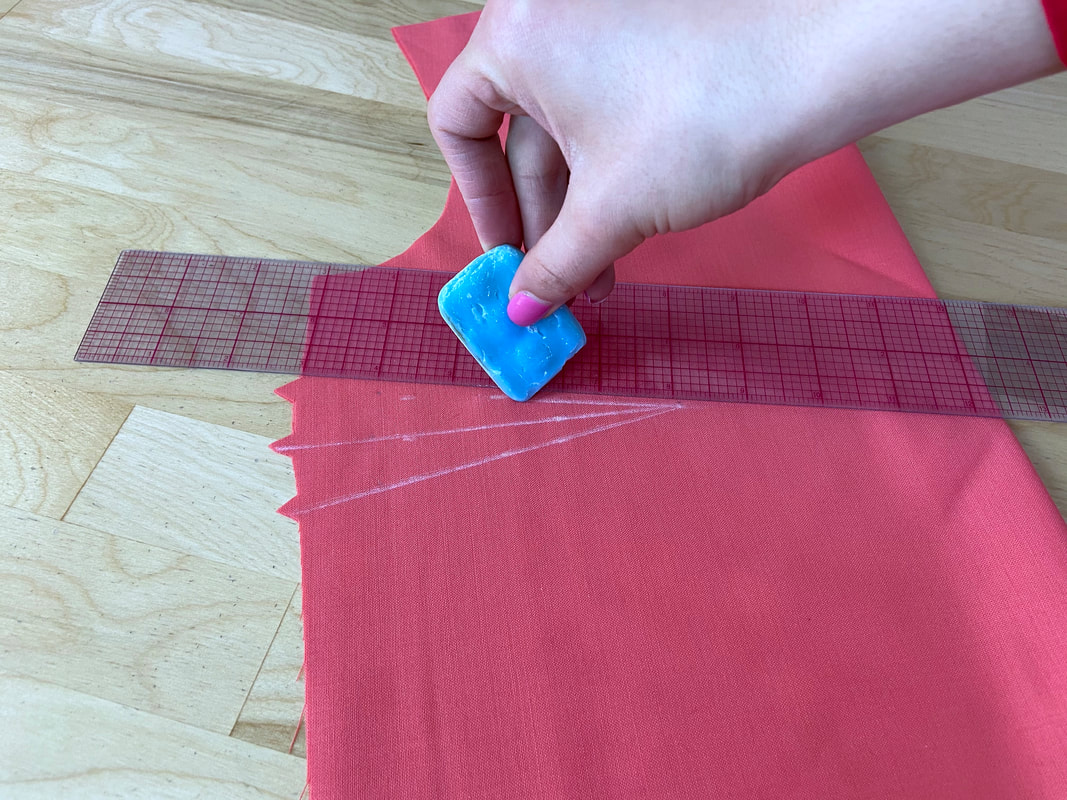
Tailor’s chalk leaves a thicker mark, thus it is great for textured fabrics like woolens and thick cottons. While regular tailor’s chalk can fade easily, wax based chalk provides a longer lasting effect.
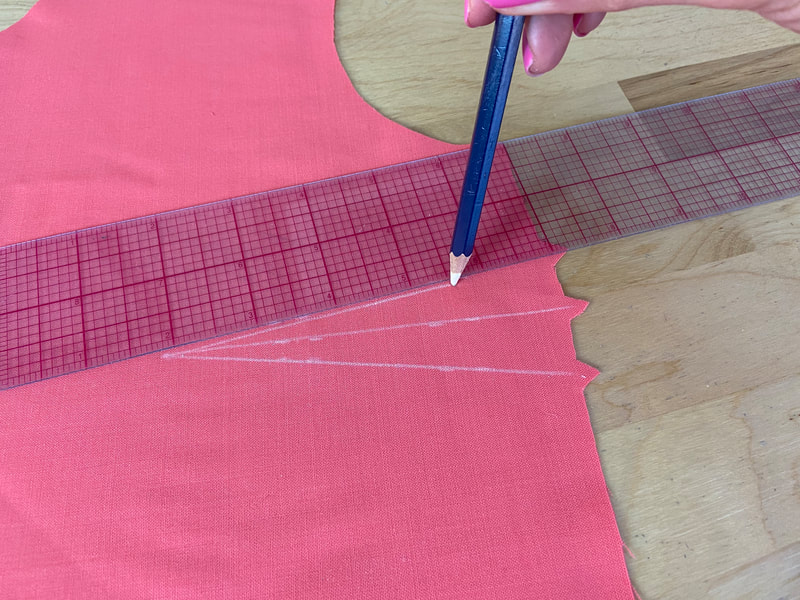
If thinner, more precise lines are required, use a quilting fabric pencil instead. Fabric pencils are water soluble and provide thinner, more controlled lines. Use fabric pencils for slippery, fine fabrics that are difficult to mark using tailor’s chalk or the tracing paper method described above.
In this example, the dart is transferred to a folded fabric cut (two fabric layers).
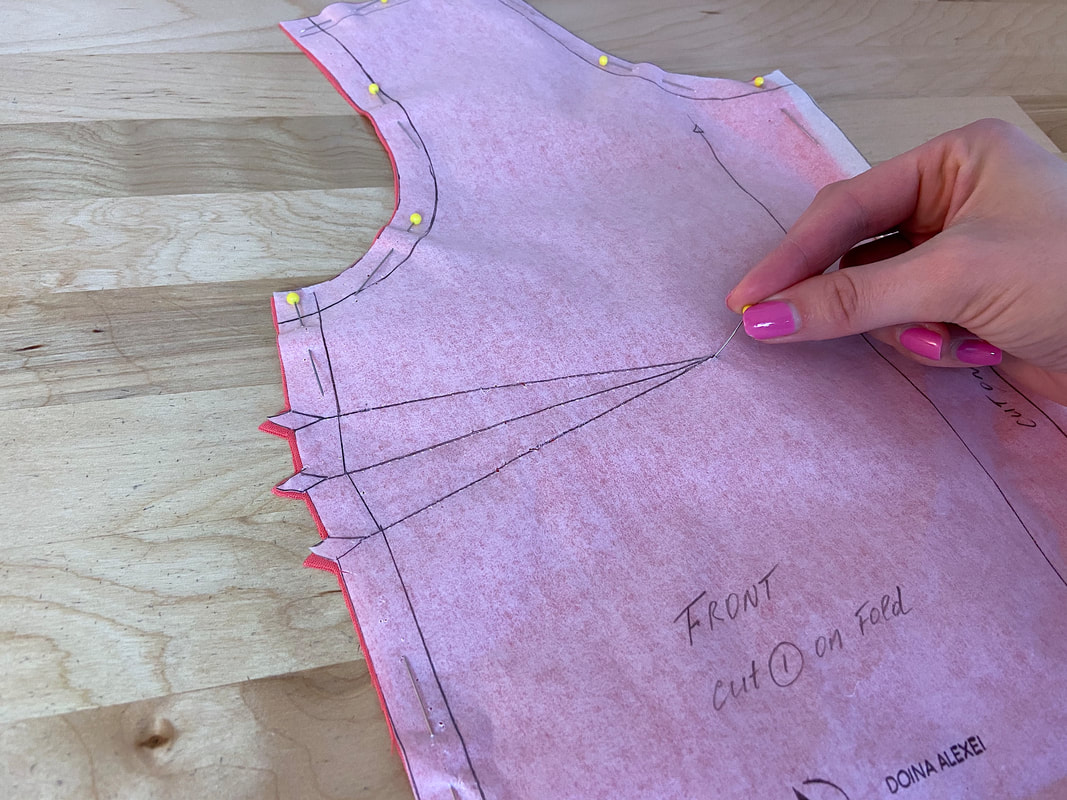
1. Turn the pinned fabric layers over such that the pattern is facing up. In this case, the wrong side of the fabric should be facing out while the two fabric face sides should be touching. Insert a pin through the dart vanishing point in a push pin position as shown above.
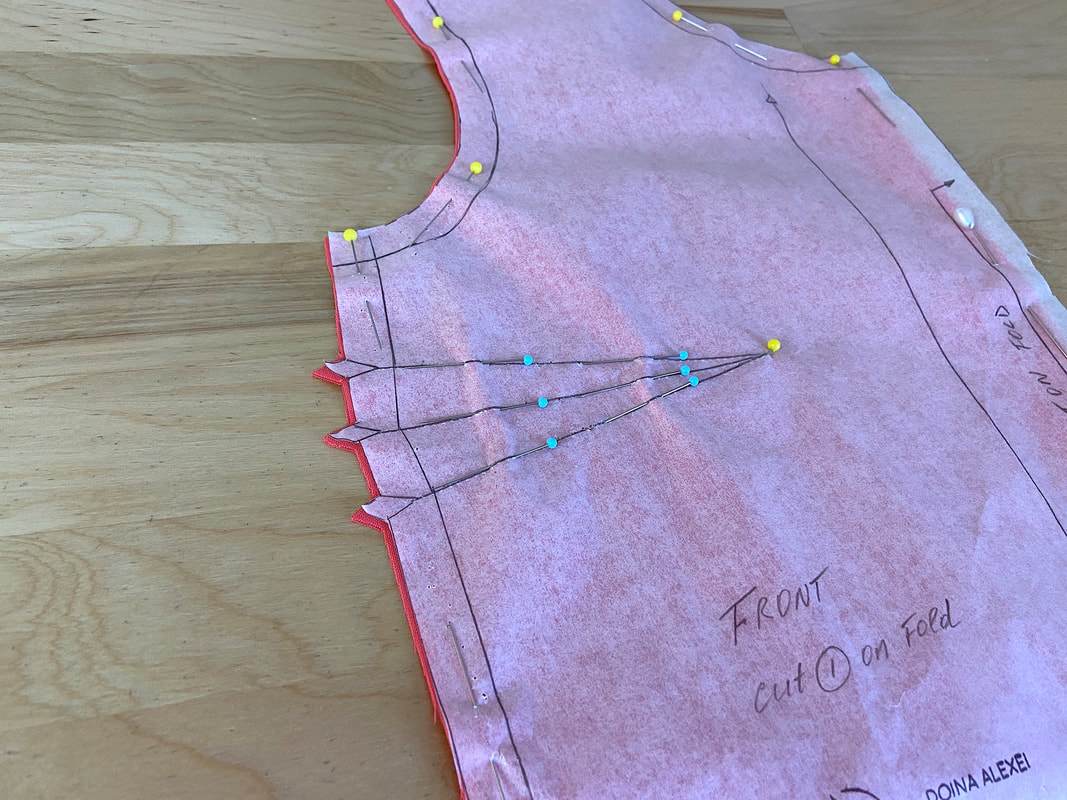
2. Next, insert pins at even locations along each dart line (dart legs and dart fold line), catching both fabric layers and the paper pattern underneath.
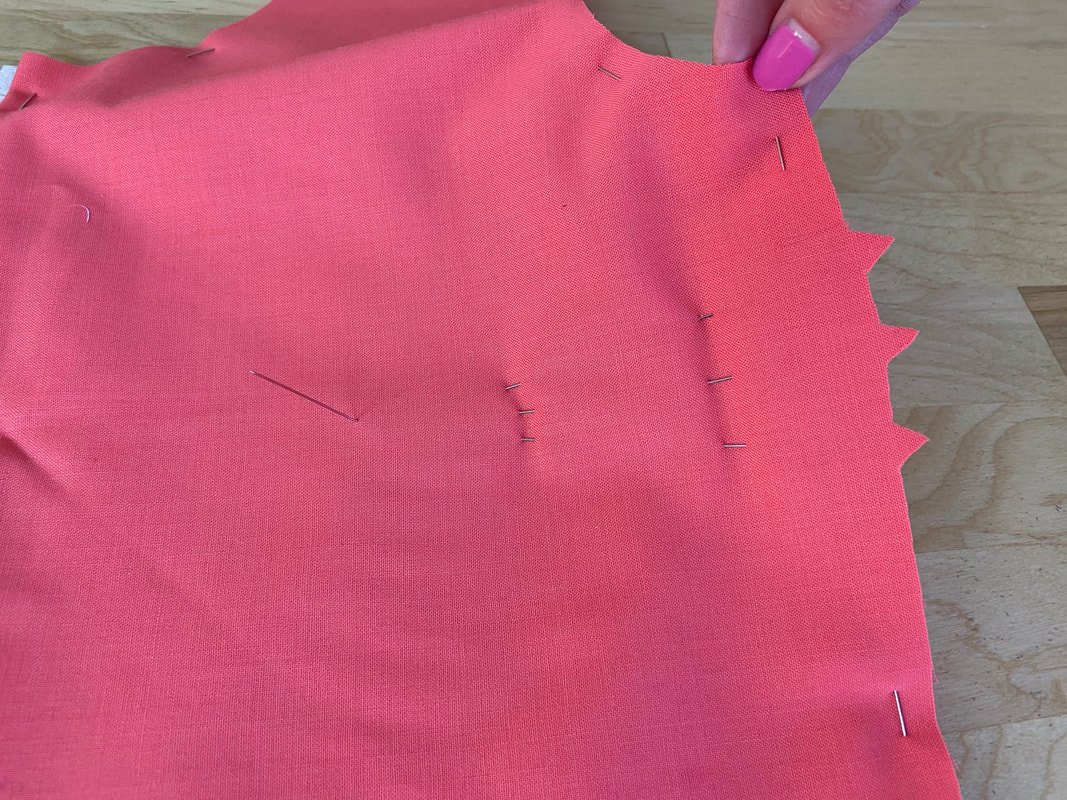
3. Flip the pinned pattern over to expose the fabric surface.
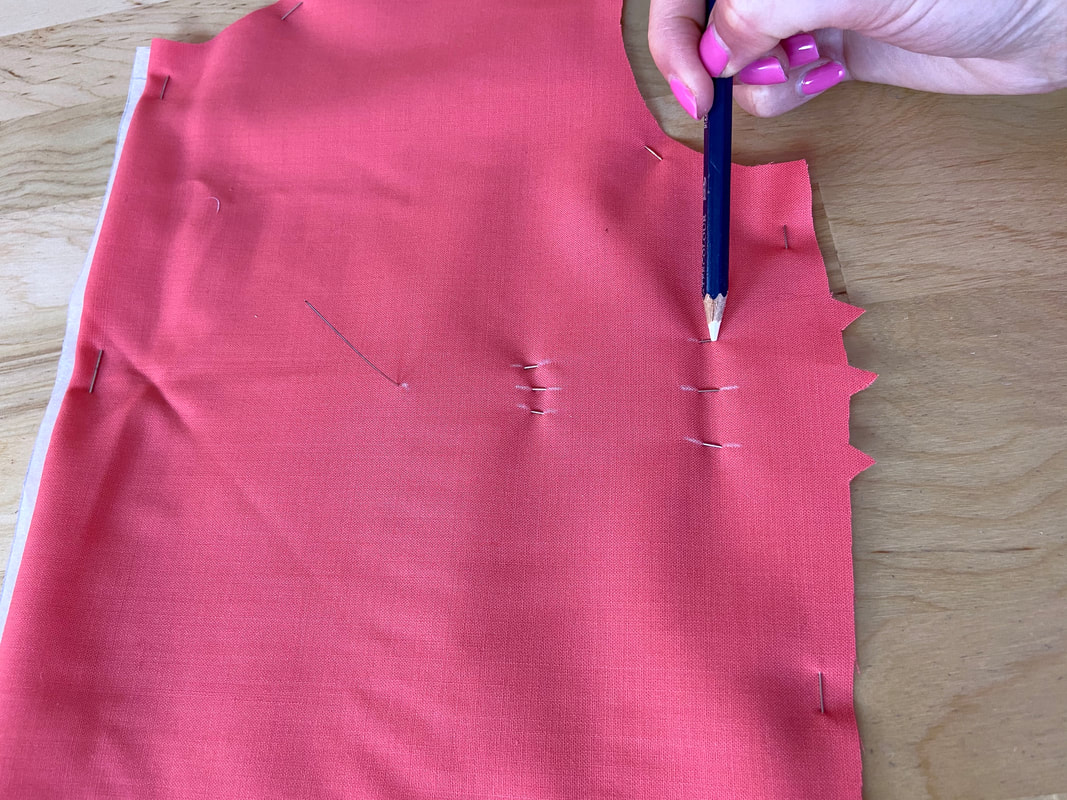
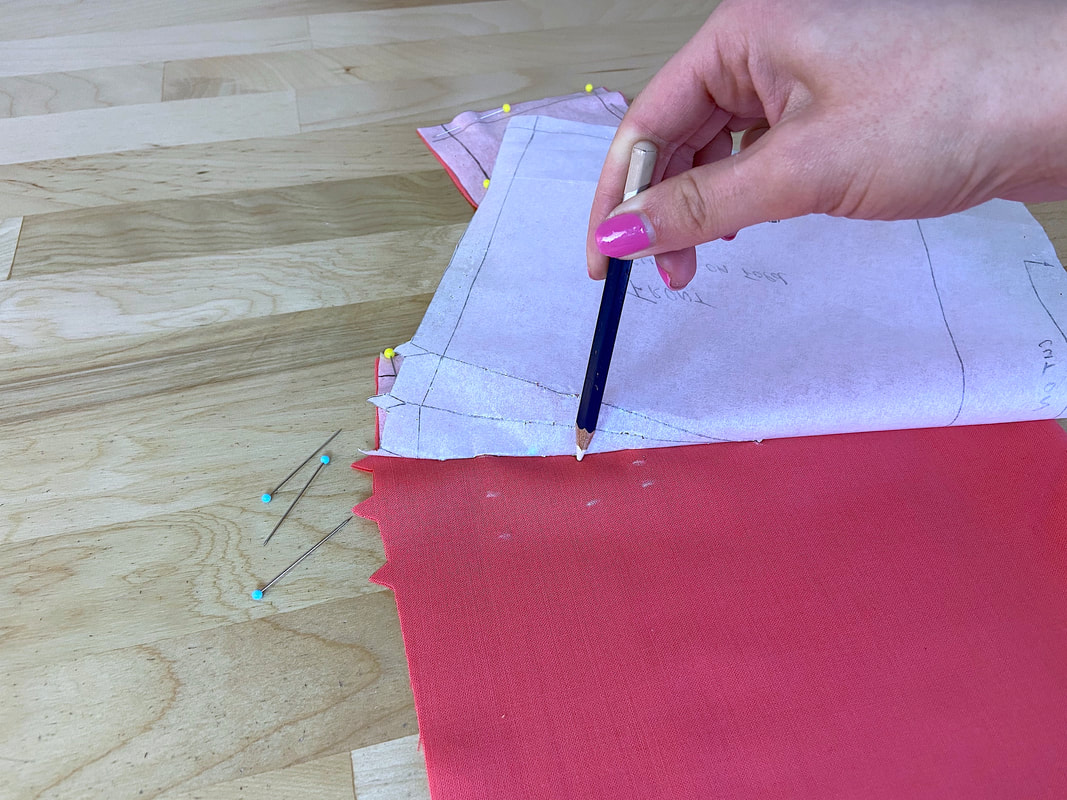
4. Mark points or dash lines with tailor’s chalk or a fabric pencil at each pin location.
To transfer the pin marks to the wrong side of the other fabric layer, you can use one of these two techniques:
Unpin the pattern around the dart and mark at each pin location using your fabric pencil (or tailor’s chalk), or:
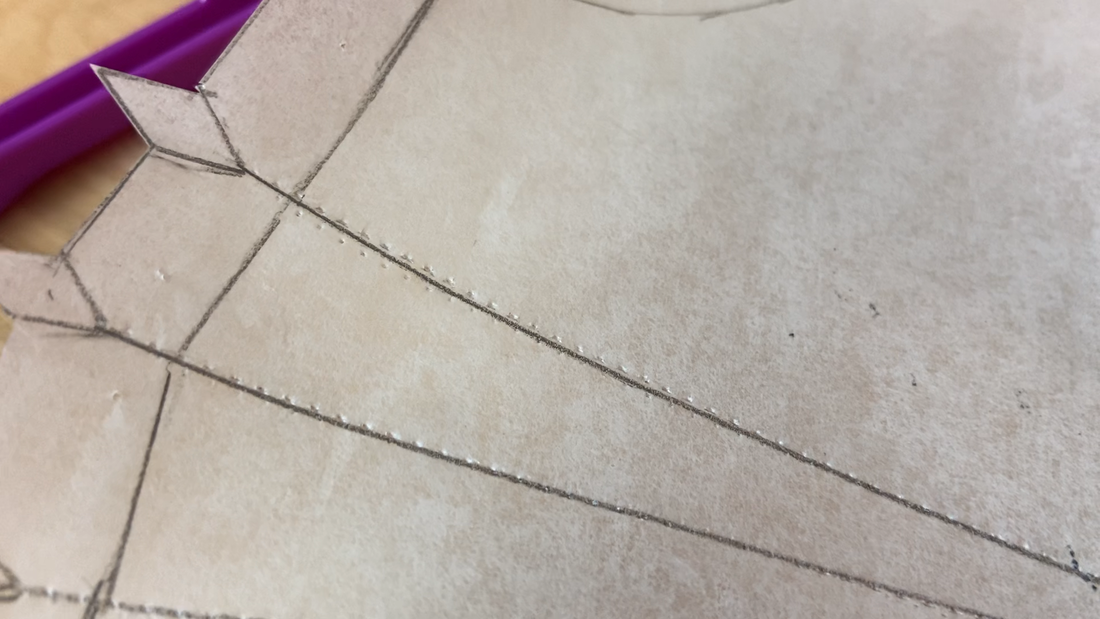
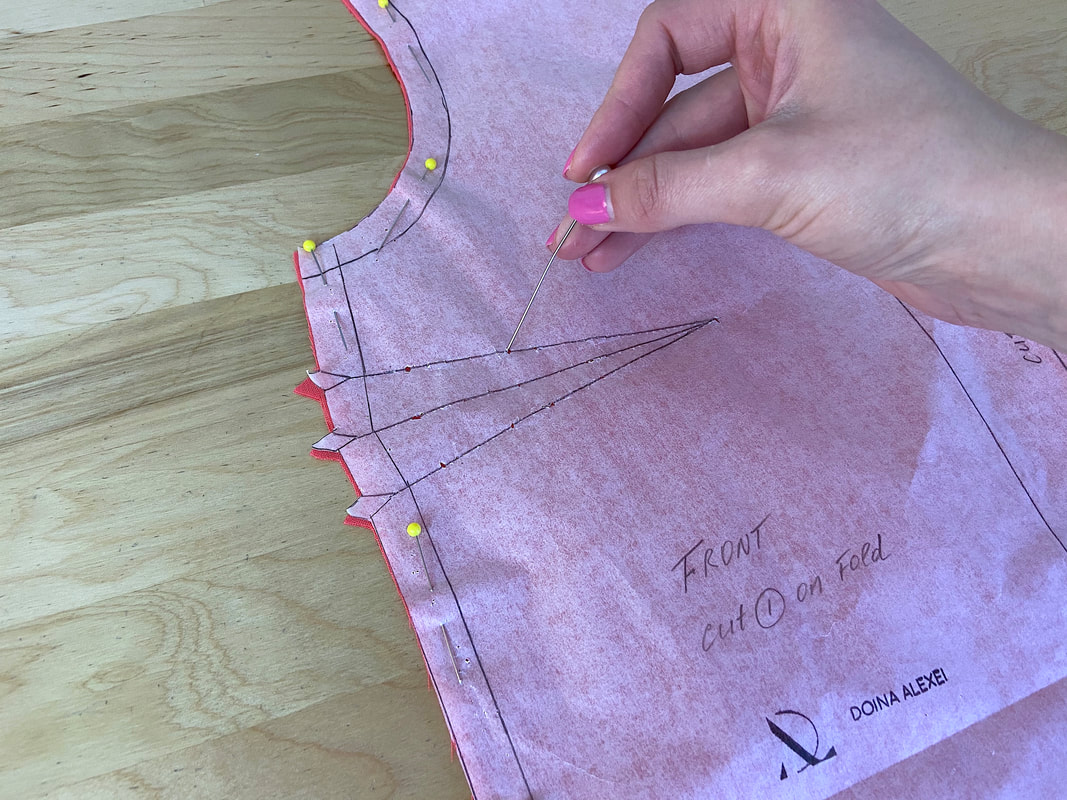
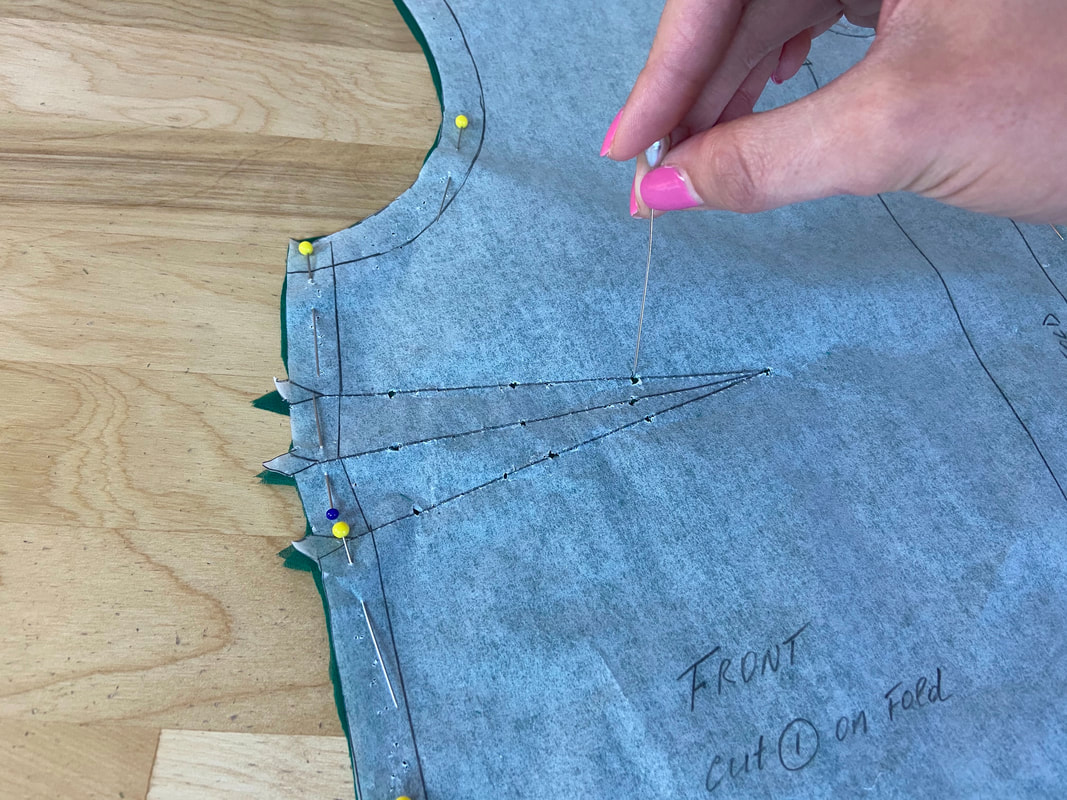
Leave the pattern fully pinned but remove the pins inserted along the dart lines. Using a pin, perforate small circles through the paper pattern at the vanishing point and along each dart line.
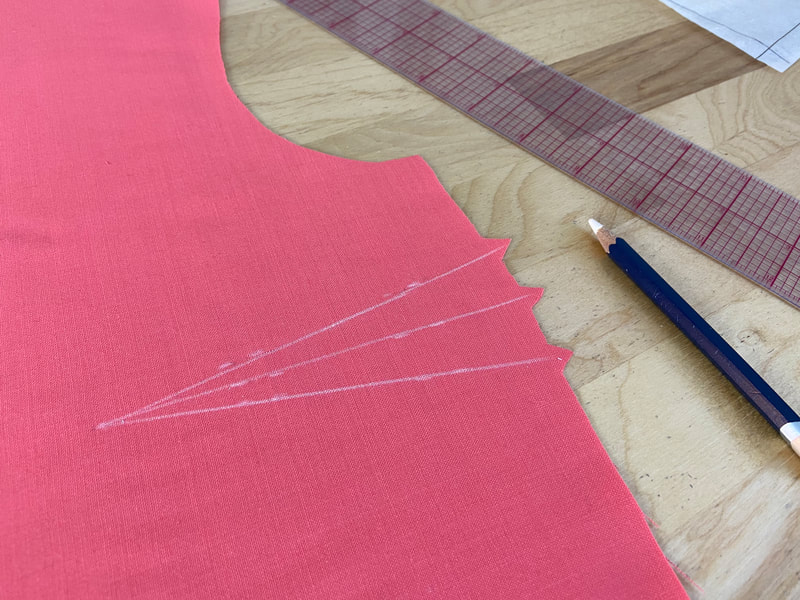
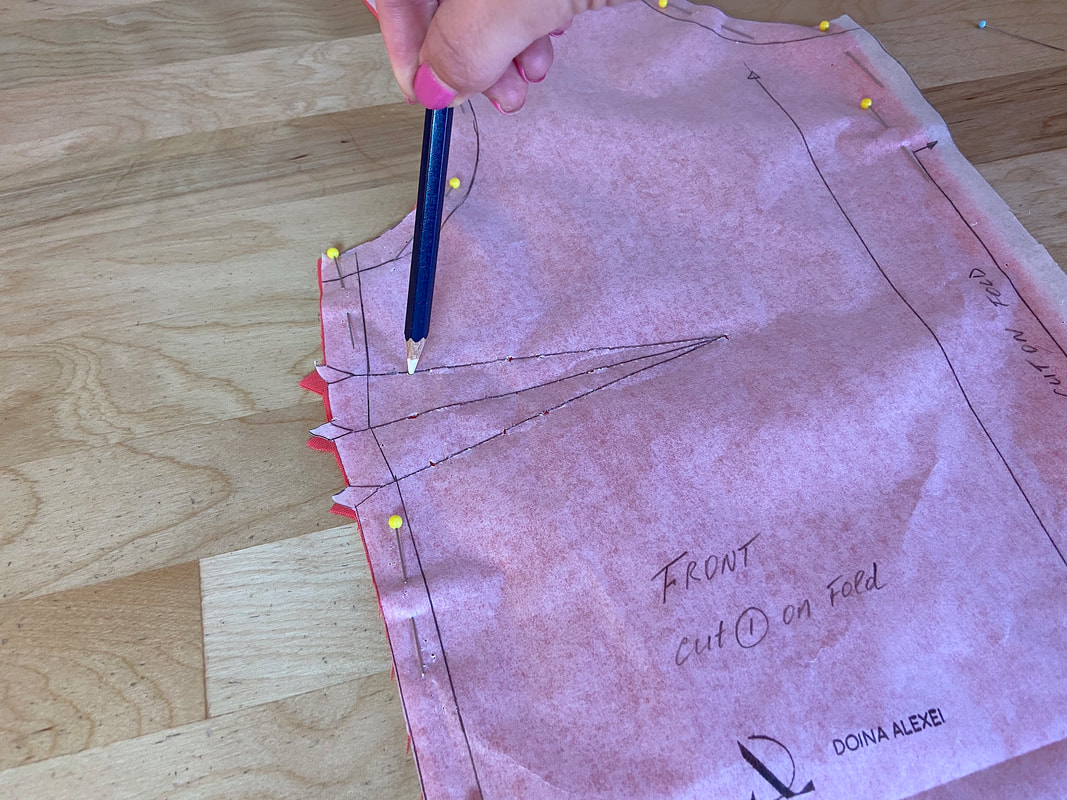
Using your fabric pencil or tailor’s chalk, mark the fabric layer through each perforation as shown.
5. Remove all pins and separate the pattern from the fabric layers.
Using a ruler and your tailor's chalk or fabric pencil, connect all the marks into straight lines, starting from the vanishing point and extending to each corresponding notch located at the seam edge. Repeat on both fabric layers.
Method 3: Regular Tailor Tacks
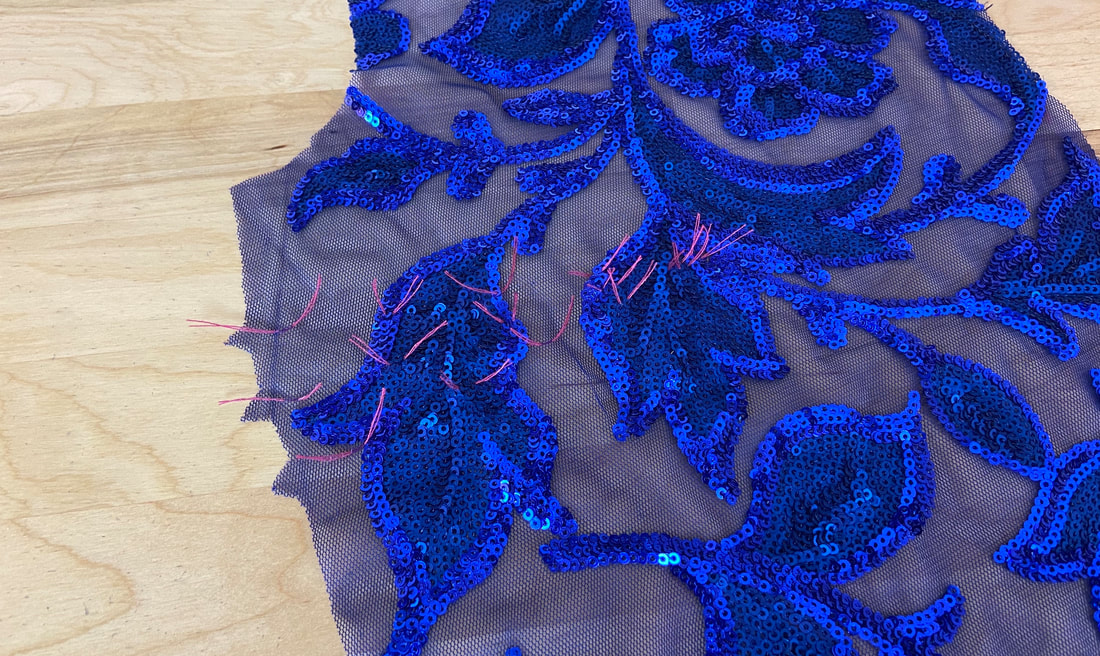
Tailor tacks are a great alternative for fabrics that are very delicate, heavily decorated, sheer or unable to withstand any of the marking techniques described above. They take a bit more effort and time to apply but are a lifesaver in special circumstances.
Tailor tacks are placed at evenly distributed points along each dart line and at the vanishing point to mark the general shape of the dart. They can also be used to transfer markings needed on the face of the garment since they can be safely and quickly removed when no longer needed.
1. Start by marking the points on the dart legs where you’d like the tailor tacks to be placed. You will need one at the vanishing point and a minimum of two tacks on each dart leg.
2. Using the sharp end of your needle, create a gap through the paper at each one of these points.
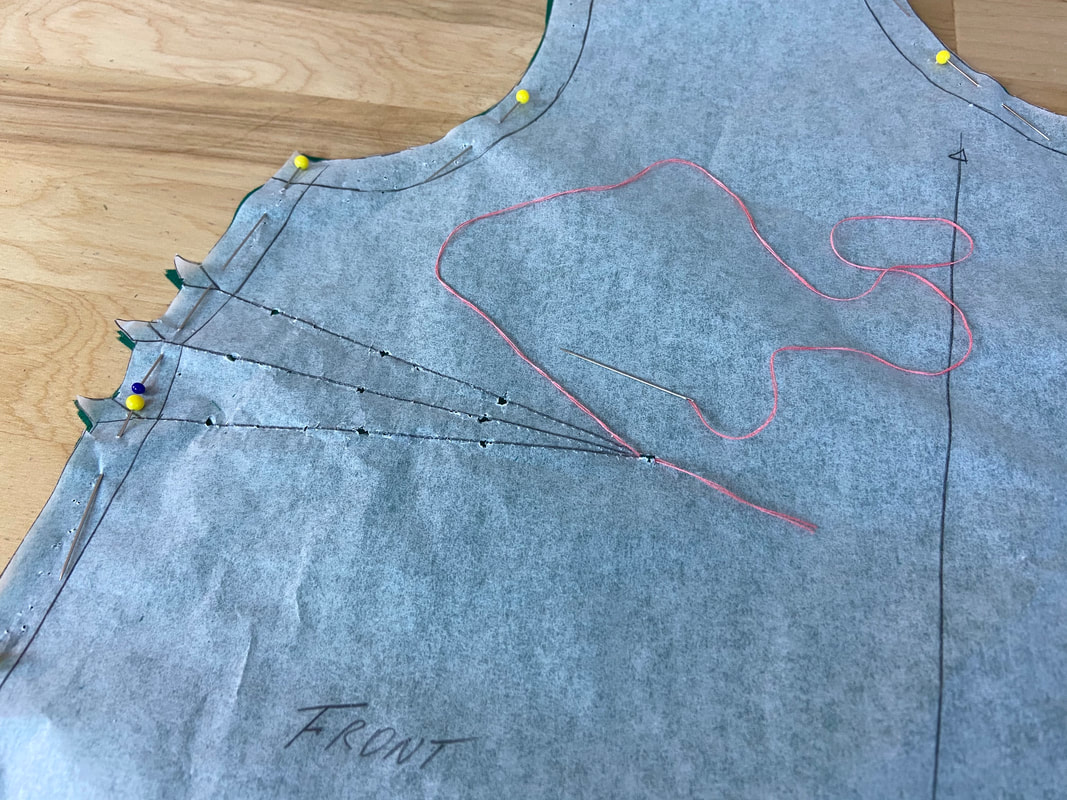
3. Insert a hand sewing needle and doubled thread through the two fabric layers at the pattern gap.
Leave 1” of loose thread at the end.
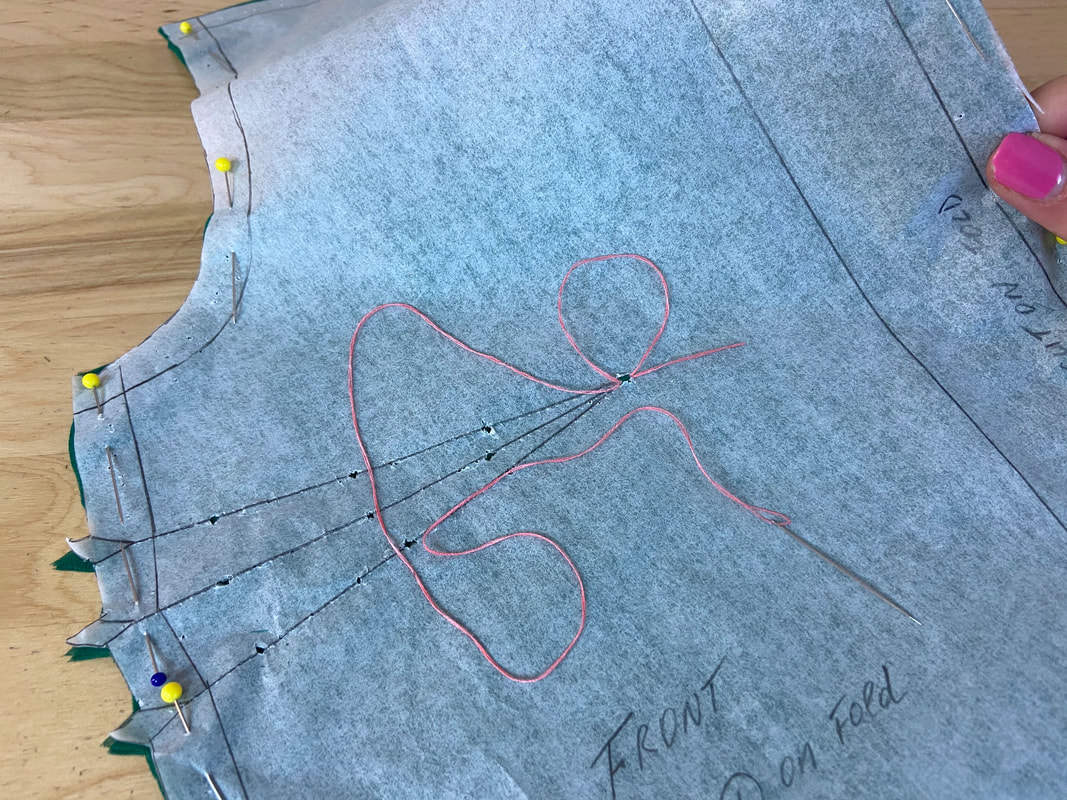
4. Insert the needle back through the fabric layers creating a 2” loop as shown above.
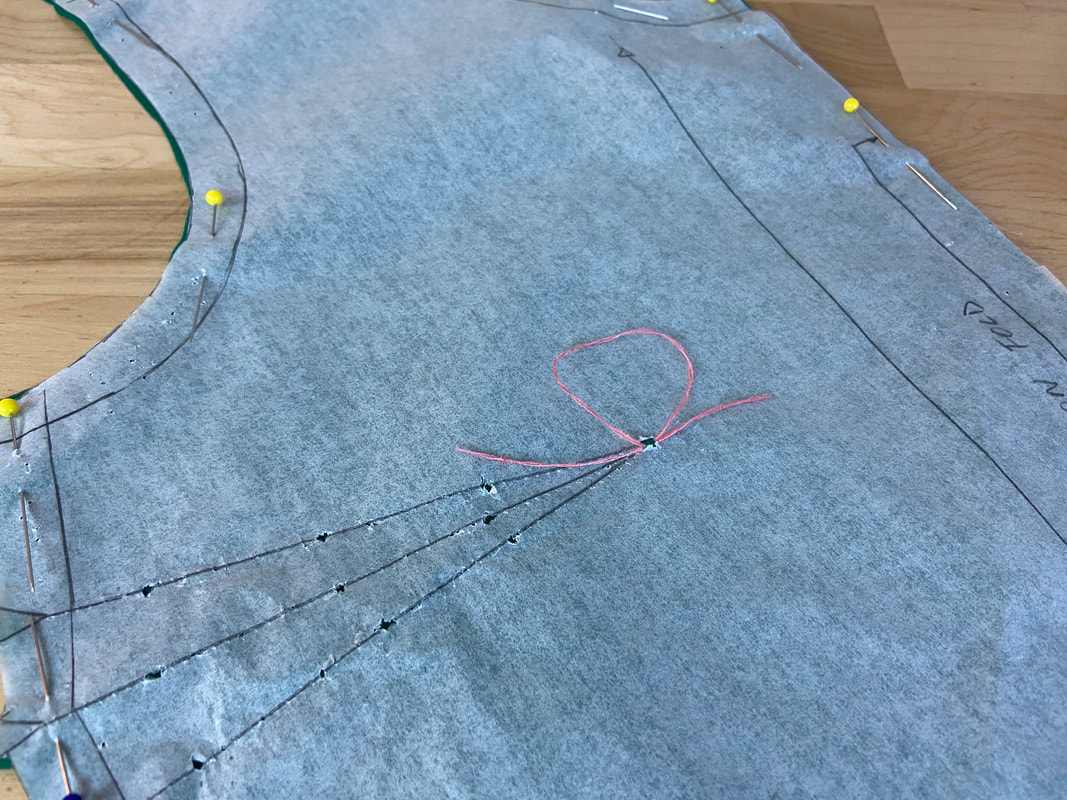
5. Cut the thread leaving another 1” of excess on the other end.
6. Next, carefully separate the paper pattern from the fabric layers.
7. Start pulling the fabric layers carefully apart. As you separate, each loop flattens and its excess is pulled on the other side of the fabric.
8. Cut the loop excess threads as you separate the fabric layers (as shown).
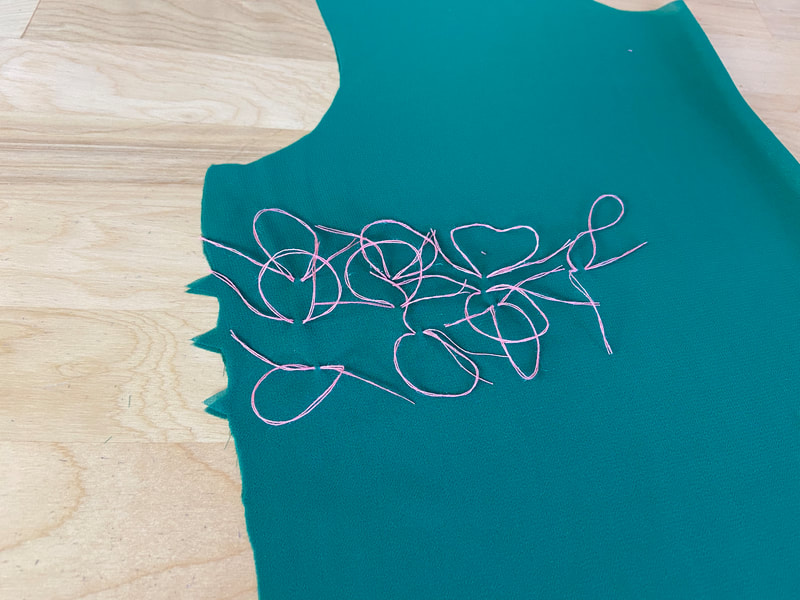
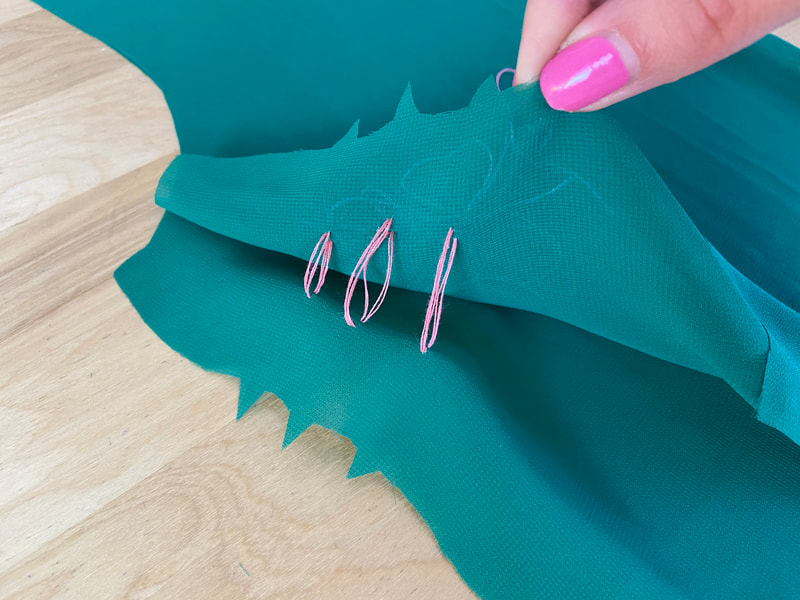
To transfer dart lines on a single fabric layer, it is easiest to use simplified tailor tacks the process of which is described in detail below.
Method 4: Simplified Tailor Tacks
Simplified tailor tacks are basically a type of uneven basting featuring longer stitches that are then cut to form tailor tacks. As opposed to regular hand basting, simplified tailor tack stitches are usually much longer and looser.
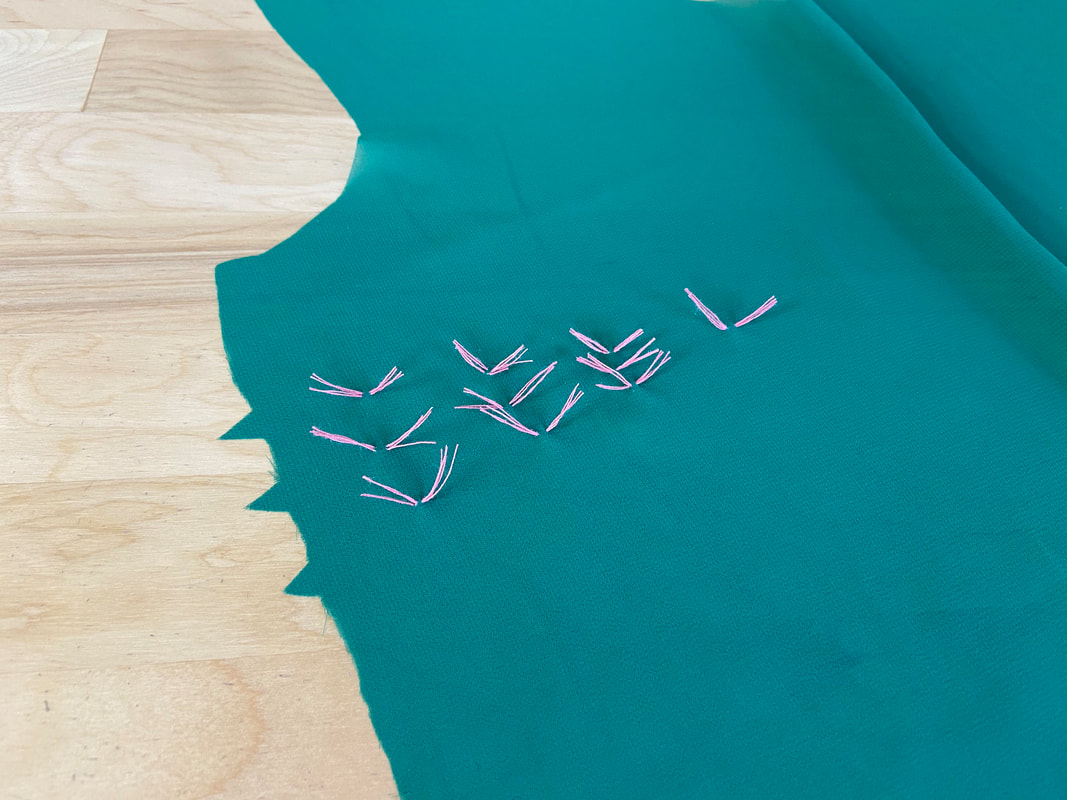
In contrast to regular tailor tacks, this dart transfer technique is more visible and defined allowing for a more controlled tailor tack placement. Tailor tacks usually provide individual markers and/or points as opposed to defined lines, thus having them closer together can provide an increased linear look.
Simplified tailor tacks are great for transferring marks onto single fabric layers. They are mostly used on delicate, heavily ornamental fabrics that cannot withstand other transfer techniques. You should use the simplified tack method as a substitute for regular tailor tacks to transfer darts onto very slippery, thin fabrics. These fabrics usually require a more defined stitching guideline in order to facilitate the dart sewing process.
To transfer darts using simplified tailor tacks:
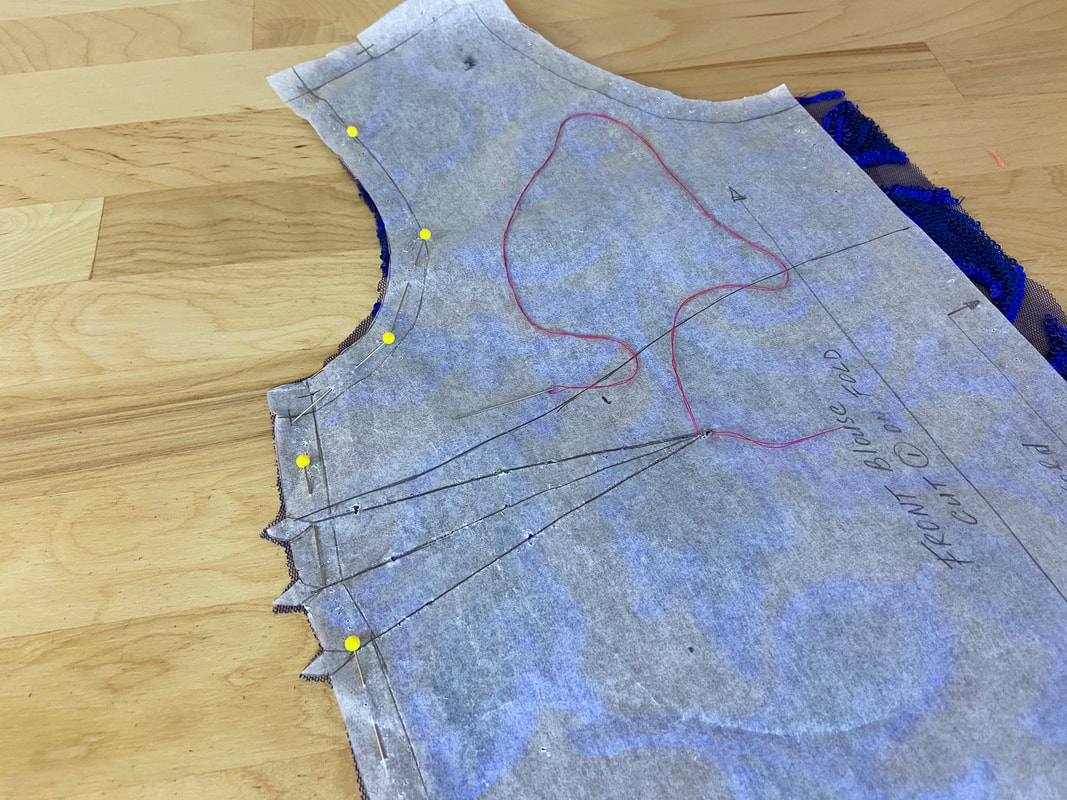
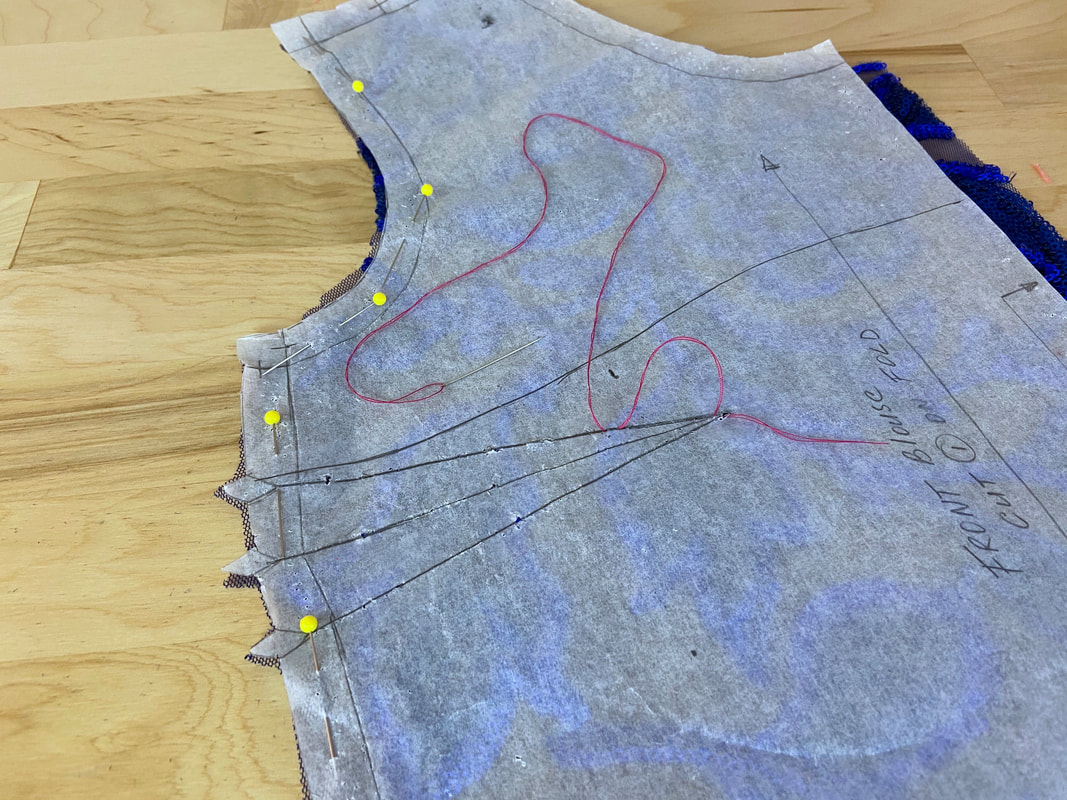
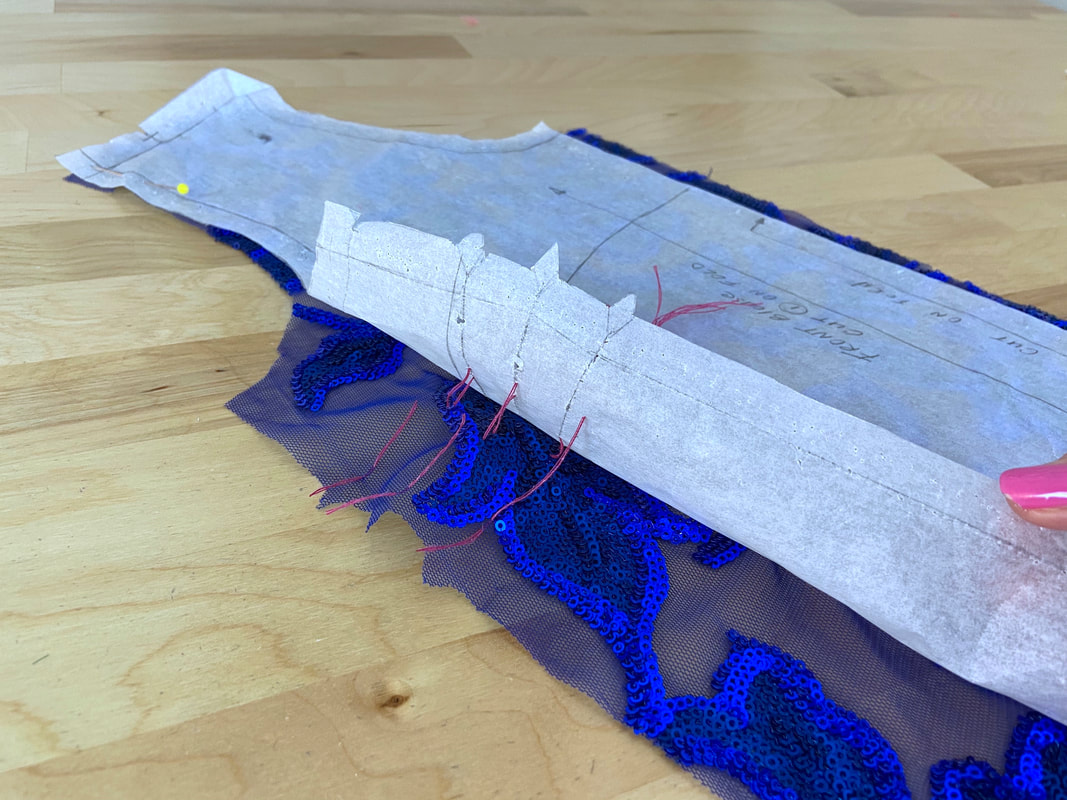
1. Using a double threaded needle, catch a short stitch through the pattern and fabric layer underneath, directly on top of the dart line.
2. Next, insert another short stitch at about 1" from the first, leaving a loop in the thread. A 2-inch loop should be enough to achieve securely positioned simplified tacks.
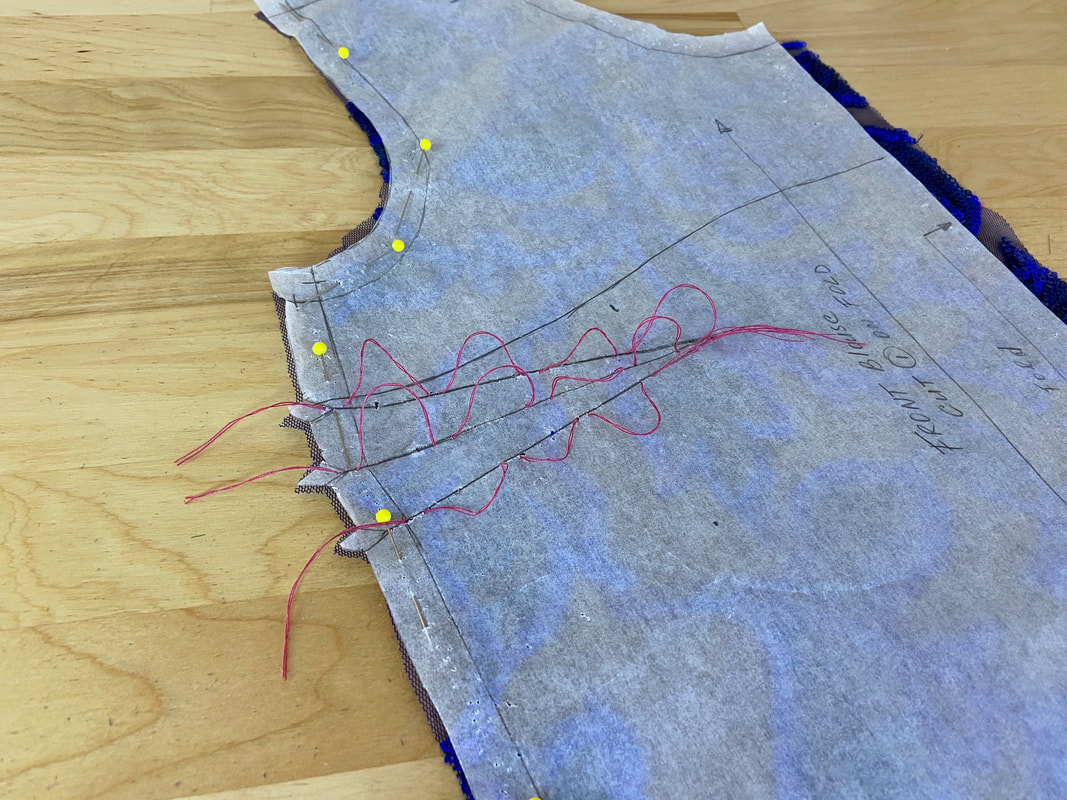
3. Continue applying the stitch loops along all dart lines as shown.
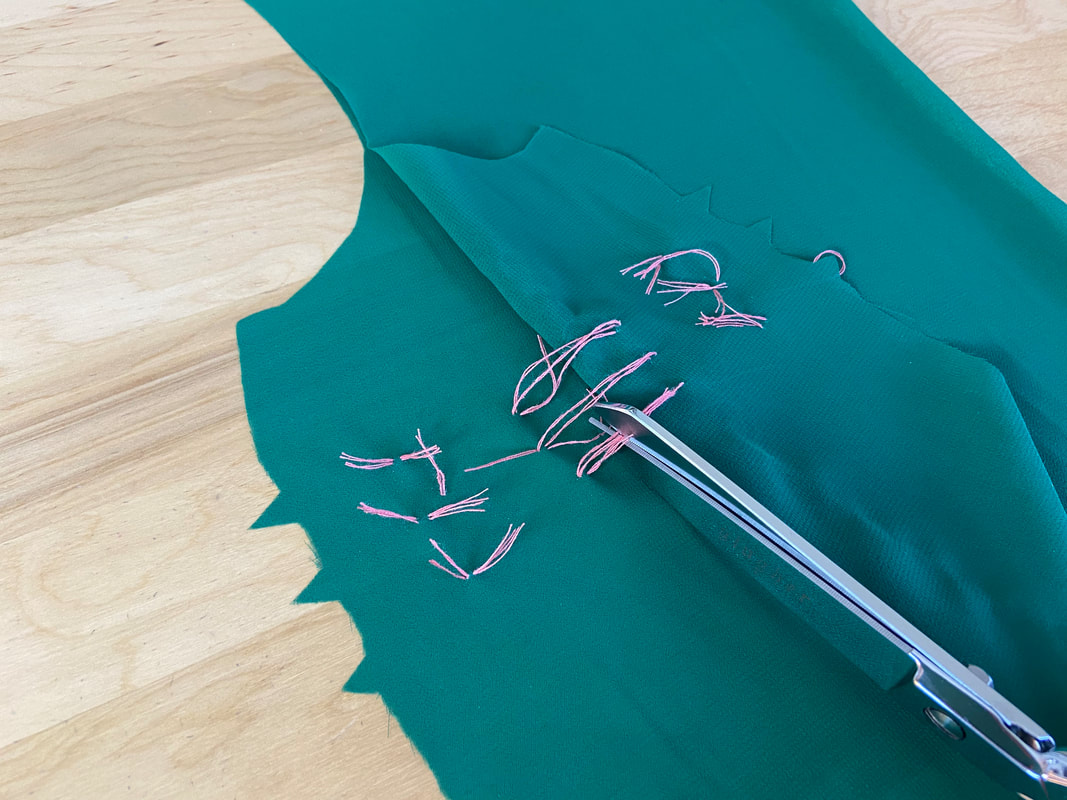
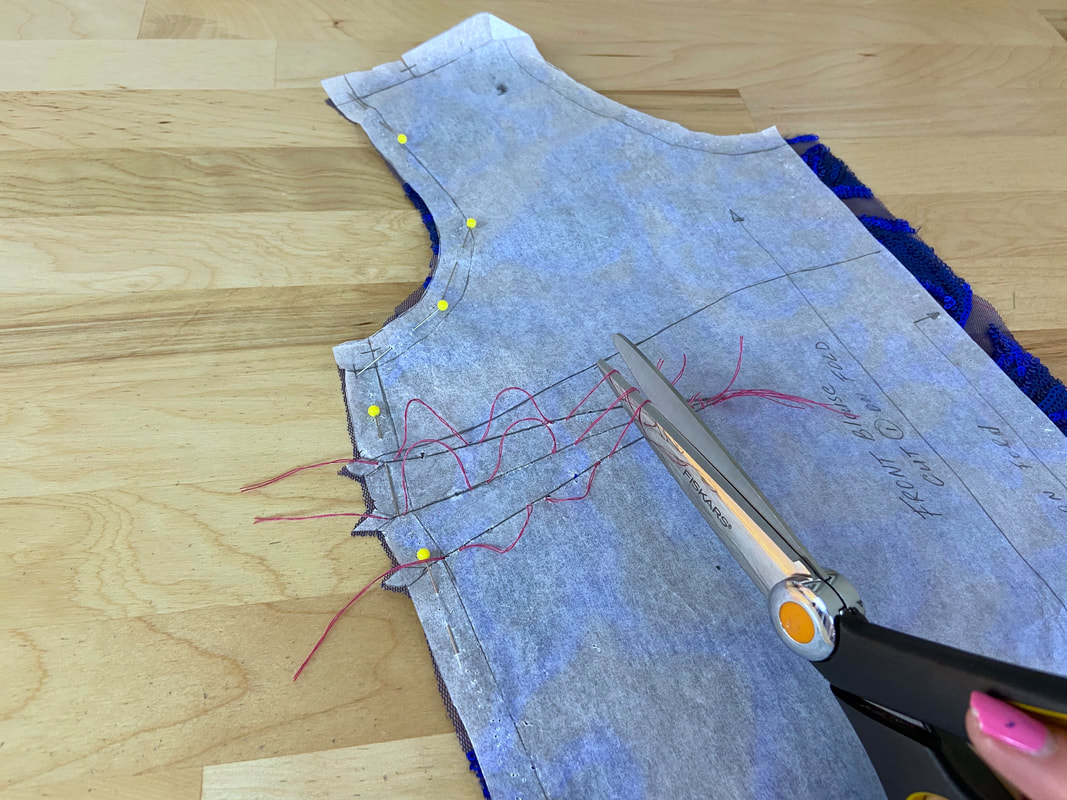
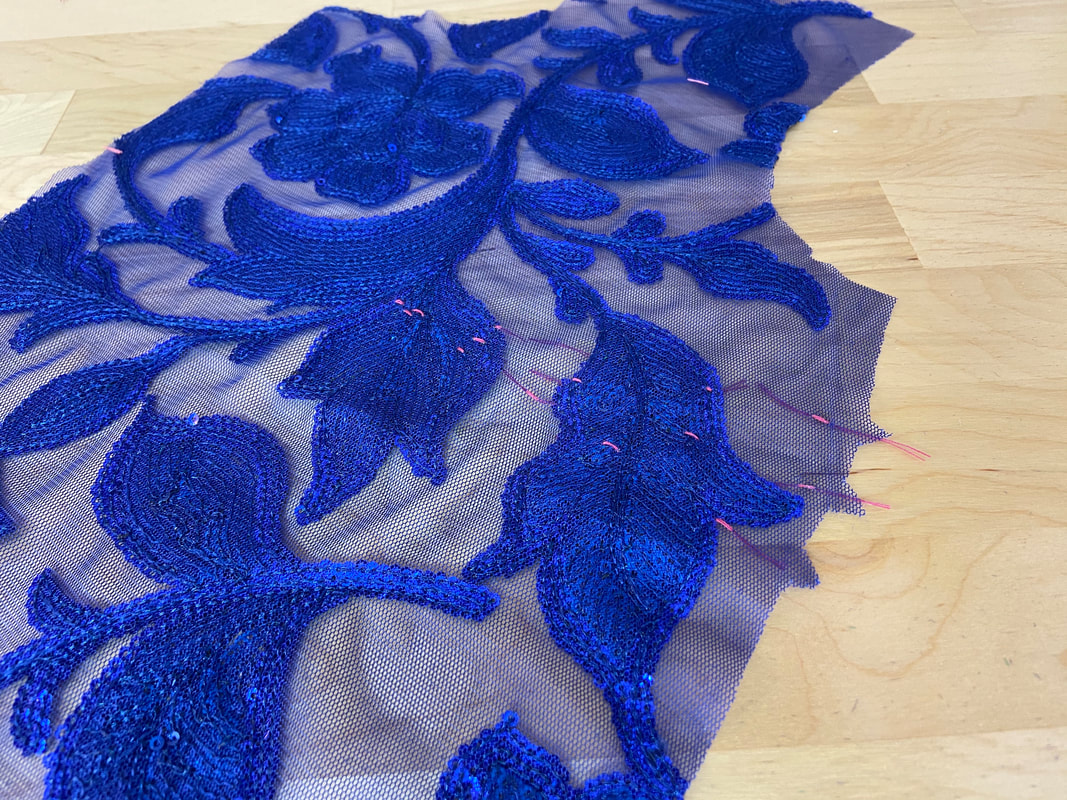
4. Using scissors, carefully clip through the middle of each stitch loop on the pattern side only.
5. Gently pull the paper pattern away from the fabric layer underneath.
The simplified tailor tacks will be left behind at each clipped location.
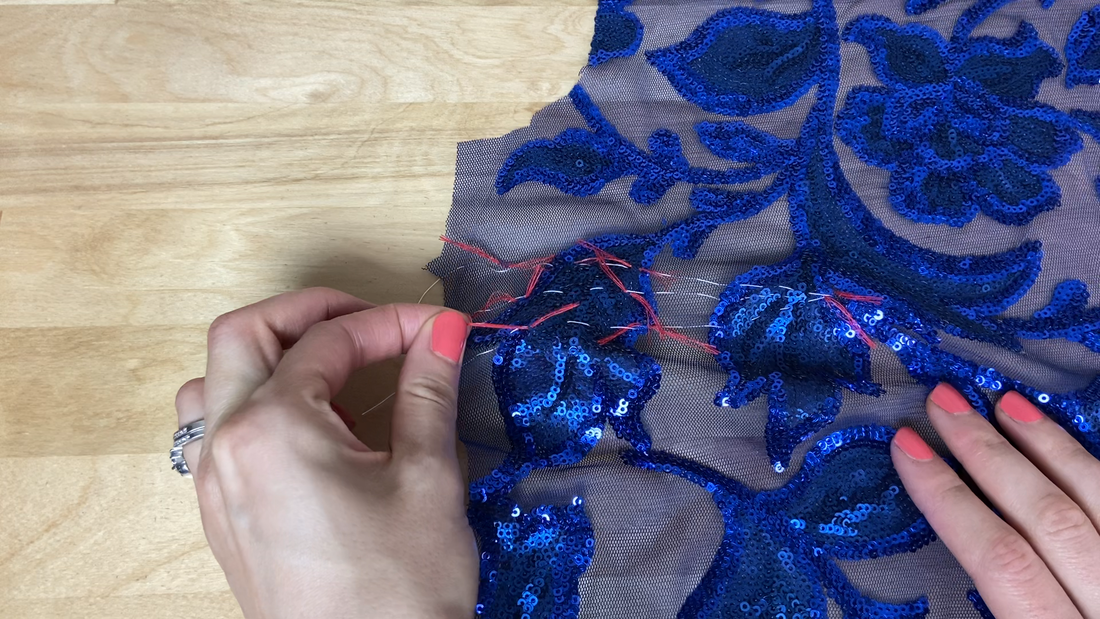
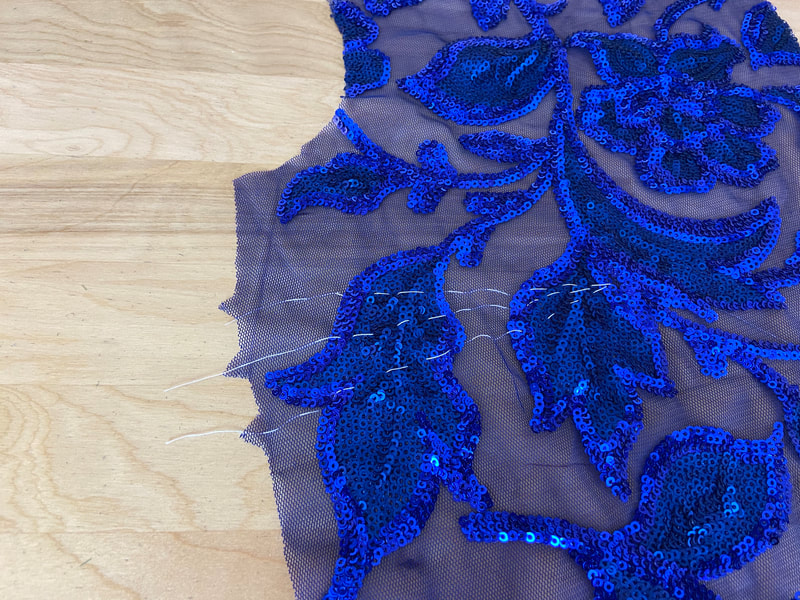
For a more defined tack placement, apply the loop stitches closer together.
For added precision in the dart sewing process, replace the tacks with hand basting.

