Transferring seamlines from patterns to fabric is highly recommended if you don’t quite have a handle on your sewing machine yet. The transferred lines will provide a helpful guideline, especially when sewing uneven, curved seams.
As you practice, you will naturally start to feel comfortable stitching seams without following an actual marked seamline on the fabric. For the first couple of projects however, transfer all the seamlines from your patterns onto your fabric pieces until you are more accustomed to following your machine’s seam allowance guides.
If your patterns do not have clearly marked seamlines, you can “draw” them directly on the pattern or the fabric pieces (after the patterns have been cut and unpinned).
Depending on your patterns, here are some seamline transfer techniques you can use:
The Tracing Paper and Tracing Wheel Method
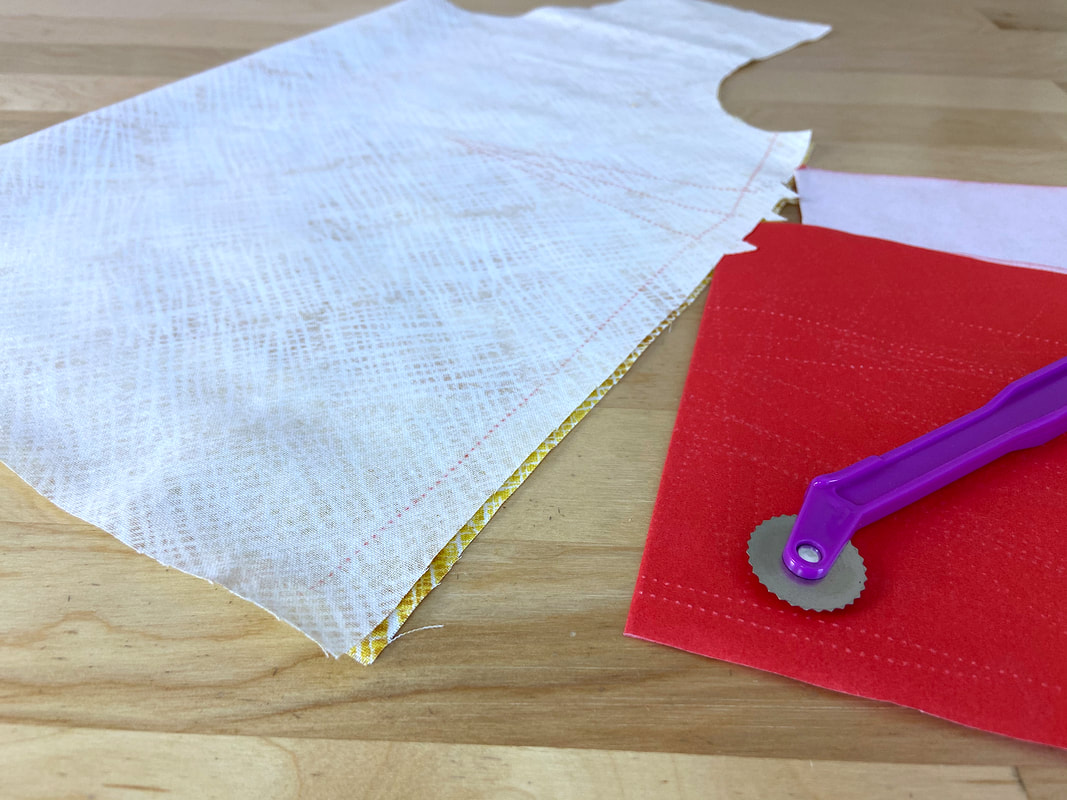
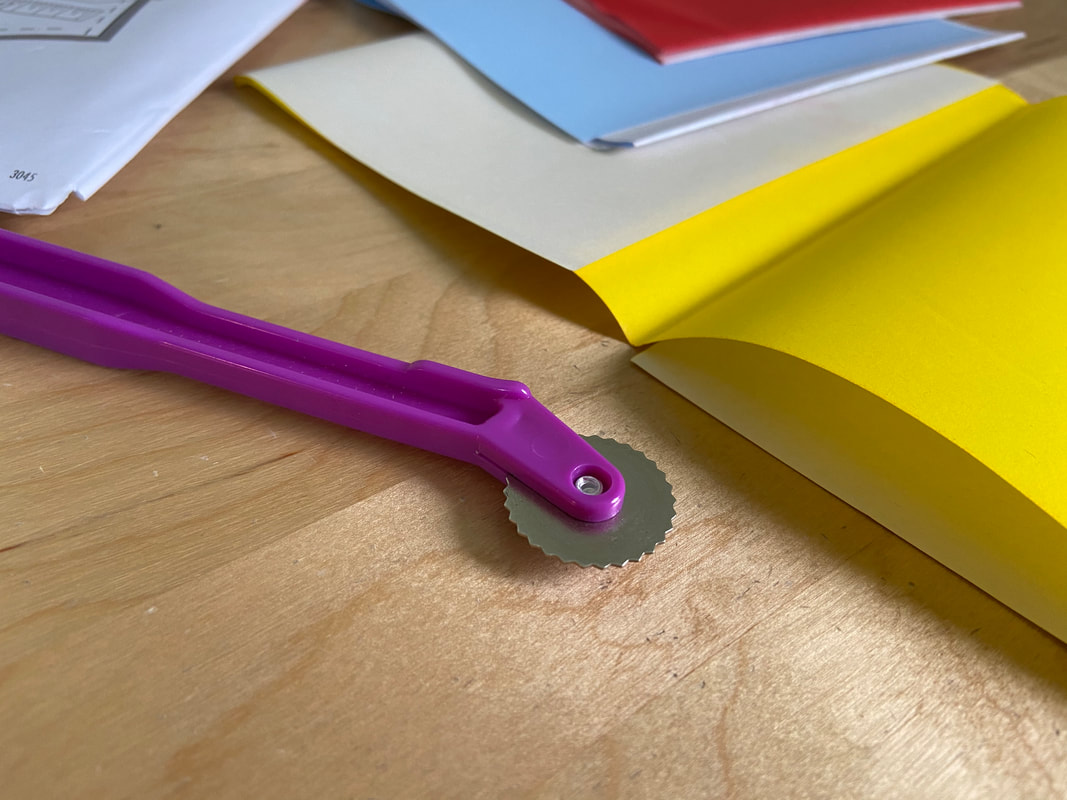
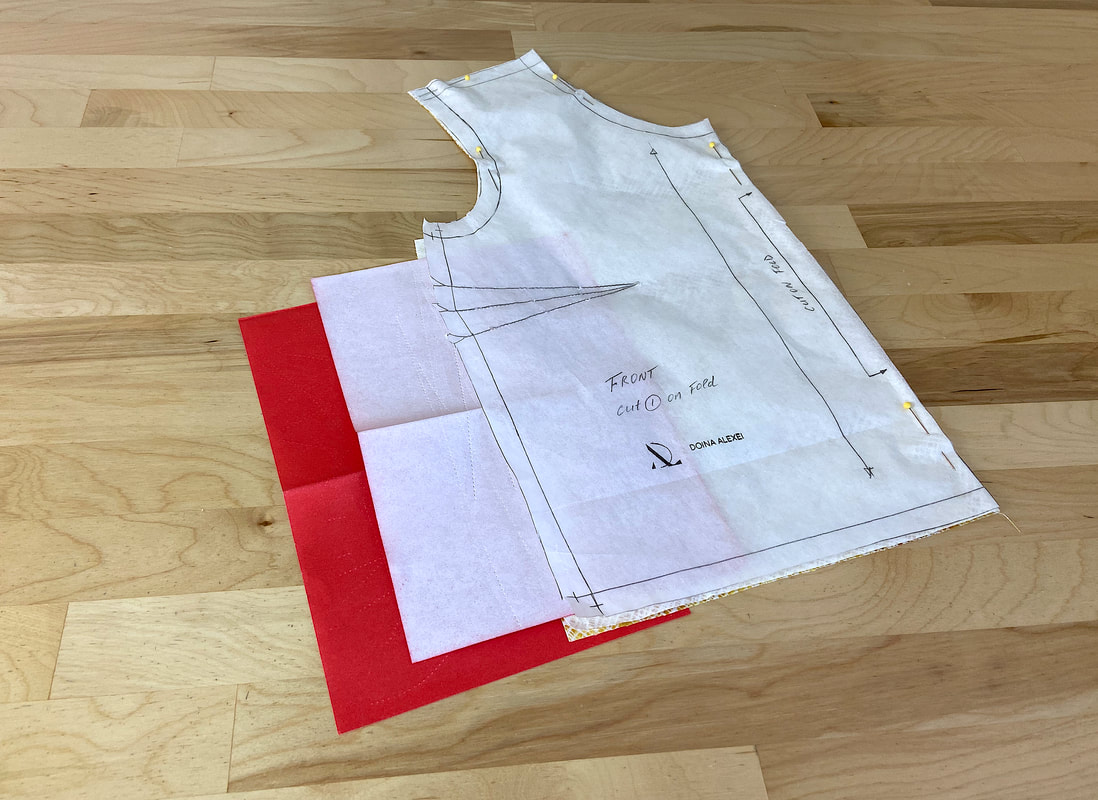
The tracing paper and tracing wheel method is used to transfer seamlines directly from your paper patterns onto the corresponding fabric pieces underneath.
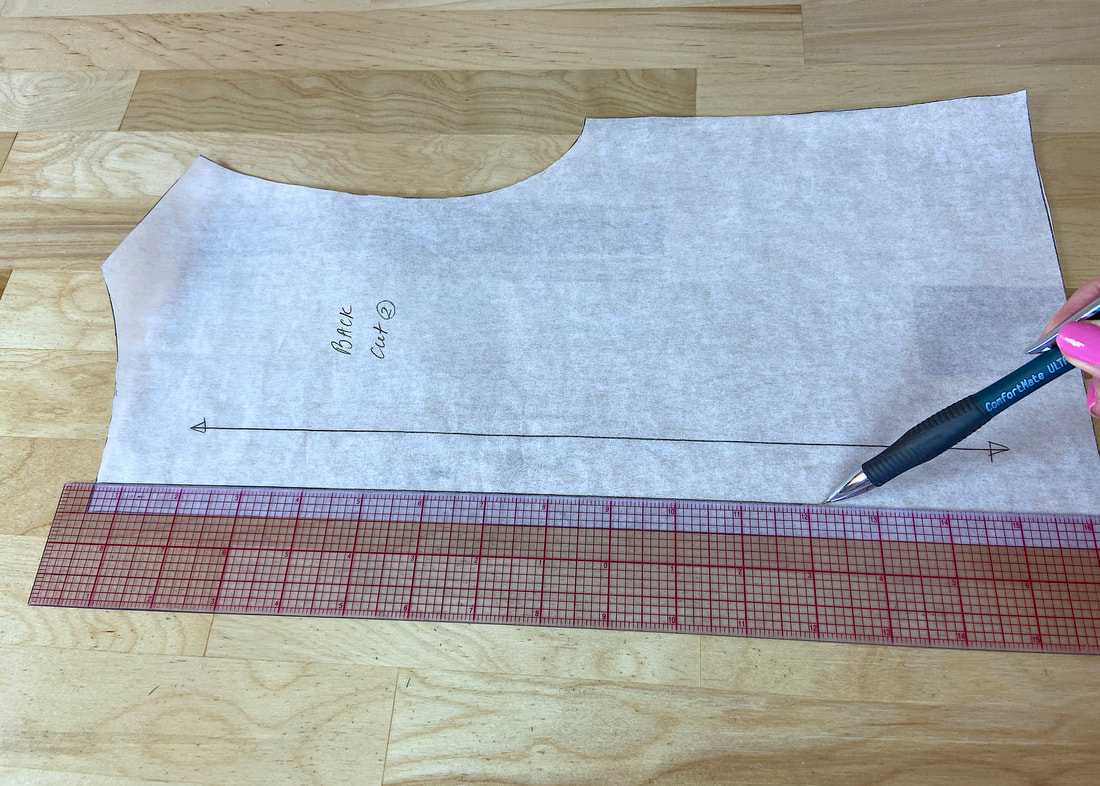
Some sewing patterns have seam allowance that is implied; thus, the seamlines are not directly marked on the paper patterns. If you want to use the tracing paper method, you will have to first hand draw the seamlines directly on the pattern yourself.
To find the corresponding seam allowance width along each edge, use the seam allowance guide that comes with your sewing patterns. Draw the final seamlines using a pencil and clear plastic ruler as shown above.
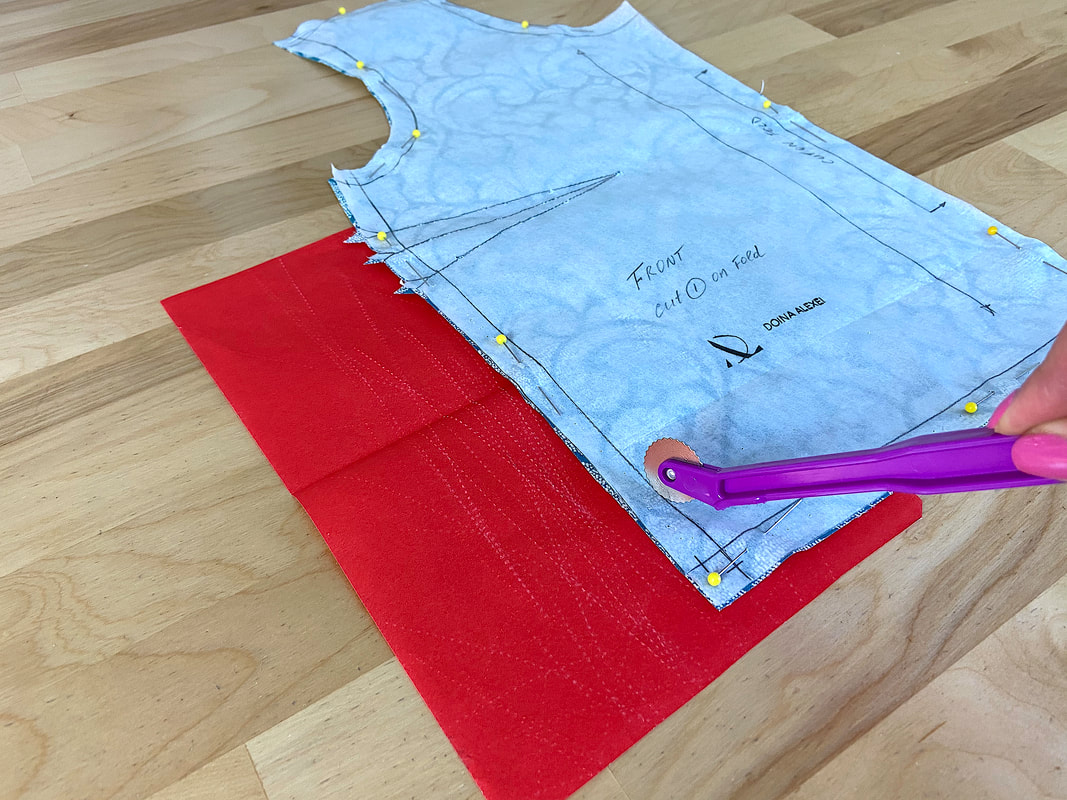
1. Before the paper pattern is unpinned and/or separated from the fabric piece, place a sheet of tracing paper with its face side touching the wrong side of the fabric.
If the pattern was cut on fold or two layers were cut together, use two sheets of tracing paper simultaneously, arranging each such that their right sides are touching each fabric layer’s wrong side.
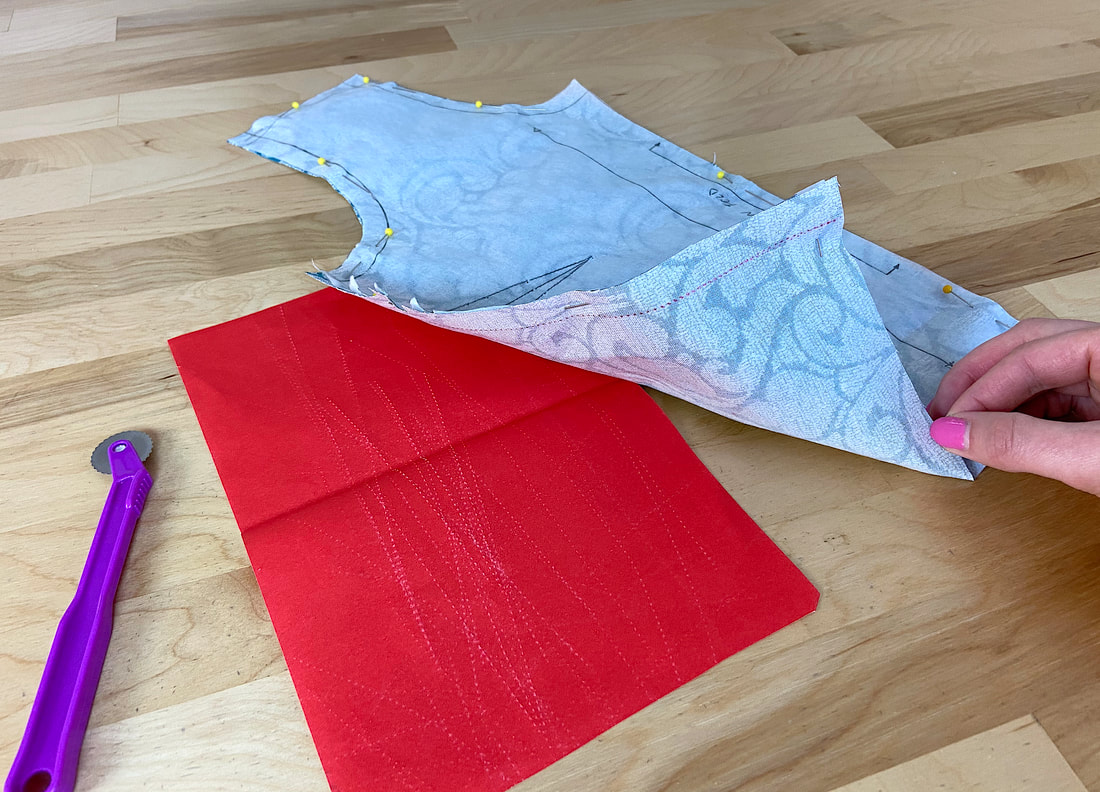
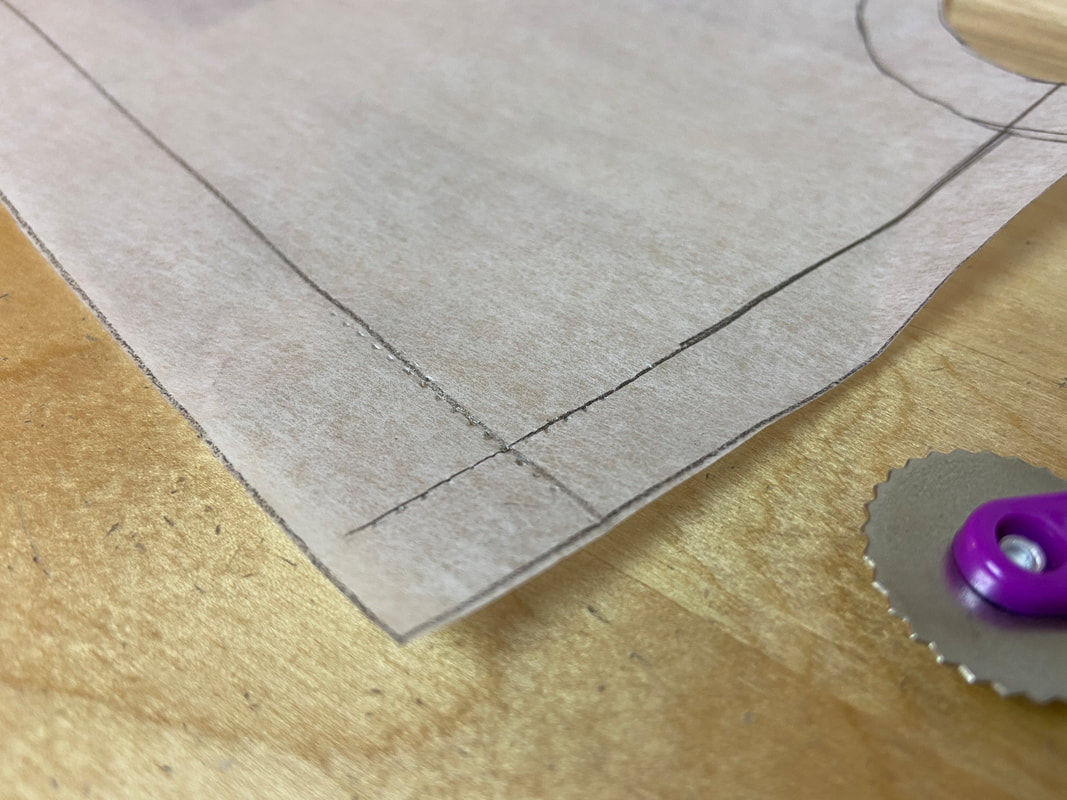
2. Once the tracing paper is properly aligned, run your tracing wheel along the pattern’s seamlines. The tracing wheel perforations will leave a copy of the lines on the wrong side of each fabric layer.
The tracing wheel perforations will leave a copy of the lines on the wrong side of each fabric layer.
This method works best with solid fabrics that are not highly textured. Both the color and the surface of the fabric should be compatible with the tracing paper, otherwise, the markings will not show.
While the tracing paper and tracing wheel method is fairly simple, the paper patterns will incur some damage from the tracing wheel perforations, especially with continuous re-tracing.
The Gage Pointer (or Ruler) Method
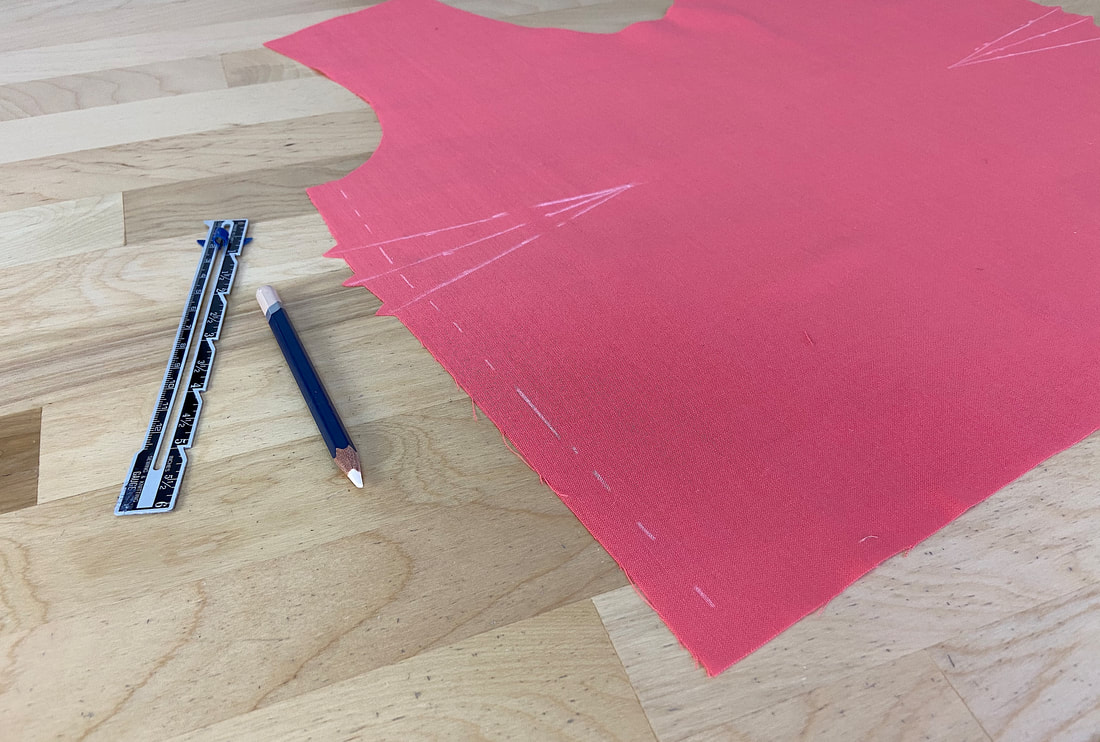
The gage pointer/ruler and tailor’s chalk technique can be a bit more time consuming but is perhaps the most universal method for marking seamlines on fabric. It is performed after the paper patterns are unpinned and separated. The seamlines are measured and marked directly on the fabric layer.
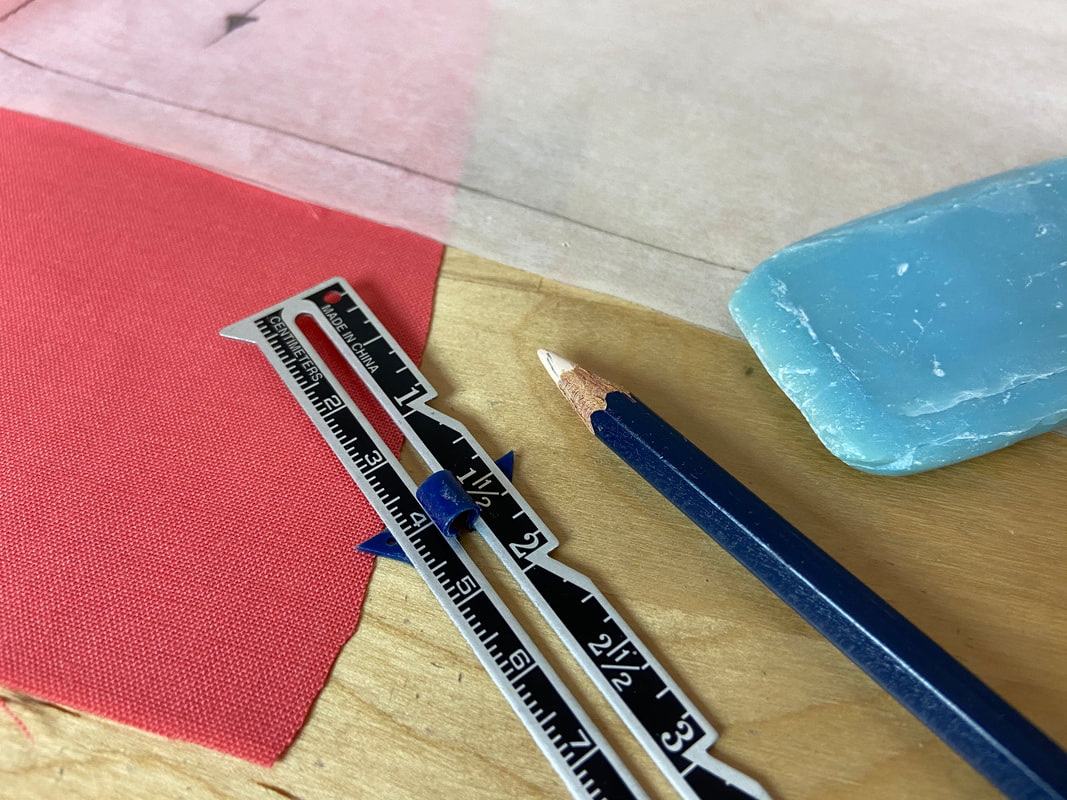
To measure the seam allowance distance from the edge inward, you can use either a ruler or a gage pointer- a tool designed specifically for this purpose.
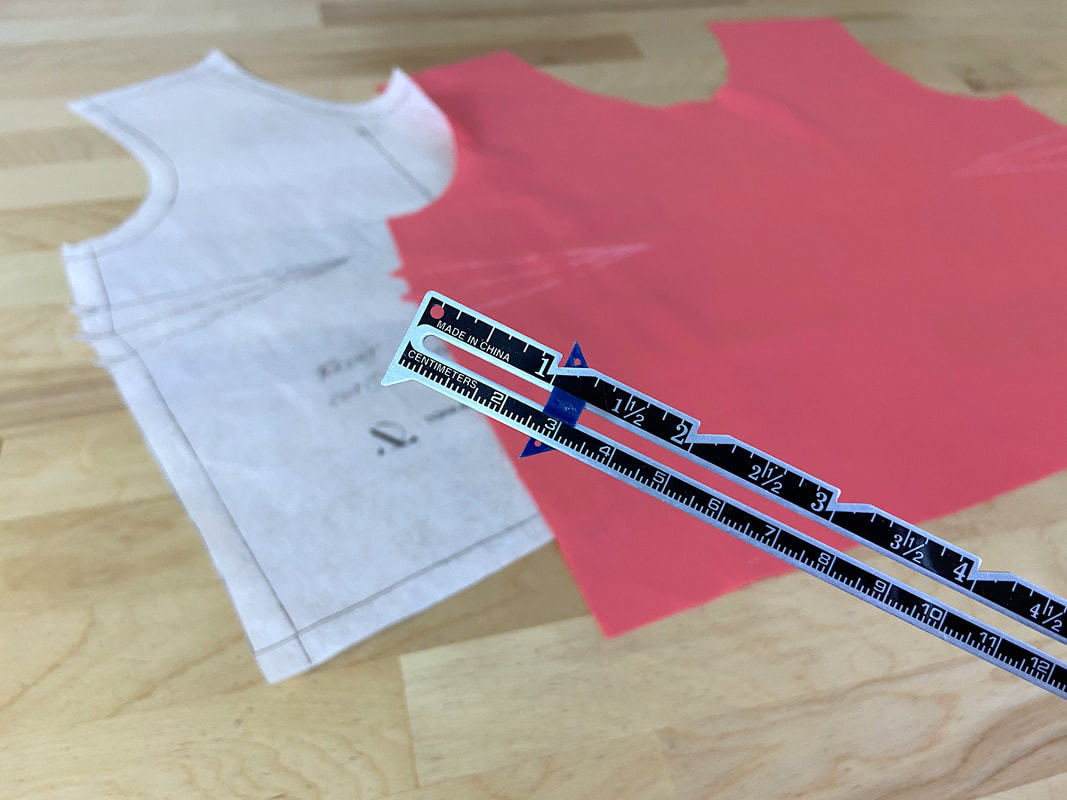
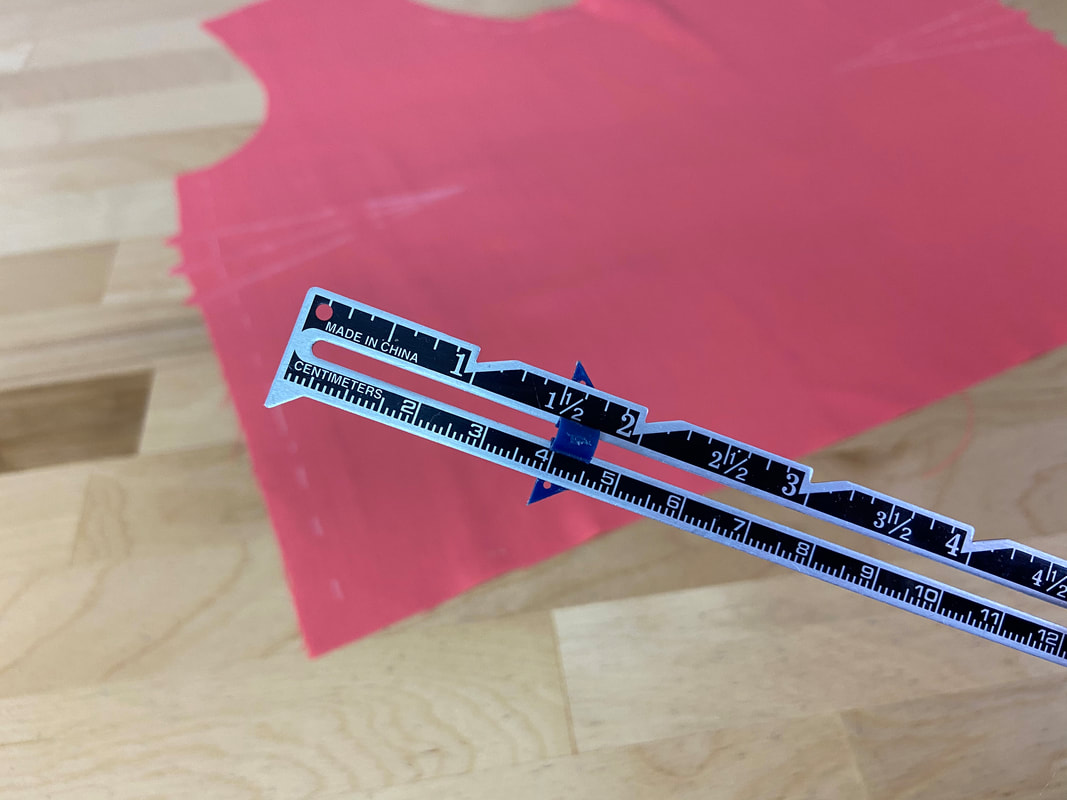
A gage pointer is a tool marked with measurements on each side and featuring a slider in the middle. The slider can be positioned at any desired distance to denote the seam allowance width. The gage pointer can then be aligned at the specified distance from the fabric edge to evenly measure and mark the seam allowance using a quilting pencil or tailors chalk.
To mark seamlines using a gage pointer (or ruler), follow these steps:
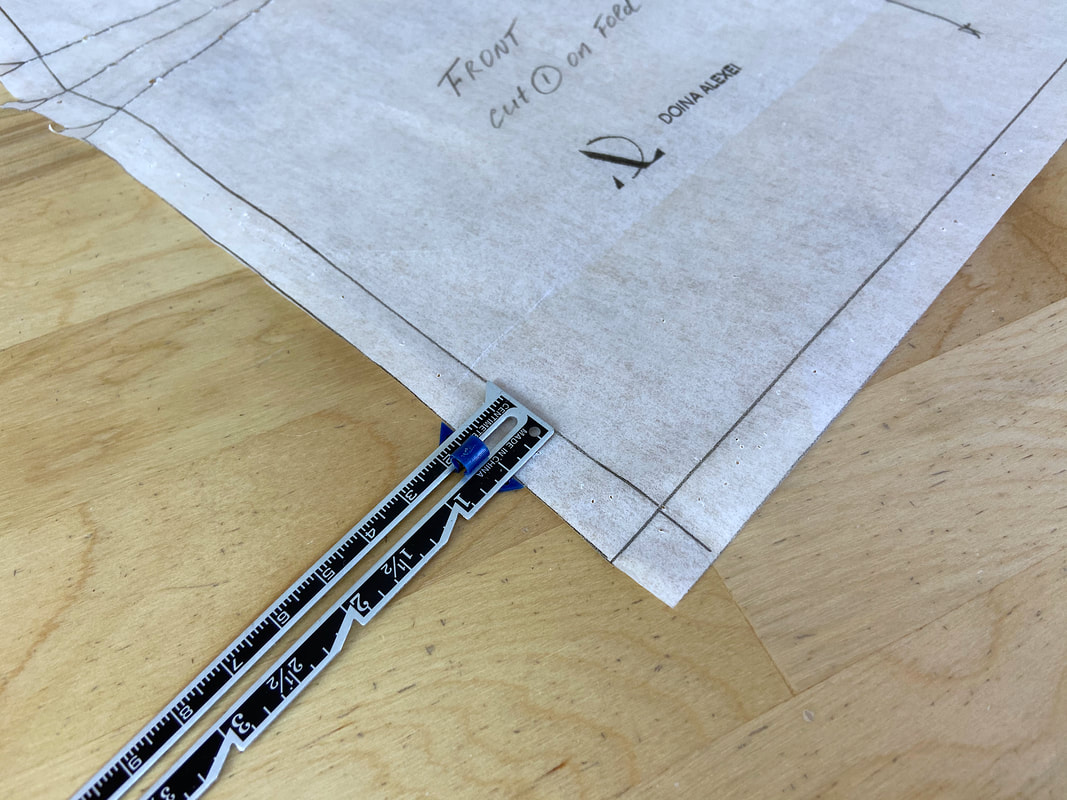
1. Check what seam allowance is needed along each edge. In this example, we’re working with ½” allowance. Place the gage pointer at the ½” mark as shown.
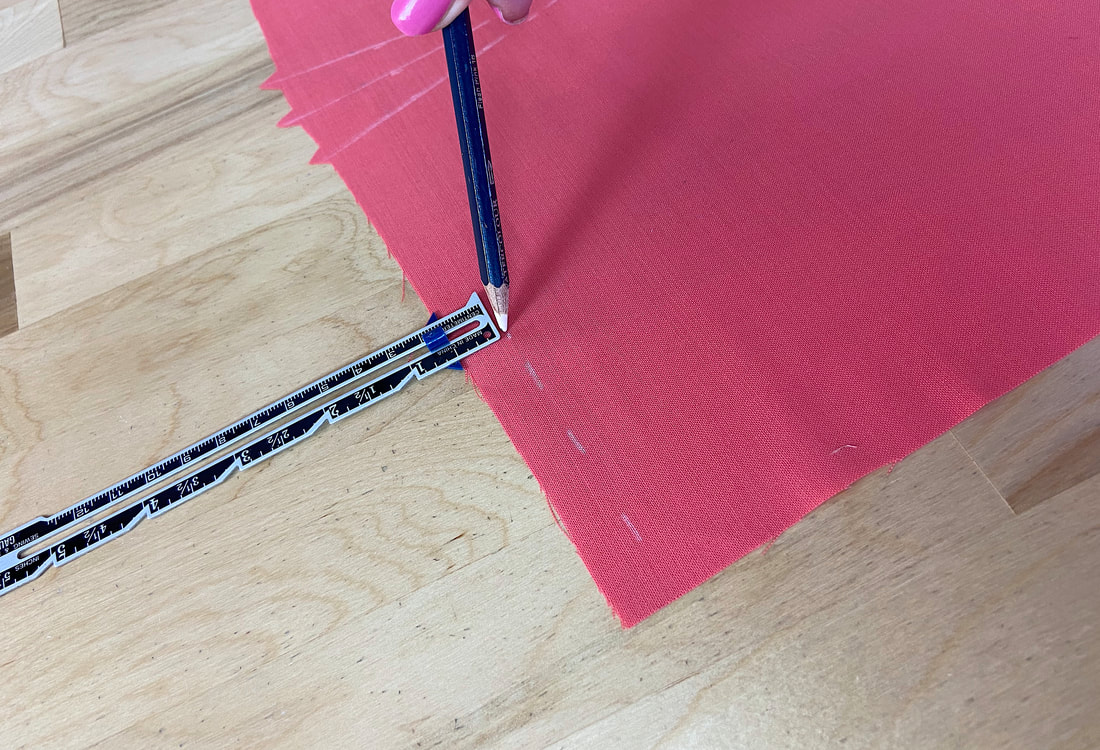
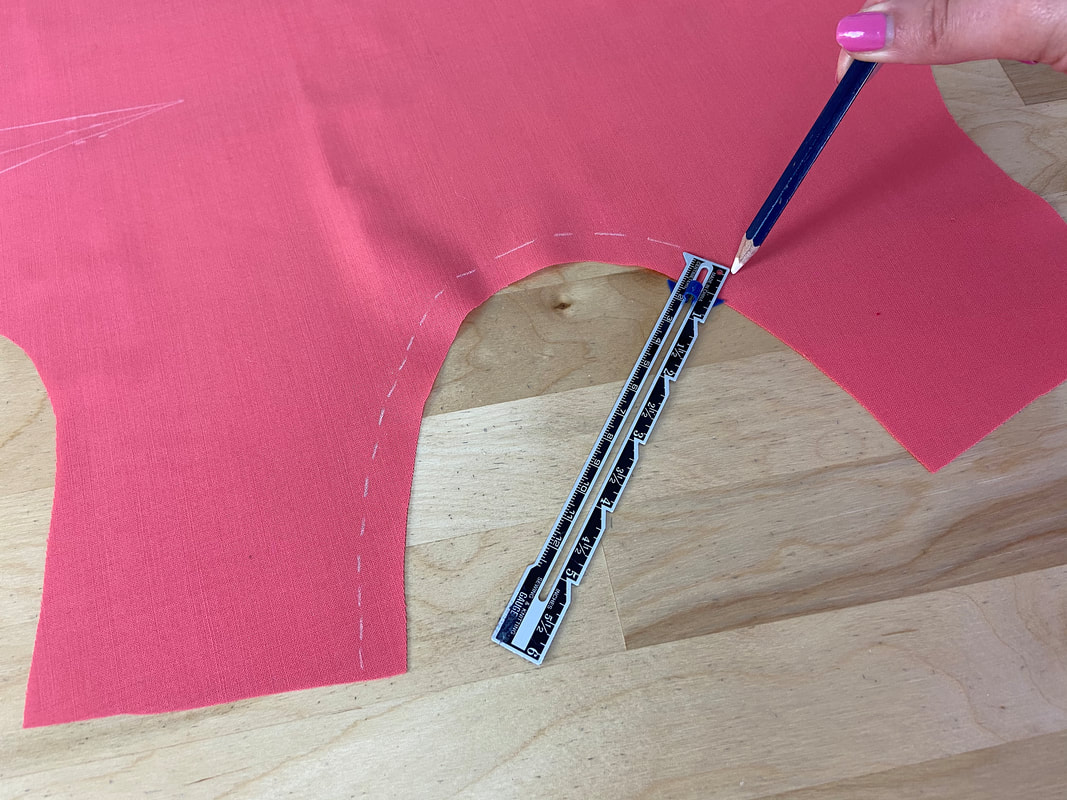
2. Next, align the gage pointer such that the slider corresponds to the fabric cut edge and the end of the ruler portion is facing inwards, depicting the seamline. Using a tailor’s chalk or a fabric quilting pencil, mark the seamline with a vertical dash line as shown.
3. Continue repositioning the gage pointer along the fabric edge and marking with dash lines until the rest of the seamline is completed.
If other edges have different seam allowance, adjust the slider to the correct width and repeat the steps above to mark the seamline.
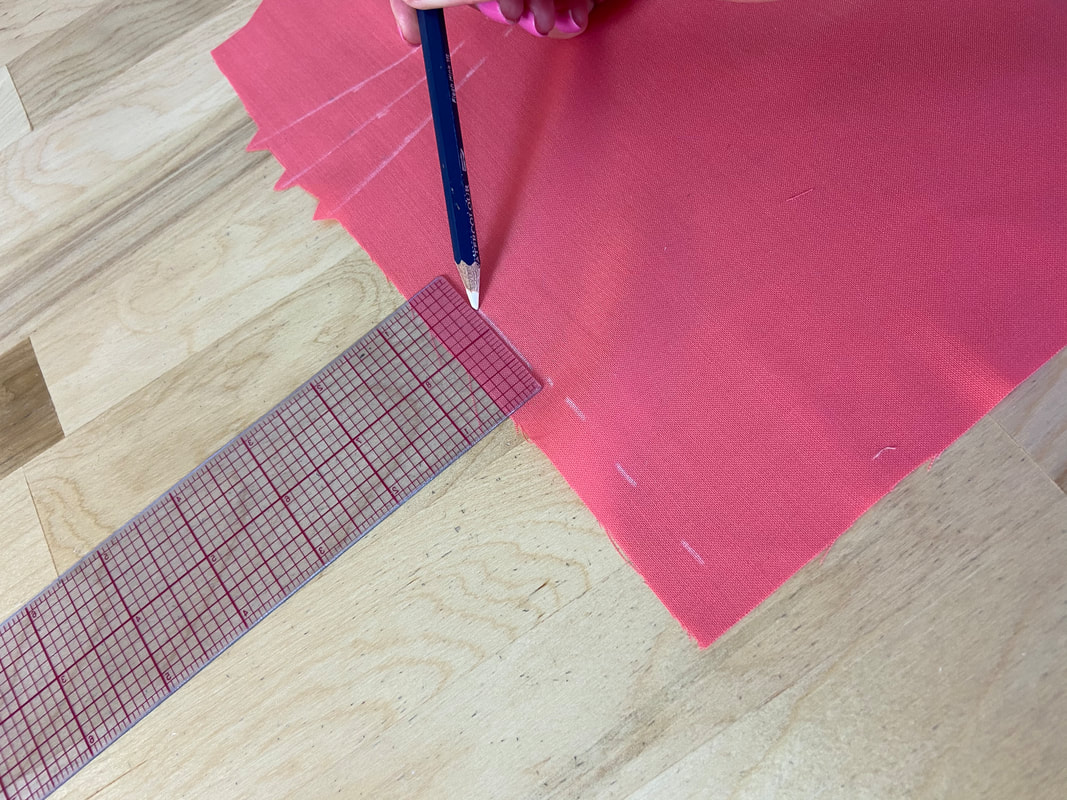
If you do not have a gage pointer, you can use a ruler to measure and draw the location of the seamlines following the same logic described above. Use the end of the ruler as a guide to mark each dash.
Be careful measuring along curves. You will need to measure more densely and add smaller dashes along very round edges.
This seamline marking technique is the easiest, most universal and compatible with almost all fabrics, whether highly textured or boldly printed. A quilting pencil will provide a more prices mark. Tailor’s chalk on the other hand, provides a thicker line suitable with highly textured fabrics like woolens and acrylics.
Notching Fabric Corners Method
The technique of notching fabric corners is used by intermediate-to-advanced dressmakes and thus may not be the best option for beginners if used on its own (without one of the options discussed above).
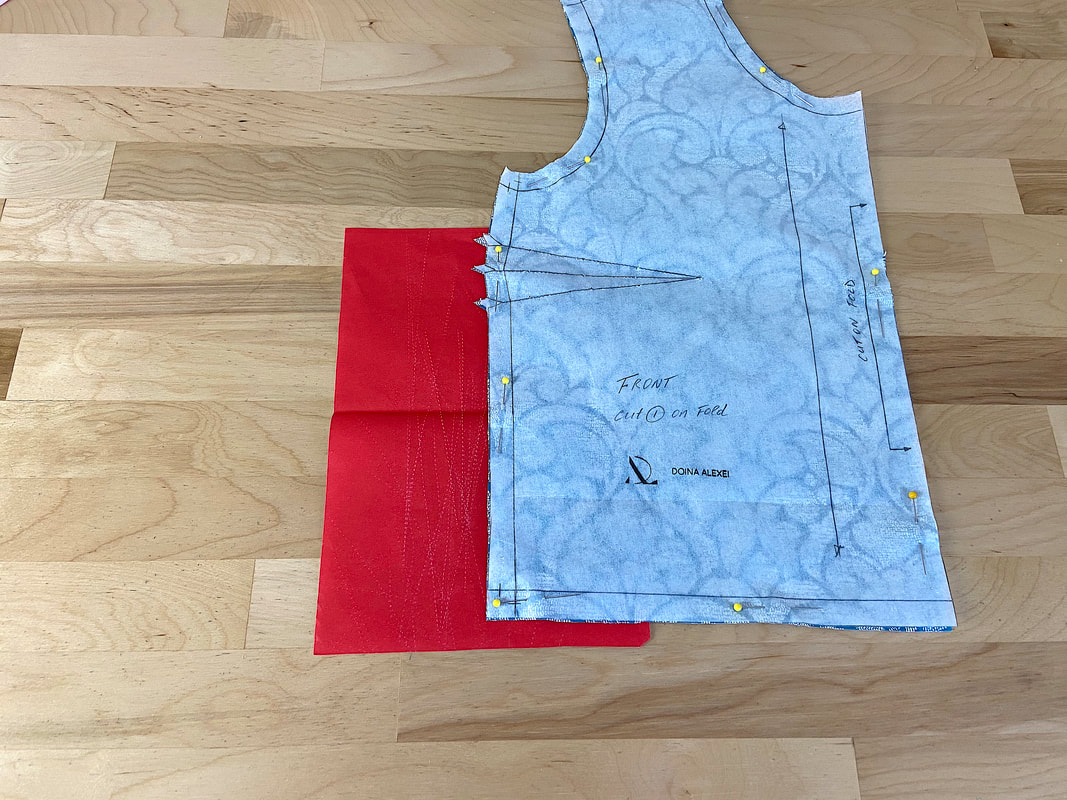
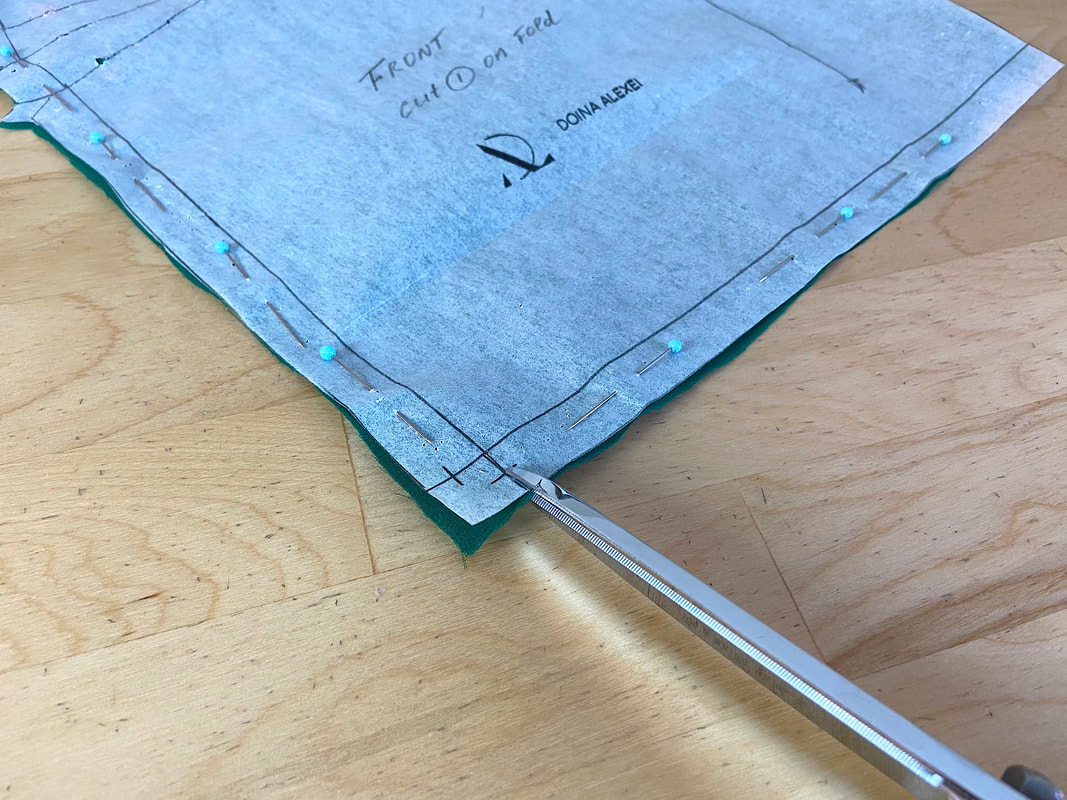
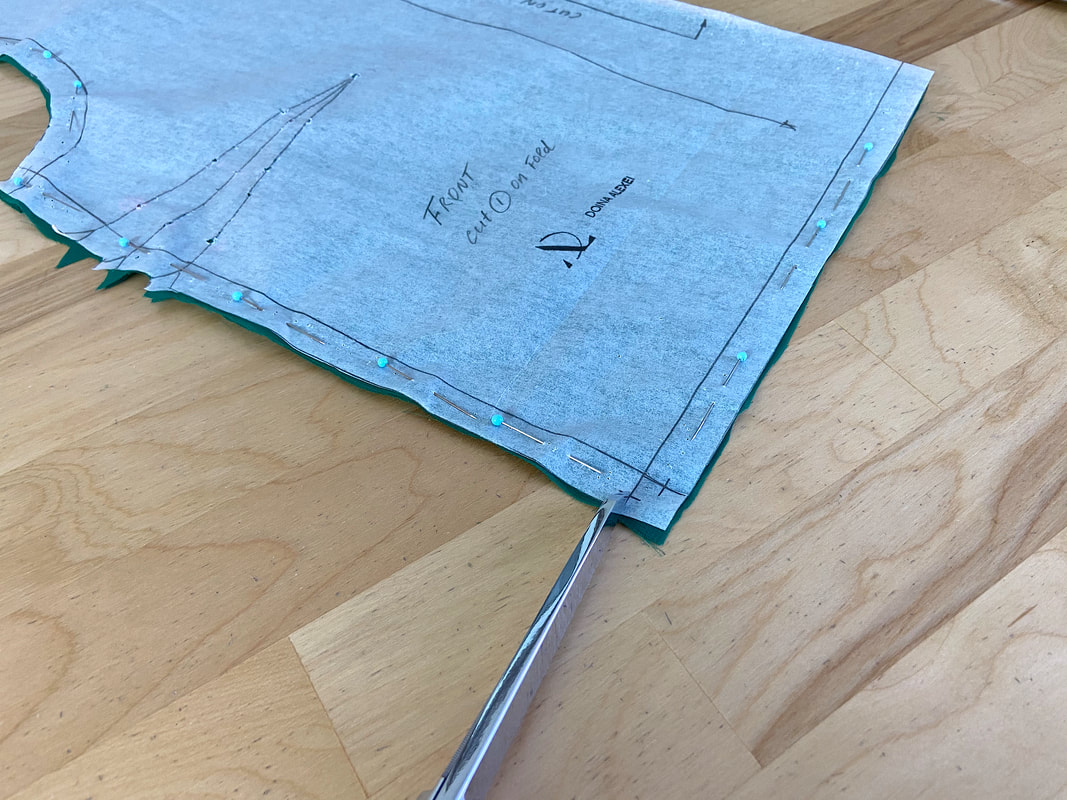
Notching fabric corners to mark seam allowance width is done when the pattern is still pinned to the fabric. It entails slashing the end of each seamline at each corner such that when the seams are aligned in the sewing process, the slits can be used as a guide for the location of the seamlines.
This is a great technique to use if you already feel comfortable following the seam allowance guides on your sewing machine. The notching serves as a hint (or reminder) of where the seamlines are and how wide the seam allowance should be.
To mark seamlines using the notching method:
1. Slit the ends of all seamlines through the pattern and all fabric layers underneath. If your patterns do not have clearly marked seamlines, draw them on using a clear plastic ruler (as described above).
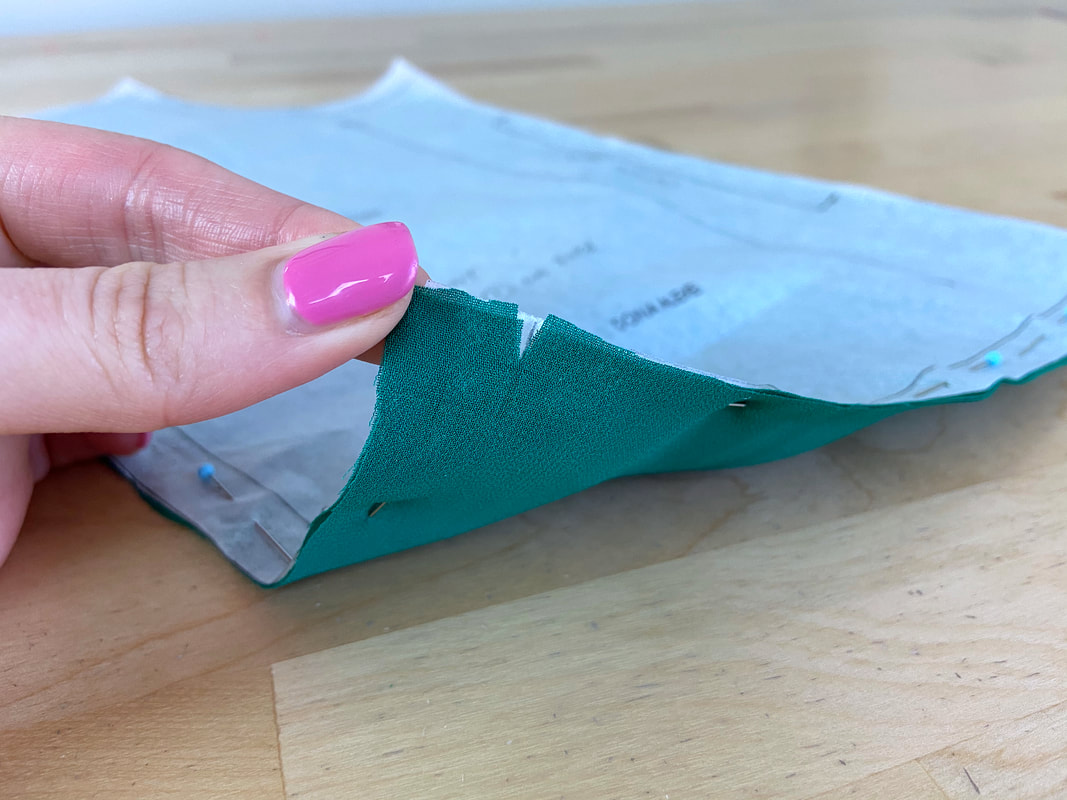
You should slit through only about ¼” of the seam allowance and never more (unless the fabric is very thick). Think of this technique as being similar to slash notches.
2. Once all corner seamlines have been notched, separate the paper pattern from the fabric.
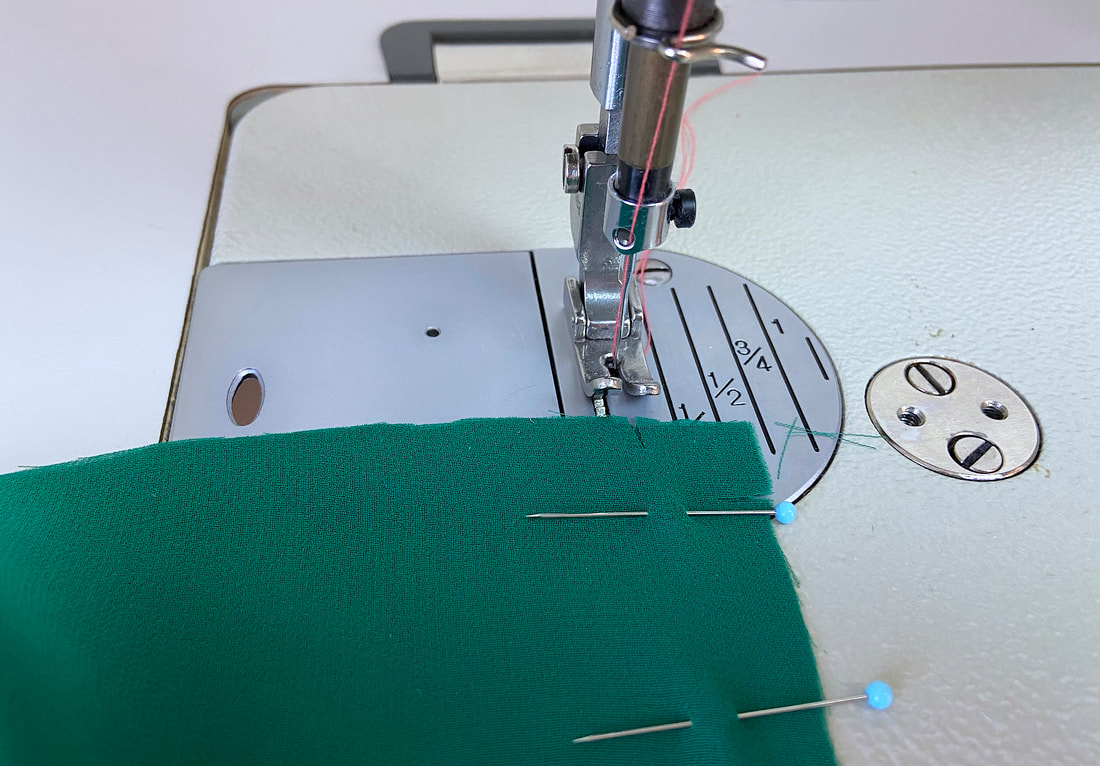
While you won’t have clearly defined seamlines, a slit at the beginning and end of each seamline will facilitate aligning each seam with the correct seam allowance guide on your sewing machine.
Regardless of which seam you sew, whether it is horizontal or vertical, you will always have a little slit at the top of the seam to remind you of the correct seam allowance width.
The Simplified Tailor Tacks Method
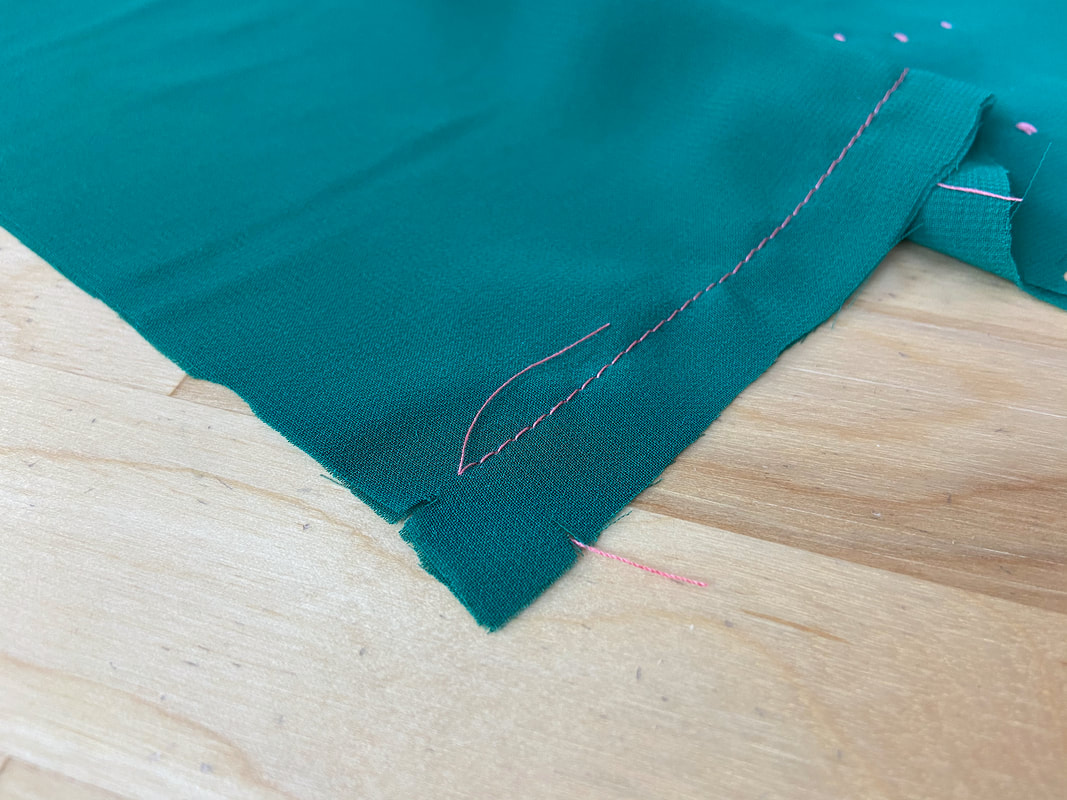
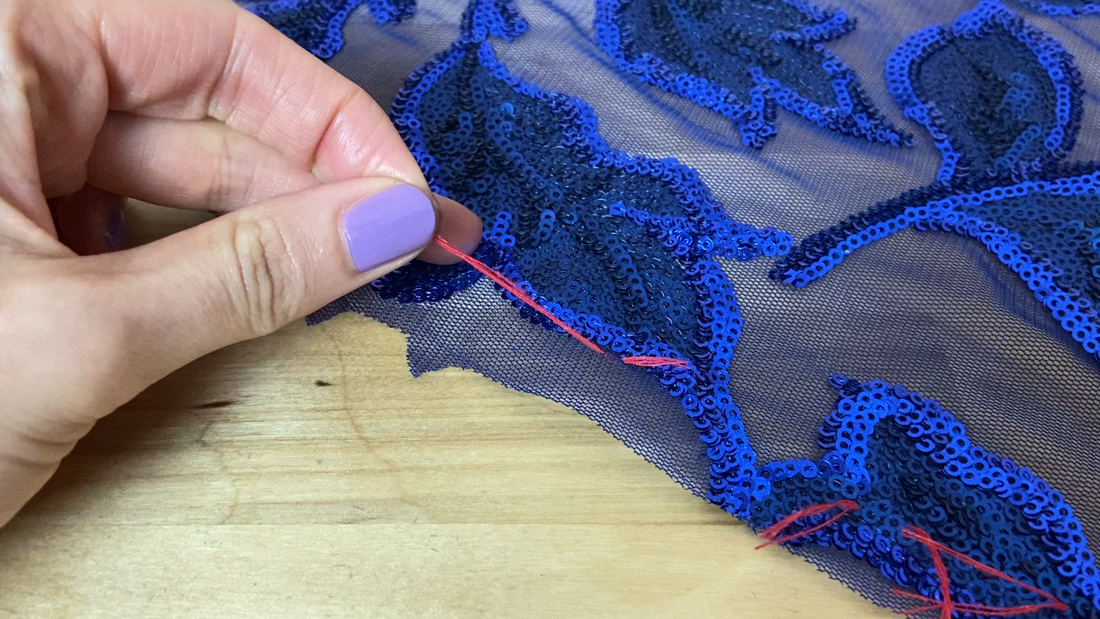
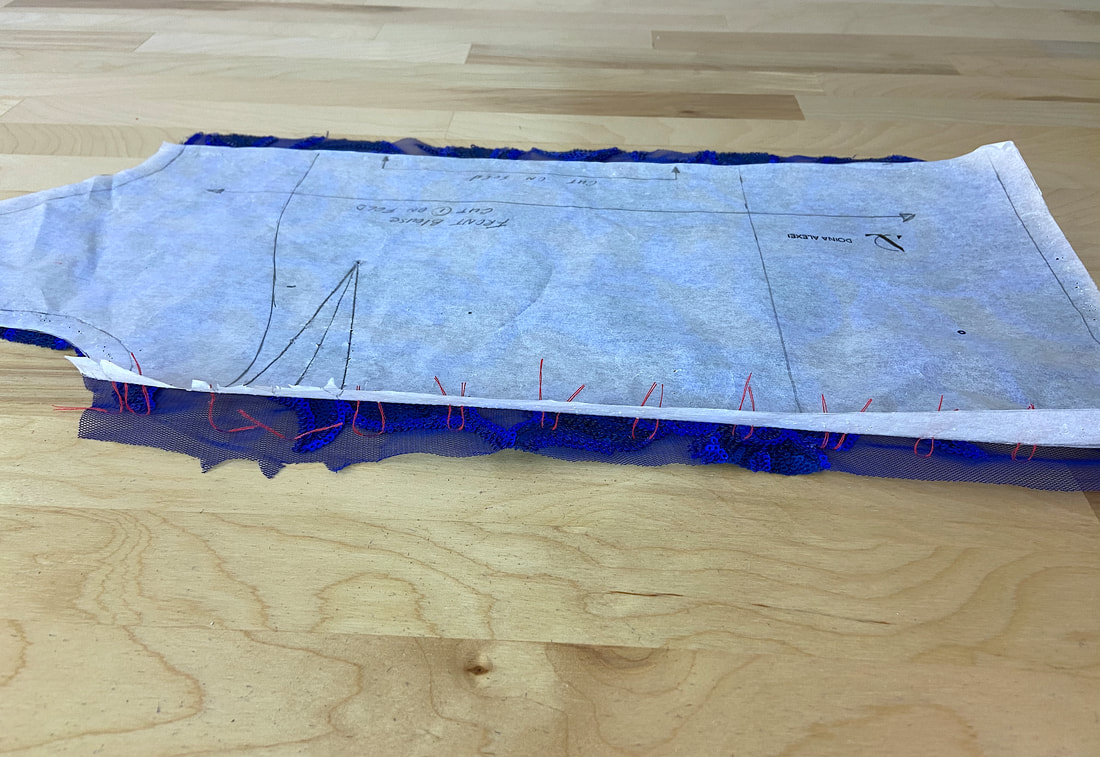
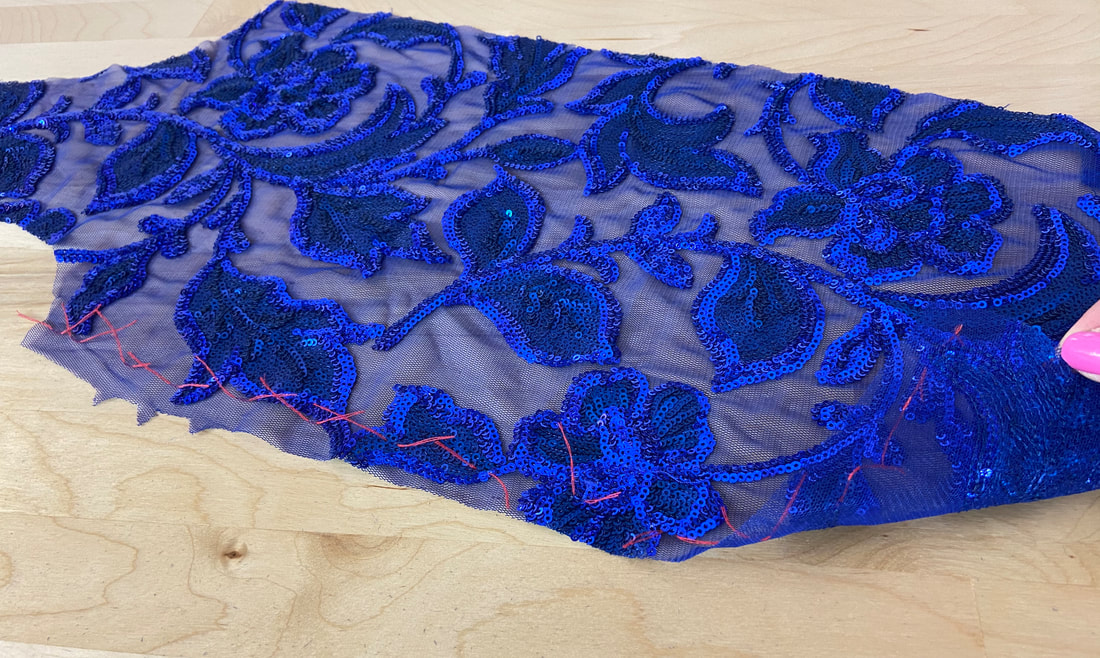
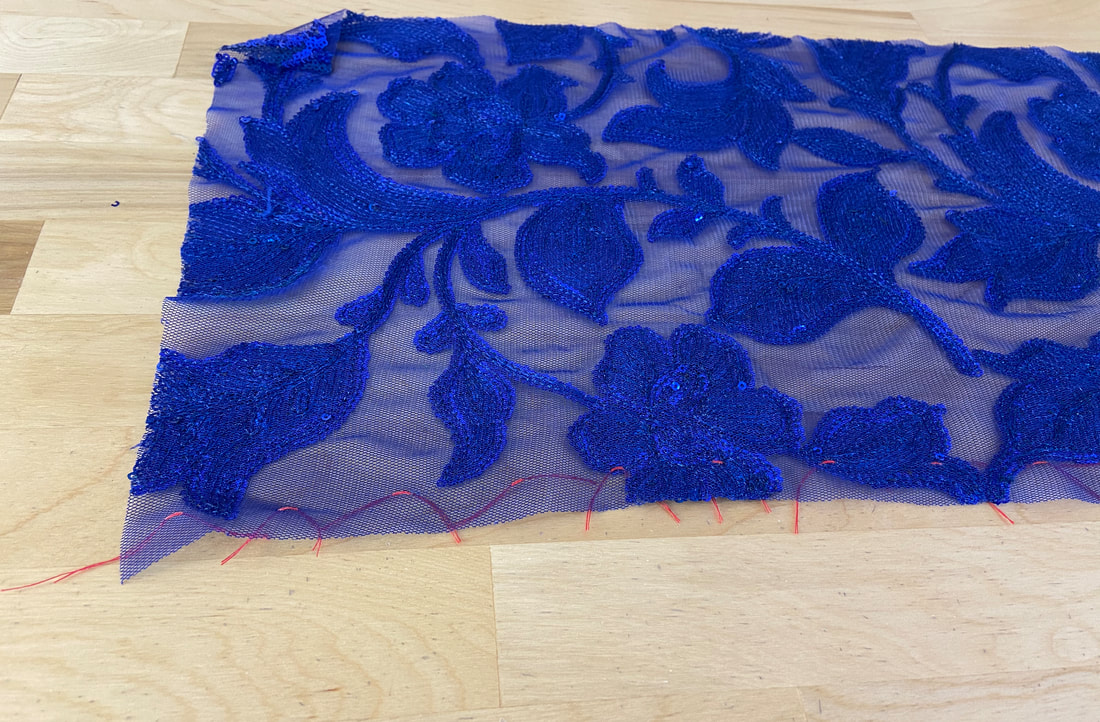
As always, tailor tacks or hand basting are techniques used anytime the methods described above are not compatible with the fabric. This includes heavily decorated fabrics, high pile fabrics, or textures that are difficult to directly mark on. In these situations, you can always count on hand- applied marking stitches. While they do take a longer time to apply, they provide a safe marking technique that is visible and easy to follow during the stitching process.
In this case, the easiest and fastest approach to transferring seamlines is by using simplified tailor tacks.
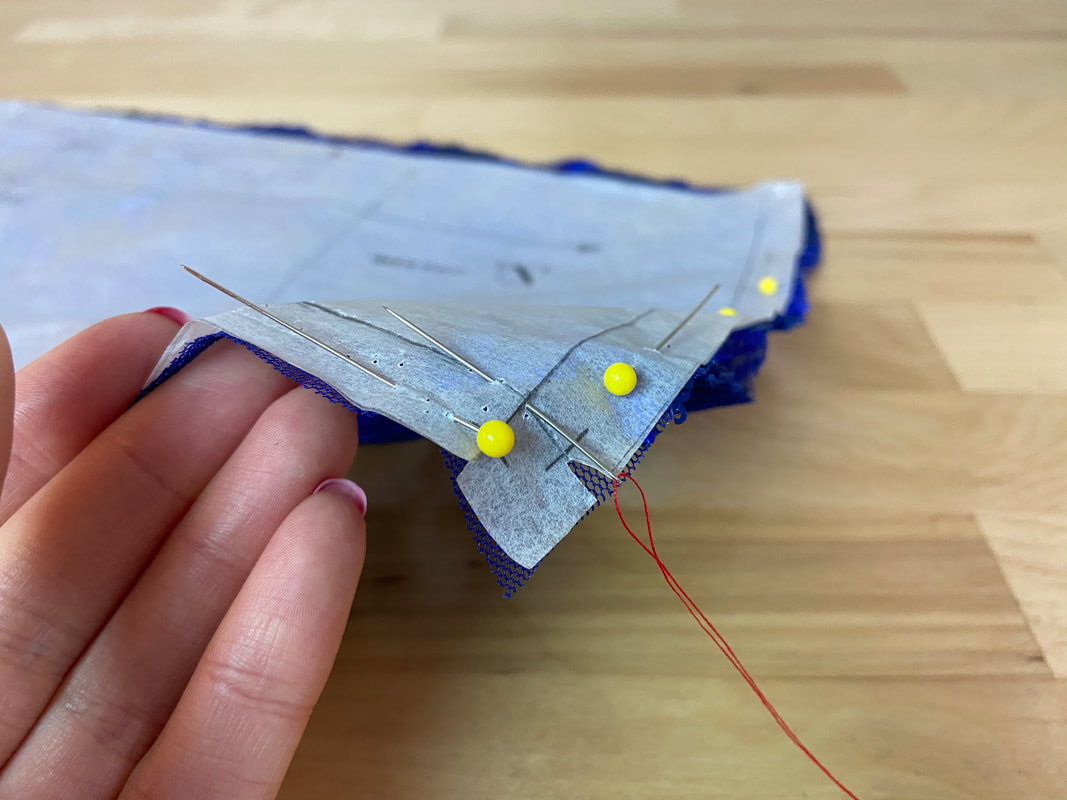
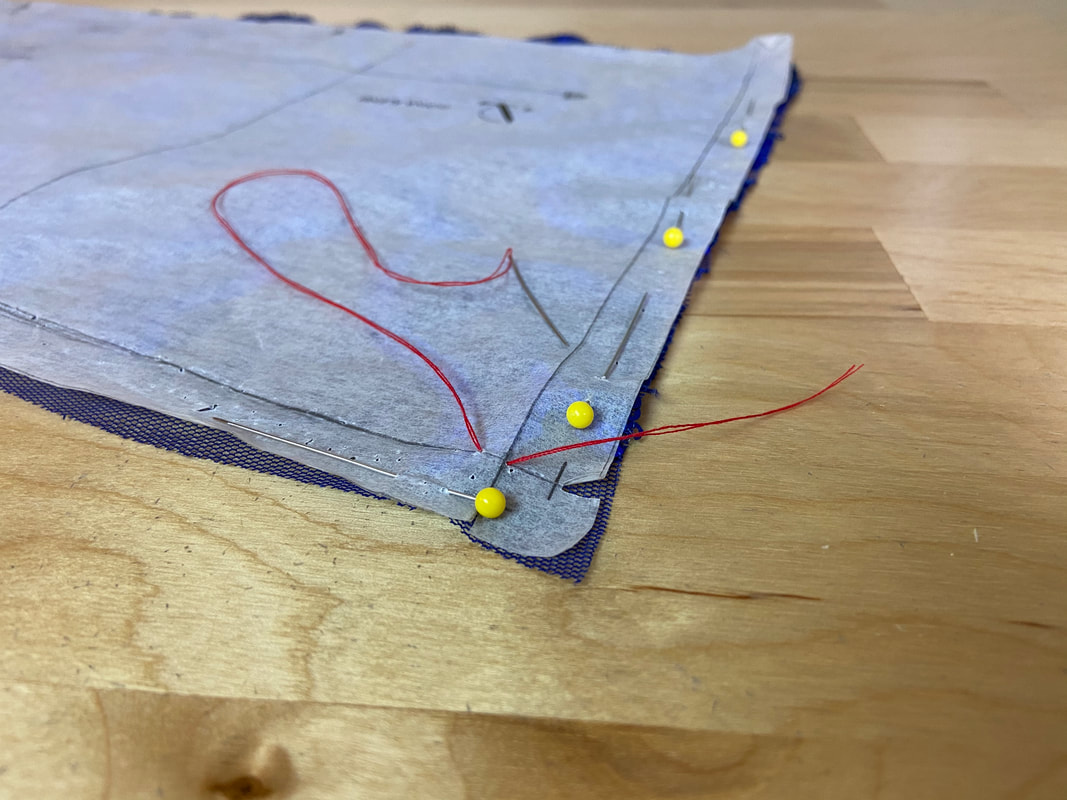
They are stitched directly through the paper pattern and fabric layers underneath and very easy to remove when no longer needed.
As opposed to regular tailor tacks, simplified tacks are applied similar to uneven basting providing a more linear, even distribution- an important factor for marking seamlines.
Here are the steps to marking seamlines using simplified tacks:
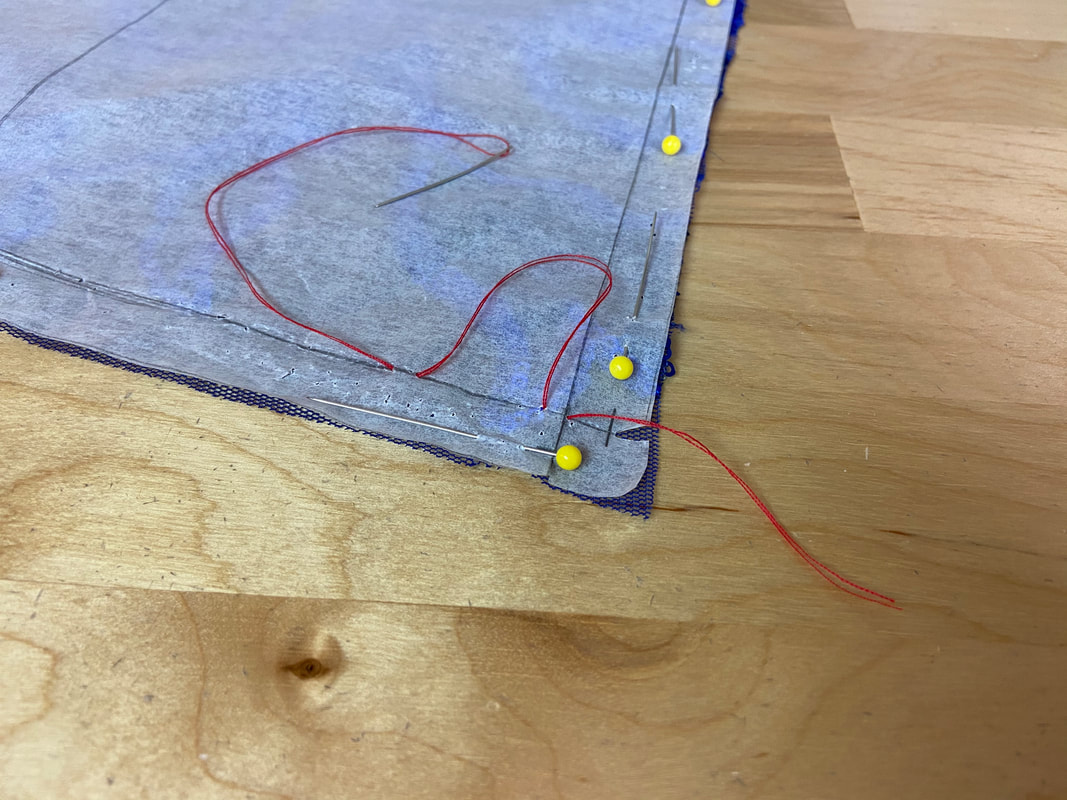
1. Using a double threaded needle, insert a small stitch directly on top of the seamline, through the paper pattern and fabric underneath.
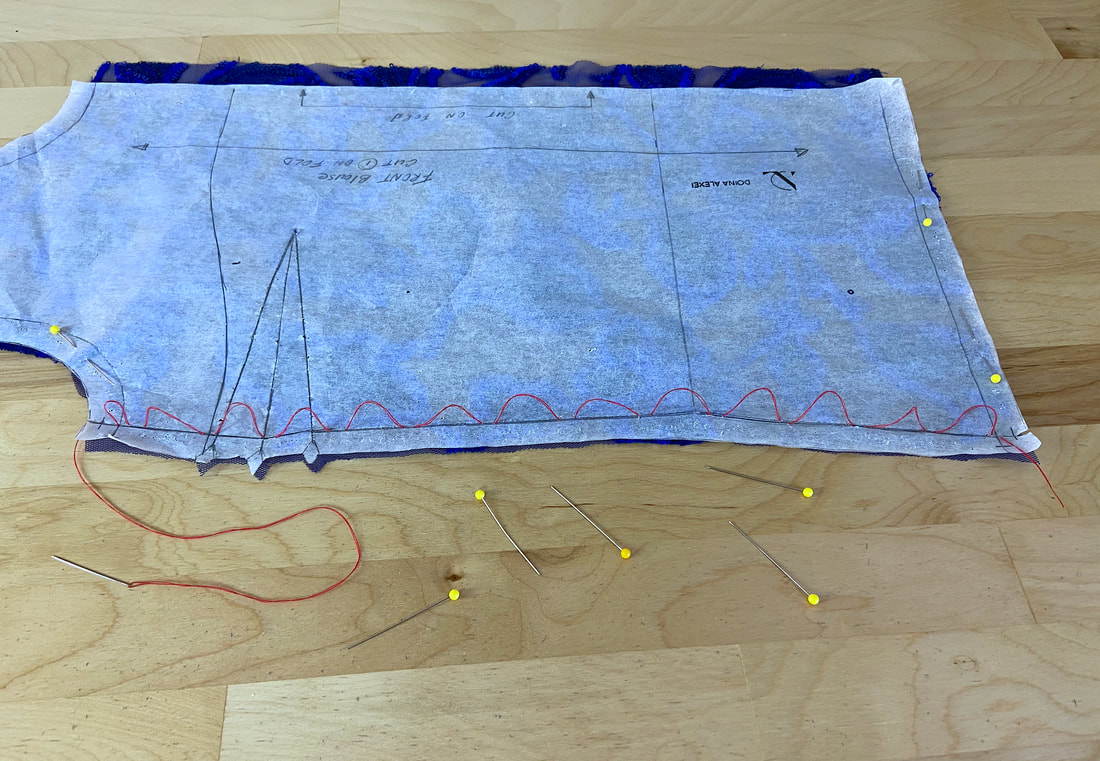
2. Next, insert another small stitch at about 1-2” away from the first, leaving a bit of slack in the long stitch.
The distance between the small stitches will determine how close together the final tacks are distributed. For a more defined seamline, place the stitches closer together.
3. Continue adding small basting stitches at 1-2” inches from one another, directly on the seamline, through the paper pattern and fabric layer underneath.
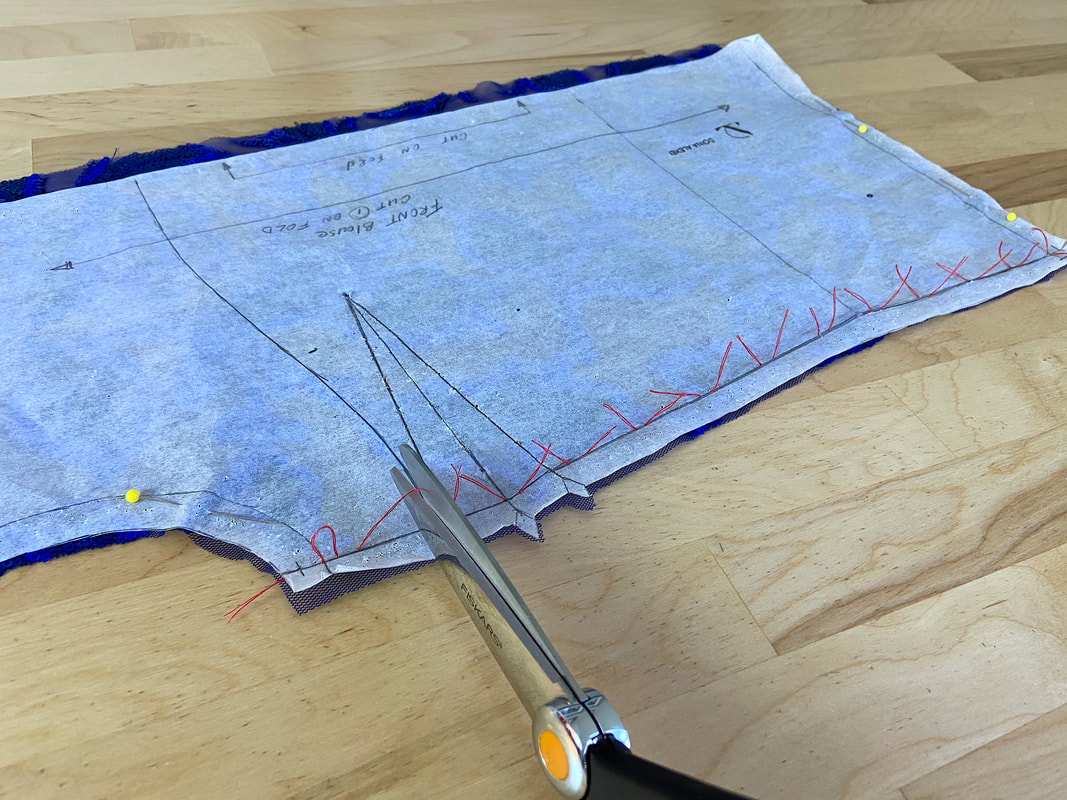
4. When the entire seamline is completed, cut each long stitch right in the middle as shown.
5. Carefully lift the pattern separating it from the fabric underneath.
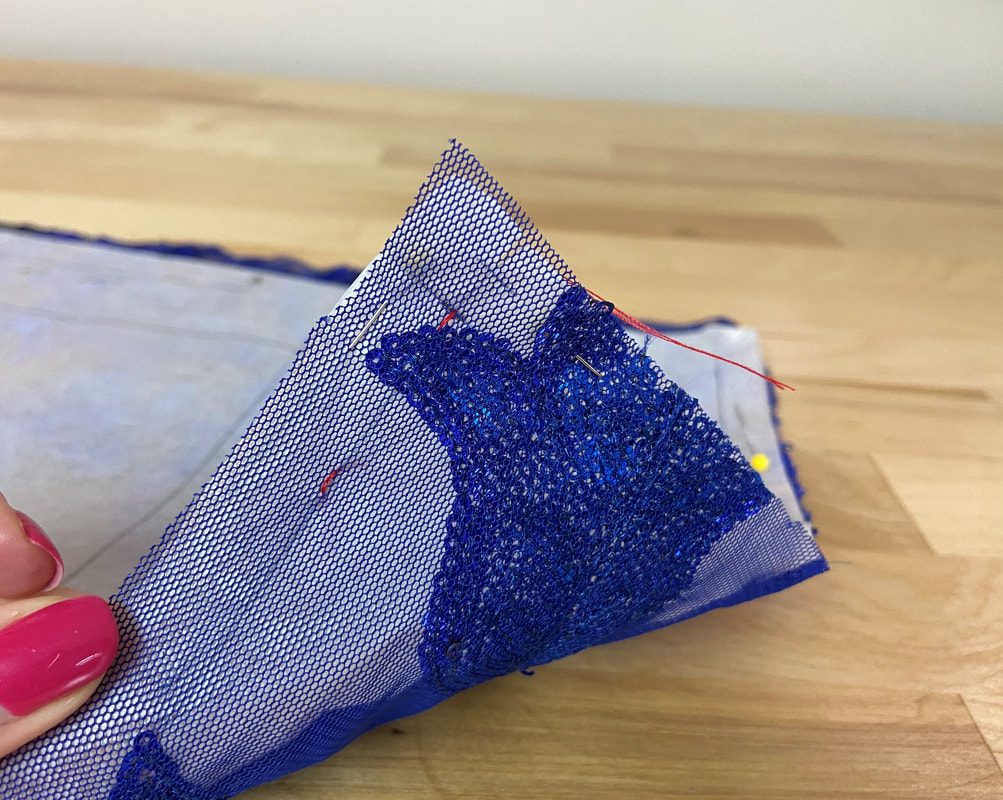
The cut basting stitches will stay behind forming the individual tailor tacks. These tacks will now provide a general shape of each seamline.
As you continue to practice this method, you will be able to apply simplified tacks in a matter of minutes! Keep in mind that the technique described above works only for single fabric layer cuts.
If double layer cut fabric, use the single tailor tack technique described in this dart marking tutorial:

