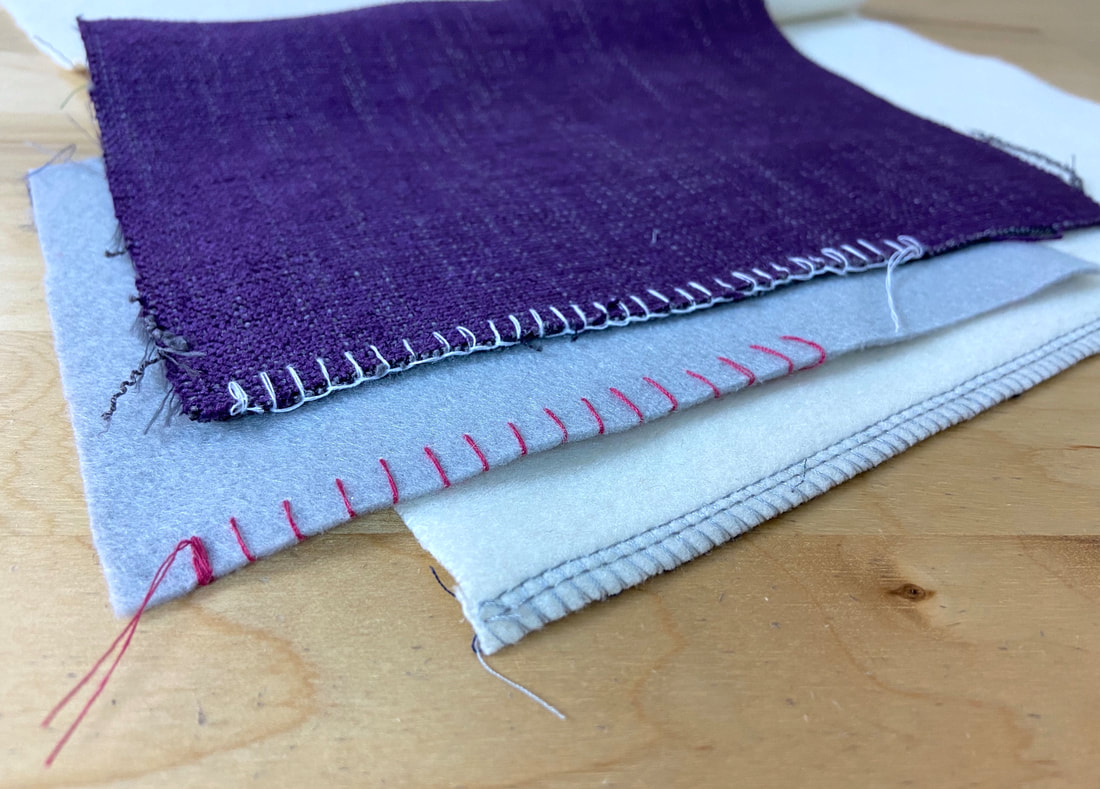
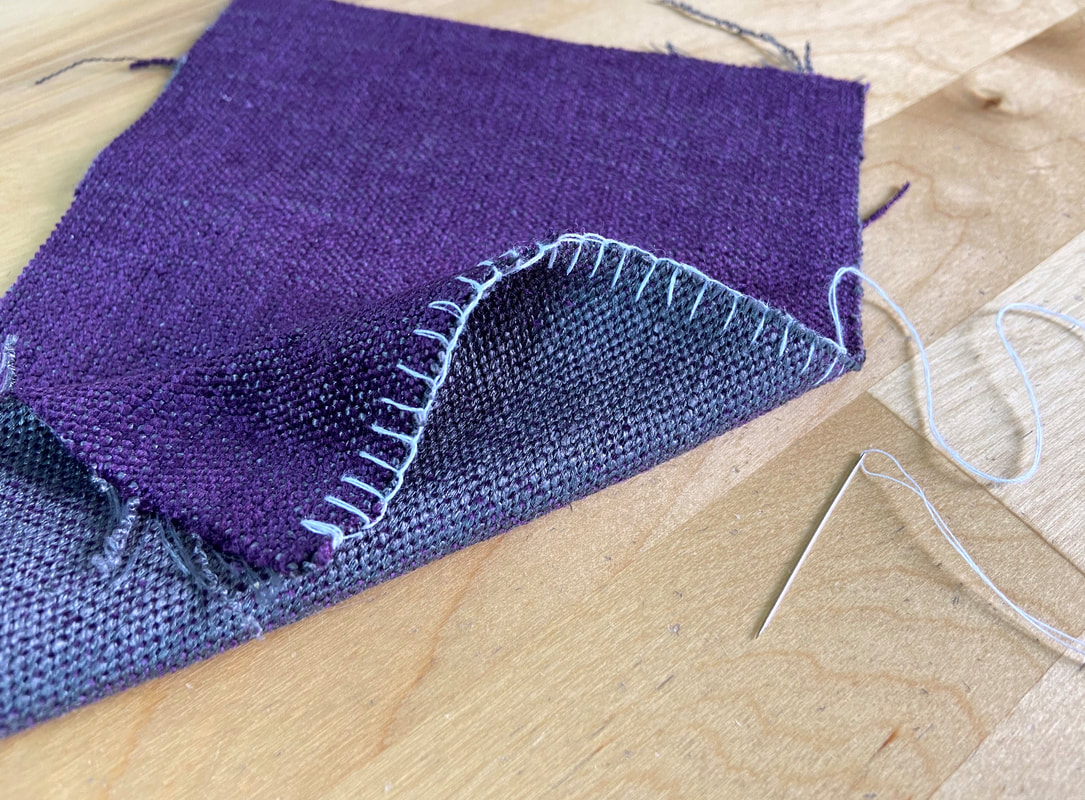
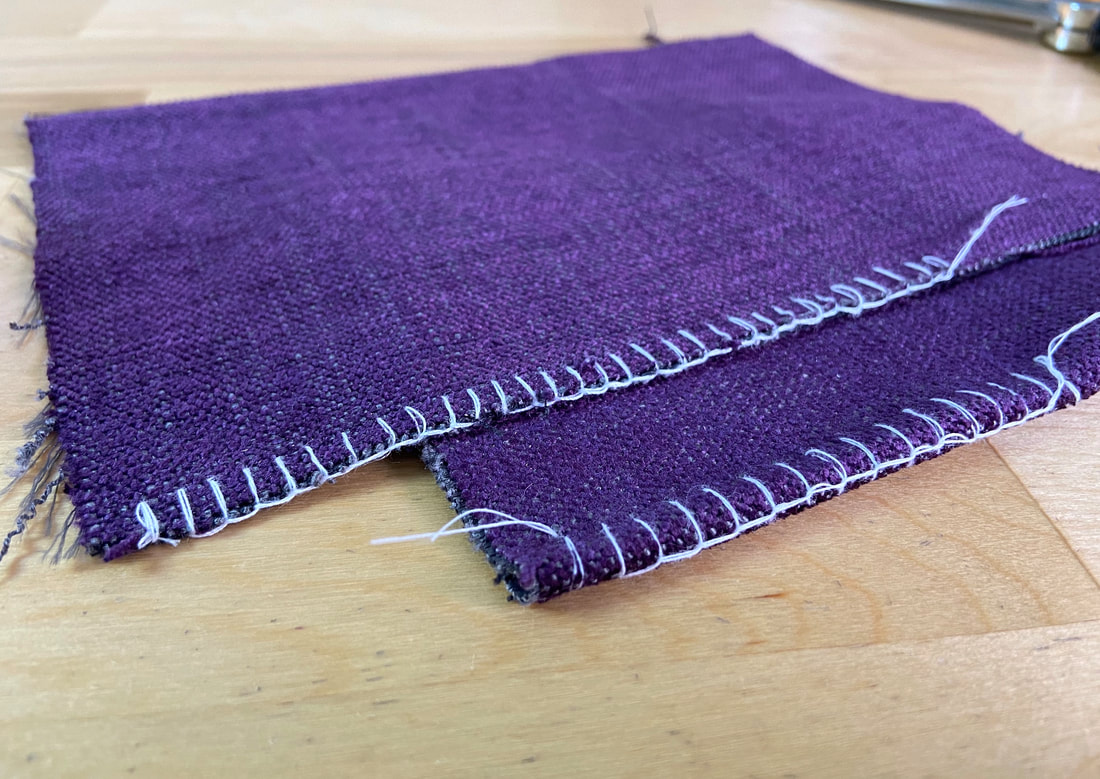
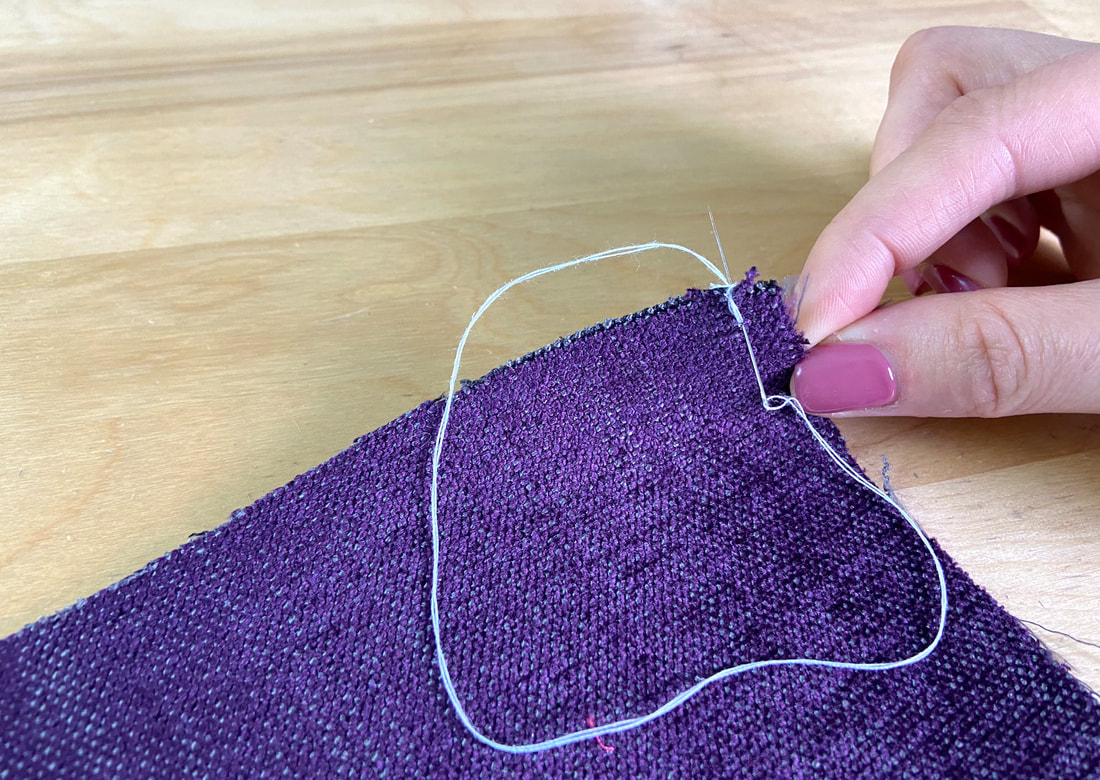
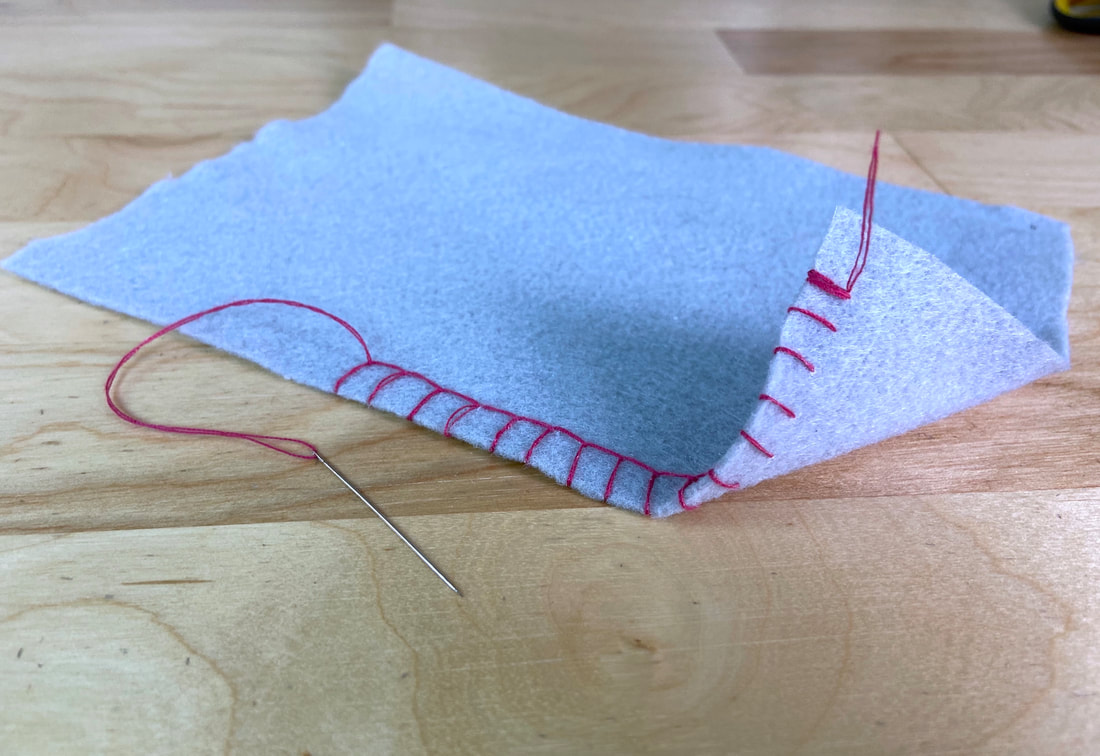
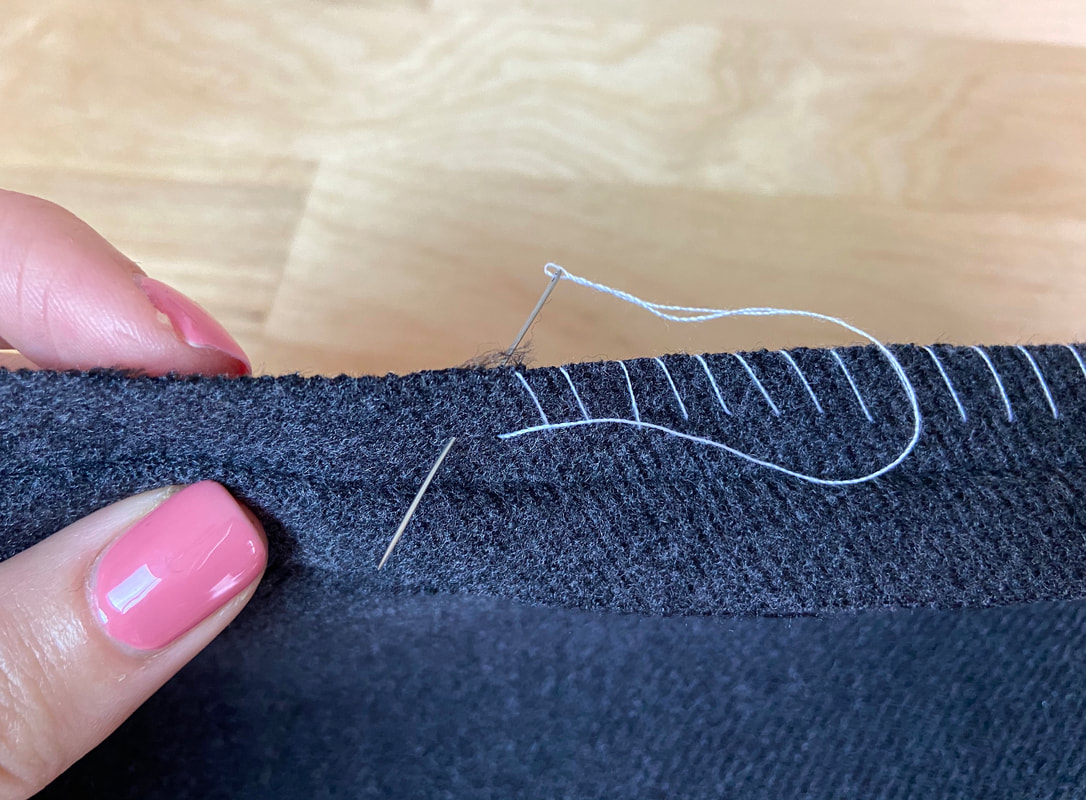
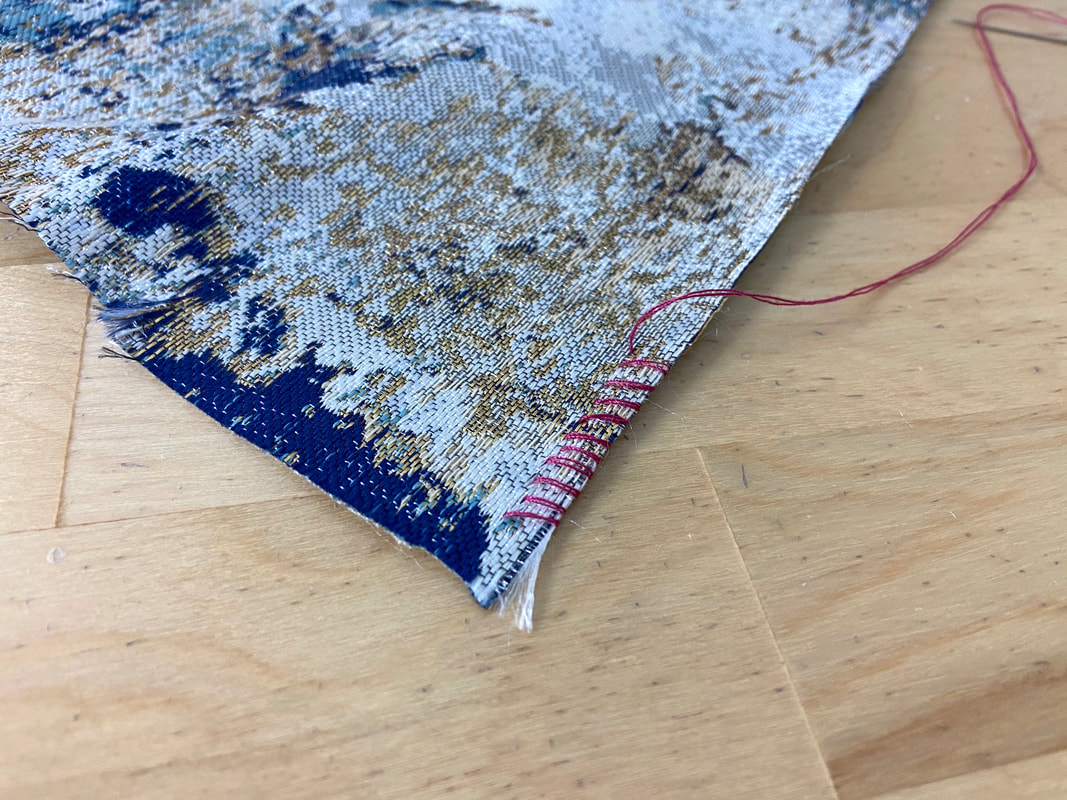
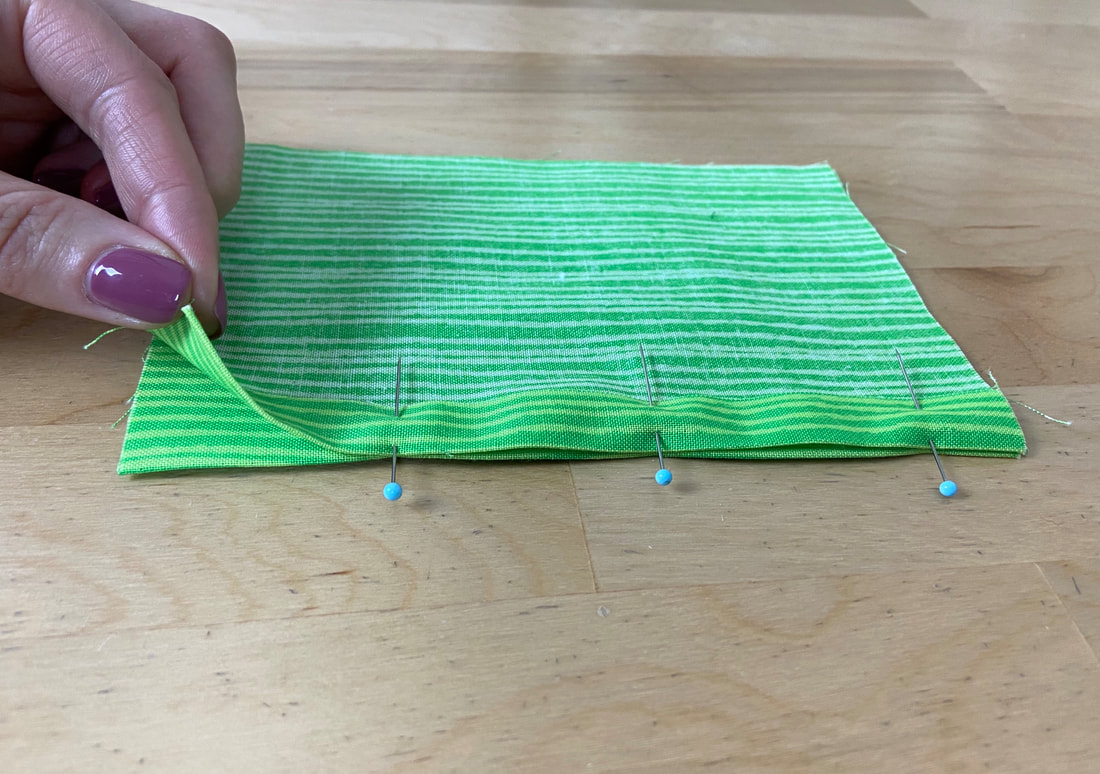
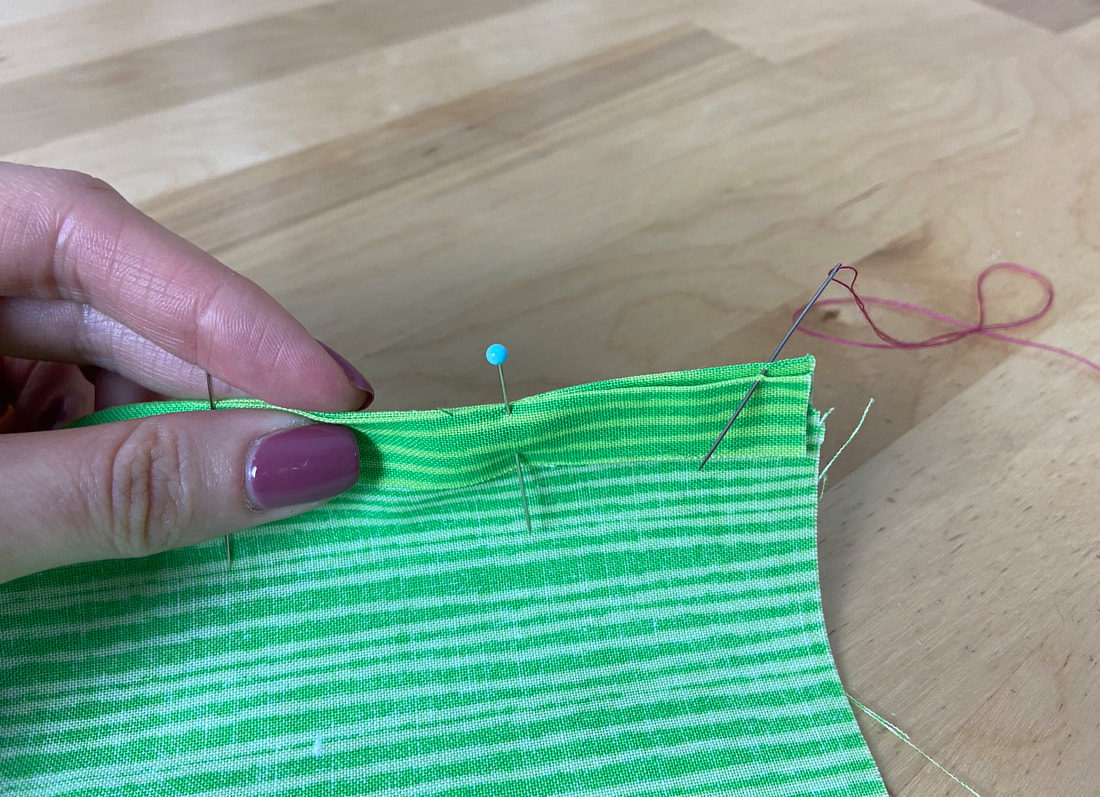
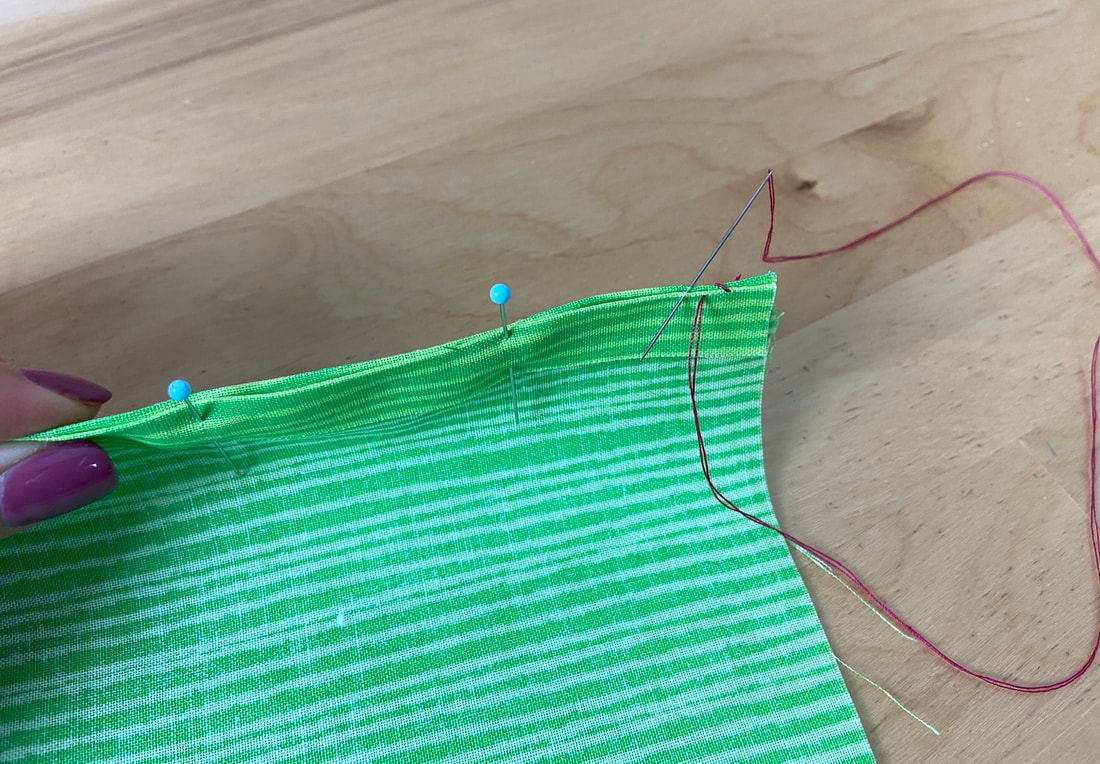
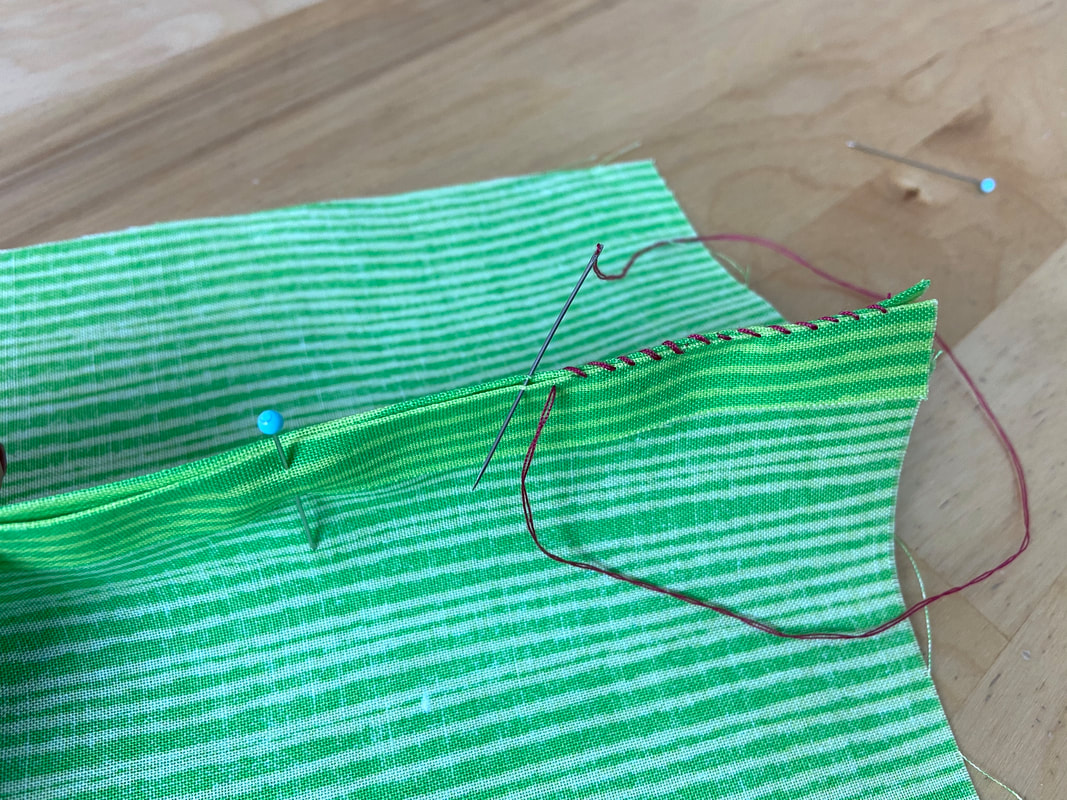
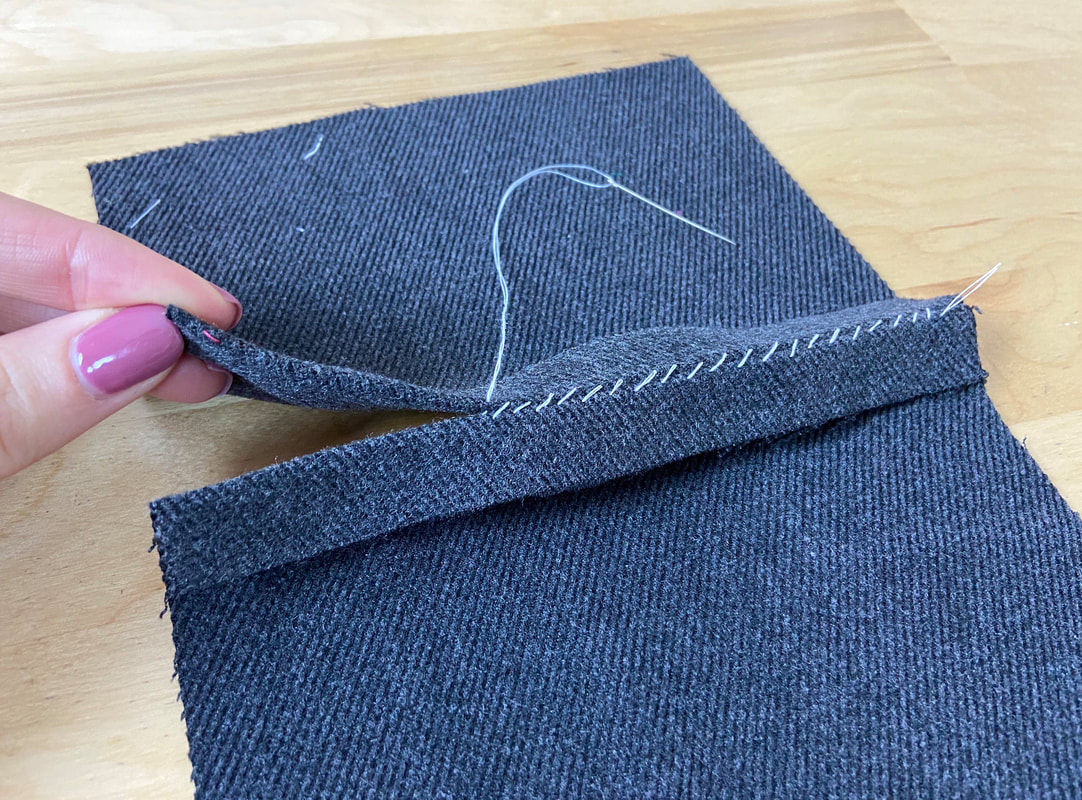
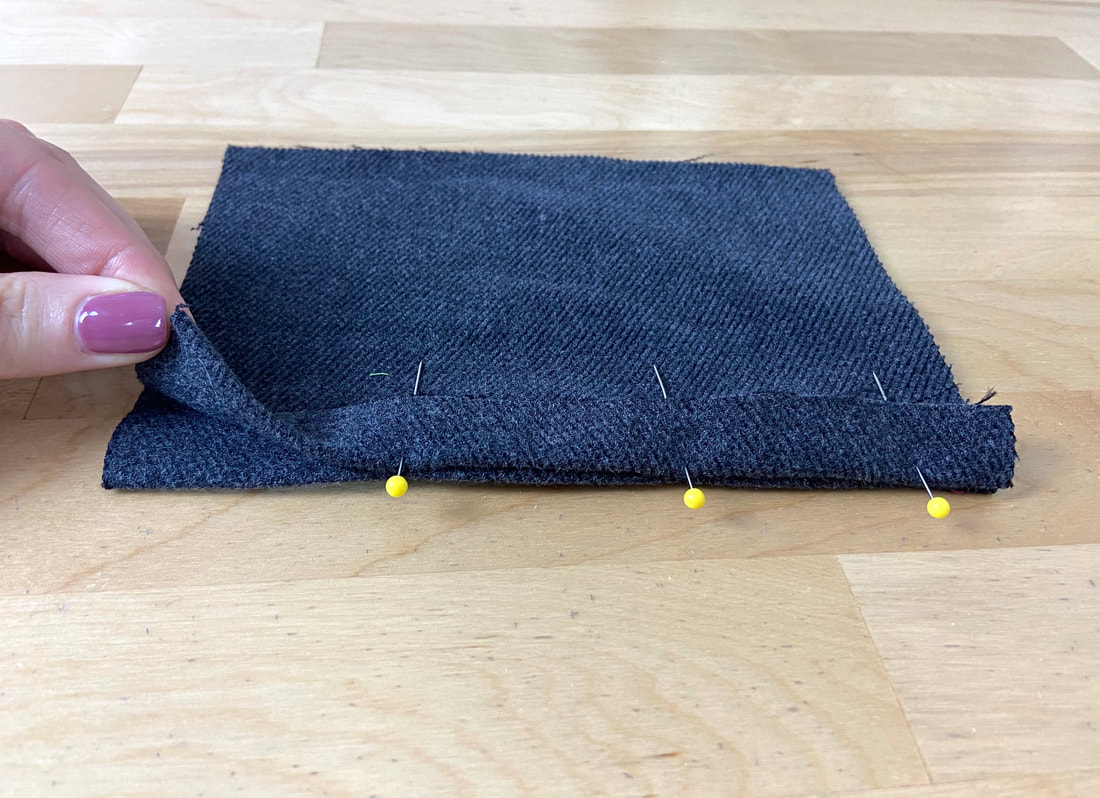
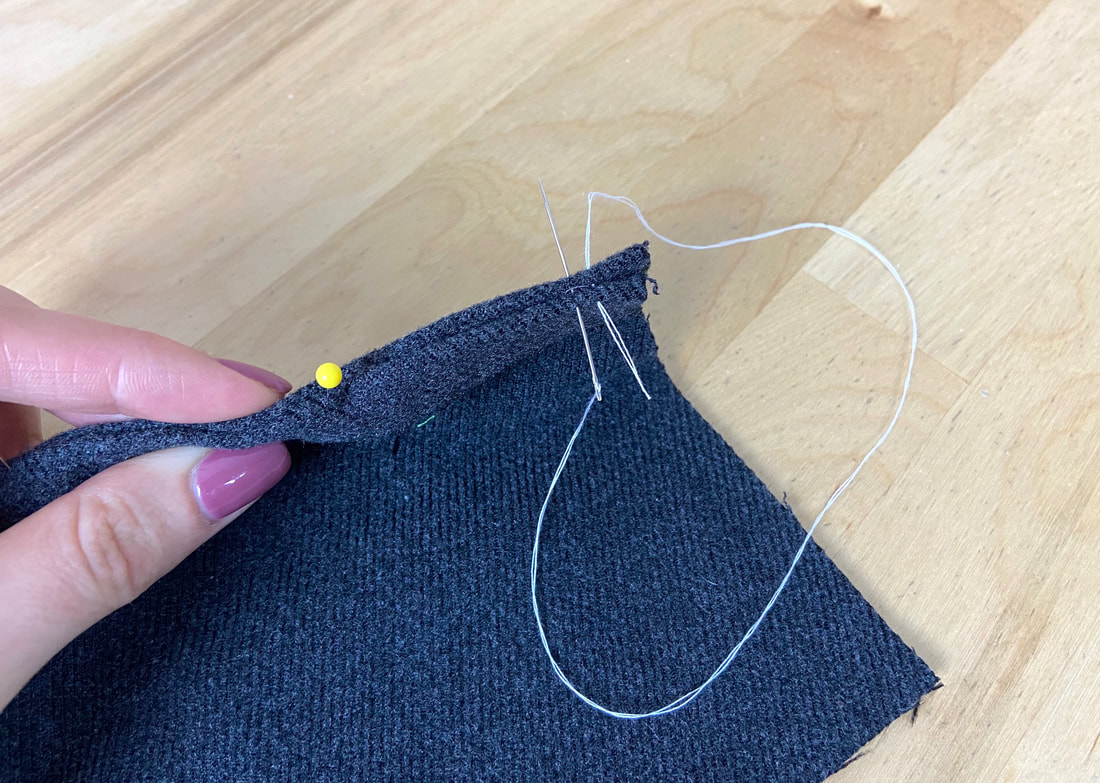
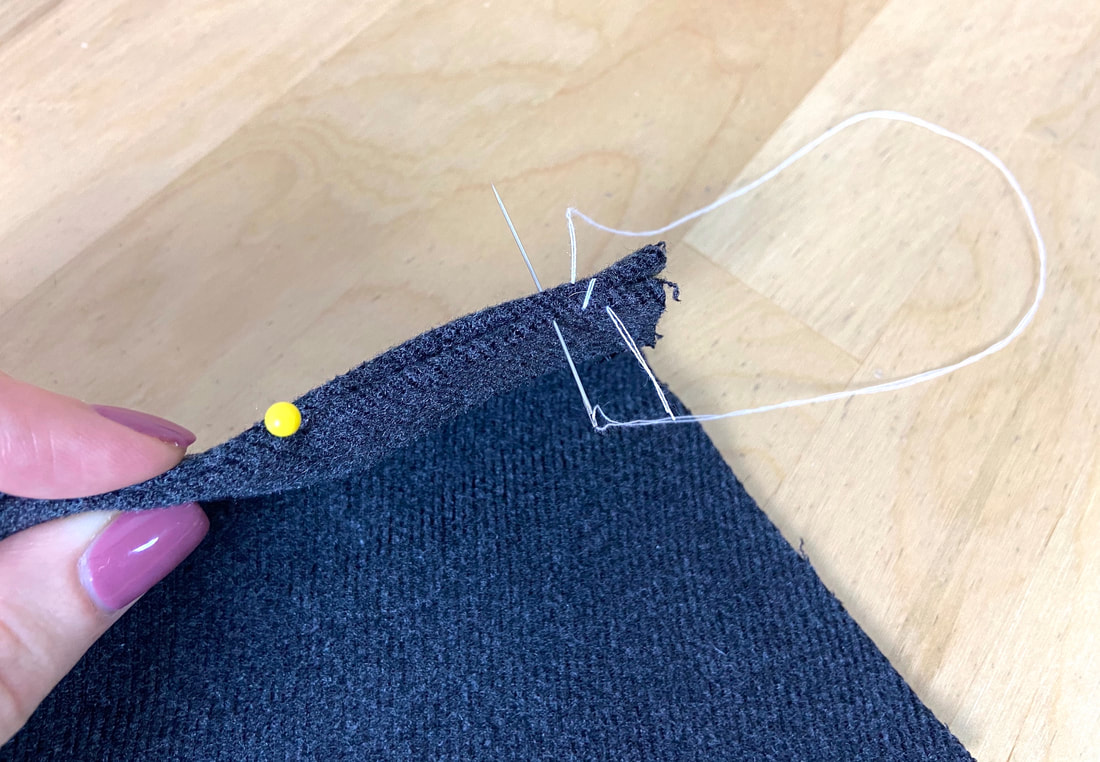
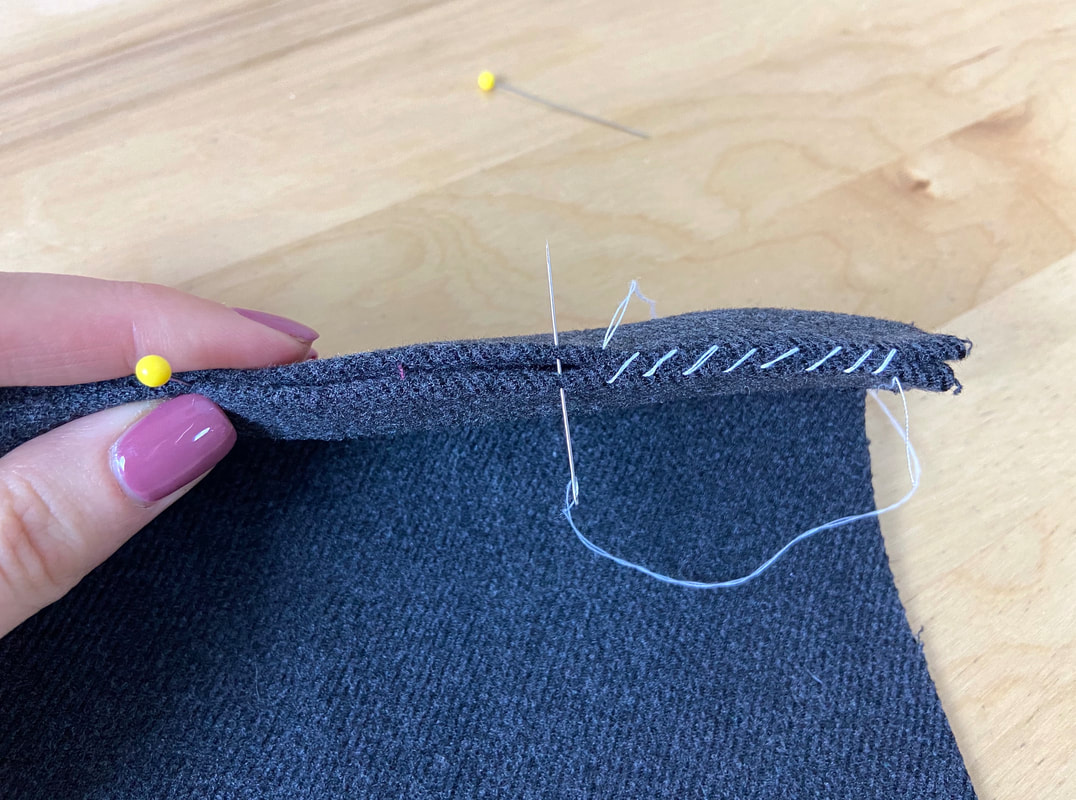
An overedge stitch is applied over a raw or folded fabric edge to prevent it from unraveling. It can also be used for purely decorative purposes.
Overedge stitches can be applied by machine or by hand. Serging and zigzag stitches are examples of machine-applied overedge stitches. Overedge stitching applied by hand is available in a few different styles. Some of the most common techniques and how to sew them is described in more detail below.
What Is A Blanket Stitch?
A blanket stitch is a type of embroidery stitching that can be used both functionally and decoratively. It is perhaps the most common hand-applied overedge application, and works well with almost all fabrics.
The fabric edge itself can be folded, fully finished or cut. In the case of a fully-finished edge (such as a faced one, for example), the blanket stitch is used mainly as a decorative finish although it can also be used to keep the edges flatter and give them more structure.
When used along a fabric raw edge, a blanket stitch works much like zigzag or serging to prevent the fabric edge from fraying. Just as you would with a machine overedge stitch, you can control the blanket stitch’s length and density when applying it by hand.
How To Sew A Blanket Stitch
You can work from left-to-right or right-to-left depending on what is most comfortable for you. In this example, the stitch is applied from right-to-left.
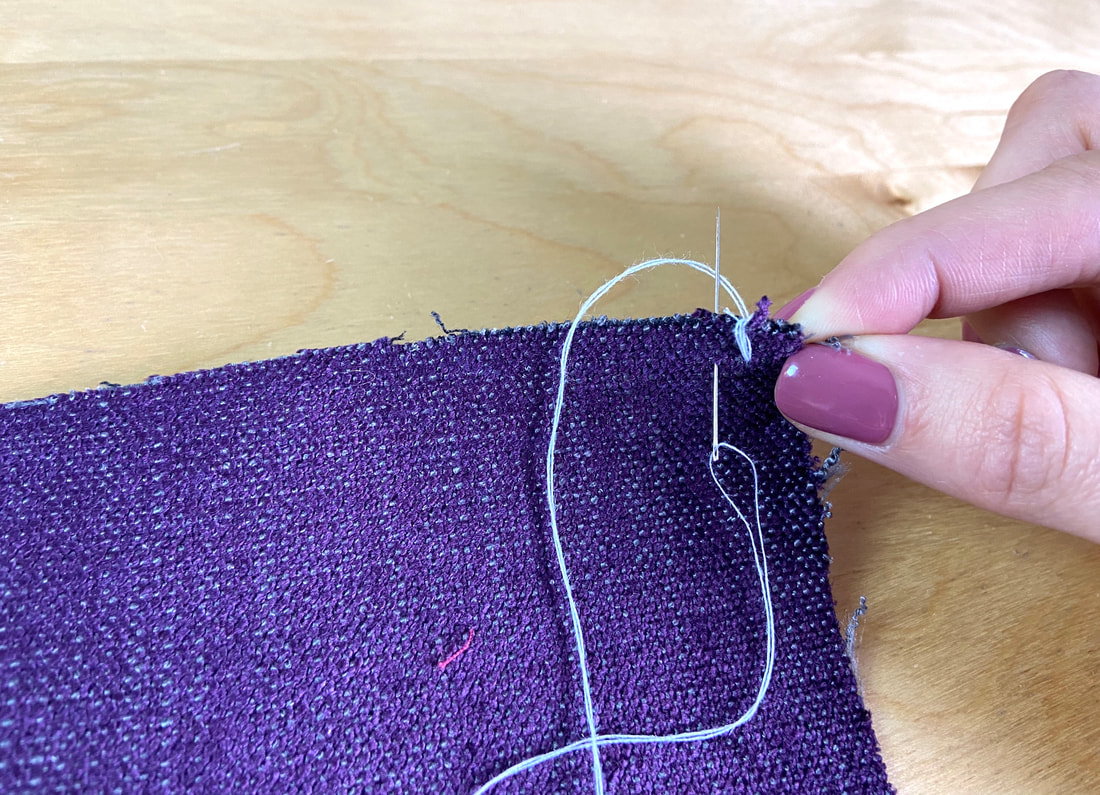
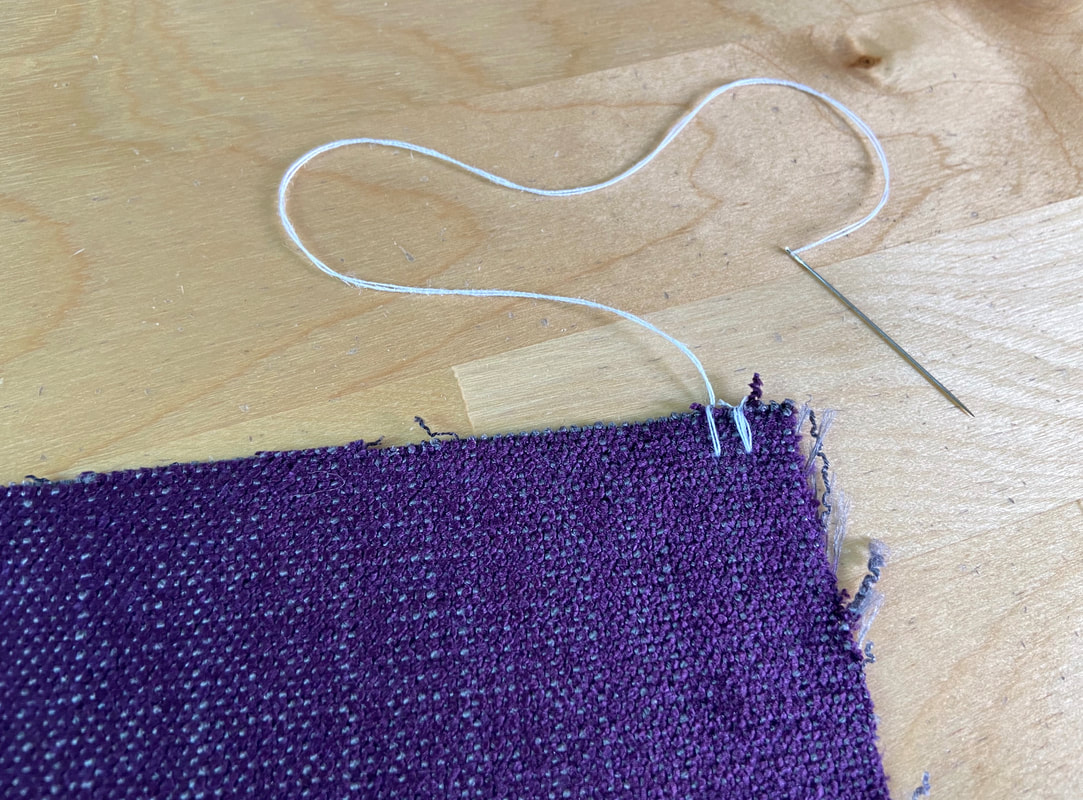
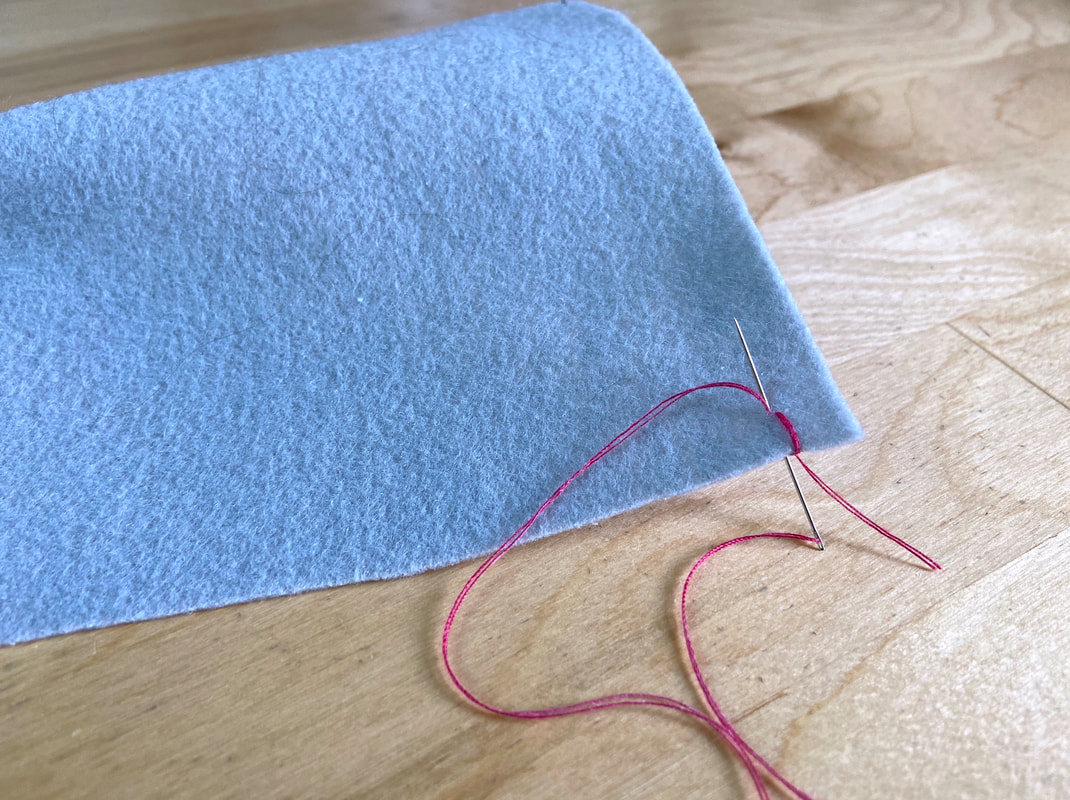
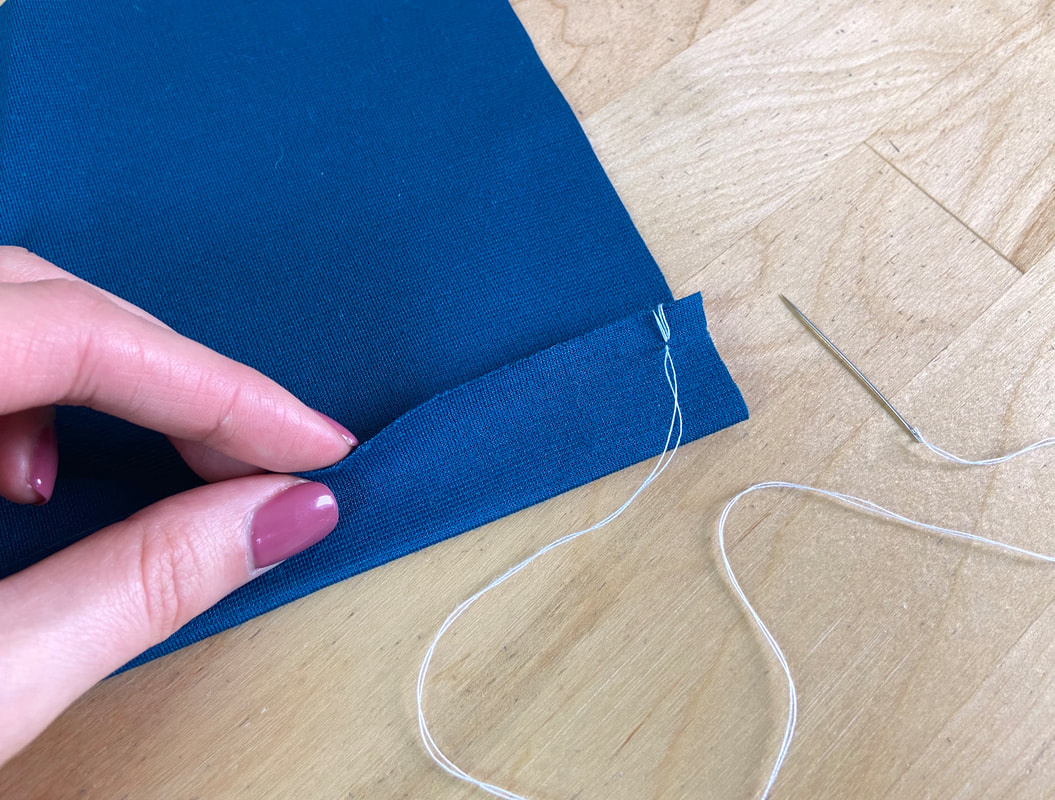
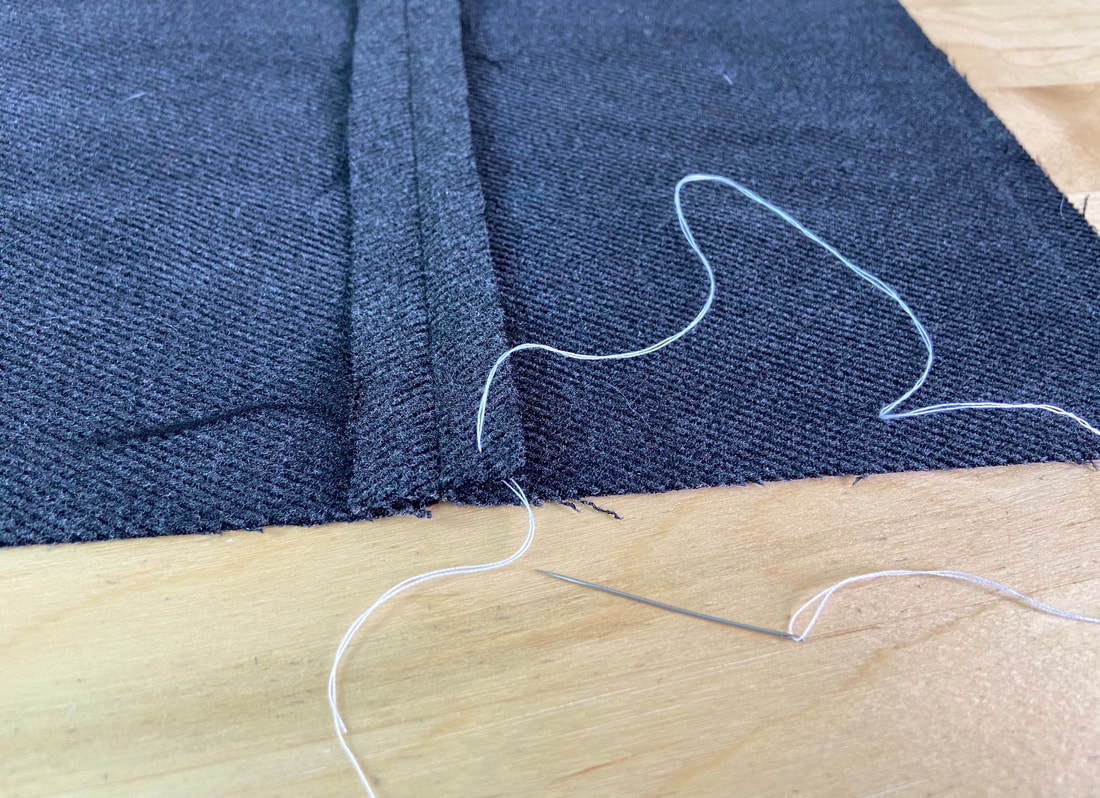
1. Start by inserting the needle at the desired stitch distance (from the fabric edge). In this case, the distance from the fabric edge to the first insertion point is 1/4”. To lock the stitch, loop the needle and thread over the edge a few times as shown.
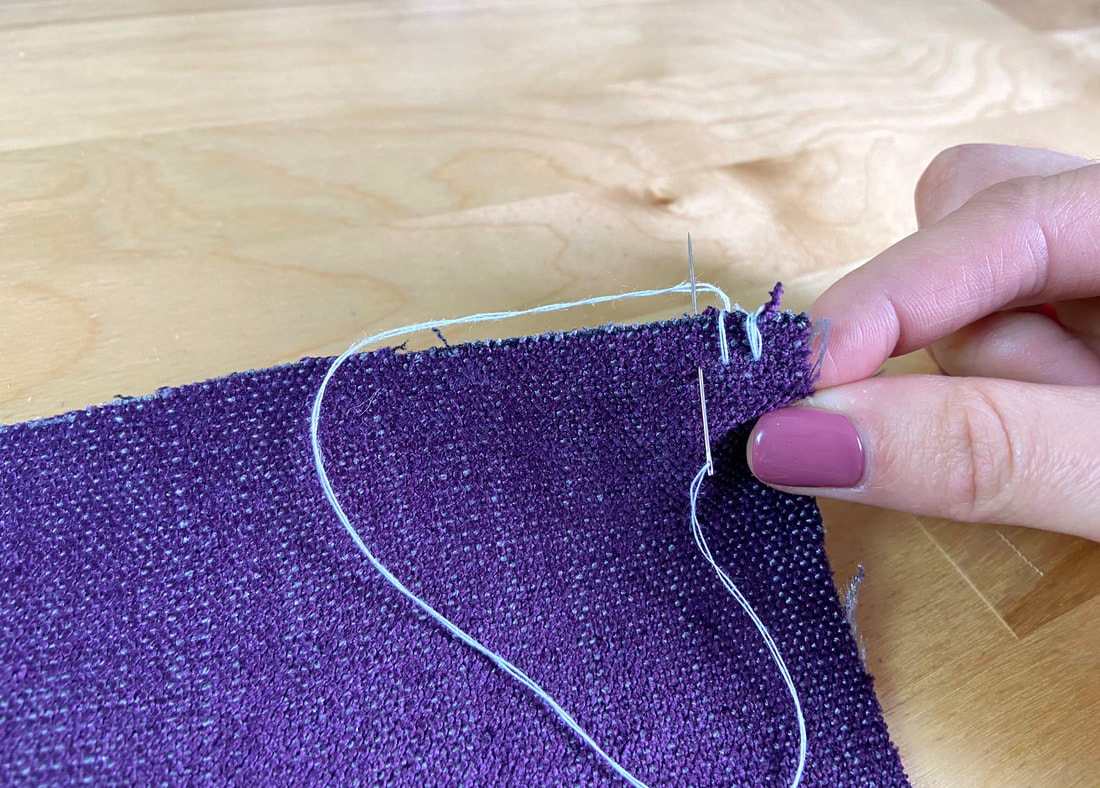
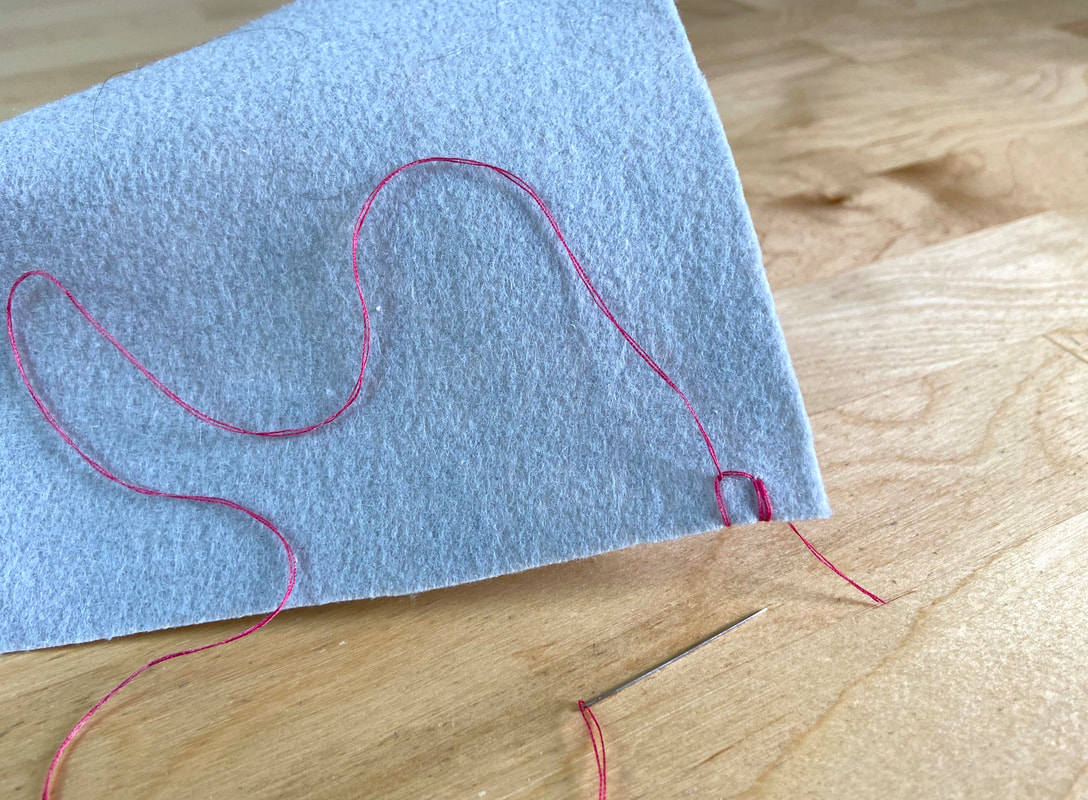
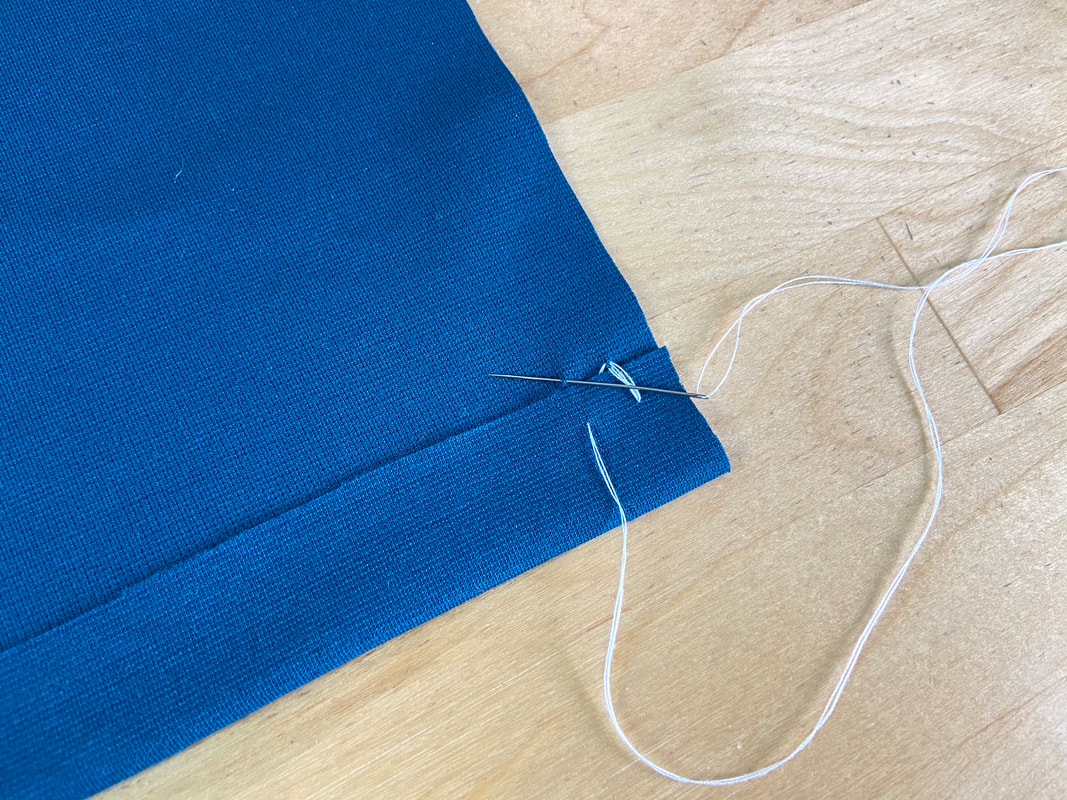
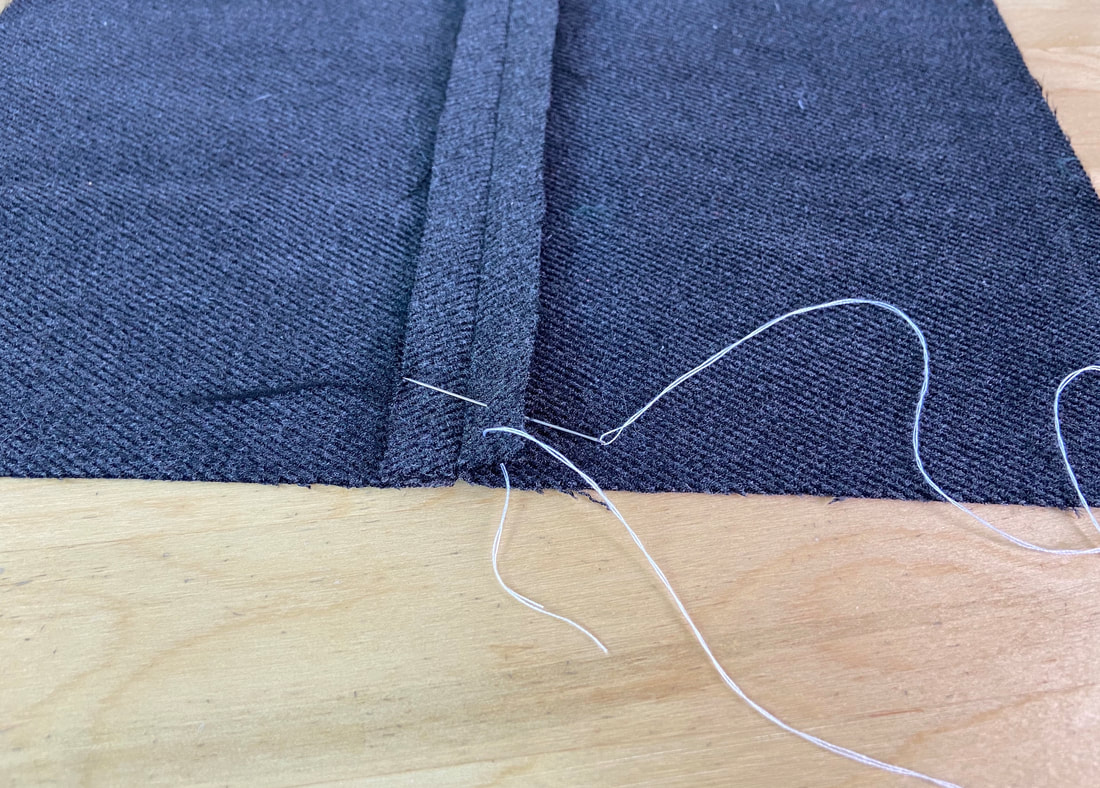
2. Insert the next stitch at about 1/4” away from the first, and keeping the needle inserted, align the thread from the previous stitch under the needle point as shown. Pull the thread through. A stitch that goes over the fabric edge will form.
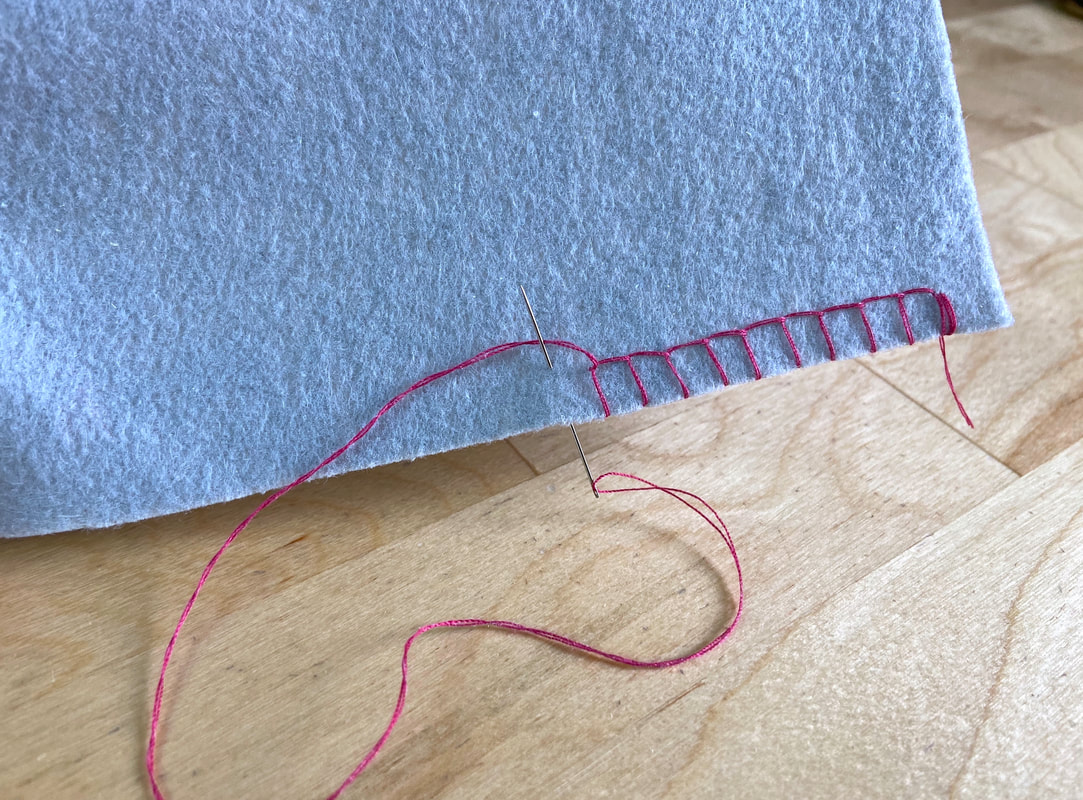
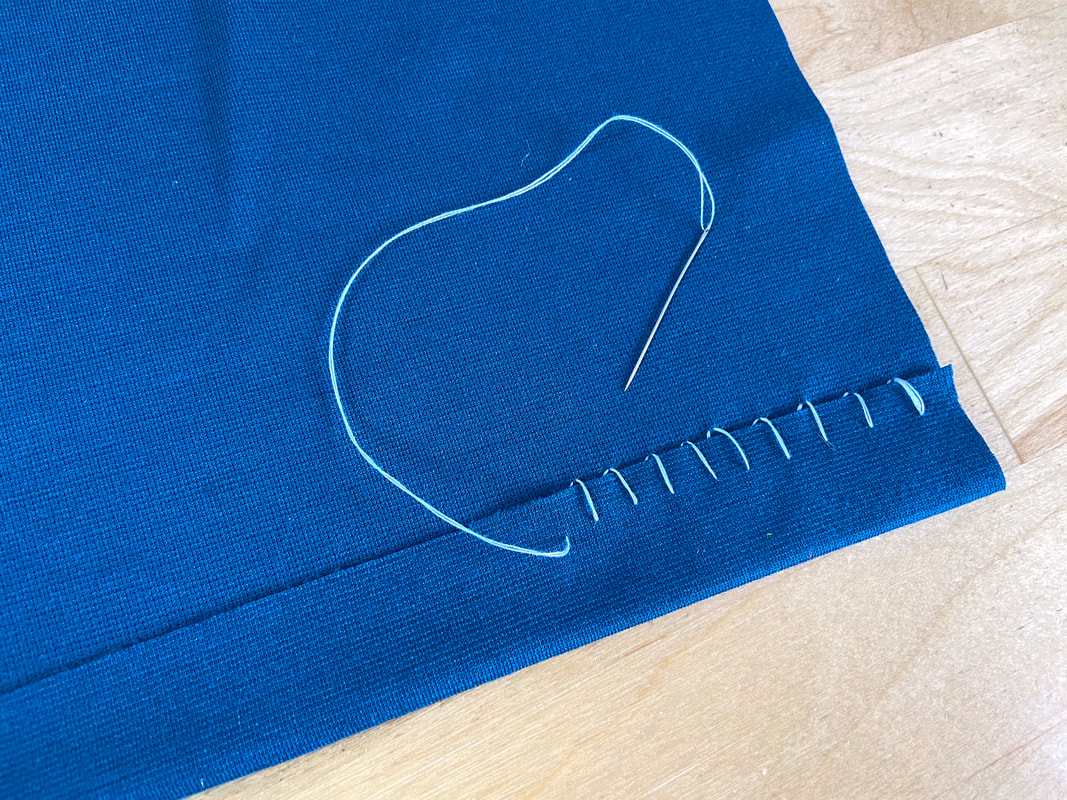
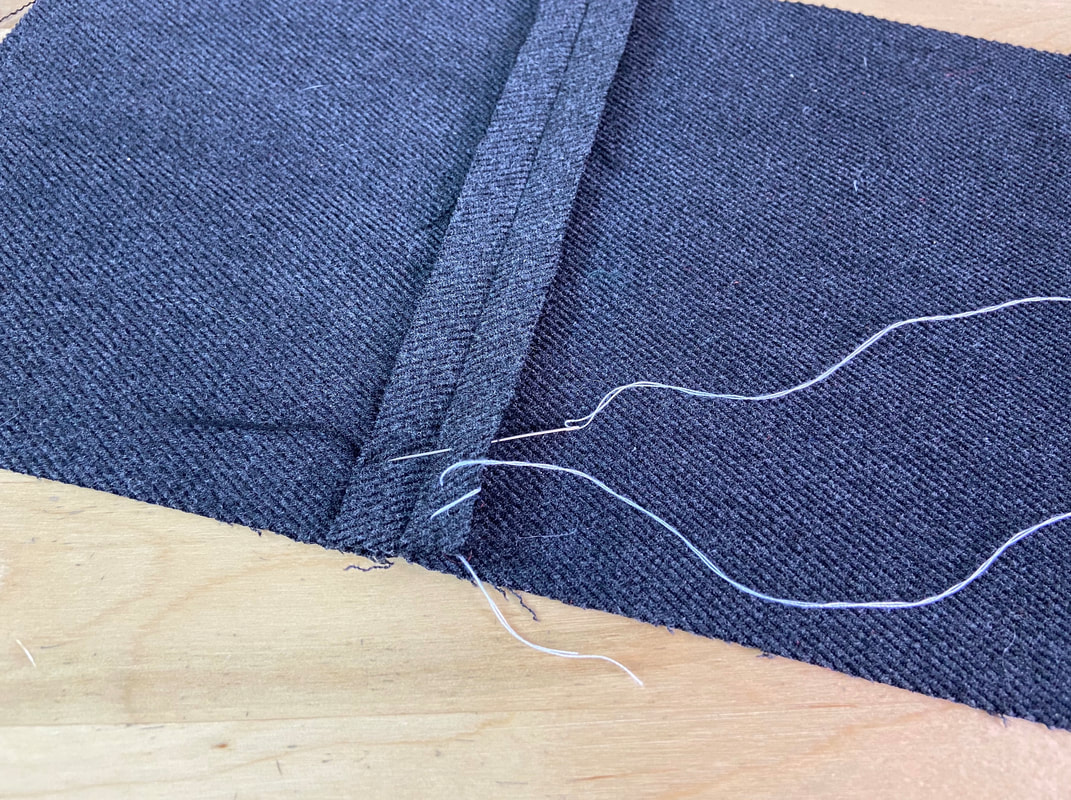
3. Repeat the step described above, inserting another stitch at 1/4” away from the previous one. Again, pull the thread through while keeping it aligned under the needle.
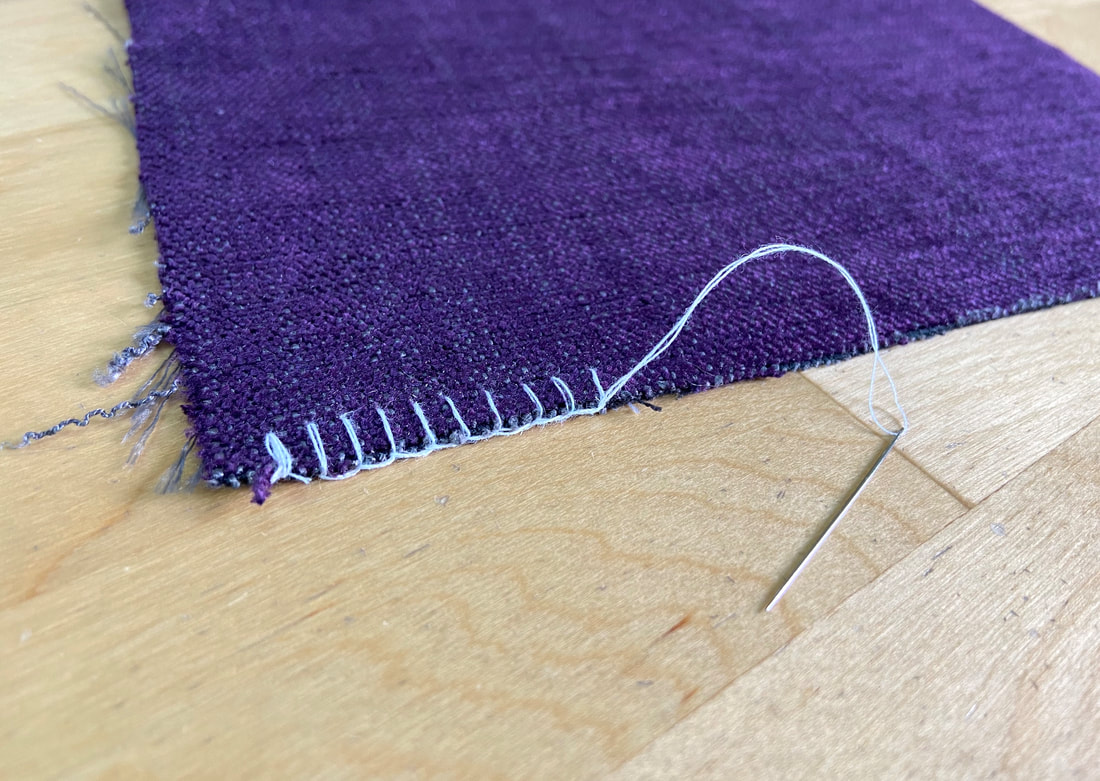
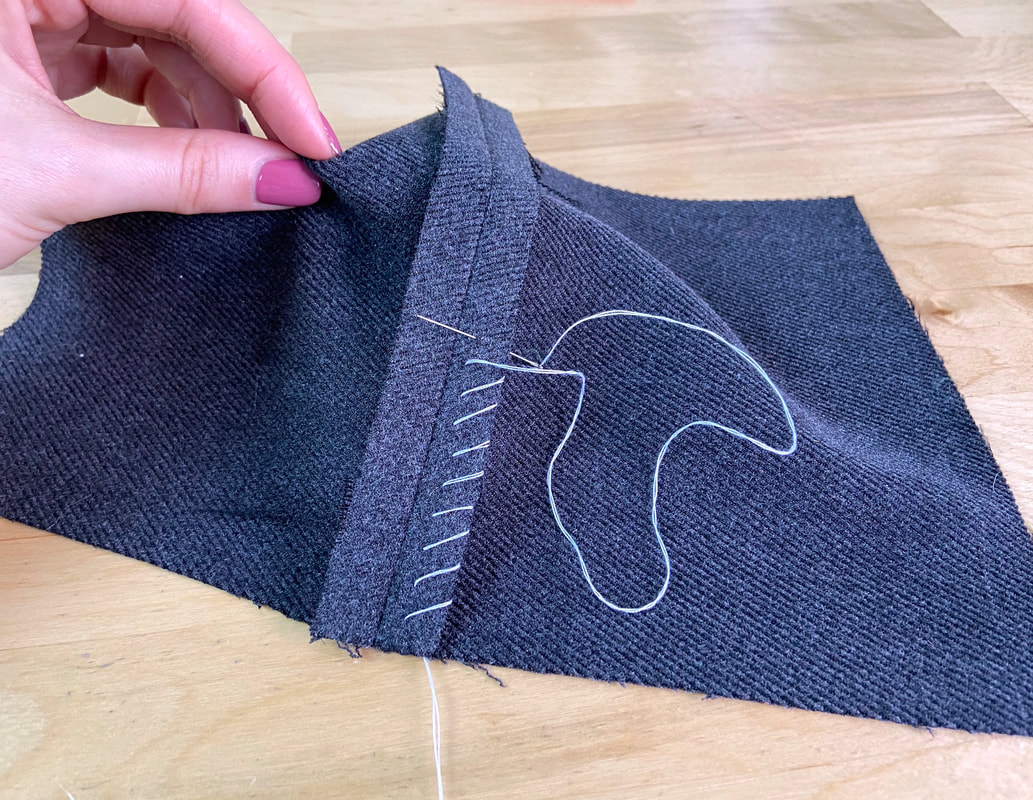
4. Continue stitching as described above to complete the blanket stitch. Keep in mind that you can control the density (distance between vertical bar stitches) and width (length of stitches) as needed. If encasing a high-fraying fabric, use a denser blanket stitch. From a decorative stand point, you can use a contrast color or thicker thread to provide a more unique finish.
What Is A Buttonhole Stitch?
A buttonhole stitch is almost identical to the blanket stitch described above but instead of the needle pointing away from the edge in the stitching process, the needle is inserted from the edge in, towards the body of the garment.
The finish is similar to that of the blanket stitch but due to one difference in the way the thread is looped, it creates a straight stitch border on the fabric surface.
As you might have guessed by the name, a dense buttonhole stitch is used to finish buttonhole edges by hand.
How To Sew A Buttonhole Stitch
1. Insert the needle from the edge inward, at the location marking the desired stitch width- ¼” in this case. Stitch back and over a couple of times to lock the threads.
2. Next, apply a stitch from the edge inward, keeping the thread underneath the needle as shown. Pull thread through to apply the stitch. Take another stitch at the same distance apart, and again, keeping the thread under the needle, pull the thread through.
Note: For an actual buttonhole application the stitches should be positioned side by side.
3. Continue applying the buttonhole stitch until the entire edge is completed. You can use contrast thread and various stitch densities to ultimately achieve your desired finish.
What Is A Slant Hem Stitch?
A hemming stitch is one that is applied over a folded or raw hem allowance edge to connect it to the underside of the garment surface. A slant hemming stitch in particular, is one that can be used both to attach the fabric edge to the garment layer as well as prevent it from unraveling.
The slant hem stitch application looks very much like an overcast stitch. It is applied in an almost identical way, with the exception that it connects to the garment surface in the application process. The stitch catches only about 1-2 threads from the garment layer and thus remains invisible on the garment's face side.
A slant hem stitch creates diagonal floats that can be as close or as far apart as desired. Keep in mind that if the stitches are too long, they risk snagging during wear and wash cycles.
How To Sew A Slant Hemming Stitch
In this example, the slant hem stitch is applied over a cut edge. Follow the same process when applying it to a folded edge.
1. Insert the needle through the fabric edge from the wrong side out, and stitch around the edge a few times to lock the threads.
2. Next, catch 1-2 threads from the garment surface (at the top) at the desired slant distance, then insert the needle back through the wrong side of the edge as shown.
3. Continue stitching over the edge catching 1-2 threads from the garment layer as shown. You should see diagonal stitches starting to form over the edge. The top of each stitch should be connected to the garment layer at the top.
What Is A Vertical Hem Stitch?
A vertical hem stitch is similar to a slant hem stitch in terms of the purpose it serves in dressmaking. However, instead of creating diagonal stitches, a vertical hem stitch creates vertical floating stitches over the hem allowance edge. In this instance, the hem allowance edge can be folded or left unfinished.
The difference in stitch direction between the vertical and slant examples results from the needle’s placement above the fabric edge. When applying the vertical stitch, the needle is inserted vertically in line with where the last stitch came out. As a result, vertical parallel stitches are formed over the fabric edge.
A vertical hem stitch is usually shorter and narrower than a diagonal one and thus, it does not risk snagging in the wear and wash process. It is also more durable providing additional stitching control.
How To Sew A Vertical Hem Stitch
1. Insert the needle through the fabric edge from the fabric’s wrong side, and wrap it around the fabric edge a few times as shown.
2. Next, catch 1-2 threads from the garment surface right above the initial stitch applied in Step 1.
3. Keeping the needle straight and pointing downward, catch the fabric edge from its wrong side, and pull the thread through.
4. Catch another 1-2 threads from the garment surface to form a vertical bar stitch.
5. Continue the stitching process described above, alternating from fabric surface to fabric edge, until the entire edge is connected to the garment layer and enclosed with vertical floating stitches.
What Is An Overcast Stitch?
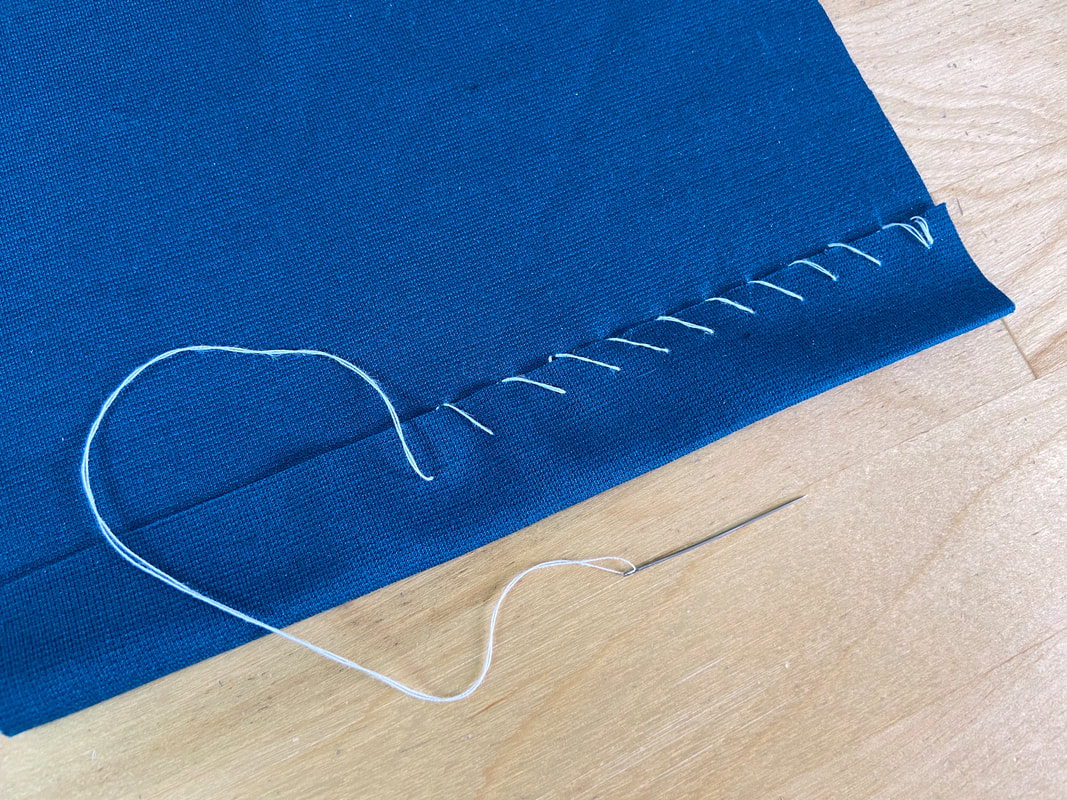
An overcast stitch is perhaps the simplest of all overedge stitches. It is mainly used to enclose fabric edges that unravel. An overcast stitch can be applied along both seam allowance and hem allowance raw edges that are hidden on the inside of the garment.
Overcast stitches are considered more functional than decorative in nature. Nevertheless, they can still be applied along fabric folds and finished edges with contrast thread to provide an ornamental look. An overcast stitch is perhaps the easiest and fastest way to contain fabric fraying edges by hand.
How To Sew An Overcast Stitch
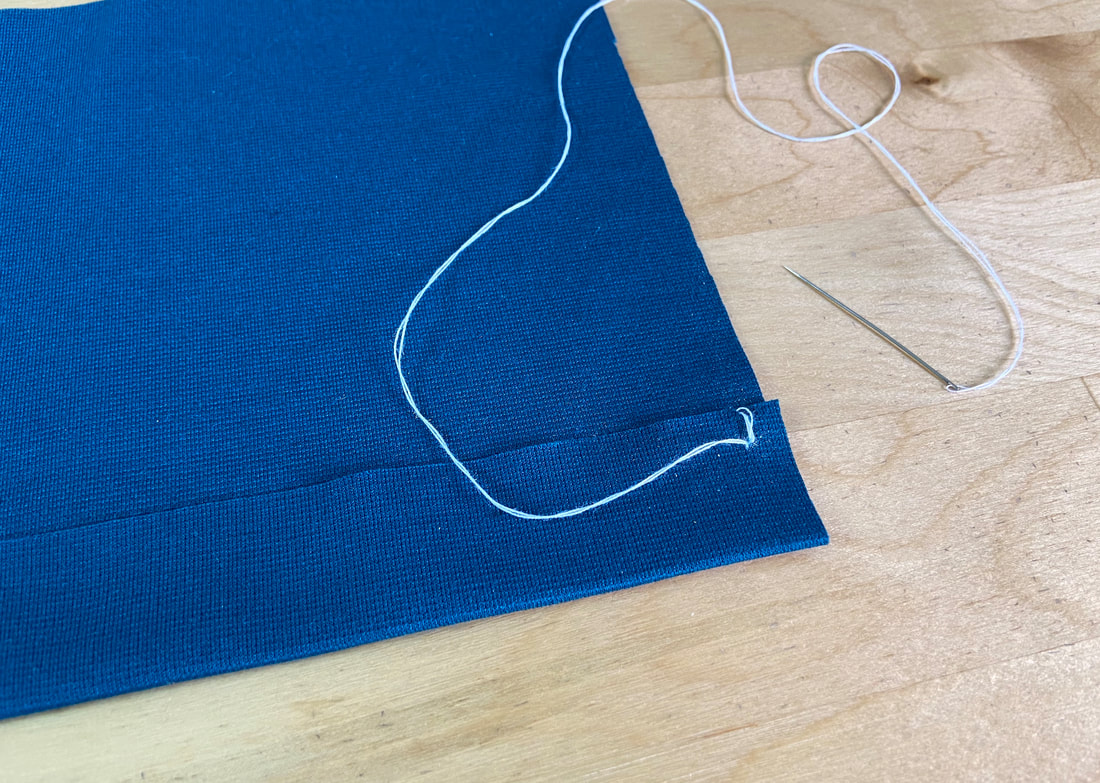
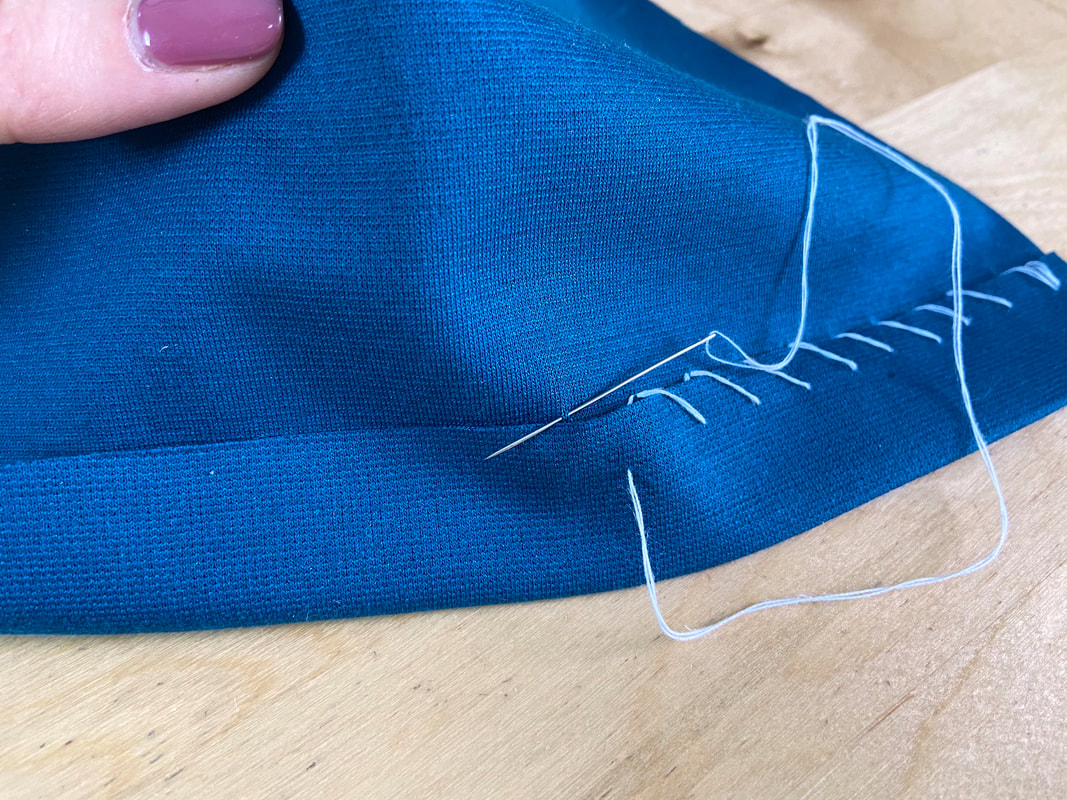
1. Insert the needle through the fabric edge at the desired stitch length (as shown above). In this case, the diagonal overcast stitches will stop at about ¼” from the edge. Pull thread over the edge, and insert the next stitch from the wrong side of the fabric at the same distance down.
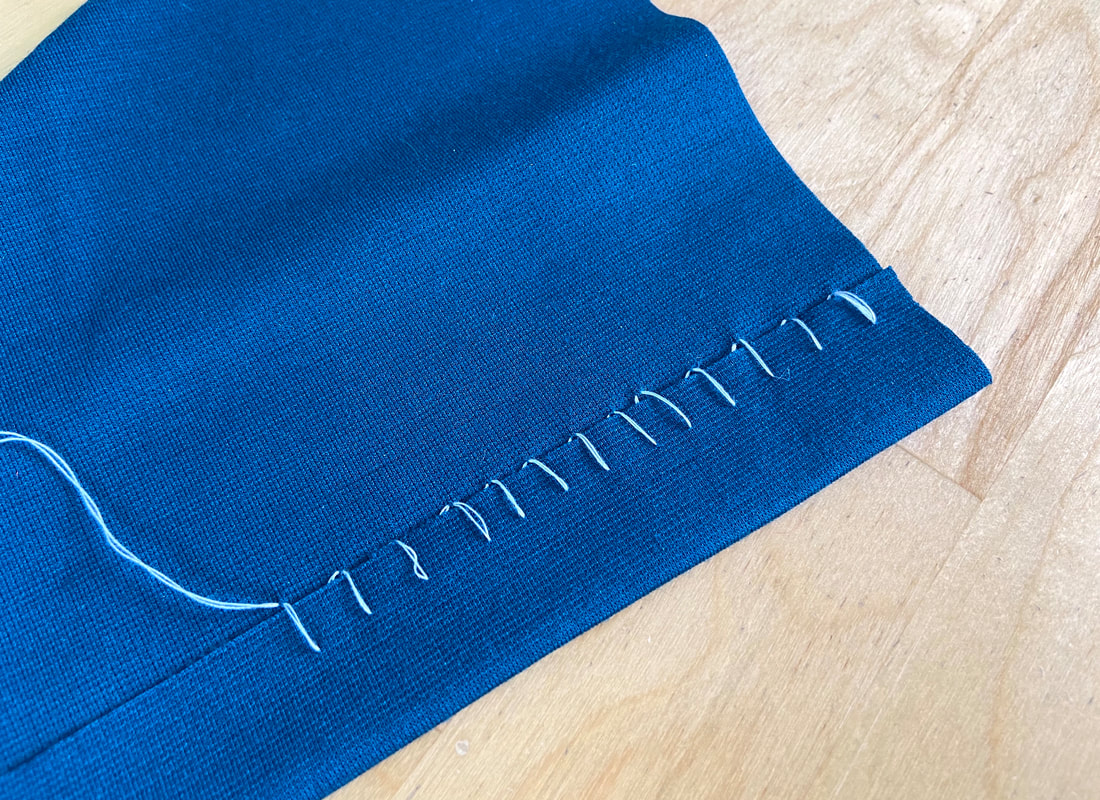
2. Stitch again over the edge inserting the next stitch (again, from the wrong side of the fabric) at the same distance down from the edge (1/4"). As you stitch, you will notice diagonal stitching forming over the fabric edge.
3. Continue stitching until the entire edge is enclosed.
As is true for all stitches, you can control the stitch's density and width. If the overcast application is used to contain highly-fraying fabrics or those that are loosely woven, apply a denser, longer overedge stitch to provide added structure and support.
What Is An Overhand Stitch?
An overhand stitch is characterized by vary narrow, even stitches that are used to stitch two finished fabric edges together. An overhand stitch can be used to sew abutted folded edges, or lace and ribbon edges, that don’t require additional finishing and cannot be sewn in a conventional way (as a regular seam).
An overhand stitch should look almost invisible when applied with thread that matches the fabric color. When completed, the abutted edges should lay smooth and flat.
How To Sew An Overhand Stitch
1. Align the two finished/folded edge together as you would with a conventional seam. Insert a few pins perpendicularly to secure.
2. Working from the wrong side, insert the needle diagonally through both finished edges catching only 2-3 threads from each edge as shown.
2. Pull thread through and repeat another stitch at close distance from the first, inserting the needle diagonally again.
3. Continue applying the small alternating stitches, catching both edges in the process. Keep the individual stitches as even as you can. For a more durable, stable connection apply the small stitches closer to one another.
What Is A Whipstitch?
A whipstitch is very similar to an overhand stitch but instead of the stitches being applied diagonally, the needle is held in vertical position as each stitch is applied.
Just like an overhand stitch, whipstitching is often used to connect two finished edges together either in an abutted fashion or in overlapped position. A whipstitch is also commonly used when stitching a fabric’s raw edge to the fabric surface. In this case, the whipstitch serves as both a connecting and a finishing stitch.
How To Sew A Whipstitch
1. Align the finished edges together to prepare them for stitching. Insert a few pins perpendicularly to secure.
2. Insert the needle through both fabric layers catching 2-3 threads from each edge, and loop the thread over the edges. Take the next stitch through another 2-3 threads as shown.
Keep the needle at a right angle as you apply each stitch.
3. Continue stitching as described above until the two edges are connected.
You can control the stitch density and width based on the application needed/desired as well as the fabric at hand. Smaller, denser stitches are used with lightweight, fine fabrics. Vice versa, longer stitches are used with thick, heavy fabrics.

