Strip bands are applied to stretch garments, usually knits, that don’t require a garment opening since they can be easily pulled over the head.
A strip band is fairly easy to sew given that you don’t have to worry about clean finishing it at a zipper opening or other similar closures. However, it is important to consider the fact that different types of knits with various stretch and recovery levels will affect a strip band’s construction process.
Knit fabrics like ponte and double knit are considered to be low-stretch and thus may require some form of neck closure. This is often necessary when the neckline itself is high and narrow, and unable to fully stretch over the head when the garment is put on.
The need for a closure can be eliminated by cutting the neckline a little lower and wider, thus providing enough give for the semi-stretch fabric to gently stretch over the head.
In this tutorial, you’ll learn how to sew a strip band that has minimal amount of stretch. As opposed to high-stretch strip bands, like ribbing for example, a lower-stretch strip band is similar to a woven in the way it sits along the neckline edge.
Prior to stitching it, a semi-stretch band is shaped to match the curve and length of the neckline edge using a steam iron. Steam allows knit fibers to compress back into their original shape. Ironing provides a great tool for manipulating both the inner and outer strip band edges- more on this below.
Measuring And Cutting The Semi-Stretch Strip Band
Unless specified in your pattern set, you will have to first decide how wide the strip band should be for the neck style and garment at hand. Conventionally, you could go anywhere from 3/8” to 1.5”, but not beyond it. If too wide, the band will not lay flat or maintain its shape well.
In this tutorial, the finished strip band is ½” wide. The total width of the unfolded fabric strip measures the final band width times two (2) plus two (2) seam allowances.
Since the neck seam allowance in this tutorial is ¼”, the total width of the initial fabric strip comprising the strip band is 1 ½” (1/2”x 2 plus two seam allowances of ¼").
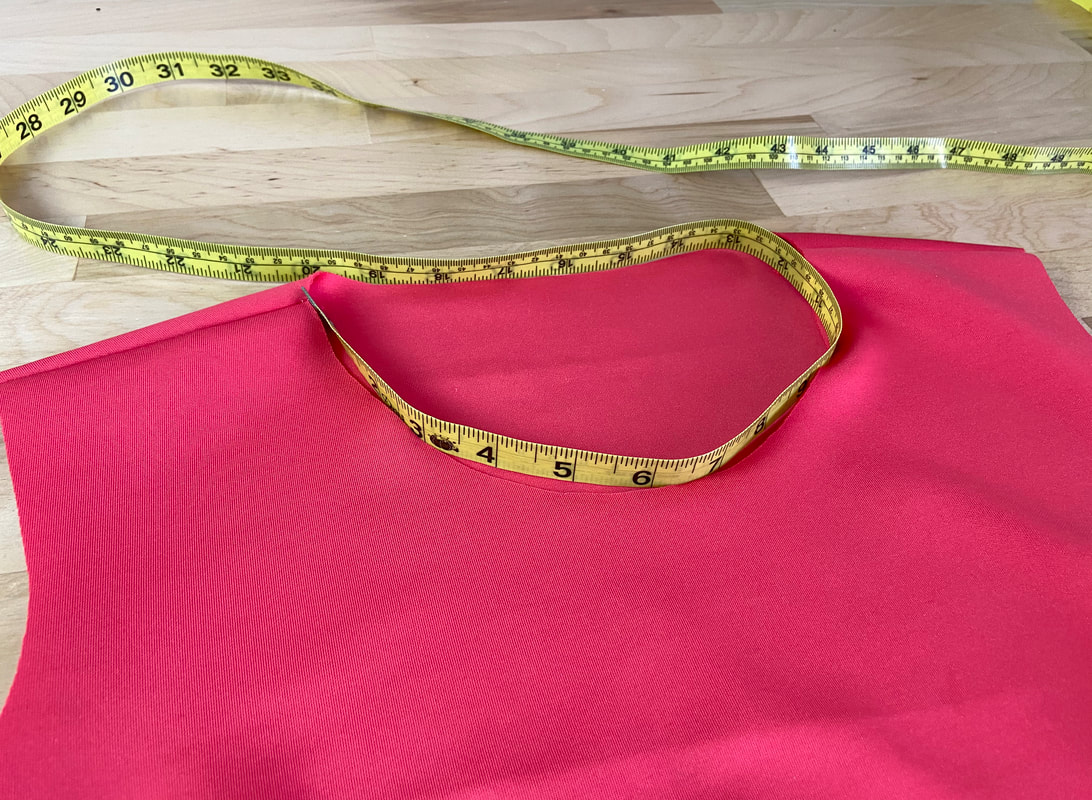
To find the necessary length, measure the garment neckline edge carefully. Subtract ½” from this measurement and add two seam allowances, one on each end of the strip band. In this case, the seam allowance is ¼” on both ends, so the total length of the strip band is: 20"
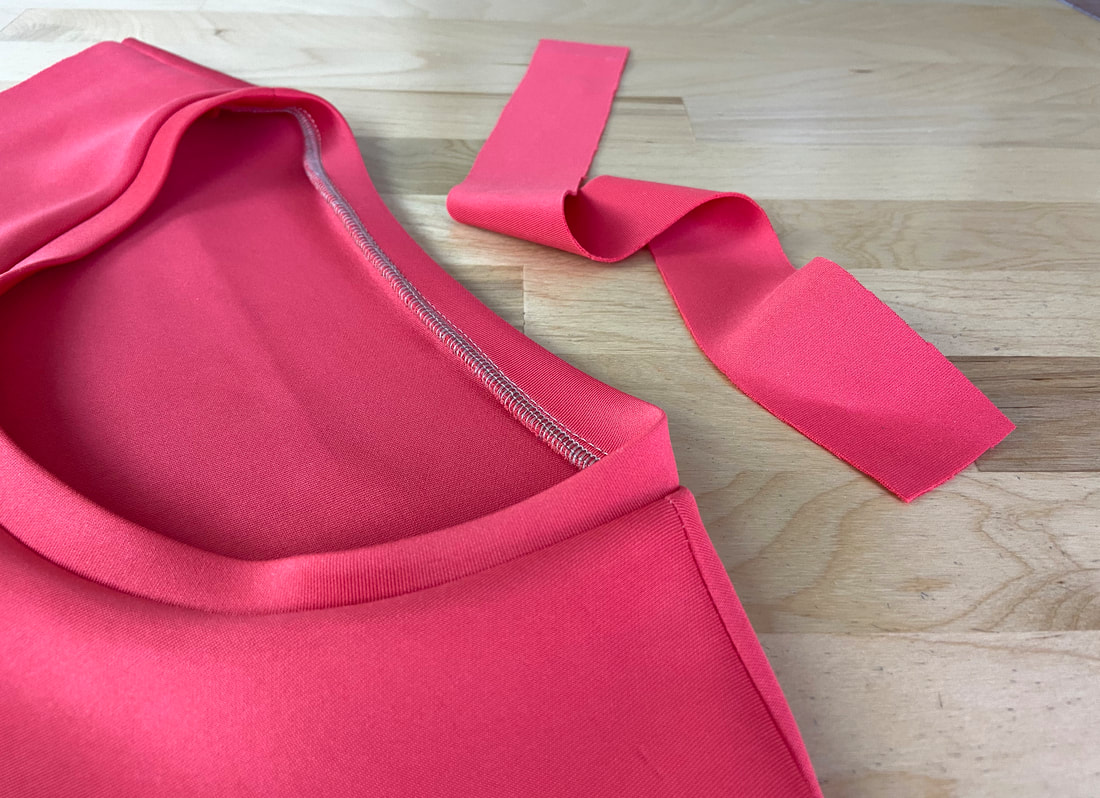
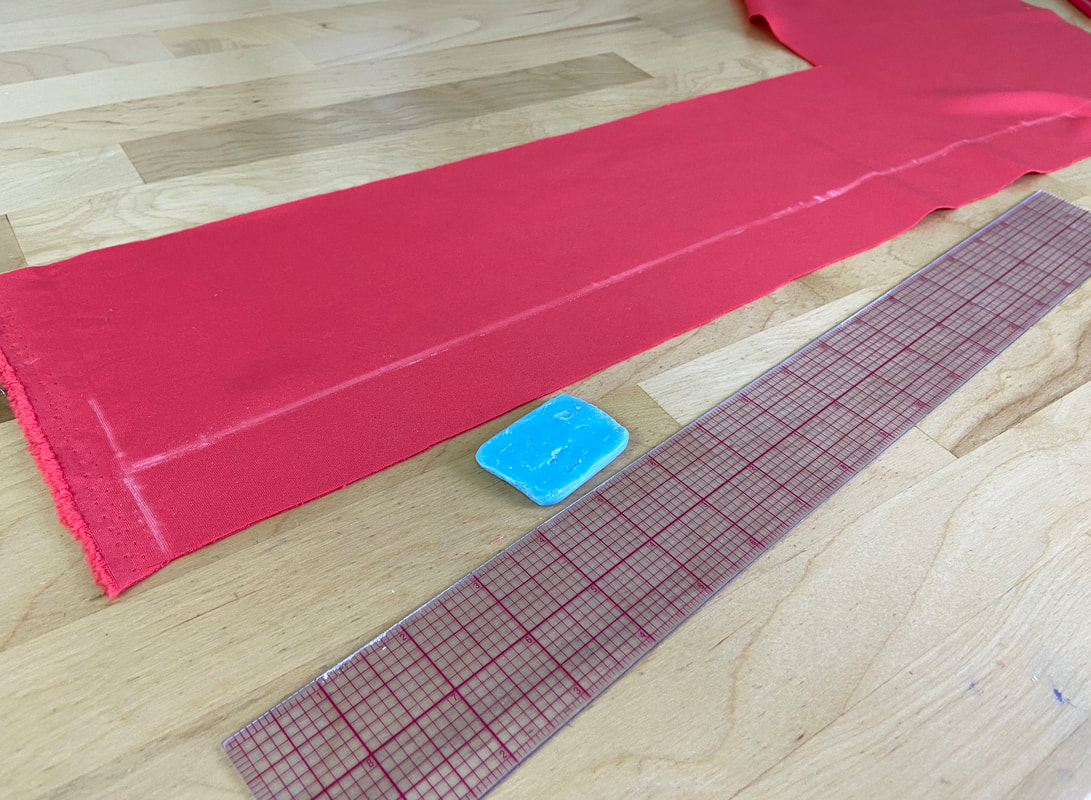
Using a ruler and either a marking pencil or tailor’s chalk, draw the fabric strip on the knit’s crosswise grain using the measurements calculated above. The strip band should stretch lengthwise as the two ends are pulled.
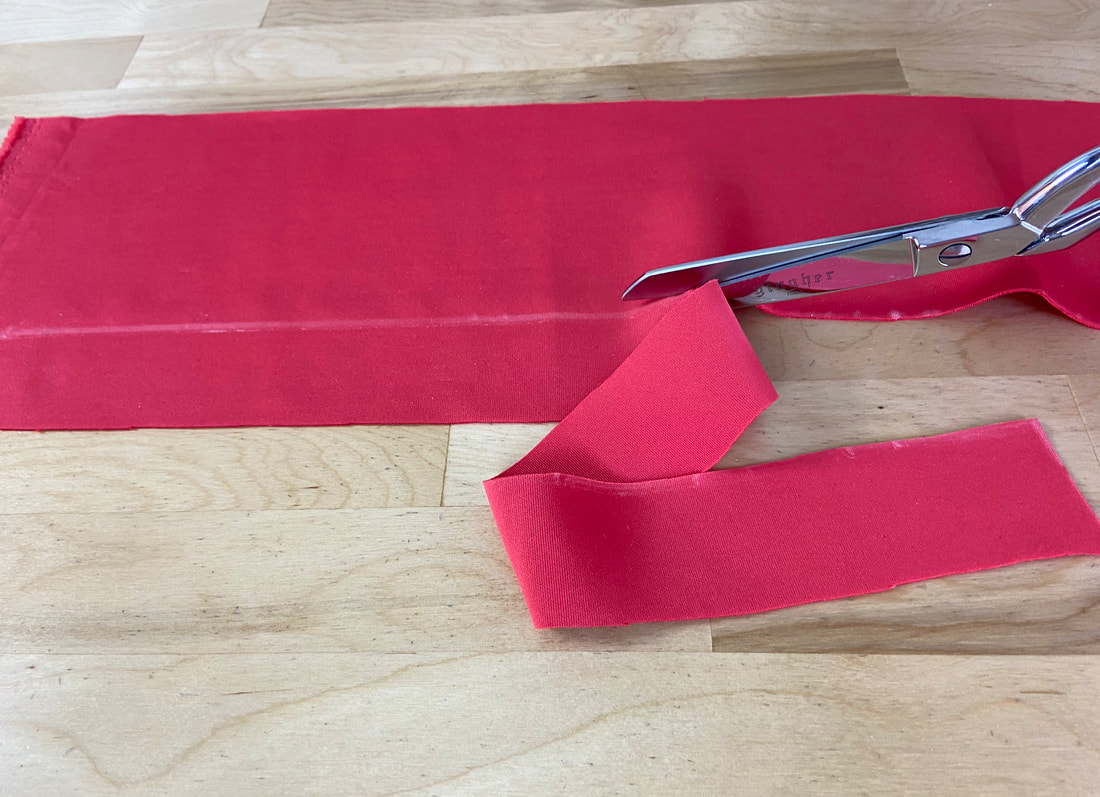
Cut the marked strip band carefully as shown.
Sewing The Semi-Stretch Strip Band To The Neckline Edge
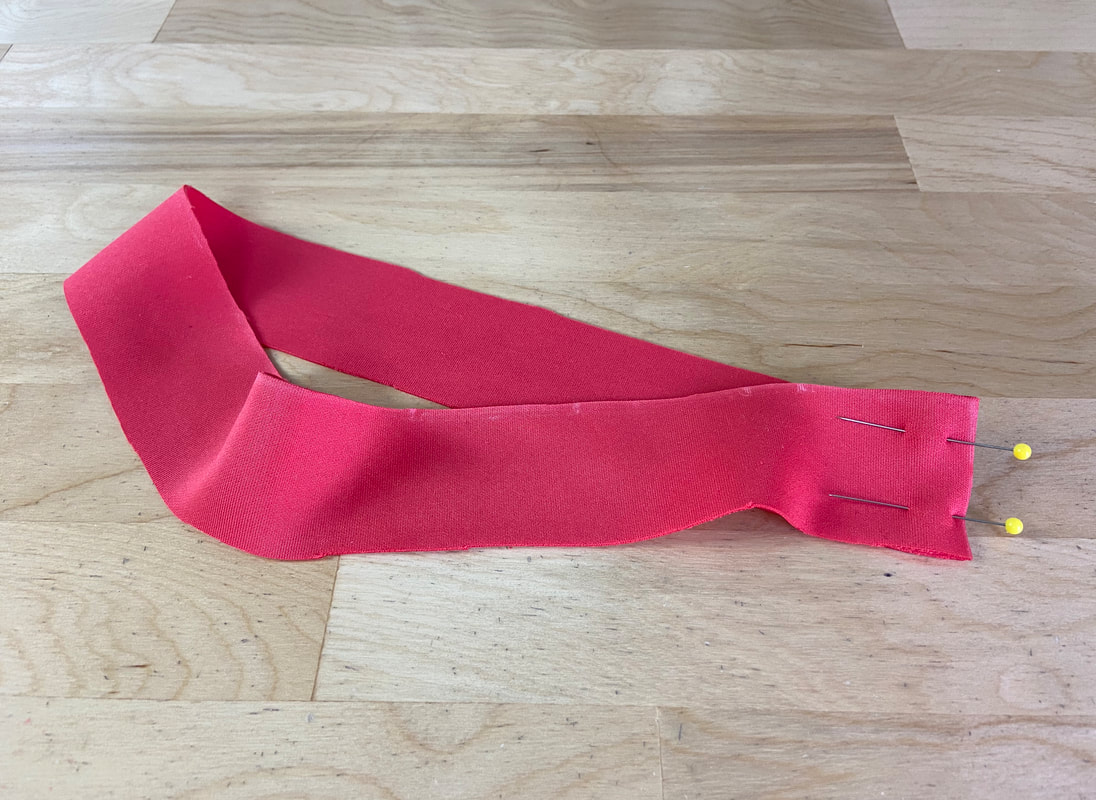
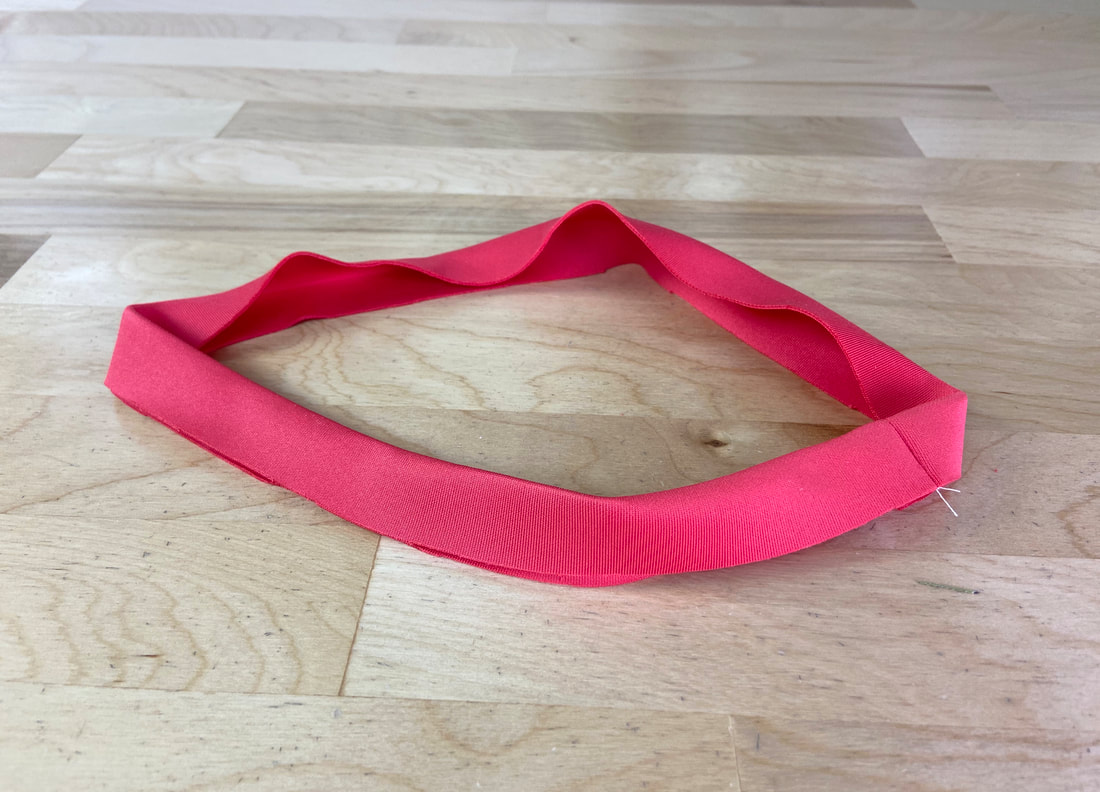
1. Align the two vertical ends of the strip band together such that the fabric right side is touching. Pin perpendicular to the edge to secure.
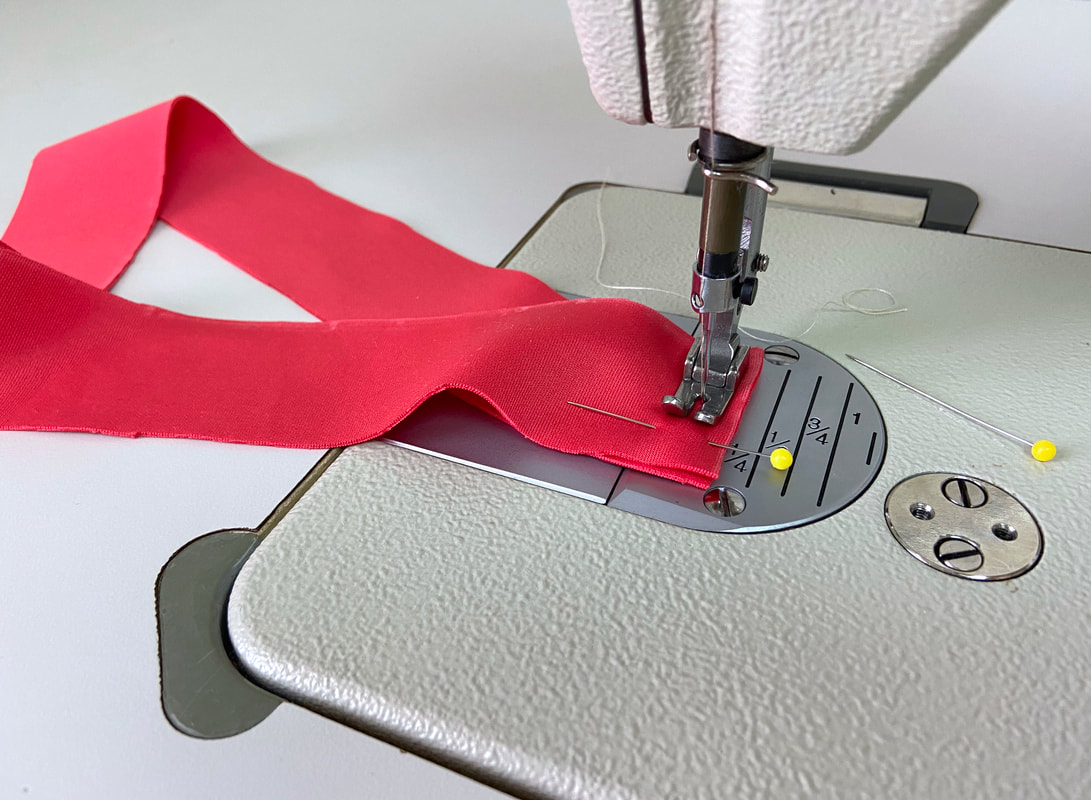
2. Stitch the pinned seam at the designated seam allowance. You can use a simple overedge stitch (like a dense zigzag) or a simple straight stitch.
3. If an overedge stitch was used, press the seam allowance to one side. Otherwise, press the seam allowance open as shown above.
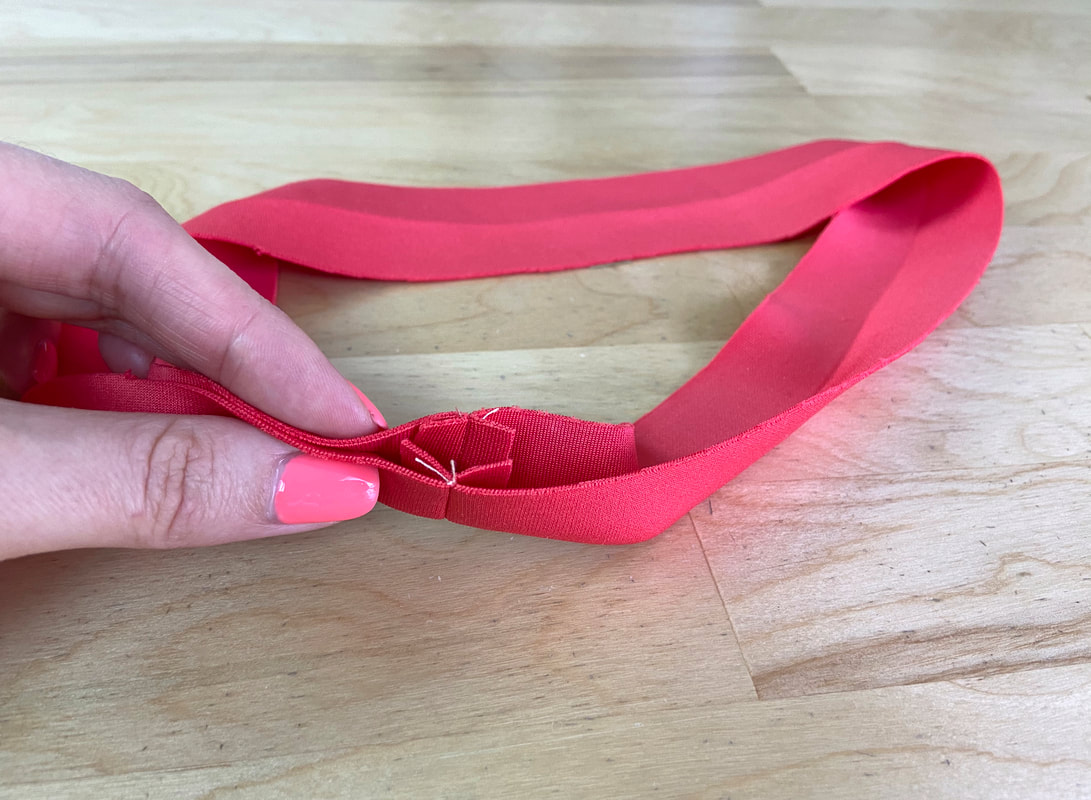
4. Next, fold the strip band down the center such that the fabric wrong sides are touching and the two lengthwise edges align.
The band seam should be perfectly overlapping and aligning as shown.
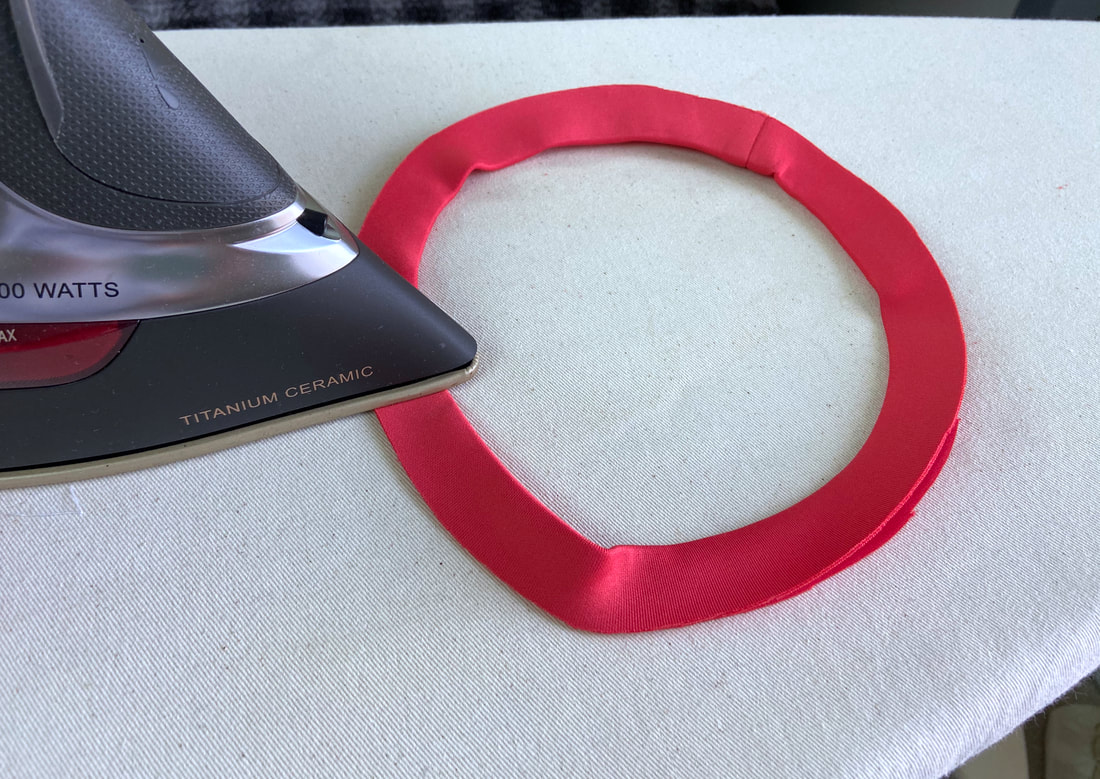
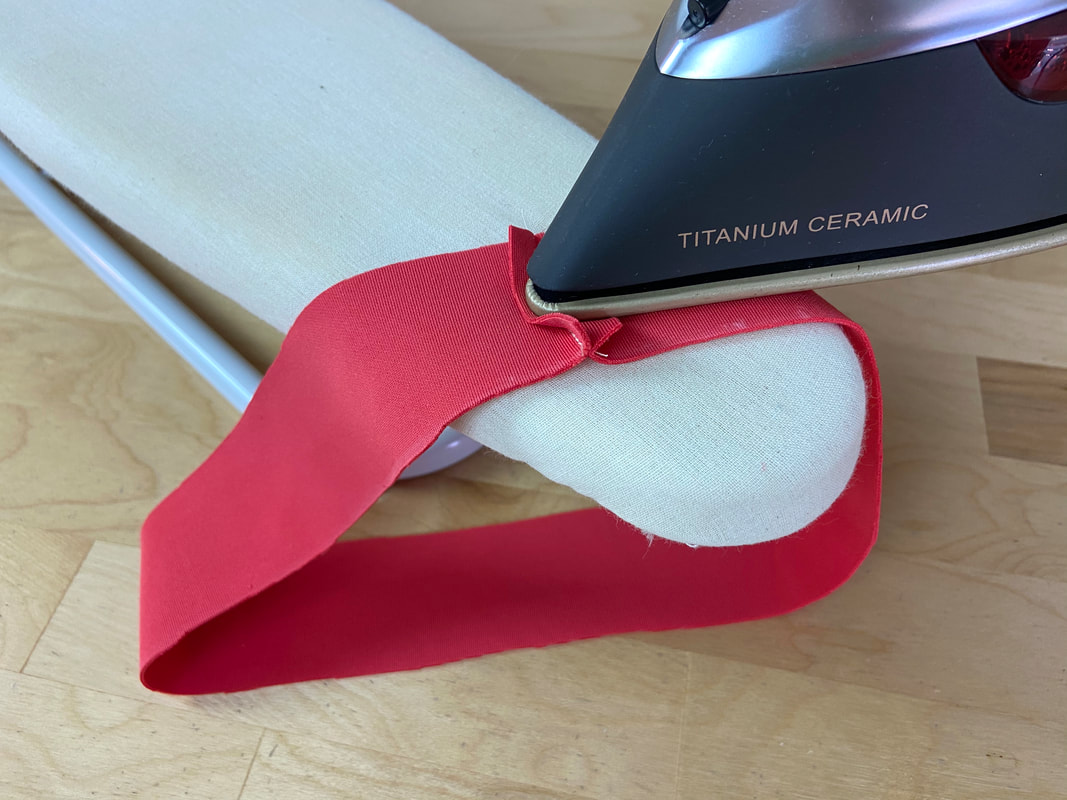
5. At this point, it helps to shape the strip band into the general shape of the neckline. Since the strip band is semi-stretch and cut a little shorter than the length of the neck, shaping will help the band’s outer edges reach the same length as the neckline.
With the help of a steaming iron, the strip band’s folded edge will be drawn in and shaped. Continue ironing until the entire strip band is steamed. Once complete, the band should be laying flat with its folded edge drawn in as shown.
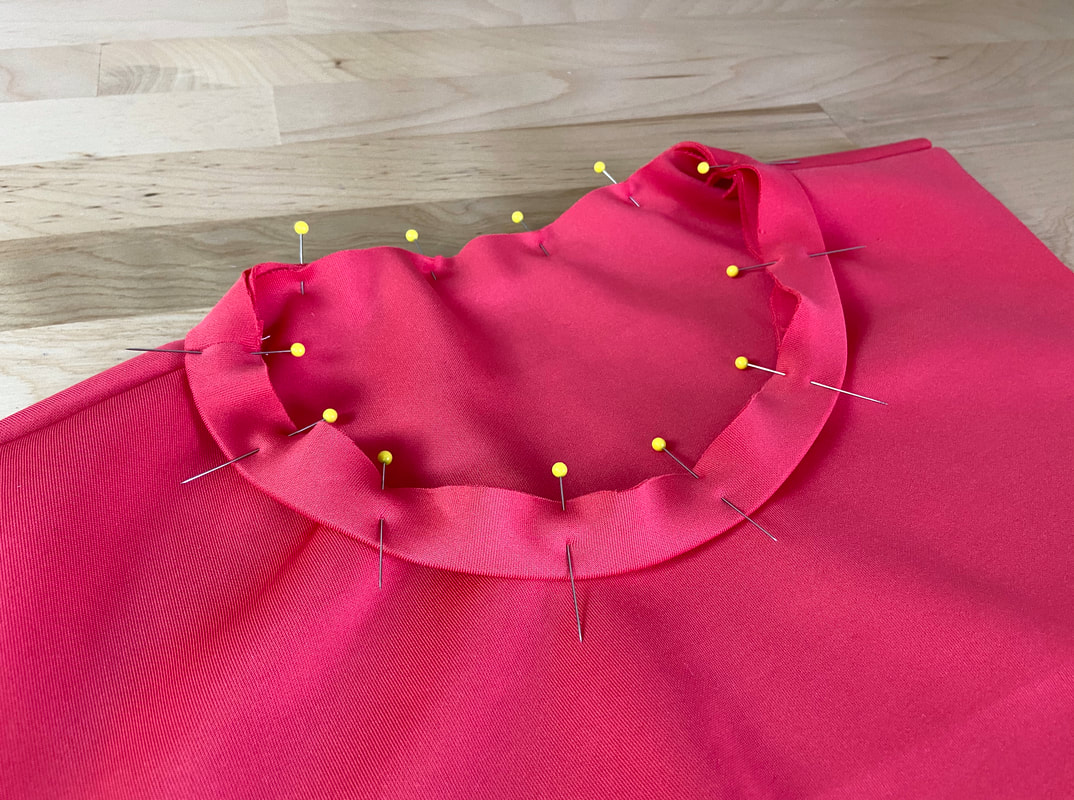
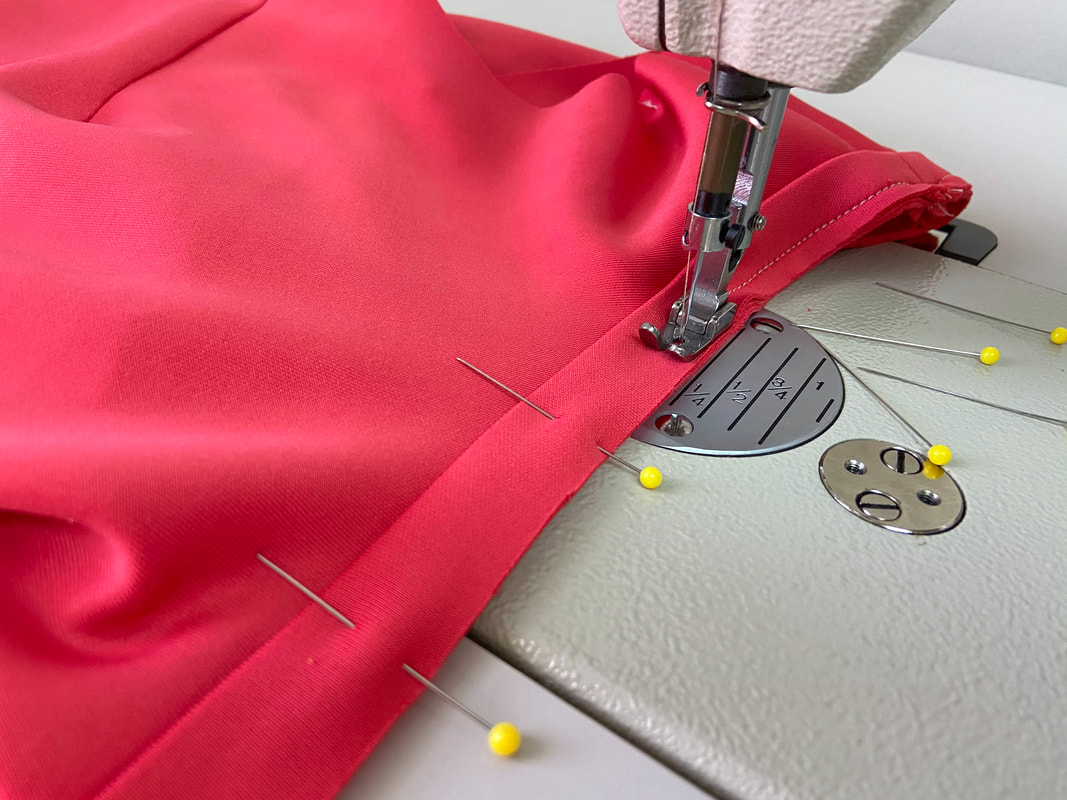
6. Working from the face side of the garment, align the strip band to the neckline edge, inserting pins horizontally as you go. Make sure the strip band’s vertical seam is in line with either a center back seam (if present) or one of the shoulder seams. Never place the band seam on the front of the neckline.
All raw edges, both those of the strip band and the neckline, should be aligning perfectly. If desired, use a hand basting stitch for extra stability before machine stitching.
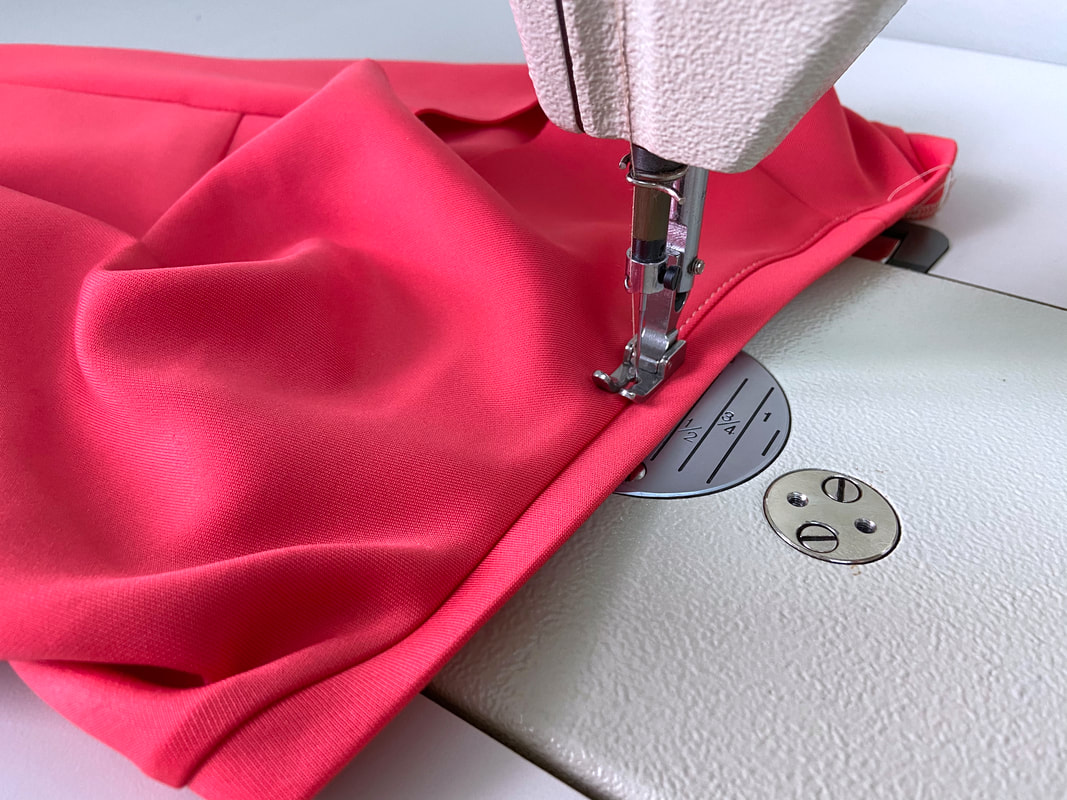
7. Machine stitch the band to the neck edge stretching the neckline very slightly as you stitch. The seam allowance in this case is ¼”. For your particular seam allowance, follow the guideline noted in your patterns.
Note: You can also use an all-in-one overedge stitch alone (like zigzag or serging) to connect the strip band to the garment. However make sure the stitch is dense enough to be durable on its own.
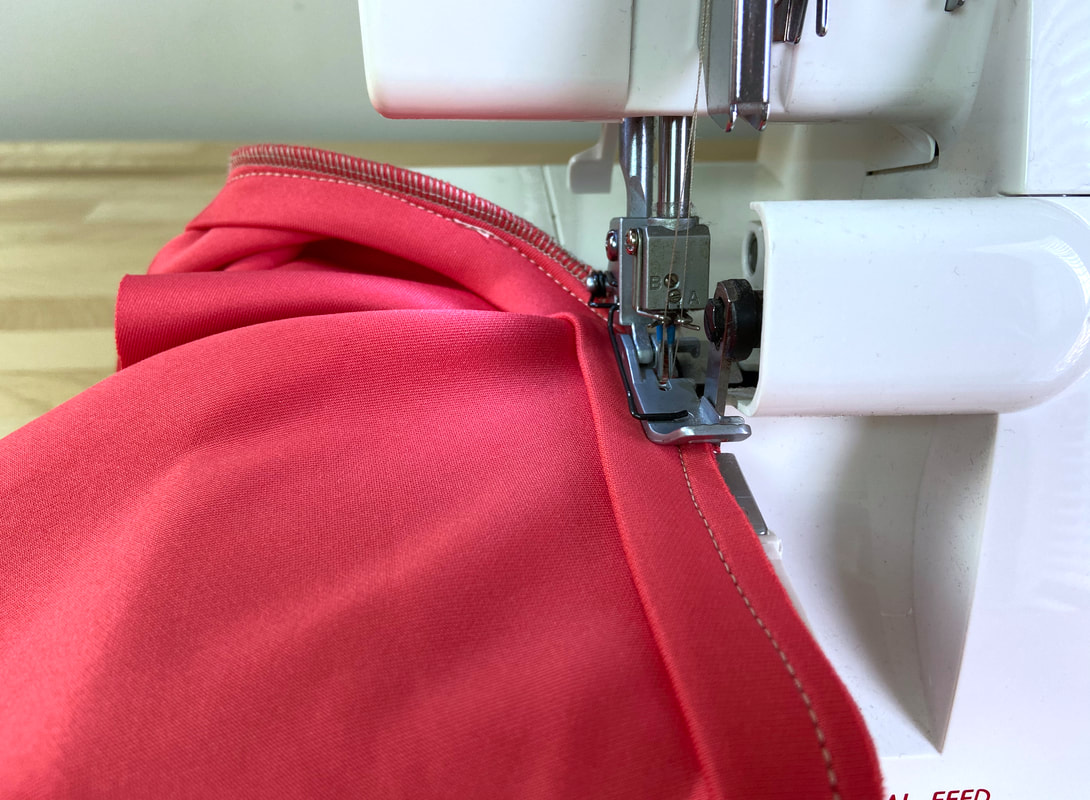
8. Once stitched, clean finish the strip band's raw edges together with an overedge stitch like serging or zigzag.
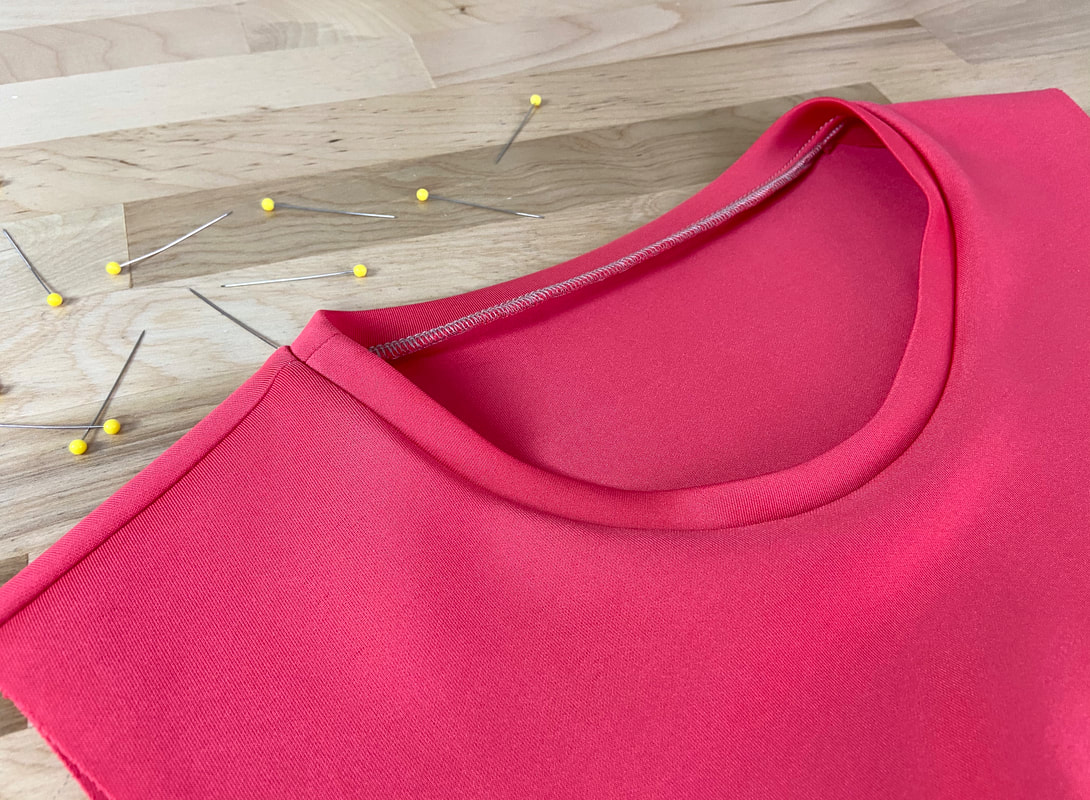
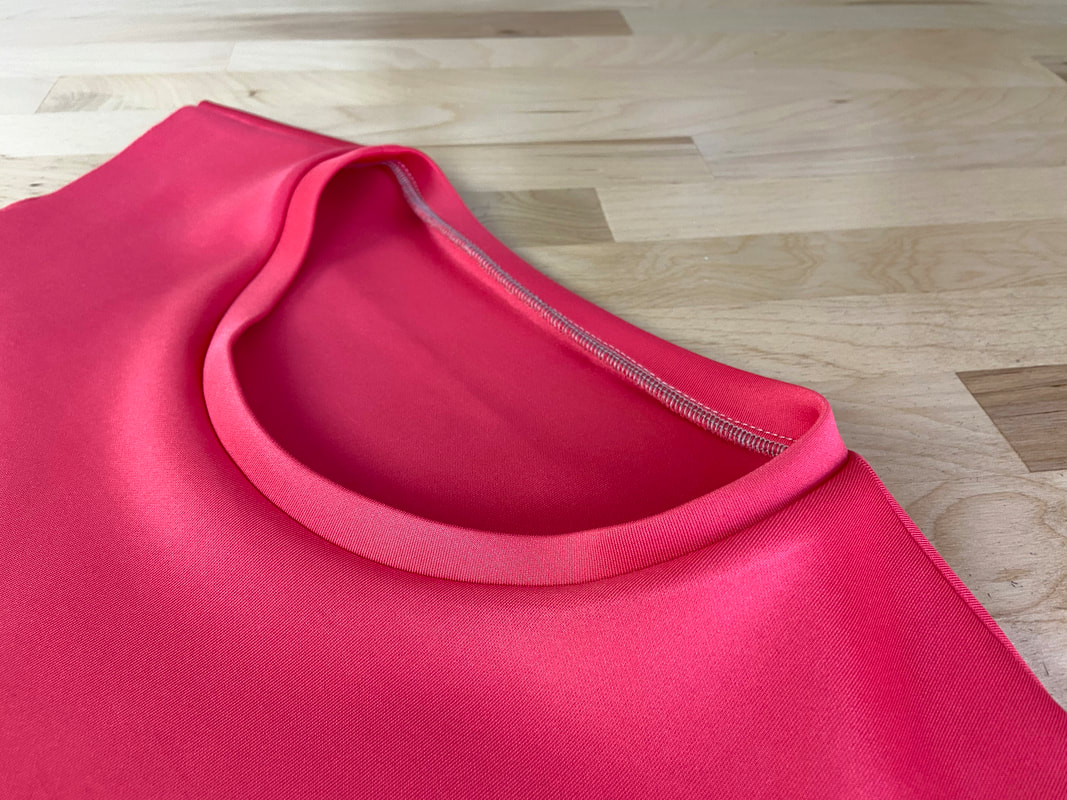
9. Iron the seam allowance pointing down, toward the inside of the garment.
10. If a more casual look is desired, topstitch through the garment and seam allowance underneath at a short distance from the seamline (about 1/8”). Apply the topstitch from the right side of the garment as shown.

