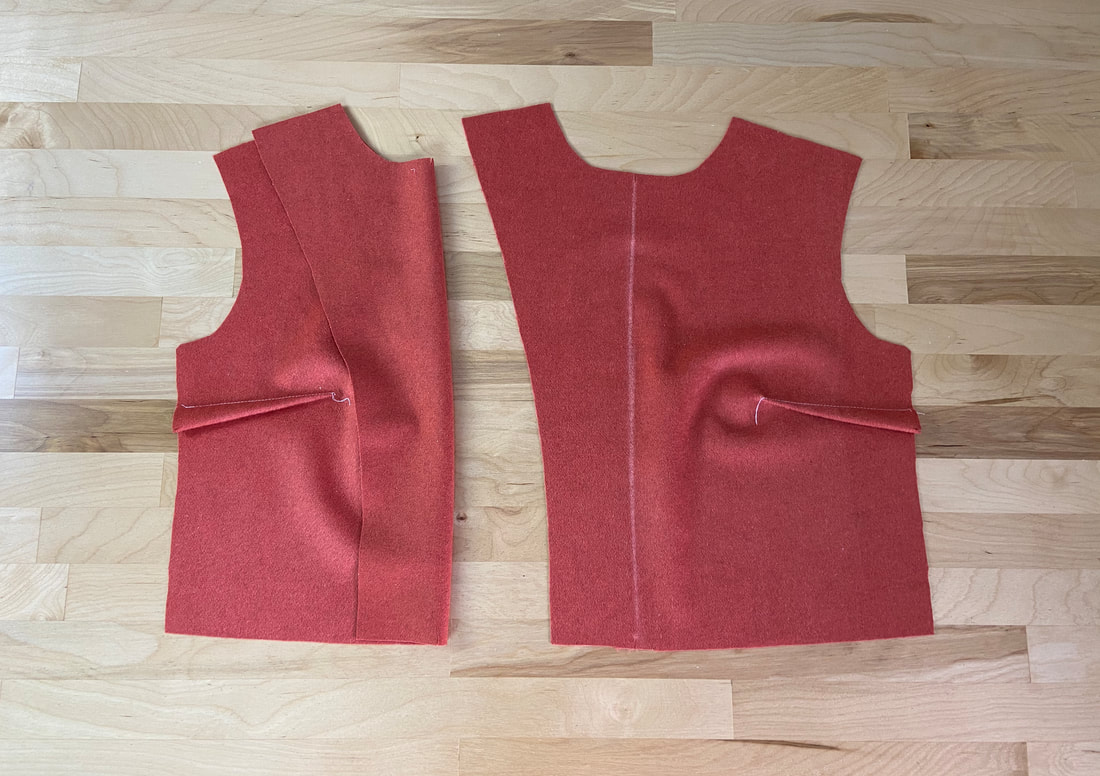
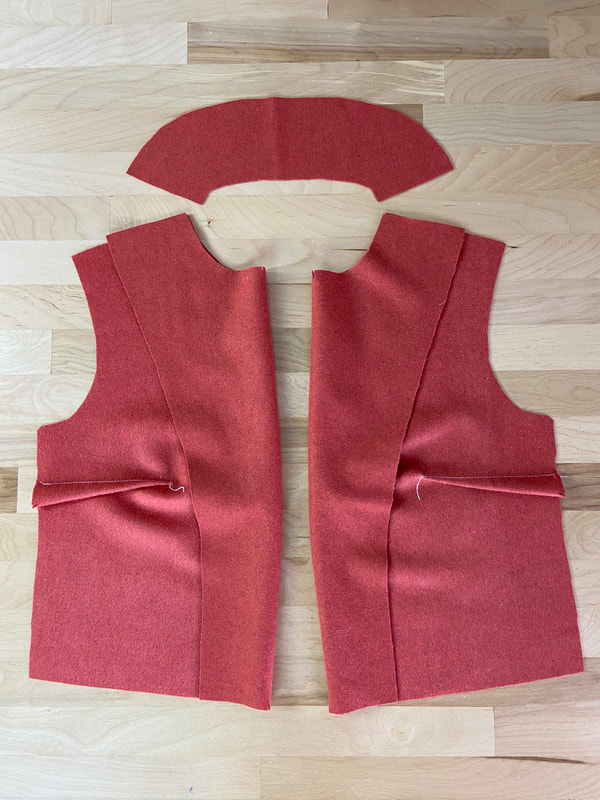
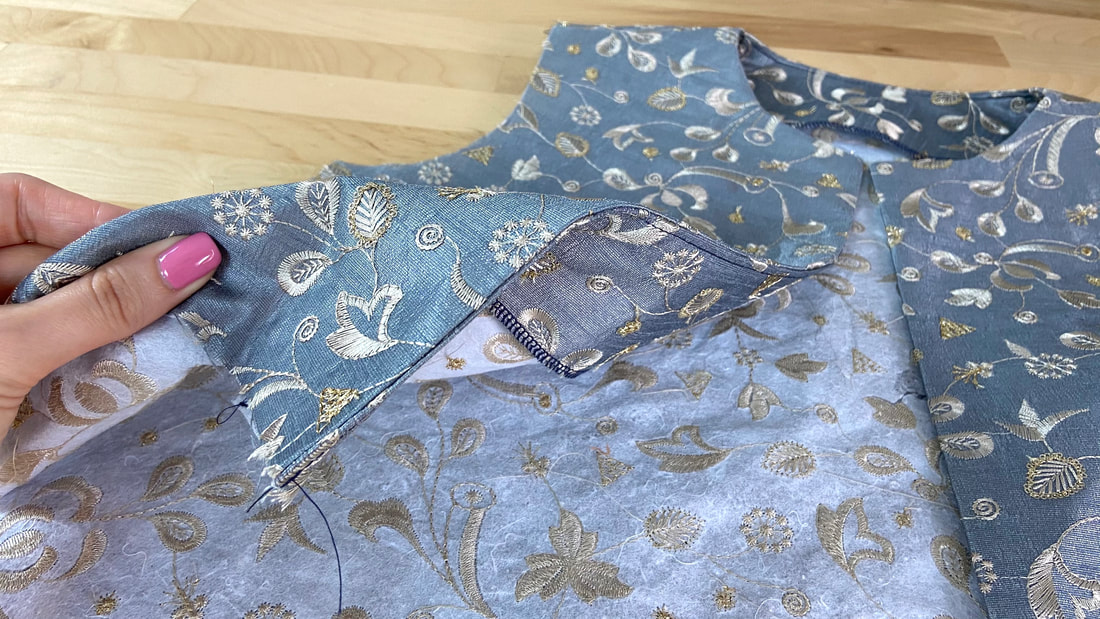
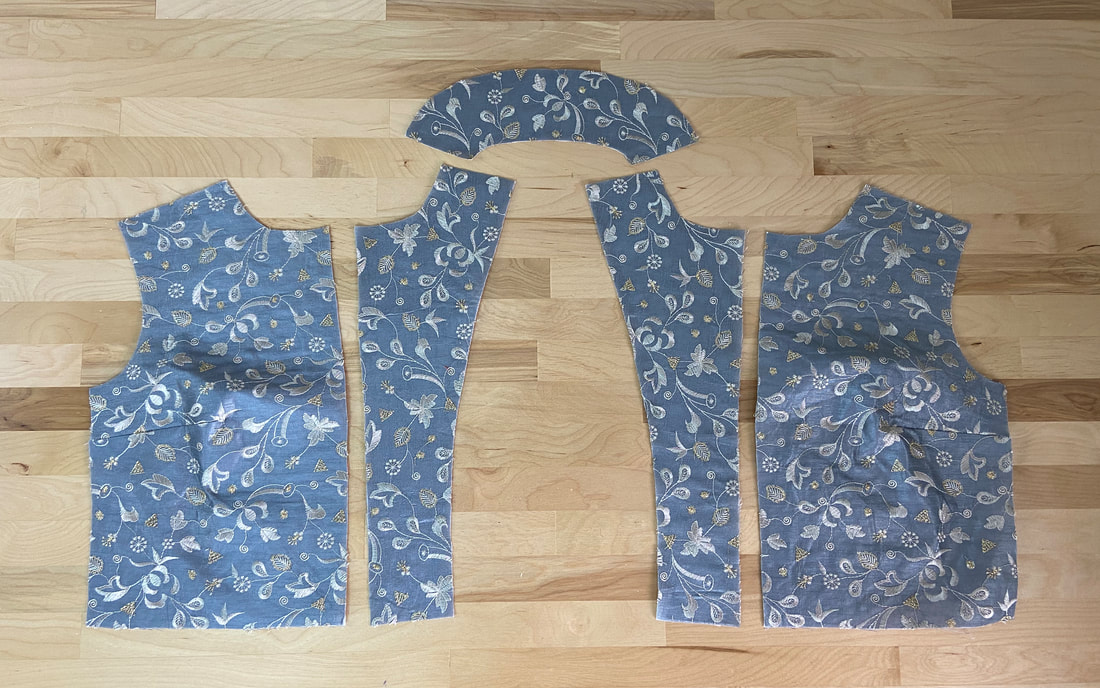
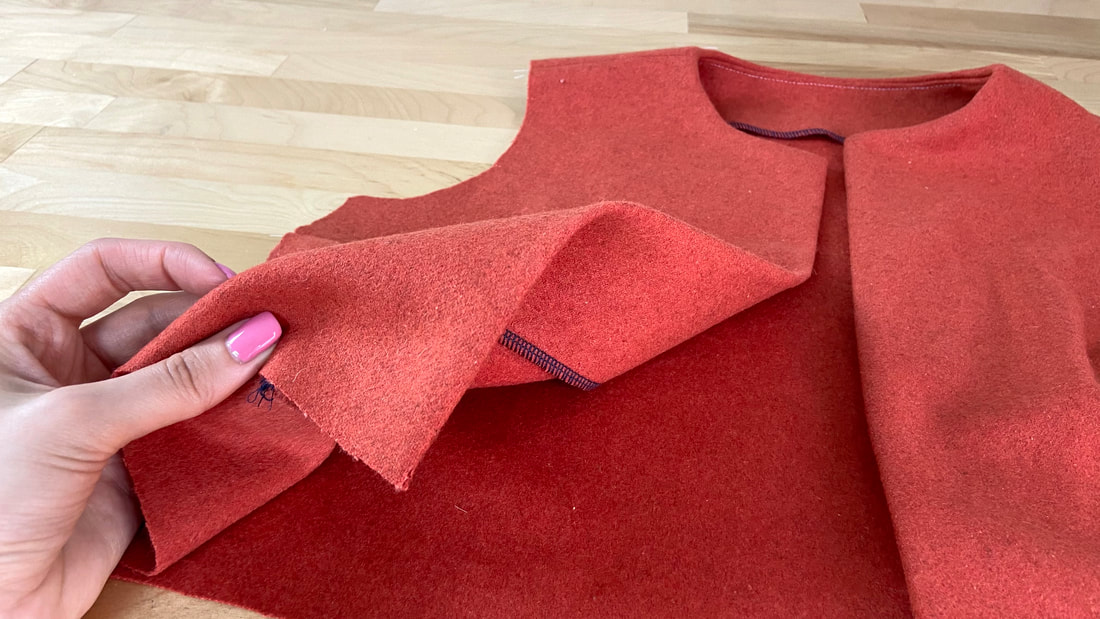
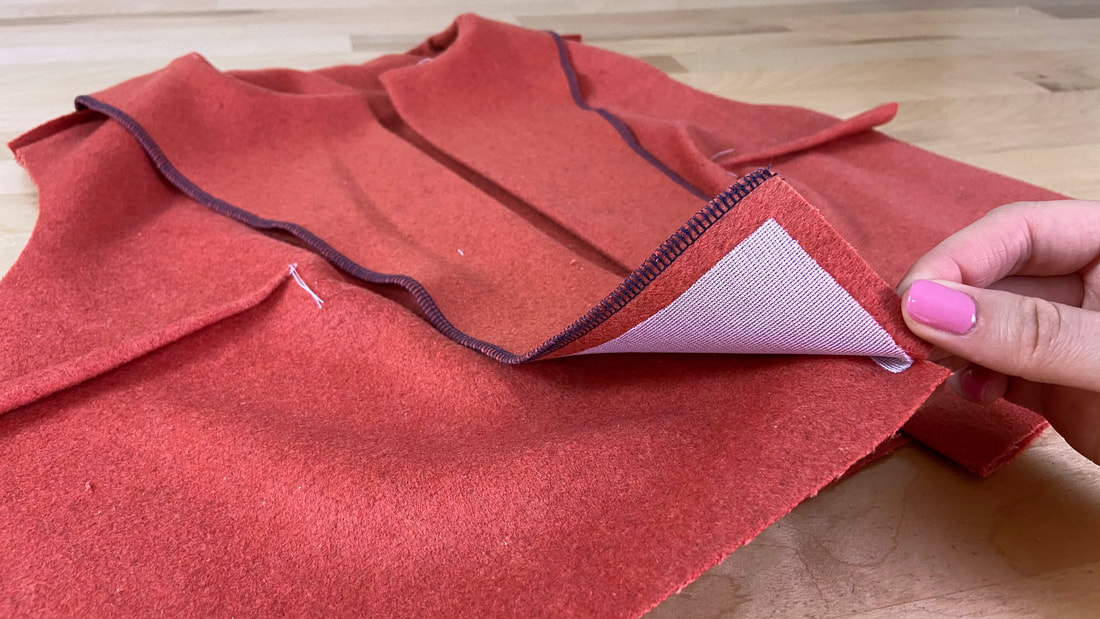
While a regular neckline facing is a great finishing technique for a closed-front garment, it will not work for a garment that opens completely, either at the front or the back. For a design as such, a two-in-one neck and front facing is used to clean finished the garment opening and the entire neckline edges simultaneously.
There are two facing styles that can be used in this case:
An extended neckline facing is one that is attached at the garment opening (either front or back) and folded inward to back both the opening and neck portions. An extended facing is basically an extension that is built into the garment’s sewing pattern at its opening edge.
Since this extension only covers the opening and corresponding neckline portions, it requires another facing piece to finish the rest of the neckline. This separate facing piece is connected to the extended facing at the shoulder seams.
A separate neckline facing is not built into the garment but rather sewn separately to the neck and garment opening.
This style is comprised of a separate facing piece that backs both the garment opening and its corresponding neckline portion together, and another neck facing piece to clean finish the rest of the neckline at the opposite side of the garment opening (usually back). As in the case of an extended facing, the separate facing pieces are connected at the shoulder seam.
The type of facing used with your project will be dictated by the patterns and the garment’s design. Here are some main differences between the two styles:
- An extended facing offers less structure along the garment opening since the edge only features a fold. A separate front facing which, requires a connective stitch down the garment's opening edge, provides more structure and durability.
- An extended facing is great to use with lightweight blouses that have a soft opening.
- A separate facing works well with heavier items like coats and blazers.
- An extended facing can be used with a button closure, snap, hook-and-eye closures and other similar styles. However, it is not compatible with a zipper closure due to the missing front edge seam.
- A separate front facing works with all garment closures providing more function and versatility.
Before we get into the sewing steps for these two facing styles, keep in mind the importance of using interfacing. Just as is true for any type of facing, the garment and/or the facing should be backed with interfacing for extra stability and strength.
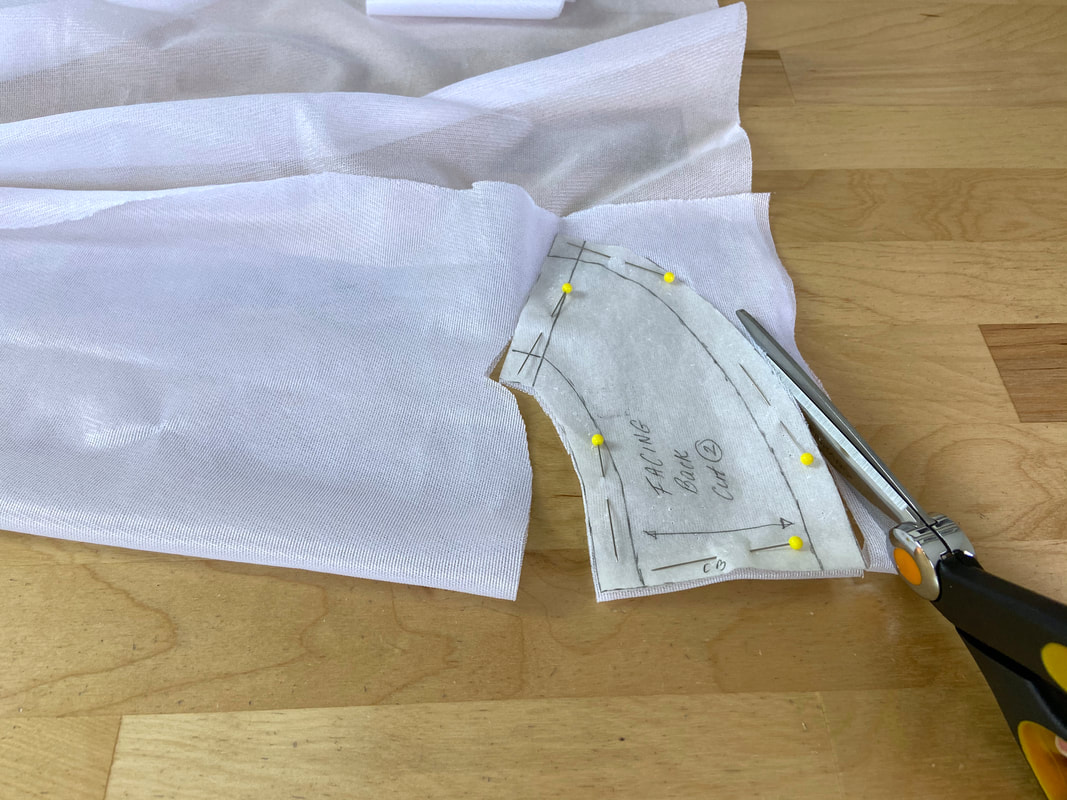
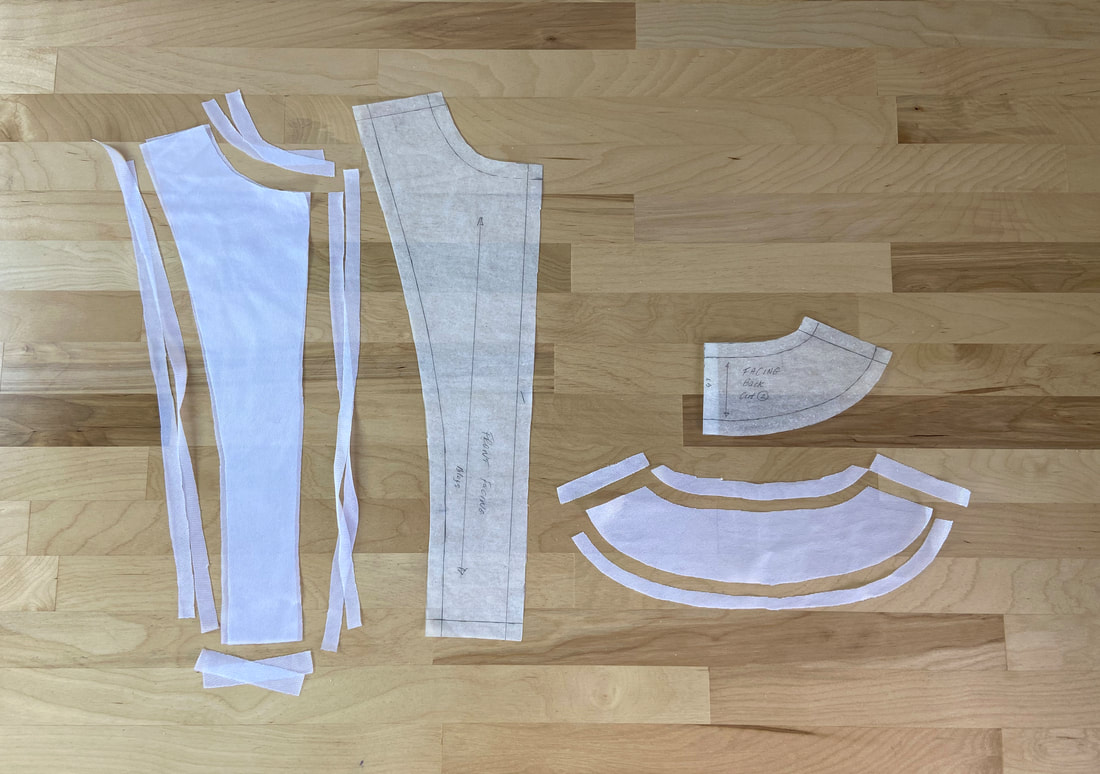
If your sewing patterns do not provide separate patterns for the interfacing portions, use the facing patterns to cut out the pieces yourself. If using fusible interfacing, treat the adhesive side like the “right” side, making sure that once cut, it corresponds to the wrong side of either the garment or the facing (depending on which is interfaced).
After the interfacing pieces are cut, trim each one of the edges down by about ½” in order to minimize bulk in the garment’s final seams. Align and fuse/attach the interfacing to each corresponding garment edge (or facing) before proceeding to the sewing steps linked below.

