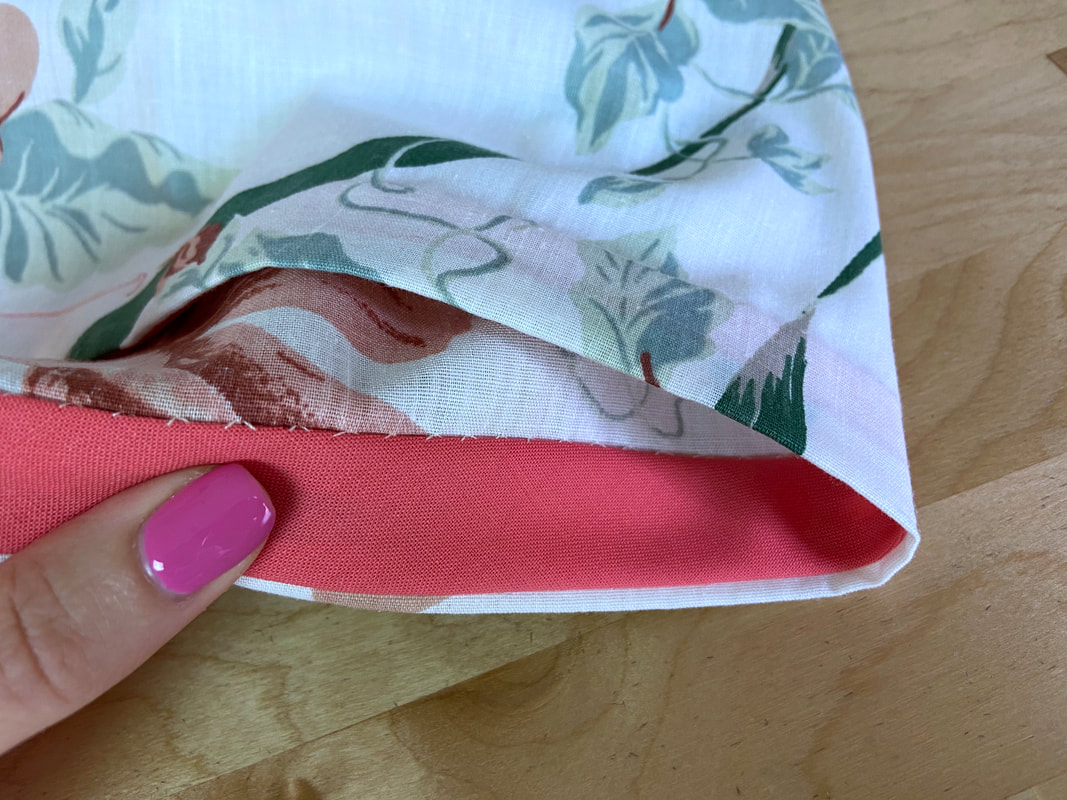
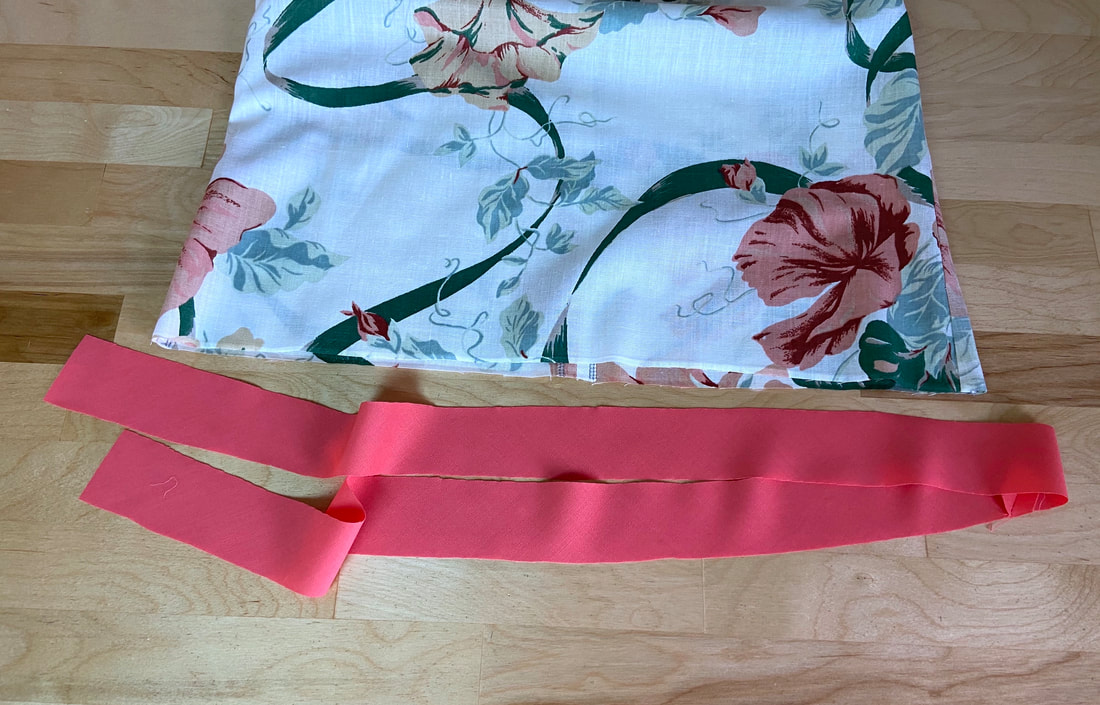
A bias facing is constructed similar to a shaped facing but as opposed to a shaped style, which has to be cut to fit within the exact shape it finishes, a bias facing is accomplished using a simple bias-cut fabric strip.
The bias facing strip can be easily cut at home using the fabric and color of your choice. A bias facing is a great finish for a slightly structured yet flexible design. Flared, thick dresses and skirts work great with this finish.
A bias facing strip is cut wider than a regular bias tape or binding. Anywhere from 1 1/2” to 2 ½” is a standard width. The more curved the hem is, the narrower the bias binding should be.
A bias facing finish looks similar to a regular shaped facing. However, since it is cut on the bias, the facing strip provides the ability to mold along the shape of the hem without having to be cut to match the hemline’s shape/curve.
As is true for any fabric strip that encloses a cut edge, the length of the strip should be cut to cover the entire length of the hem plus an added 2” for excess. Since a hemline edge is usually fairly long, (especially that of a flared skirt), you will most likely need to make a continuous bias strip to cover this entire edge.
This is done by sewing multiple strips together using the two techniques described in this tutorial: How To Sew Continuous Bias Binding
Marking, Cutting And Sewing A Bias-Faced Hem With Contrast Fabric
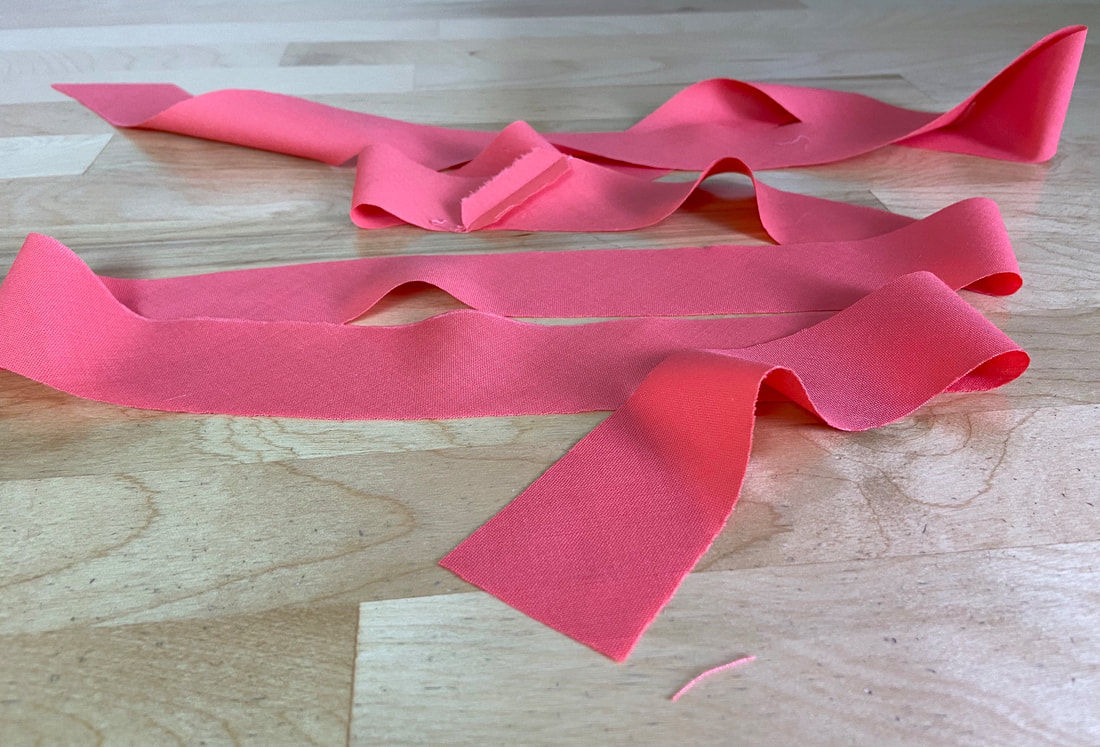
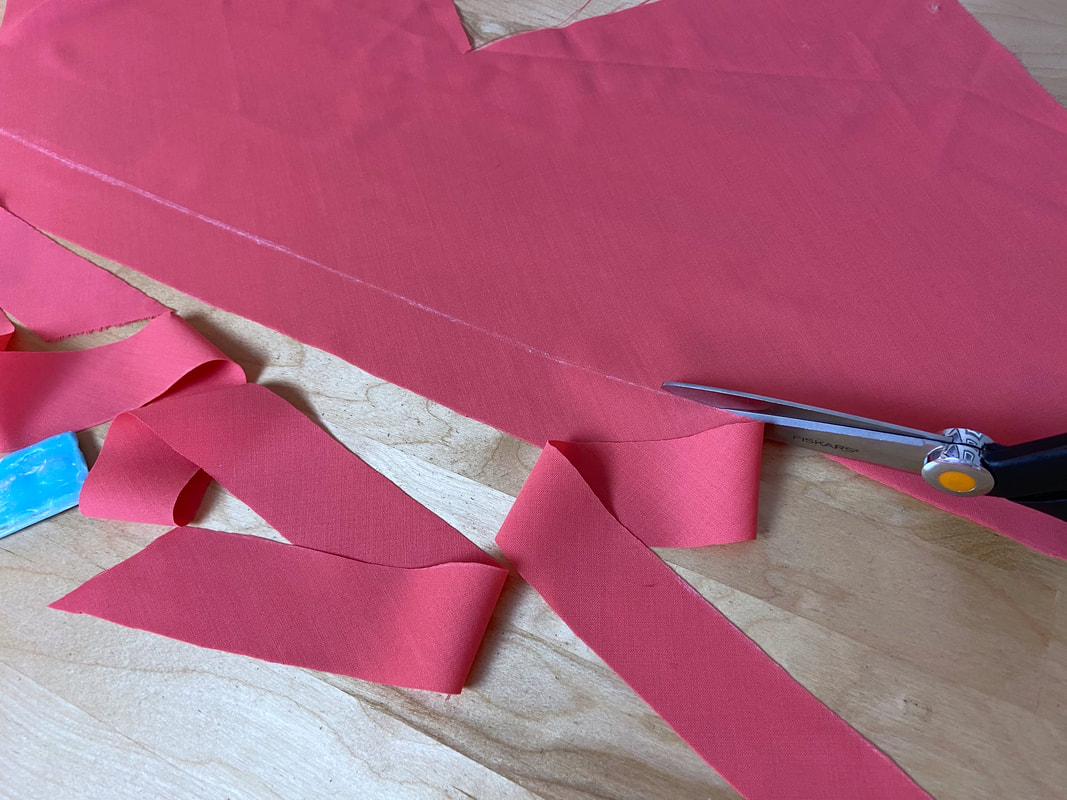
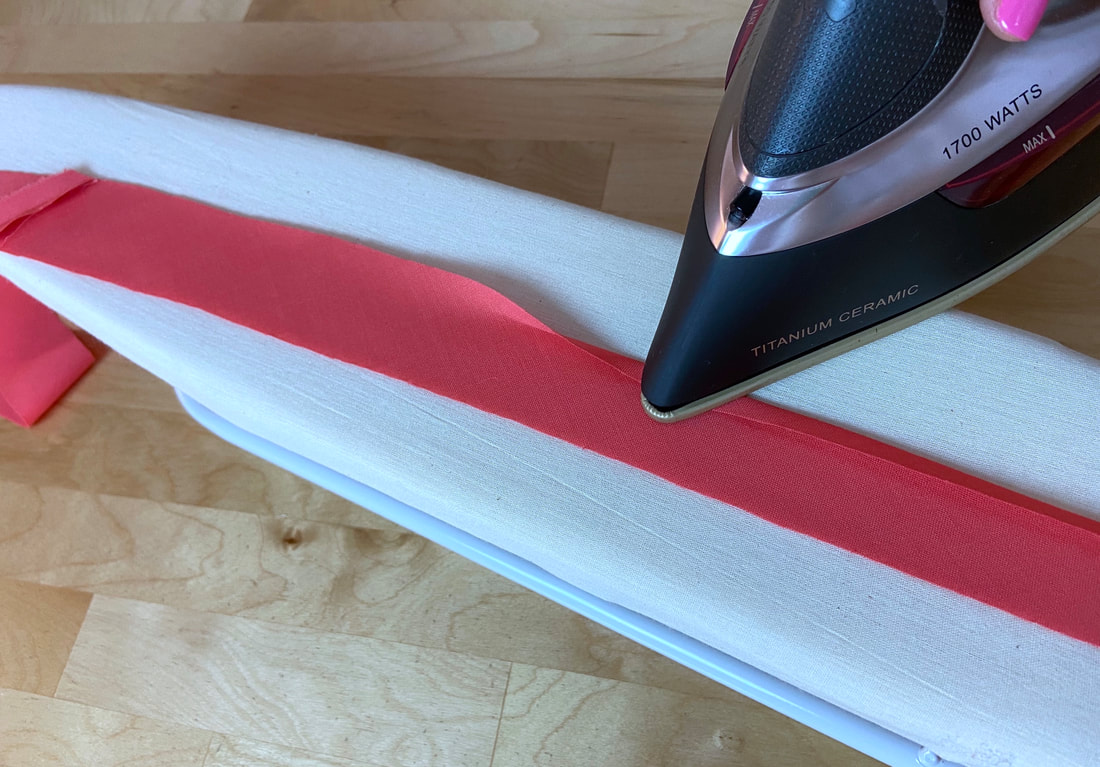
1. Mark, cut and prepare a 1.5”-wide bias facing using one of the two techniques described in this binding tutorial:
In this example, the bias facing strip is made using the continuous method. The seams that connect the bias strips together should be sewn on the lengthwise grain (appear diagonally on the bias strip) and ironed with the seam allowance open as shown.
2. Fold one lengthwise edge of the bias strip at ¼” towards the wrong side of the fabric as shown. Iron this folded edge to crease.
Note: If your fabric does not maintain the creased fold well, add a temporary hand baste to keep the folded edge in place.
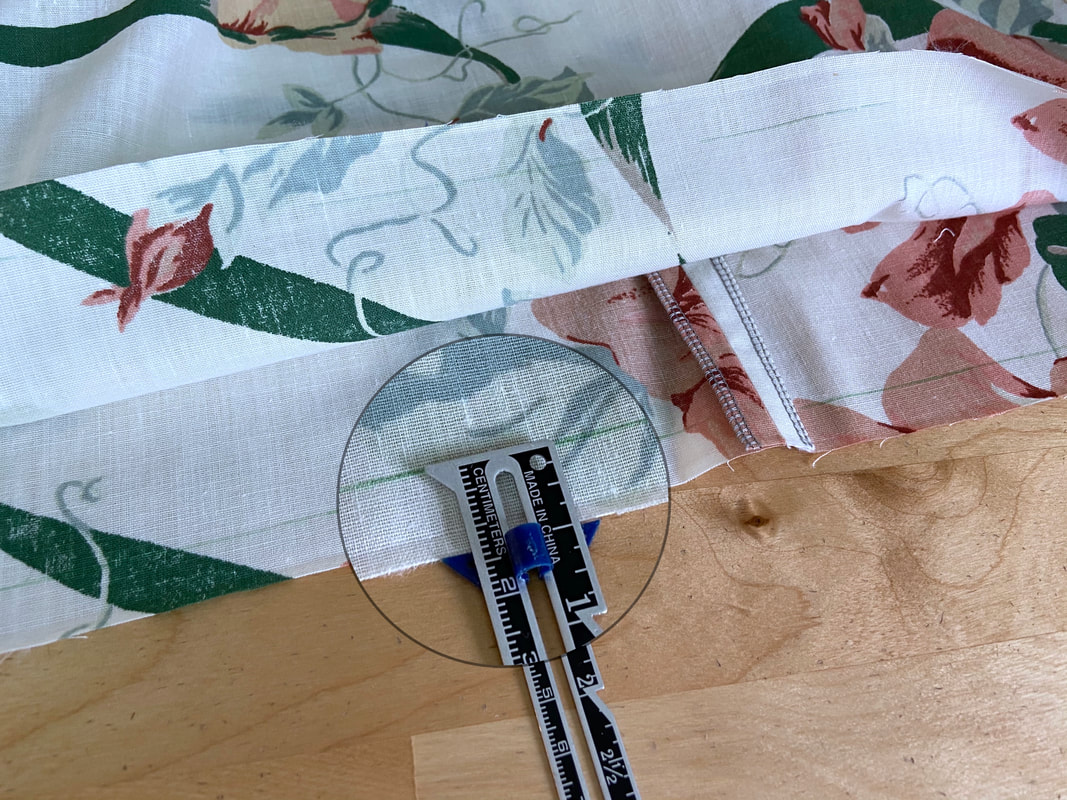
3. If your hem allowance is not already ½”, trim it down to ½”. Before attaching the bias facing, make sure all hem crossing seams are sewn, clean finished and pressed in the correct direction.
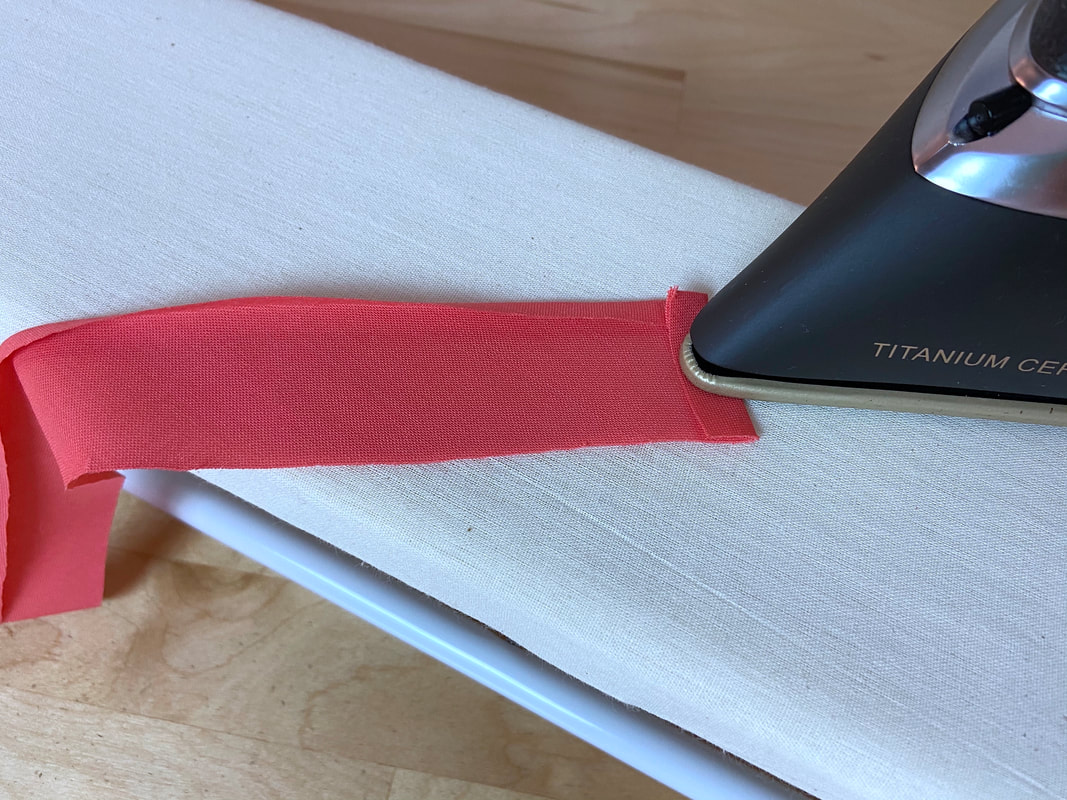
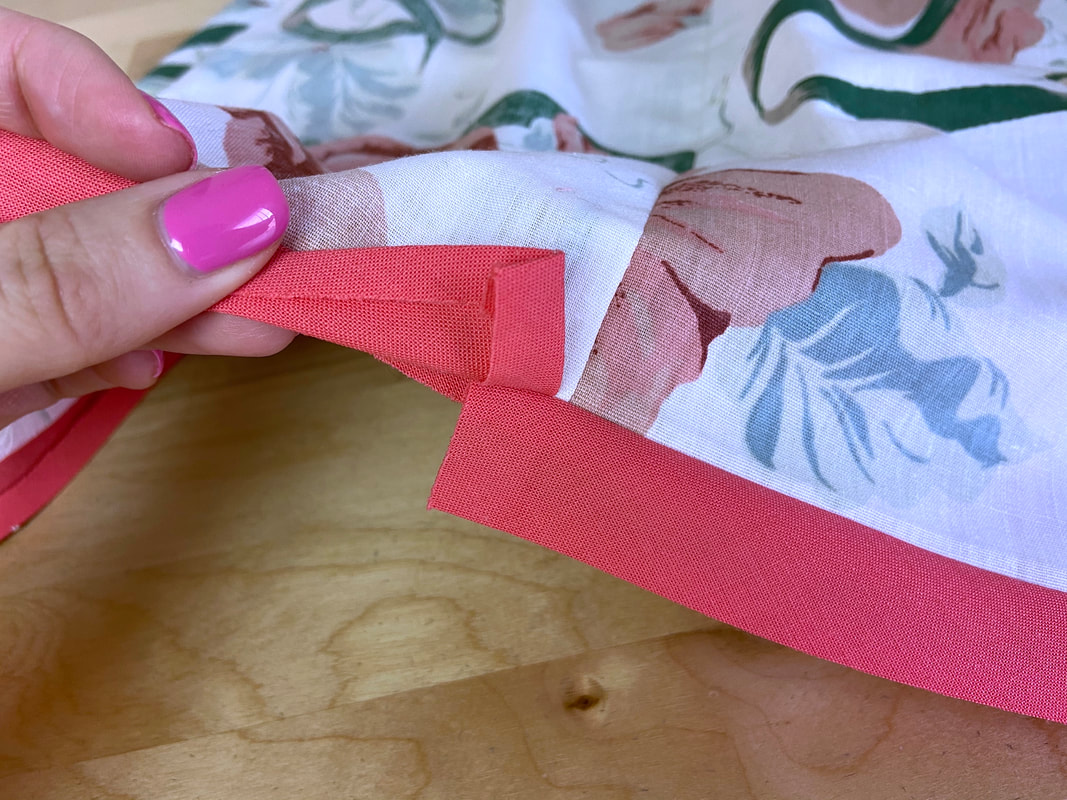
4. Fold the end of the bias facing at about ¼” and press this fold.
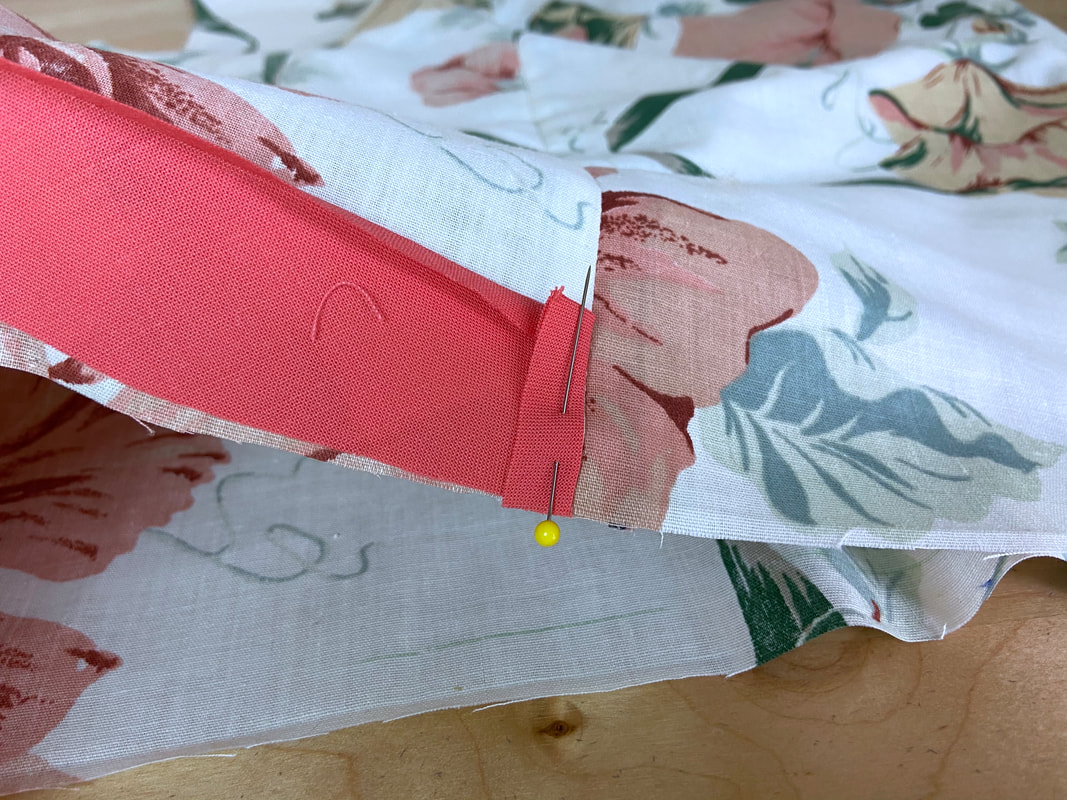
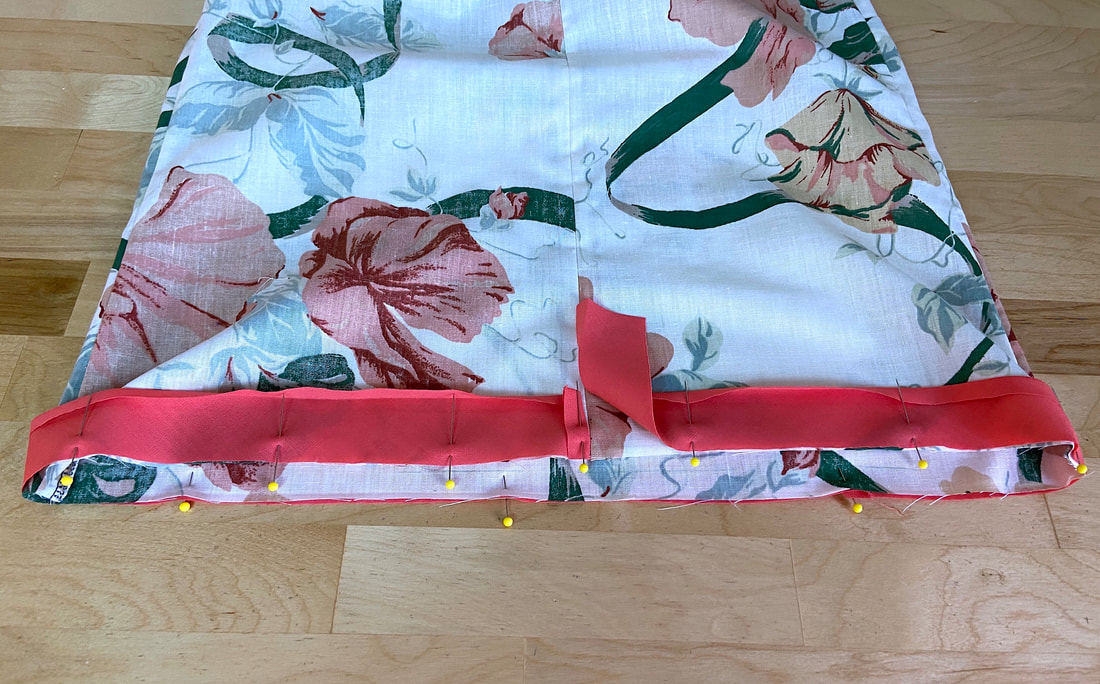
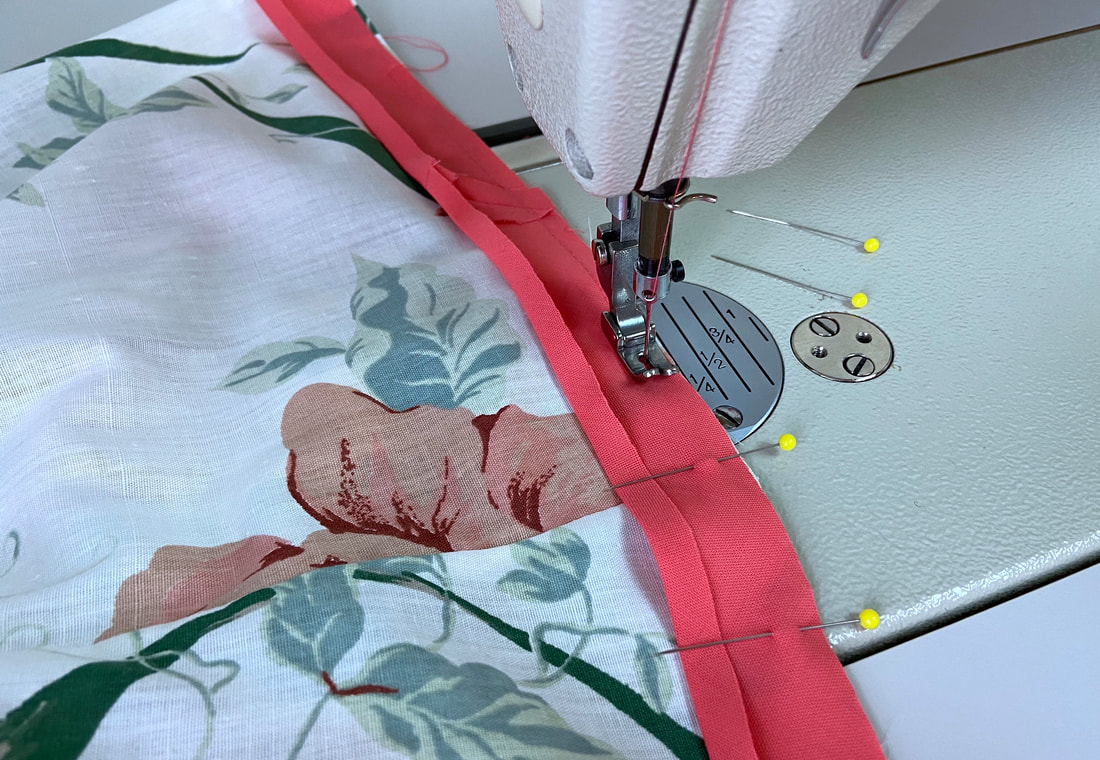
5. Turn the garment on its right side. Starting at one of the garment seams, align the folded end of the bias strip to the garment seam such that the unfolded lengthwise edge matches the garment’s hem edge, and the fabric face sides are touching. Insert pins perpendicular to the edges to maintain the alignment.
Continue pinning the facing edge to the hem until arriving at the starting fold.
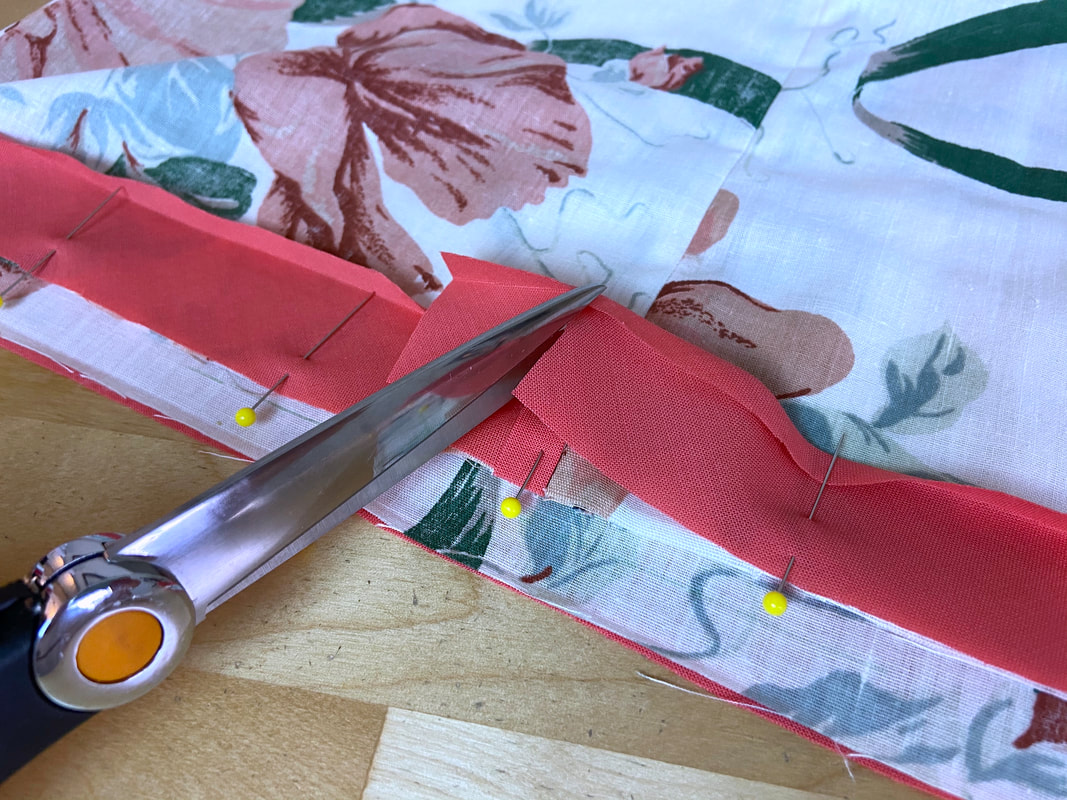
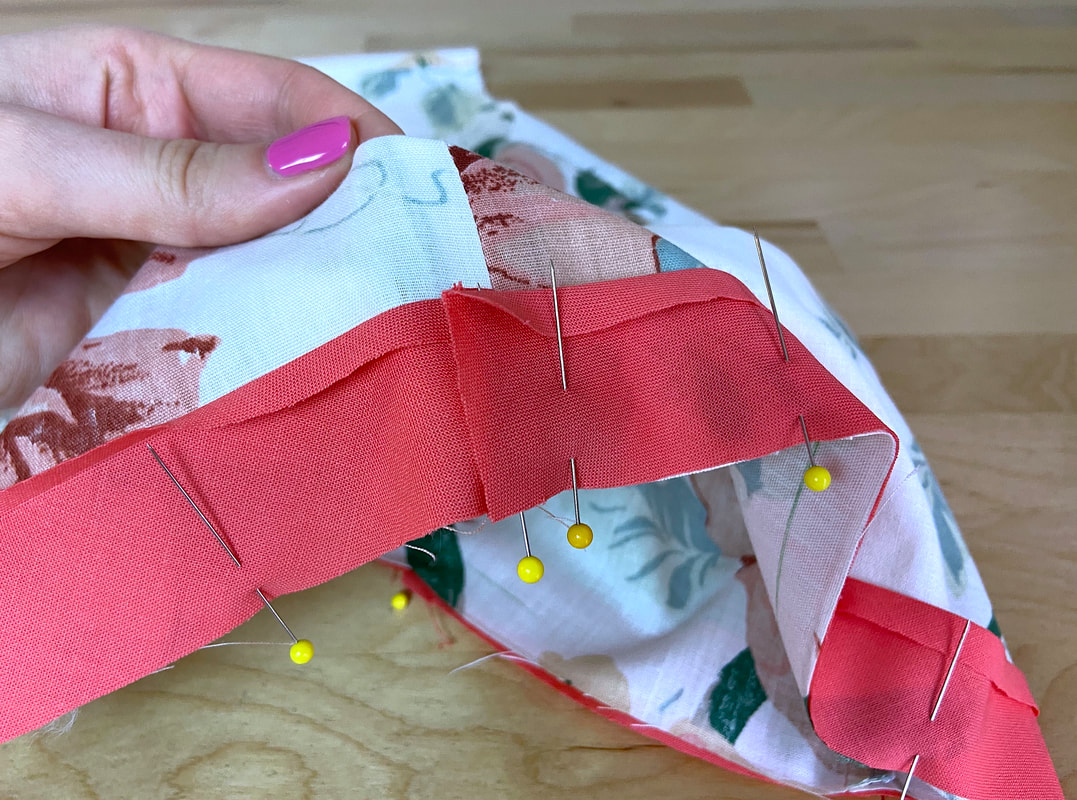
At this point, overlap the end of the bias facing on the folded end by about ½”, and trim the excess as shown.
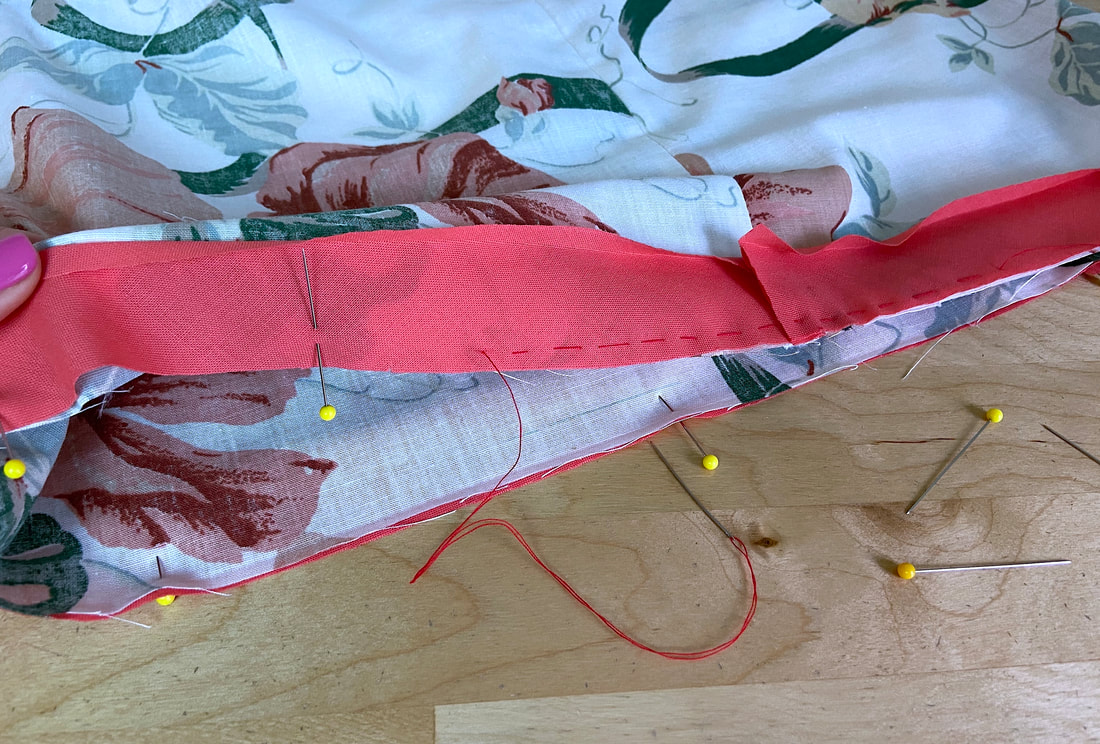
Hand baste the two layers together for extra stability.
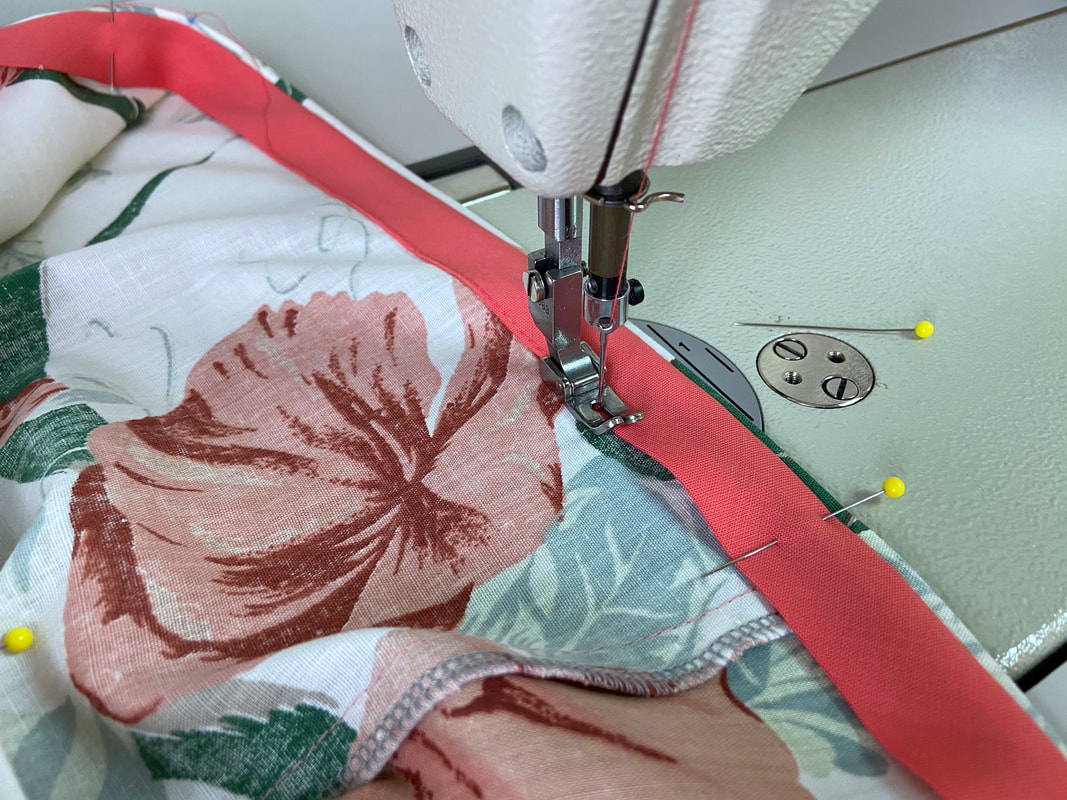
6. Machine stitch the facing to the garment hem at ¼” seam allowance.
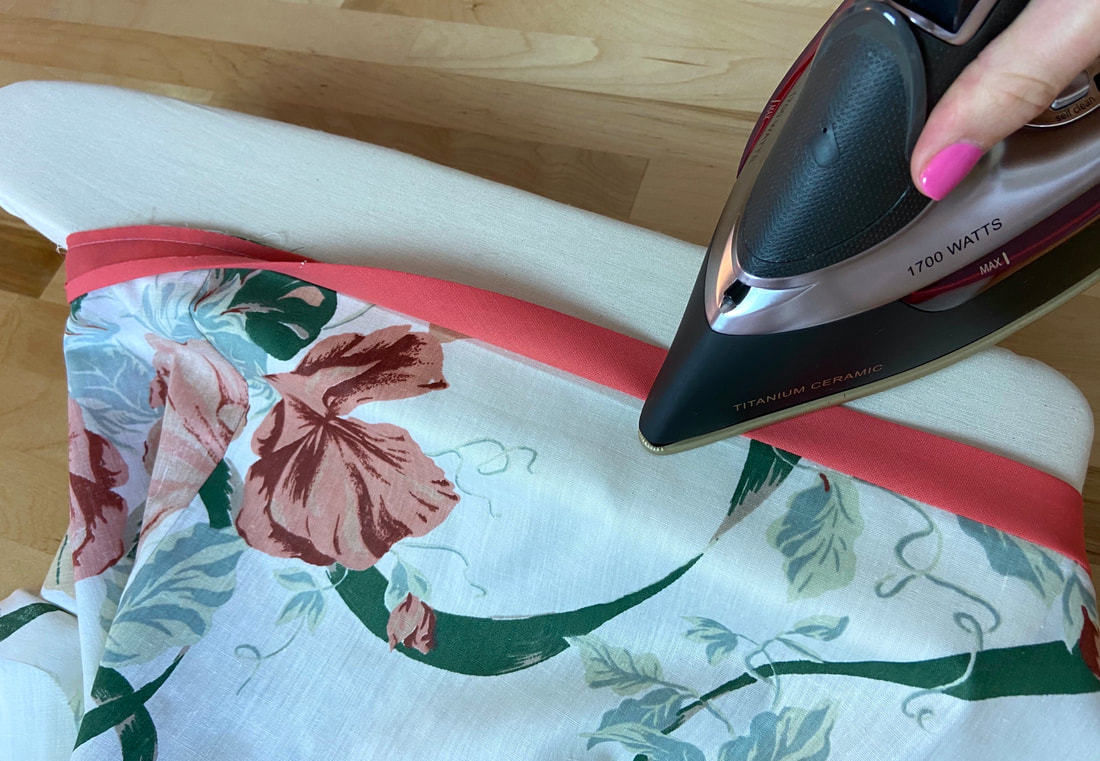
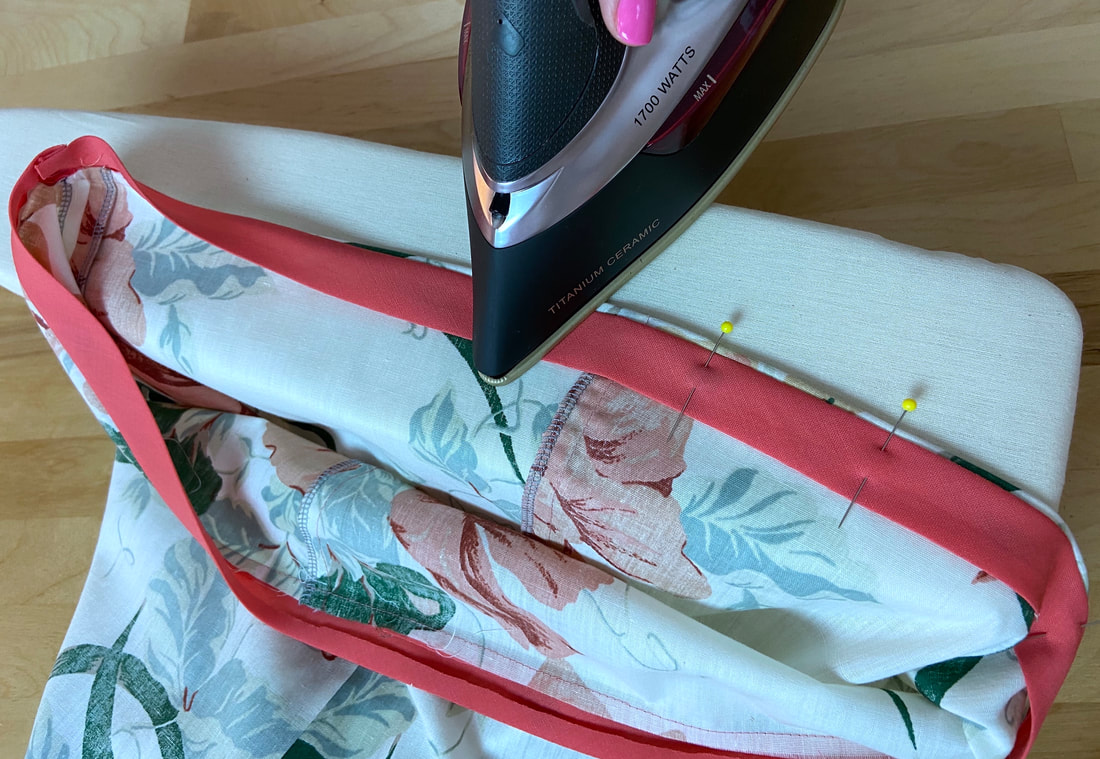
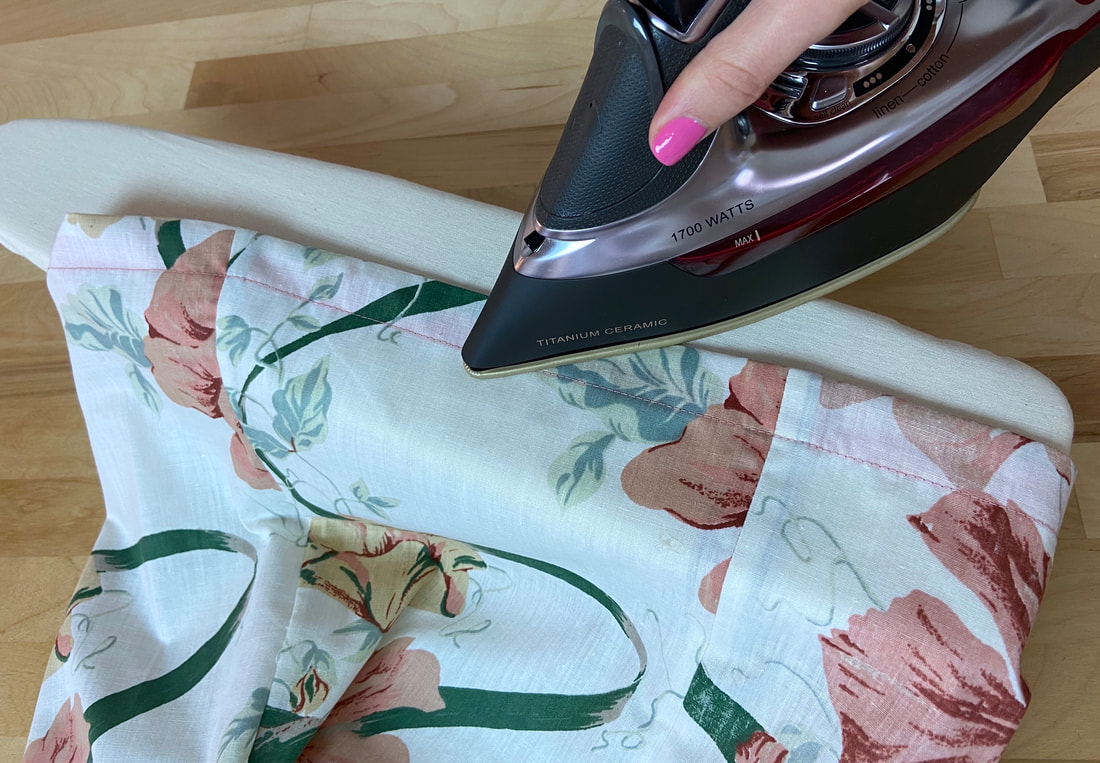
7. Extend the bias facing and all seam allowances underneath away from the garment. Iron the facing seam in this position. As opposed to a shaped facing, there is no need to understitch a bias facing.
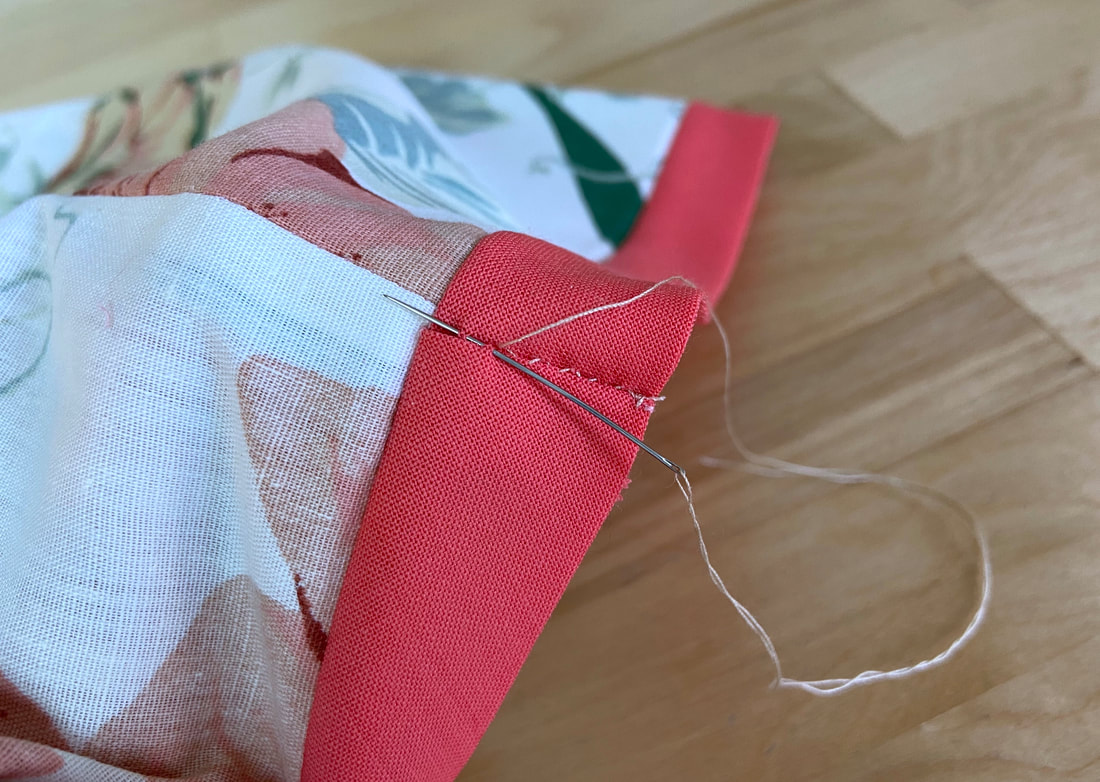
You will notice that the folded end of the facing is now aligned on top of the trimmed edge. Slipstitch this folded edge to the layer underneath to secure.
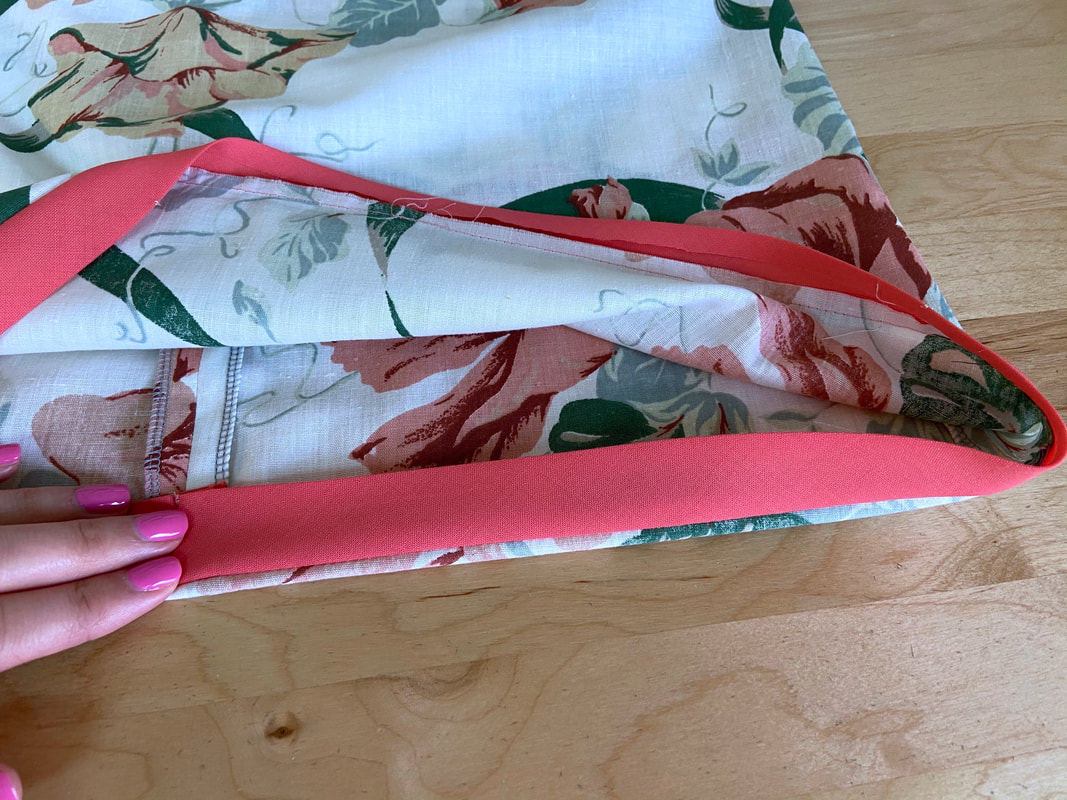
8. Bring the bias facing inwards and lay it flat against the hem’s wrong side such that the facing seamline is about 1/8"- 1/4” up from the finished hemline fold.
Remember, the hem allowance was specifically left ¼” longer than the facing seam allowance in order to accommodate this step. This is done because a bias facing is not understitched, thus placing the facing seam farther up minimizes the risk of having the facing show on the right side of the garment.
Iron the folded hemline in this final position.
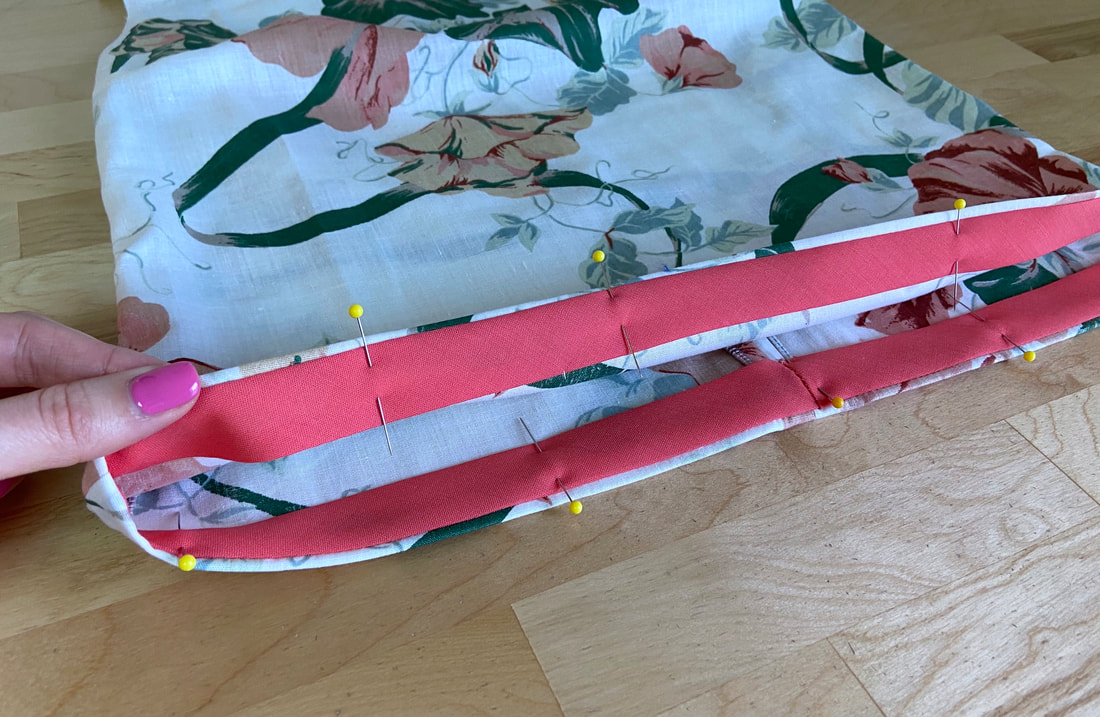
9. Insert pins through the folded open edge of the facing and the garment layer underneath.
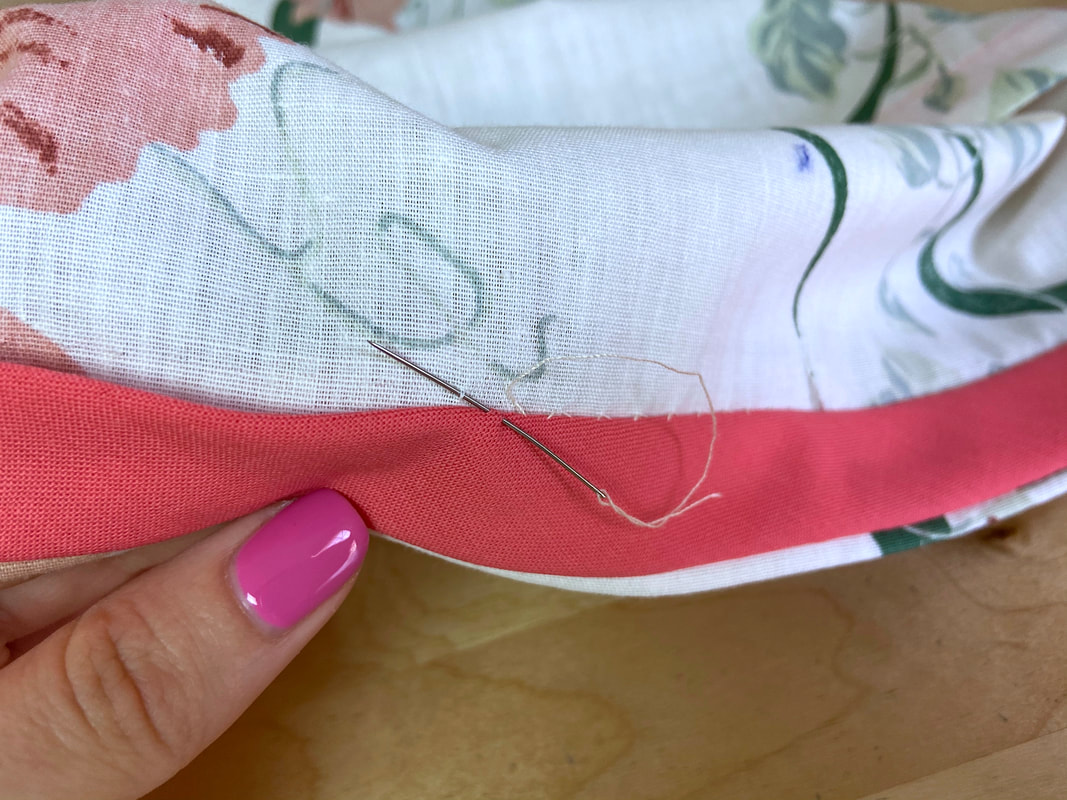
10. Using a blind stitch, sew the folded edge of the facing to the garment surface. A slipstitch works best for this step.
Follow the steps in this tutorial to learn how to apply a slipstitch: Hand-Applied Blind Stitches
11. If your hem calls for a topstitched finish: Working from the wrong side of the garment, stitch along the folded edge of the facing and the garment layer underneath. Stitch about 1/8” away, using the fold as a guide.
Once complete, remove all hand basting stitches.
12. Iron the finished bias faced hem in the direction it was stitched above. Final pressing will provide a clean, professional finish.

