Doina Alexei
  • Sewing Tutorials
    • Basics >
      • Aligning Pattern Grainlines To Fabric
      • Preparing Fabrics For Sewing
      • Pinning Sewing Patterns To Fabric
      • Placing Sewing Patterns On Fabric For Cutting
      • Rotary Cutters or Fabric Scissors?
      • Cutting The Sewing Patterns
      • What Are Notches And How To Use Them In The Sewing Process
      • Transferring Notches From Pattern To Fabric
      • Transferring Seamlines to Fabric
      • Staystitching
      • Backstitching: A Complete Guide
      • Hand Basting: A Complete Guide
      • Sewing Continuous Bias Binding
    • Darts >
      • Marking And Transferring Darts To Fabric
      • What Are Darts And Dart Components
      • Folding, Pinning And Hand Basting Darts
      • Handling Dart Excess: Bulk And Tension
      • How To Sew A French Dart
      • How To Sew And Iron Single Pointed Darts
      • How To Sew And Iron Contour Darts
      • Sewing Darts With Decorative/Beaded Fabrics
    • Sewing Seams >
      • ​The Basics Of Seams And Seam Allowance
      • How To Sew A Straight Seam
      • Sewing Curved Seams
      • Sewing Corner Seams
      • Trimming And Grading Seam Excess
      • Notching/Clipping Seam Allowance for Tension Release
      • Sewing Topstitched Seams
      • Sewing Corded Seams
      • Sewing A Slot Seam
      • Sewing A Gathered Seam
      • Sewing Bias Seams
      • Sewing Seams With Ease
      • Sewing Seams With Crossing Seamlines
      • Sewing Unlike Fabric Seams
      • How To Iron Seams: Ironing Tools And Conventions
      • Sewing With Knit Fabrics
      • Understanding Stitch Length And Tension
      • Sewing Unique Fabric Seams
    • Seam Finishes >
      • Seam Finishing Techniques - Overview
      • Applying A Pinked Seam Finish
      • Applying A Bias Bound Seam Finish
      • Serging And Zigzag Seam Finishes
      • Sewing A Self-Bound Seam Finish
      • Sewing A French Seam Finish
      • Sewing A Hong Kong Seam Finish
      • Sewing A Mock French Seam Finish
      • Sewing A Turned-and-Stitched Seam Finish
      • Sewing Overcast Hand-Applied Seam Finishes
      • Sewing A Flat Felled Seam
      • Sewing A Hairline Seam Finish
    • Hem Finishes >
      • Garment Hem Finishes: Overview
      • ​Sewing A Double Fold Hem Finish
      • Sewing A Single Fold Hem Finish
      • Sewing Bound Hem Finishes
      • Sewing An Exposed Double Layer Bound Hem
      • Sewing A Folded-Up Bound Hem with Pre-folded Binding
      • Sewing A Hong Kong Hem Finish
      • Sewing A Band Hem Finish
      • Sewing A Bias Faced Hem Finish
      • Sewing A Twill Tape Hem Finish
      • Sewing A Rolled Hem Finish
      • Sewing A Shaped Hem Facing
      • Using Fusible Hem Tape And Webbing
      • Finishing A Lace Fabric Hem
      • Finishing A Leather Hem
      • Sewing Faced Hem Corners
      • How To Finish Lining At The Hem
      • Finishing Fabric Corners by Mitering >
        • Mitering Fabric Corners With A Full Bias Facing
        • Mitering Fabric Corners With Exposed Binding
      • Interfacing A Hemline: Lined And Unlined Examples
    • Sewing Pockets >
      • Curved Patch Pocket With Flap
      • Unlined Square Patch Pockets
      • Lined Patch Pockets: Two Ways
      • Extension On-Seam Pockets
      • Separate On-Seam Pocket
      • Front Hip Pockets
      • Bound Double Welt Pocket
      • Double Welt Pocket With Flap
      • Self-Welt Pocket (Using Single Fabric Layer)
      • Slanted Welt Pocket (Hand-Stitched)
      • Faced Slash Pockets: Overview >
        • Sewing A Faced Slit Pocket
        • Sewing A Rectangular Slash Pocket
        • Sew A Star-Shaped Faced Pocket
    • Sewing Zippers >
      • Sewing Zippers: General Information
      • Sewing A Centered Zipper
      • Sewing A Lapped Zipper
      • Sewing An Invisible Zipper
      • Sewing A Fly Front Zipper
      • Sewing A Closed-End Exposed Zipper (No Seam)
      • Sewing An Exposed Separating Zipper
      • Sewing Hand Stitched Zipper Applications
      • Sewing A Zipper Underlay
      • Sewing A Placket-Enclosed Separating Zipper
    • Sleeveless Finishes >
      • Sleeveless Armhole Finishes: General Information
      • Finishing Sleeveless Garments with Lining
      • Sewing A Folded-Under Bound Armhole Finish
      • Sewing A Shaped Armhole Facing
      • Finishing Armhole Edges With Exposed Binding
      • Finishing Armhole Edges With Decorative Trim
    • Neckline Finishes >
      • Sewing A Neck Shaped Facing
      • Sewing An All-In-One Neck Facing
      • Neck And Garment Opening Combination Facings >
        • Sewing An Extended Front-Neck Facing
        • Sewing A Separate Neck-Front Facing
      • Sewing A Bias Faced Neckline Finish
      • Sewing A Band Neckline Finish
      • Bound Neckline Finishes: Overview >
        • Sewing A Single Layer Bound Neckline
        • Finishing A Neckline With Pre-Folded Binding
        • Sewing A Double Layer Bound Neckline Finish
      • Sewing A Semi-Stretch Strip Band Neckline
      • Ribbed Neck Band And Classic Turtleneck
      • Decorative Neckline Finishes >
        • Sewing A Neckline With Decorative Inset
        • Sewing A Piped Cording Faced Neckline
        • Sewing Decorative Trim To A Finished Neckline
    • Finishing Facing Edges >
      • Finishing Facing Edges: Overview
      • Folded-And-Topstitched Overedge Facing Finish
      • Sewing A Bound Facing Edge Finish
      • Sewing A Hong Kong Facing Finish
      • Sewing A Rolled Edge Facing Finish
      • Sewing A Twill Tape Facing Edge Finish
      • Sewing An Overedge-Stitch Facing Finish
    • Extras >
      • A Complete Guide on Interfacing
      • Sewing Bound Spaghetti Straps
      • Sewing Spaghetti Straps To A Faced Neckline
      • Sewing Ruffles: Overview
      • Patterning And Sewing A Circle Ruffle
      • Sewing A Gathered Heading Ruffle
      • Sewing Double Layer Gathered Ruffles
      • Sewing A Gathered Ruffle Into A Seam
      • Sewing A Gathered Ruffle To A Fabric Edge
      • Sewing A Fabric Surface Slit
      • Sewing A Slit Seam
      • Hand-Applied Straight Stitches
      • Hand-Applied Blind Stitches
      • Hand-Applied Overedge Stitches
      • Hand-Applied Tack Stitches
      • Hand-Applied Decorative Stitches
  • Custom Apparel
    • Custom Bridal
  • Submit A Sewing Question
  • About
  • Blog

A Full Guide On Hand-Applied Straight Stitches Used In Apparel Sewing

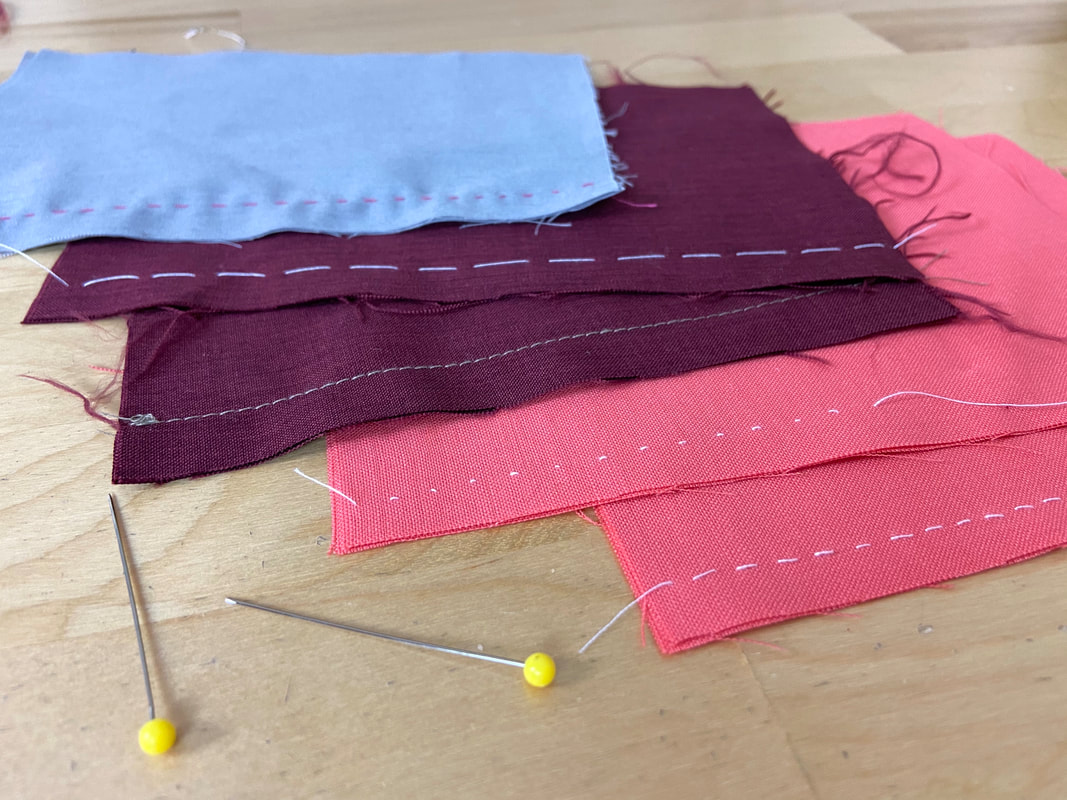
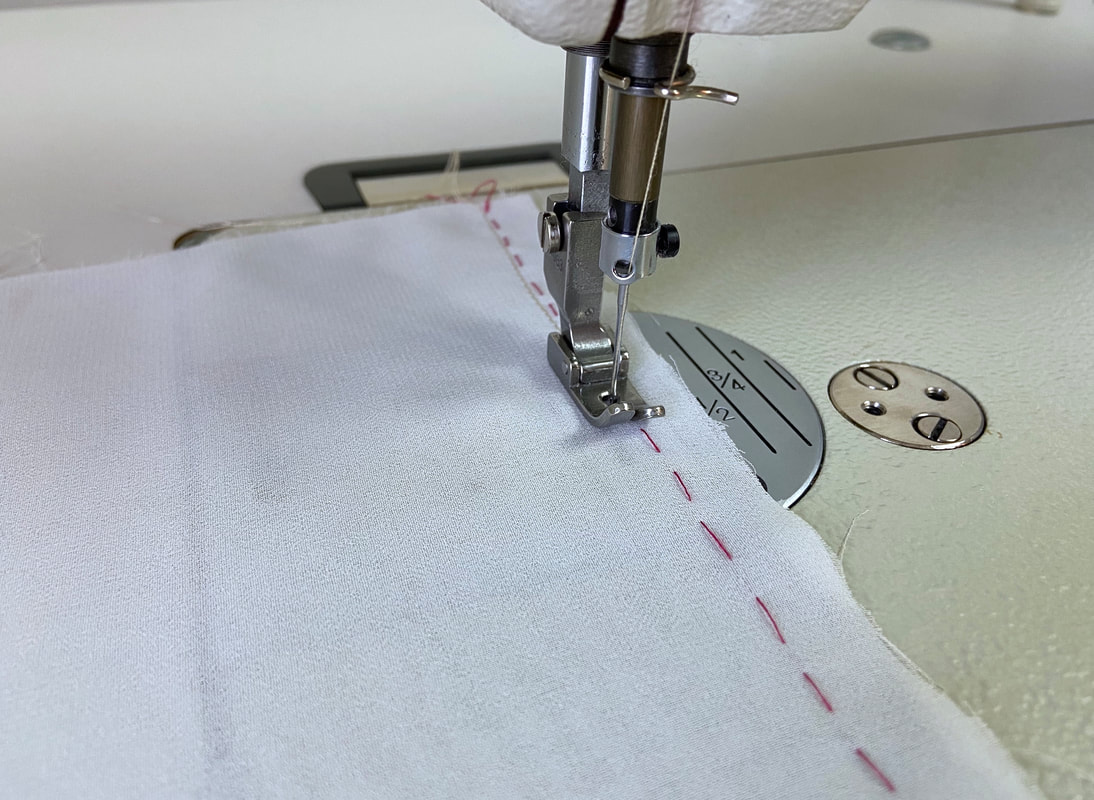
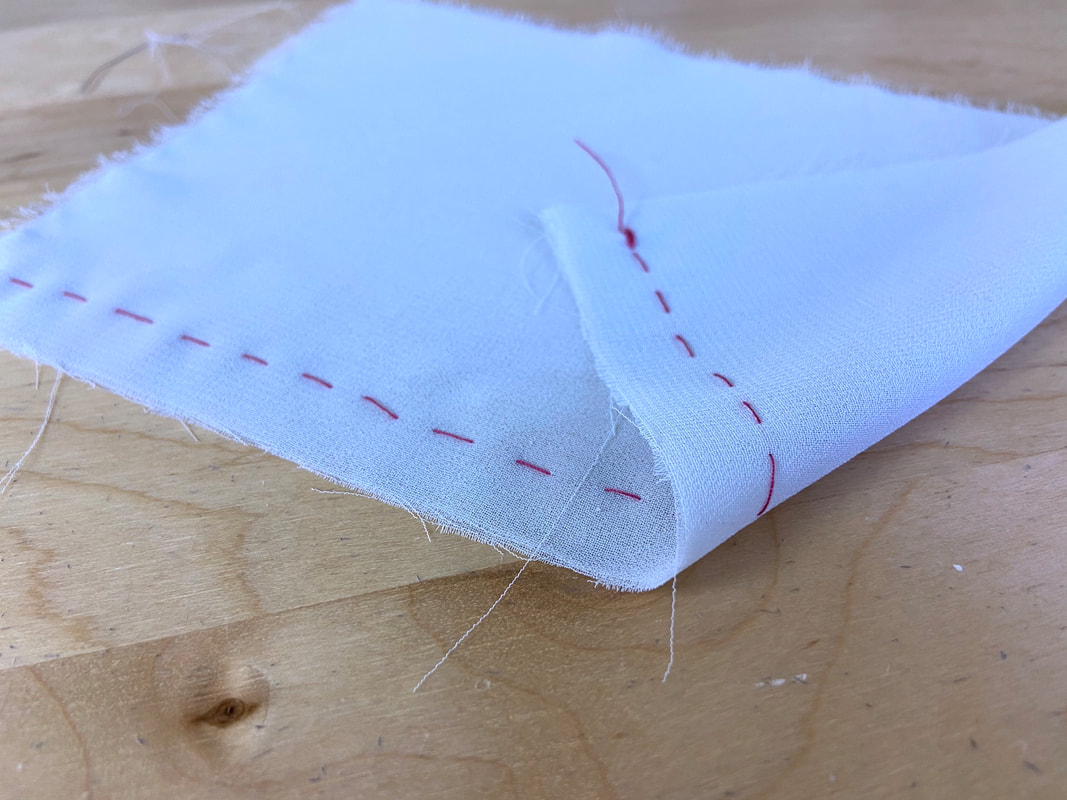
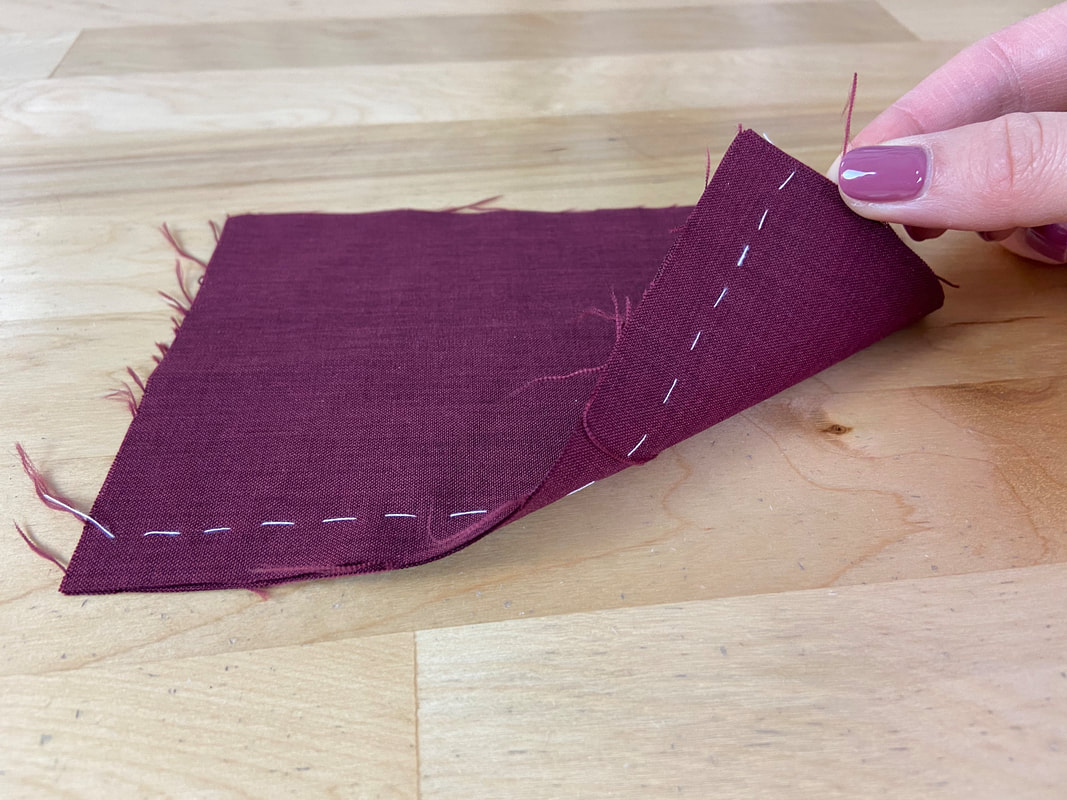
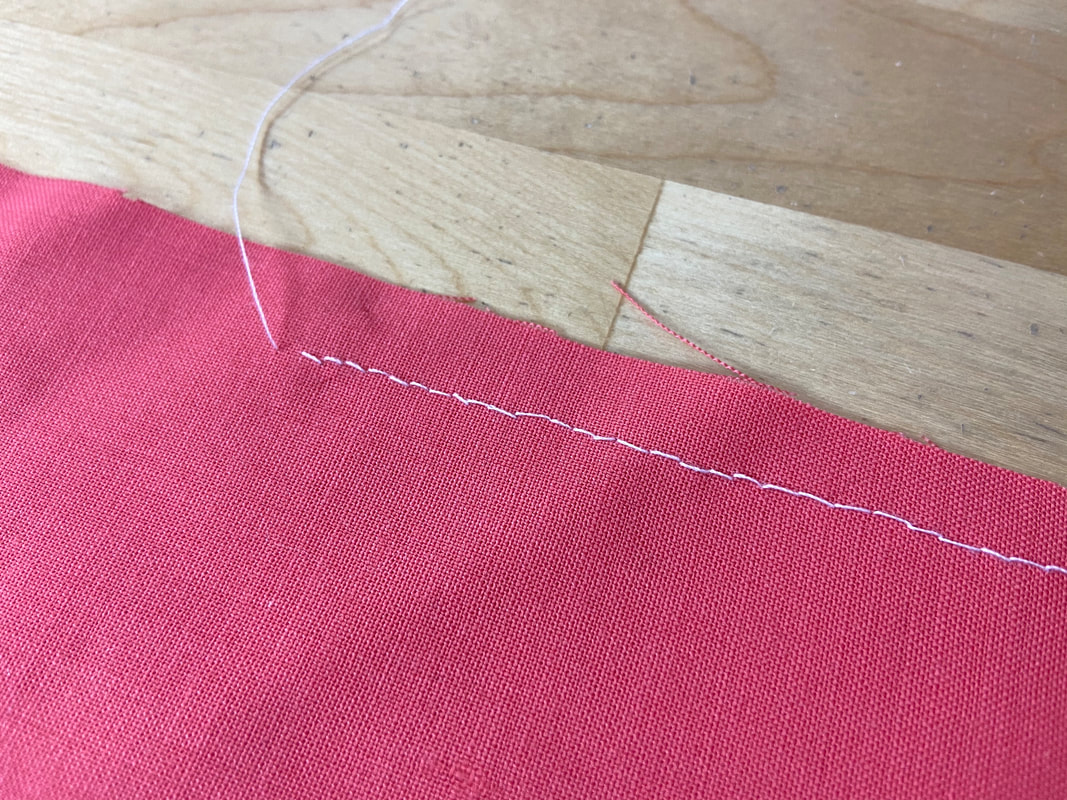
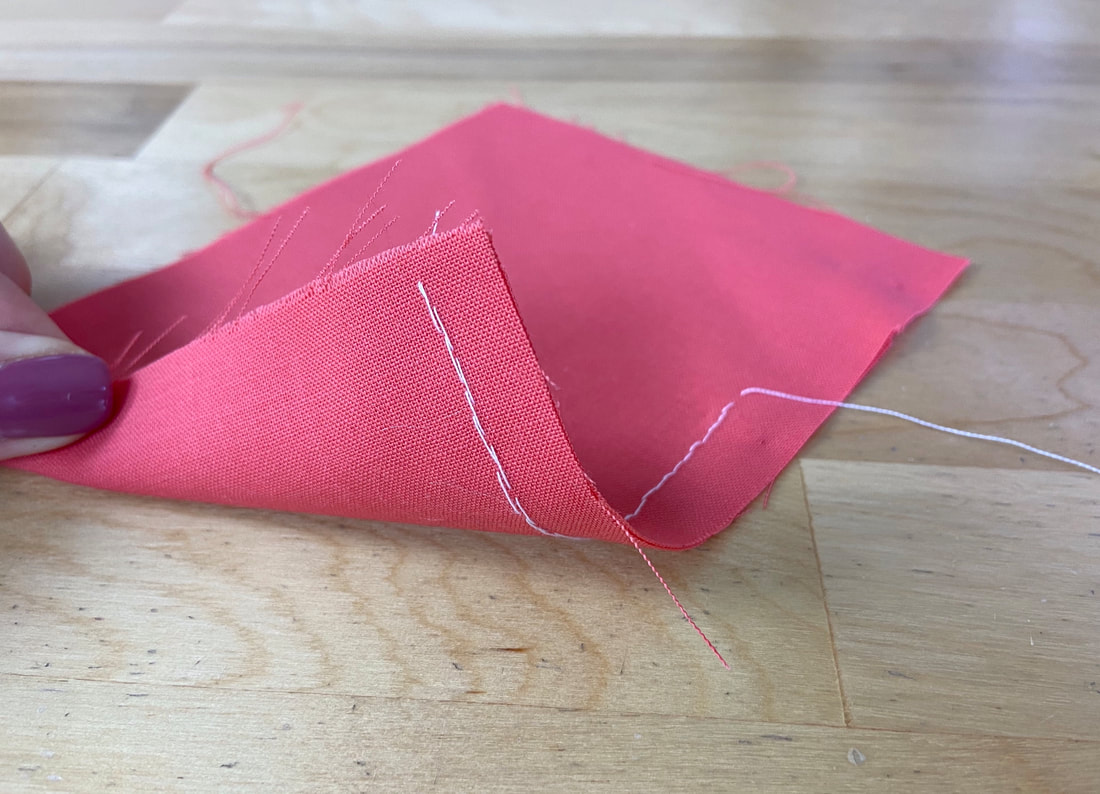
Straight stitches are applied in linear fashion through one or multiple fabric layers. They do not wrap around or encase fabric edges, and are always visible on both the face and wrong sides of fabric. 
Picture
Straight stitches come in a variety of lengths, styles and densities. They can be used both functionally and decoratively. 
Temporary straight stitches are used to facilitate the construction process while permanent hand-applied straight stitches are used to repair or sew entire seams by hand. The latter can also be used to add a decorative element to the fabric surface. 
​Below is a list of the most common hand-applied straight stitches and their corresponding sewing steps.

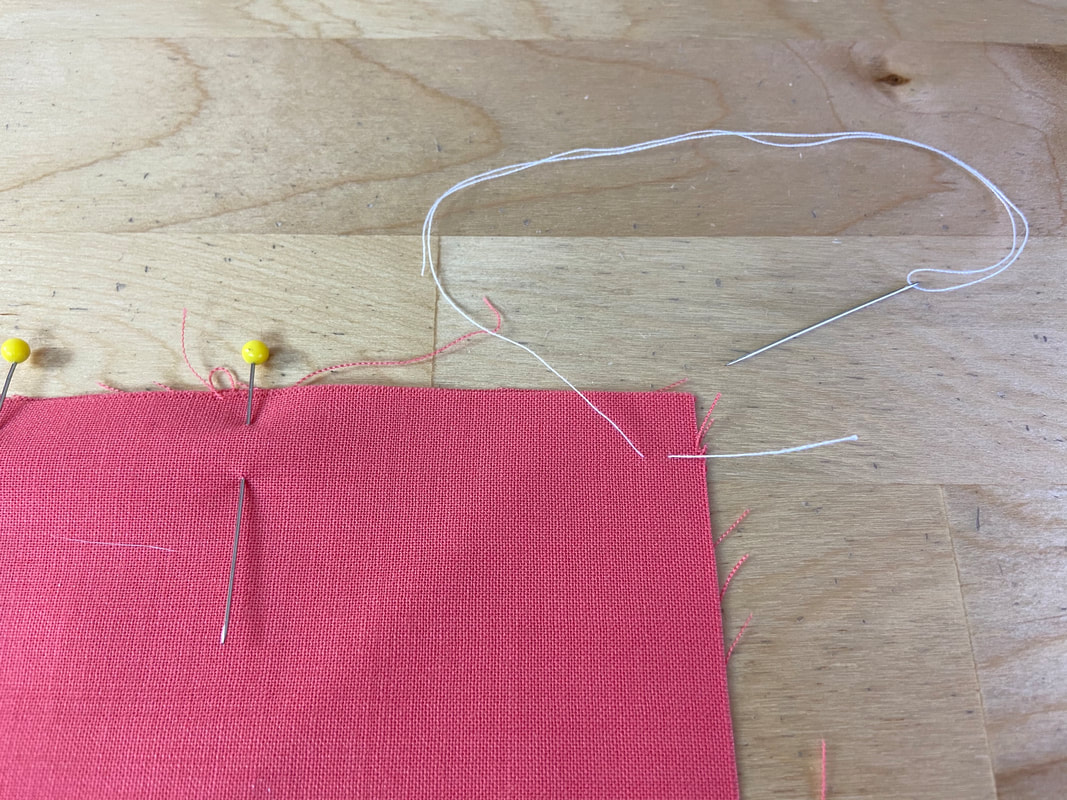
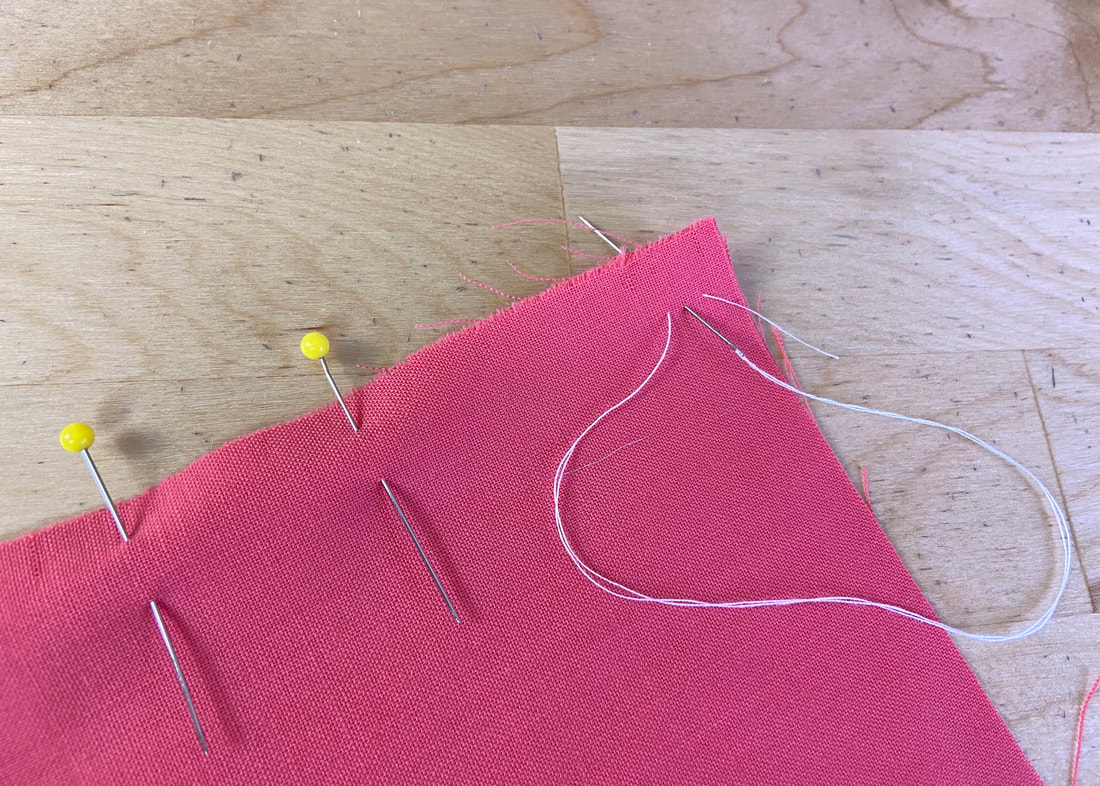
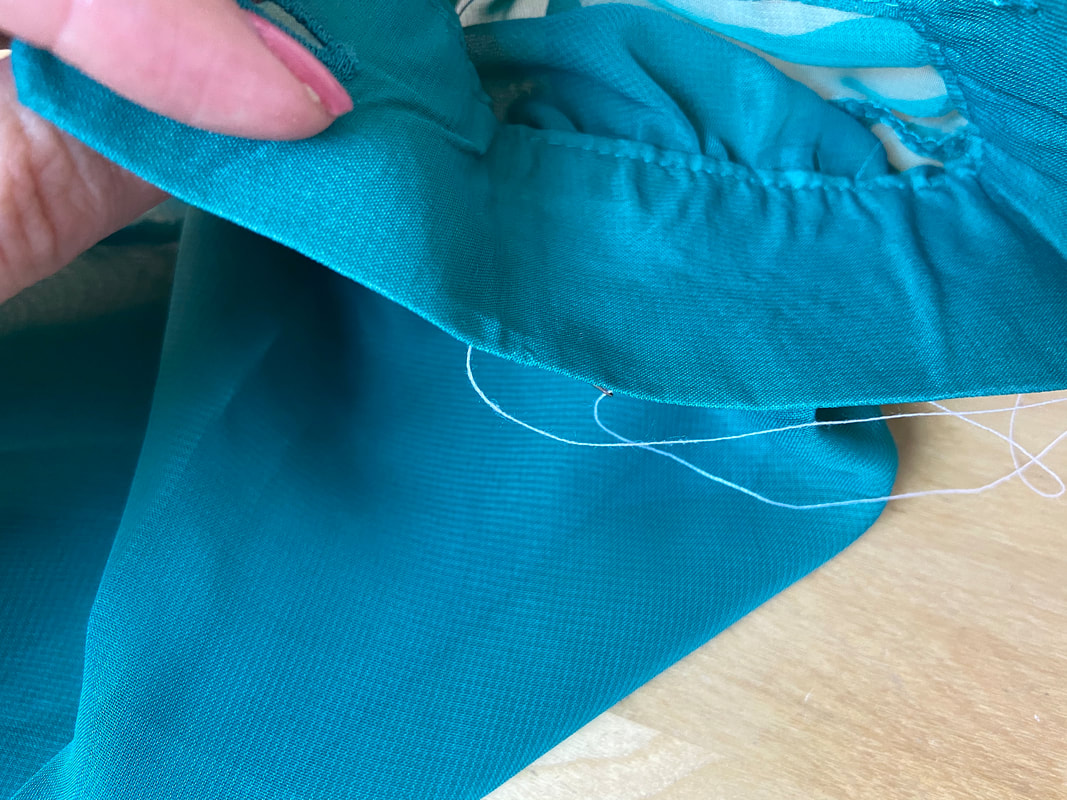
What Is A Hand-Applied Basting Stitch?

​Basting is used in the dressmaking process to keep seams and fabric layers together and aid in the machine stitching and alignment process. 
Picture
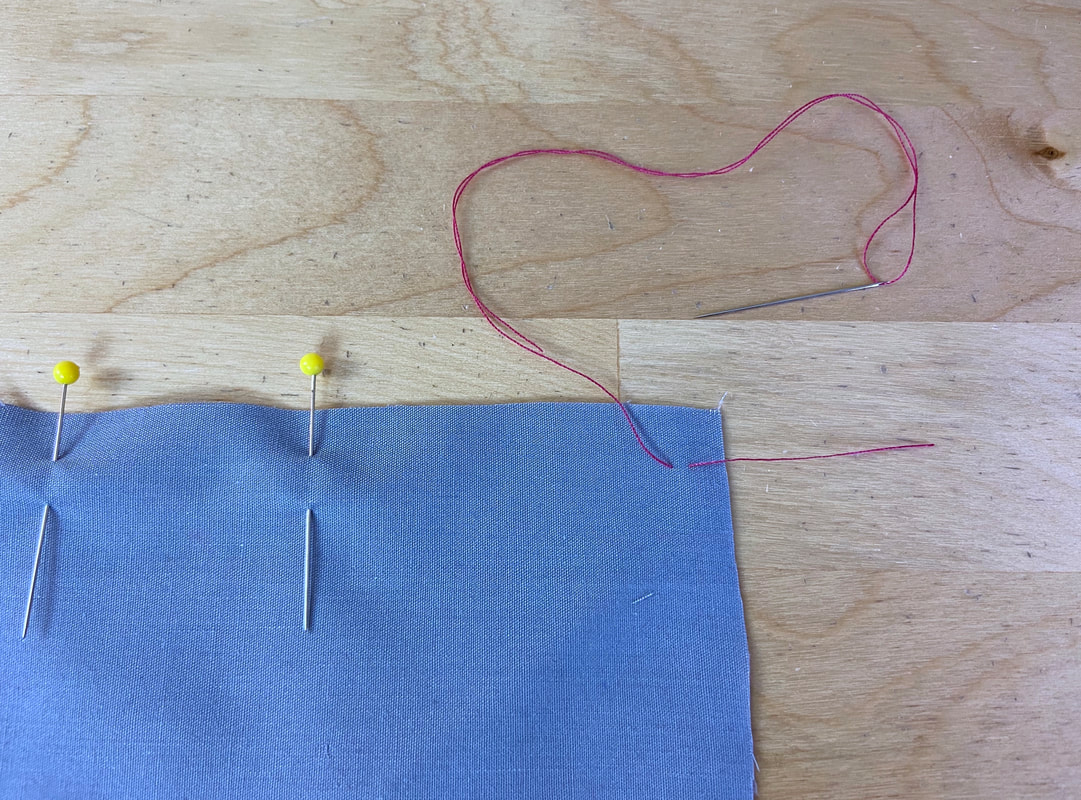
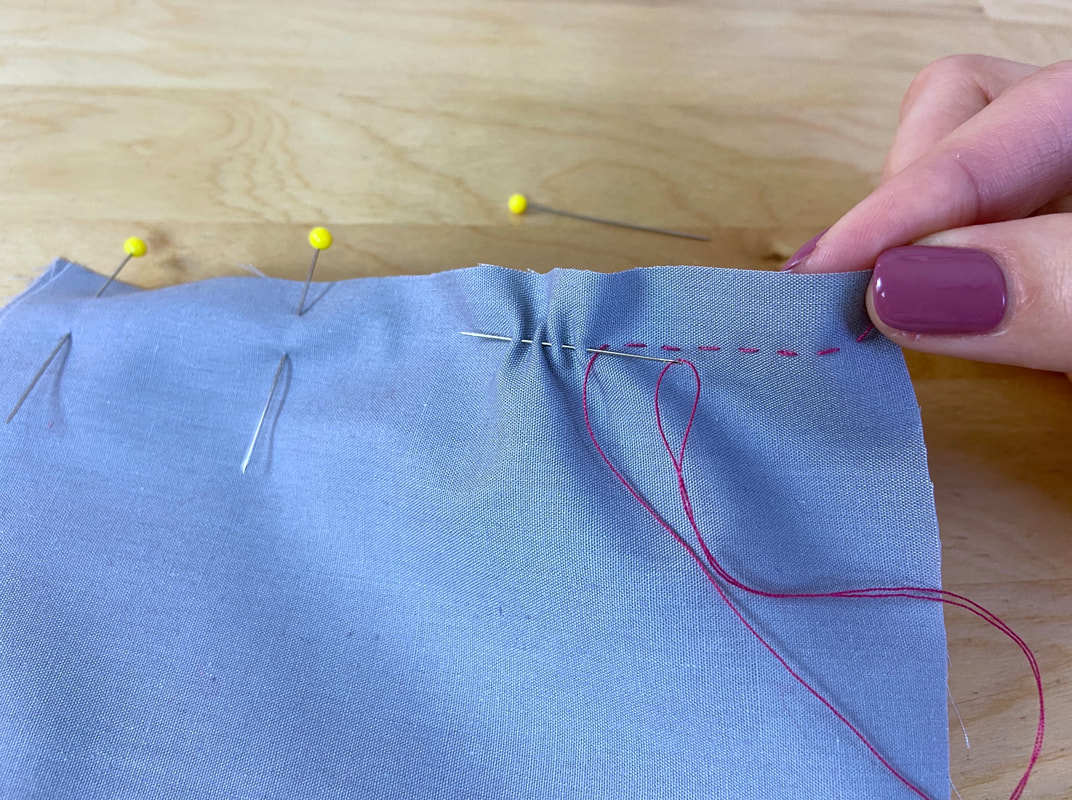
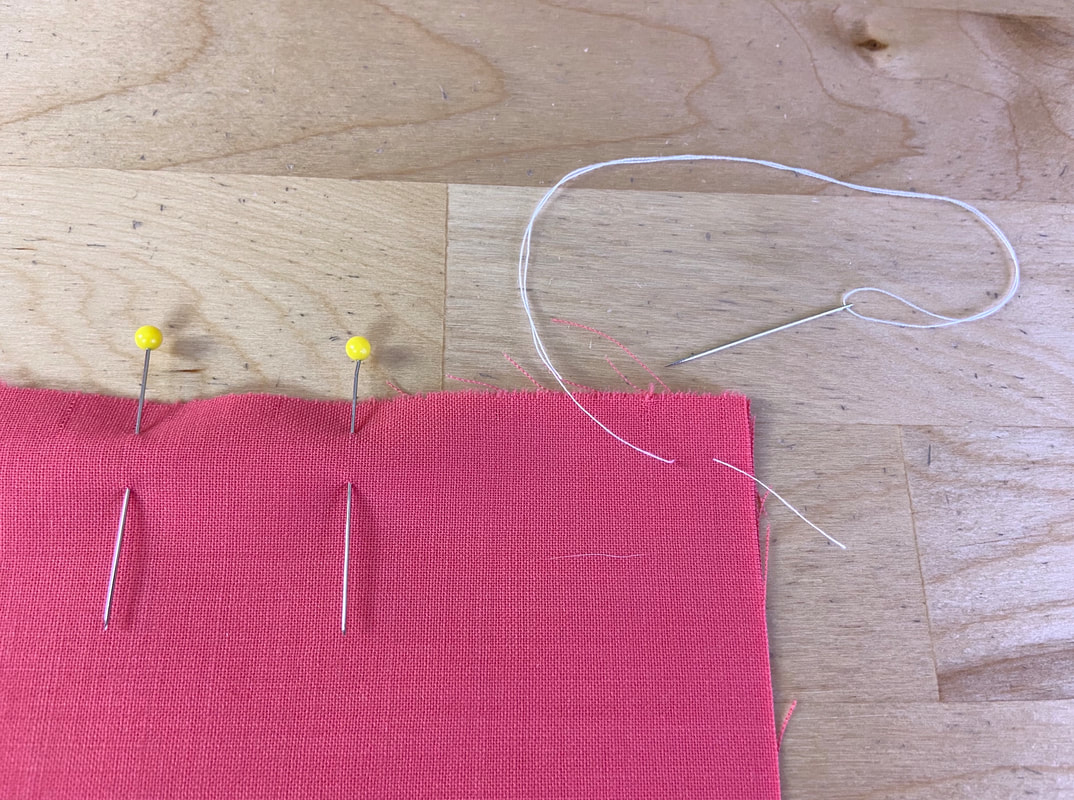
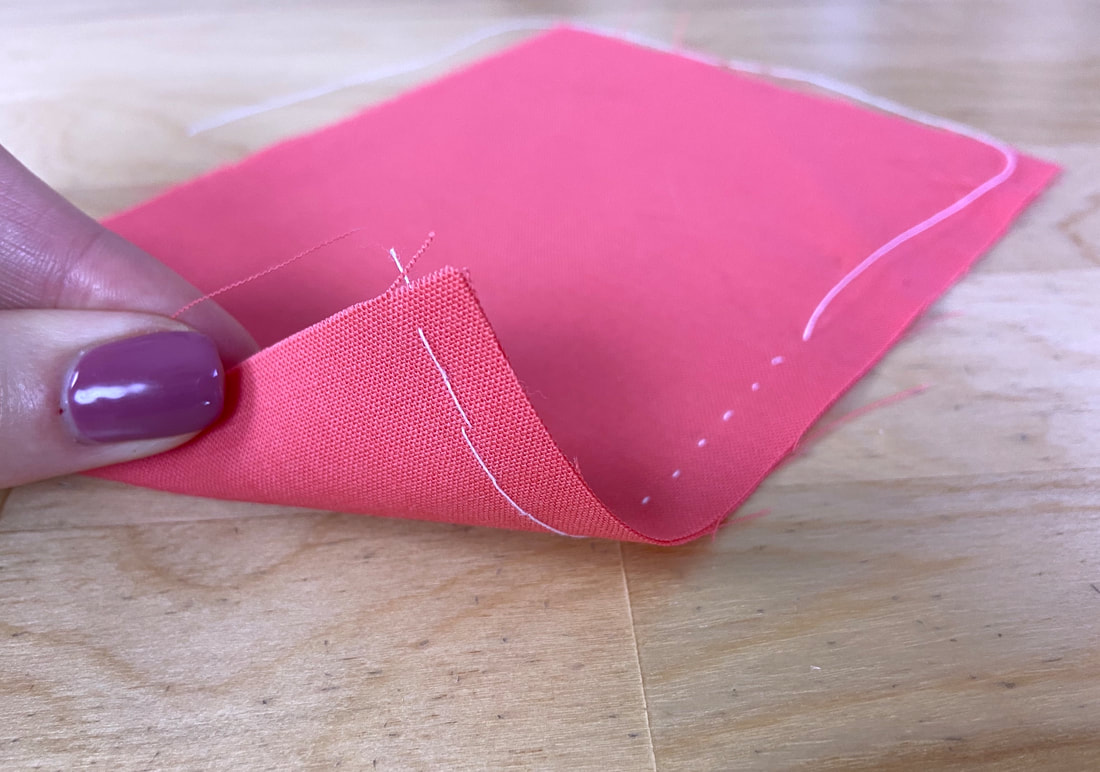
Basting is a hand stitch that provides a more stable alternative to pinning. It is fast and easy to apply, and just as fast and easy to remove when no longer needed. Hence, basting stitches are temporary and removed after the permanent machine stitch application is completed.
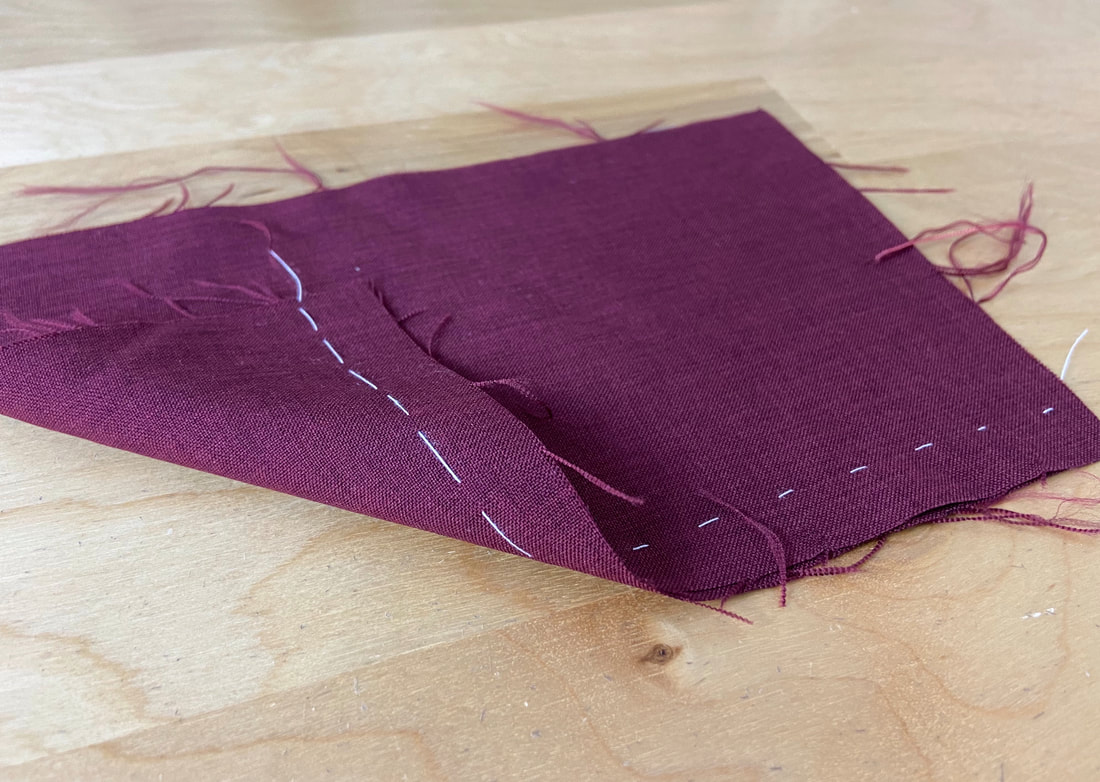
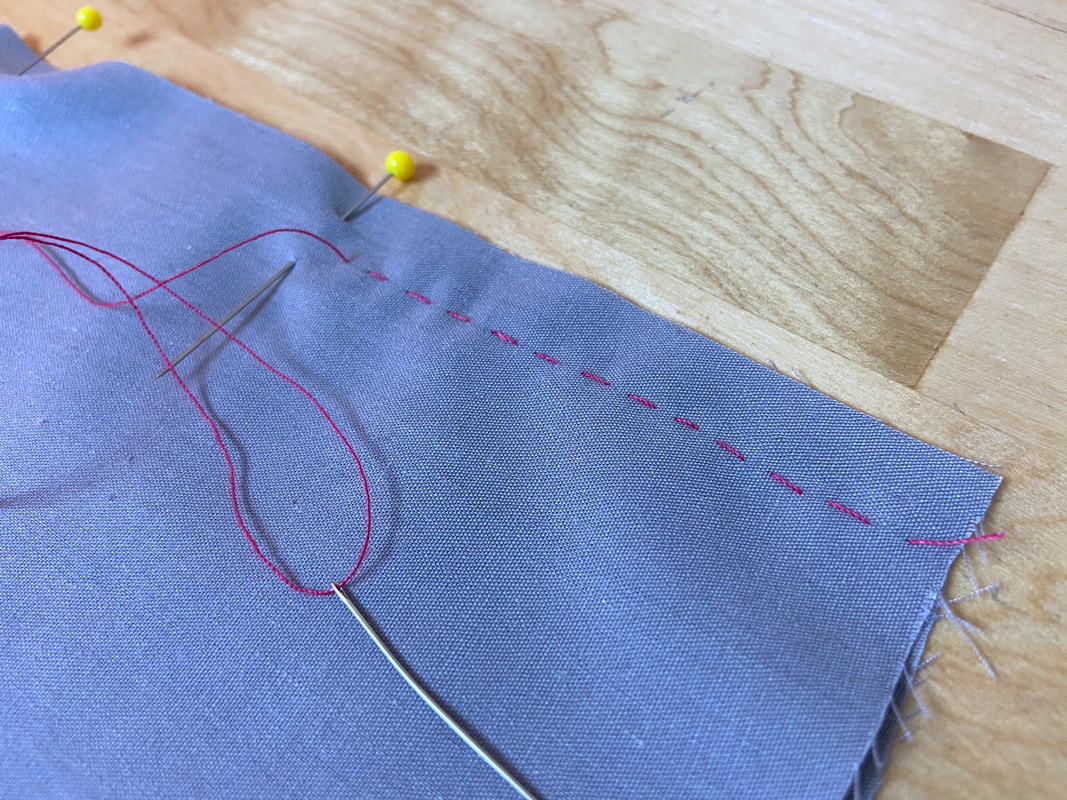
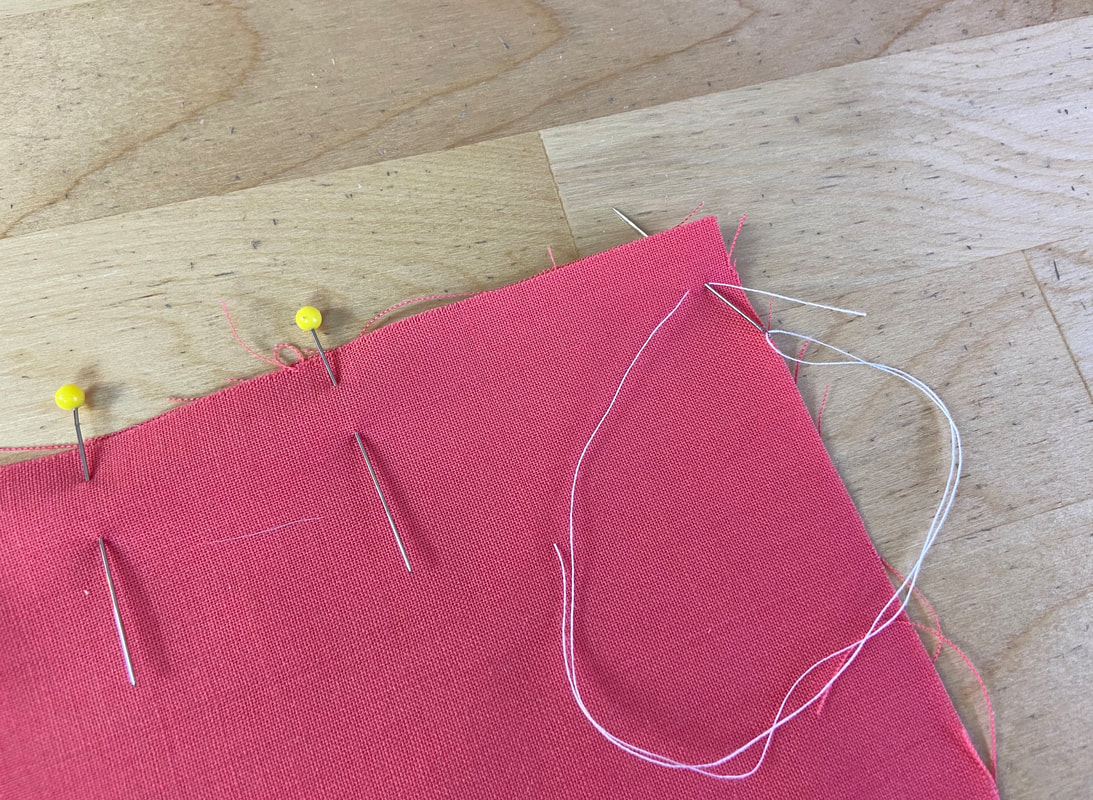
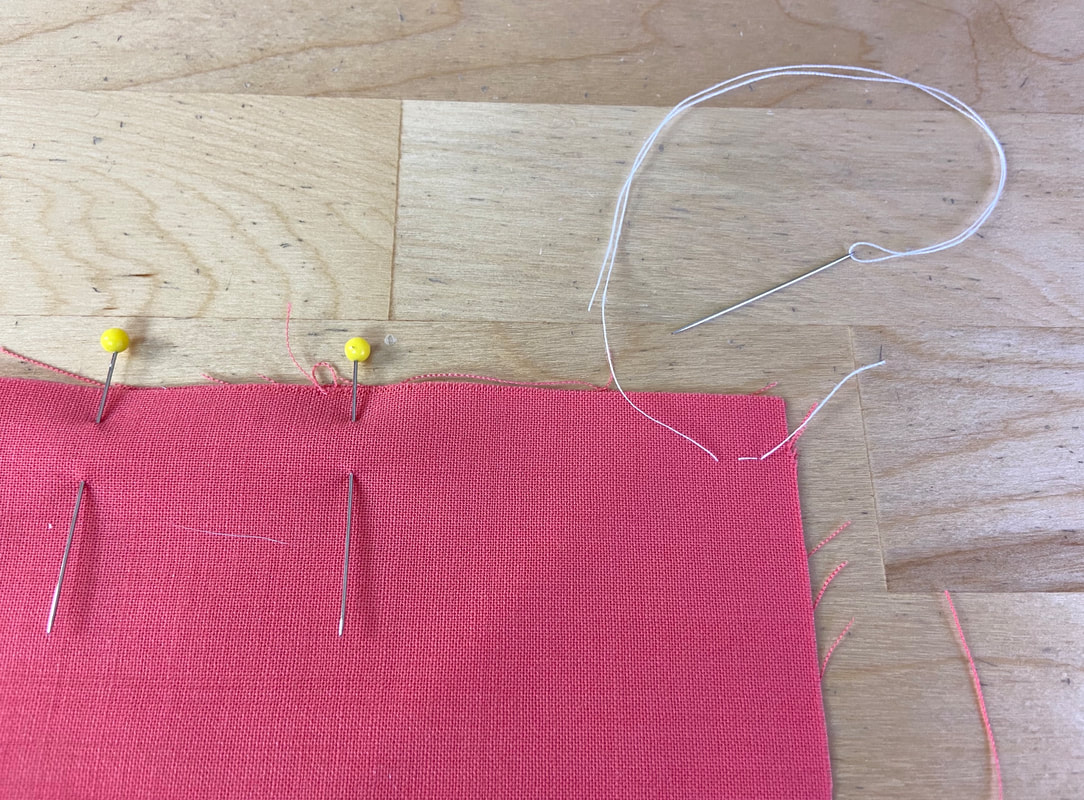
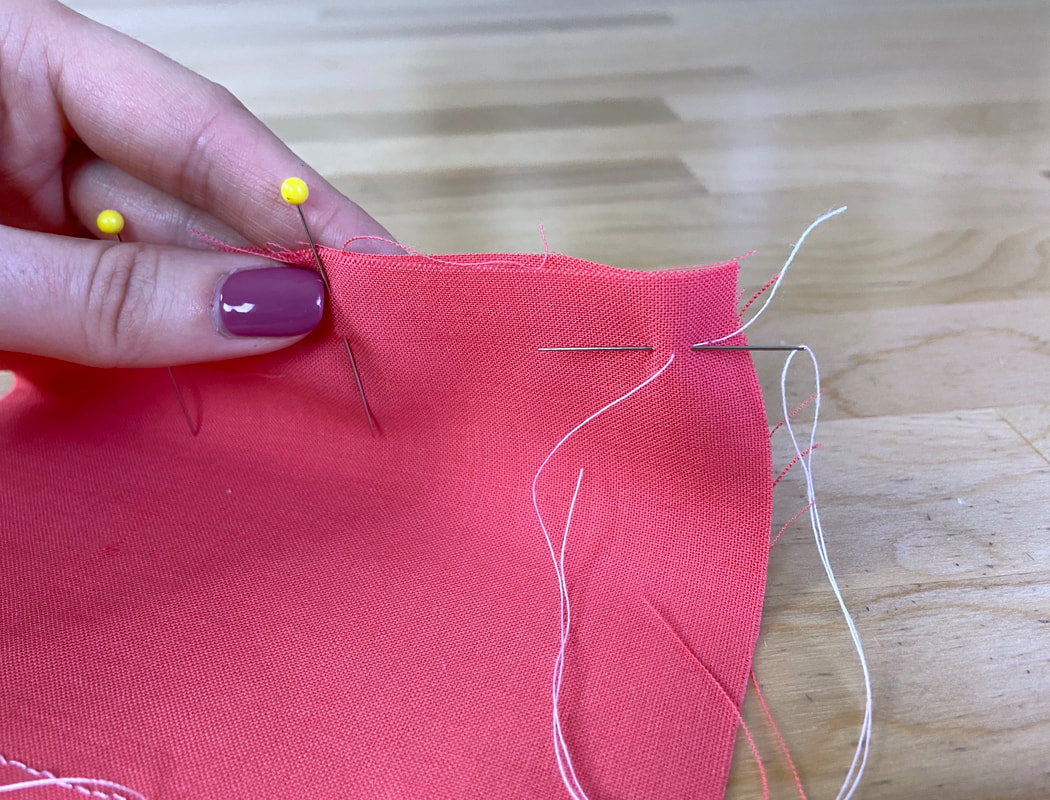
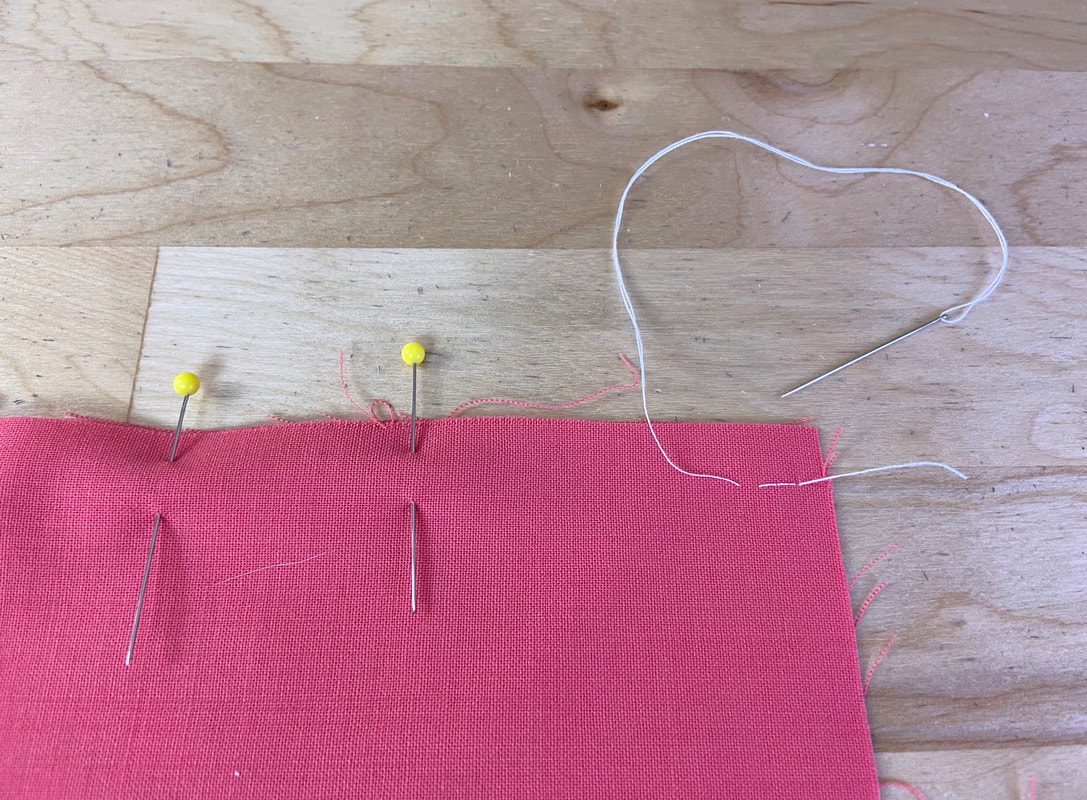
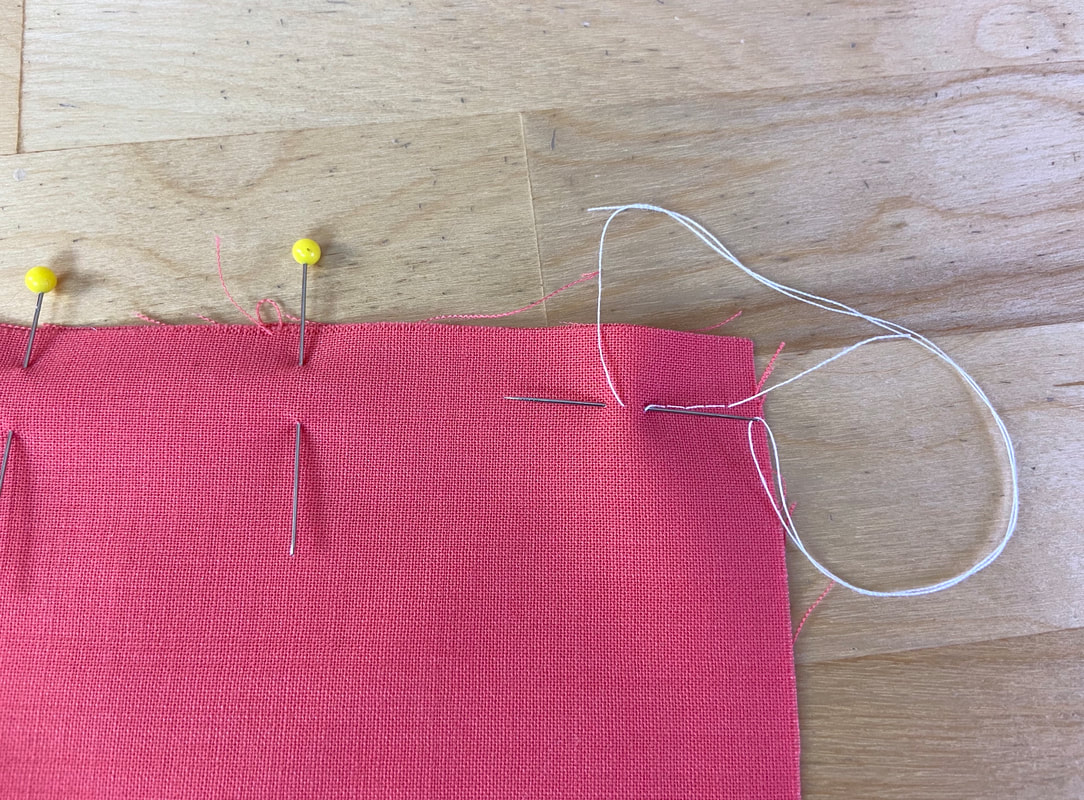
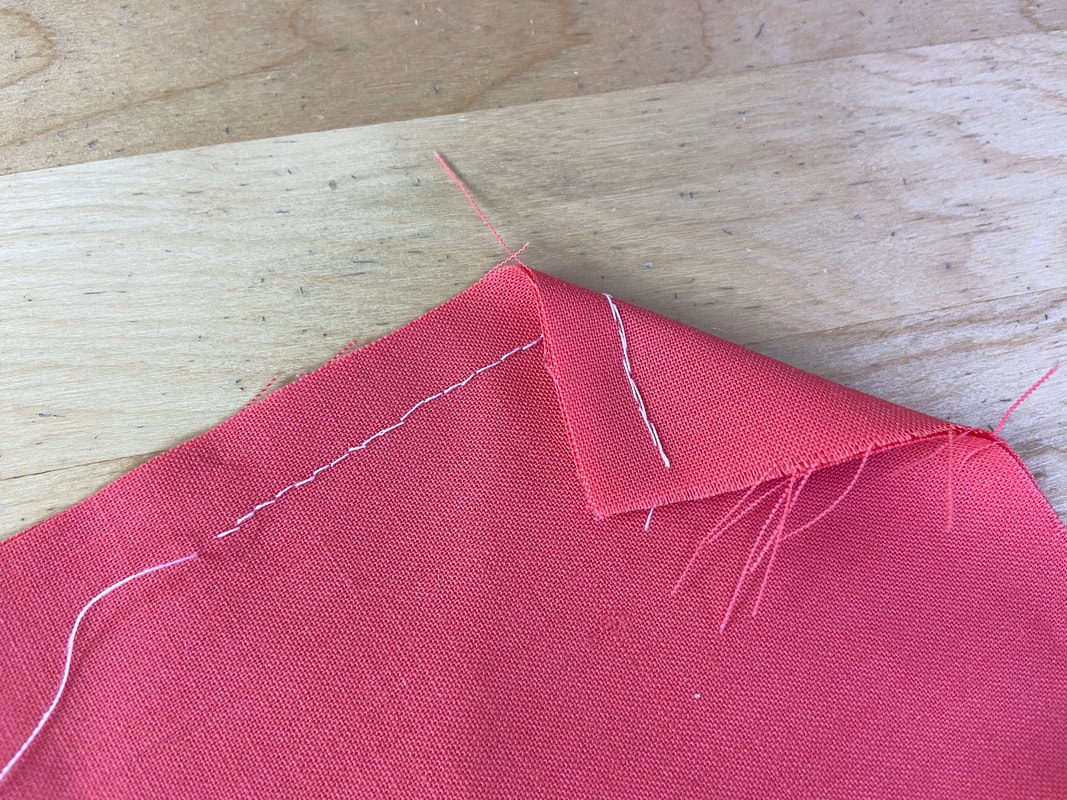
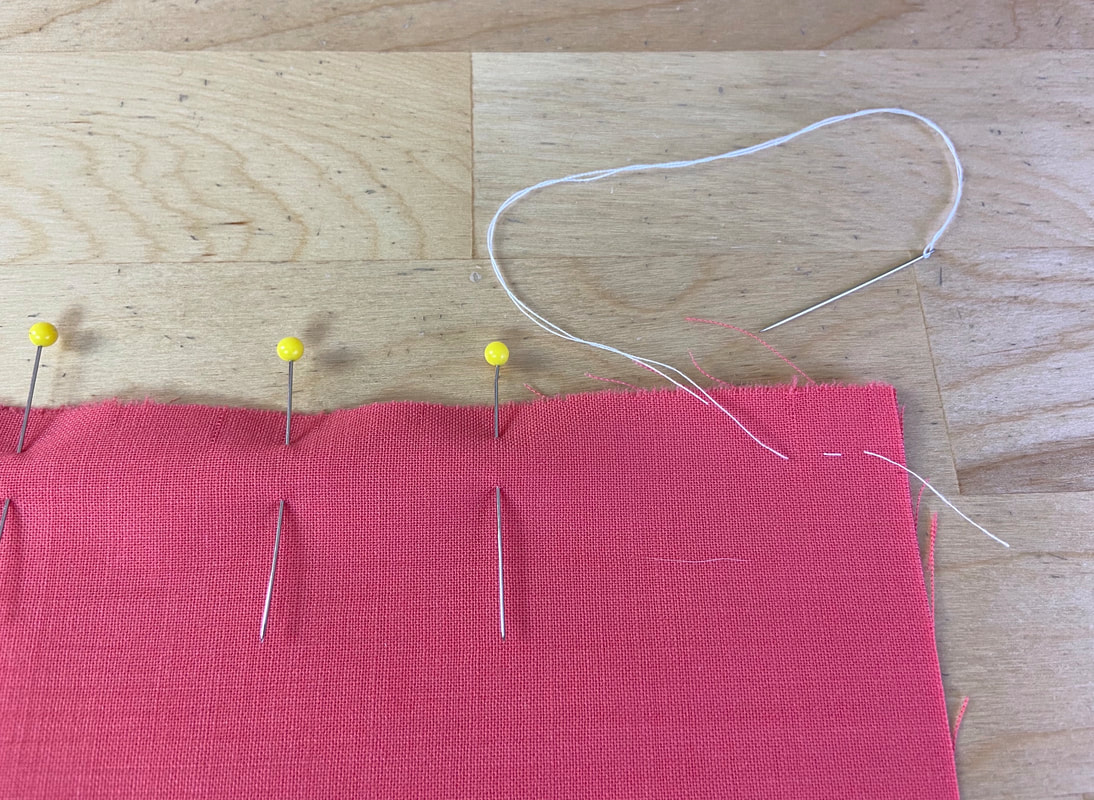
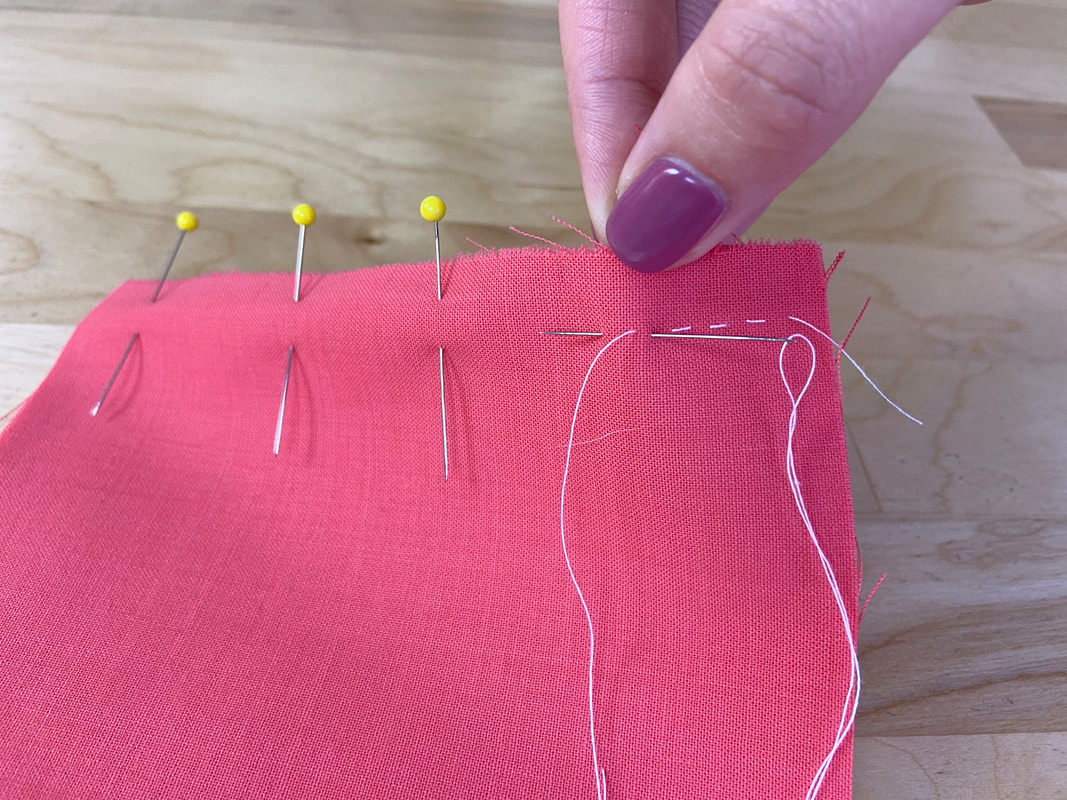
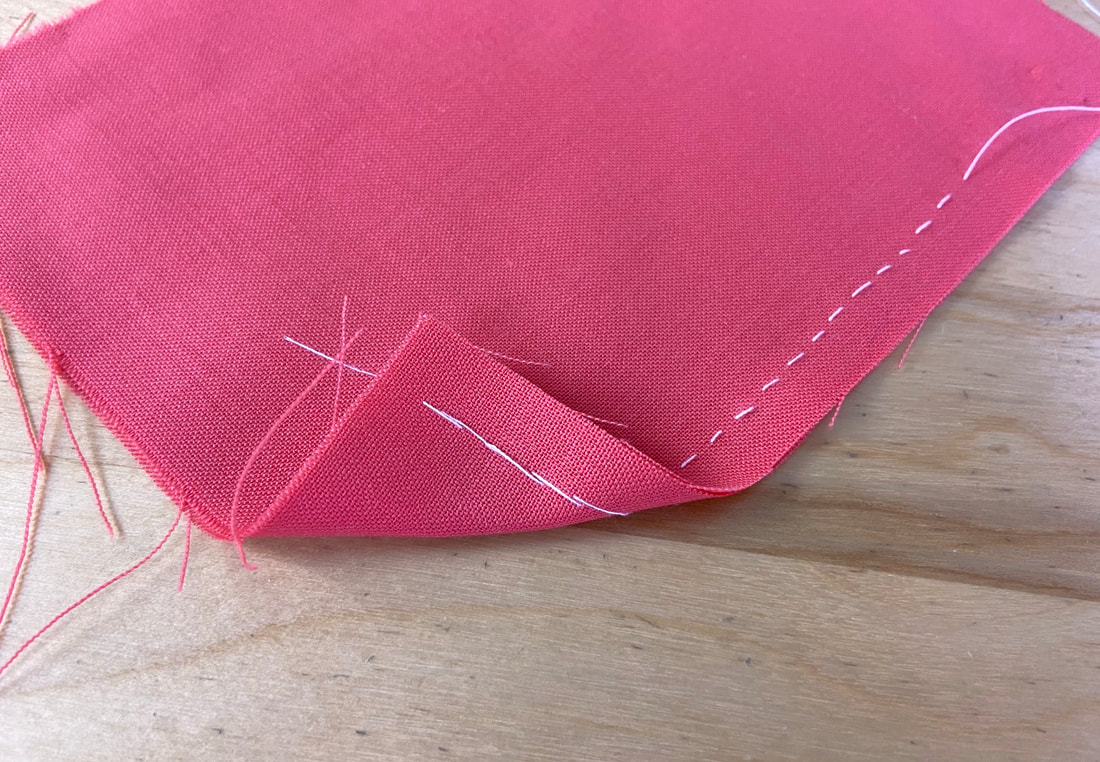
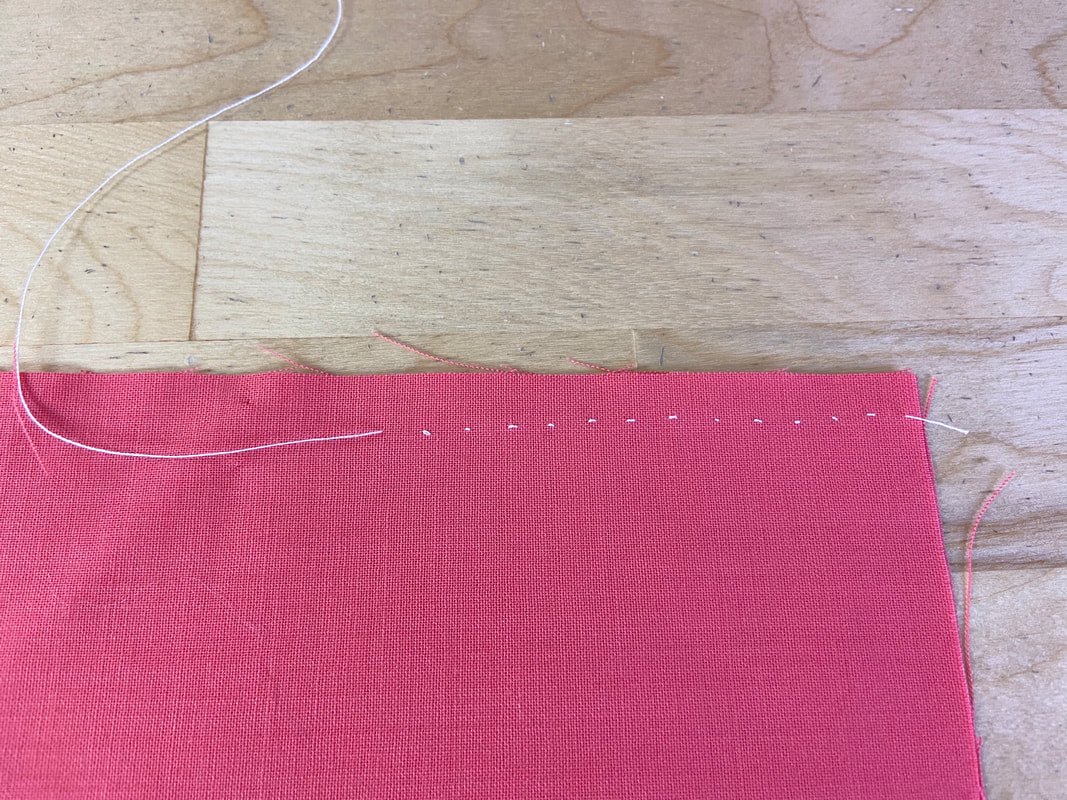
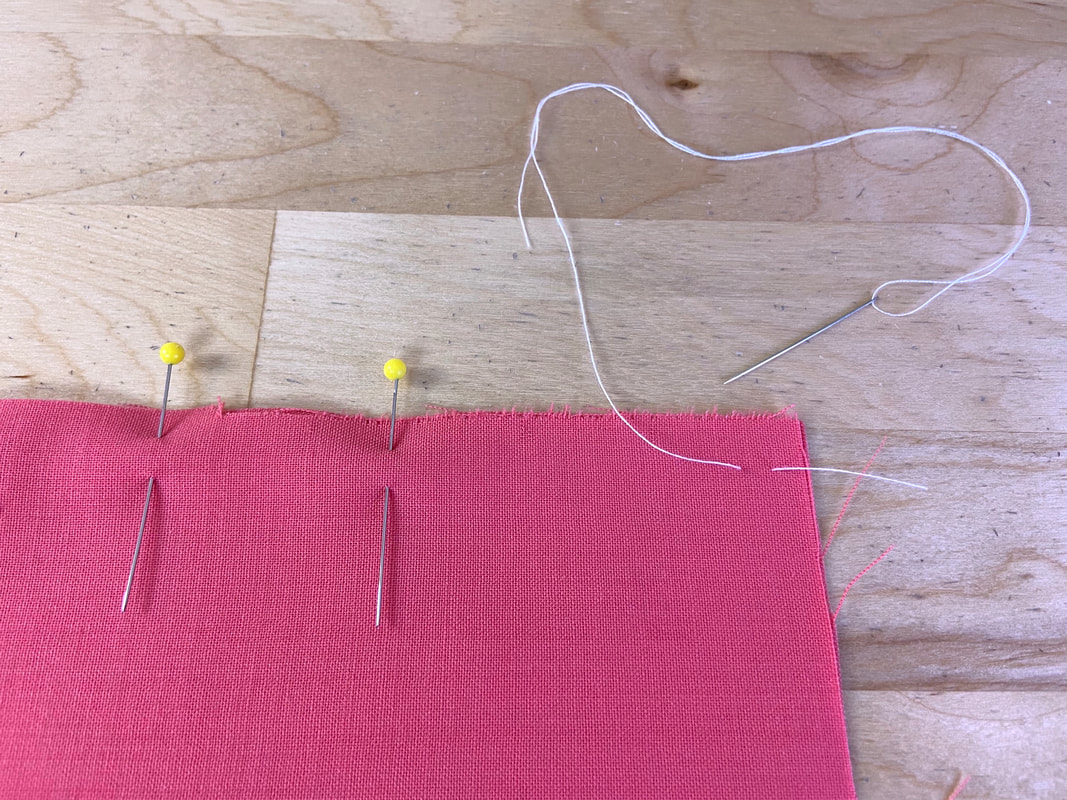
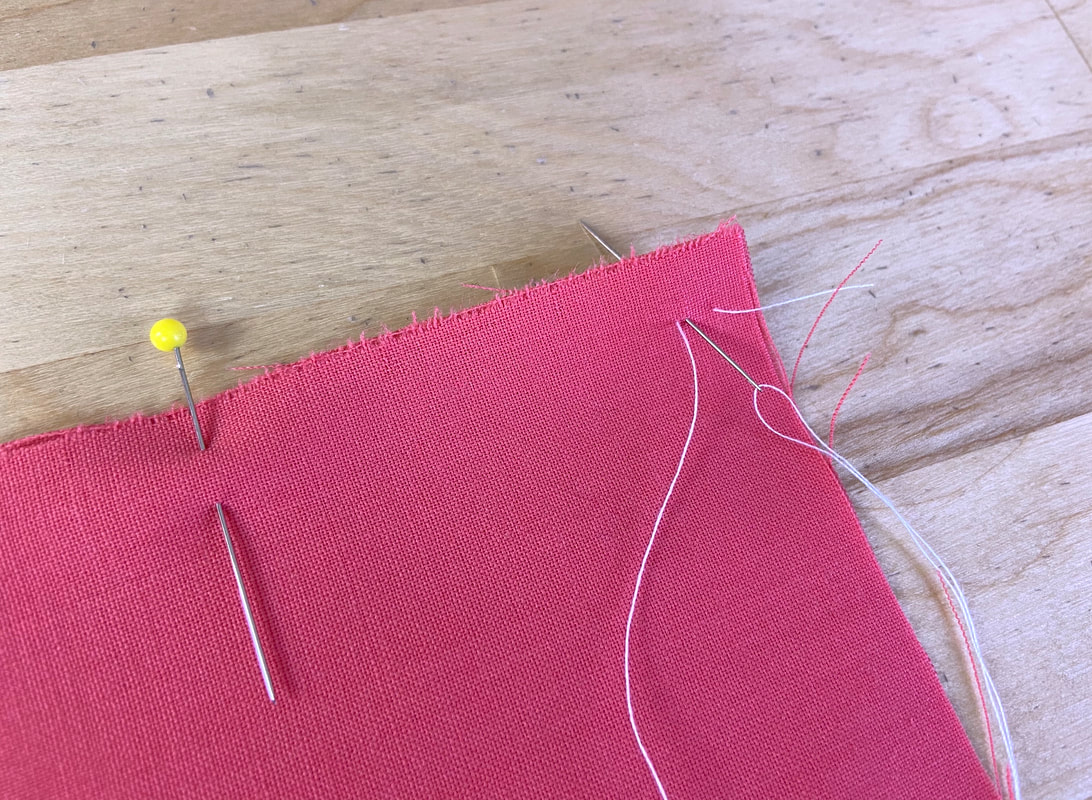
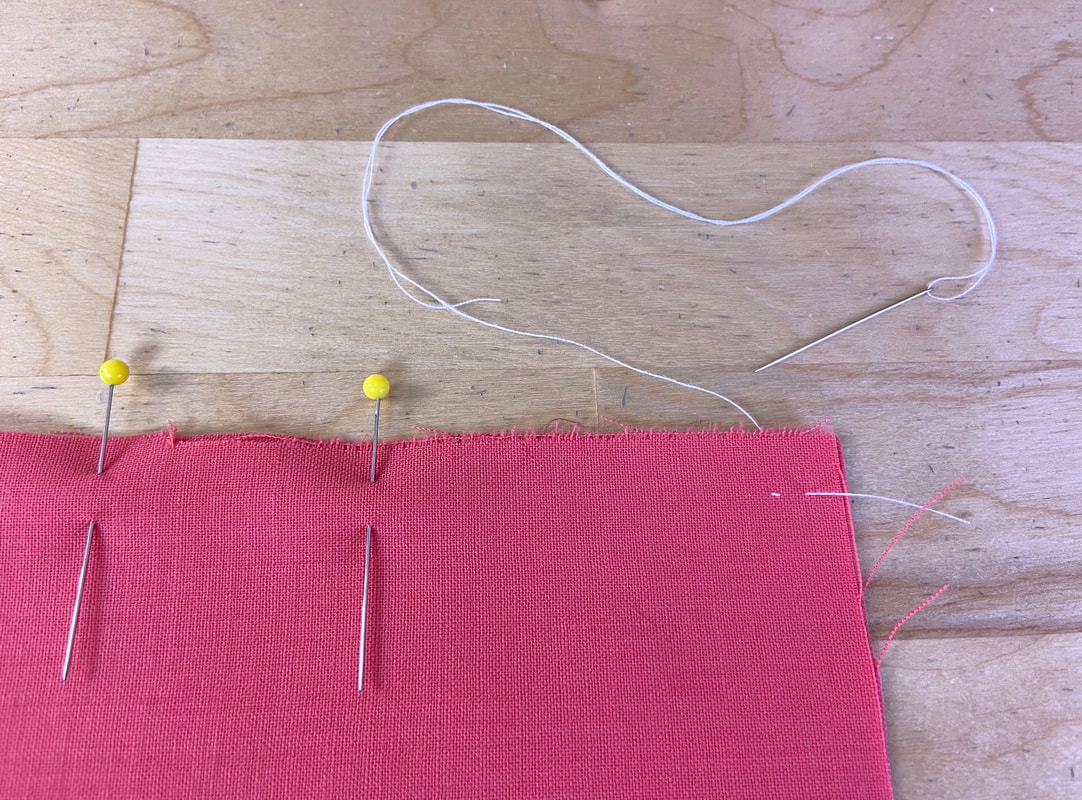
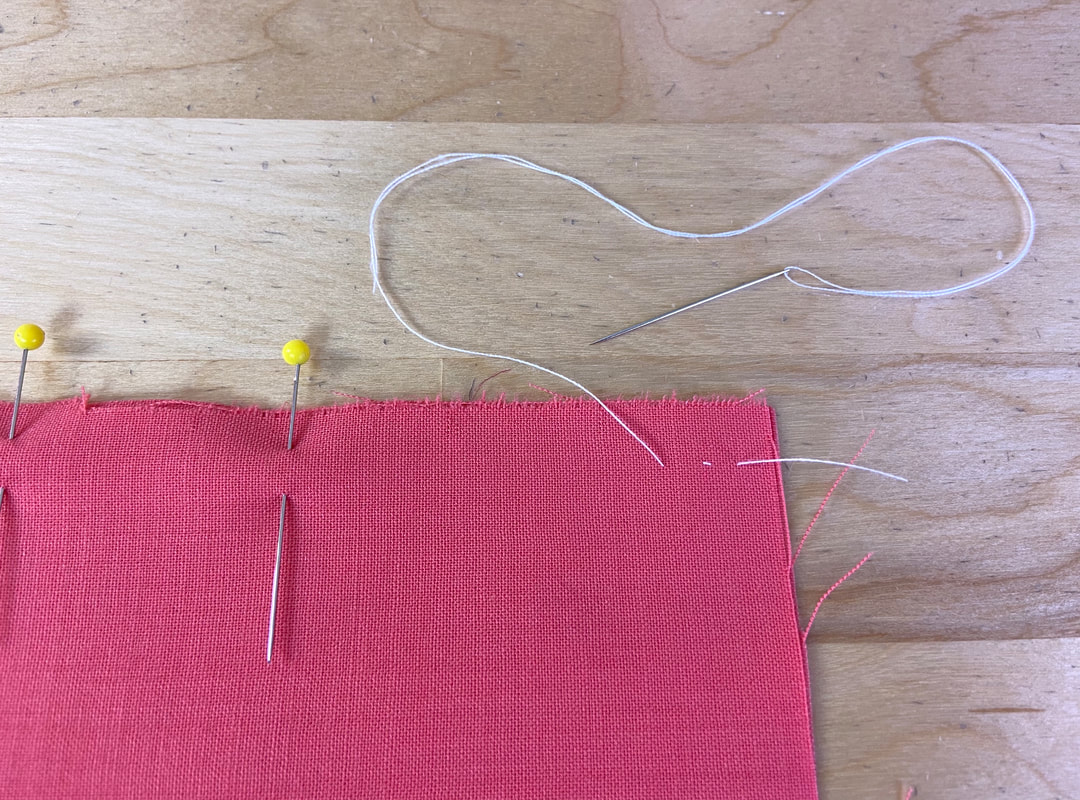
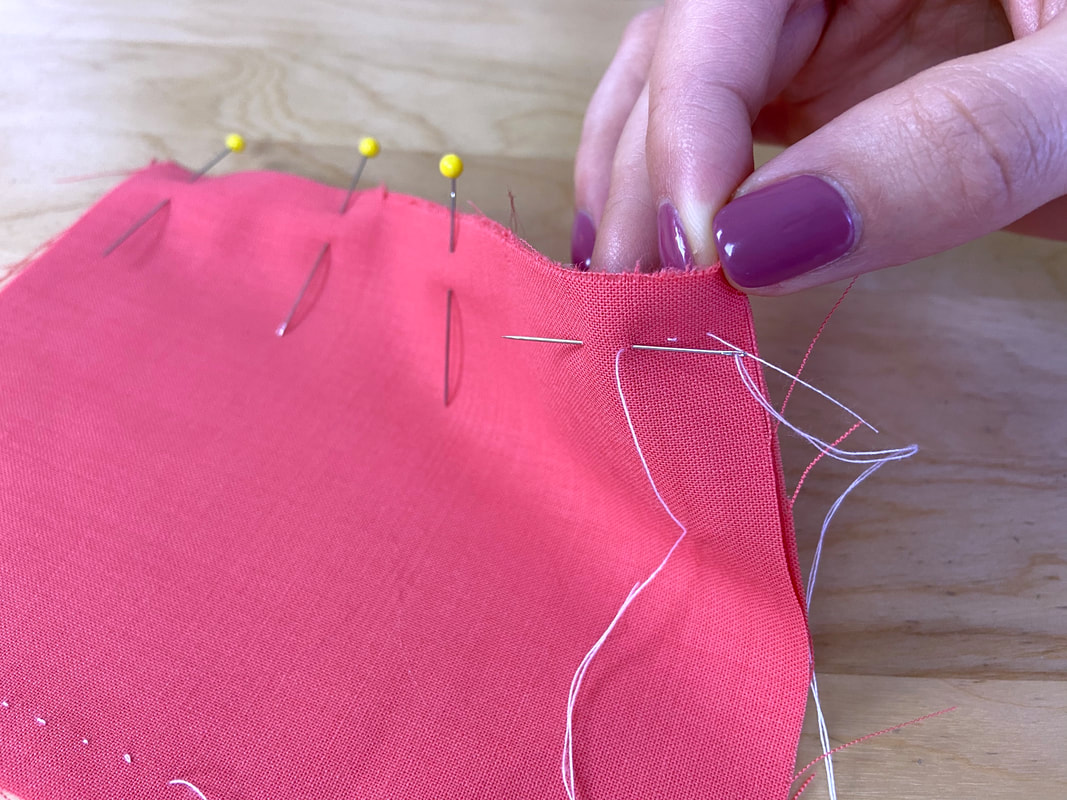
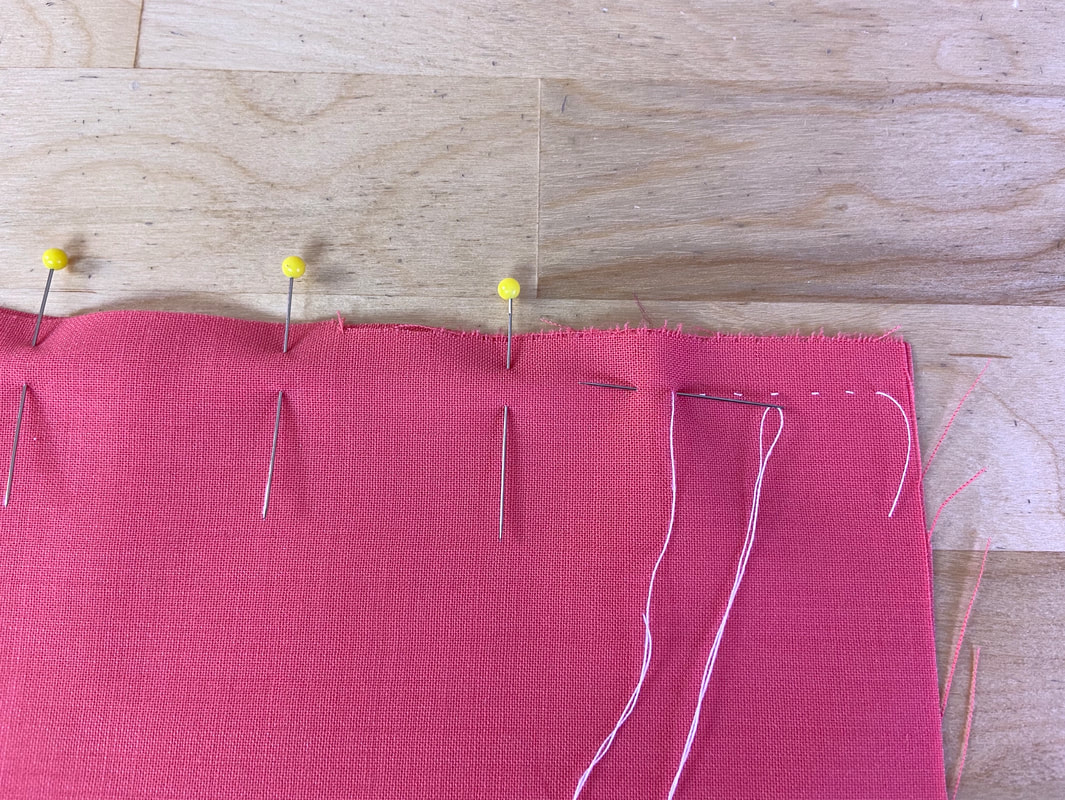
As a sewing beginner, you should use basting with seams and applications you don’t feel comfortable stitching by machine. A basting stitch is applied by inserting the needle in and out through the fabric layer(s) to create alternating stitches with spaces in between. 
Picture
The final stitch looks the same on both sides, except the individual stitches and spaces are reversed from one side to the other.
​There are four main types of basting stitches, each being used in various scenarios during the garment construction process:
Picture
Even Hand Basting: In an even basting application, both the stitches and the spaces between them are applied at equal length. An even basting stitch provides a lot more control, and is used when securing very flimsy, slippery fabric layers together. It also works great with very curved seams that require additional control in the stitching process. 
​To learn more about even basting and how to sew it, check out this tutorial: Hand Basting: A Complete Guide
Picture
Uneven Hand basting: Uneven basting features longer stitches with shorter spaces in between. This basting style is the fastest and easiest to apply, and used with most construction tasks to keep seams and fabric layers together. ​​While much faster to apply, uneven basting provides less control. However, it is still a much more stable alternative to pinning.
Learn how to apply an uneven basting stitch here: Hand Basting: A Complete Guide 
Picture
Diagonal Hand Basting: Diagonal basting is applied through the fabric surface to keep fabric layers temporarily flat in a specific position. Diagonal basting features diagonal floats on one side and horizontal parallel stitches on the other. 
Picture
​For added control, the floating stitches are applied smaller and closer together. For less control and to cover a larger surface application, the floats are longer and placed further apart. 
​To learn how to apply diagonal basting, check out this tutorial: Hand Basting: A Complete Guide
Picture
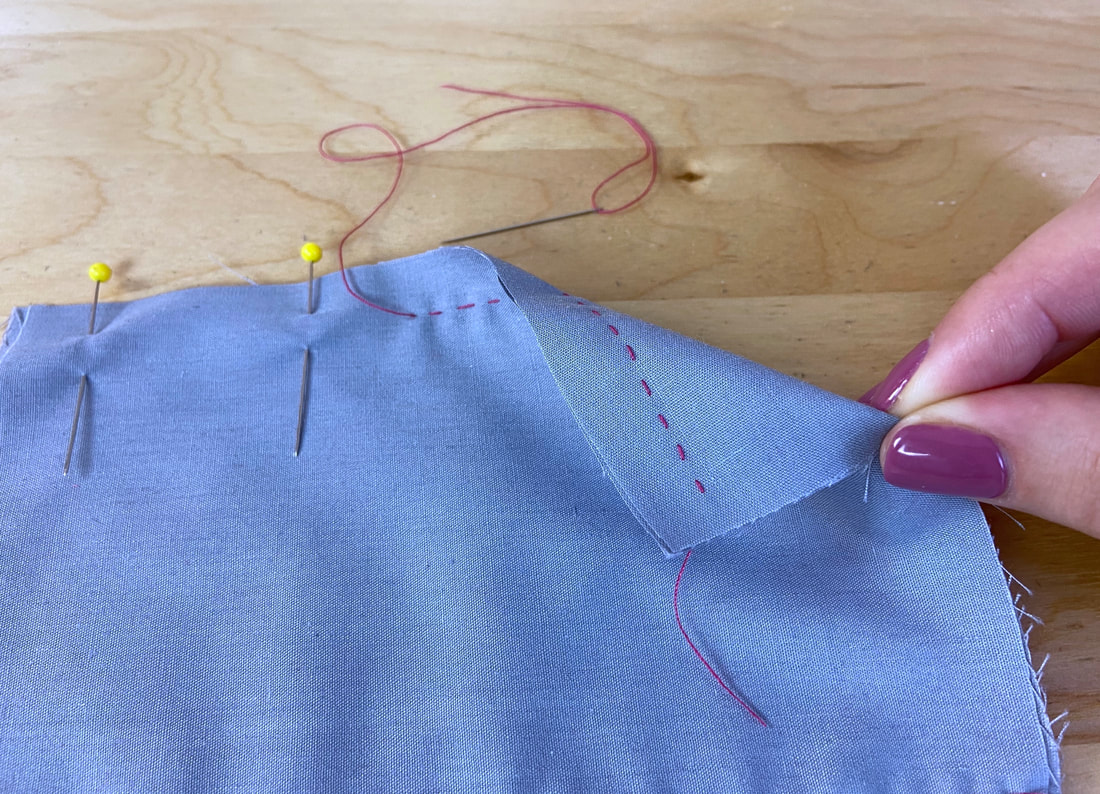
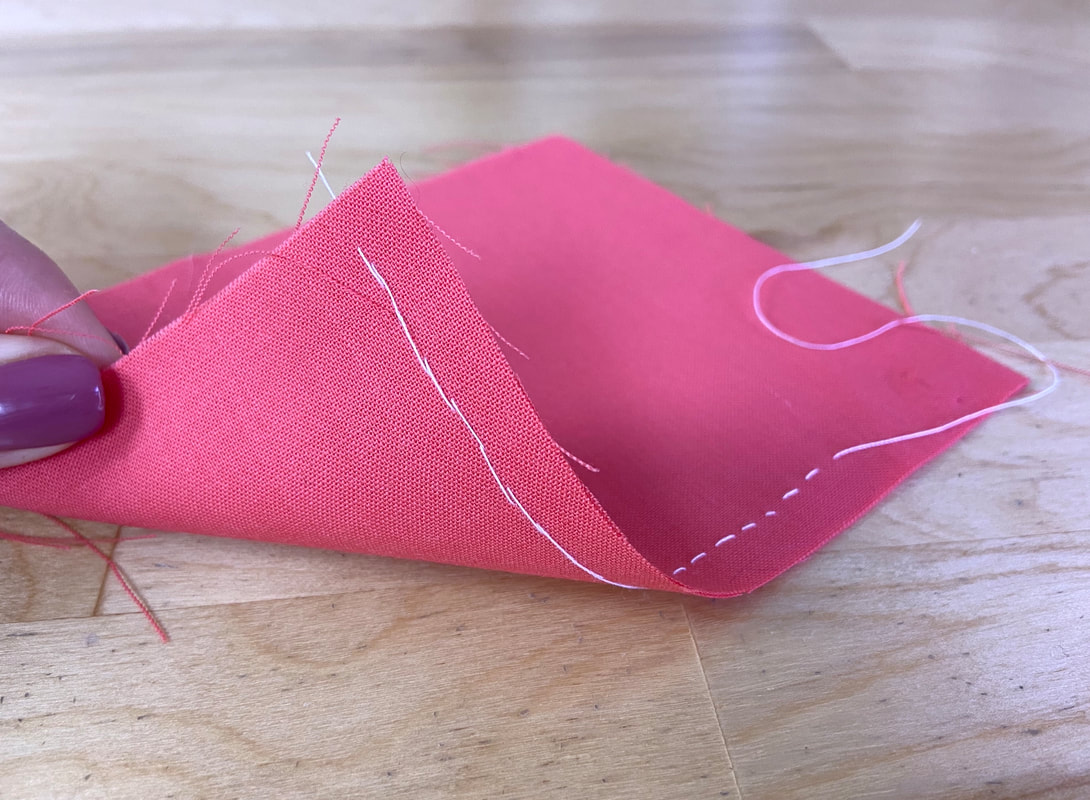
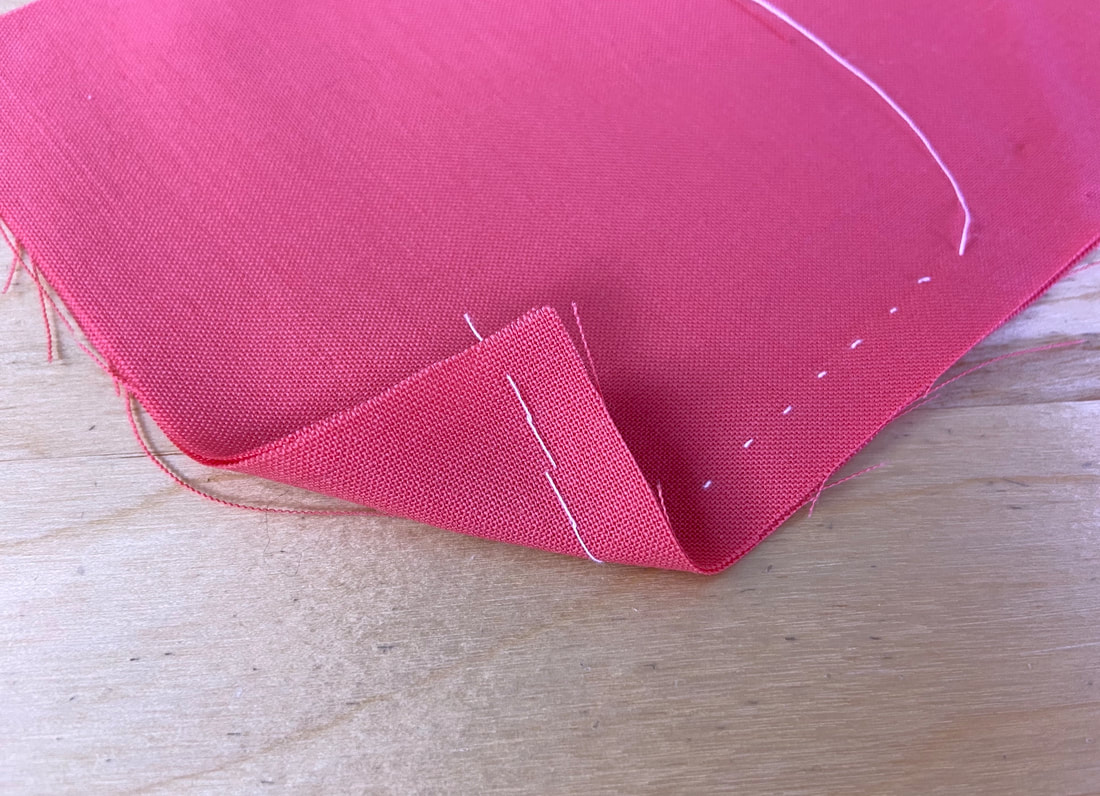
Slip basting: Slip basting is a temporary, almost invisible stitch used to keep abutted or overlapping edges and folds together. Slip basting is often used when matching fabric prints and during fittings to make seam adjustments from the right side of the garment. 
A narrow slip basting stitch can also be used to repair difficult-to-reach seams from the face of the garment. To learn how to apply slip basting, check out this detailed tutorial: Hand Basting: A Complete Guide

What Is A Running Stitch?

Picture
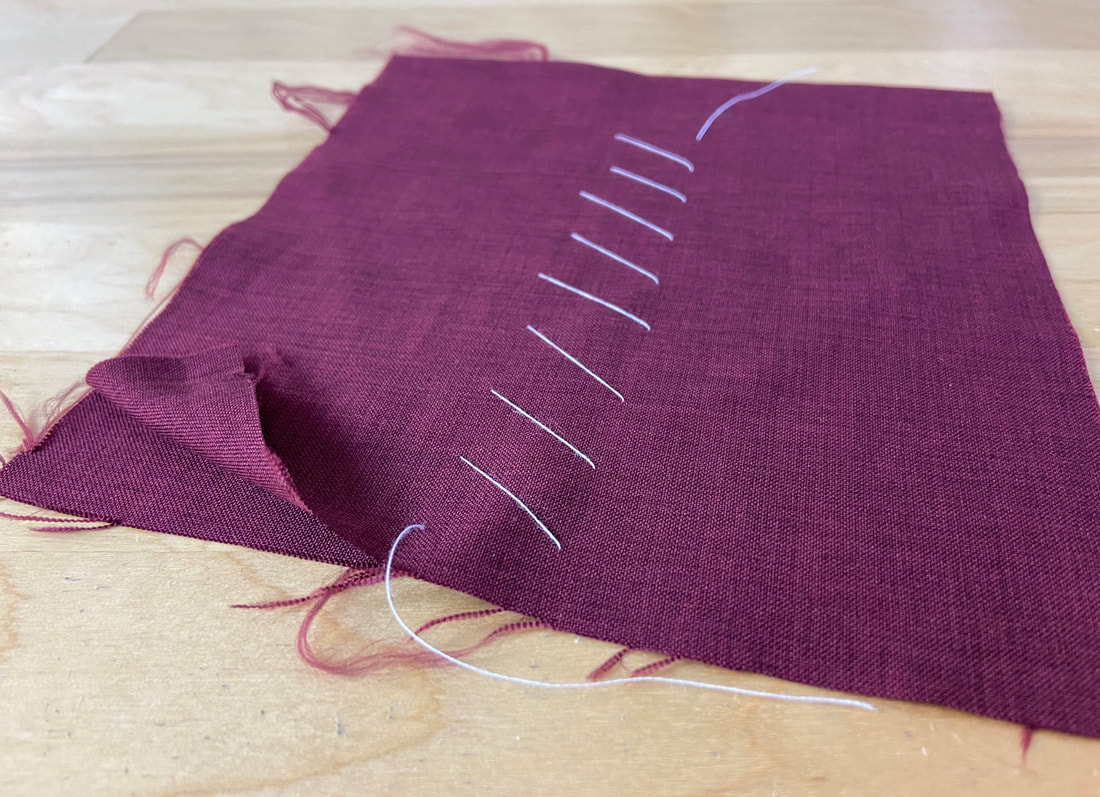
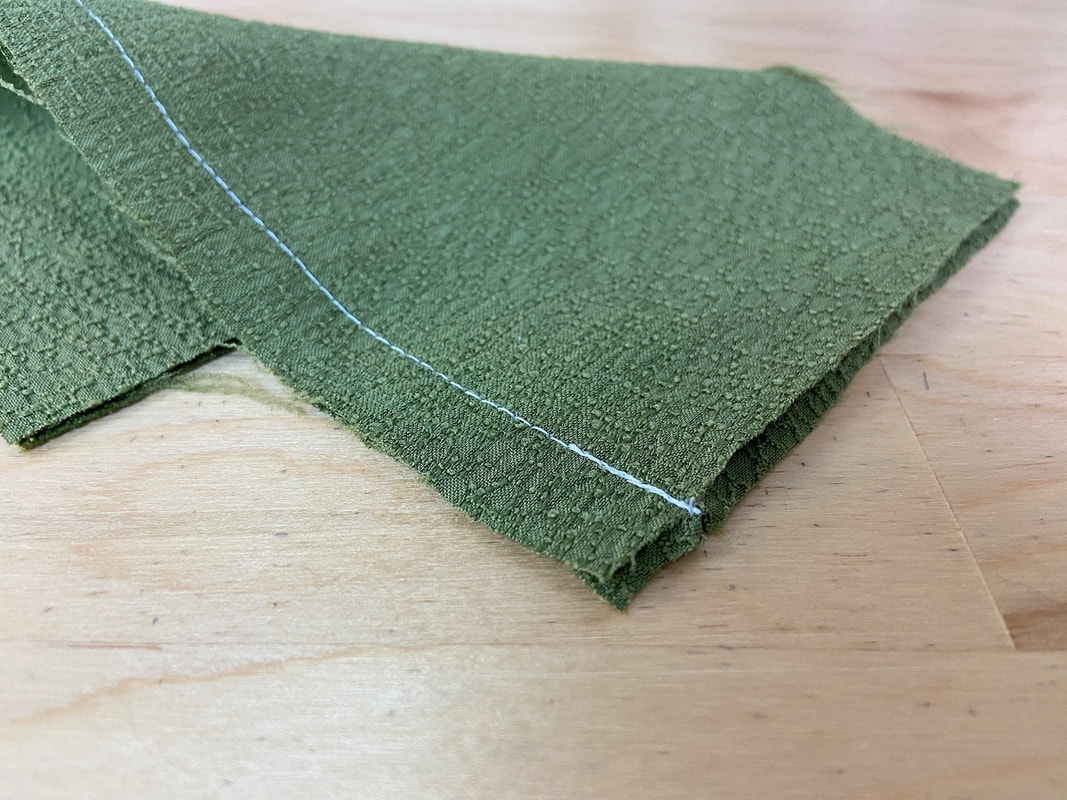
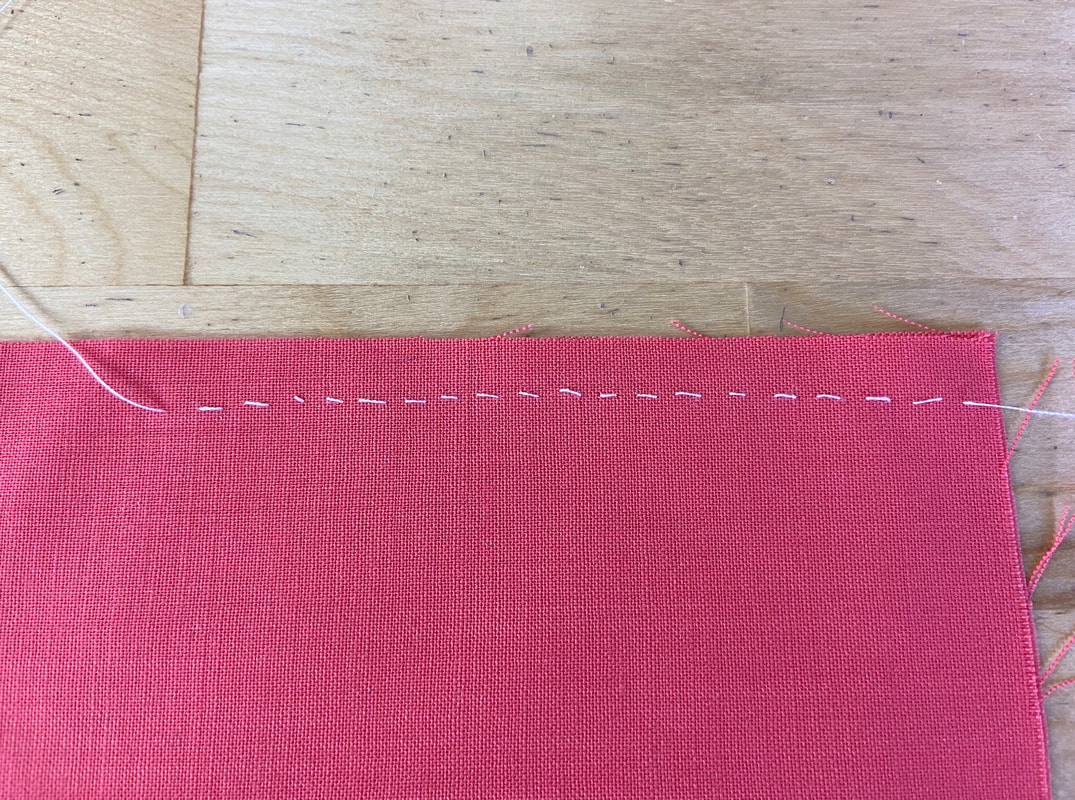
A running stitch is applied similar to basting but it is much denser, with the stitches being equal in length to each other and the spaces in between. As opposed to a basting stitch, a running stitch is used permanently (not removed after machine stitching). For that reason, the stitches are much shorter, providing a dense, more controlled application. 
A running stitch can be used as a hand applied alternative to a gathering stitch, or as decorative topstitching on the face of the garment. 
​How To Sew A Running Stitch
Picture
1. Moving from right to left, insert the needle through the layer(s) that require the running stitch. Leaving a gap of about 1/8”, insert the needle back through all layers and pull the thread through. 
Picture
2. Apply a stitch equal in length to that of the gap (1/8”) through the fabric layers, pulling the thread to the back. 
Picture
3. Repeat the steps above by applying alternating stitches that are equal in length to the spaces in between. 
Picture
Just like basting, the spaces and stitches are inverted from one side to the other. The final stitch should look identical on both sides. 
Picture
​As you become more comfortable, you will be able to catch a few stitches on the needle simultaneously, pulling the thread through to apply them all at once. Depending on the application needed, keep in mind that you can easily control the length of the stitch. 

What Is Backstitching And How Is It Used In Dressmaking?

Picture
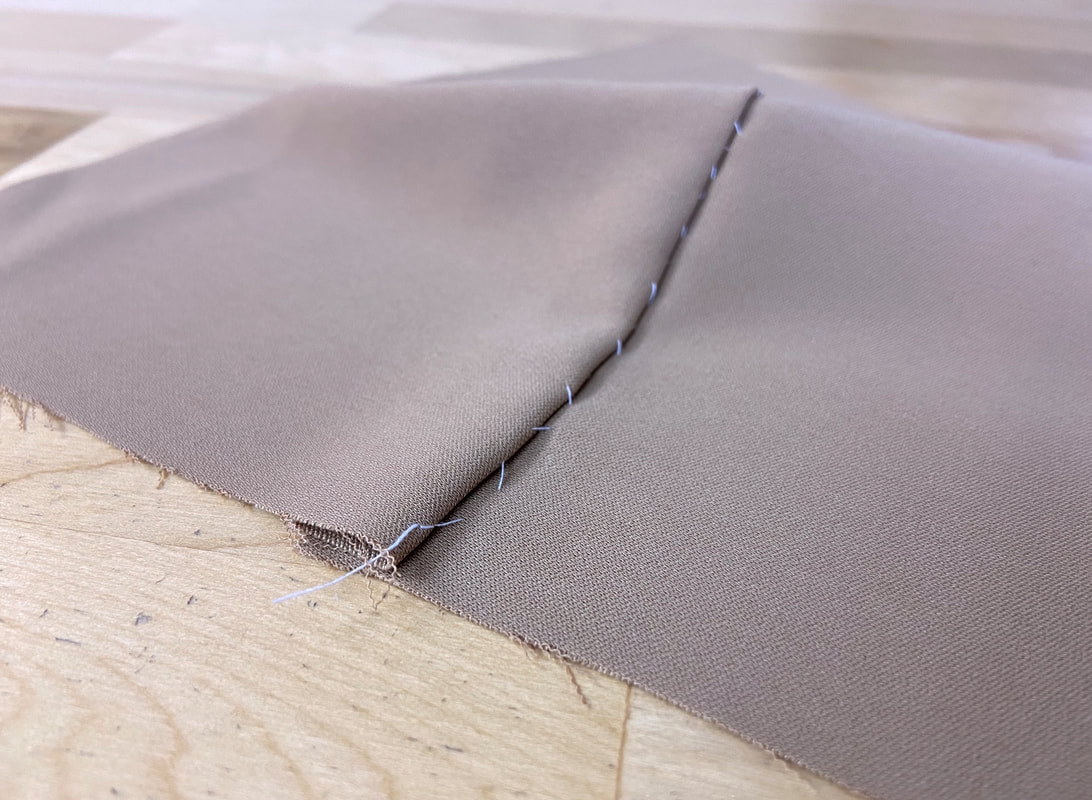
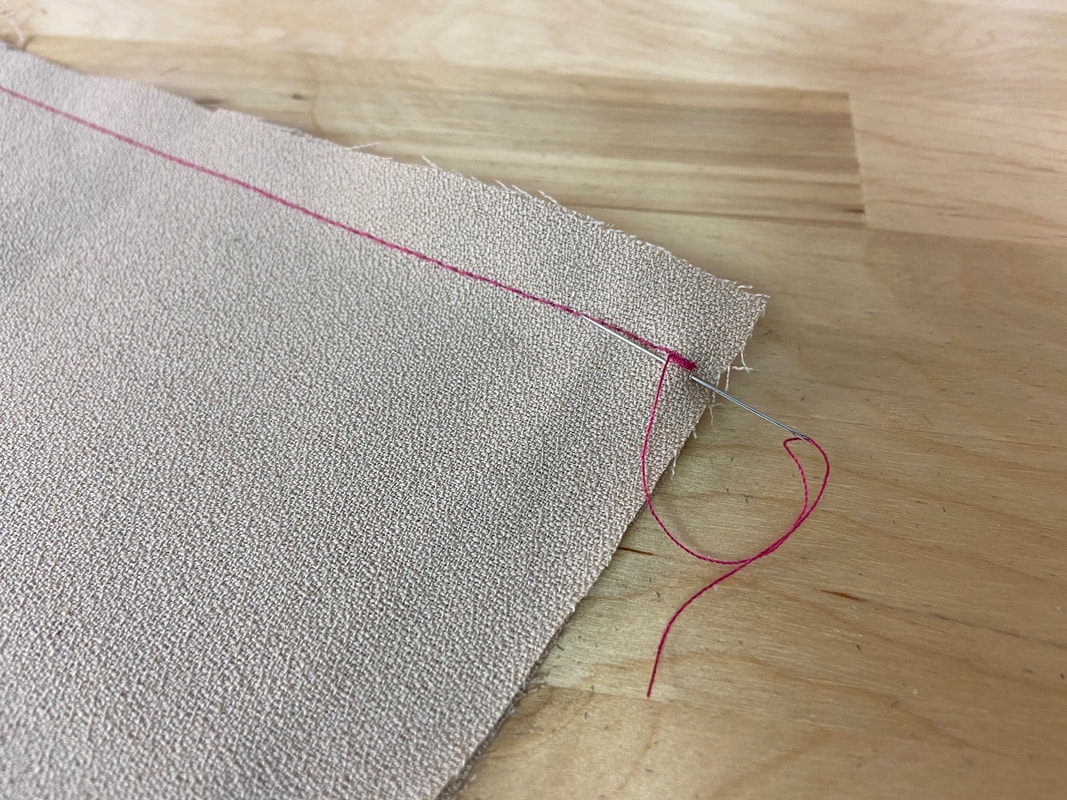
​You may be familiar with backstitching as an important element of stitching a seam by machine. This sort of backstitch is used at the beginning and/or end of a straight stitch to lock the threads and thus prevent the stitch from coming apart. This can be done both on the sewing machine as well as by hand. 
Picture
You may find yourself having to backstitch by hand if it has not been applied when machine stitching, and the stitch is unraveling or becomes loose. In this case, insert the loose thread through a hand sewing needle and stitch in place a few types to permanently lock the stitch. 
​The same technique is used when locking a hand-applied straight stitch. Stitch in place a few times at the beginning of the hand stitch application. When arriving at the end of the stitch, backstitch again to secure. To achieve a durable finish, use this backstitching method with all your permanent hand stitches, both at the beginning and end of the stitch.
Picture
If you need to add a temporary backstitch (when basting, for example), overlay a few larger stitches to lightly keep the stitching together at the ends. This type of backstitching can be easily removed with a seam ripper when no longer needed. 

Understanding An Even Backstitch

Picture
​An even backstitch is a straight stitch applied by hand. It is often considered to be the hand-applied version of a machine stitch. It is perhaps the most durable hand stitch, providing a great option for repairing seams and even permanently sewing them by hand. You may find yourself in this situation when sewing areas that are difficult to reach by machine but require the same durable finish as one achieved by machine stitching. 
Picture
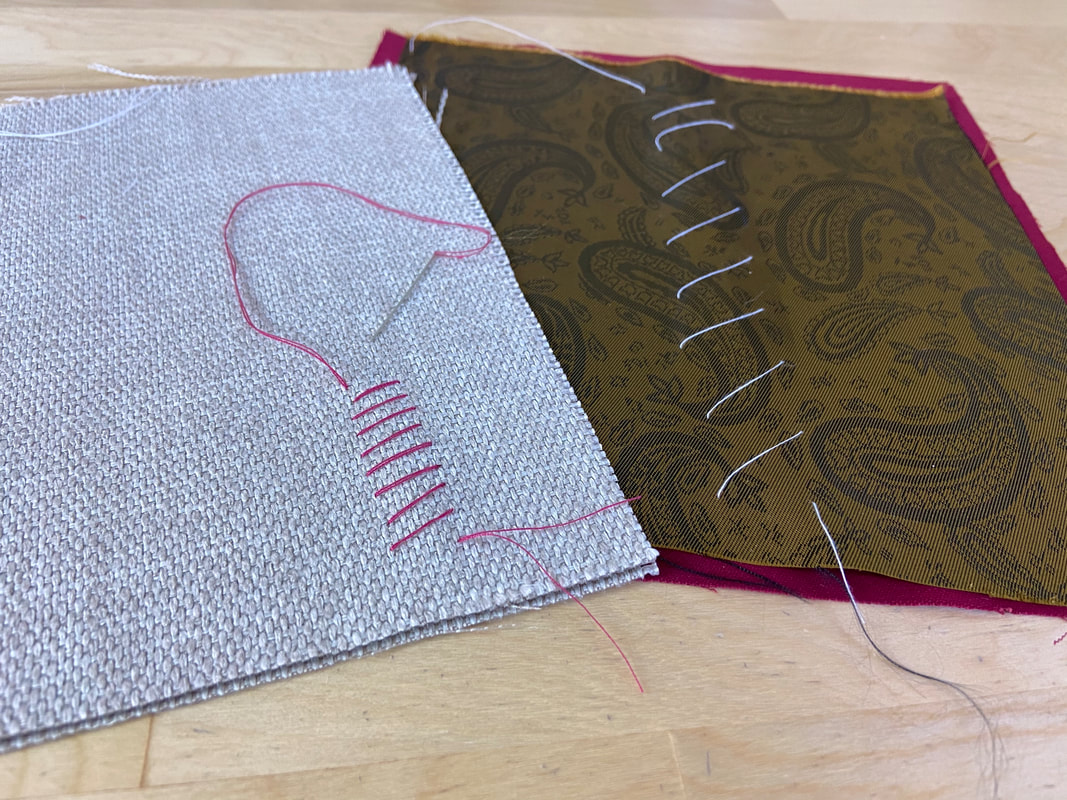
​As opposed to a straight machine stitch, an even backstitch looks different on both sides of the application. On the right side, it resembles a regular straight stitch. On the wrong side, the stitches are double layered. 
​In an even backstitch application, the stitches are all the same length. You can control the length based on how much strength is needed in the seam. The smaller the stitches, the more durability and control they provide. 
How To Sew An Even Backstitch
Picture
1. Start by inserting the needle through both fabric layers, and bringing it back out to the top at about 1/8” distance. 
Picture
Picture
2. Insert the needle back at the beginning insertion point to create the first stitch.
Picture
3. Bring the needle back out at an equal distance from the end of the first stitch- 1/8” in this case. 
Picture
Picture
4. Again, insert the needle back through the end of the last stitch and bring the needle back out to an equal distance (1/8”) away from the previous stitch as shown.
Picture
5. Continue stitching until the entire seam is complete. 
Picture
In the final application, the face side should resemble a machine straight stitch while the wrong side should have doubled overlapping stitches. 

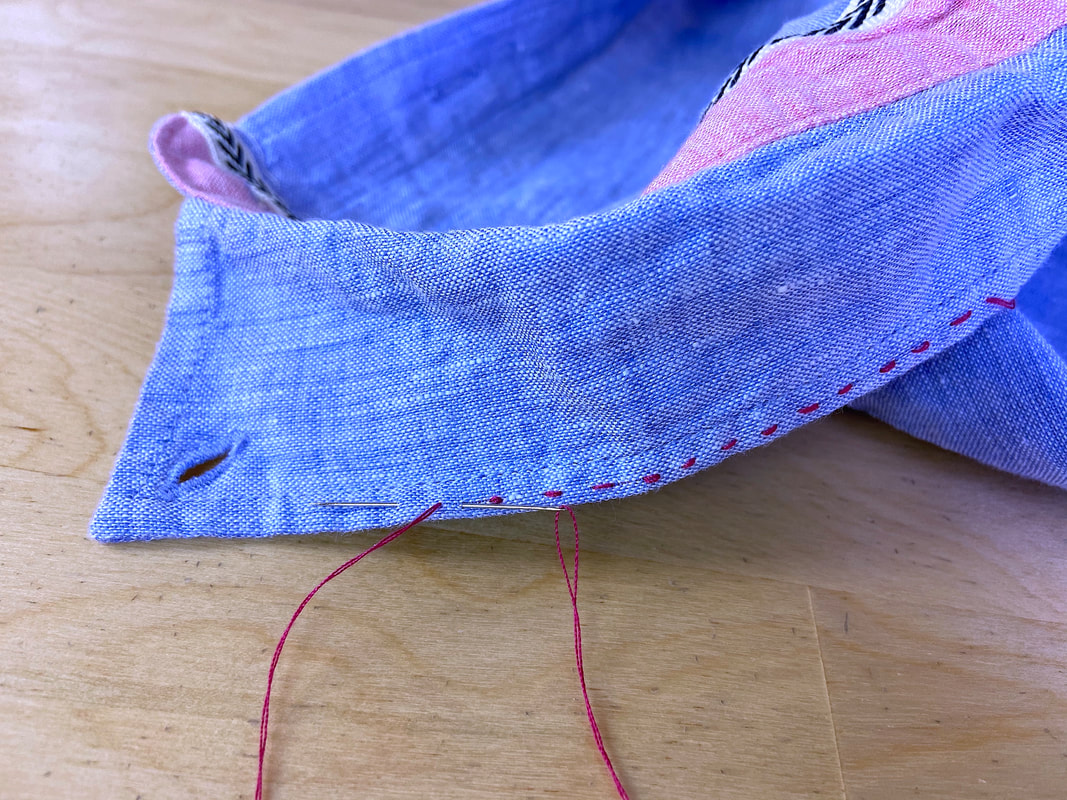
Understanding A Half Backstitch

Picture
A half backstitch follows a similar application process as the even backstitch (described above), but instead of starting an individual stitch at the same point the last one ended, the stitch starts at a half distance away, leaving a gap in between each stitch. ​This backstitching style looks similar to a running stitch on the application's right side- the stitches and the spaces in between are equal in length.
Picture
On the wrong side of the final application, the stitches are connected, overlapping each other about halfway at each transition. 
How To Sew A Half Backstitch
Picture
1. Insert the needle through the two fabric layers and bring it back out at a distance that equals the desired stitch and space measurement together. In this case, ¼”. 
Picture
2. Insert the needle back through the fabric layer at halfway through the space (1/8”).
Picture
3. Bring the needle back out at ¼” distance from the end of the last stitch.
Picture
4. Insert the needle back again through the middle of the space created (1/8” from the starting point) by the previous stitch. Repeat to complete the rest of the stitch application. 
Picture
​On the face side, you should have evenly-spaced stitches that are the same length as the spaces in between. On the application's wrong side, the stitches are connected, overlapping halfway through each preceding stitch. 

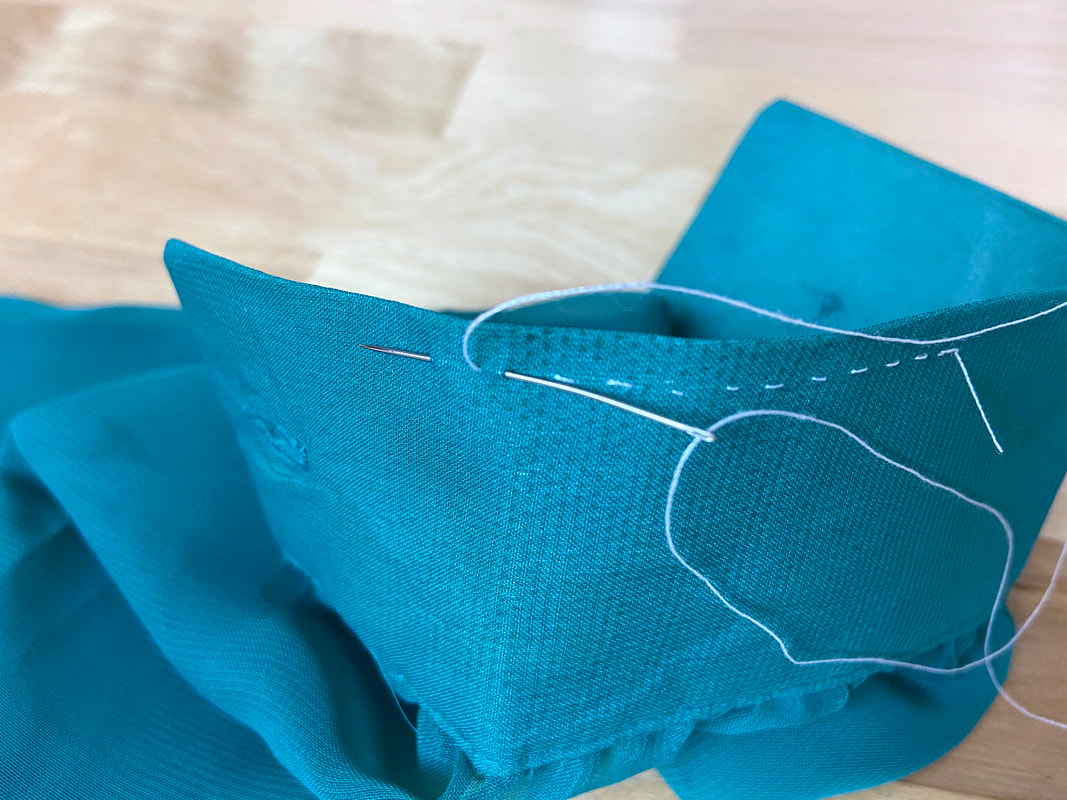
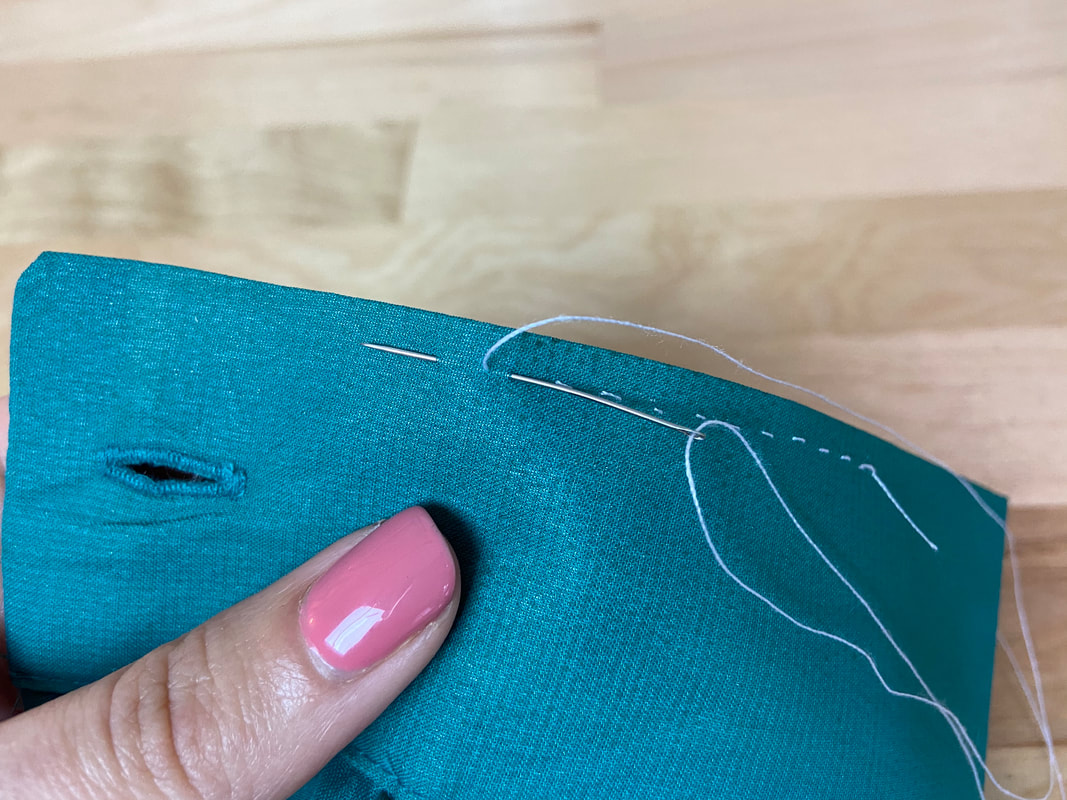
What Is A Prickstitch?

Picture
​A prickstitch is another type of backstitch, featuring very short stitches with wider spaces in between each stitch. Similar to half backstitching, a prickstitch is applied very much the same way, but instead of stitching back through half of the space, the needle is inserted through only a few threads. 
Picture
The end result is a semi-decorative stitch, that has small dashes on its face side and long, connected stitches on the wrong side. A prickstitch is commonly used with hand-applied zipper applications to create a half decorative-half functional topstitch. While this stitch provides a stable connection, it is not as durable as the even or half backstitches described above.
How To Sew A Prickstitch
Picture
1. Insert the needle in and back out though all fabric layers at about ¼” distance as shown. 
Picture
Picture
2. Stitch about 1/16” (3-4 threads) back into the space created by the first stitch, and pull the thread to the back. A small dash stitch will be created. 
Picture
3. From the wrong side, stitch through to the top layer again at ¼” distance from the end of the last stitch, creating another space equal to the initial one. 
Picture
4. Again, stitch back through about 3-4 fabric threads to create a small dash. 
Picture
5. Repeat this stitching process until the entire application is completed. 
Picture
If you look at the prickstitch's underside, there should be long stitches that overlap each other by the same distance as the dash stitches on the front: 3-4 threads. 

What Is A Pickstitch?

Picture
​The only difference between a pickstcith and all other backstitching techniques described above, is that this stitch is applied to only the top fabric surface of a backed or layered garment. For example, a pickstitch can be applied to a faced collar or neckline as a decorative element. In this case, the stitch is visible on the right side of the application but not on the collar’s underside. 
Picture
​That being said, a pickstitch is considered a mostly decorative stitch, although it is also used as a stabilizing stitch in tailoring. You can apply it in any desired size or style using the backstitching techniques described above (even backstitch, half backstitching or a prickstitch). The choice depends on the desired look of the final application. The difference is that the stitch is only applied to the top fabric layer and as noted above, not visible on the application’s wrong side.   
How To Sew A Pickstitch
Choose the desired backstitch application from the options noted above. In this example, a half backstitch is used.
Picture
Apply the stitch only through the top fabric layer, following the half backstitching steps described above. 
Picture
Keep in mind that a pickstitching application requires extra attention to prevent the additional fabric layers from getting caught underneath in the stitching process. 
DMCA.com Protection Status
All content, including images and text, may not be copied, replicated, or redistributed without express written permission. This website is regularly screened and monitored for content protection.

Have A Personalized Sewing Question?

Ask It Here

Services

​Custom Apparel
Custom Bridal
​Sewing Tutorials
​

Company

About
Blog

Support

Contact
Terms of Service
DMCA.com Protection Status
© COPYRIGHT 2022. ALL RIGHTS RESERVED.
  • Sewing Tutorials
    • Basics >
      • Aligning Pattern Grainlines To Fabric
      • Preparing Fabrics For Sewing
      • Pinning Sewing Patterns To Fabric
      • Placing Sewing Patterns On Fabric For Cutting
      • Rotary Cutters or Fabric Scissors?
      • Cutting The Sewing Patterns
      • What Are Notches And How To Use Them In The Sewing Process
      • Transferring Notches From Pattern To Fabric
      • Transferring Seamlines to Fabric
      • Staystitching
      • Backstitching: A Complete Guide
      • Hand Basting: A Complete Guide
      • Sewing Continuous Bias Binding
    • Darts >
      • Marking And Transferring Darts To Fabric
      • What Are Darts And Dart Components
      • Folding, Pinning And Hand Basting Darts
      • Handling Dart Excess: Bulk And Tension
      • How To Sew A French Dart
      • How To Sew And Iron Single Pointed Darts
      • How To Sew And Iron Contour Darts
      • Sewing Darts With Decorative/Beaded Fabrics
    • Sewing Seams >
      • ​The Basics Of Seams And Seam Allowance
      • How To Sew A Straight Seam
      • Sewing Curved Seams
      • Sewing Corner Seams
      • Trimming And Grading Seam Excess
      • Notching/Clipping Seam Allowance for Tension Release
      • Sewing Topstitched Seams
      • Sewing Corded Seams
      • Sewing A Slot Seam
      • Sewing A Gathered Seam
      • Sewing Bias Seams
      • Sewing Seams With Ease
      • Sewing Seams With Crossing Seamlines
      • Sewing Unlike Fabric Seams
      • How To Iron Seams: Ironing Tools And Conventions
      • Sewing With Knit Fabrics
      • Understanding Stitch Length And Tension
      • Sewing Unique Fabric Seams
    • Seam Finishes >
      • Seam Finishing Techniques - Overview
      • Applying A Pinked Seam Finish
      • Applying A Bias Bound Seam Finish
      • Serging And Zigzag Seam Finishes
      • Sewing A Self-Bound Seam Finish
      • Sewing A French Seam Finish
      • Sewing A Hong Kong Seam Finish
      • Sewing A Mock French Seam Finish
      • Sewing A Turned-and-Stitched Seam Finish
      • Sewing Overcast Hand-Applied Seam Finishes
      • Sewing A Flat Felled Seam
      • Sewing A Hairline Seam Finish
    • Hem Finishes >
      • Garment Hem Finishes: Overview
      • ​Sewing A Double Fold Hem Finish
      • Sewing A Single Fold Hem Finish
      • Sewing Bound Hem Finishes
      • Sewing An Exposed Double Layer Bound Hem
      • Sewing A Folded-Up Bound Hem with Pre-folded Binding
      • Sewing A Hong Kong Hem Finish
      • Sewing A Band Hem Finish
      • Sewing A Bias Faced Hem Finish
      • Sewing A Twill Tape Hem Finish
      • Sewing A Rolled Hem Finish
      • Sewing A Shaped Hem Facing
      • Using Fusible Hem Tape And Webbing
      • Finishing A Lace Fabric Hem
      • Finishing A Leather Hem
      • Sewing Faced Hem Corners
      • How To Finish Lining At The Hem
      • Finishing Fabric Corners by Mitering >
        • Mitering Fabric Corners With A Full Bias Facing
        • Mitering Fabric Corners With Exposed Binding
      • Interfacing A Hemline: Lined And Unlined Examples
    • Sewing Pockets >
      • Curved Patch Pocket With Flap
      • Unlined Square Patch Pockets
      • Lined Patch Pockets: Two Ways
      • Extension On-Seam Pockets
      • Separate On-Seam Pocket
      • Front Hip Pockets
      • Bound Double Welt Pocket
      • Double Welt Pocket With Flap
      • Self-Welt Pocket (Using Single Fabric Layer)
      • Slanted Welt Pocket (Hand-Stitched)
      • Faced Slash Pockets: Overview >
        • Sewing A Faced Slit Pocket
        • Sewing A Rectangular Slash Pocket
        • Sew A Star-Shaped Faced Pocket
    • Sewing Zippers >
      • Sewing Zippers: General Information
      • Sewing A Centered Zipper
      • Sewing A Lapped Zipper
      • Sewing An Invisible Zipper
      • Sewing A Fly Front Zipper
      • Sewing A Closed-End Exposed Zipper (No Seam)
      • Sewing An Exposed Separating Zipper
      • Sewing Hand Stitched Zipper Applications
      • Sewing A Zipper Underlay
      • Sewing A Placket-Enclosed Separating Zipper
    • Sleeveless Finishes >
      • Sleeveless Armhole Finishes: General Information
      • Finishing Sleeveless Garments with Lining
      • Sewing A Folded-Under Bound Armhole Finish
      • Sewing A Shaped Armhole Facing
      • Finishing Armhole Edges With Exposed Binding
      • Finishing Armhole Edges With Decorative Trim
    • Neckline Finishes >
      • Sewing A Neck Shaped Facing
      • Sewing An All-In-One Neck Facing
      • Neck And Garment Opening Combination Facings >
        • Sewing An Extended Front-Neck Facing
        • Sewing A Separate Neck-Front Facing
      • Sewing A Bias Faced Neckline Finish
      • Sewing A Band Neckline Finish
      • Bound Neckline Finishes: Overview >
        • Sewing A Single Layer Bound Neckline
        • Finishing A Neckline With Pre-Folded Binding
        • Sewing A Double Layer Bound Neckline Finish
      • Sewing A Semi-Stretch Strip Band Neckline
      • Ribbed Neck Band And Classic Turtleneck
      • Decorative Neckline Finishes >
        • Sewing A Neckline With Decorative Inset
        • Sewing A Piped Cording Faced Neckline
        • Sewing Decorative Trim To A Finished Neckline
    • Finishing Facing Edges >
      • Finishing Facing Edges: Overview
      • Folded-And-Topstitched Overedge Facing Finish
      • Sewing A Bound Facing Edge Finish
      • Sewing A Hong Kong Facing Finish
      • Sewing A Rolled Edge Facing Finish
      • Sewing A Twill Tape Facing Edge Finish
      • Sewing An Overedge-Stitch Facing Finish
    • Extras >
      • A Complete Guide on Interfacing
      • Sewing Bound Spaghetti Straps
      • Sewing Spaghetti Straps To A Faced Neckline
      • Sewing Ruffles: Overview
      • Patterning And Sewing A Circle Ruffle
      • Sewing A Gathered Heading Ruffle
      • Sewing Double Layer Gathered Ruffles
      • Sewing A Gathered Ruffle Into A Seam
      • Sewing A Gathered Ruffle To A Fabric Edge
      • Sewing A Fabric Surface Slit
      • Sewing A Slit Seam
      • Hand-Applied Straight Stitches
      • Hand-Applied Blind Stitches
      • Hand-Applied Overedge Stitches
      • Hand-Applied Tack Stitches
      • Hand-Applied Decorative Stitches
  • Custom Apparel
    • Custom Bridal
  • Submit A Sewing Question
  • About
  • Blog