What Is A Fabric Surface Slit?
Conventionally, slits extend from closed seams and thus you will rarely come across a sewing project that requires you to cut a slit directly into fabric. While this may sound like a simple way to sew a slit, the technicalities of clean-finishing the slit opening, especially its top corner, is anything but simple.
So what’s the big deal? A seam provides durability and stability, which is what a slit needs to function properly. When the slit’s opening does not have a seam structure to rely on, its top corner created by cutting directly into the fabric surface, does not provide enough durability to sustain the slit’s function. In addition, this corner, which marks the transition from slit to closed garment, is more challenging to clean-finish. While this is certainly difficult for sewing beginners, it is not impossible!
For the most part, a garment is designed such that its slits always correspond to a seam. However, some slits can function properly (and look great!) being cut directly into fabric. These slits are normally located at areas on the garment that do not incur a lot of strain when the body is in movement.
For example, a slit that is added to the front of a skirt/dress receives a lot more strain than a decorative one located at the bottom of a sleeve. The front slit edges will pull apart when sitting and walking which naturally adds a lot of tension to the slit’s top corner. On the contrary, a slit that is located at the bottom of a long sleeve does not pull apart as much during arm movement and thus, receives less tension during wear.
Another aspect to consider is the length of the slit. The shorter the slit, the less weight and tension it will add to its top opening corner. A longer slit opening means more fabric and thus, more added weight. All of this weight would have to balance off the slit’s top opening corner. If this corner does not have some form of added strength and reinforcement, it will have a difficult time withstanding the heavy movement and weight of the longer slit edges.
For that reason, fabric surface slits are often shorter in length and added to areas on the garment that require less movement. Therefore, they are considered more decorative than functional in nature. The secret to making a surface slit as functional as an in-seam slit is in the way its edges and opening corner are clean finished.
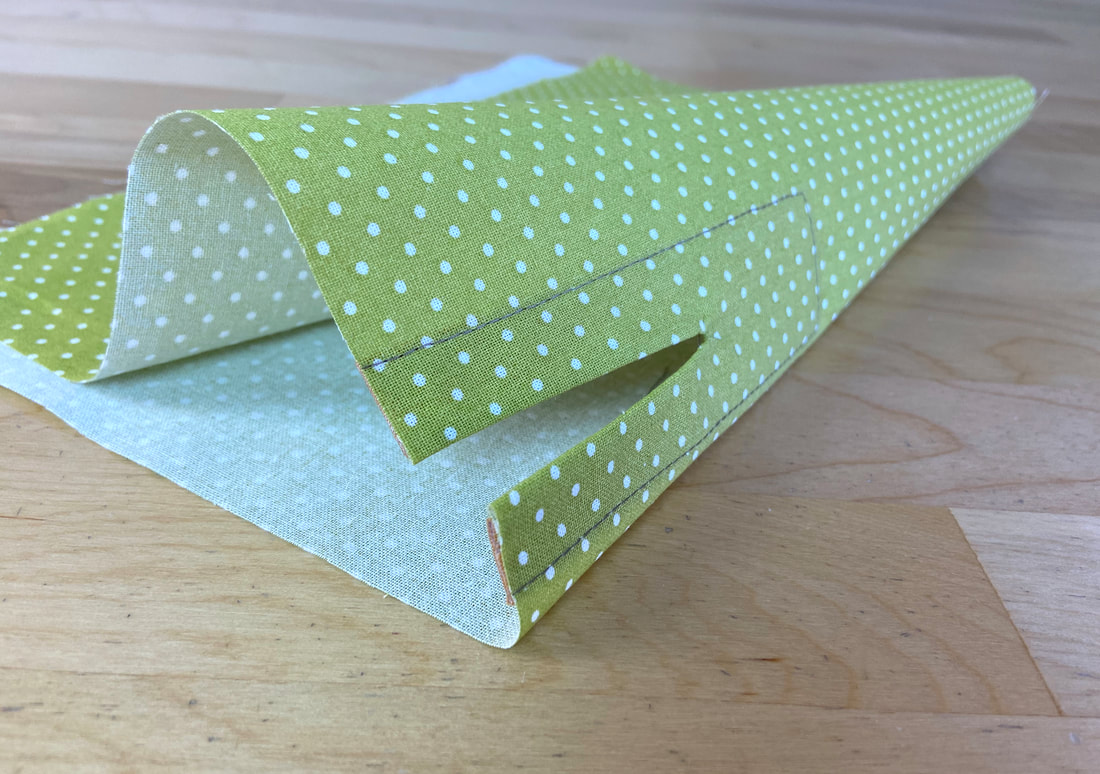
While a fully lining slit opening can provide a great alternative, it does not offer enough stability and reinforcement. The lining method is mostly used on very short slits (no longer than 2”) that are located along sleeve cuffs, collars, and hemlines.
An example of a lined sleeve slit is shown in this tutorial: How To Sew A Faced Slit To The Bottom Of A Sleeve
One of the most effective ways to finish surface slits is by using something called a stay.
A stay is strip of fabric that is applied to the back of the cut slit opening to reinforce both the slit edges and its top corner. It is also a great option for unlined garments.
In the steps to follow, you will learn how to sew a slit reinforced by a topstitched stay. Use this technique anytime you need to add a slit at a location that is missing a seam. Keep in mind that the machine-applied topstitching in this example should be compatible with your particular fabric and design at hand.
Cutting And Preparing The Slit Stay
Think of the stay as a sort of slit facing. It should be long enough to cover the length of the entire slit, and allow for a couple of inches at the top to account for a durable slit corner reinforcement.
In this tutorial, the finished slit opening is 5” long. Thus, the stay will be cut at 7” long plus seam allowance. In terms of width, 2” inches plus seam allowance should get the job done.
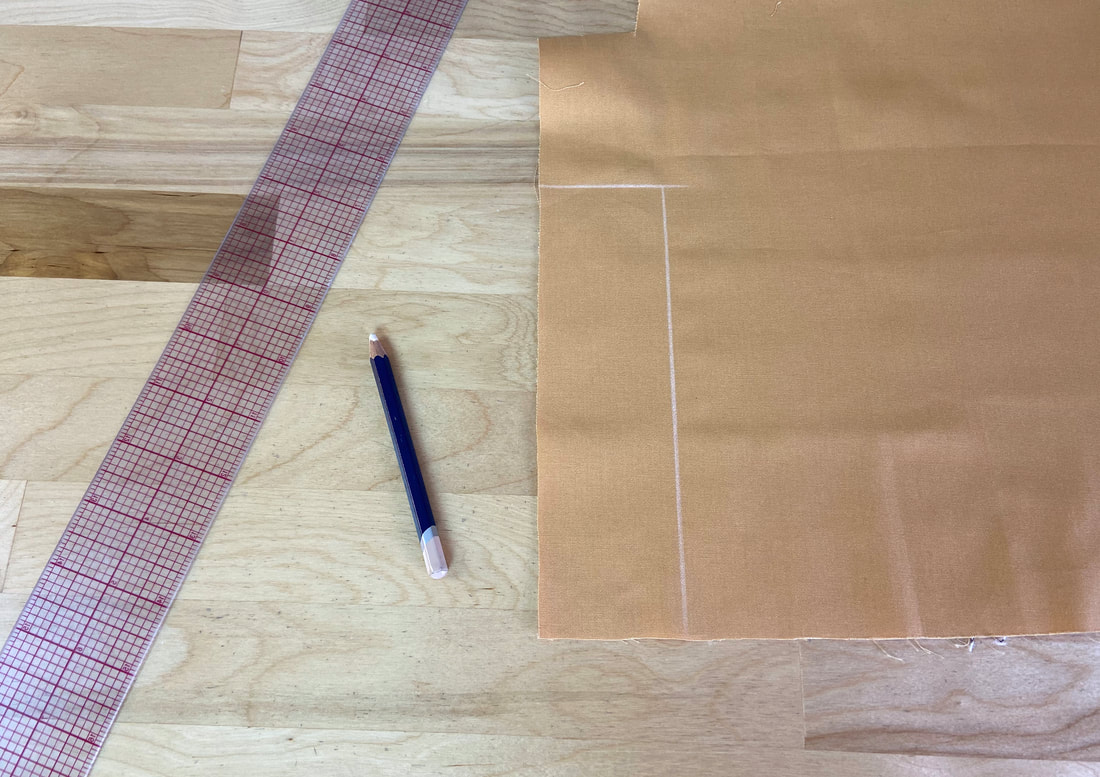
1. Using a ruler and fabric pencil (or tailor’s chalk), draw the fabric strip on the wrong side of the stay fabric. The fabric strip in this case is 7.5” inches long (the extra half inch accounts for seam allowance) and 2.5” wide. The 2.5”-width includes an extra ½” to account for two ¼” seam allowances along each lengthwise edge. In the sewing process, this seam allowance will be turned under and topstitched.
A note on fabric choice: The fabric you use for the stay can be the same as the garment or a sturdier, more-densely woven one. If using a different fabric, choose one that is compatible in weight such that it doesn’t add extra bulk. Remember, the goal is to reinforce the cut opening without weighing it down.
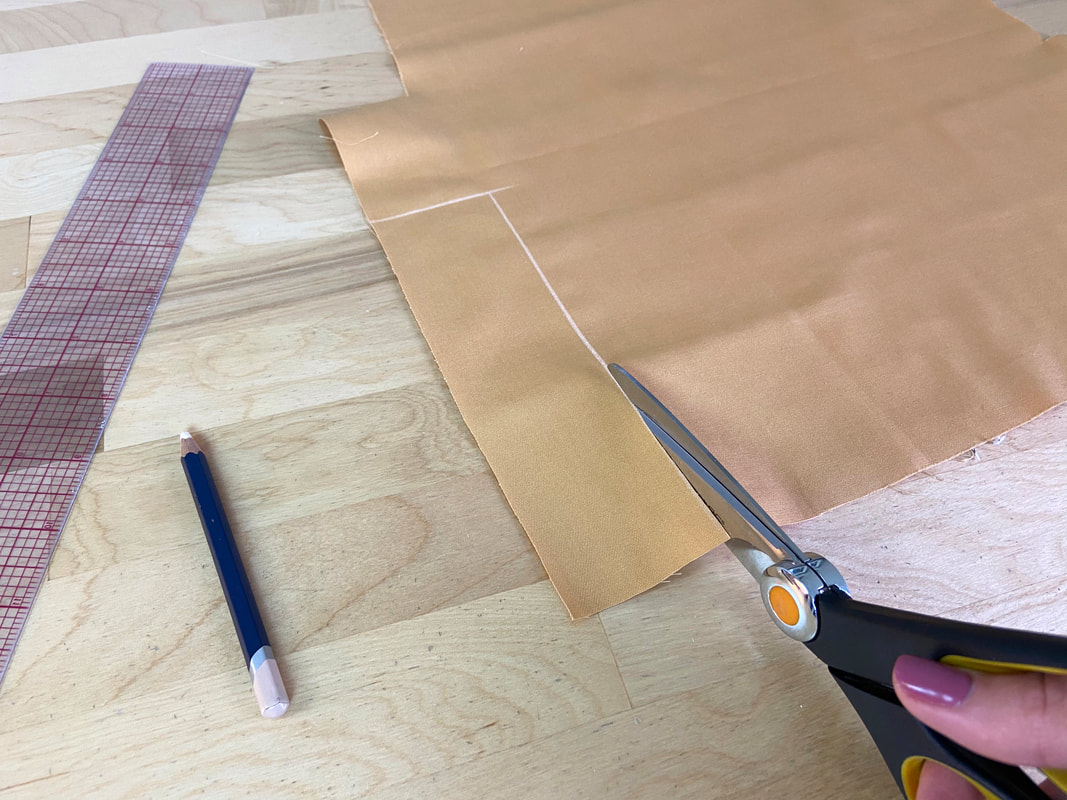
2. Cut the fabric strip following the marks applied in Step 1 above.
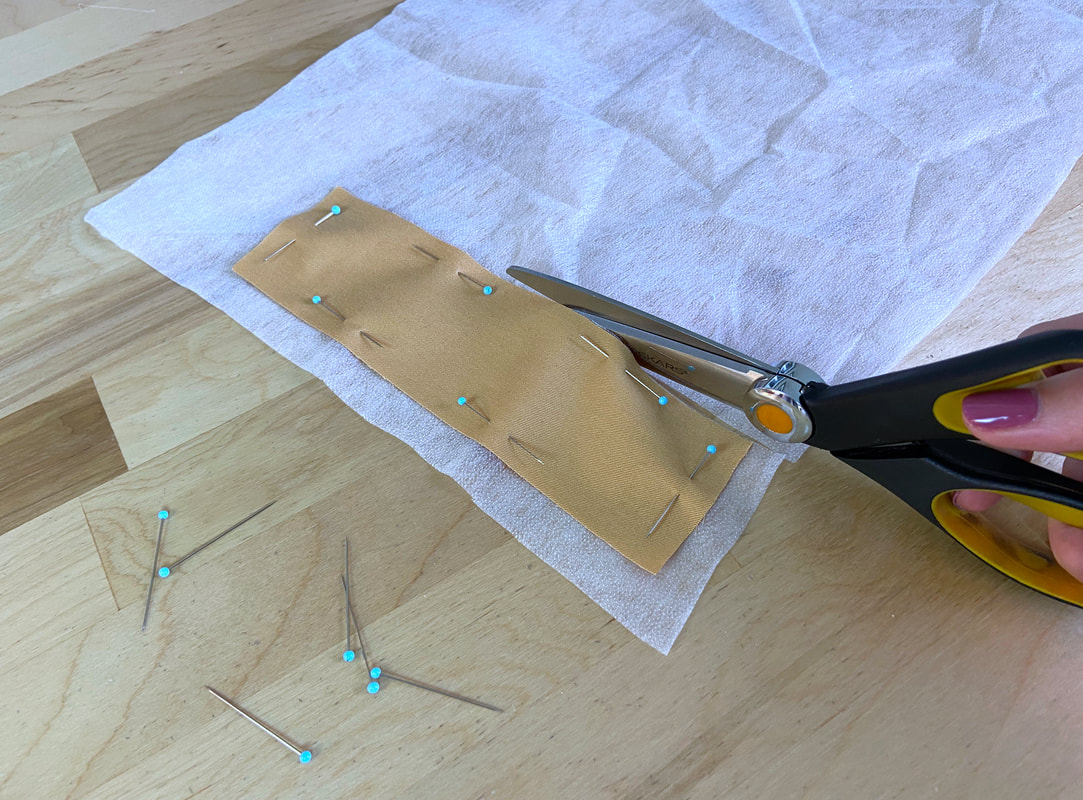
3. To add extra reinforcement, use the fabric strip to cut an identical layer of fusible interfacing to underlay its wrong side. Make sure the interfacing is compatible with the stay fabric.
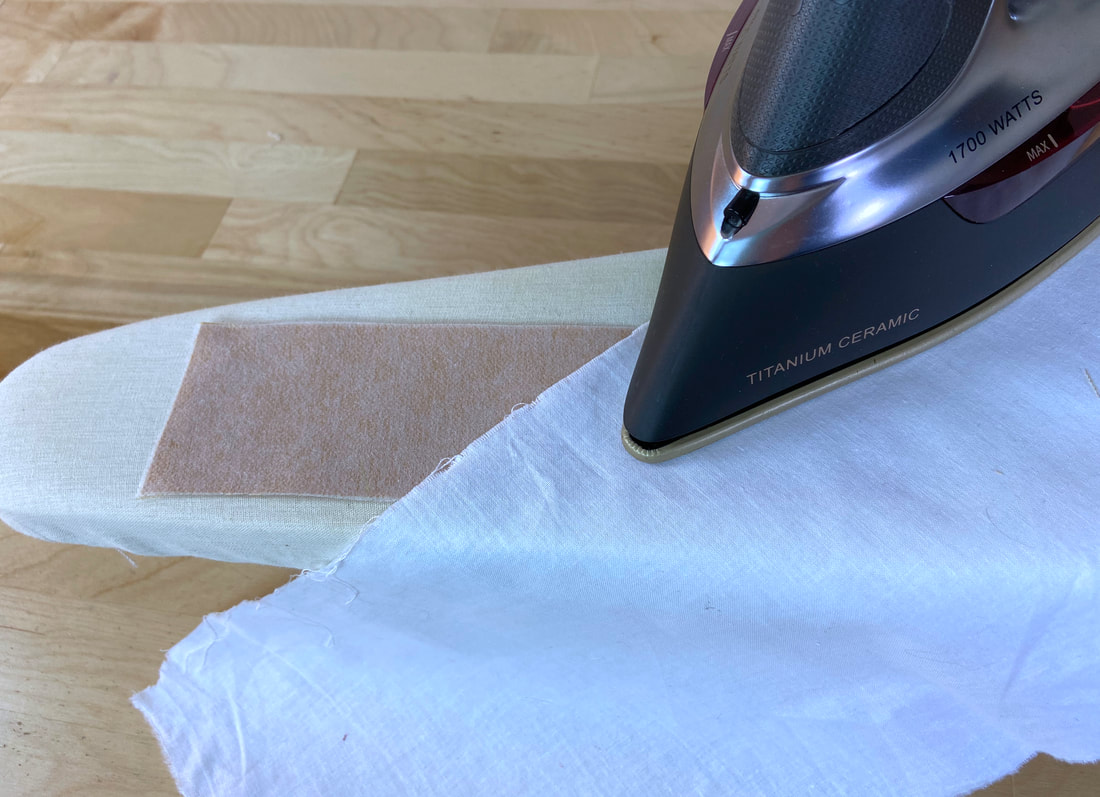
4. Fuse the interfacing strip to the wrong side of the stay as shown.
Sewing The Fabric Surface Slit
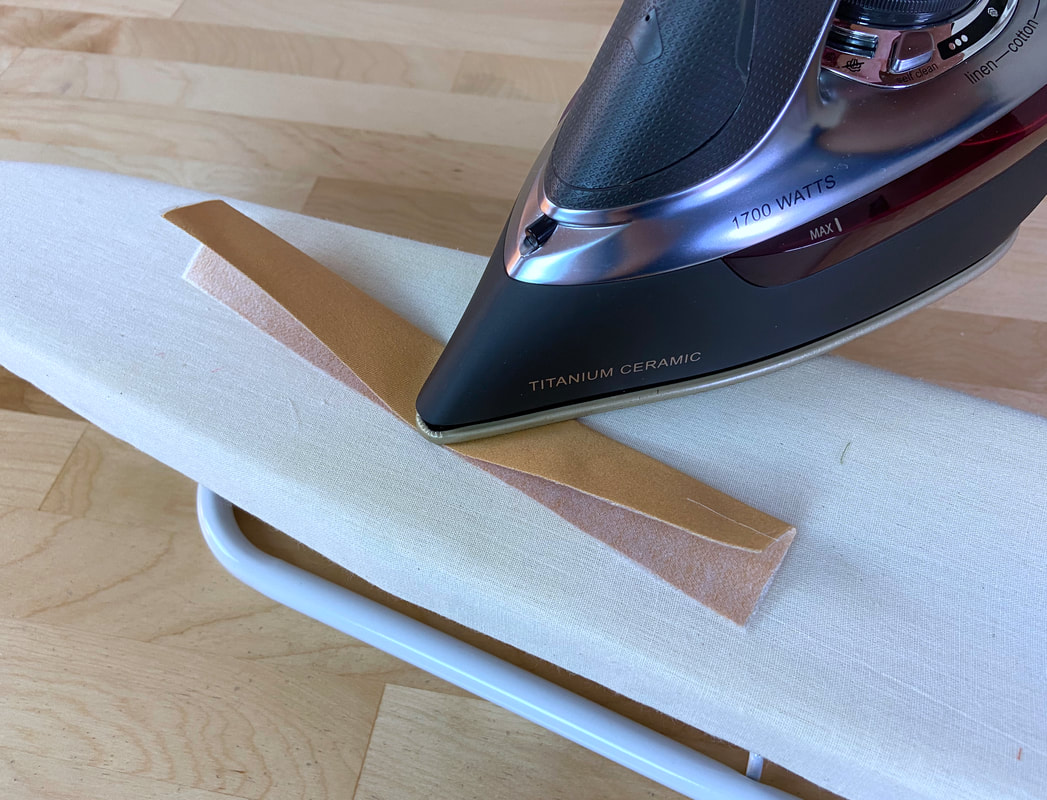
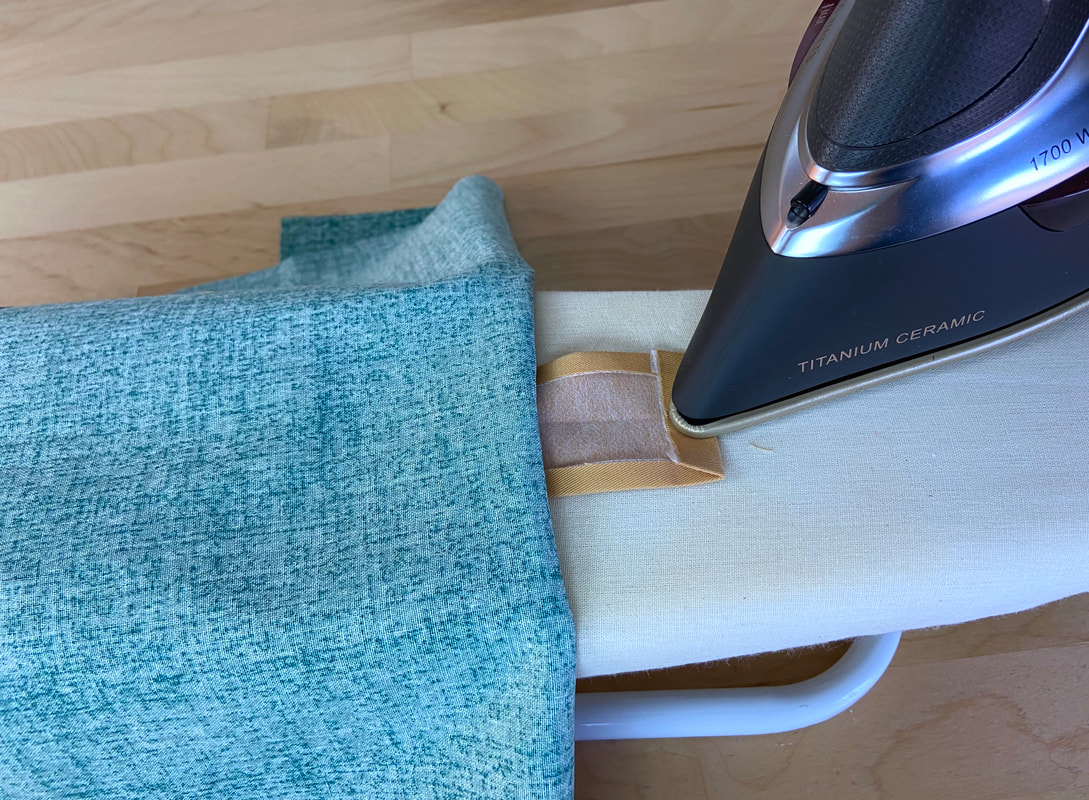
1. To mark the stay's center line, fold it lengthwise and iron the crease.
The stay strip is always stitched to the garment at the exact location of the desired slit before the actual slit is cut into the fabric.
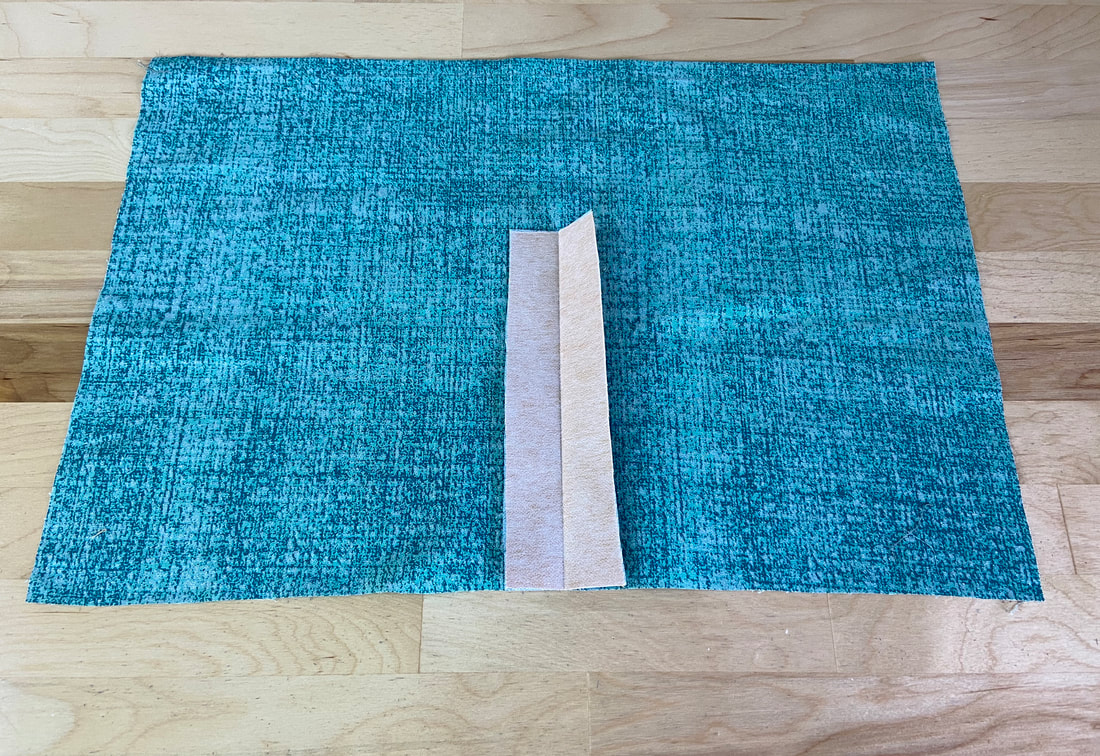
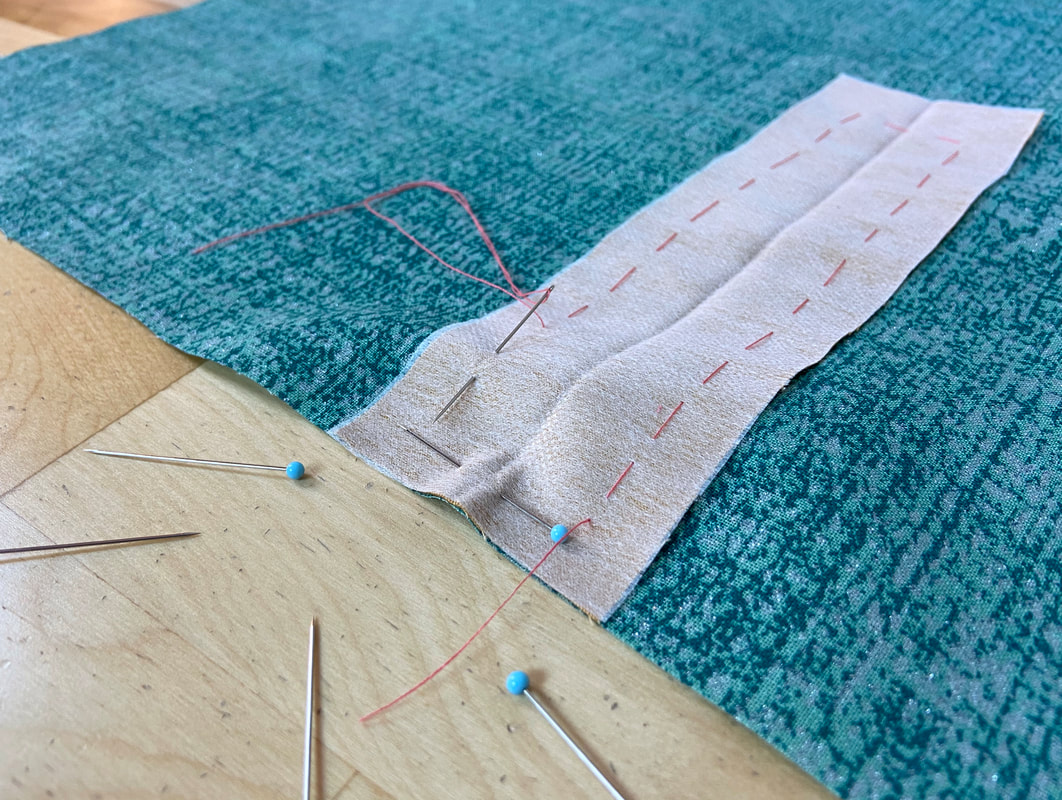
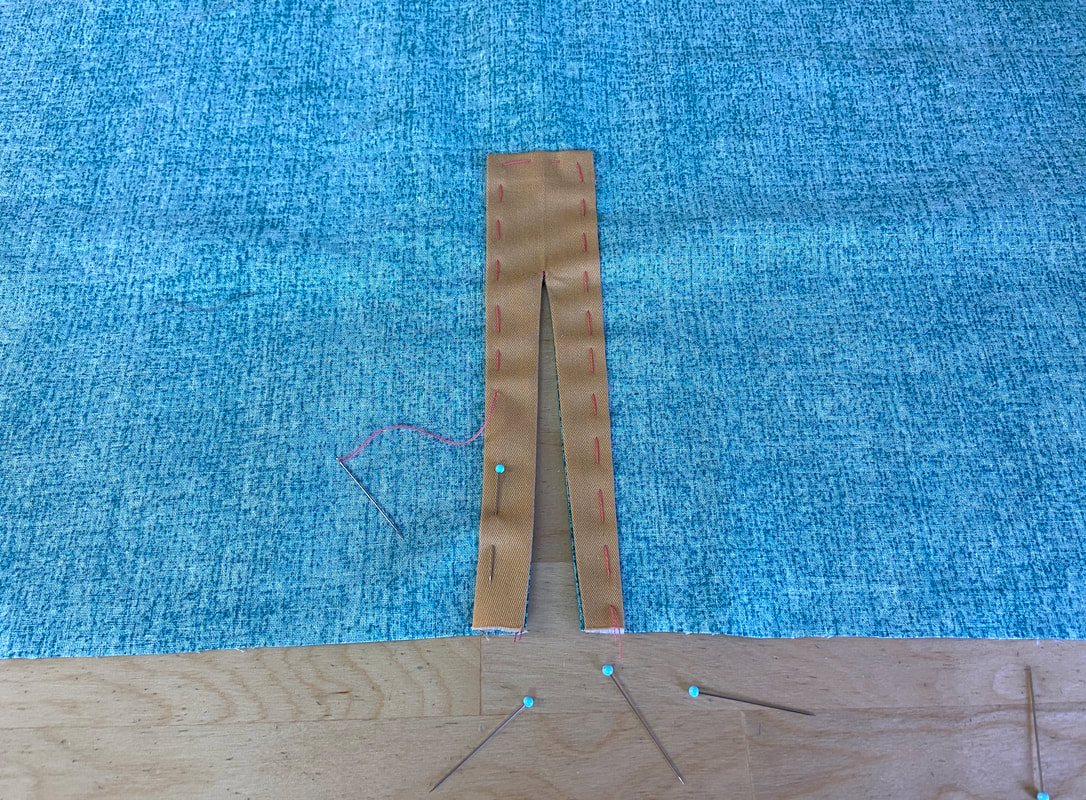
2. Start by centering the fabric stay at the final slit's desired location. The folded middle of the stay strip should correspond with the slit cut. In addition, the stay and garment face sides should be touching and the stay’s bottom edge should align with the bottom edge of the garment as shown.
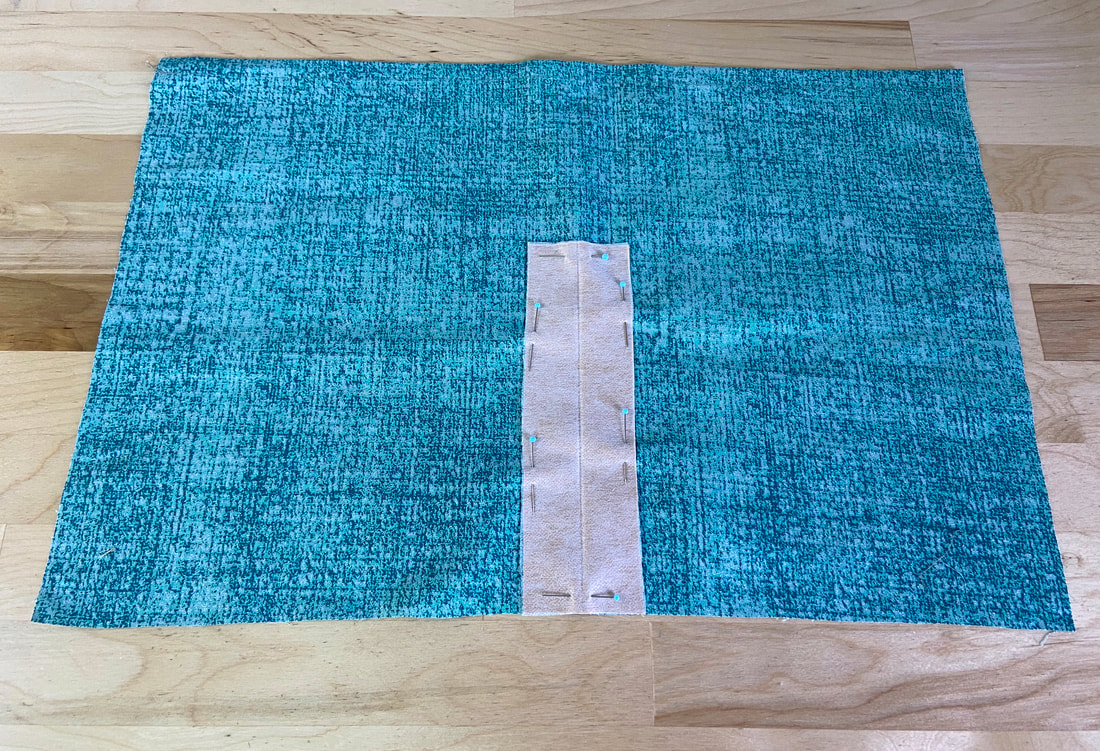
3. Insert a few pins to keep the stay in this position.
4. To keep everything perfectly aligned, hand baste the stay to the garment layer underneath. Apply this hand basting stitch at about ½” from the stay’s edges as shown.
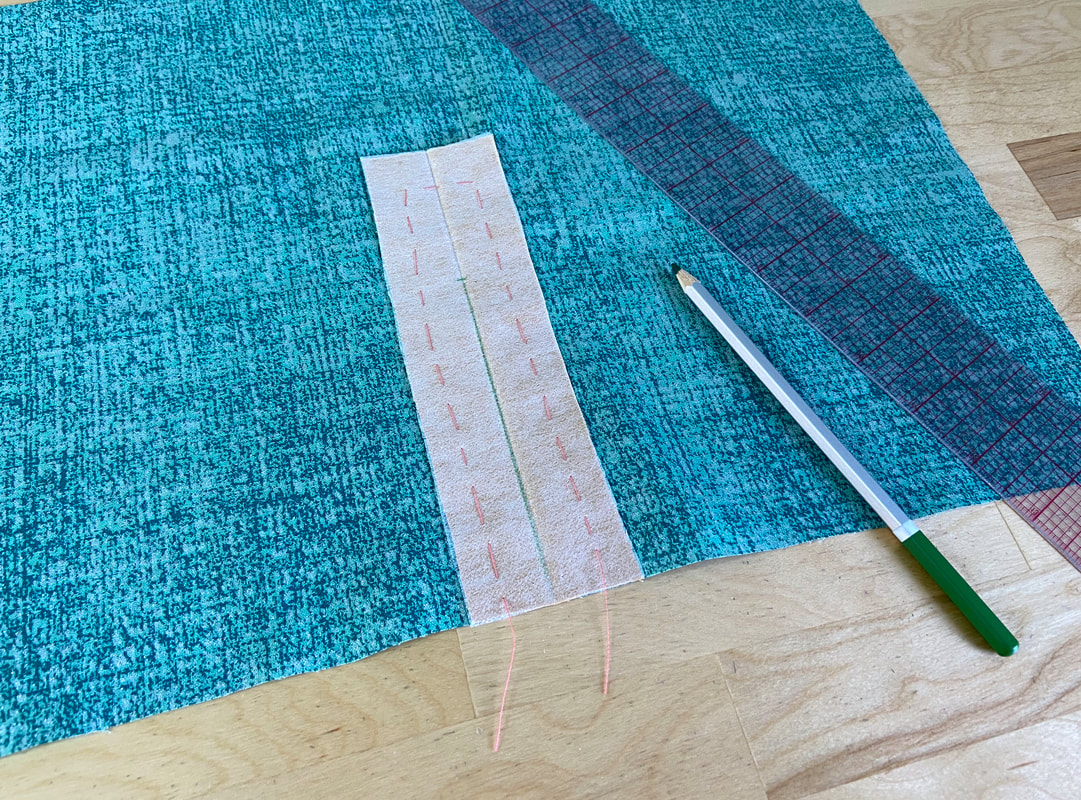
5. Next, using your ruler and quilting pencil draw a vertical straight line down the center of the stay to mark the exact slit opening. This line should fall directly on the fold line marked in Step 1. The line should start at the bottom and end 2.5” inches down from the stay’s top edge.
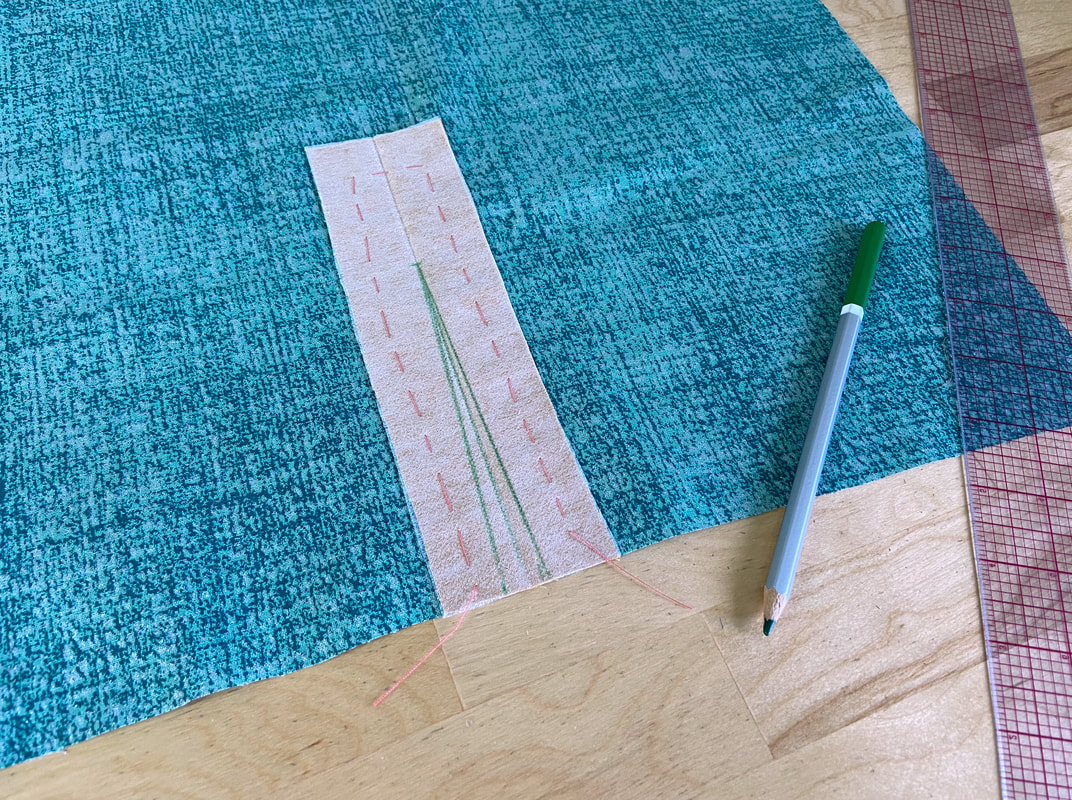
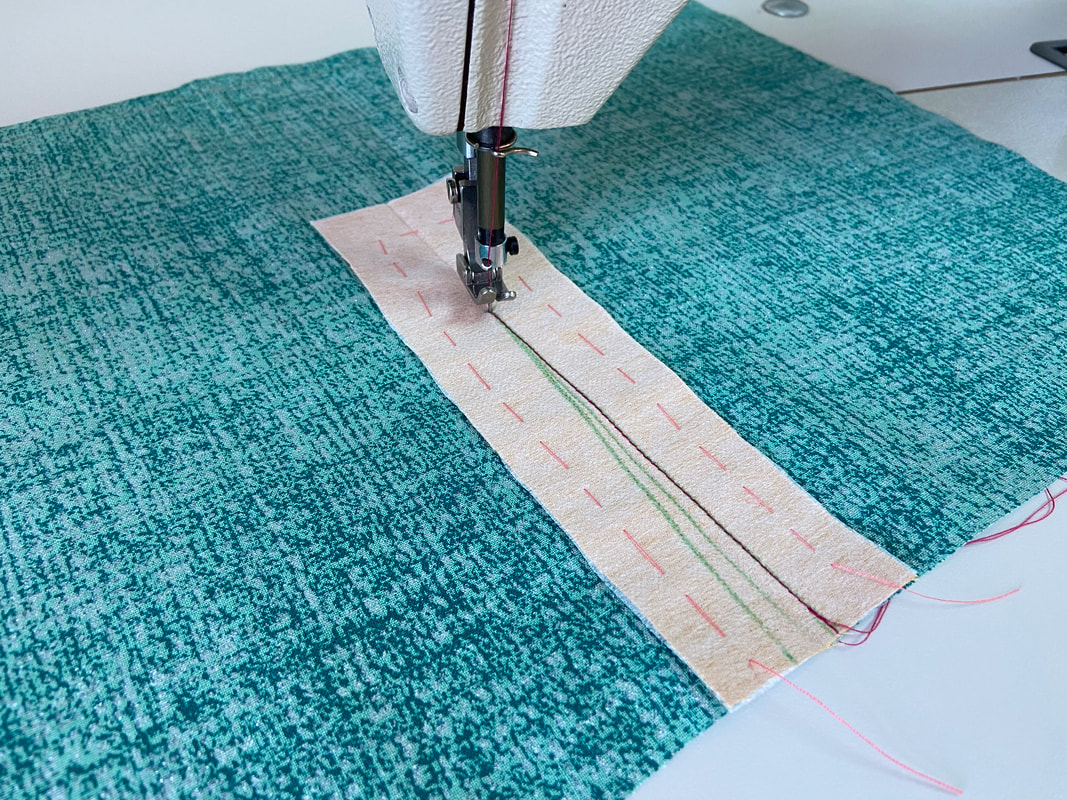
6. Next, draw two lines on each side of the center line, starting at the marked point and gradually extending about 1/4” away on each side as they reach the bottom edge. These lines will create a vanishing point at the top corner of the slit. Using your straight ruler will make this process fairly simple.
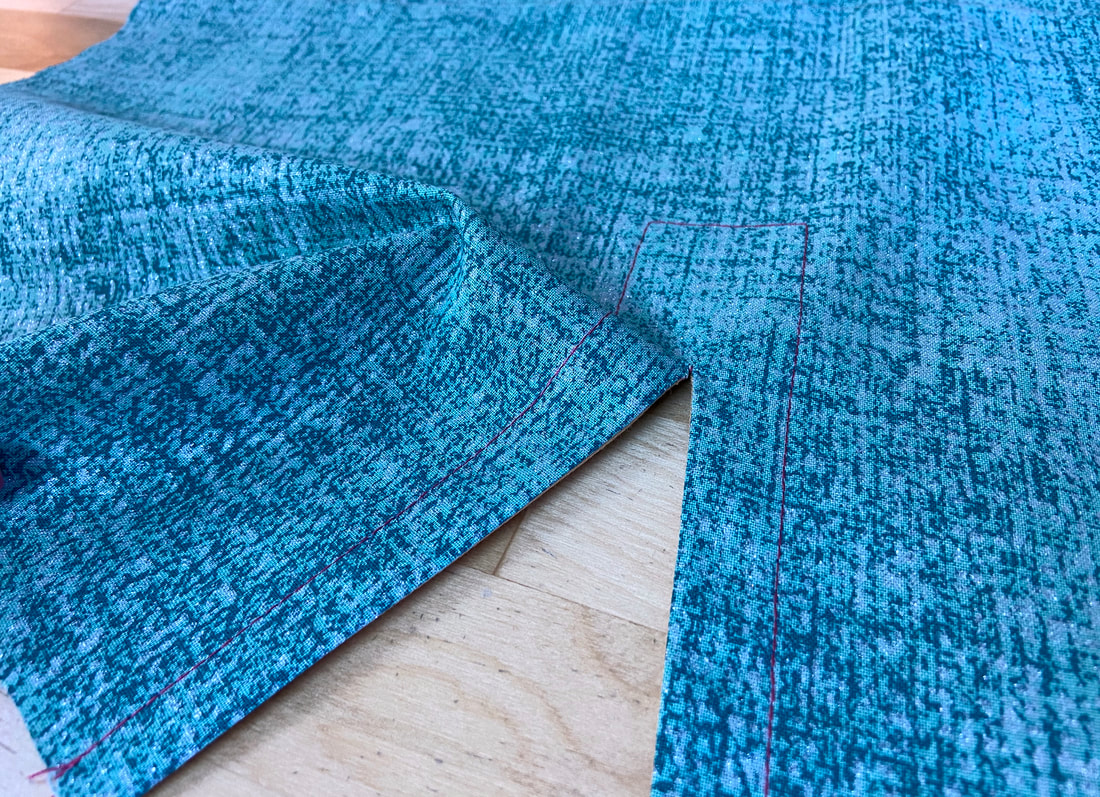
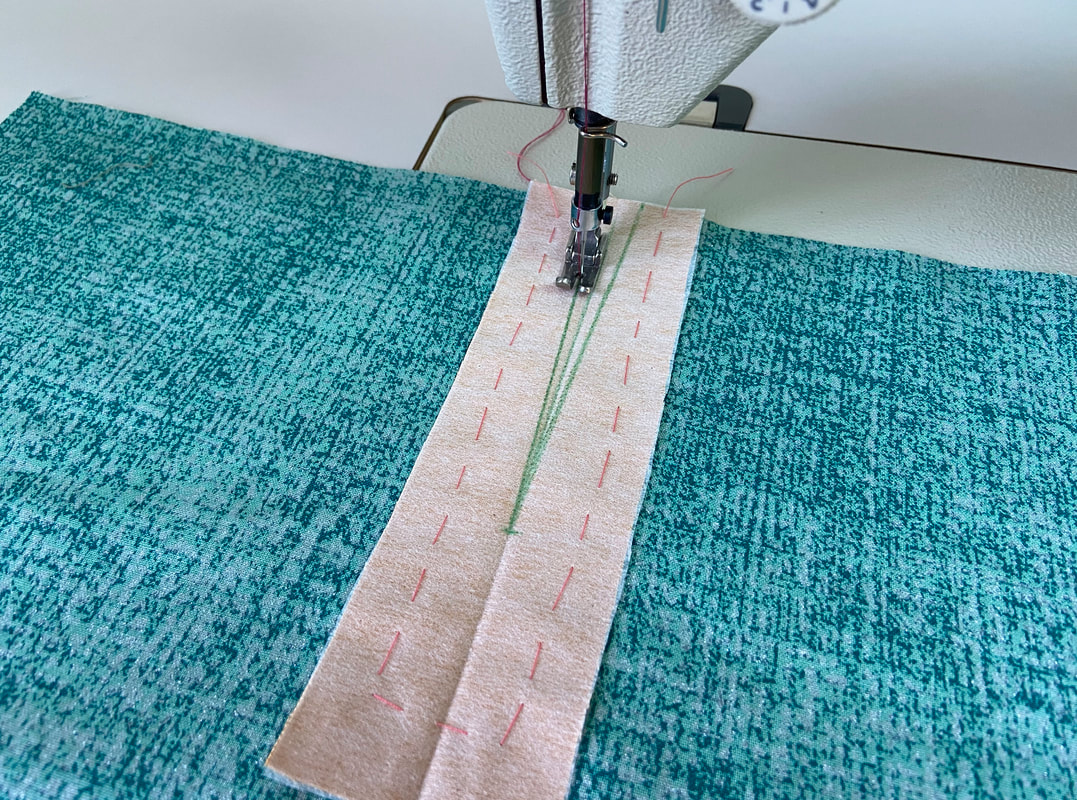
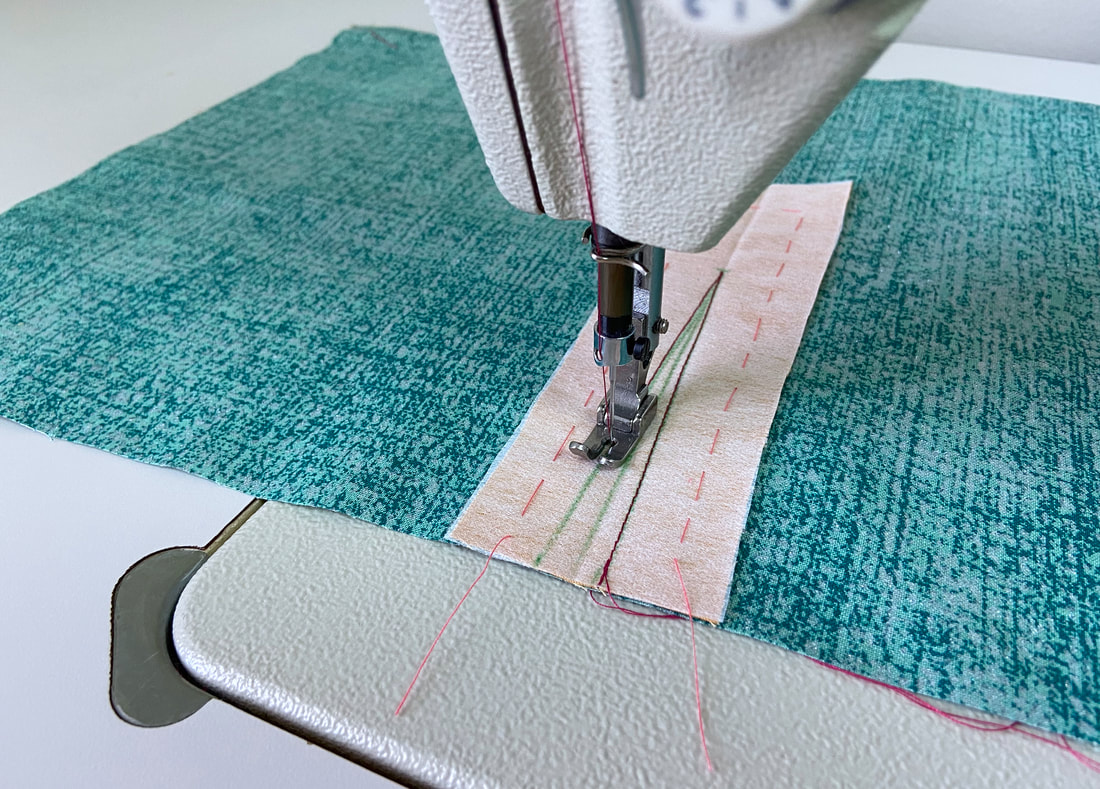
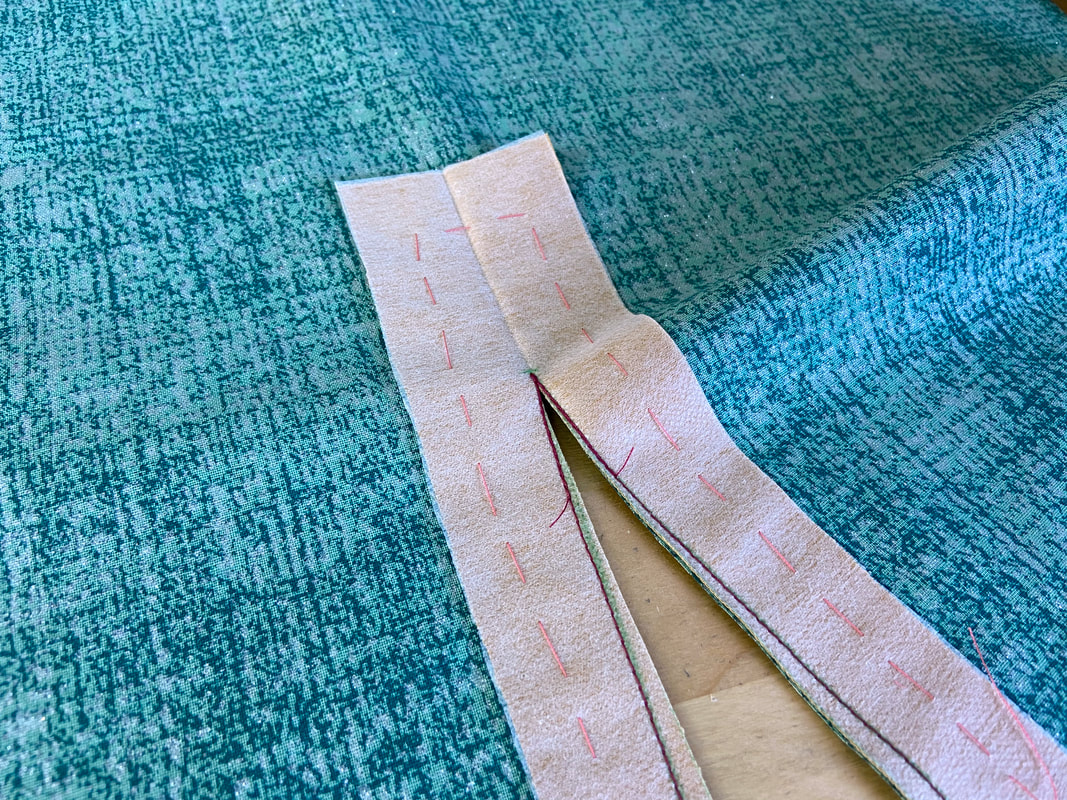
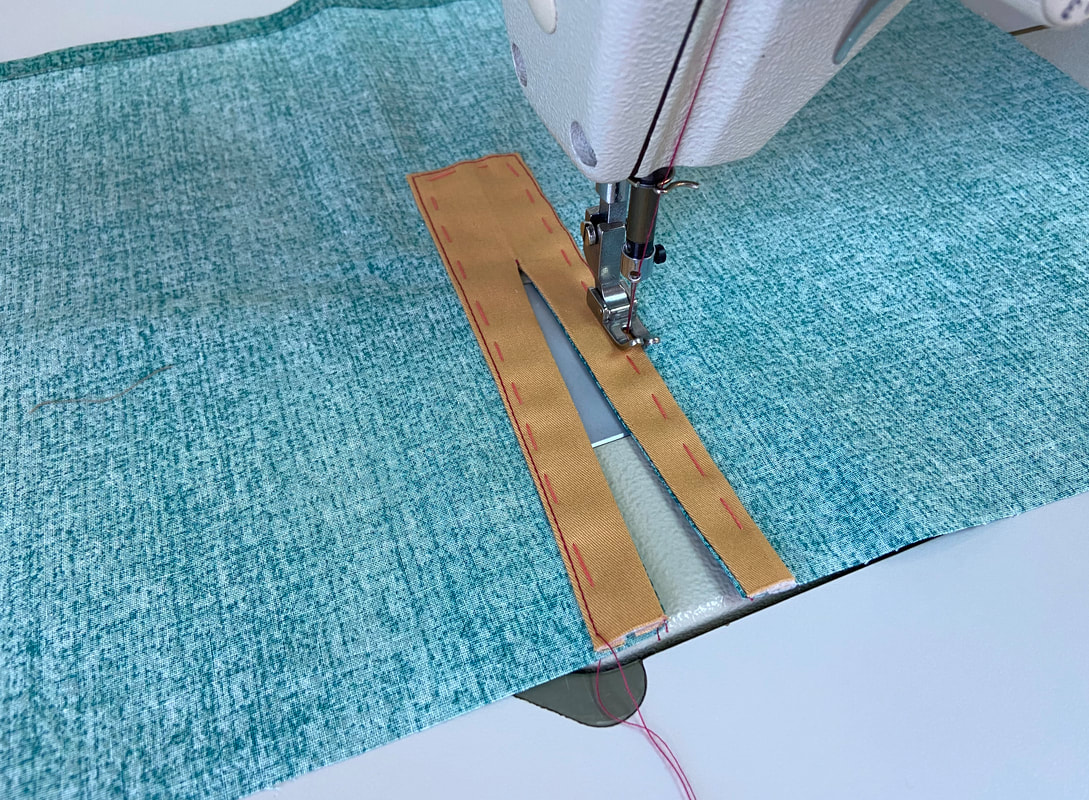
7. Starting from the garment’s bottom edges, machine stitch towards the slit corner (vanishing point).
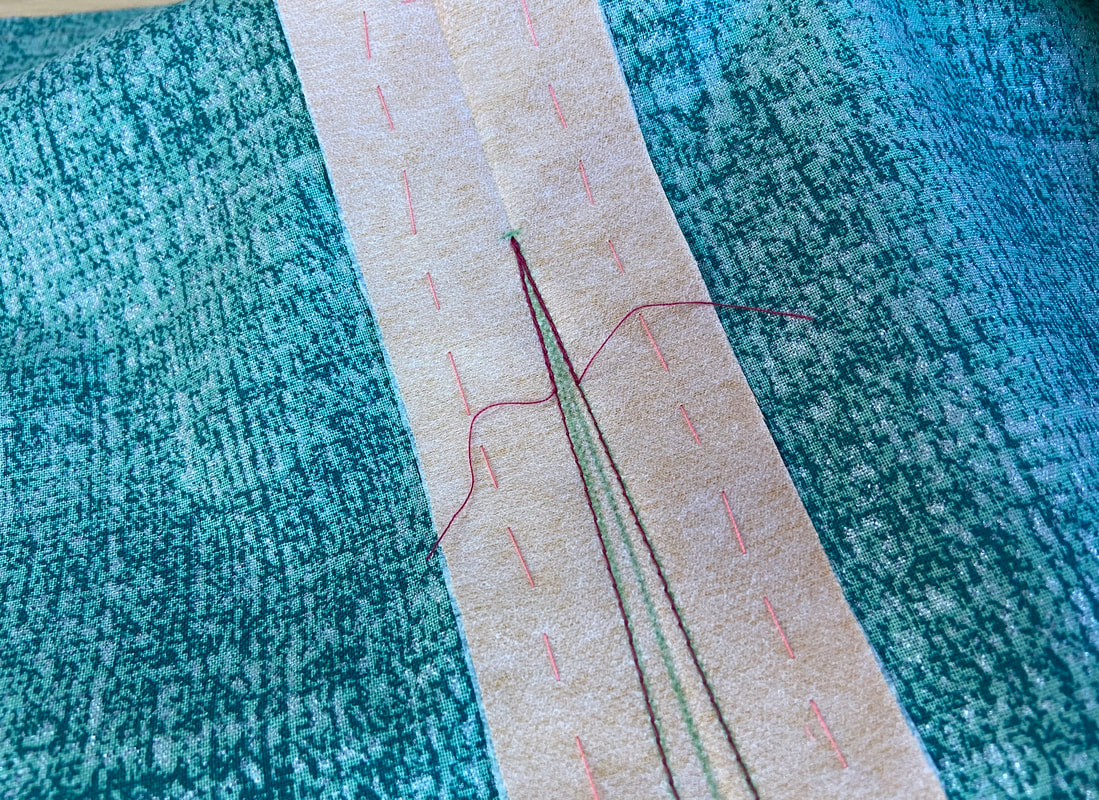
When arriving at the vanishing point, leave the needle in and pivot the direction of the stitch downward, towards the bottom of the second line as shown.
8. Change your stitch length to a shorter setting, and stitch over the vanishing point stitching at approximately 1” on each side. This stitch overlay will provide extra reinforcement at the slit corner opening.
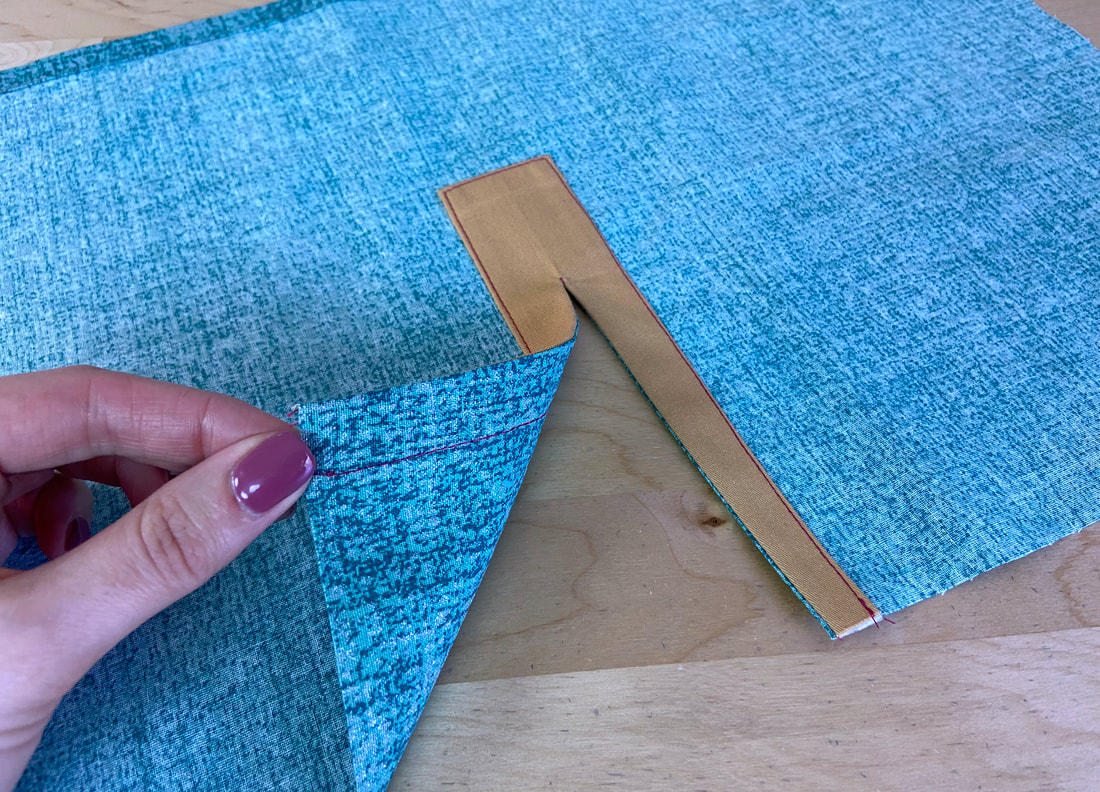
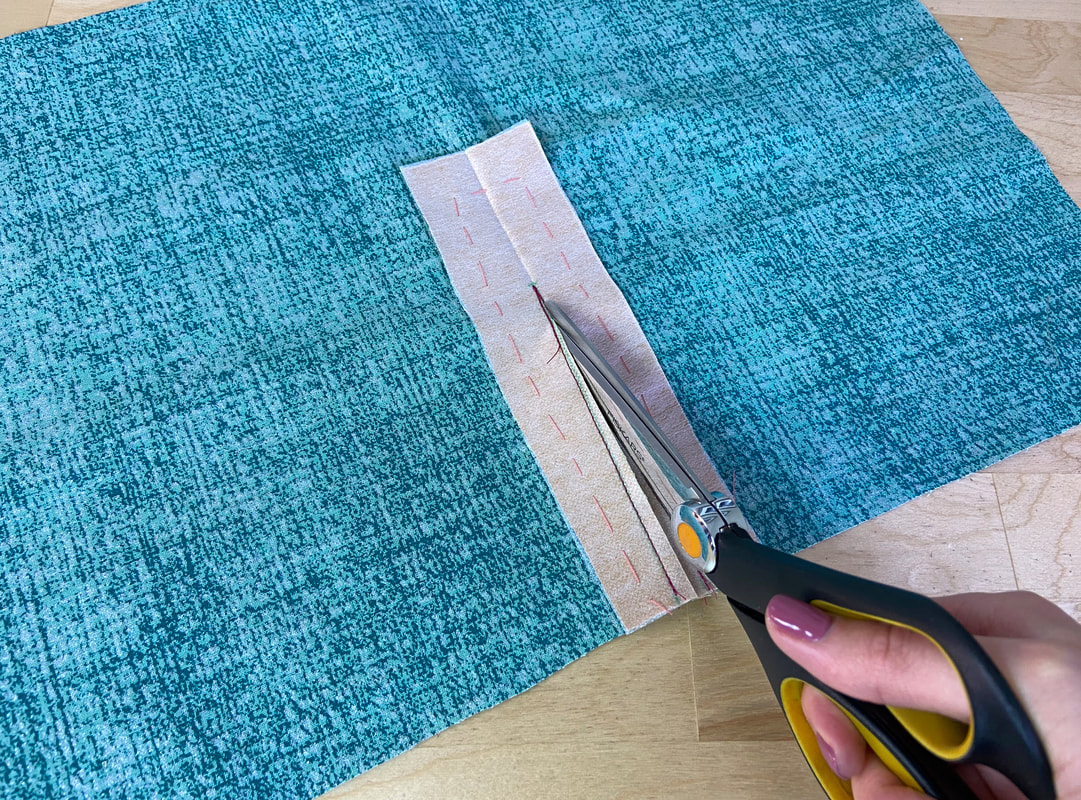
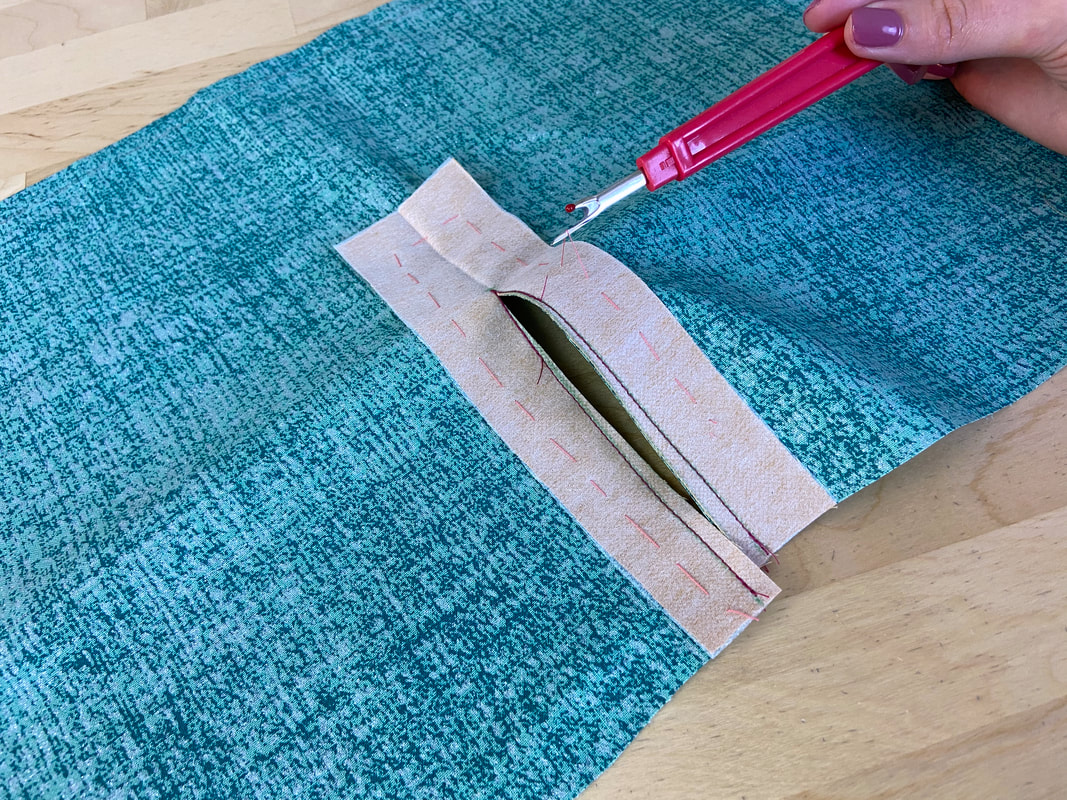
9. Next, cut down the center line through both garment and stay layers, starting at the bottom and ending right at the vanishing point. Cut close to the point but be careful not to cut through the stitching.
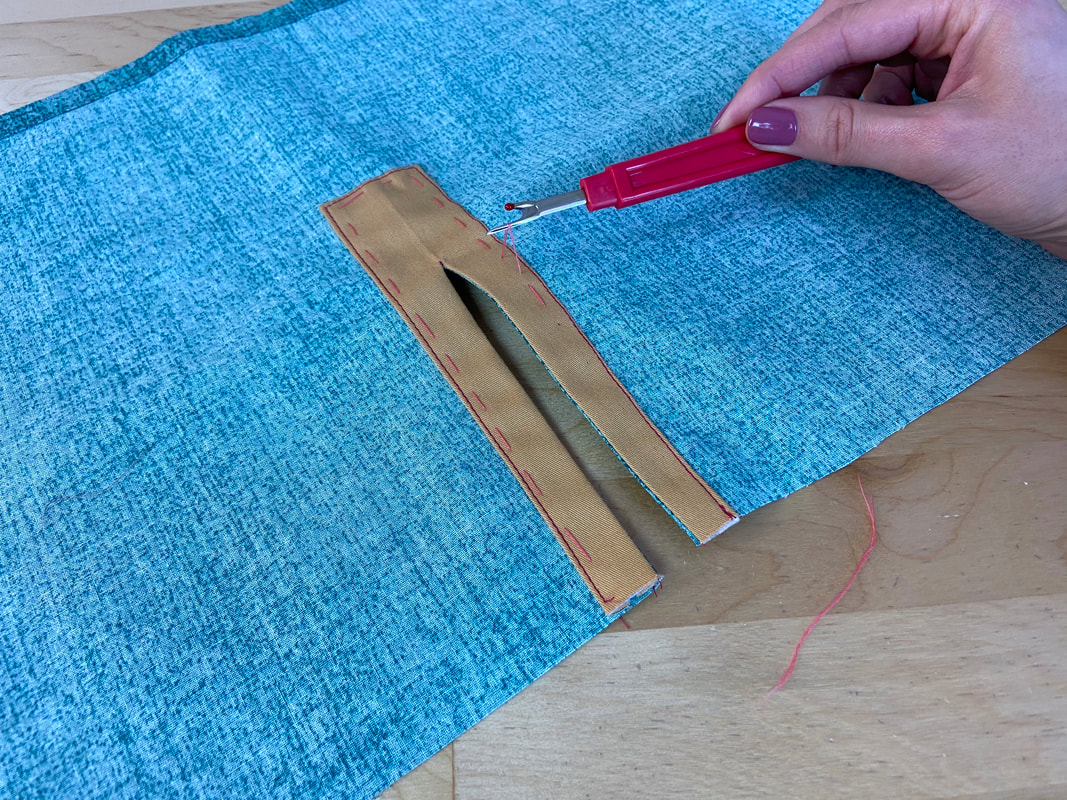
10. Once the slit opening is cut, remove the hand basting using a seam ripper.
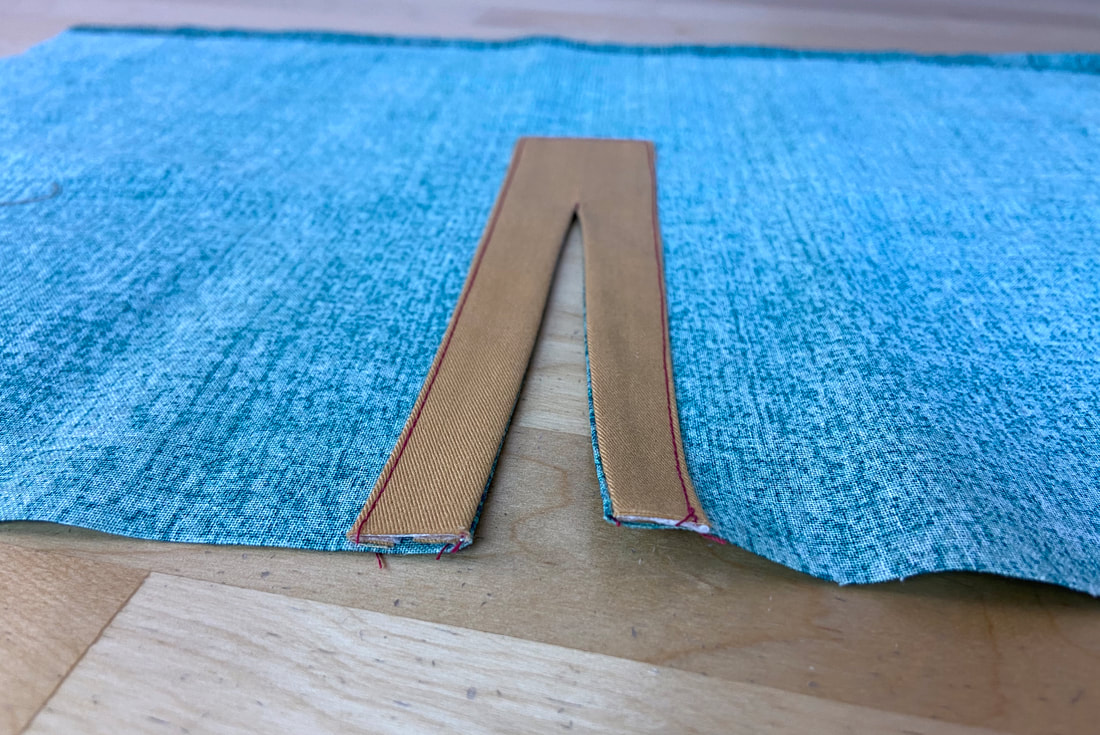
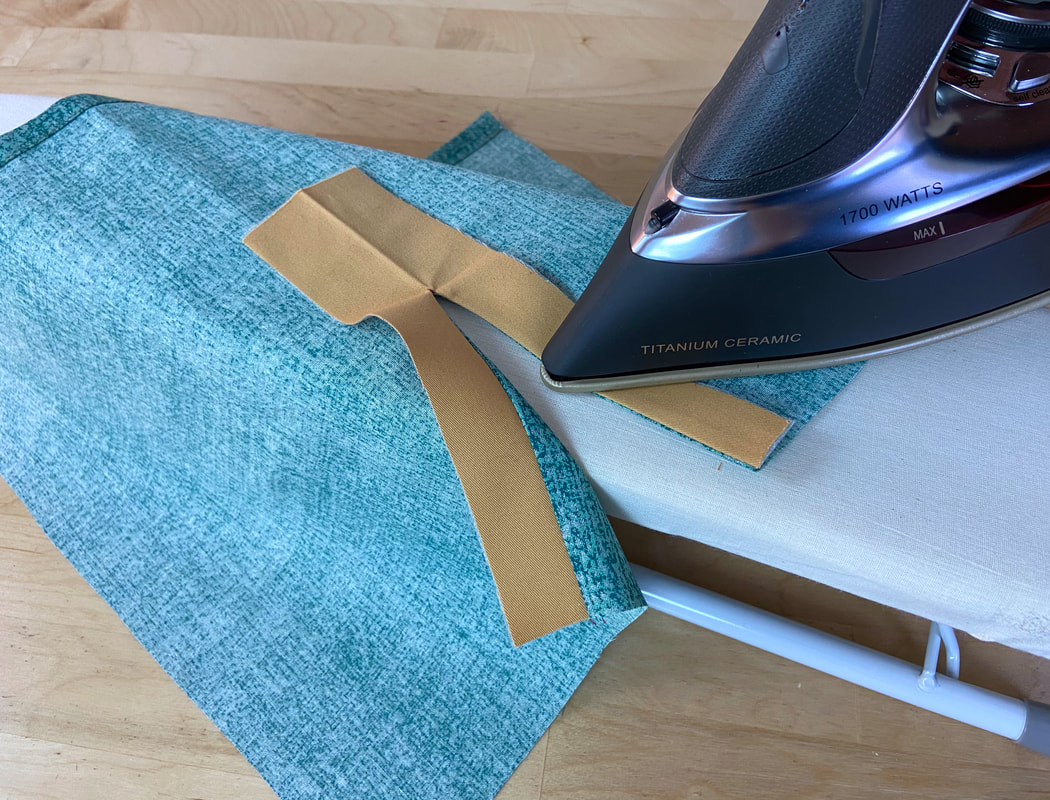
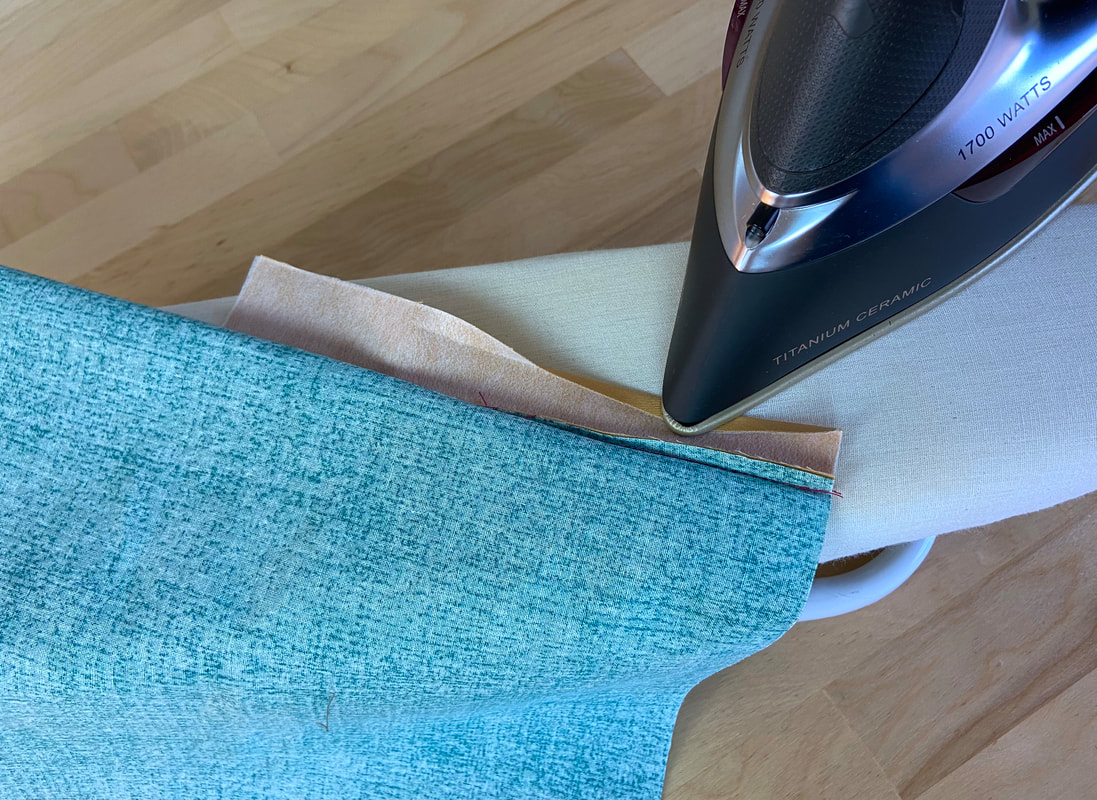
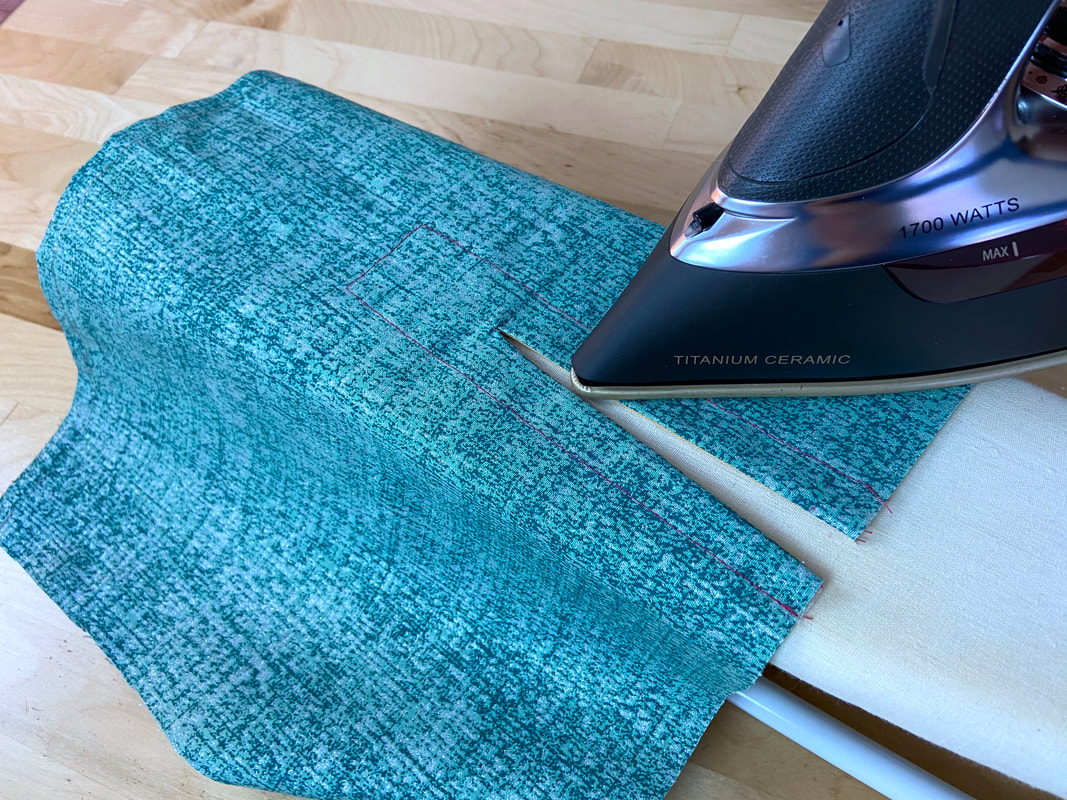
11. Turn the stay toward the inside of the garment. Doing so should naturally finish the slit opening edges. Iron the slit opening such that its finished edges correspond to the stay’s seams.
12. Fold the stay’s lengthwise edges at ¼”, and iron as you fold to crease.
13. Fold the top edge at ½” and again, iron the fold to crease.
14. Hand baste the folded edges to the garment layer. All fabric raw edges should be enclosed within the stay, and the finished slit edges should lay smooth and flat.
15. From the wrong side of the slit, topstitch the stay to the garment layer underneath using the outer fold line as a guide. Keep the stitching as even as you can in the process.
16. As a last step, remove the hand basting and iron the completed slit application for a flat, professional finish.
Note: For topstitching that is located closer to the slit opening, choose a narrower stay. You can also extend the length of the stay to cover the entire length of the garment- This will provide a more natural topstitched application.

