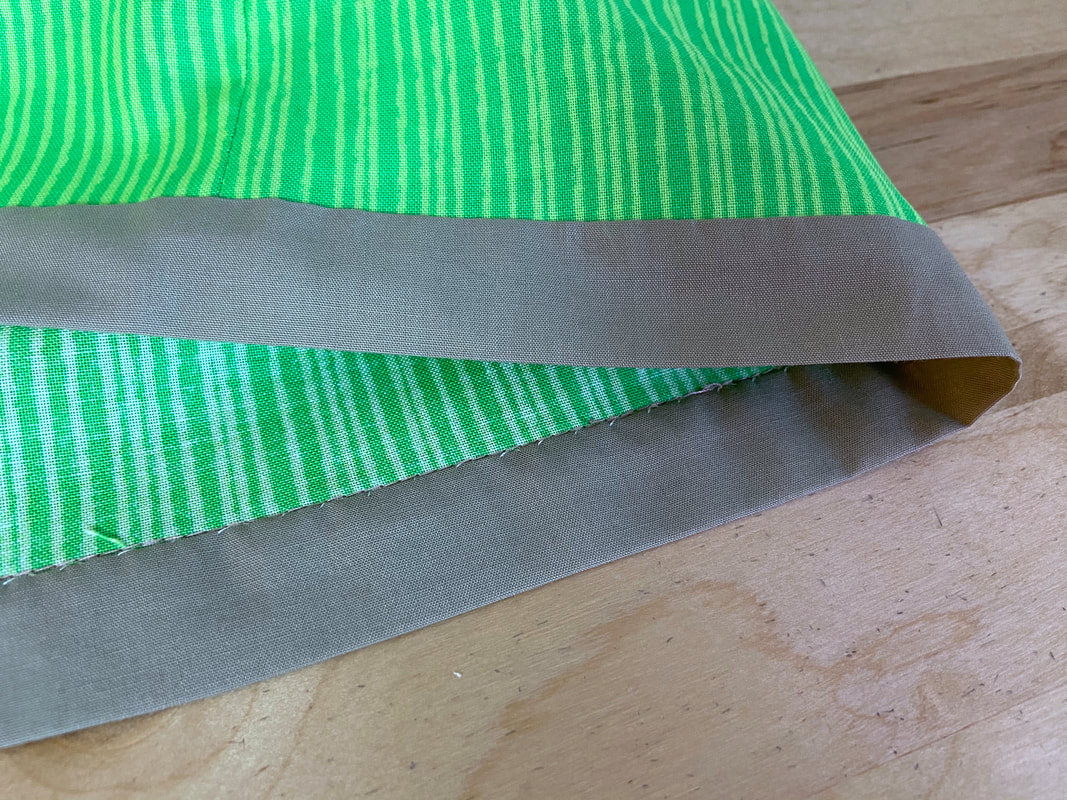
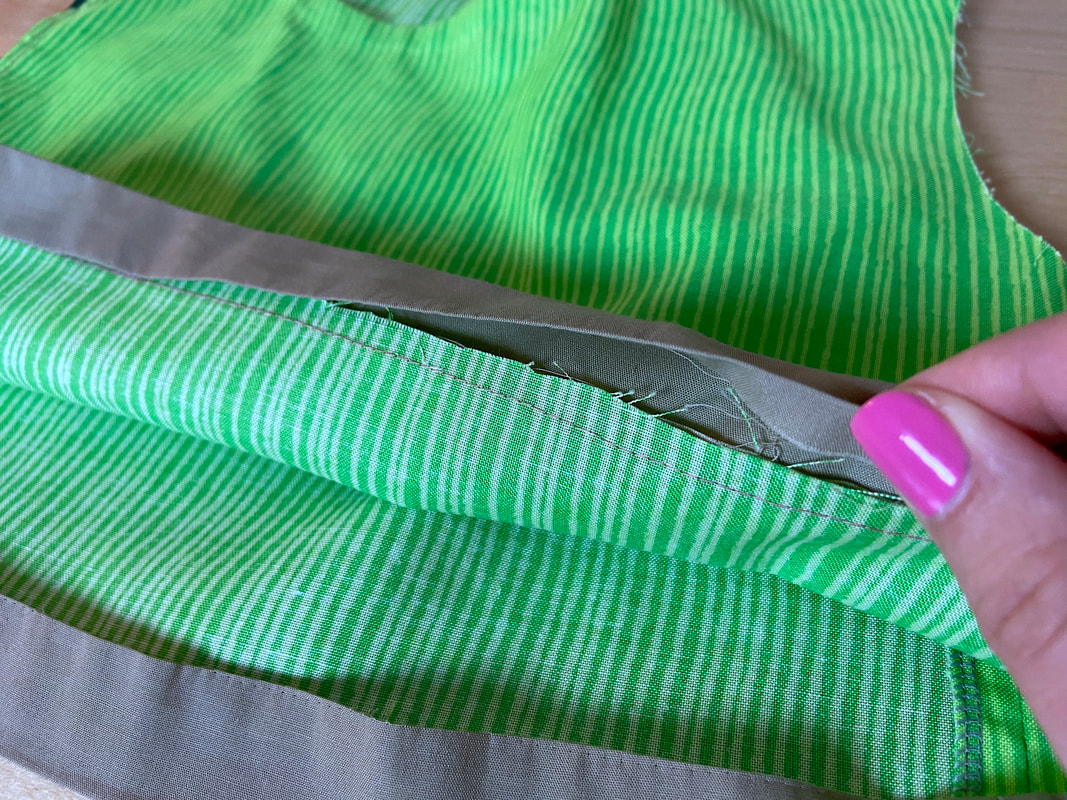
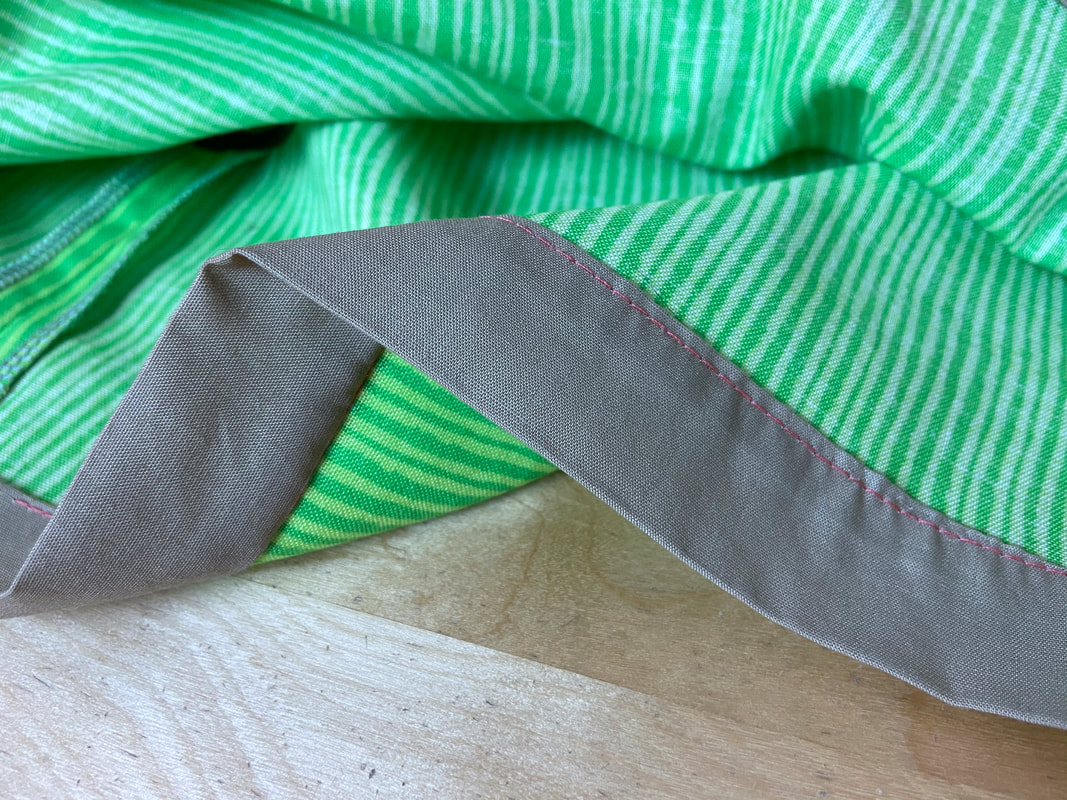
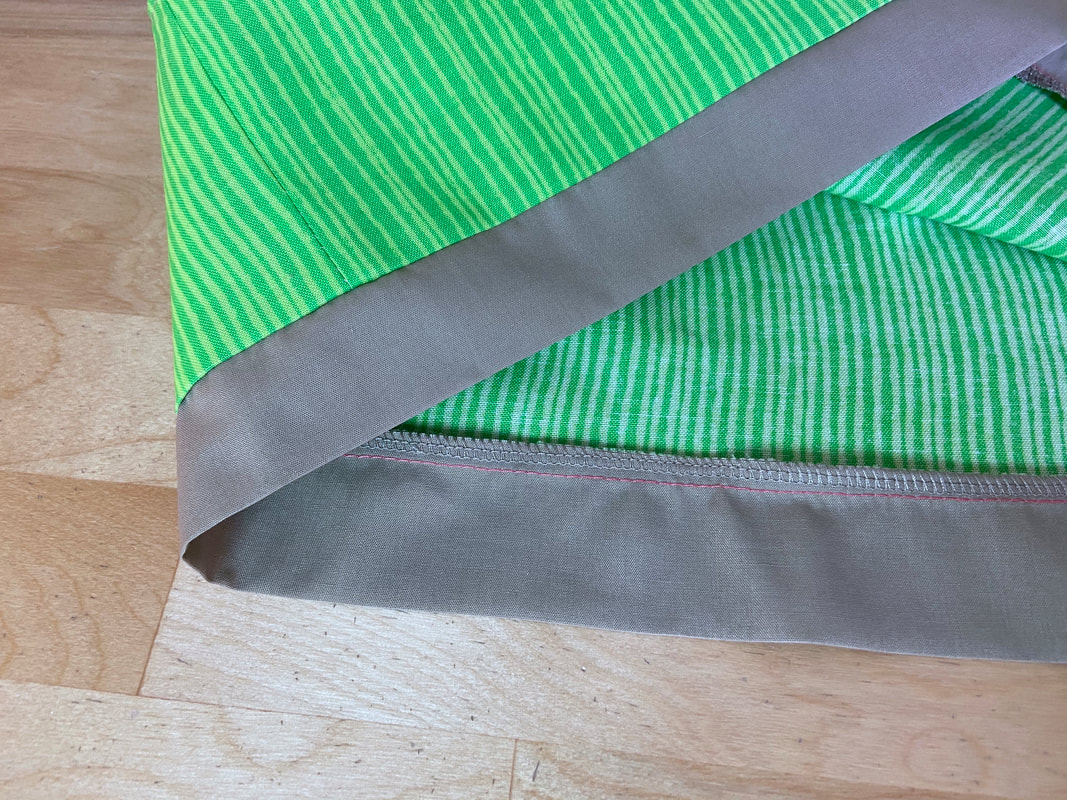
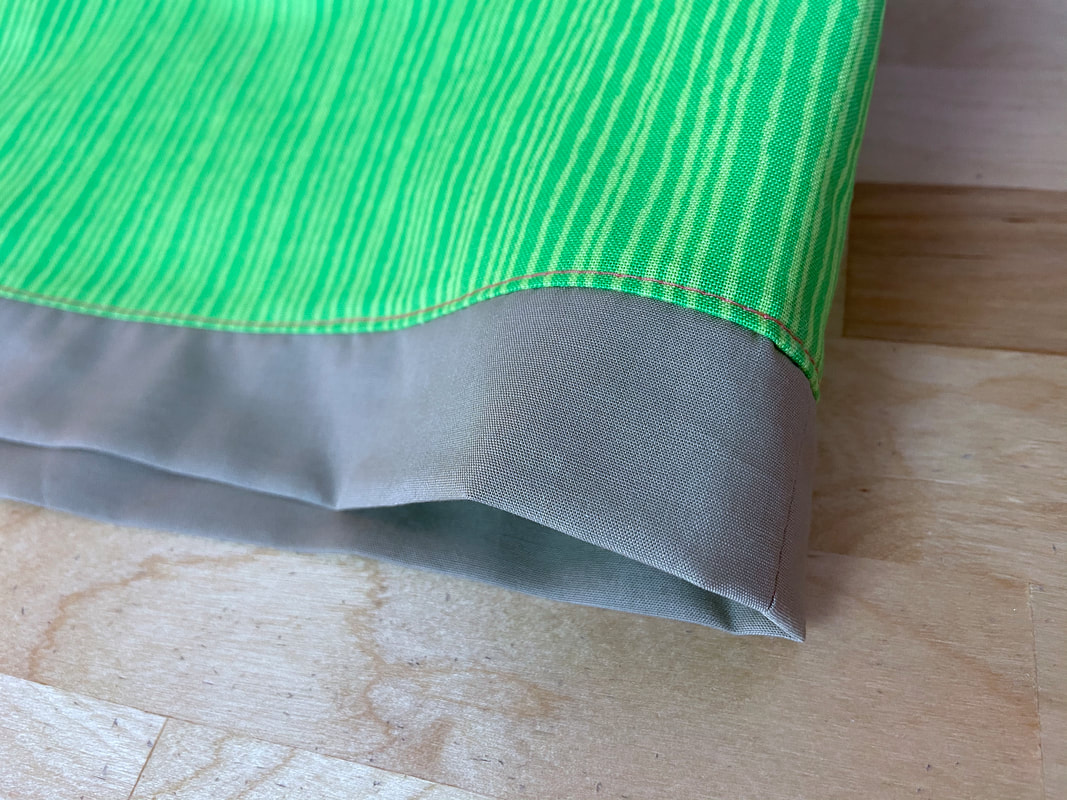
A band hem finish looks somewhat similar to an exposed binding. However, as the name suggests, a band doesn’t just wrap around the hem’s cut edge to encase it, it also provides a length extension.
As an extension, the addition of a band provides an easy-to-add length to a garment while simultaneously finishing its hem. The band itself should be as wide as needed for the design at hand, and double the width such that it can be folded onto itself for clean finishing. This resulting fold then corresponds to the final hemline.
Since it alters the garment design, a banded hem finish falls in the category of a decorative technique. Not only is it visible along the garment’s hem, it also provides a way to mix color and incorporate a contrast fabric into the design.
Similar to an exposed bound finish, a band hem does not require hem allowance in the construction process. The band is attached to the raw hemline edge enclosing it without the need for any hem folding.
A hem band is cut to the exact length of the hem, and can range anywhere from ½” to 5” in width.
The initial fabric strip is cut such that it can be folded onto itself for finishing. Its width is calculated by multiplying the width of the desired finished band by two and adding two seam allowances. These seam allowances account for the top and bottom lengthwise edges that are folded in to enclose the garment's hem edge.
The length of the strip band is calculated by measuring the precise length of the hem's edge and adding two seam allowances. These seam allowances will account for the fabric strip ends being sewn together such as to match the circular shape of the hemline.
The width of the finished band depends on its purpose. Is it adding length or simply clean finishing the hem? Is it part of a contrast color motif? Does it require the use of contrast fabric? Will it be sewn to a curved edge or a straight edge? All of these questions should be considered when deciding the appropriate band width.
That being said, one of the most important factors to consider is the shape of the hemline itself. If the hem is curved, the band will have to be cut on the bias and narrower (not more than ¾” wide) so it can mold around the curved edge without creating tension.
If the band is added to a straight hem, it does not need to be cut on the bias. In this case, you also have a lot of flexibility in terms of band width, fabric, design etc.
Marking, Cutting And Sewing The Band Hem Finish
In this tutorial, a 1” band is sewn to a straight hem edge.
1. To start with, let’s measure and cut the initial fabric strip.
Since the final width will be 1”, the initial strip is cut at 2” width (double the width) plus two seam allowances of ¼” (totaling ½”). Thus, the final width of the preliminary fabric strip is 2 ½”.
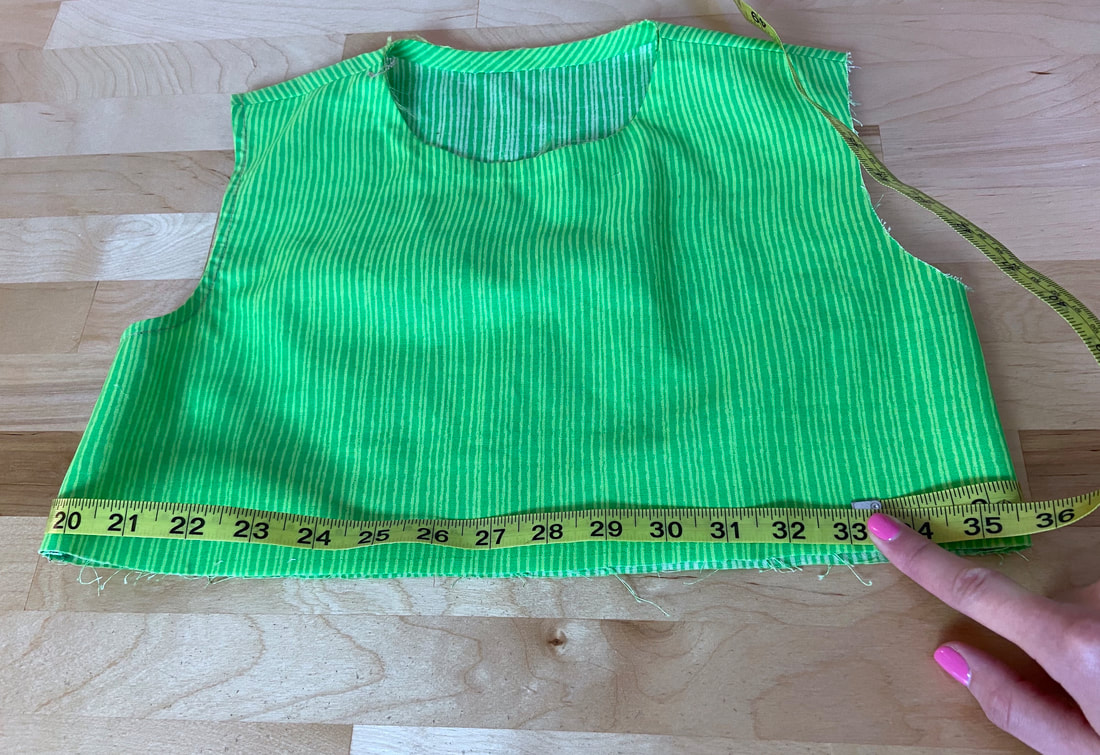
To get the necessary length, measure the entire hem carefully, either directly on the garment or the sewing patterns. In this case the length is 33".
Add two seam allowances to this measurement. In this instance, another ½” is added to account for two ¼” seam allowances.
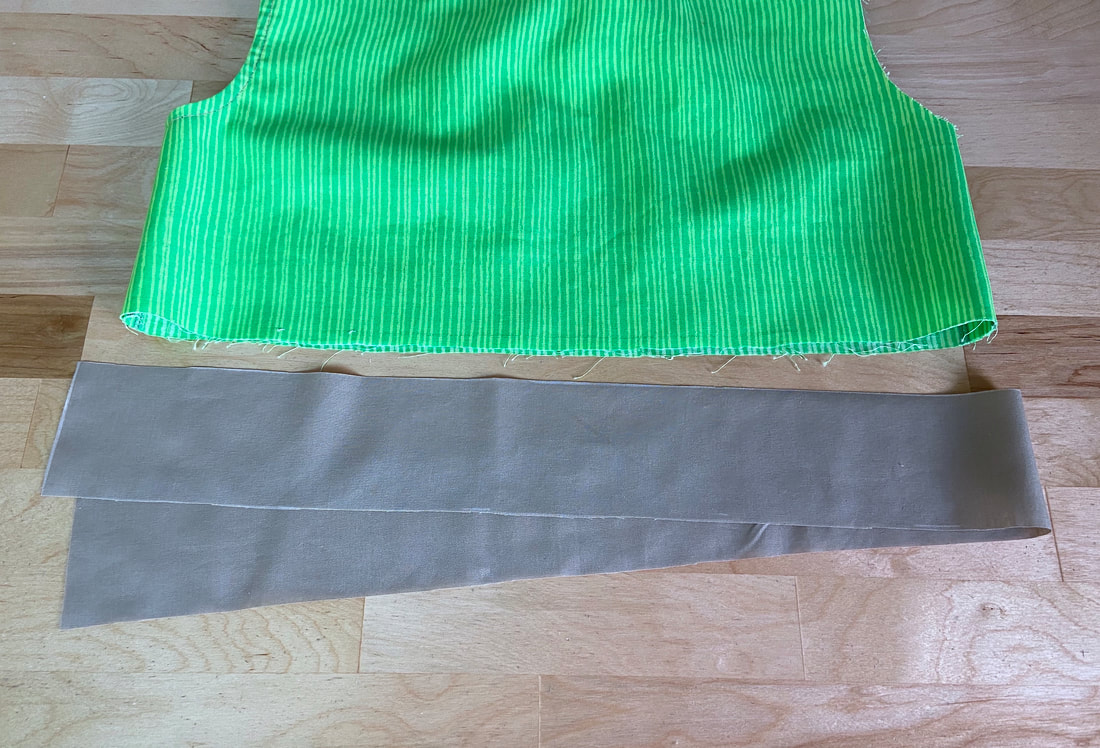
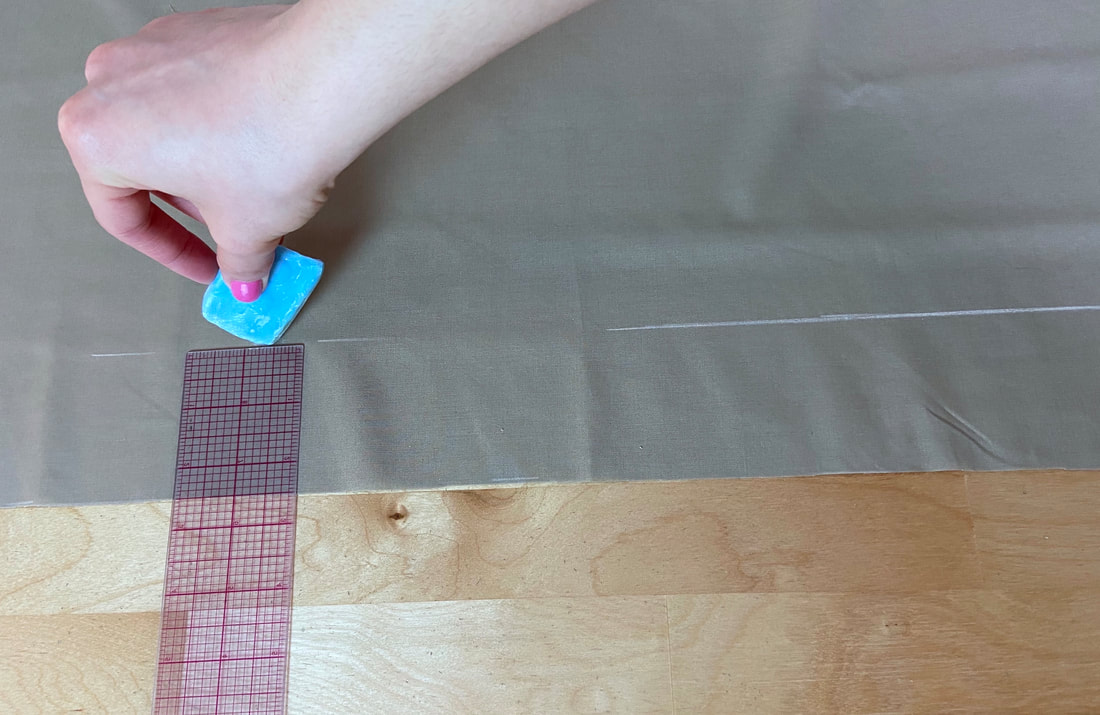
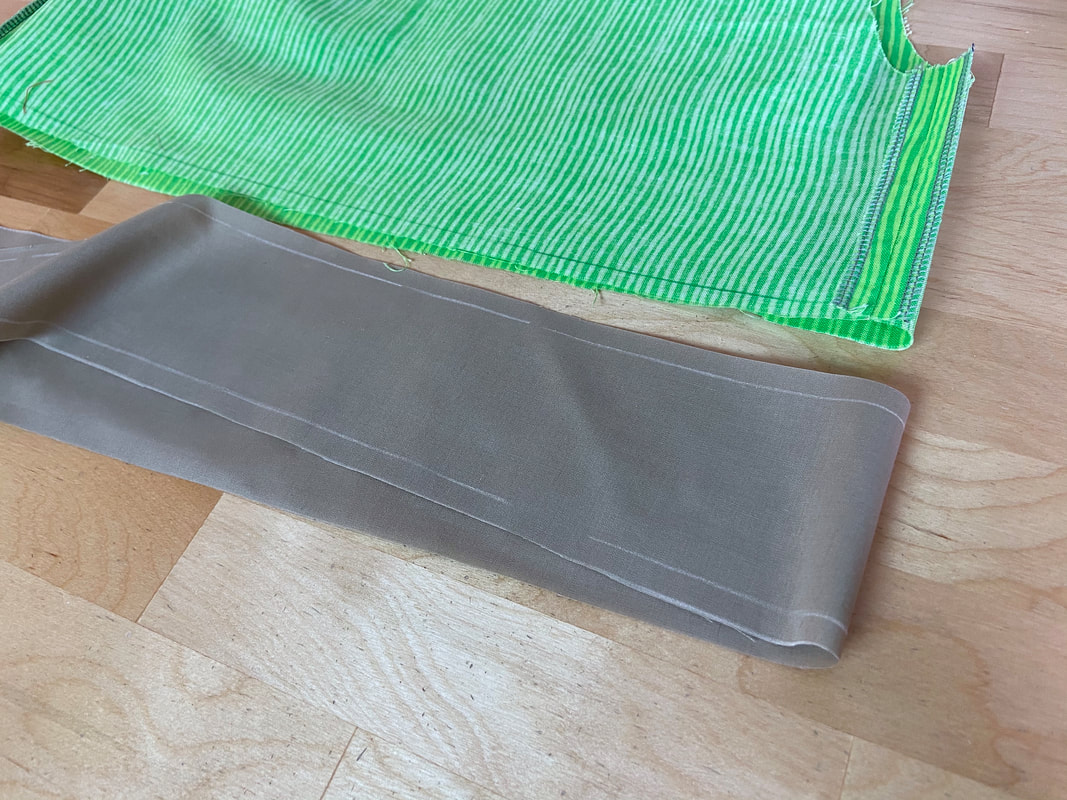
Using a ruler and tailor’s chalk, draw the rectangular strip extending on the crosswise grain as shown. The final rectangle measures 2.5” by 33.5".
Note: If you don’t have enough fabric length to cut the entire fabric strip at once, you may have to cut two separate strips, one corresponding to the front and the other the back garment. Once cut, sew them together to complete the full fabric strip. As you measure the individual strips make sure you add seam allowance at all vertical ends so you can actually sew the strips together.
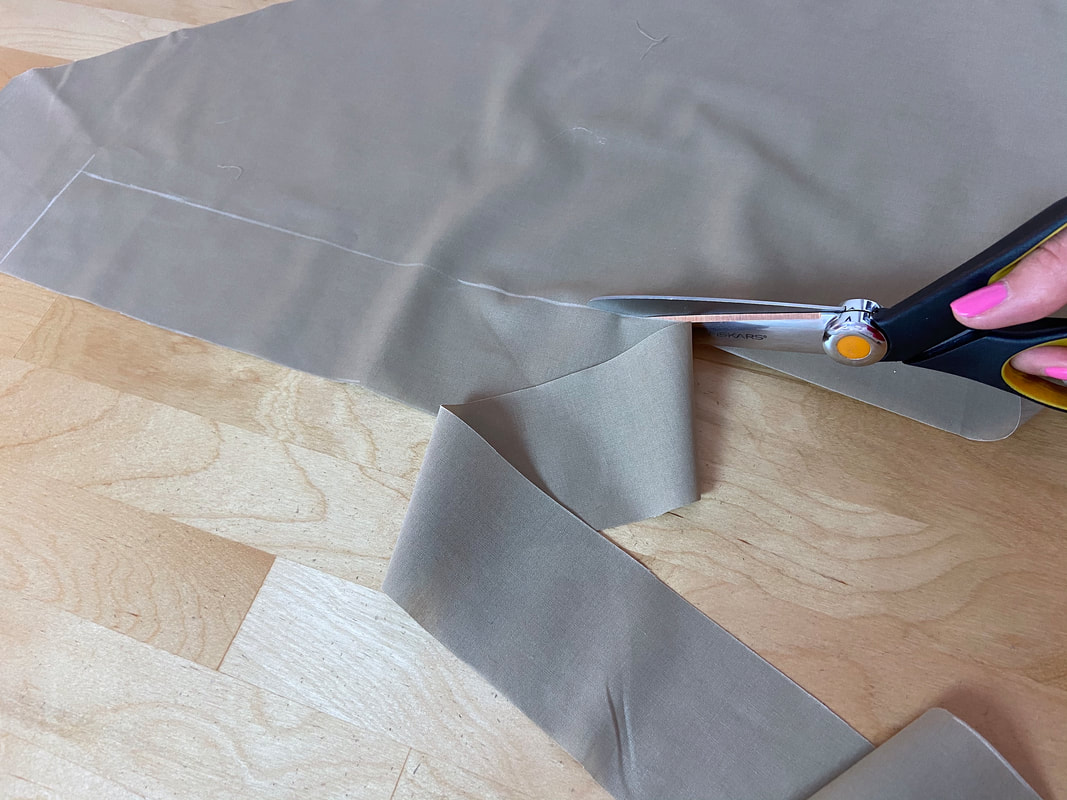
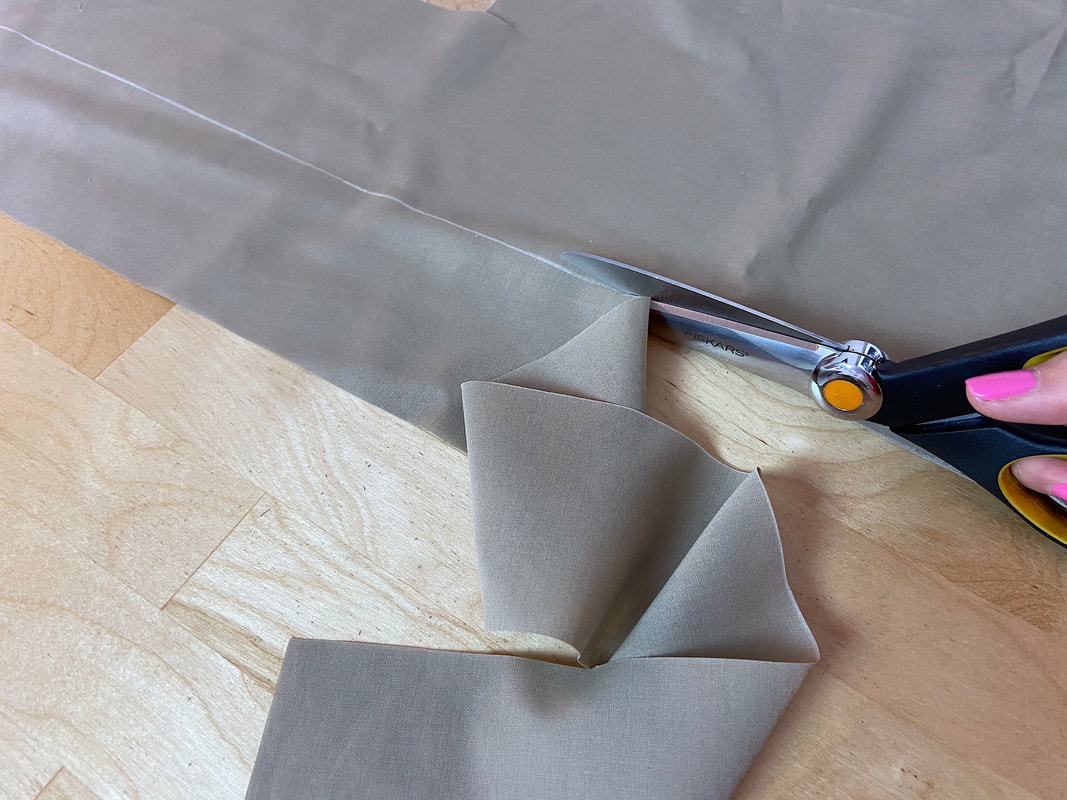
2. Cut the fabric strip carefully along the tailor chalk marks.
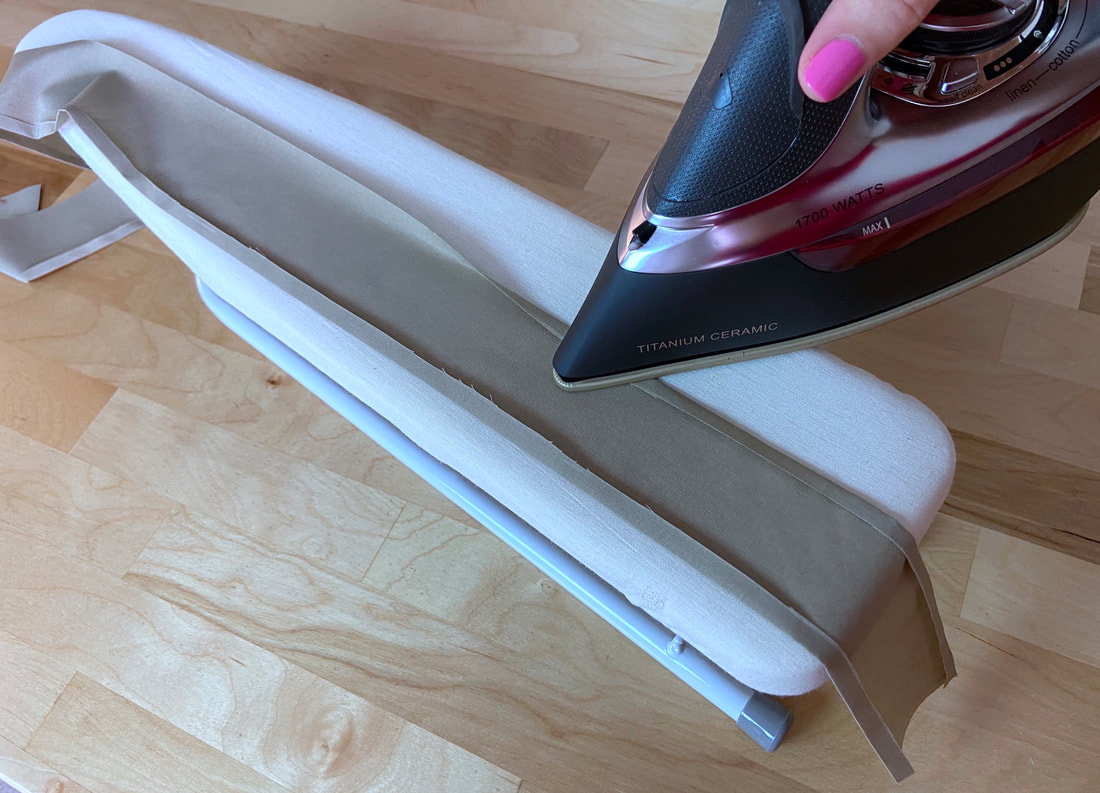
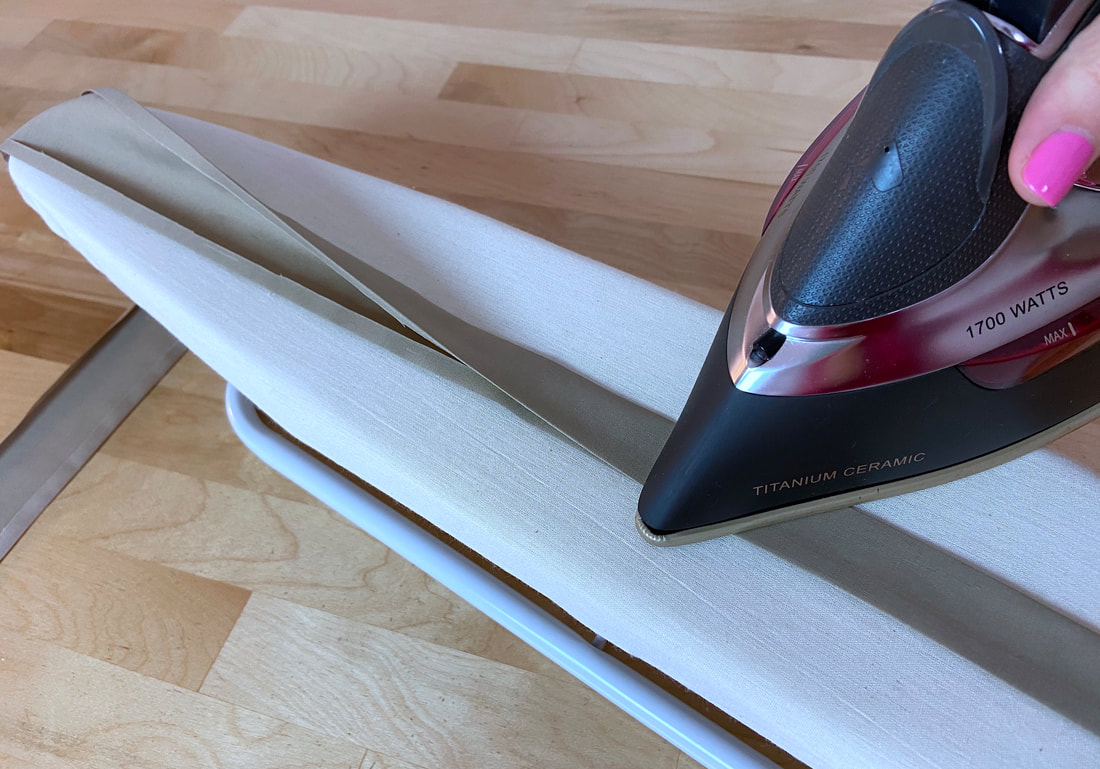
3. To facilitate the sewing process, fold the top and bottom lengthwise edges in at ¼” and iron these folds to crease.
Next, fold the strip lengthwise down the center and iron again.
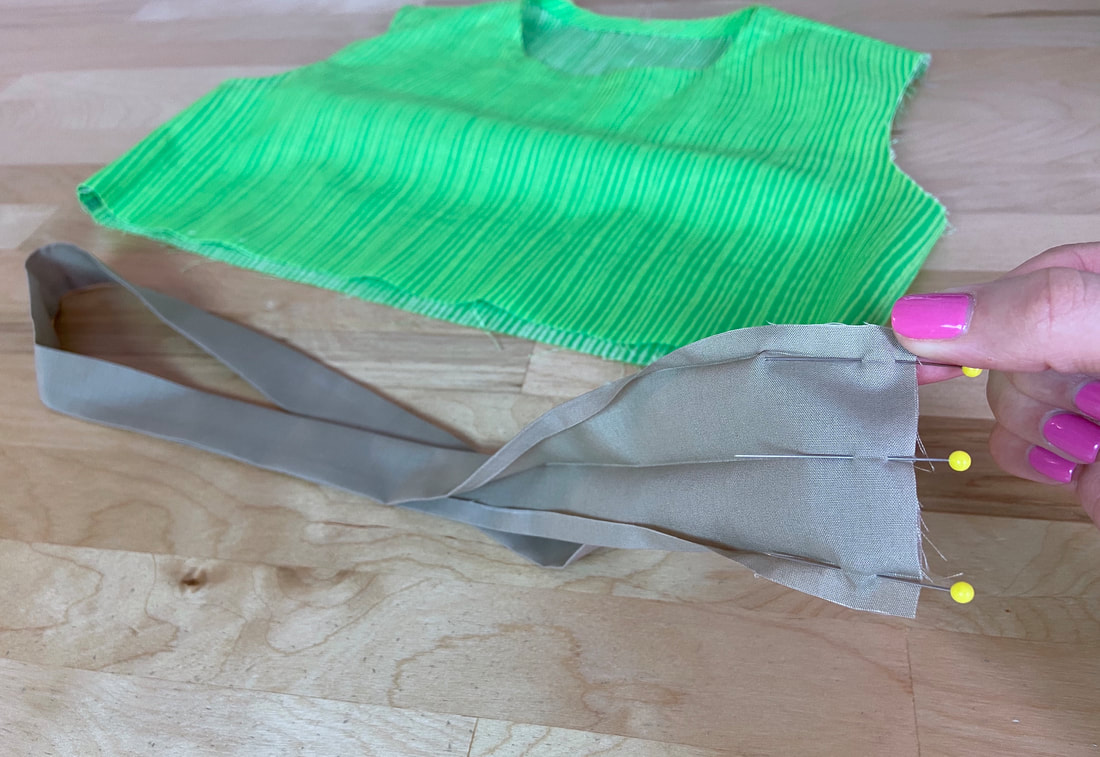
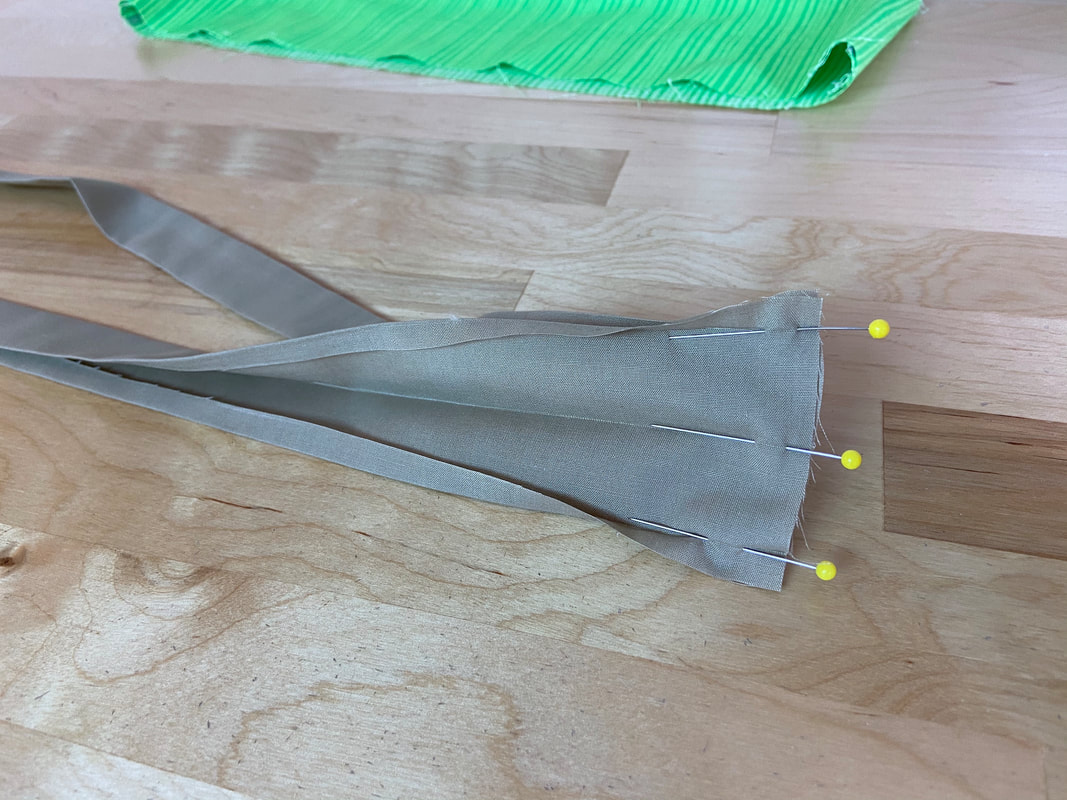
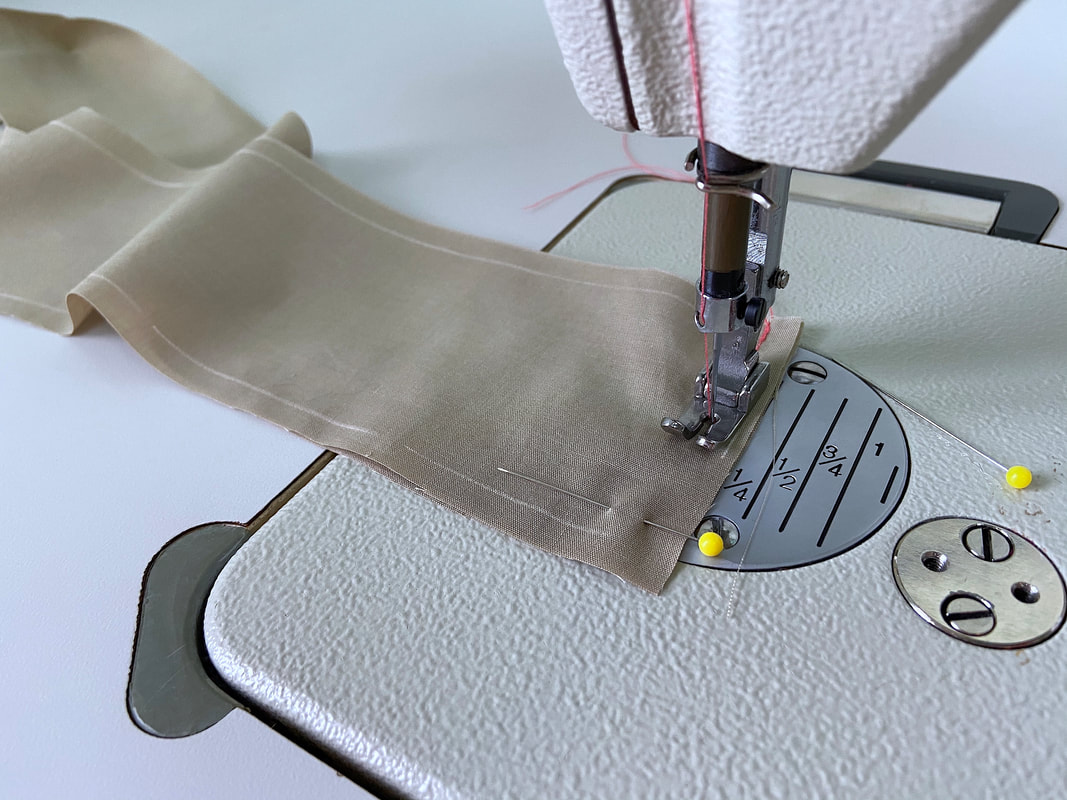
4. Open the folded edges and bring the short ends together such that the fabric face sides are touching and the edges align. Insert a few pins horizontally to secure.
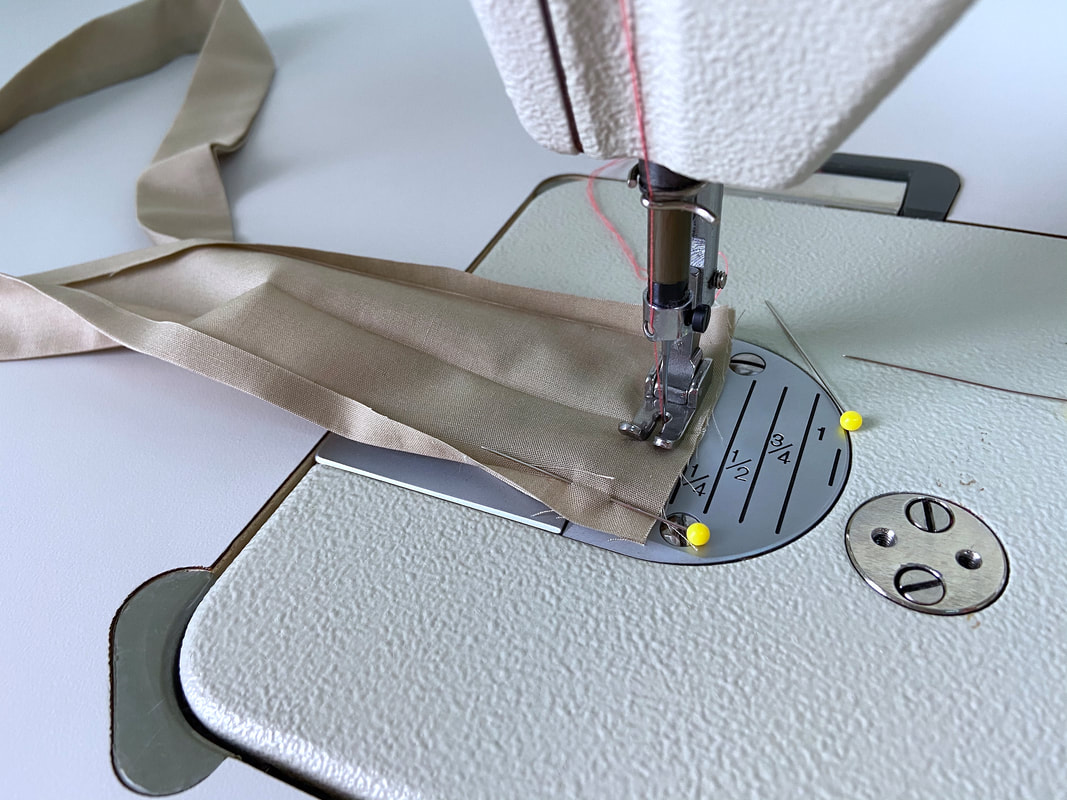
5. Stitch at the designated seam allowance (1/4” in this case).
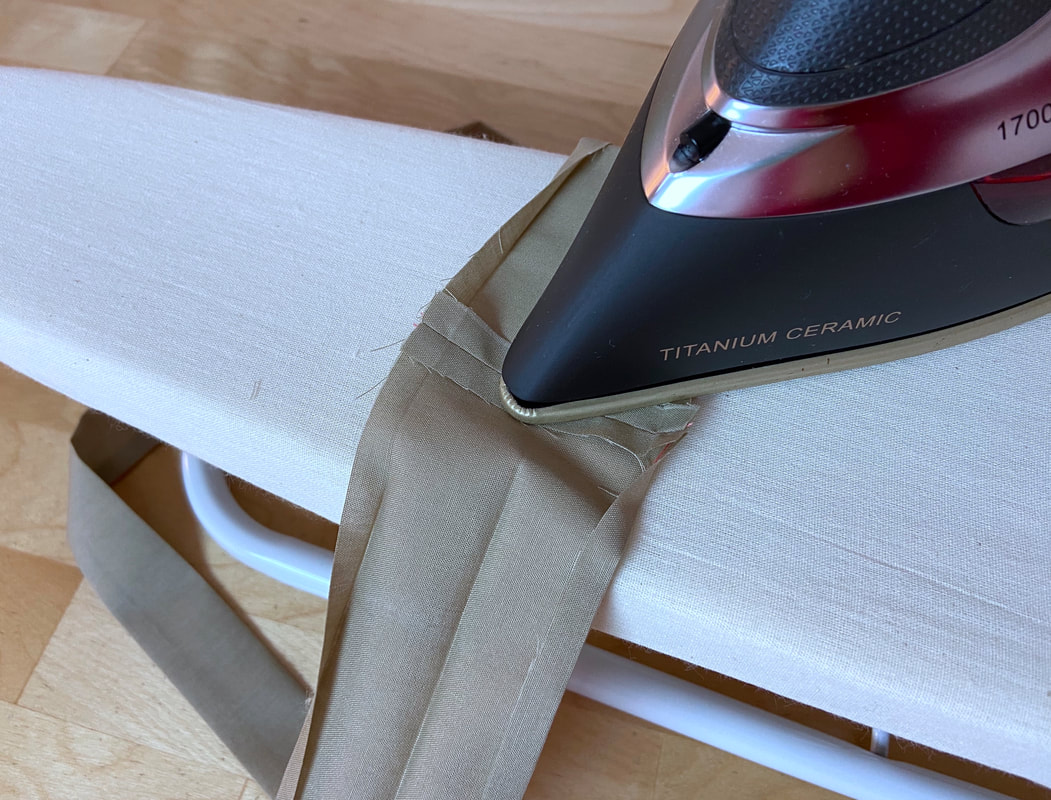
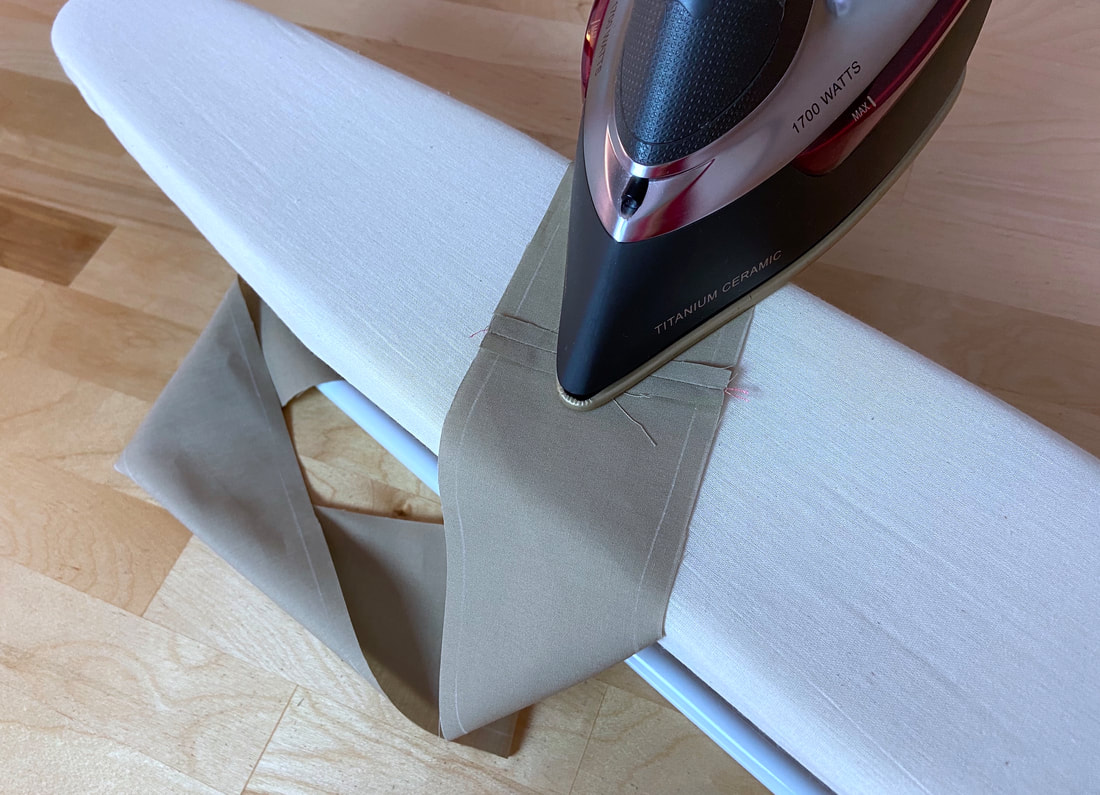
6. Iron the seam with the seam allowance open as shown.
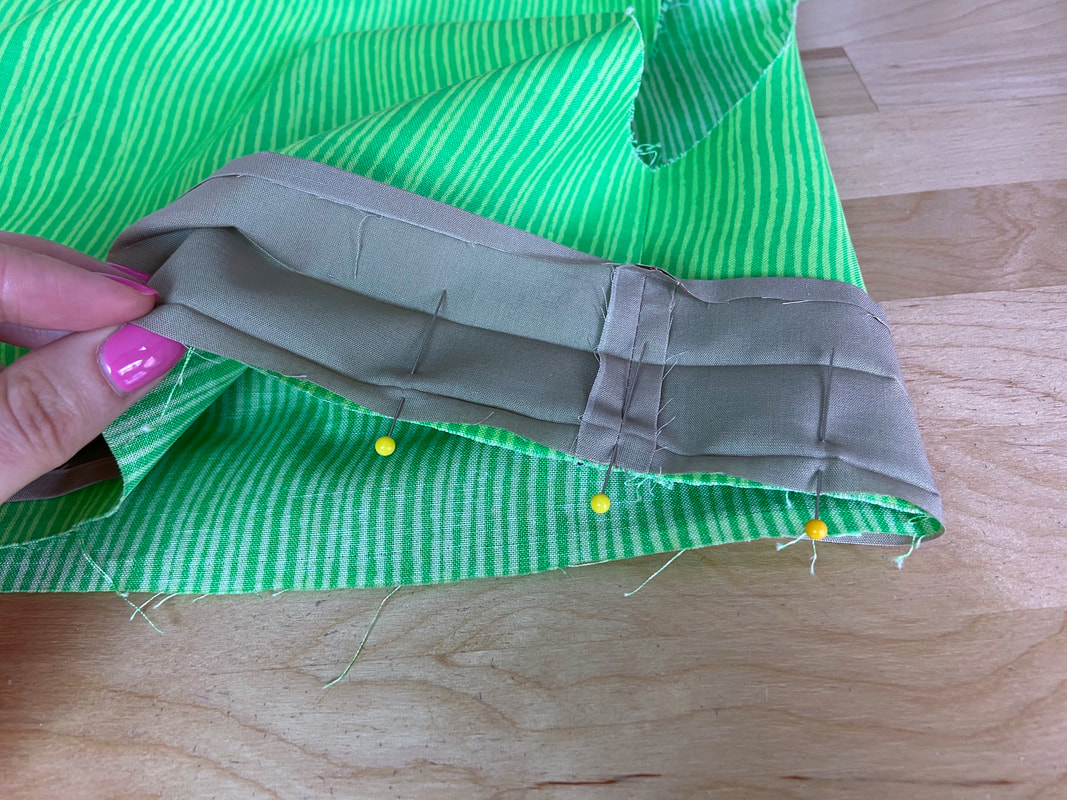
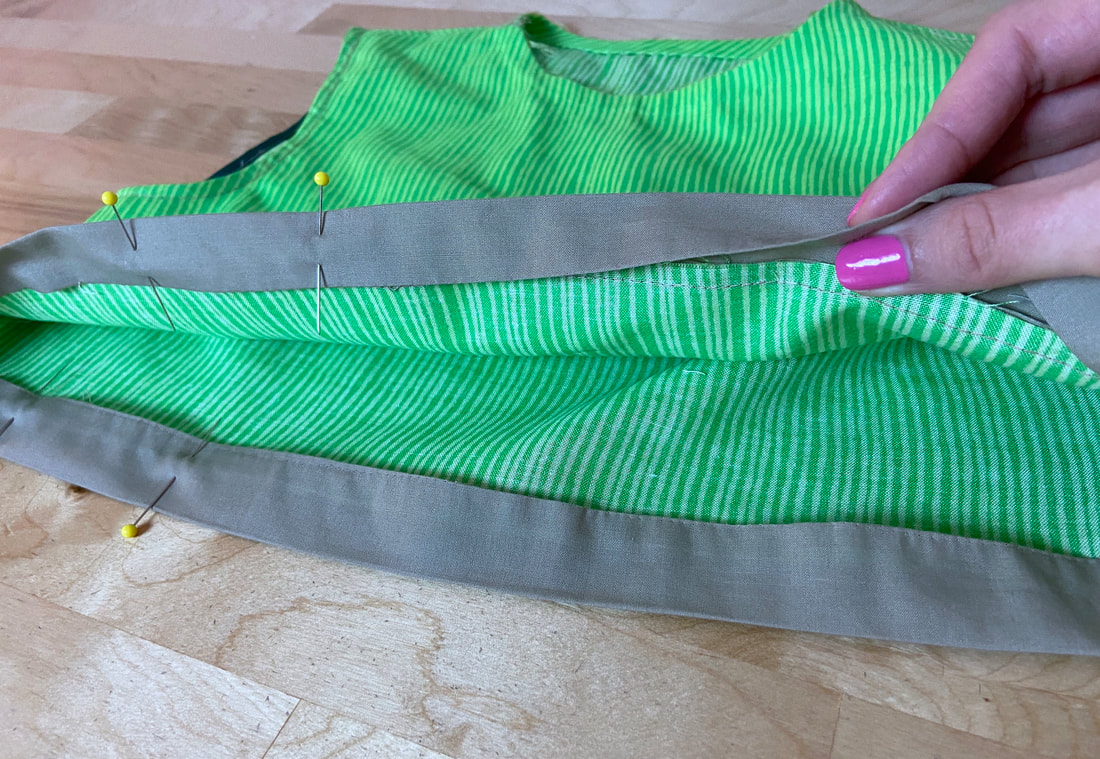
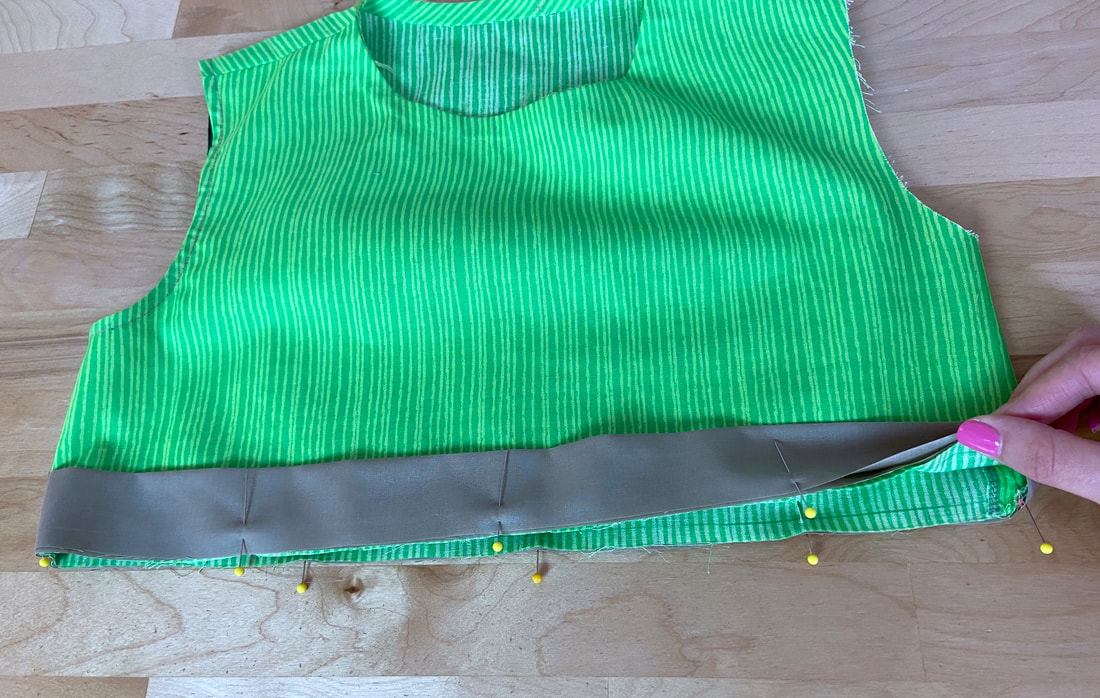
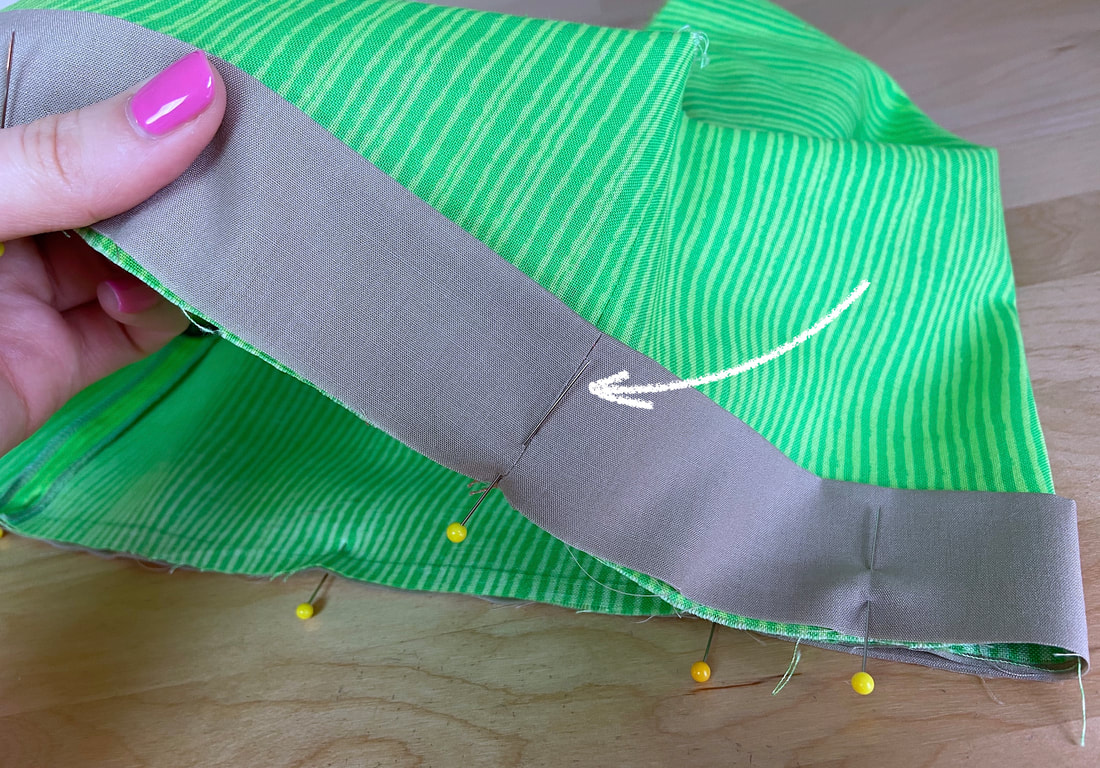
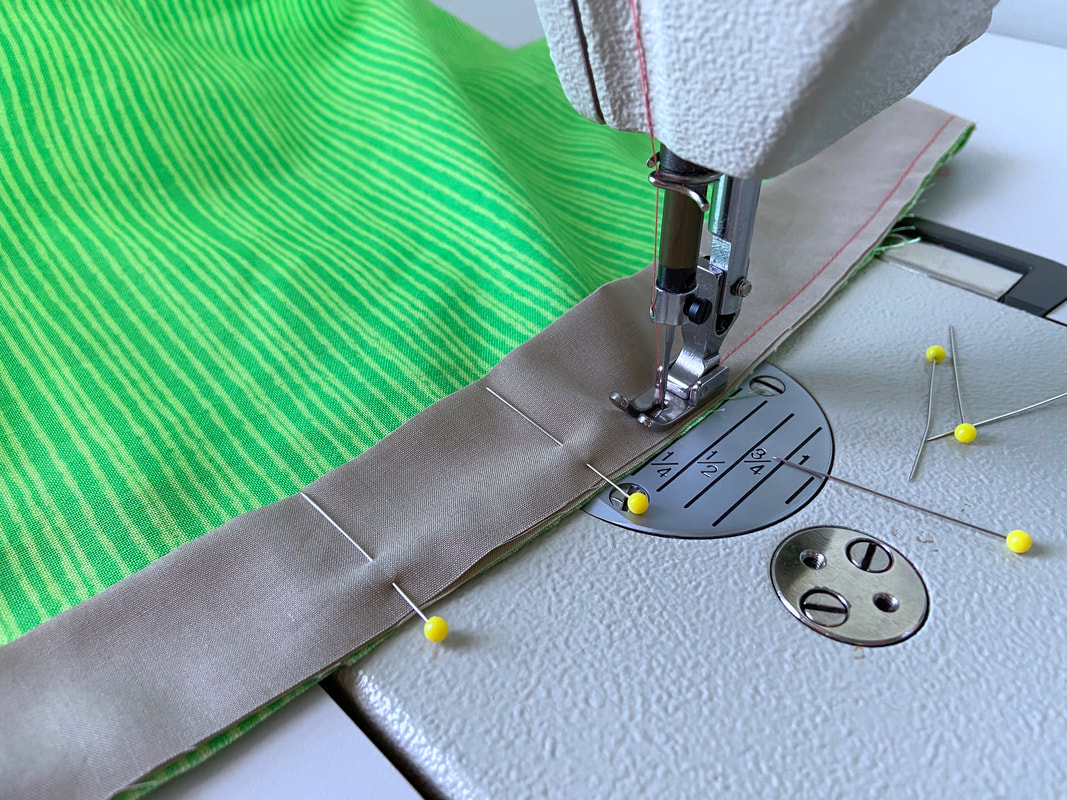
7. With the garment on its right side, align the band’s seam to one of the garment seams such that the seamlines are touching. The band’s raw edge should align with the hem raw edge. Insert a few pins perpendicularly to secure.
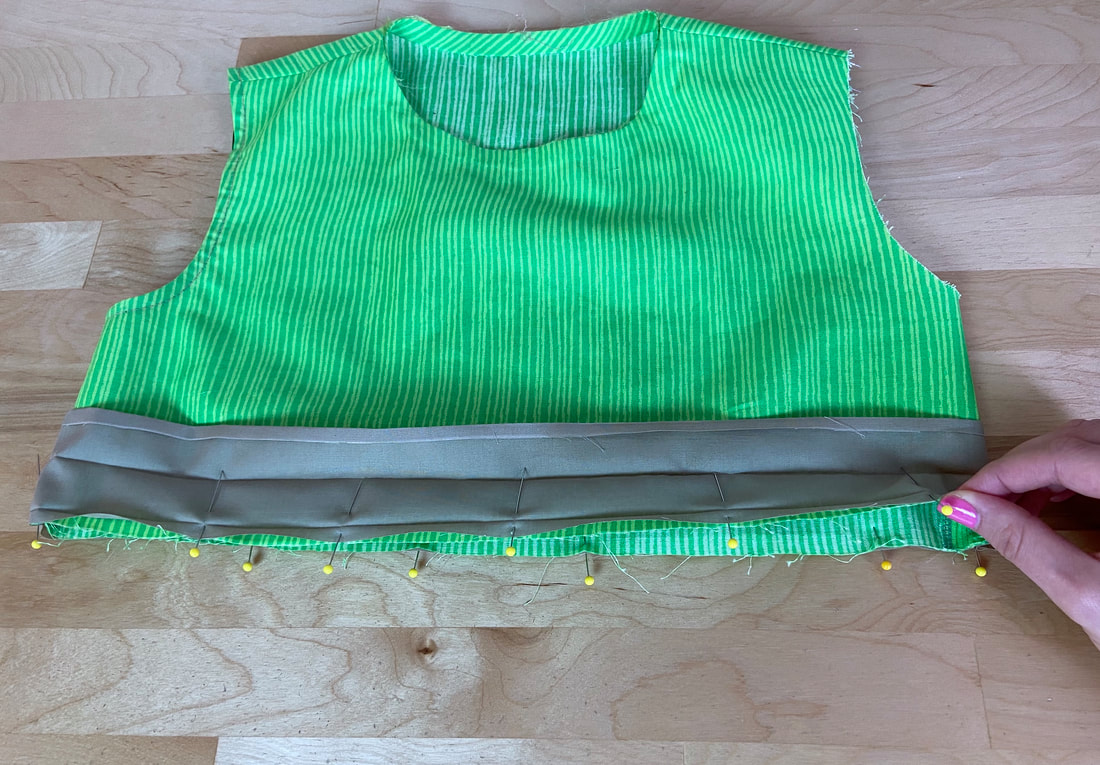
8. Continue aligning the band’s lengthwise raw edge to the garment edge. Insert pins perpendicularly as shown.
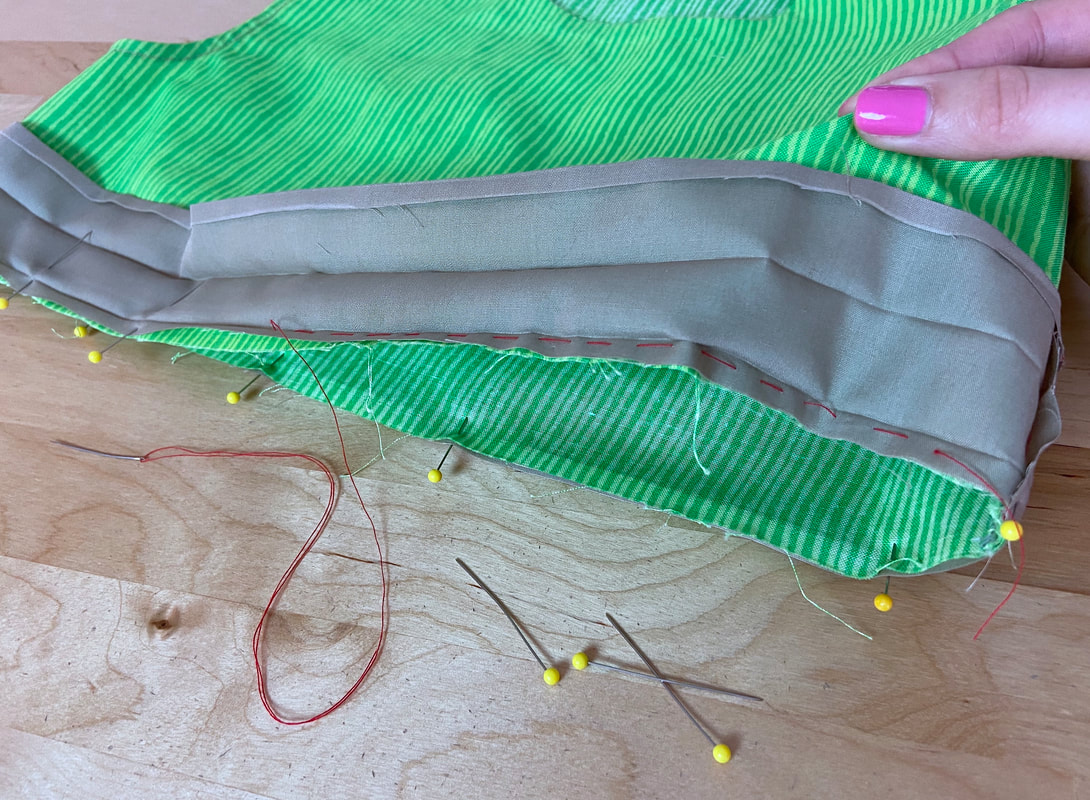
For added security, you can also hand baste the two fabric layers together.
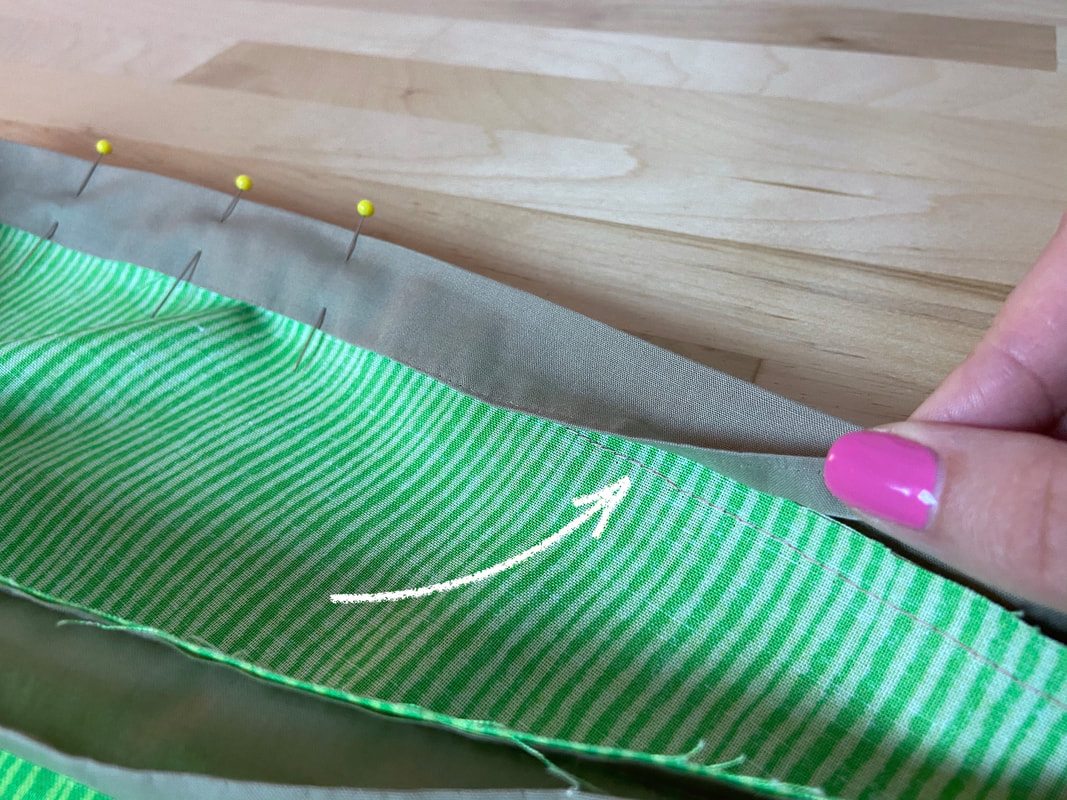
9. With the band facing up, stitch the band to the garment layer at ¼” seam allowance. Follow the crease line as a stitching guide. Once complete, remove any hand basting at this point.
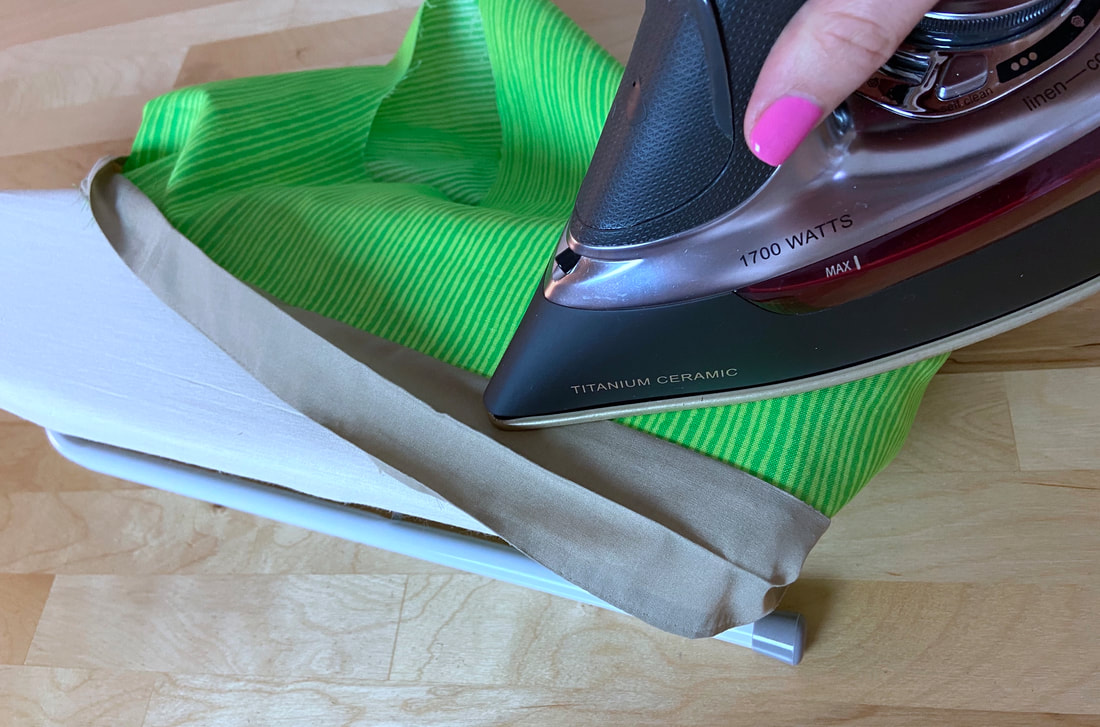
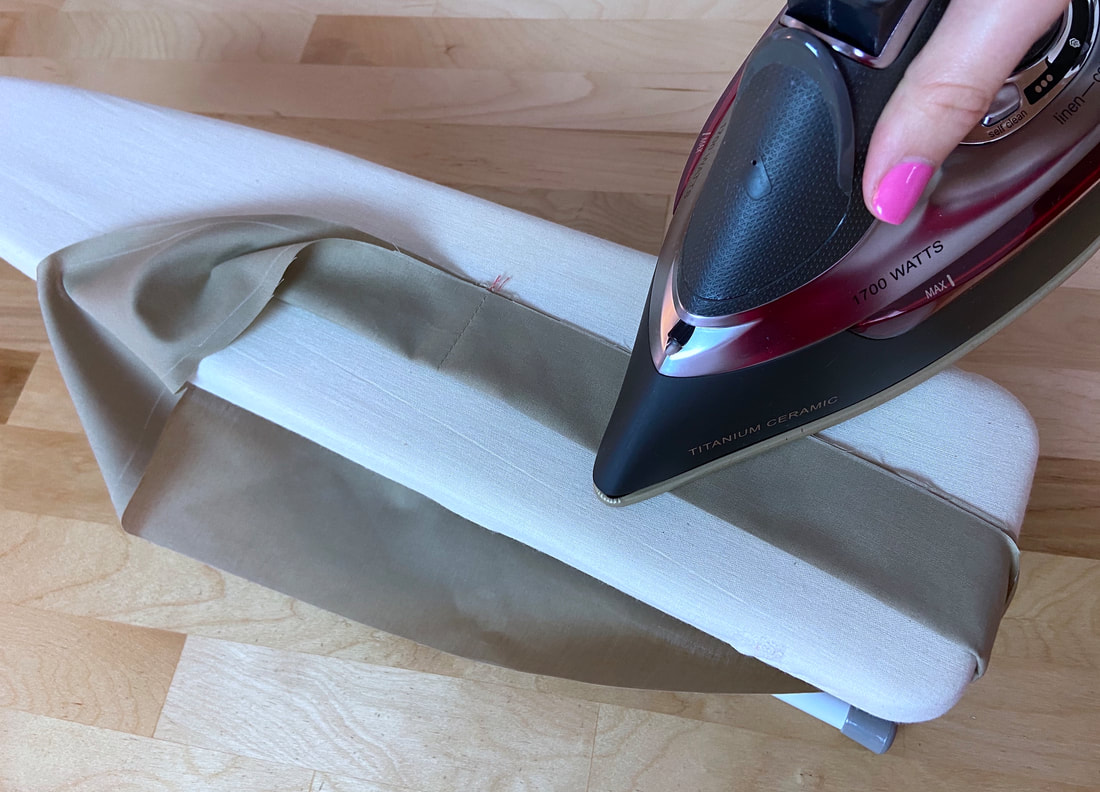
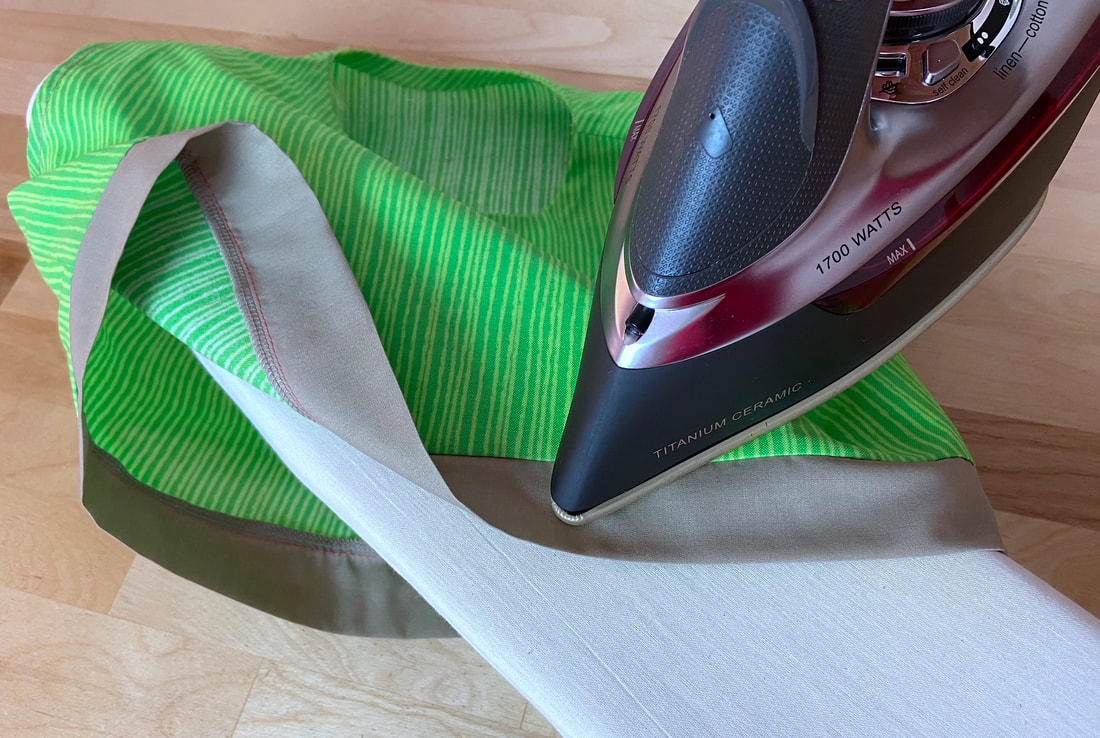
10. Extend the band and all seam allowance layers away from the garment, and iron directly on top of the seam.
Try to iron on the seamline only, being careful not to iron directly on the band’s center fold.
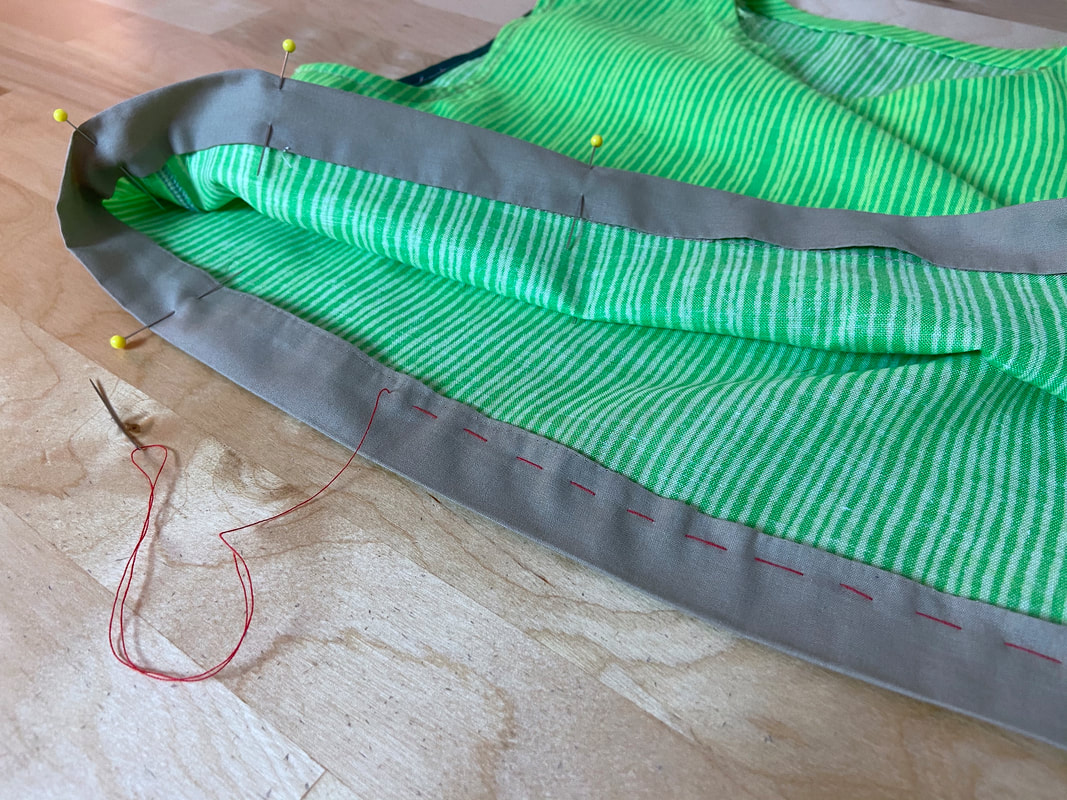
Following the direction of the center crease applied in Step 3 above, bring the band’s unstitched folded edge over such that all fabric raw edges are enclosed. The band's unstitched fold line should align to the stitch applied in Step 9.
Insert pins perpendicular to the hem to keep the band in this position.
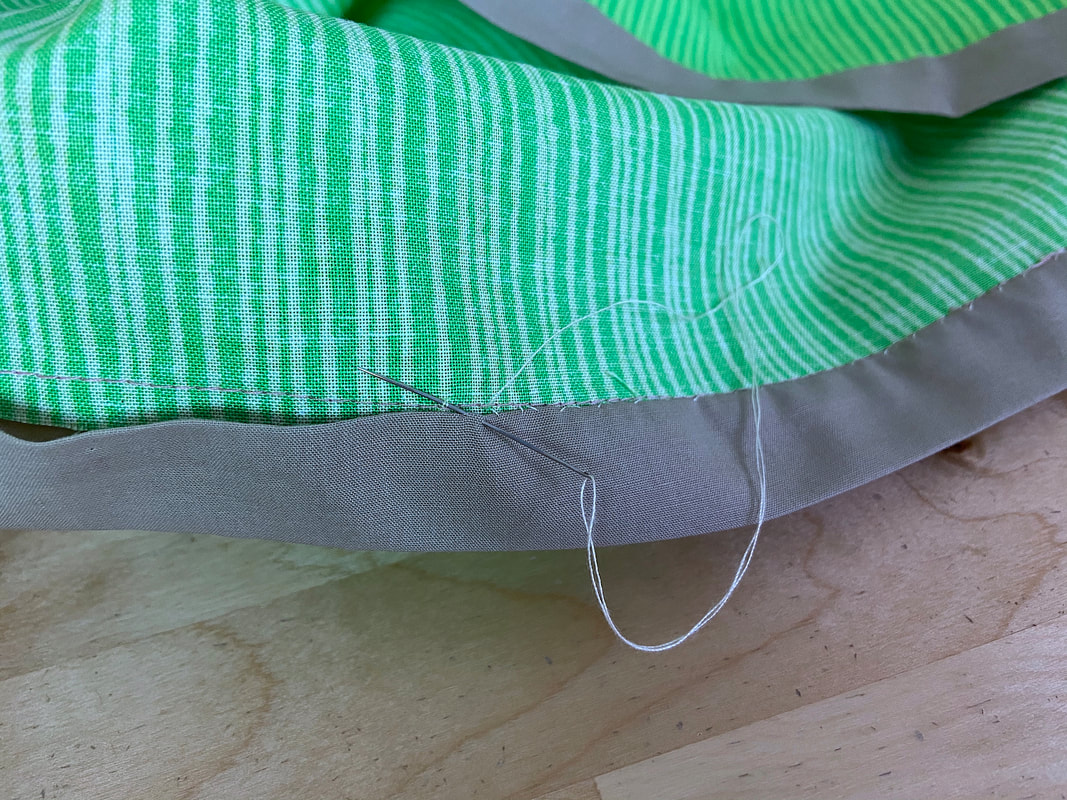
For a hand stitched finish with no visible stitching on the right side of the garment, blind stitch the folded edge of the band to the garment surface.
To blind stitch, use a slipstitch to sew through the band’s folded edge catching 2-3 threads on the garment- no stitching should be visible on the face of the garment.
Check out this tutorial for more information on blind stitching and how to slipstitch: Hand-Applied Blind Stitches
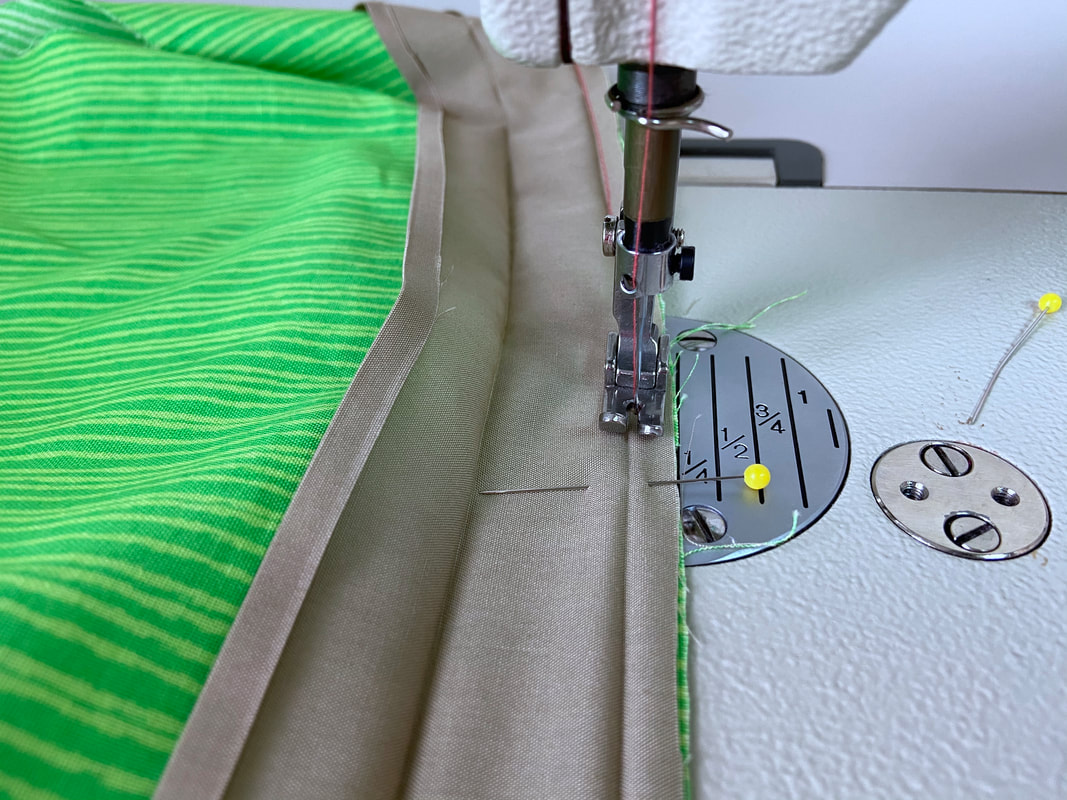
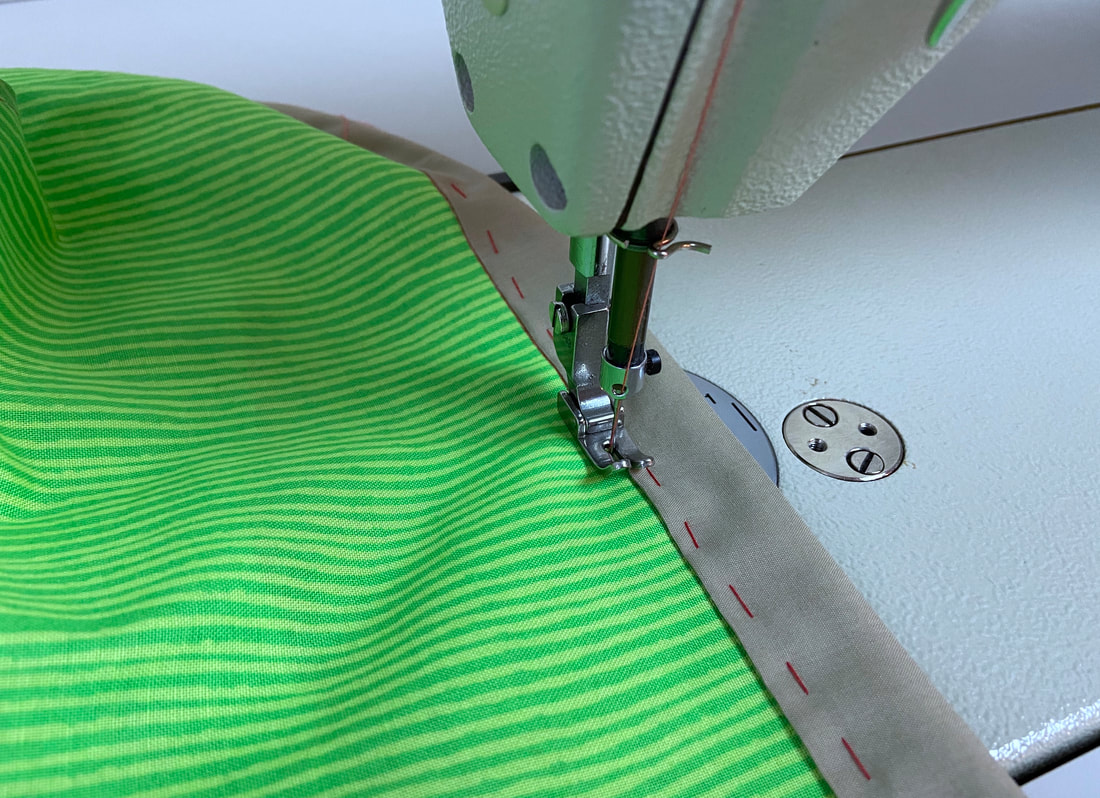
To machine stitch the band, bring the unstitched folded edge about 1/8" over the existing seam stitch as shown. Re-pin the band in this position.
It is highly recommended that you hand baste the band for extra stability in the topstitching process to follow.
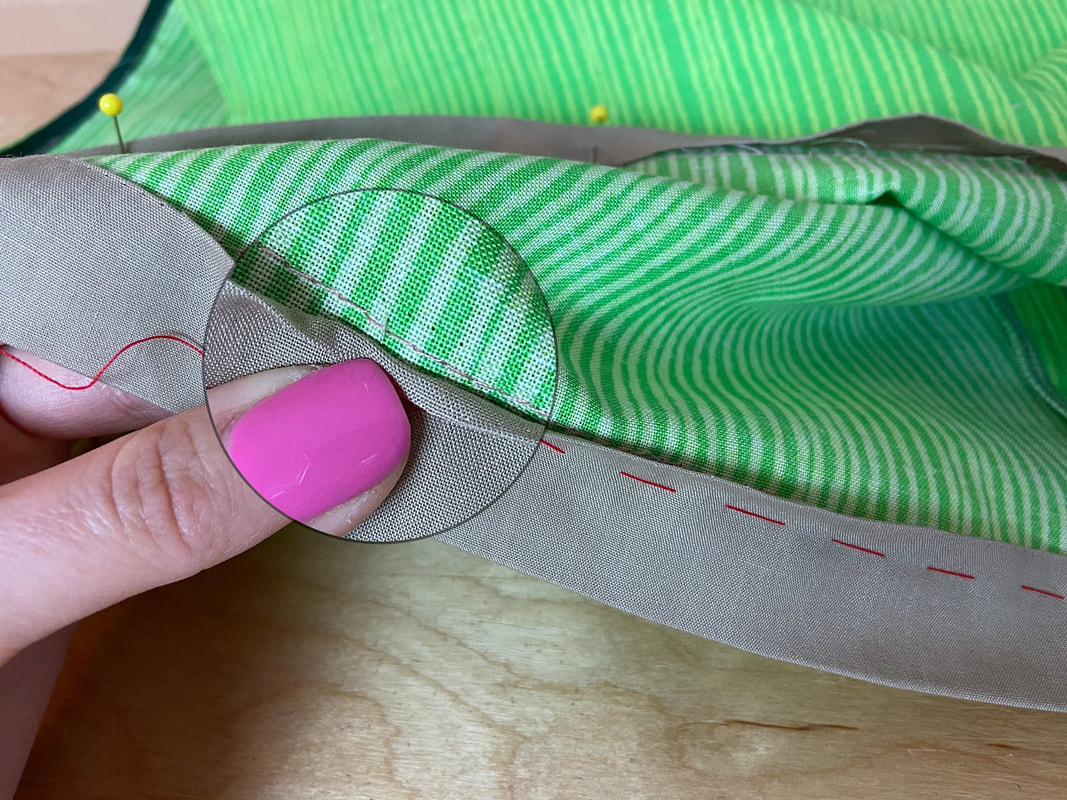
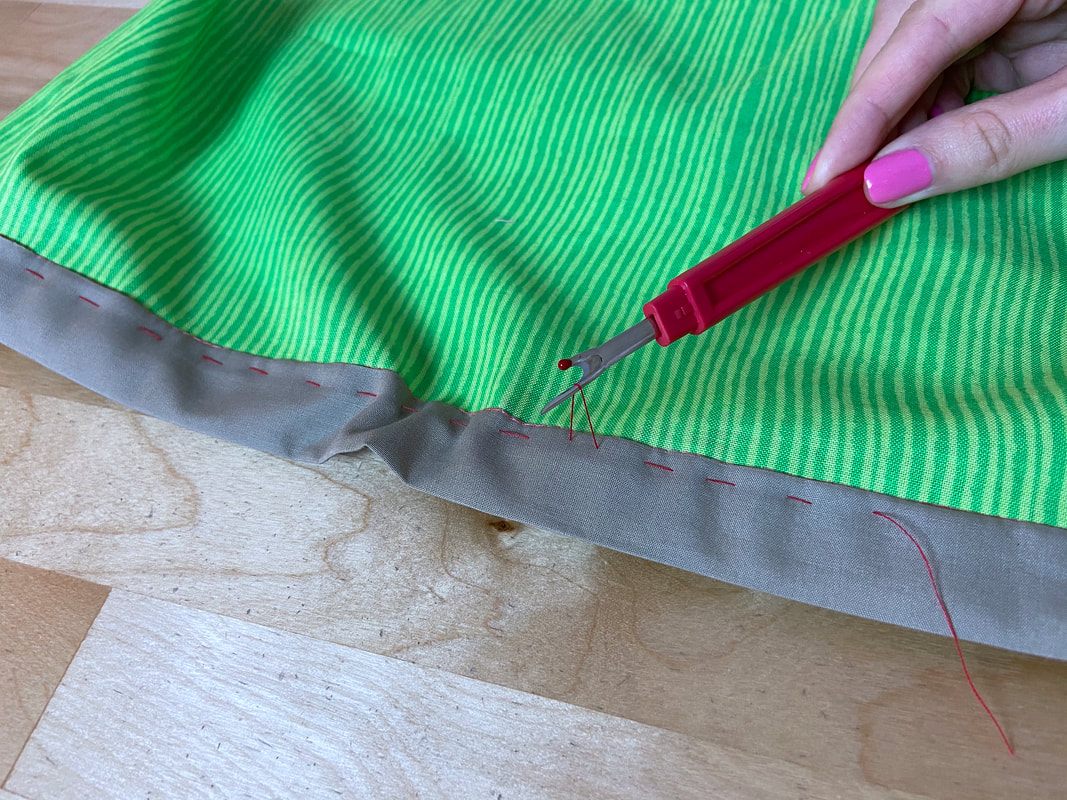
From the right side of the band, topstitch in the groove created by the band-garment seam as shown. Doing so will catch the band’s second fold and enclose it underneath. Remove the hand basting once complete.
While you should see no visible stitching on the right side of the garment, on the wrong side of the hem finish, you should have a topstitch along the band's folded edge as shown above.
The Fast Approach To Sewing A Band Hem Finish
This simple finish requires that the garment's hem allowance matches the lengthwise seam allowance of the band.
1. Follow Steps 1-2 described above to mark and cut the preliminary fabric strip.
2. Bring the short ends together with face sides touching. Pin and stitch them at the designated hem allowance (1/4” in this case).
3. Iron the seam with the seam allowance open.
3. Fold the band lengthwise down the center with wrong sides touching and iron the fold to crease the line as shown.
4. With the garment on its right side, align the folded band to the hem allowance edge such that all raw edges are aligned. Insert pins perpendicularly to secure the folded band to the hem.
The band’s vertical seam should overlap and perfectly match one of the garment seams.
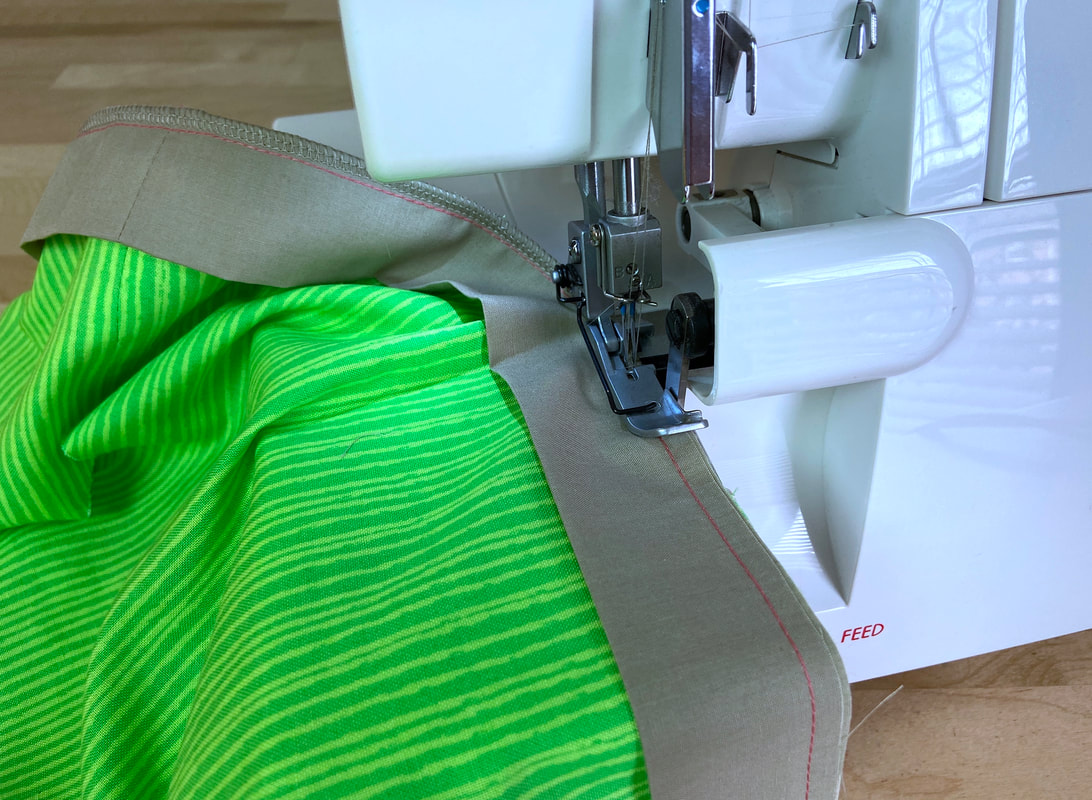
5. Stitch the band to the hem edge at the designated seam allowance- ¼” in this example.
6. Clean finish all raw edges with an overedge stitch like serging or zigzag. A serging stitch was used in this example.
7. Iron the seam with the finished seam allowance pointing up towards the inside of the garment.
If desired, topstitch next to the band seam, through the garment and seam allowance underneath. Doing so will keep the band consistently flat through the garment's wear and wash cycles.

