

Seams are the basic building blocks of a garment.
|
Each seam features a seamline which is located at a specified distance away from the fabric raw edge. The distance from the seamline to the fabric raw edge is known the seam allowance discussed in detail below.
Basic Guidelines For Stitching And Aligning Seams
When stitching a seam, stitch length should be adjusted based on the fabric at hand.
|
For thicker, heavier fabrics use a longer stitch.
|
For lightweight, fine or loosely-woven fabrics, use a shorter stitch. A shorter stitch allows for more control but if used on thick fabric layers, it can cause some strain and puckering in the seam.
Adjust tension and pressure only when necessary. Most machines these days are capable of automatically adjusting tension.
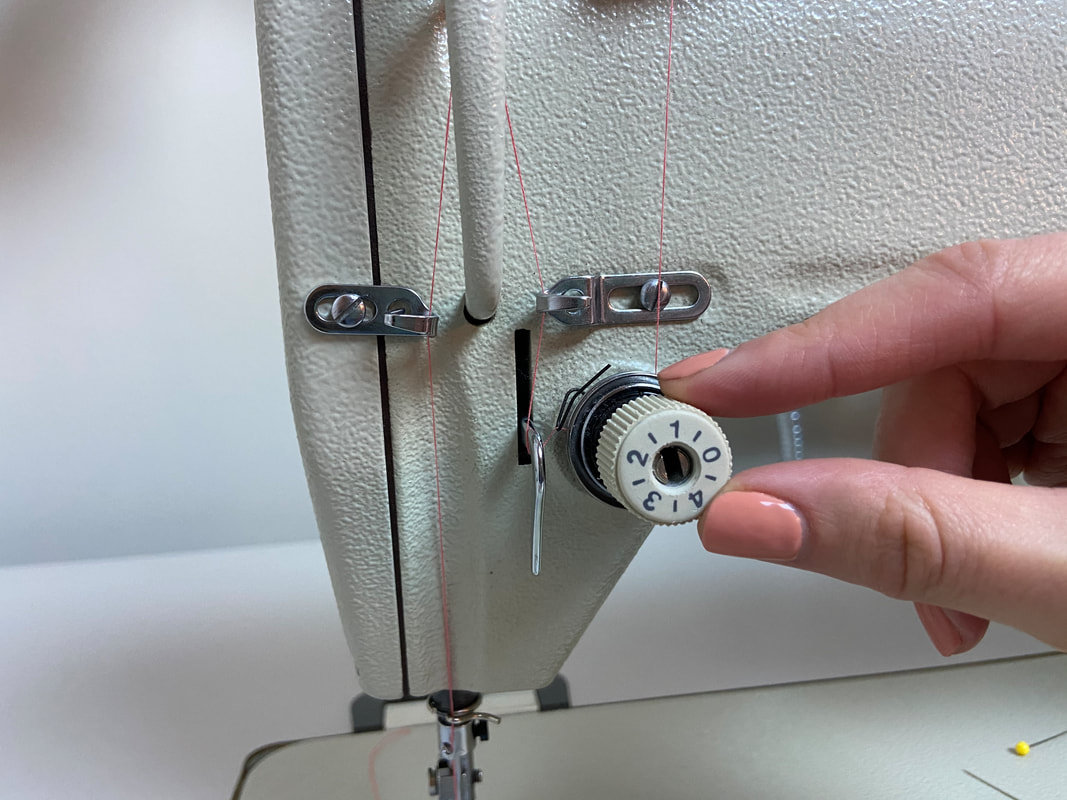
|
Adjusting machine tension manually can be a tricky subject for sewing beginners. Always consult your sewing machine guide on this topic, and make sure you understand how to adjust, increase or release tension based on the fabric/project at hand.
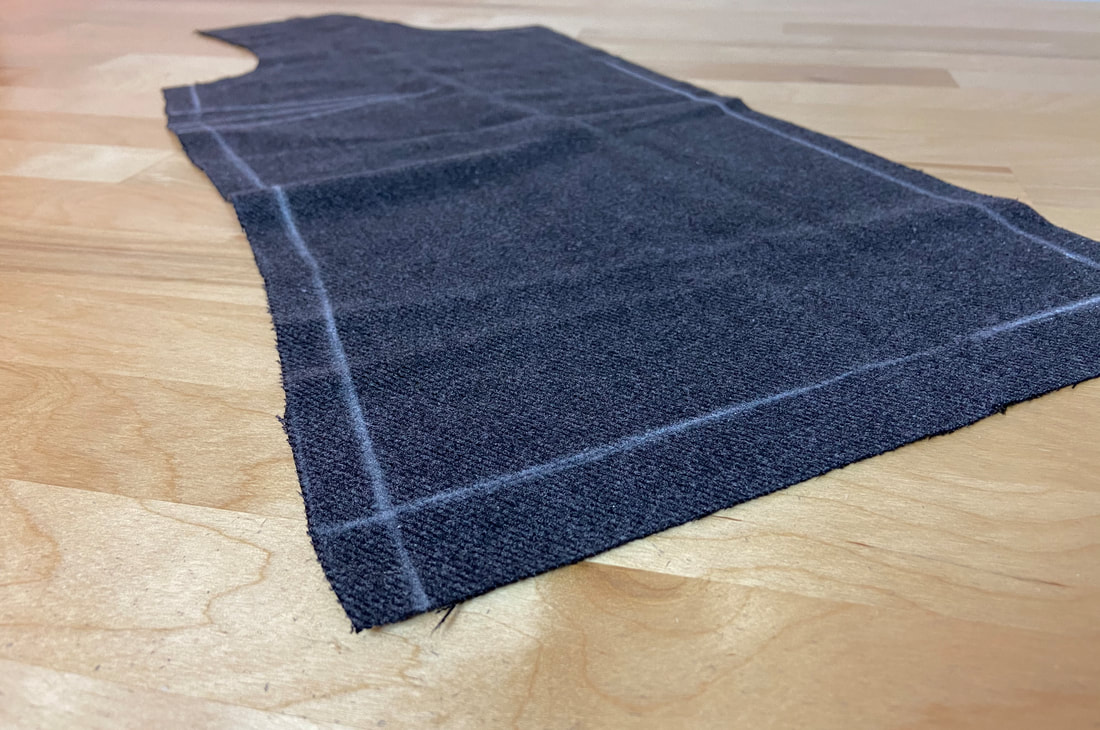
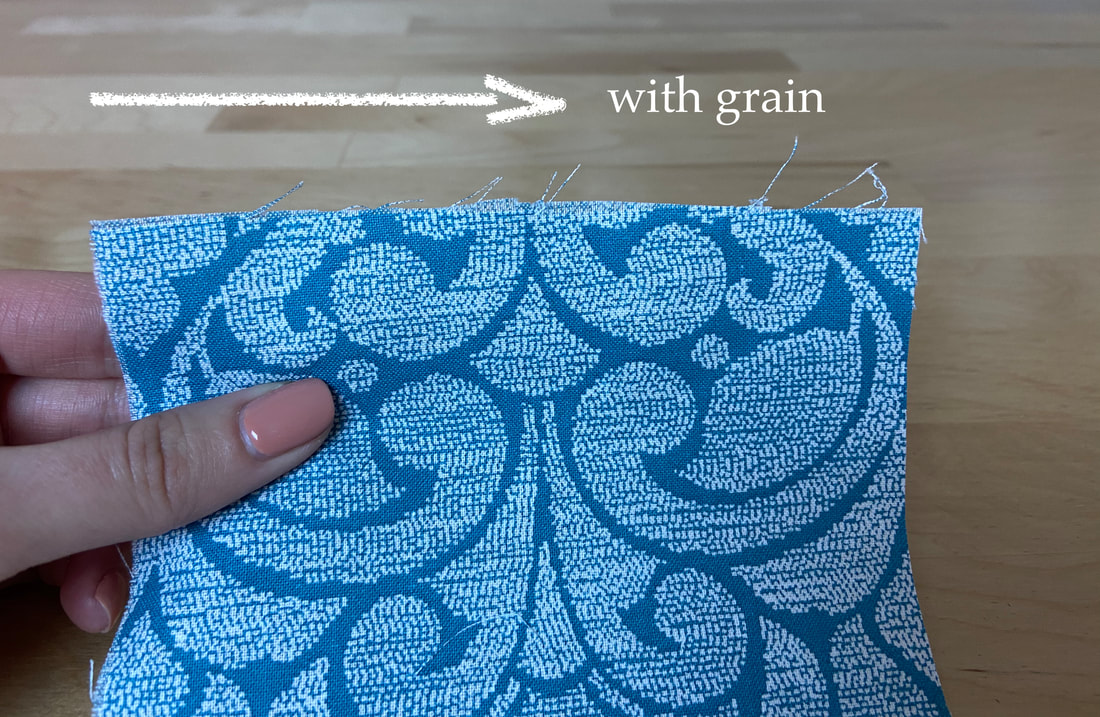
Directional stitching is important and should be followed if possible. Directional sewing means stitching your seams in the direction of the grain. This mainly applies to vertical or horizontal straight seams.
To find the direction of the grain, look at the direction of the woven threads along the fabric’s cut edge:
|
When running your finger against the edge, the direction in which the crosswise and lengthwise threads are pushed together is with the grain.
|
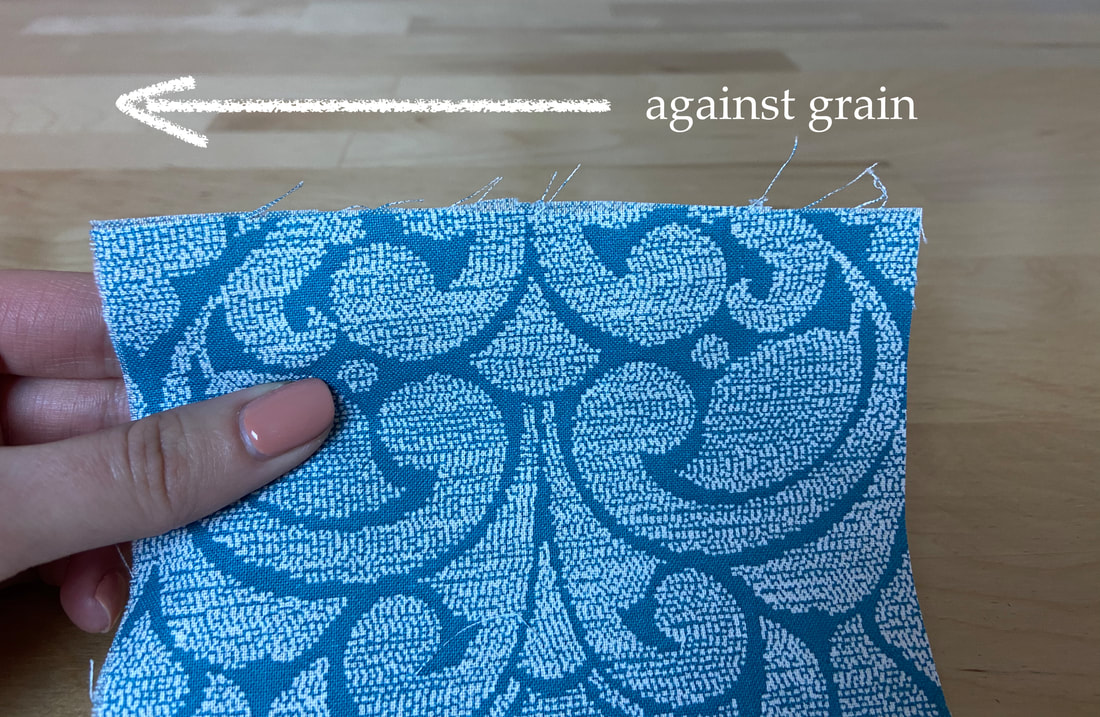
Vice versa, the direction in which they separate from one another is against grain. You can perform this little experiment against the seam’s cut edges before deciding which direction is best to stitch in.
|
The color of the thread should match that of the fabric. When using a multicolor fabric, choose the thread color based on the most predominant color in the print.
A universal polyester thread should work for most sewing projects.
Thread should be durable enough to withstand some slight pulling as it goes through the sewing machine gages.
If sewing knits, you can use a thread that has some stretch. Test it with your machine first, as some stretch threads may break or tangle in the machine stitching process.
|
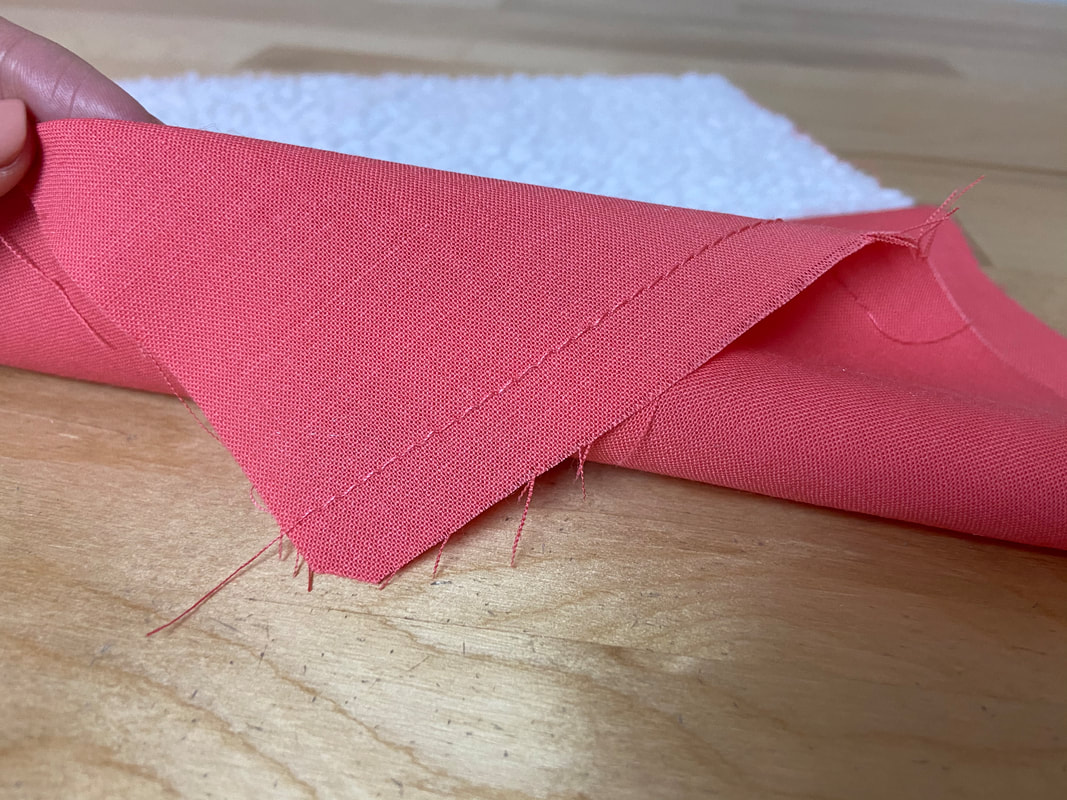
When sewing a seam, fabric face sides should be touching.
|
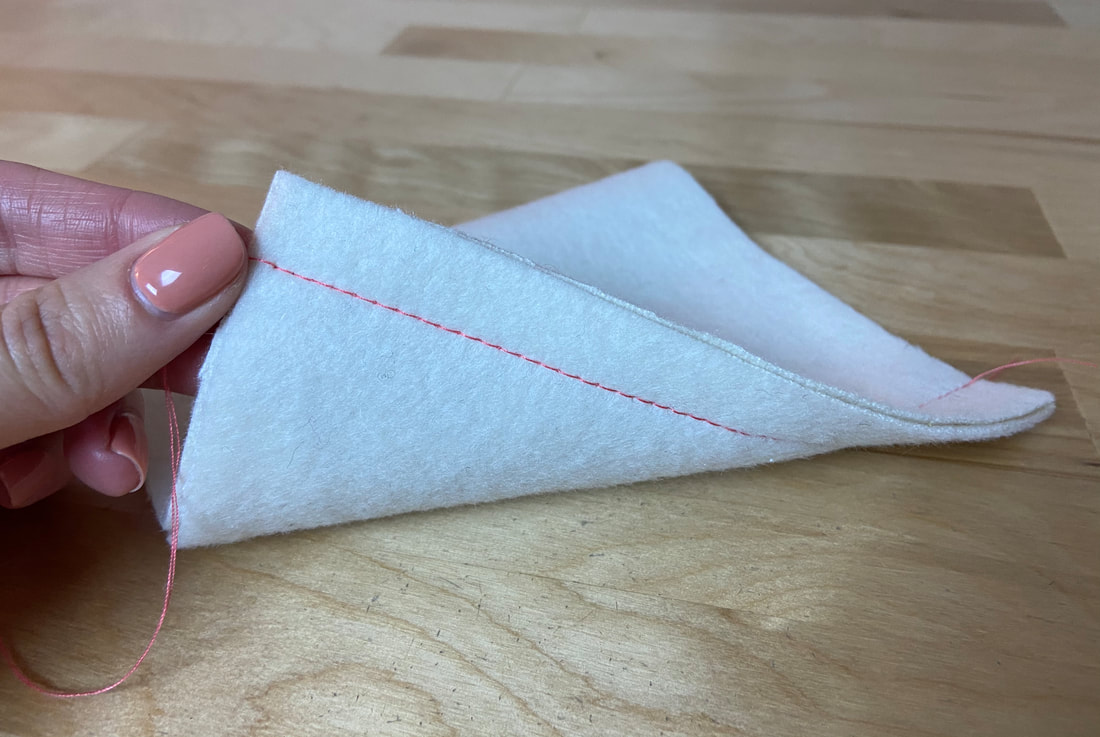
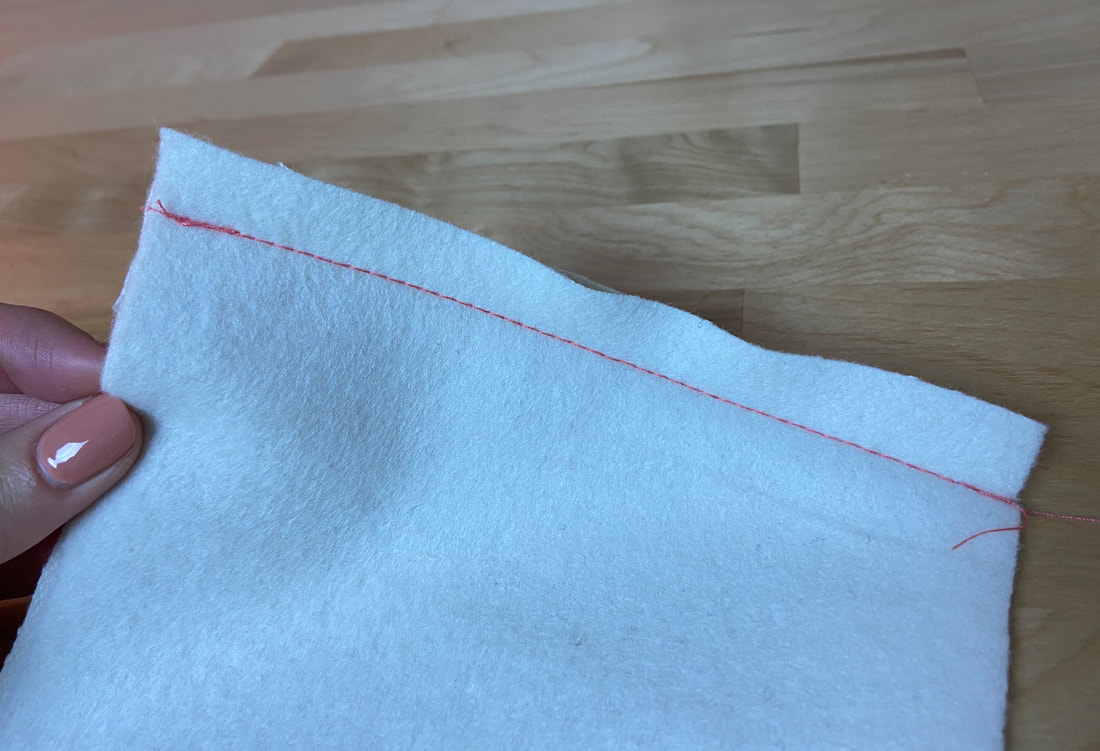
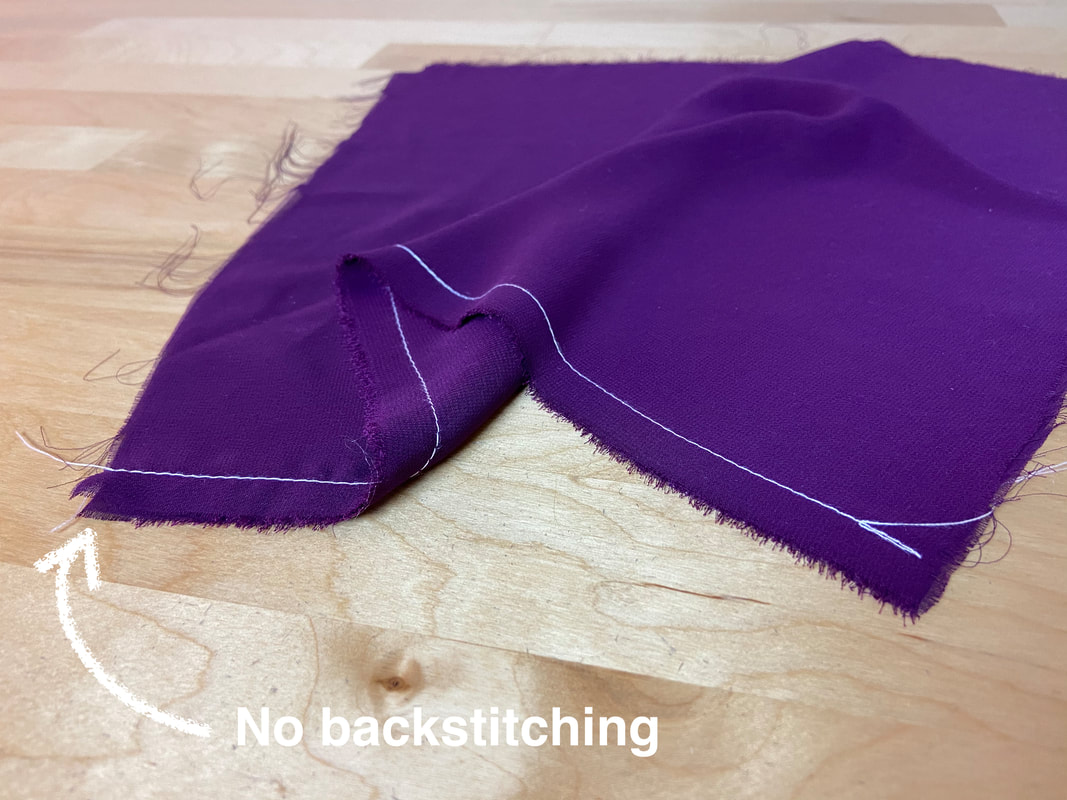
Seams should be backstitched at the beginning and end to prevent them from coming undone at these ends.
|
However, if your fabric is so thin that it wrinkles or gathers up the seam, do not backstitch the end of the stitch. You can then smooth out the seam by ironing the stitch from the start point (backstitched end) toward the end of the stitch (not backstitched). The side that is not backstitched provides a channel for tension release.
Basic Guidelines For Handling Seam Allowance

|
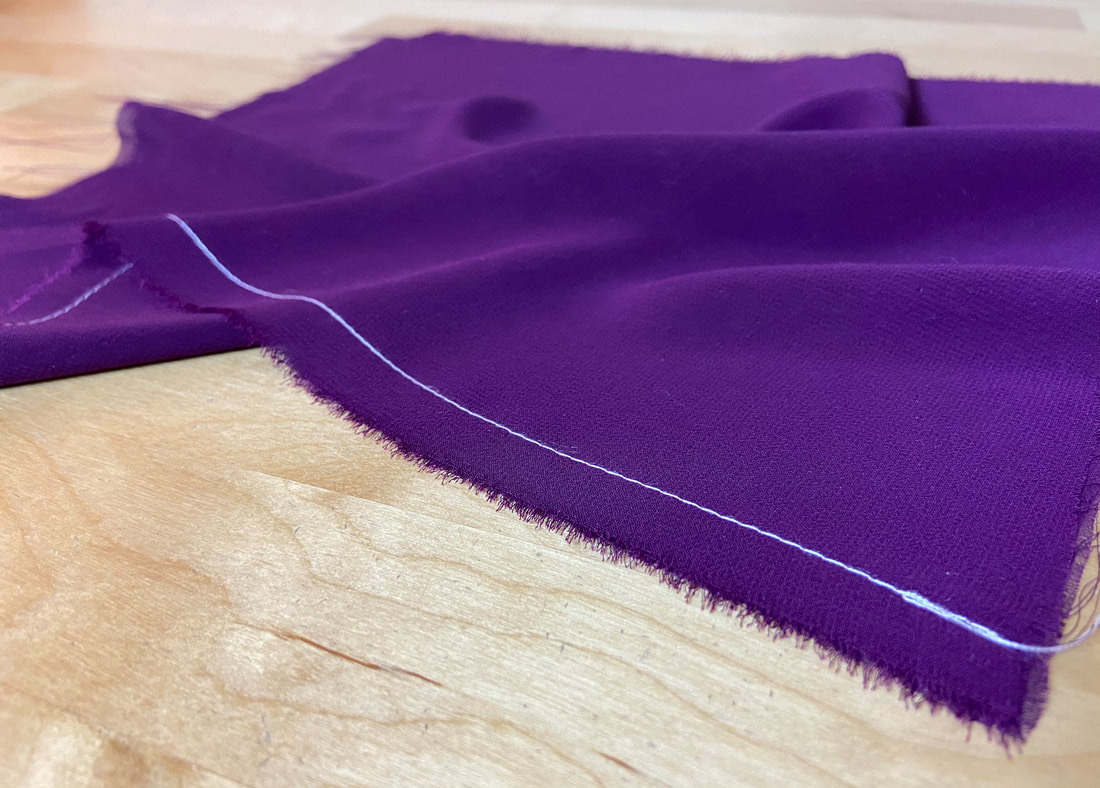
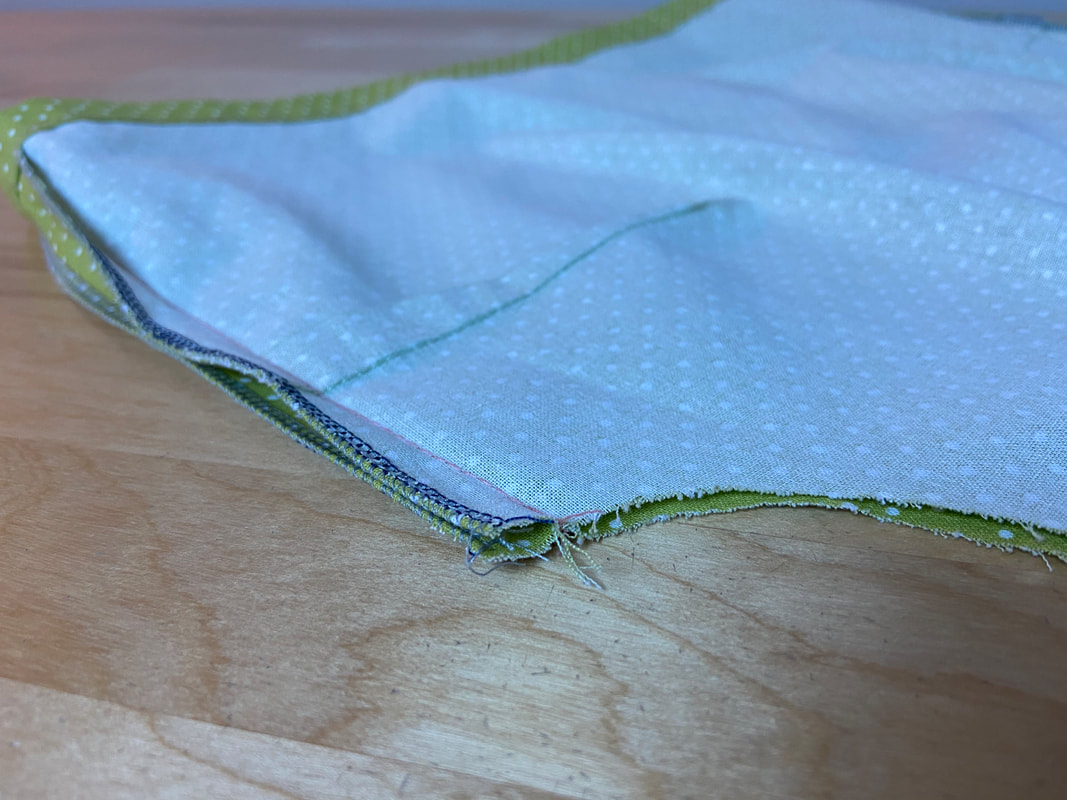
Seam allowance is the distance from the seamline to the fabric’s cut edge. Seam allowance width can vary from edge to edge depending on the type of fabric and finishing technique used in the corresponding seam.
Thicker, bulkier fabrics require a larger seam allowance while very thin, fine fabrics will do best with a smaller seam allowance. If special self-bound finishes are applied, the seam allowance width should be the appropriate width for completing these finishes.
If the seam allowance width is not chosen correctly based on fabric, seam location (on the garment) and finishing technique, the seam will be difficult to sew or result in weak, unstable connection.
|
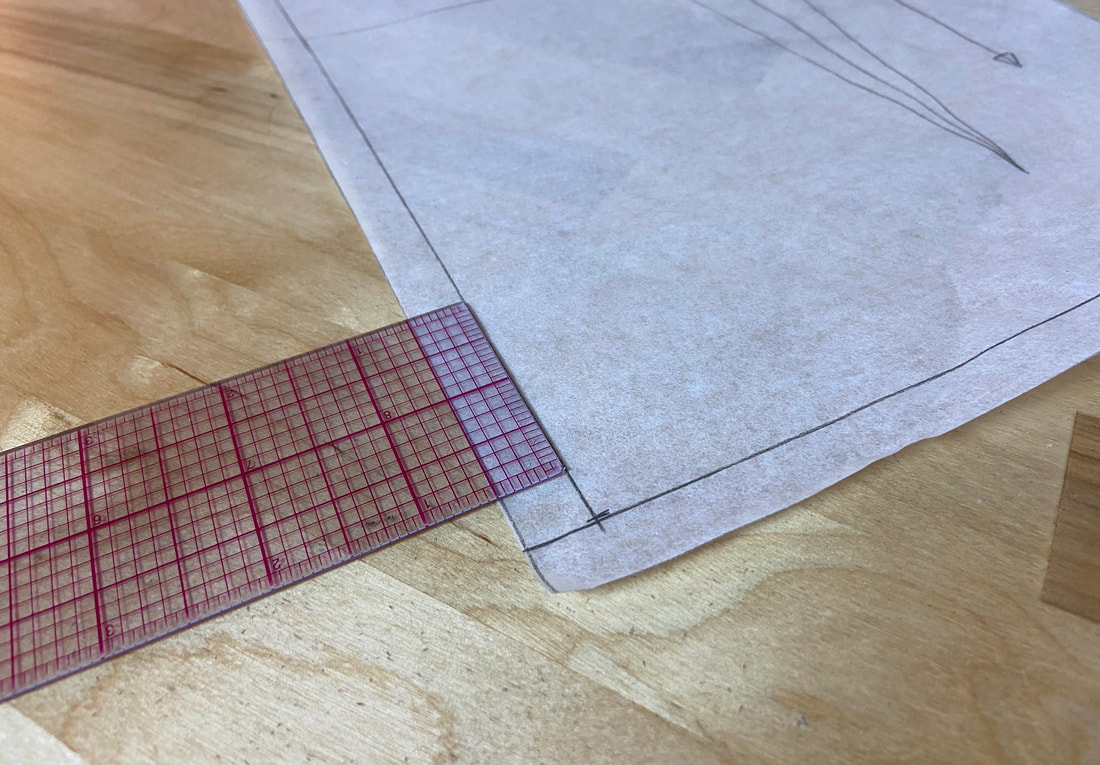
Two of the most common seam allowances used in dressmaking are 5/8” and ½”. Of course, you should always check your pattern guidelines for any alternate seam allowance specified along certain edges.
If the edge on a sewing pattern does not have seam allowance altogether, this edge is either cut on fold style or represents an unfinished edge as opposed to a seam. Moral of the story is: all seams have to have seam allowance.
A seam should always be stitched at the same seam allowance throughout.
|
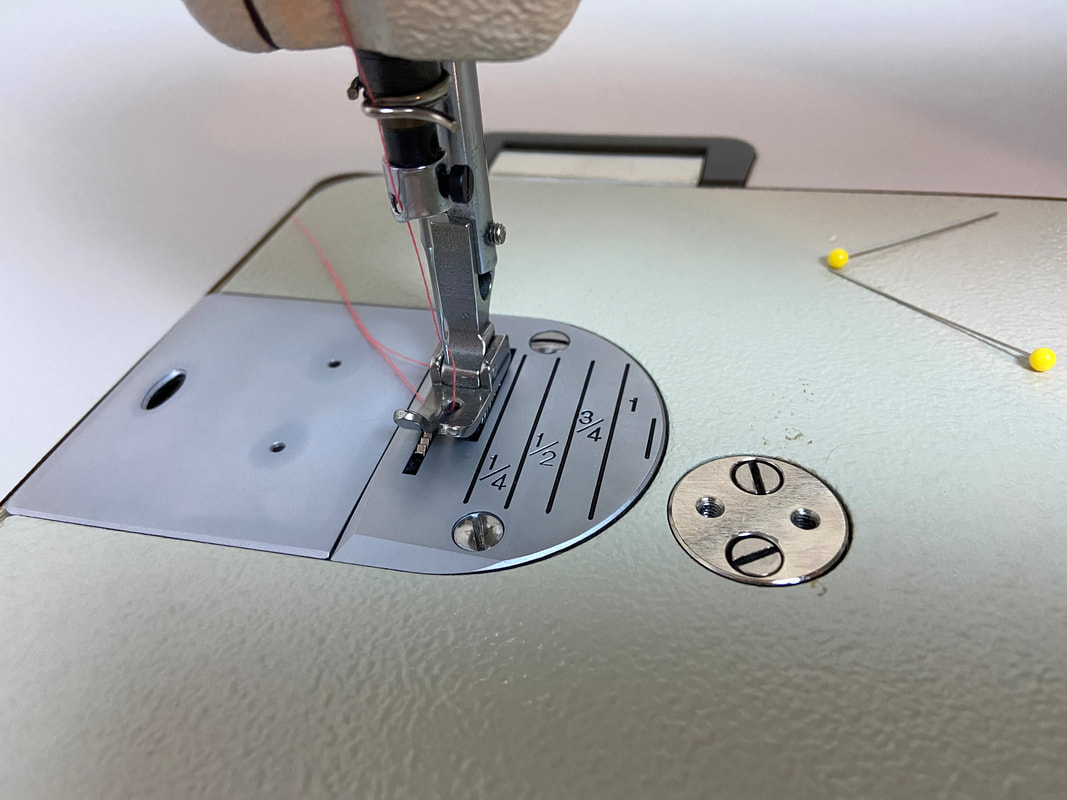
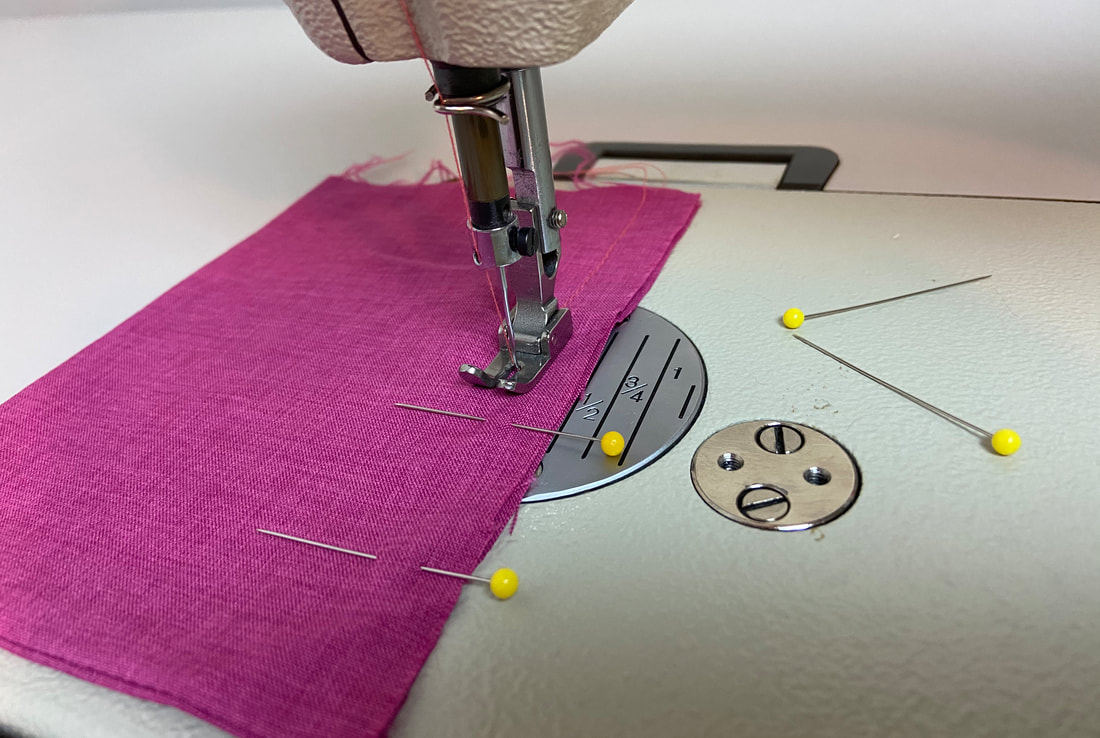
To stitch a seam at its designated seam allowance, you should follow your sewing machine’s seam allowance guides located to the right of the machine needle. Depending on the sewing machine, the guidelines are placed at 1/8” or ¼” increments away from the needle.
|
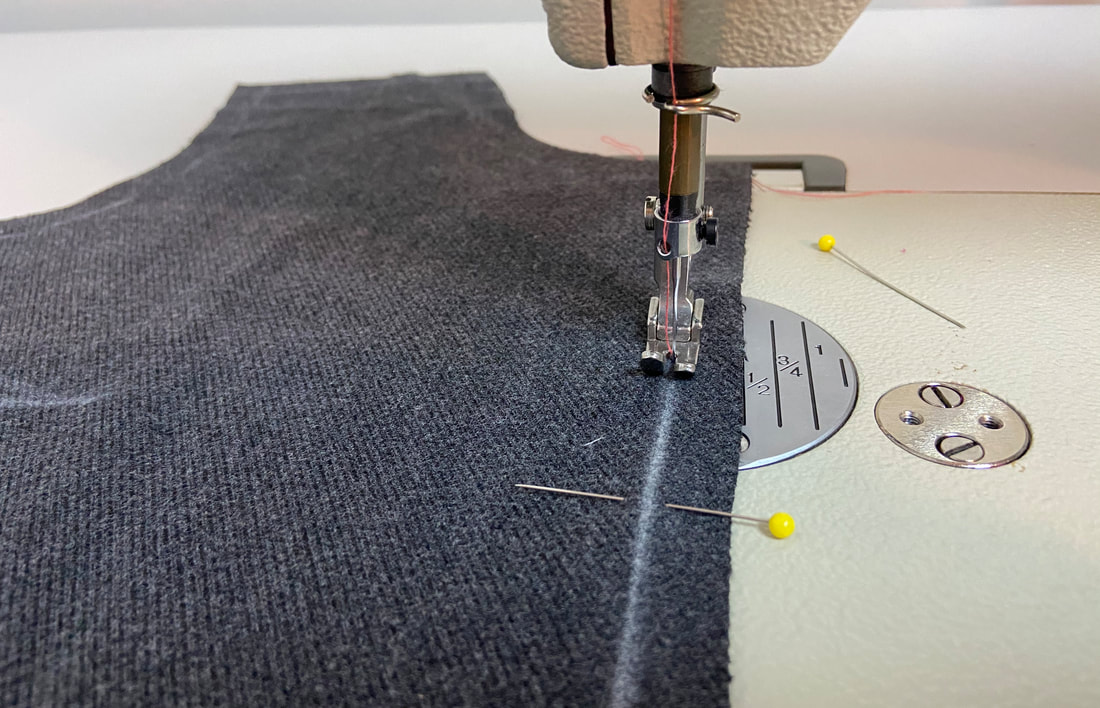
When stitching a seam, the fabric’s outer edges should align with the designated seam allowance guide. During the stitching process, the fabric edge should remain aligned to its corresponding guide from the beginning to the end of the stitch.
|
If as beginner, you transferred your seamlines from the patterns onto your fabric pieces, you can simply stitch directly on these marked seamlines instead of relying completely on your machine’s allowance guides. However, for good measure, you should always keep an eye on the fabric edge and ensure that it remains consistently aligned with its appropriate seam allowance guide line.
 |
All content, including images and text, may not be copied, replicated, or redistributed without express written permission. This website is regularly screened and monitored for content protection.
|
