
What Is A Flat Felled Seam
A flat felled seam is a technique used in dressmaking to achieve a high quality, durable seam finish which is often used with activewear, denim, sport coats, and children’s wear.
|
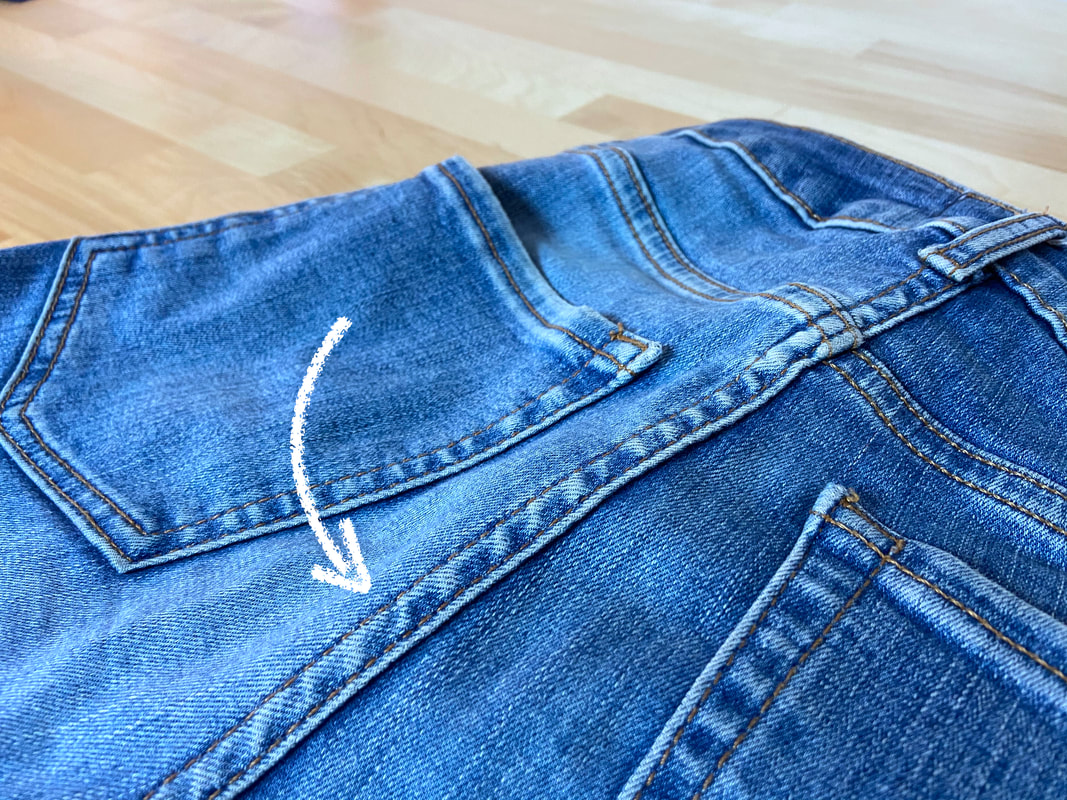
The most common flat felled seam applications are found on jeans, mainly along their center back/front and side seams.
A flat felled seam is considered a self-enclosed seam finish. It contains all seam allowance edges within a folded topstitch located on one side of the seamline and visible on the face of the garment. For that reason, a flat felled application can also be considered a decorative finish providing a more sporty, casual effect.
|
As is true for any topstitched seam, the visible stitch should be applied carefully at an even distance from the seamline. You can use contrast thread for a more unique finish, or keep the thread color matching that of the garment for a more subtle look: the choice is up to you!
Similar to constructing a French seam, a flat felled application is another instance where the fabric wrong sides are touching when the seam is aligned and stitched.
|
As opposed to a French seam however, a flat felled finish encloses the seam allowance layers on the face side of the garment under a topstitched folded edge. It is this structure that provides sturdiness, rendering the flat felled technique perfect for use with heavy duty garments.
As you’ll see in the sewing steps below, a flat felled seam forms a tunnel right next to the seamline. For that reason, a flat felled structure can also be used as an option for corset boning applications in eveningwear, bridal and lingerie.
Sewing A Flat Fell Seam
Assuming the seam allowance is ½”:

|
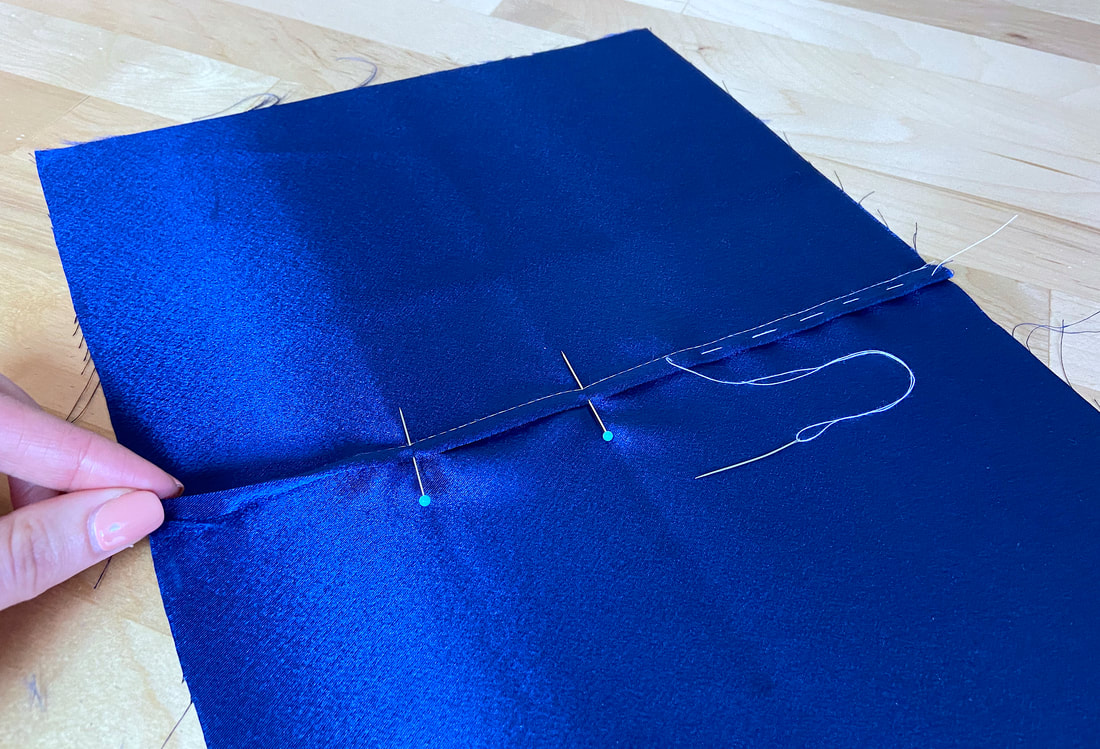
1. Align the seam edges with fabric wrong sides touching. Insert pins horizontally or hand baste the two fabric layers together to keep them in place for machine stitching.
|
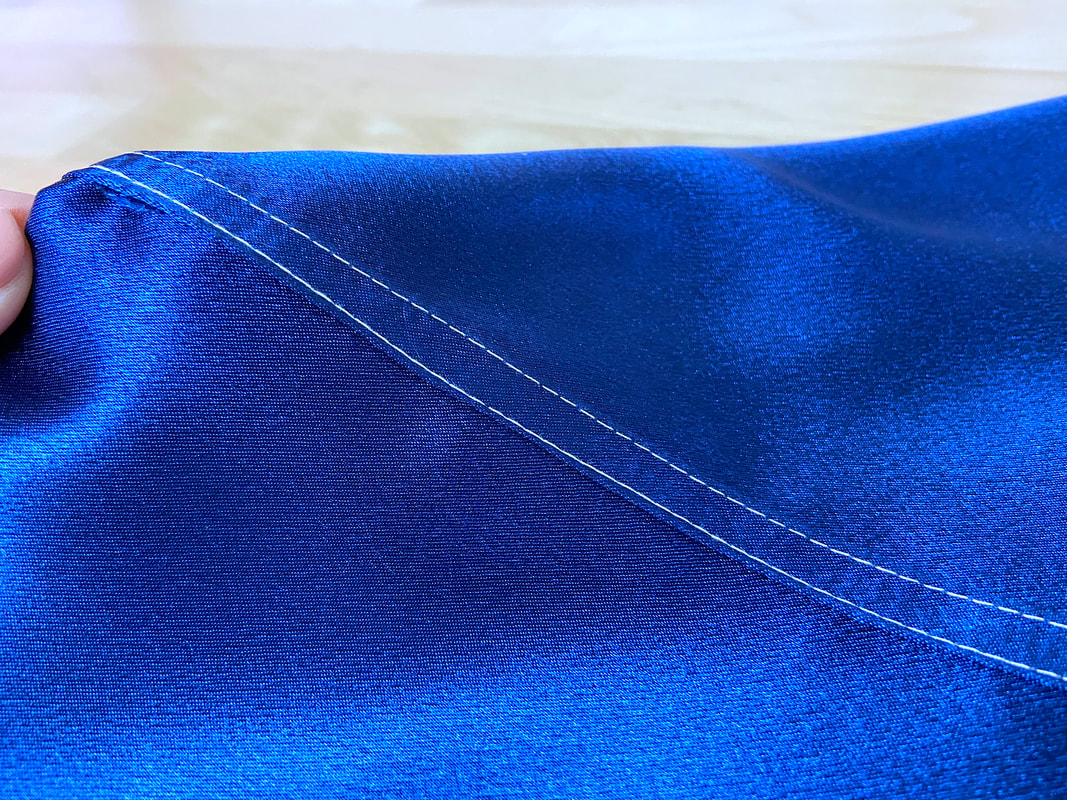
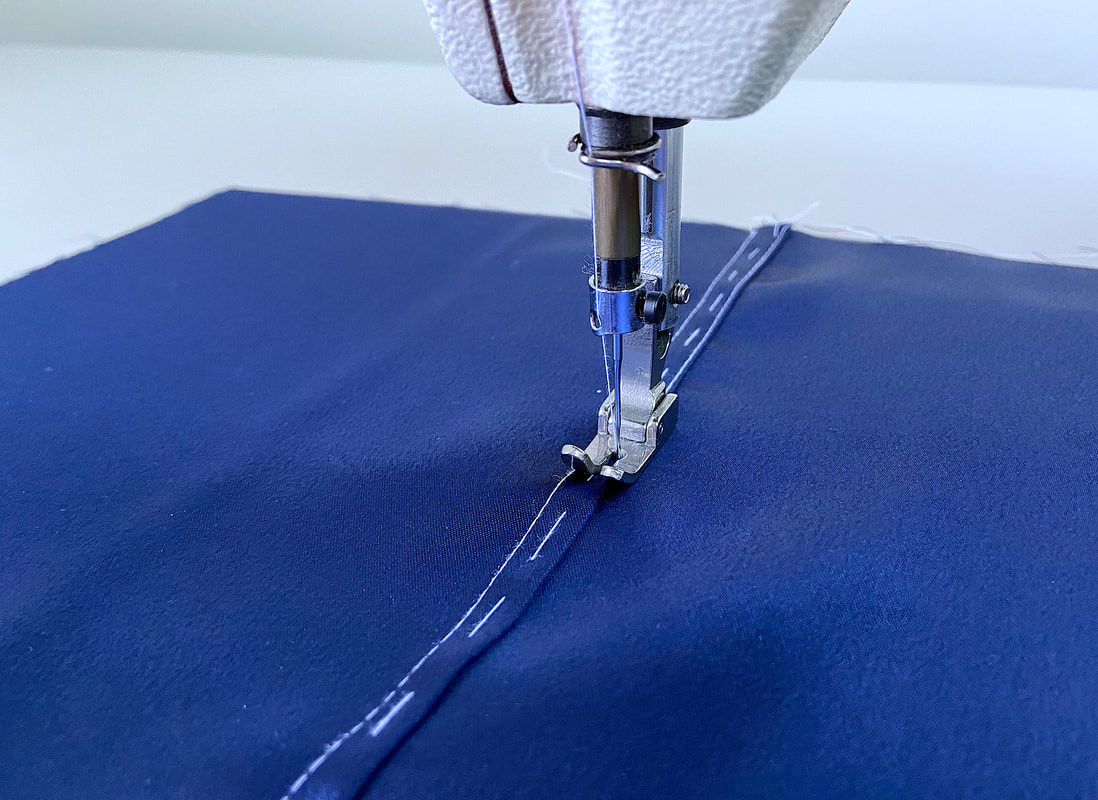
2. Stitch the seam at ½” seam allowance, or whichever your designated seam allowance is.
|
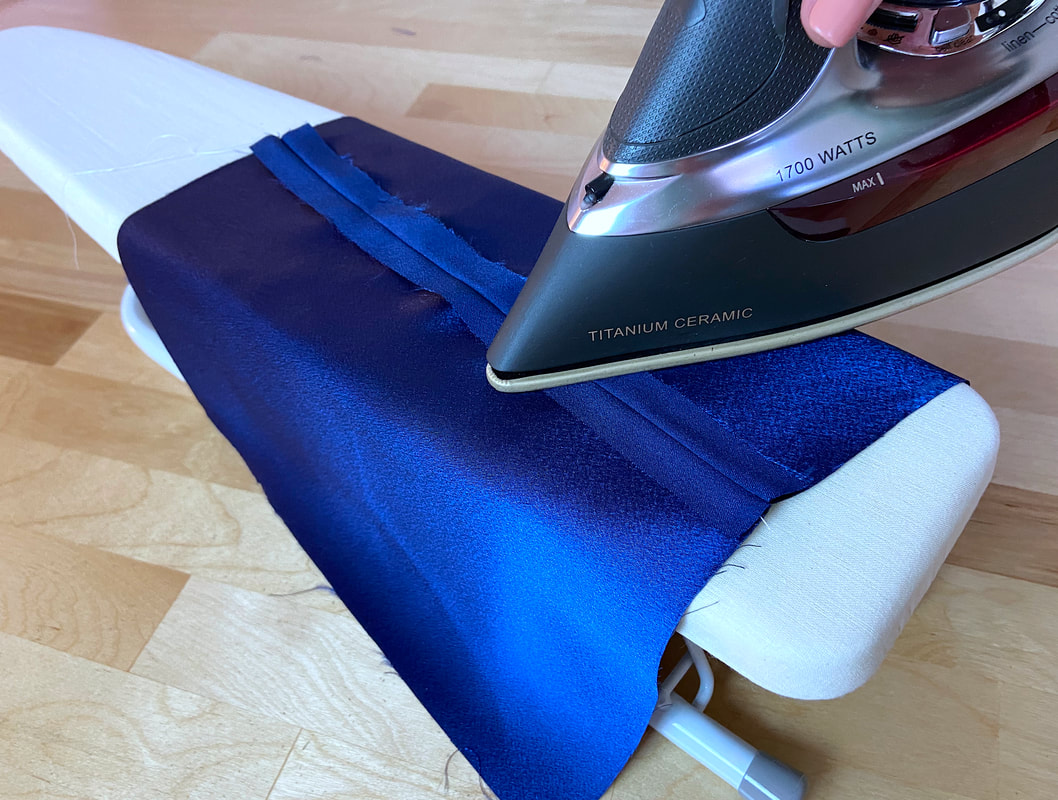
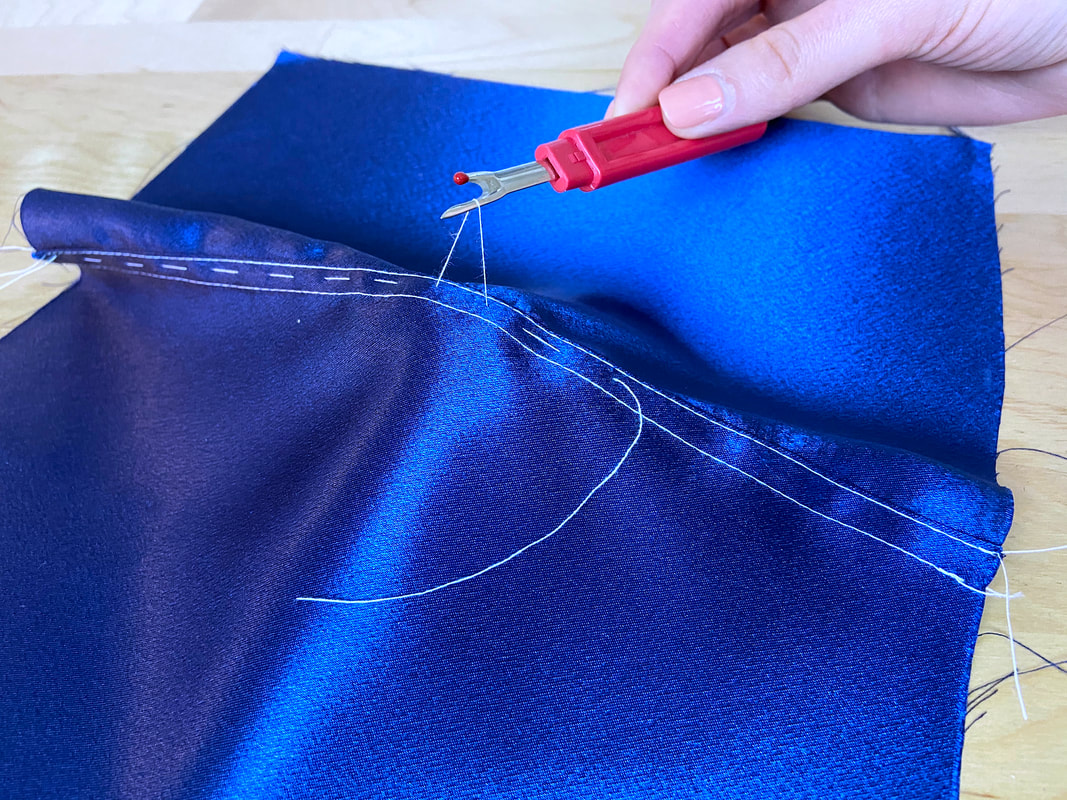
3. Remove the hand basting (if any) and press the seam allowance open as shown above.
|
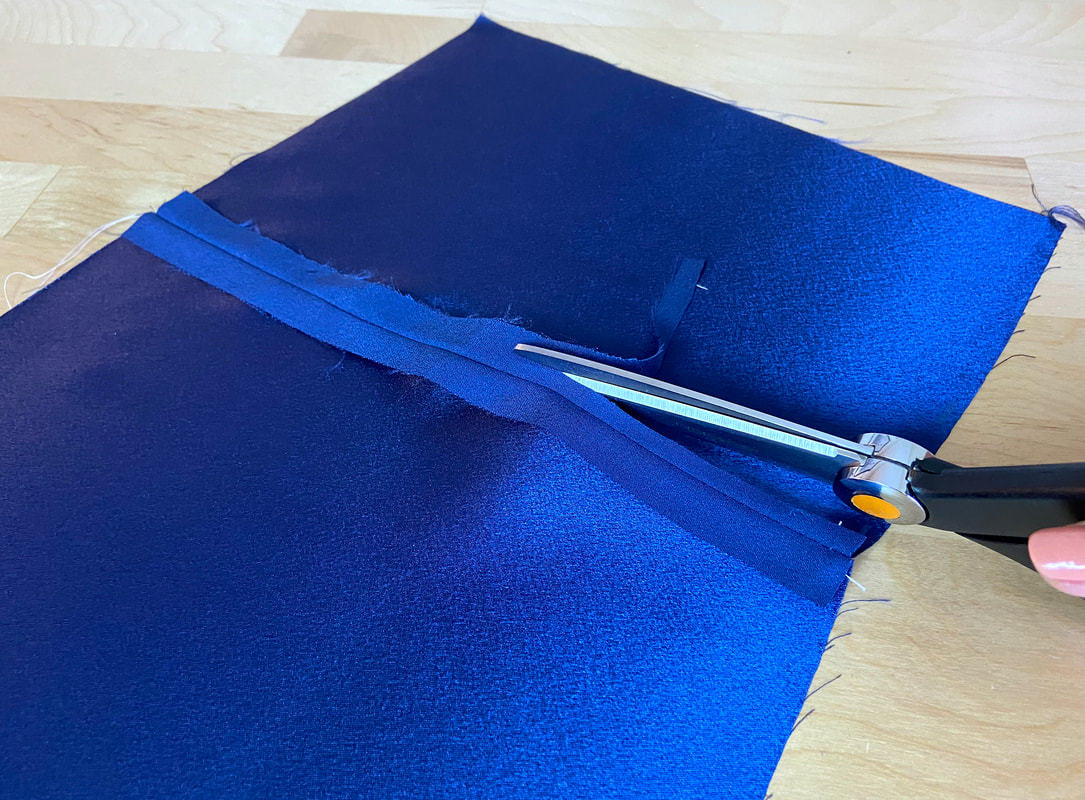
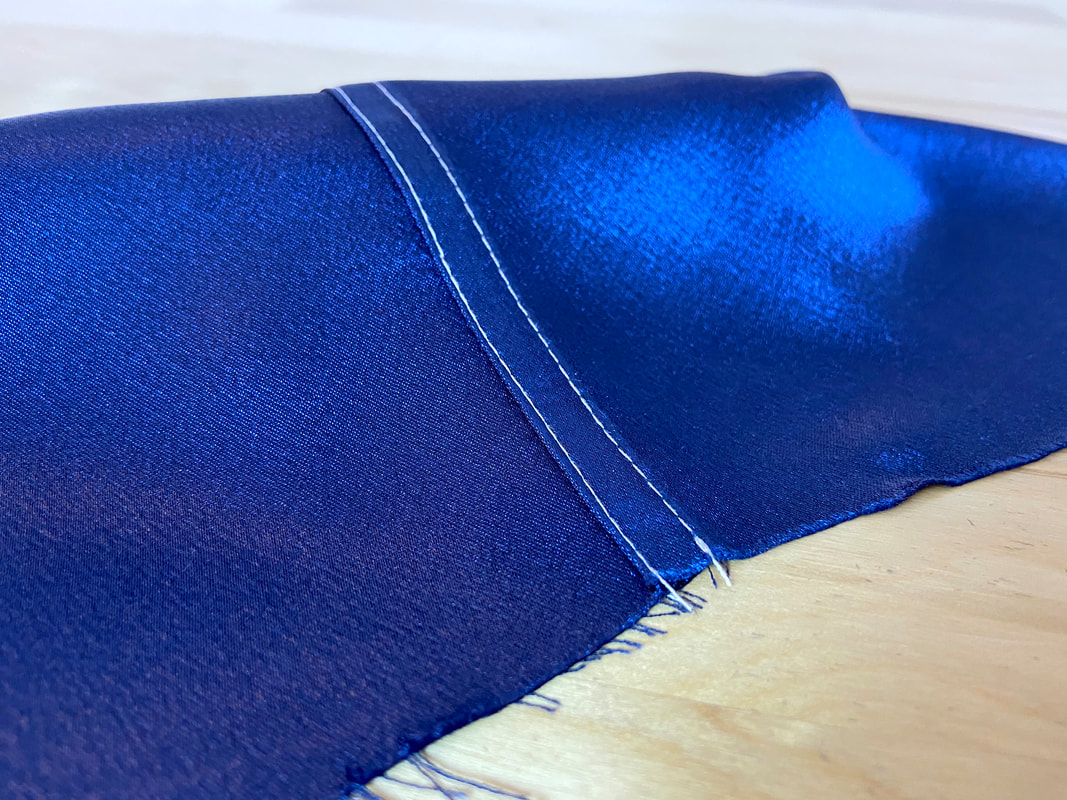
4. Trim one of the seam allowance edges down to 1/8" or 1/4”: this trimming process is called grading. The shorter seam allowance edge will now correspond to the topstitched side. Keep in mind that a good pair of fabric scissors is imperative in the grading process.
It is also important to note that since flat felled seams receive a topstitch on just one side, any matching seams on the garment should be graded and pressed in the same direction. For example, a garment's side seams should be trimmed and folded exactly in the same direction so that the topstitching ends up on the same side of the garment (front or back).
|
|
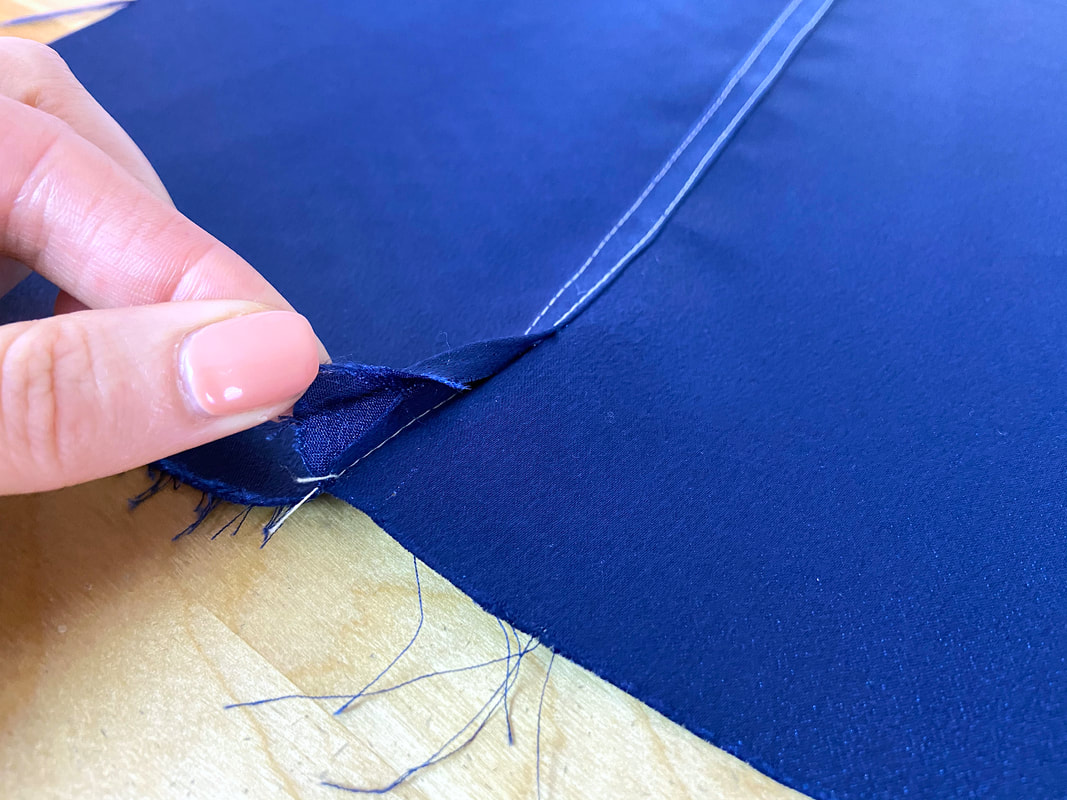
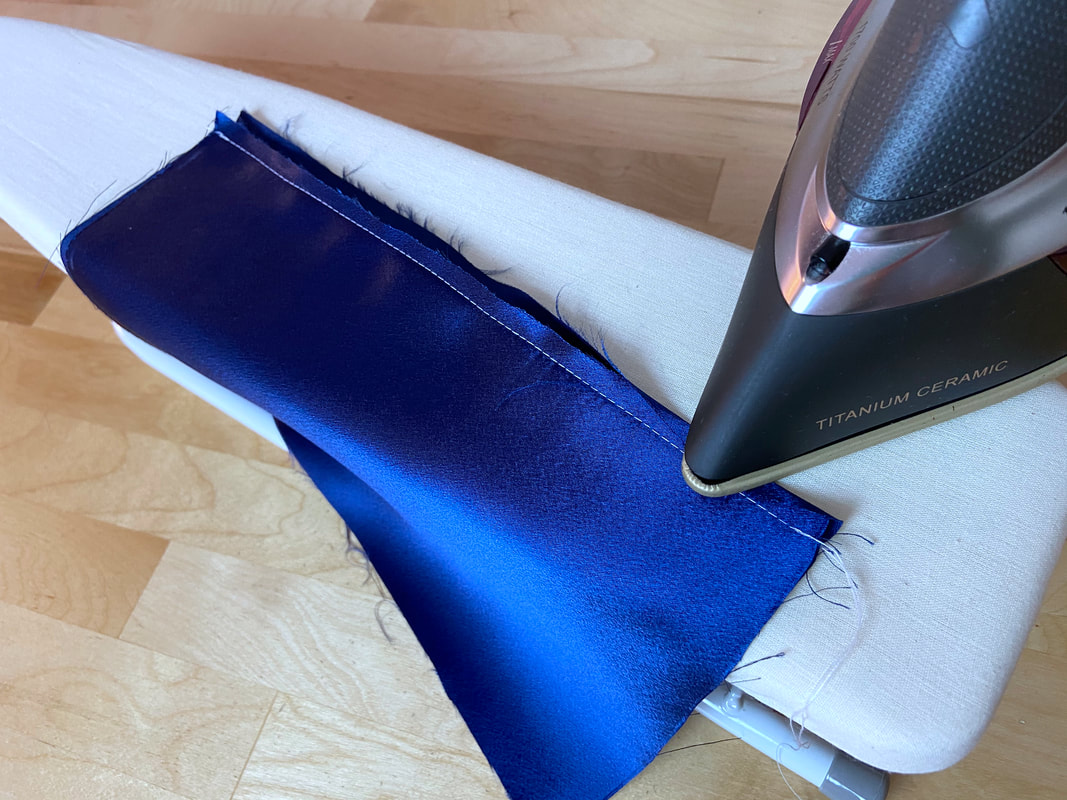
5. Next, iron the untrimmed (wider) seam allowance edge towards the side of the trimmed edge such that it overlaps it as shown. Bring the folded edge over the trimmed seam allowance layer such that all fabric raw edges are enclosed.
|
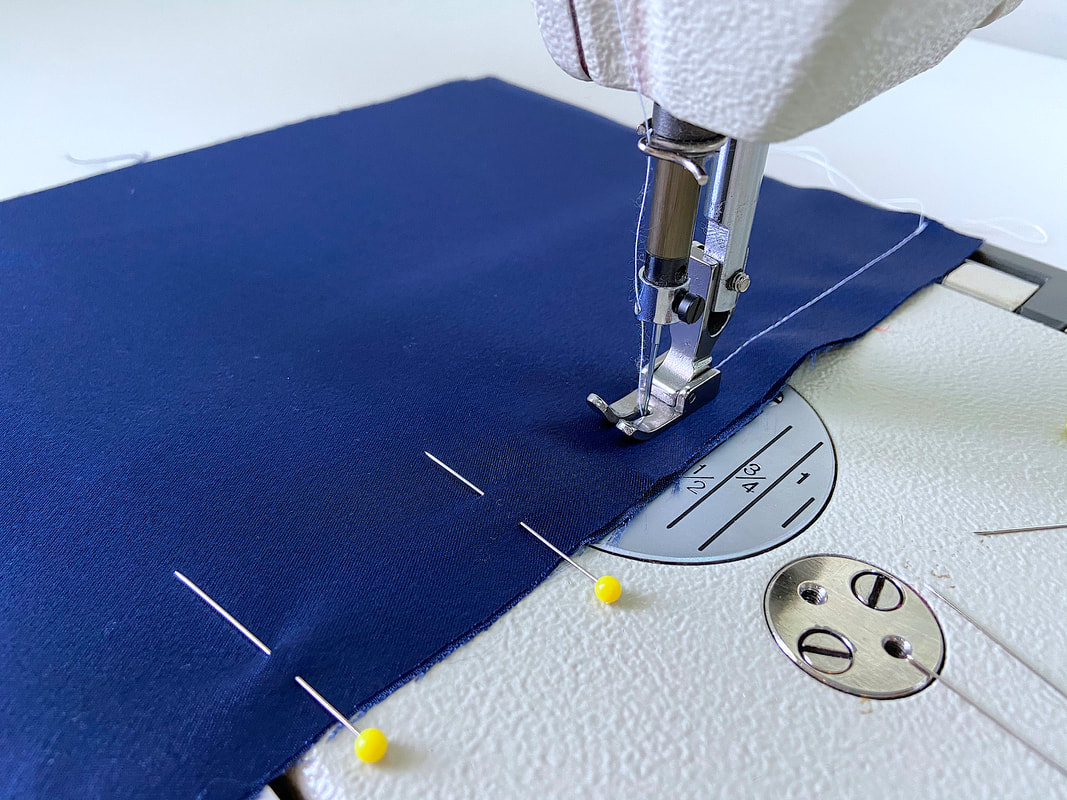
6. Insert pins horizontally to keep the folded edge in position. Again, you may choose to hand baste for extra stability.
|
7. Topstitch through the folded edge and all layers of the seam allowance and garment underneath, following the folded edge as a guide. Stitch as close to the fold line as you can, maintaining a smooth and even topstitch throughout.
|

|
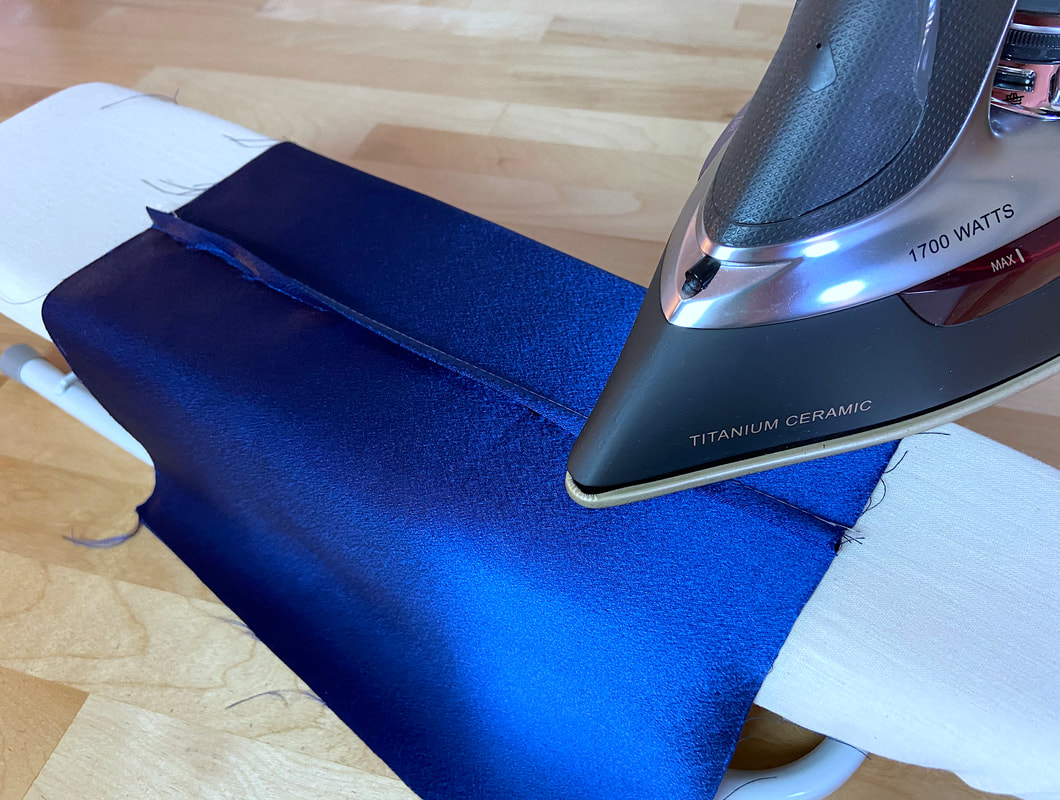
8. As a final step, remove the hand basting (if any) and press the finished flat felled seam in the direction it was topstitched. Use a protective cloth for heat sensitive fabrics, especially if you iron from the garment's face side.
|
The final flat felled application should have an evenly distributed topstitch, and fully enclose all fabric raw edges within the finished seam both on the inside and outside of the garment.
 |
All content, including images and text, may not be copied, replicated, or redistributed without express written permission. This website is regularly screened and monitored for content protection.
|
