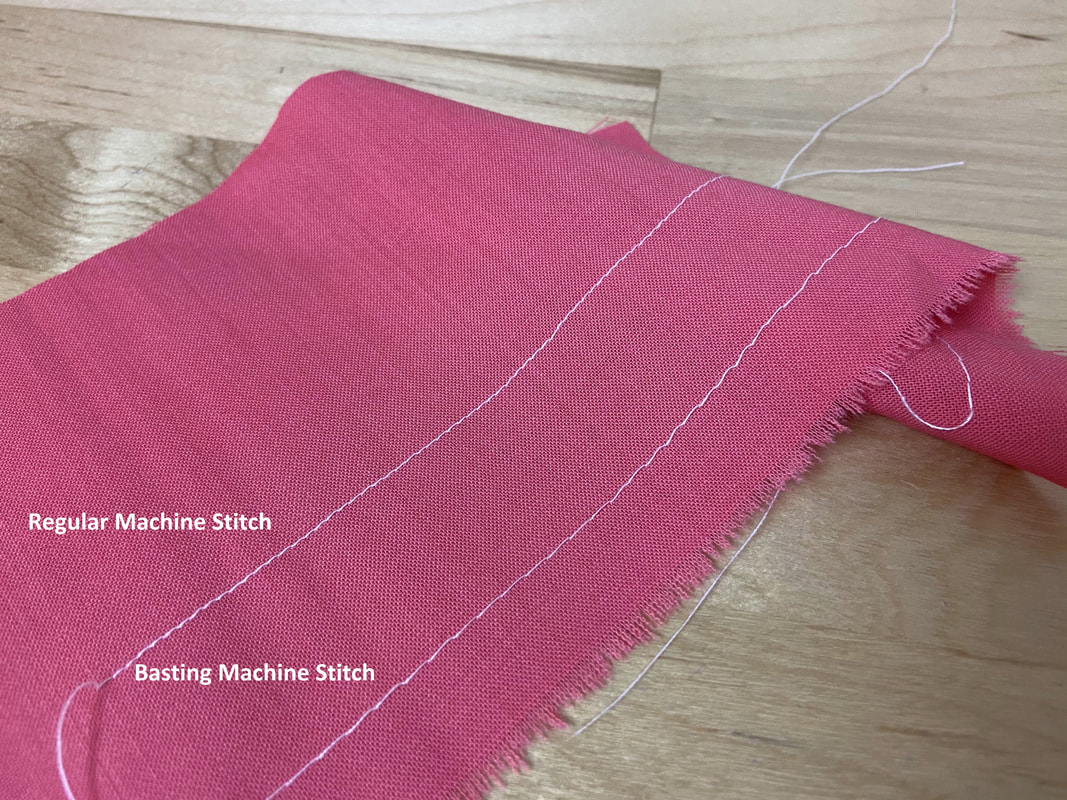
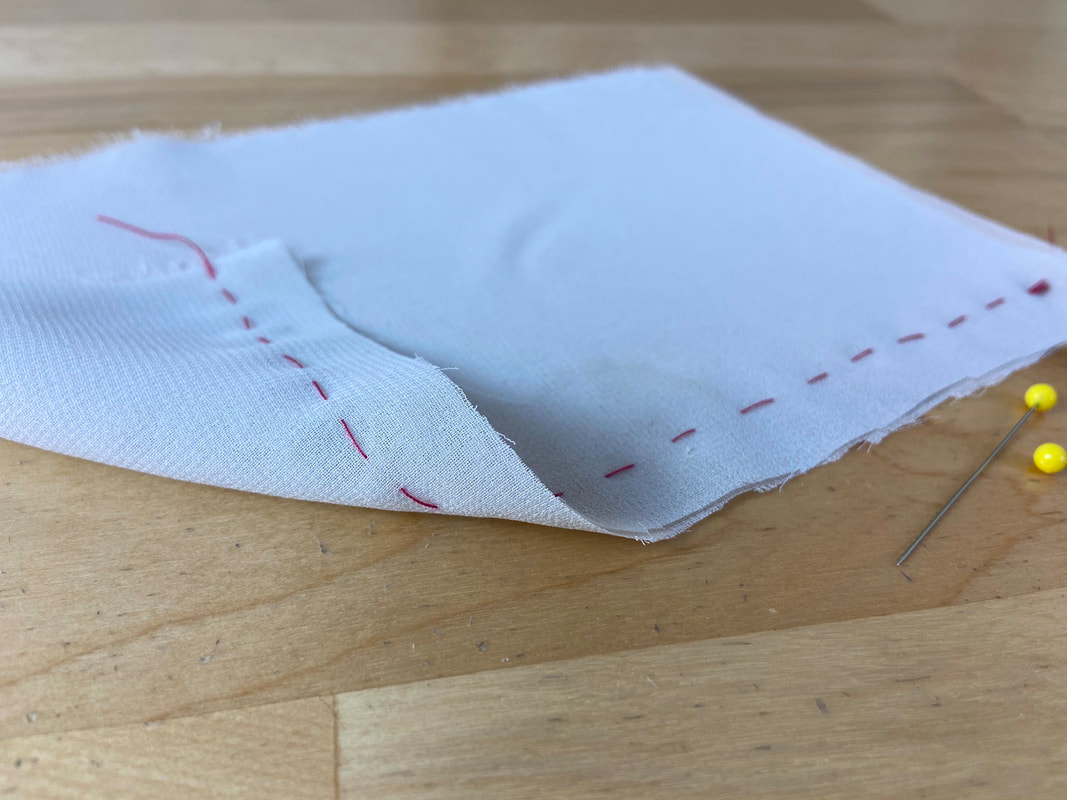
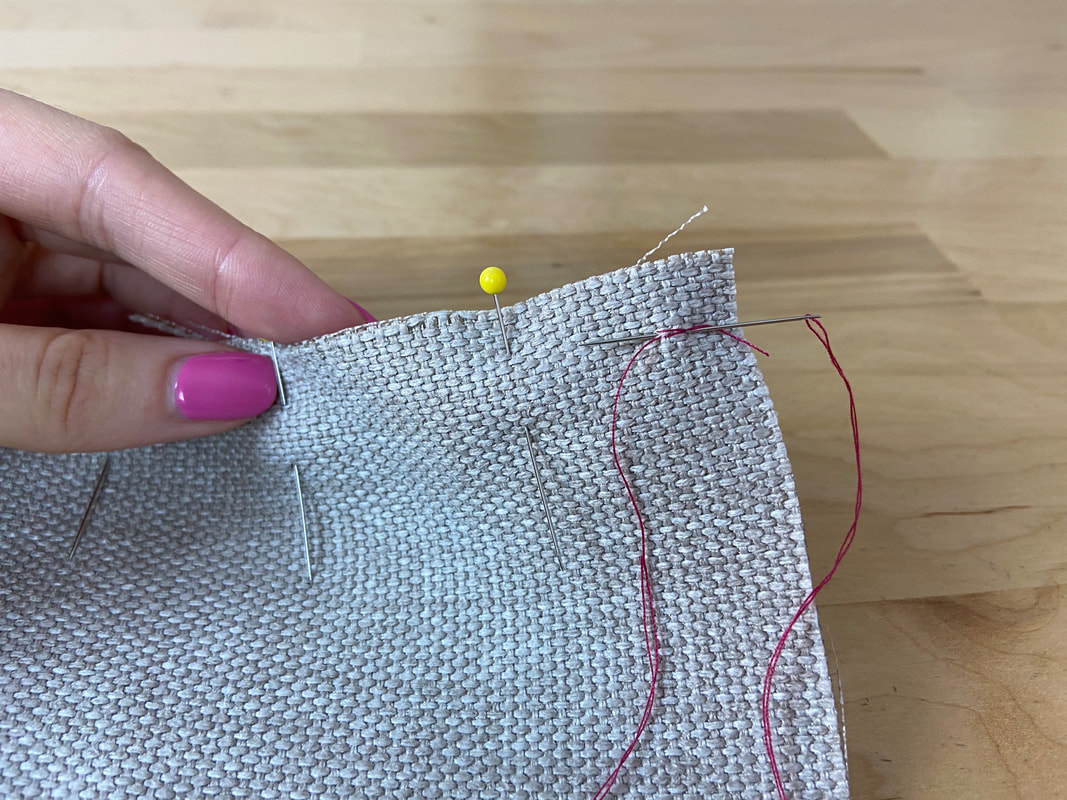
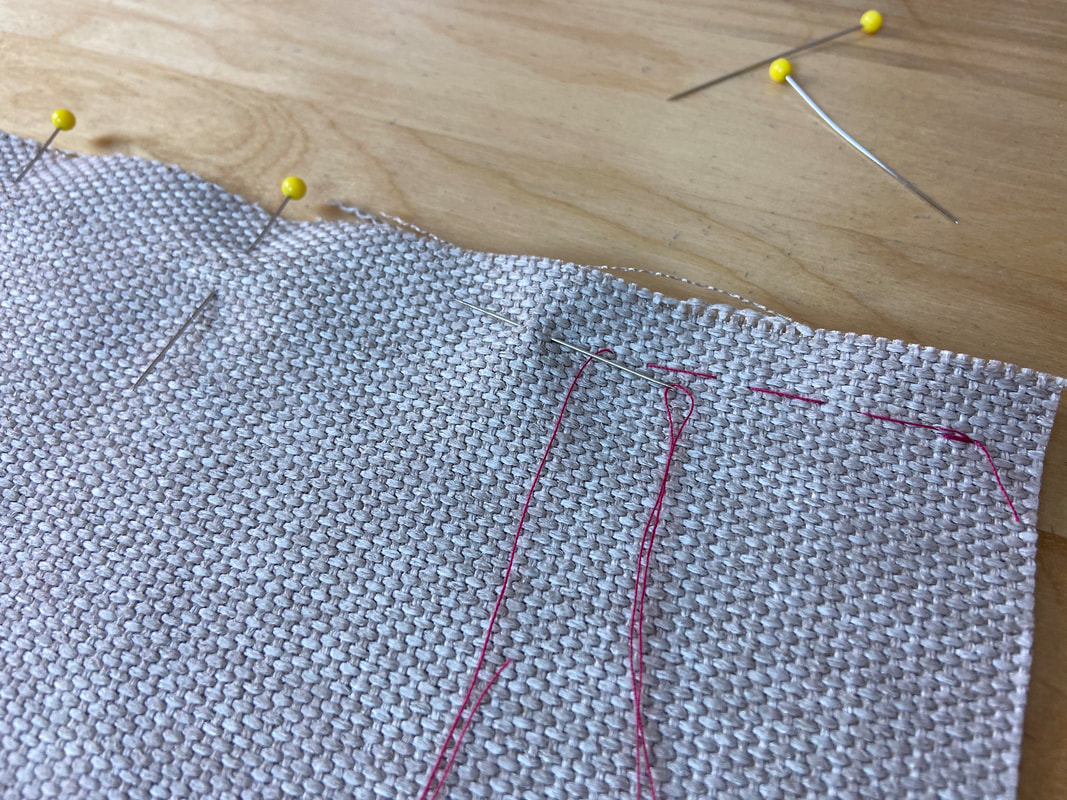
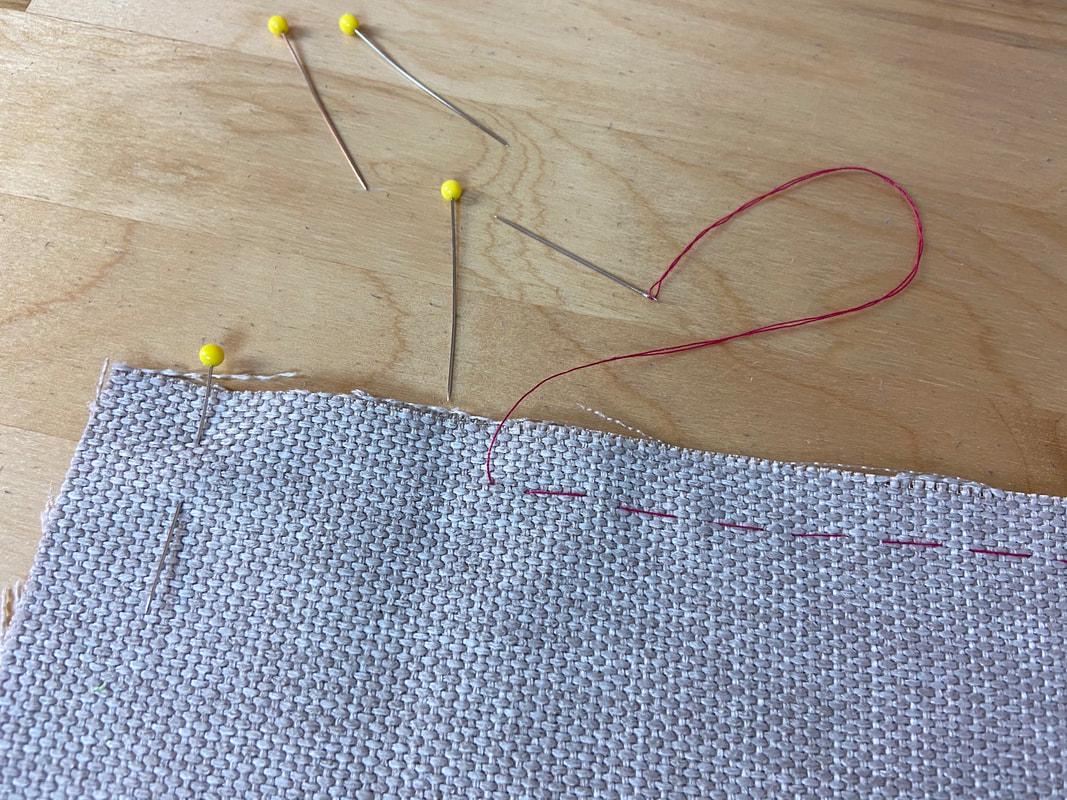
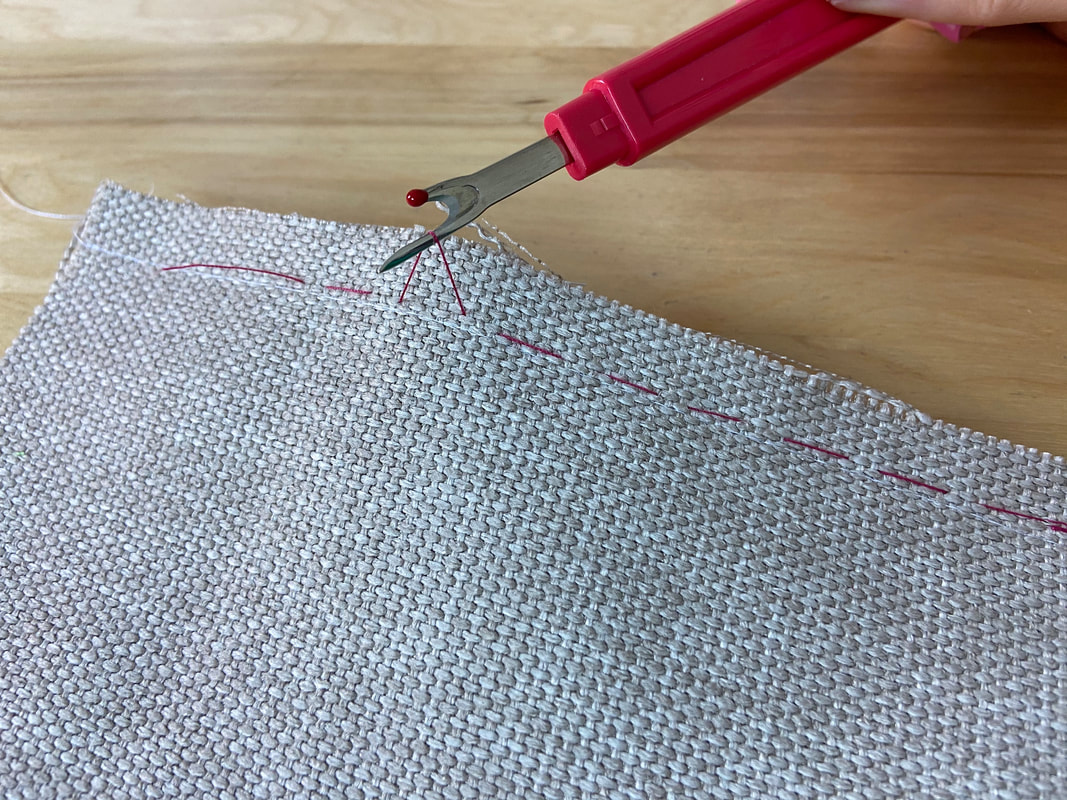
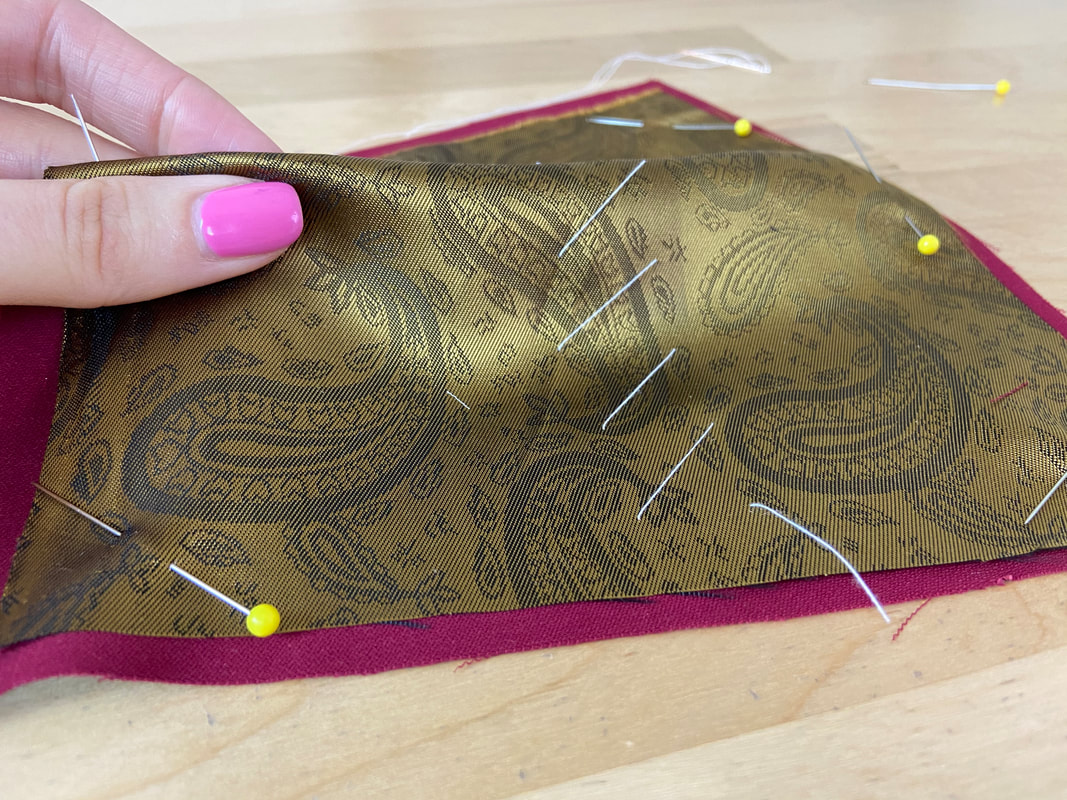
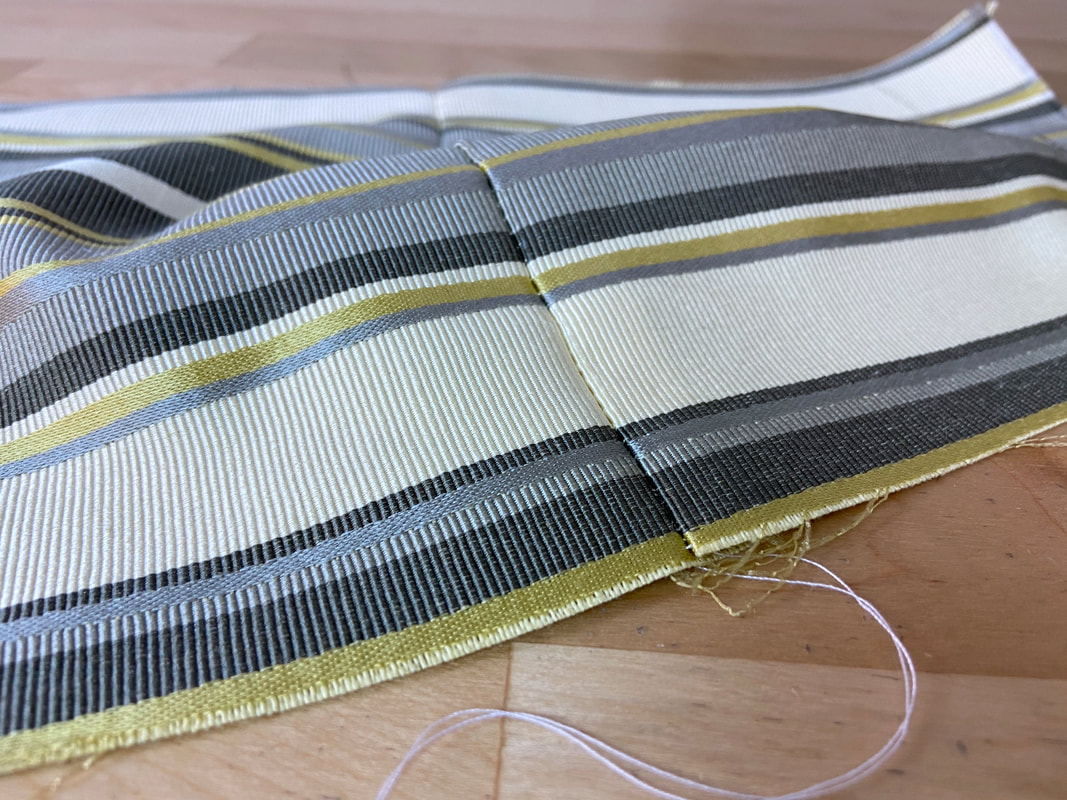
Basting is one of the most helpful tools used in the construction process. It can conveniently be applied by hand or using your sewing machine.
Hand basting is applied temporarily during the sewing process. It is perhaps the best tool for sewing beginners who need extra help keeping fabric layers together and/or are not quite comfortable with their sewing machine.
Basting is a loosely-applied, alternating stitch which creates spaced out stitching. The thread can be easily pulled out once no longer needed.
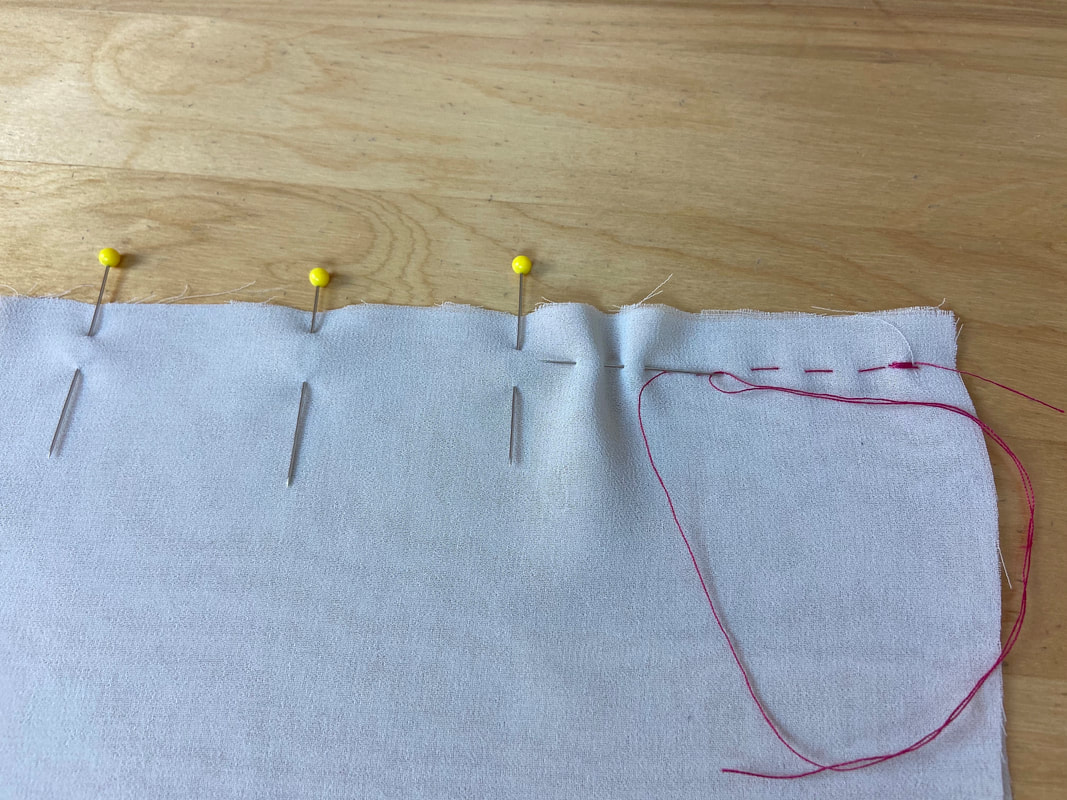
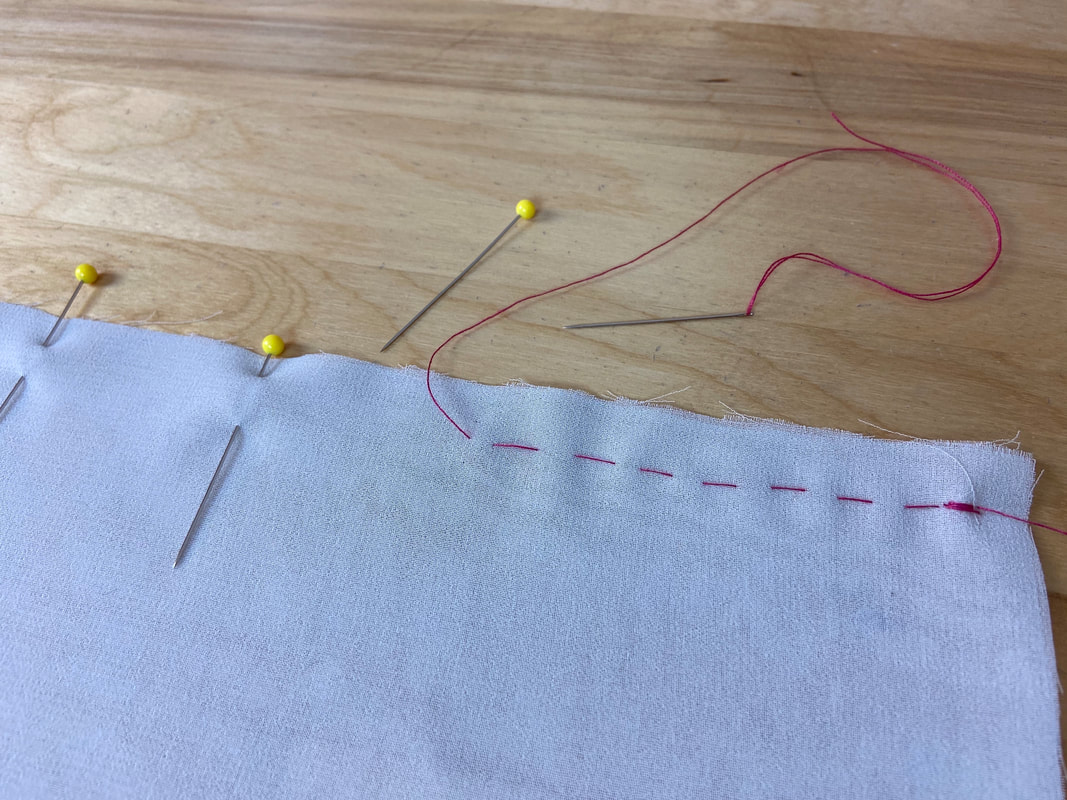
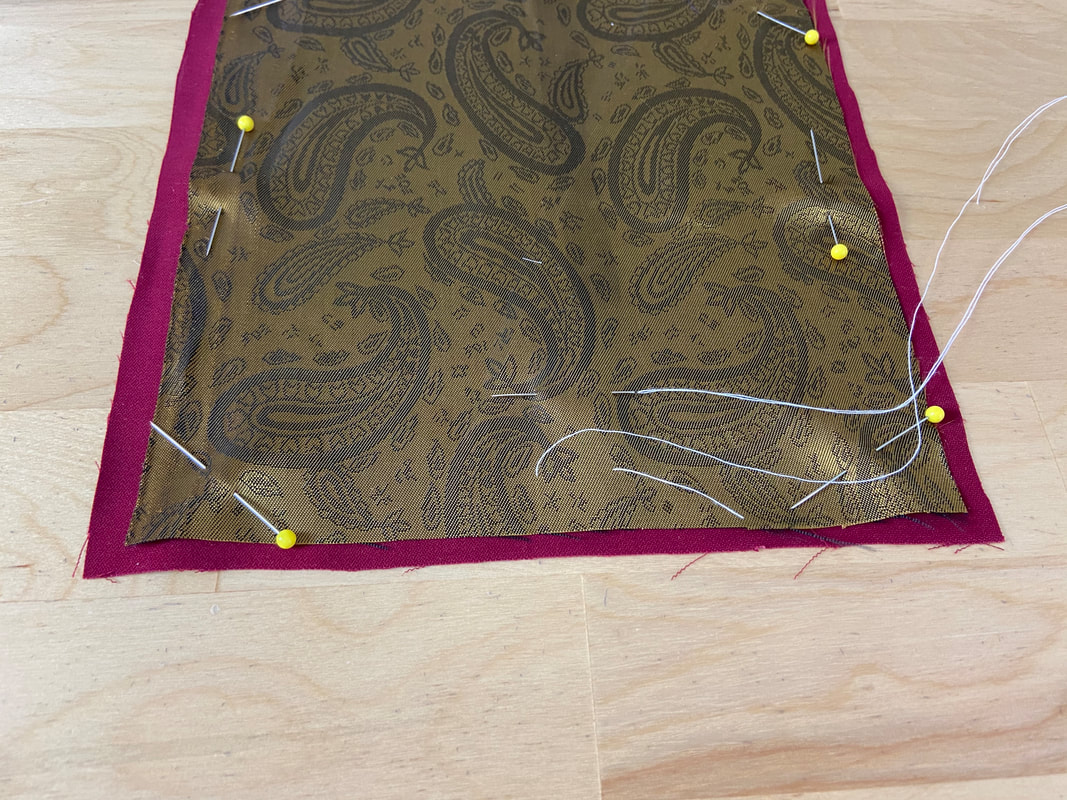
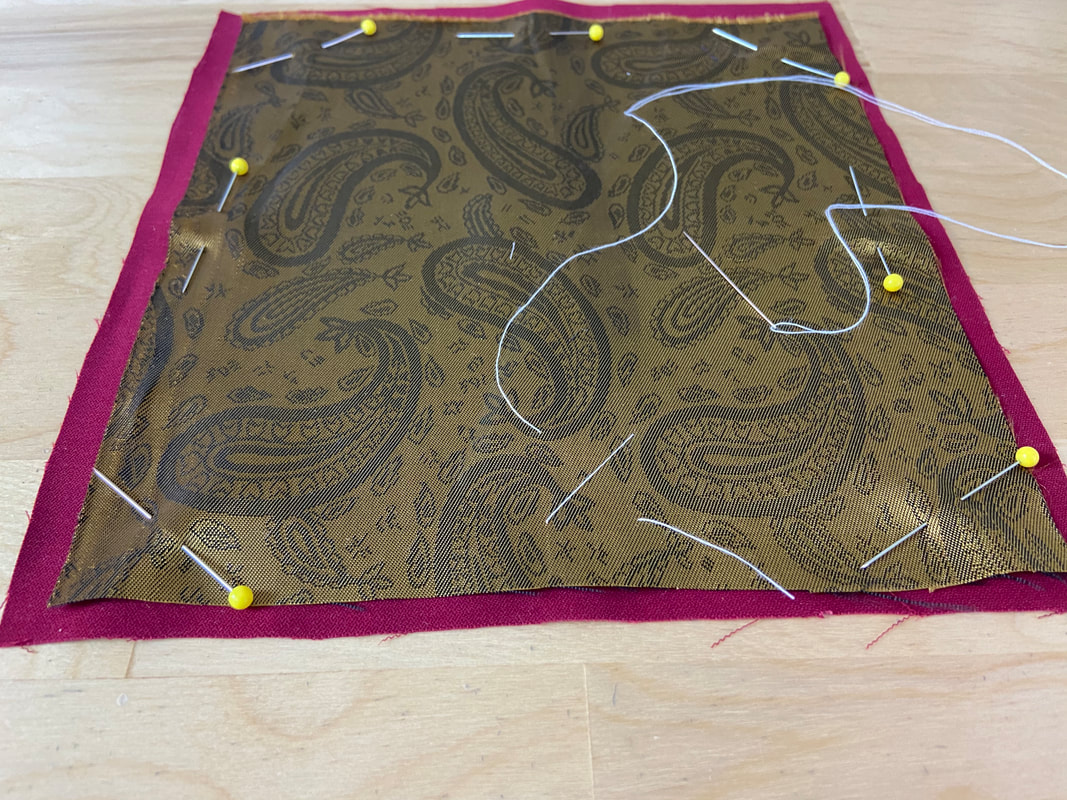
A straight hand basting stitch can be applied evenly or unevenly.
A straight hand basting stitch can be applied evenly or unevenly.
Even Hand Basting
Even hand basting is applied such that the stitches are shorter and exactly the same length. Both the right and wrong side of an even basting application should look exactly the same. In other words, the visible stitches and the spaces in between should be the same length.
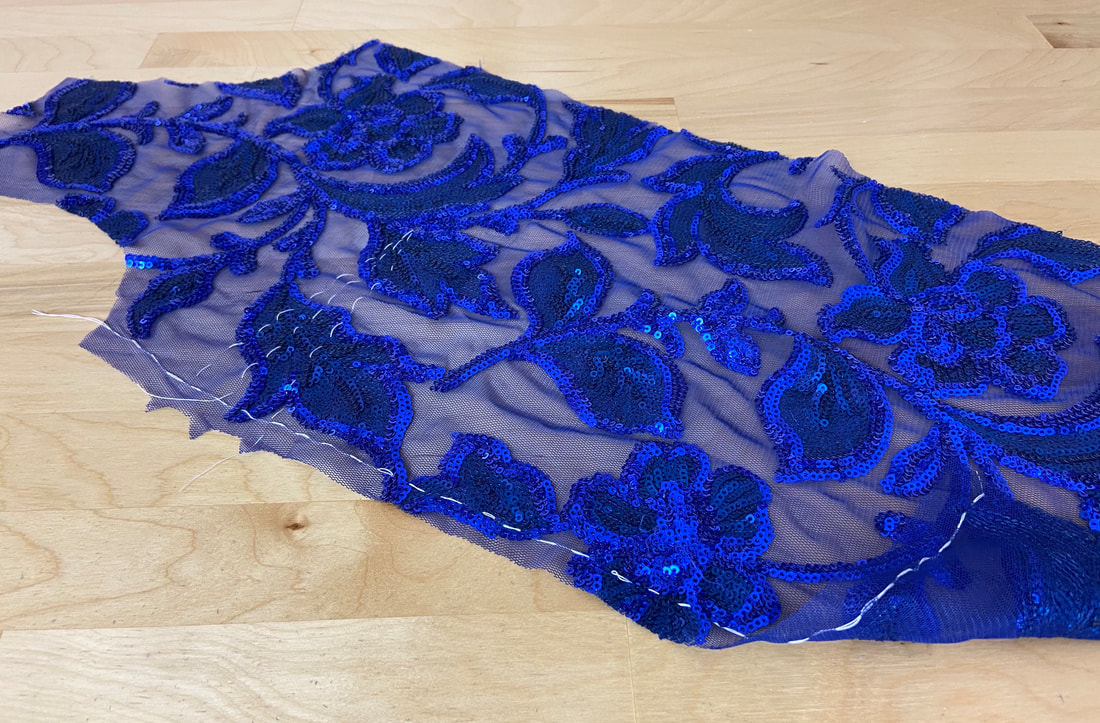
Even hand basting is used when more control and stability is needed, for example, when stitching very curved edges or working with thin, flimsy, and sheer fabrics.
How To Sew An Even Basting Stitch:
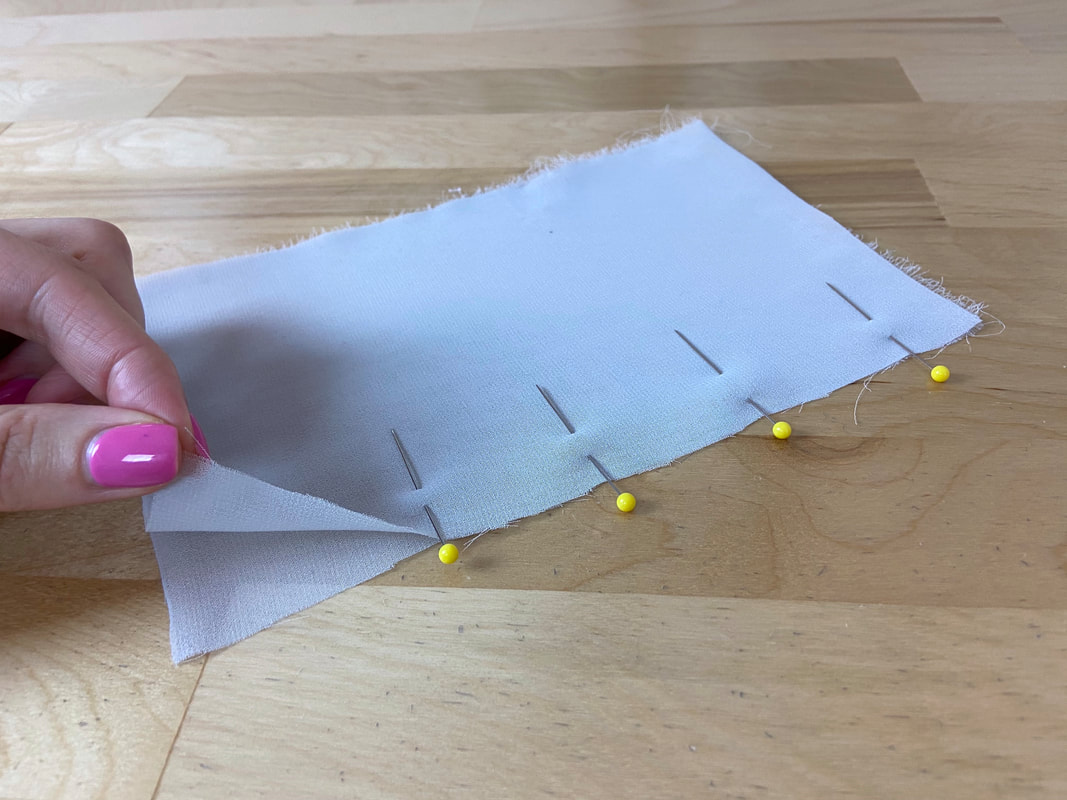
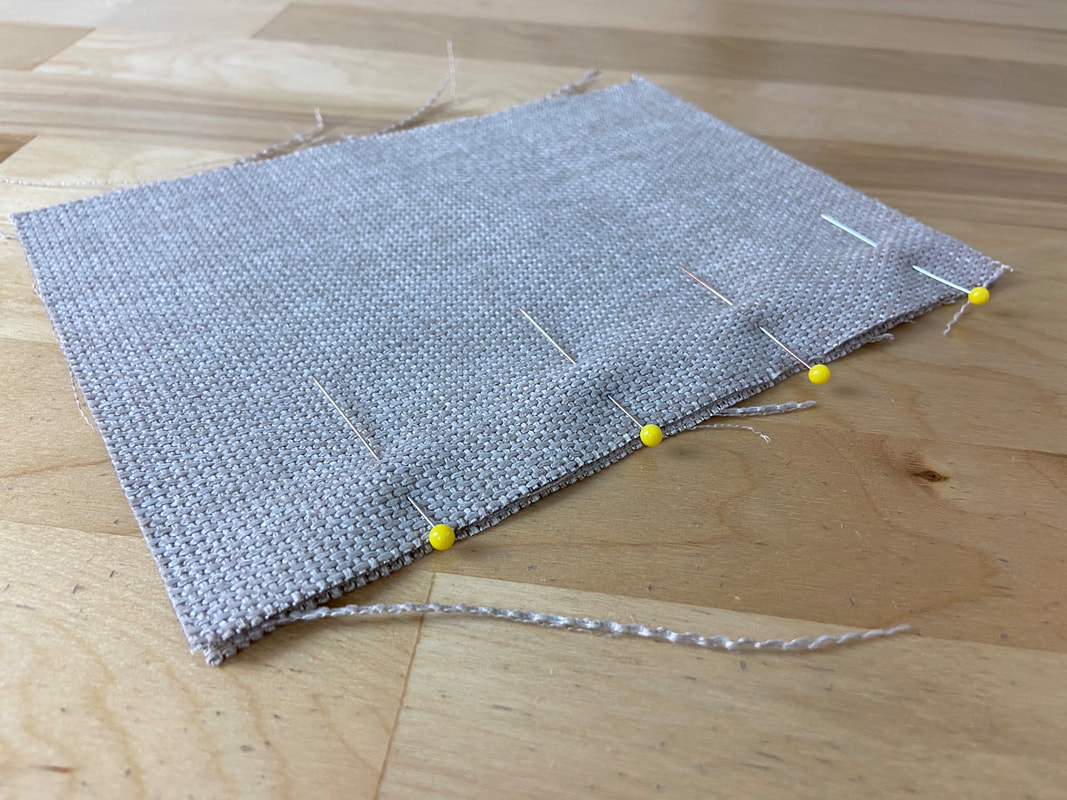
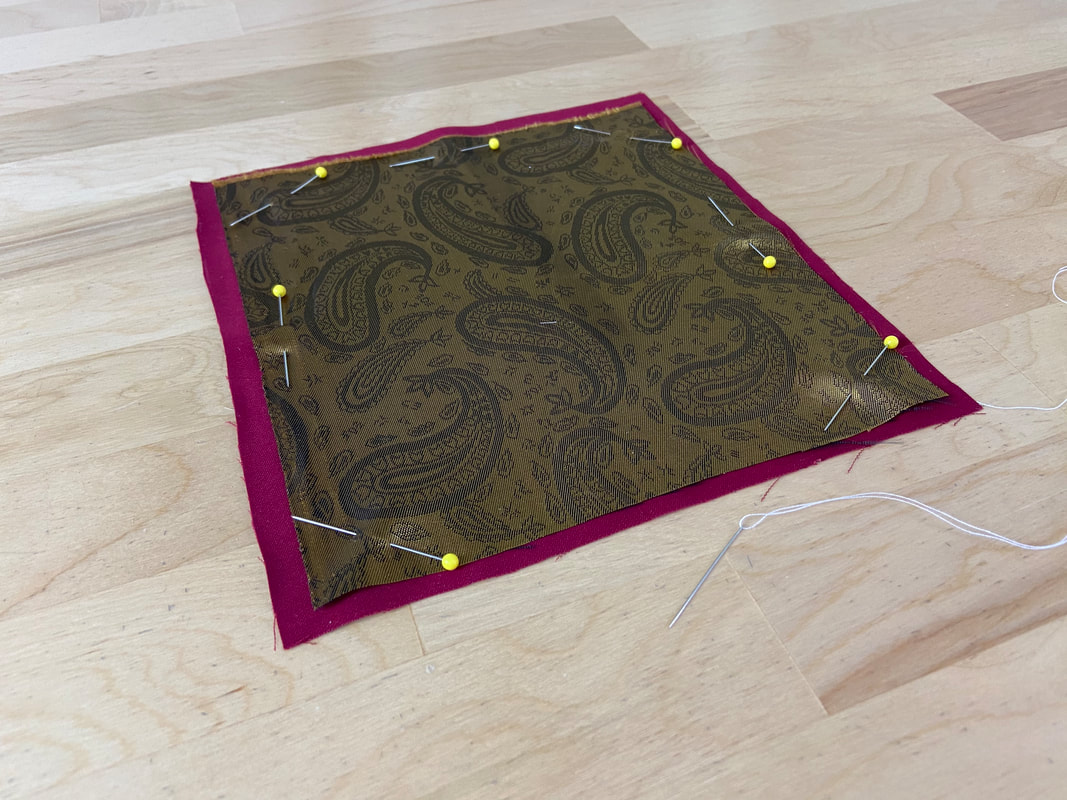
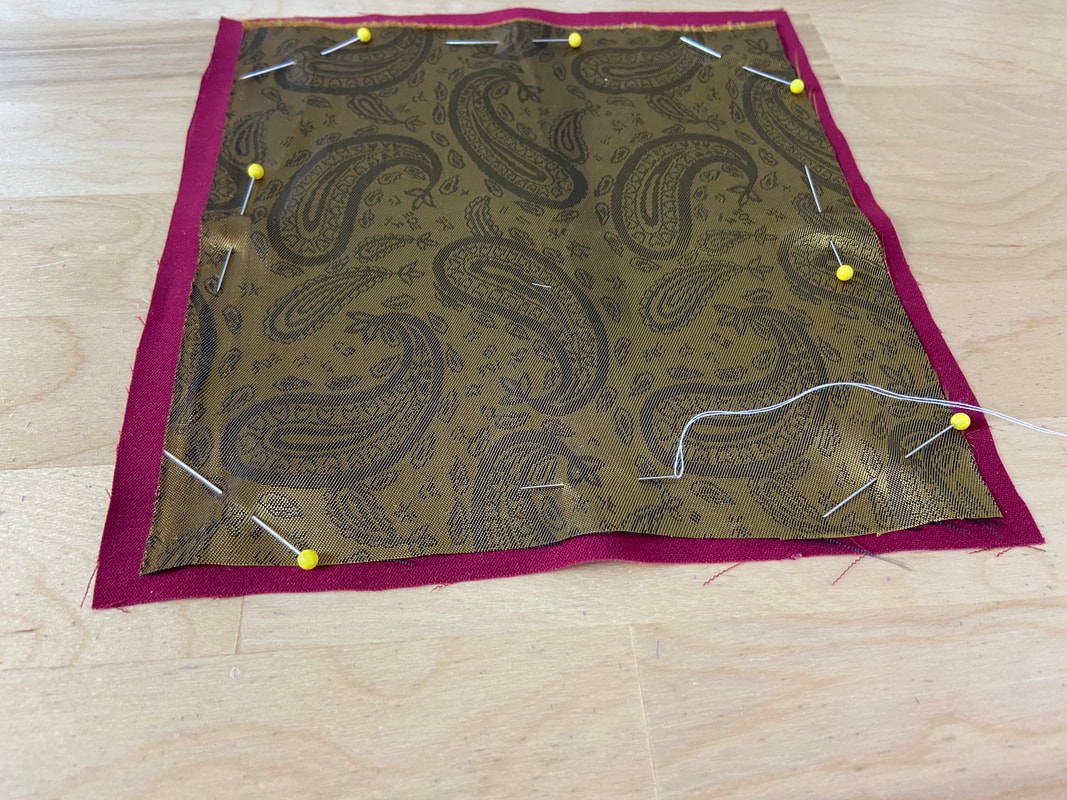
1. Align the seam edges or fabric layers to be basted, and secure them with pins.
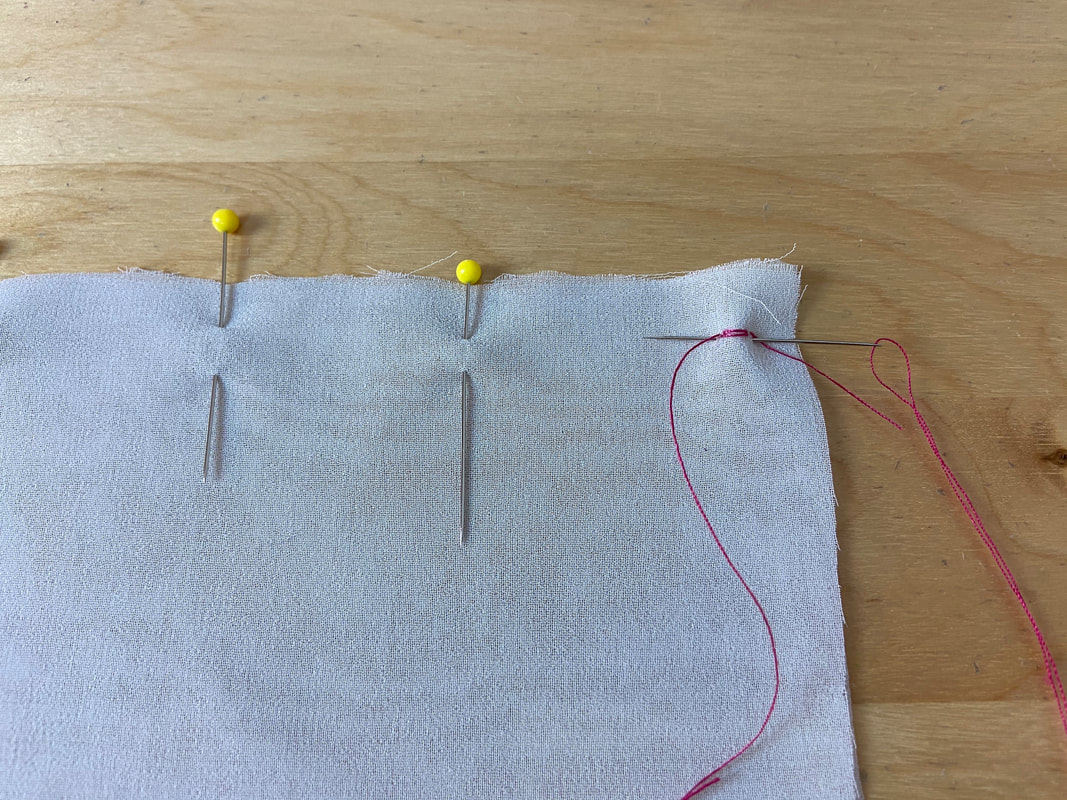
2. Stitch in place a few times at the beginning of the application to secure the beginning of the basting.
3. Taking short, even strokes, stitch from right to left, next to the seamline, pulling the thread through every few stitches.
4. Remove each pin as you approach it.
Uneven Hand Basting
Uneven basting is the fastest, most commonly used style in the sewing process. It is fast to apply and very easy to remove.
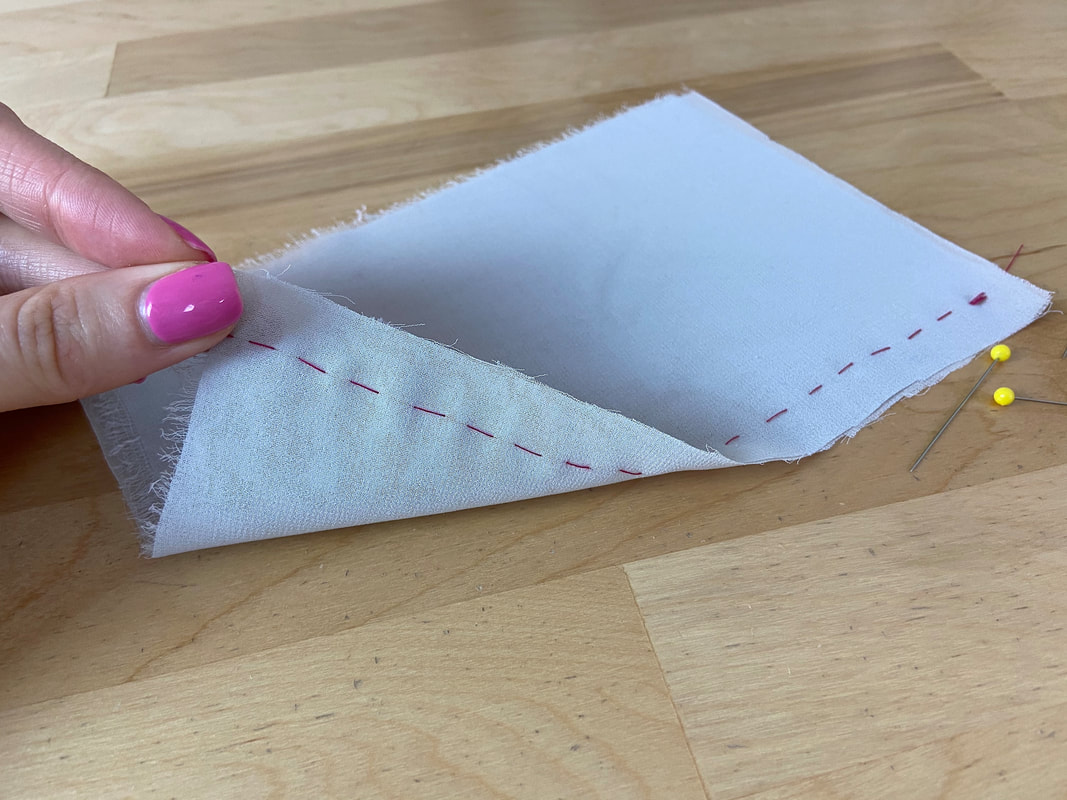
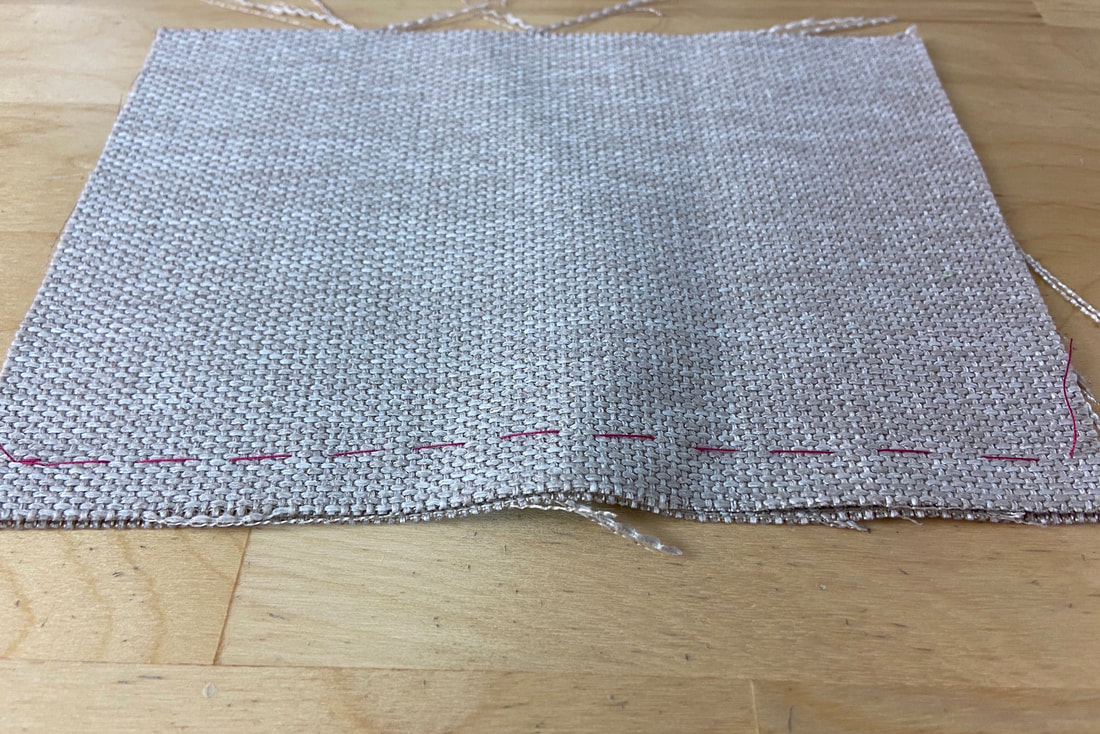
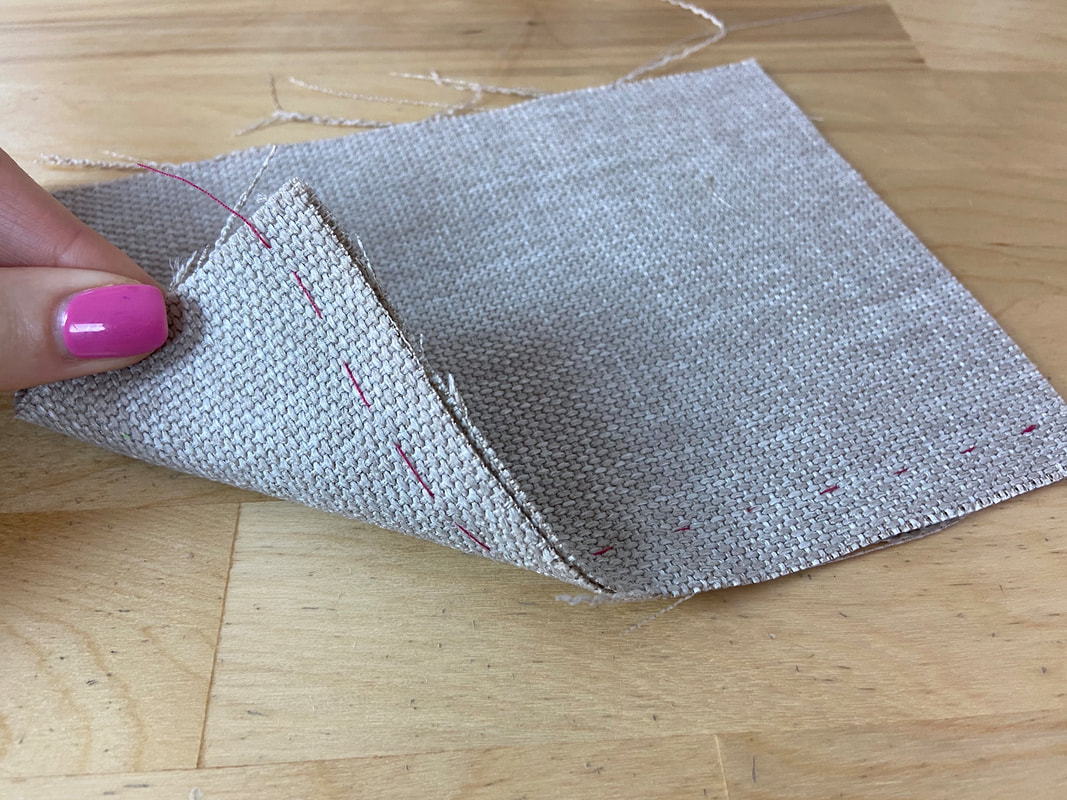
Uneven hand basting stitches are unequal in length. As opposed to even basting, the stitch looks different on both sides of the application.
On the side the basting is applied, the stitches will appear longer while the space in between them will be shorter.
If you turn the fabric over, you will notice that this is reversed: the stitches are short while the space in between is longer.
Uneven hand basting can be used with most fabrics, offering more stability than using pins alone. It is up to you and your sewing comfort when to use the uneven hand basting stitch in the construction process.
Since it is fairly fast to apply, uneven basting should be used any time you feel that the seams or fabric layers are unstable or risk shifting and slipping out of alignment during the machine stitching process. Common instances include sewing regular seams, seams with crossing seamlines, zippers, darts, and surface applications like decorative patches and patch pockets.
Uneven basting is a convenient and simple way to increase stability, comfort and accuracy during machine stitching. Beginners in particular should hand baste all seams until they feel fully comfortable using their sewing machine and working with various types of fabric.
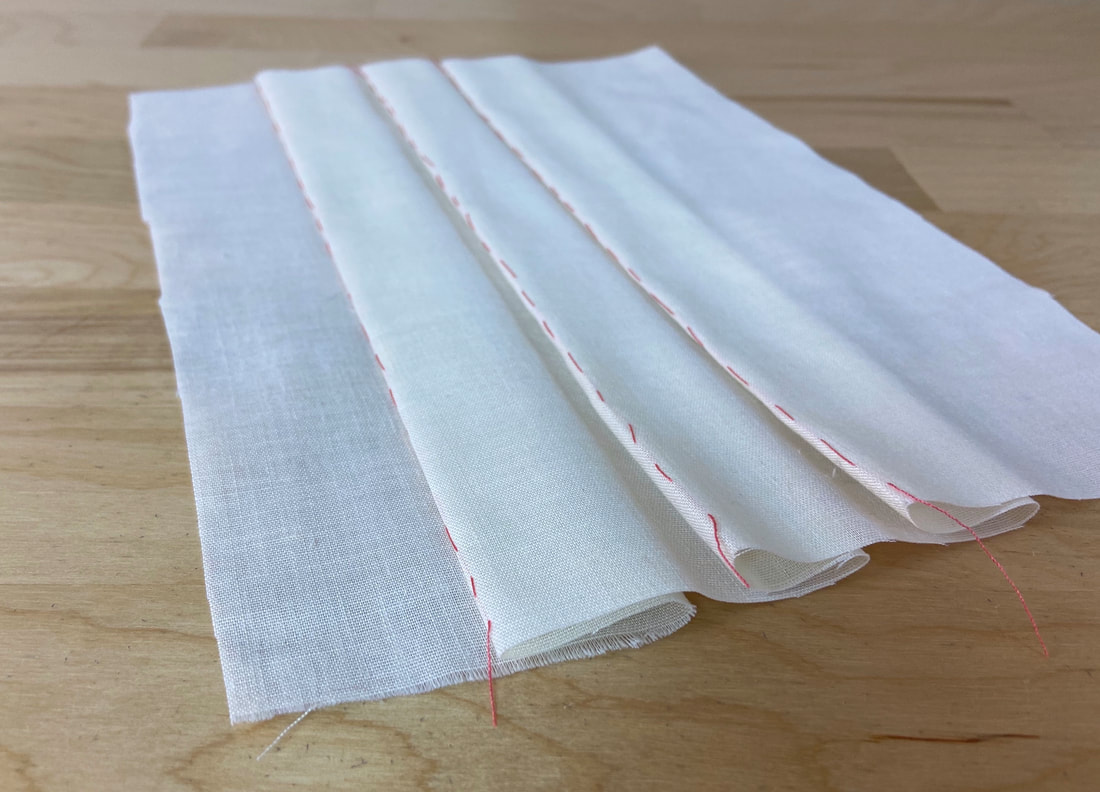
Uneven basting is also used as a marking technique for safely transferring important stitch lines and sewing marks to the face side of fabric. It can also be used to mark a fabric’s grainline, seamlines, pleat and topstitch lines.
How To Sew An Uneven Hand Basting Stitch:
1. Secure the seam edges (or the areas needing basting) with pins first.
2. Stitch in place to lock the threads.
3. Take small stitches every ½” or so depending on how much stability is needed to hold the fabric and seams at hand. The easiest way to baste is to take a few stitches on the needle at a time, then pull the needle and thread completely through.
Remove each pin as you approach it and keep the fabric layers as stable and perfectly aligned as possible in the basting process.
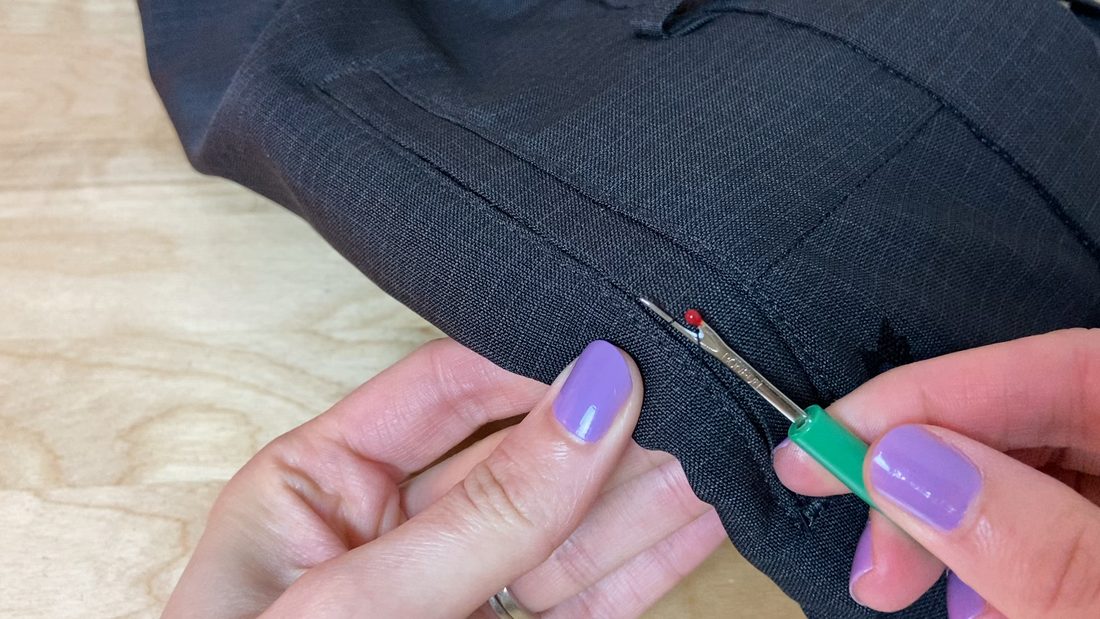
Note: If you are using uneven basting to secure a seam, baste right next to the seamline and not directly on top of it. The hand basting should not overlap with the final machine stitch. Doing so will also ensure that the basting slides right out when the seam is completed. After the seam is machine stitched, use a seam ripper or a pair of scissors to pull the basting threads out.
Diagonal Hand Basting
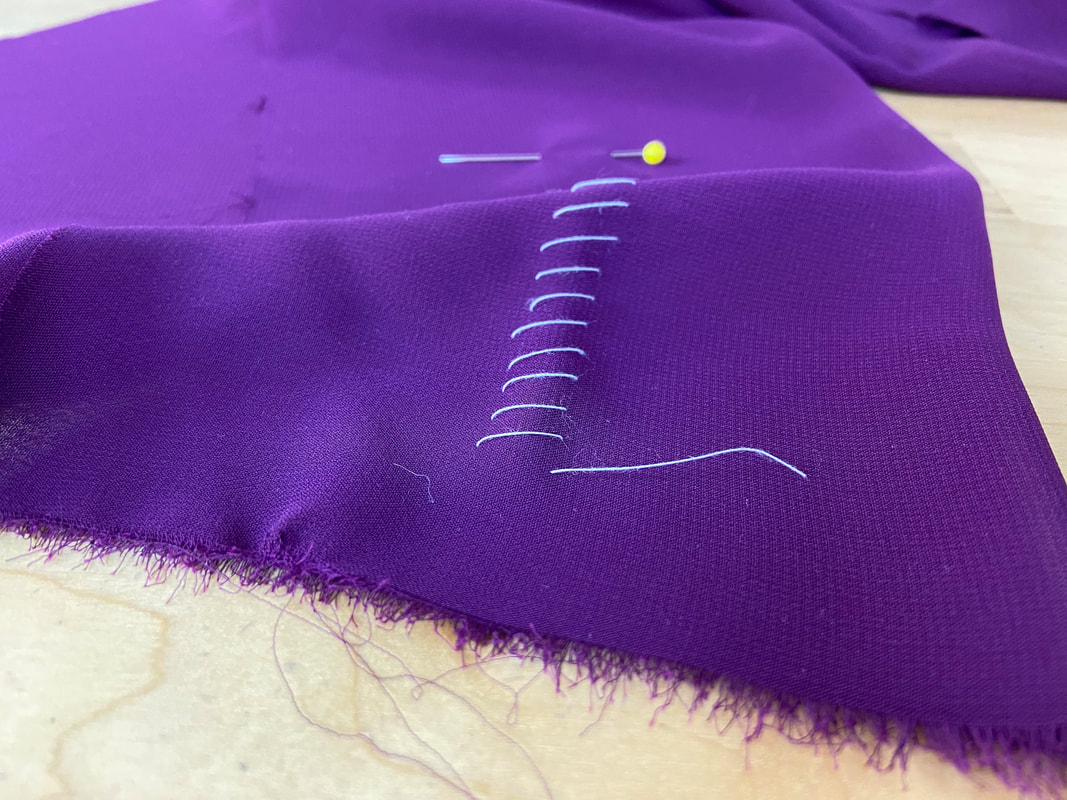
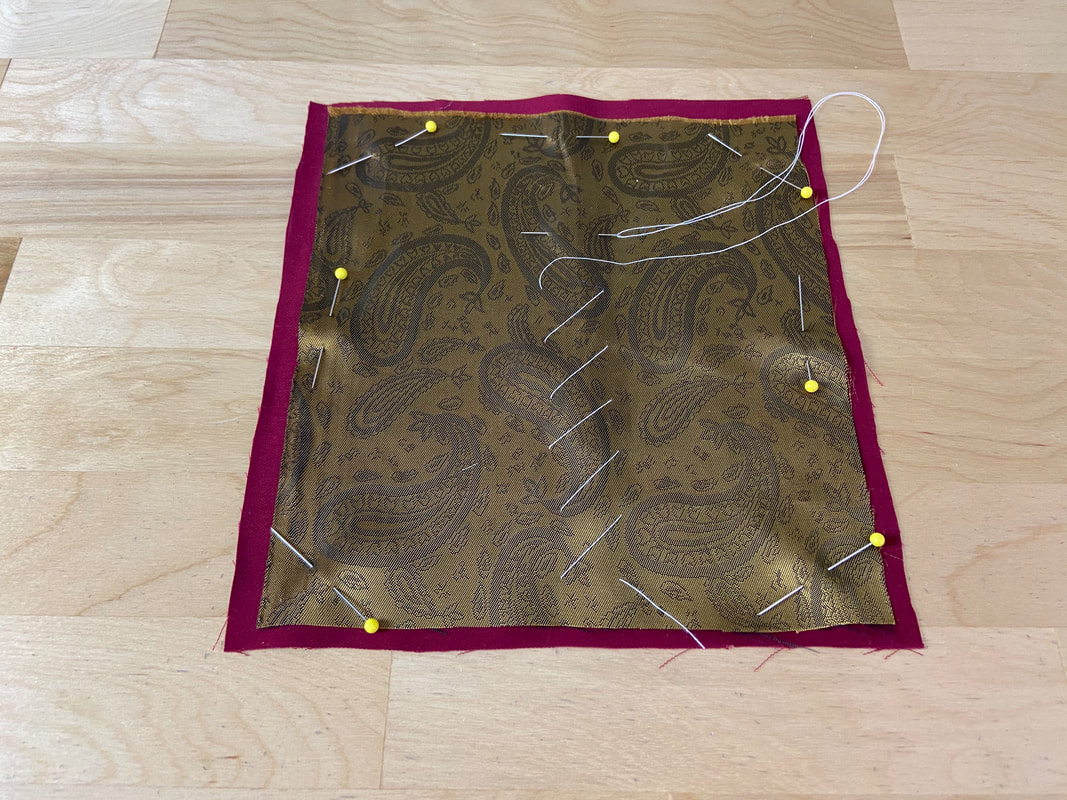
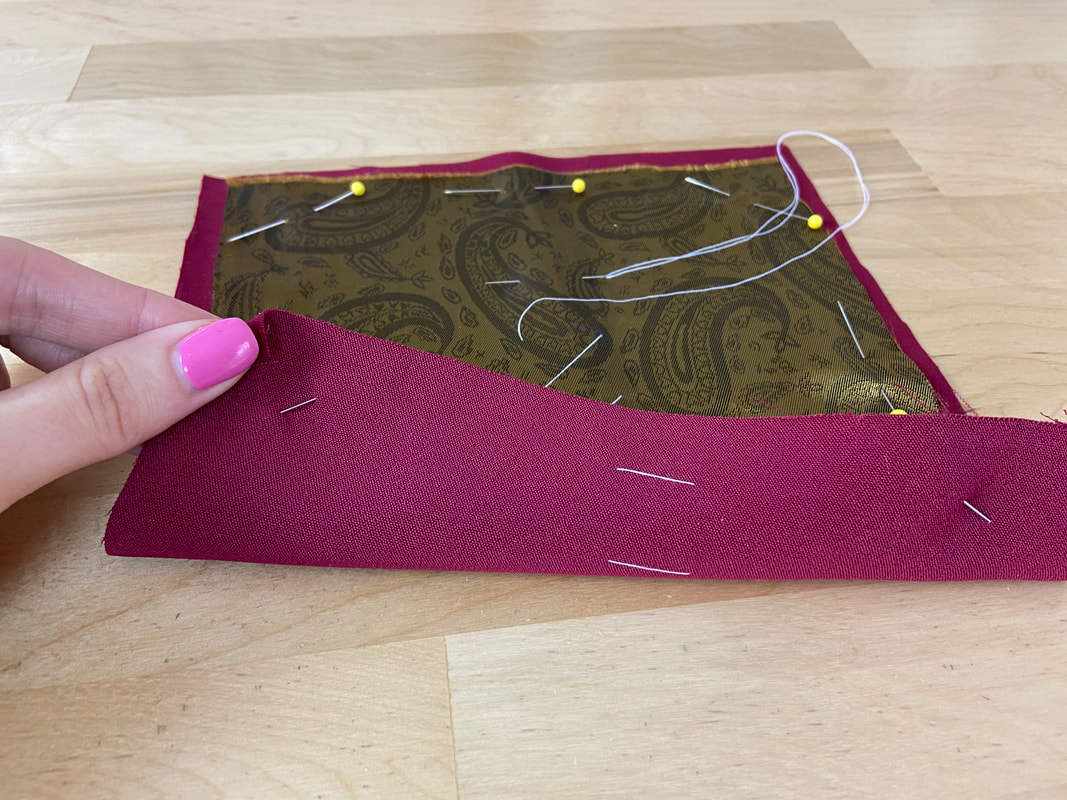
A diagonal hand basting stitch appears as diagonal floating stitches on the application face side and stacked horizontal stitches on the application’s wrong side.
This unique basting is applied to the surface of fabric and distributed as needed depending on fabric type and garment design. Diagonal hand basting is not as commonly used as the even and uneven styles. Instead of being used on seams, it keeps two or multiple larger surface areas together.
Diagonal basting is especially used in the construction of tailored items like structured coats, suits and blazers. It is often temporarily added to lapel and collar layers to keep them flat in the construction process. In addition, diagonal basting is commonly used to keep lining layers connected to their corresponding garment layers while the rest of the garment is completed.
Just like all basting styles, a denser, shorter diagonal basting stitch will provide more control. This density works great to temporarily secure folded seam edges together for stitching/ironing.
A larger, sparsely-distributed diagonal basting works when larger surface areas need to be temporarily secured to one another. Examples include constructing skirt/dress vents, positioning the lining layer, or when two fabric layers back each other and require to be treated as a single layer in the sewing process.
How To Sew A Diagonal Basting Stitch:
1. Pin the fabric layers together to secure and thread your hand sewing needle.
2. First, insert a horizontal stitch from right to left as shown.
3. Next, insert another horizontal stitch at the desired distance above, parallel to the first stitch.
This will create the first diagonal floating stitch.
4. Continue applying evenly distributed horizontal stitches through all fabric layers, keeping them flat and parallel in the process.
The distance between the stitches will determine how close together the final diagonal stitches will be. A longer horizontal stitch will create a longer diagonal stitch.
Applying a diagonal hand basting stitch may take a little bit of practice until you gage the size of the stitching and its distribution.
Slip Basting
Whether you sew or not, you have most likely encountered slip basting before.
If you’ve ever purchased a tailored item that has pockets, you may have noticed the pocket openings being shut closed with a temporary stitch.
This stitch is called slip basting and it can be easily removed when the garment is ready for use. The purpose of slip basting in this case is to maintain the structure of the pocket opening before it arrives to the end user. It is common practice in tailoring and provides a high-quality finish.
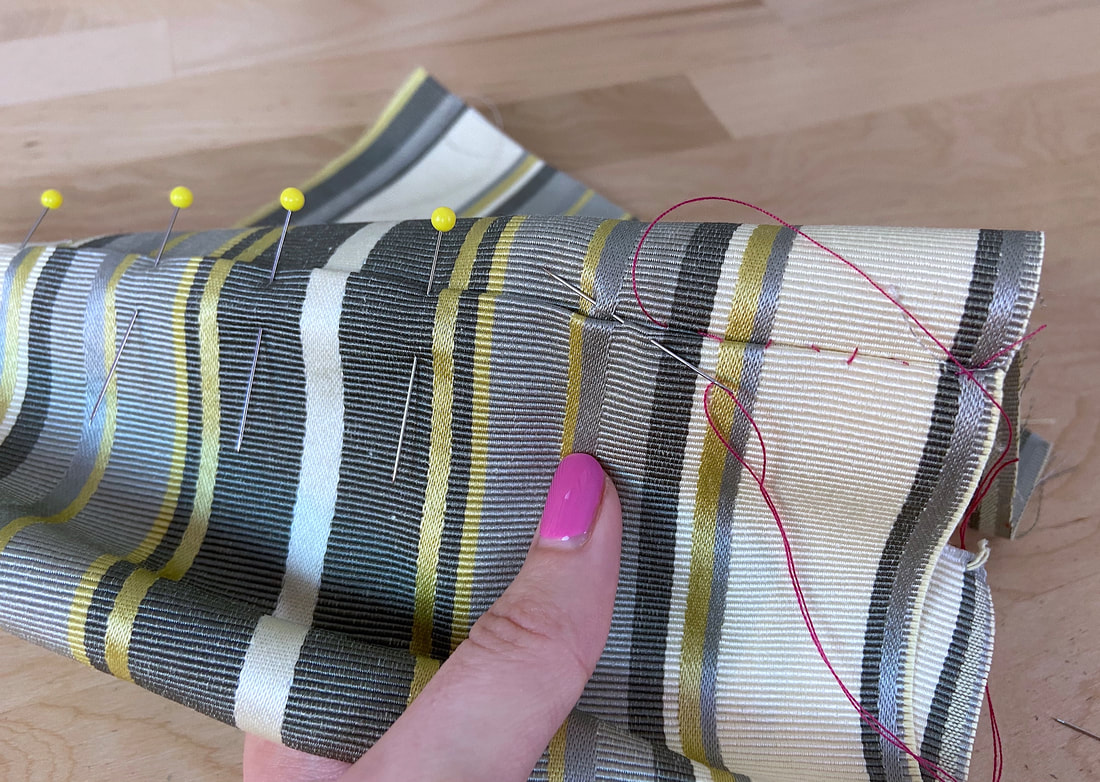
Slip basting is for the most part invisible on the face of the garment as it is usually applied through a fabric fold connected to either another fold line or the fabric surface.
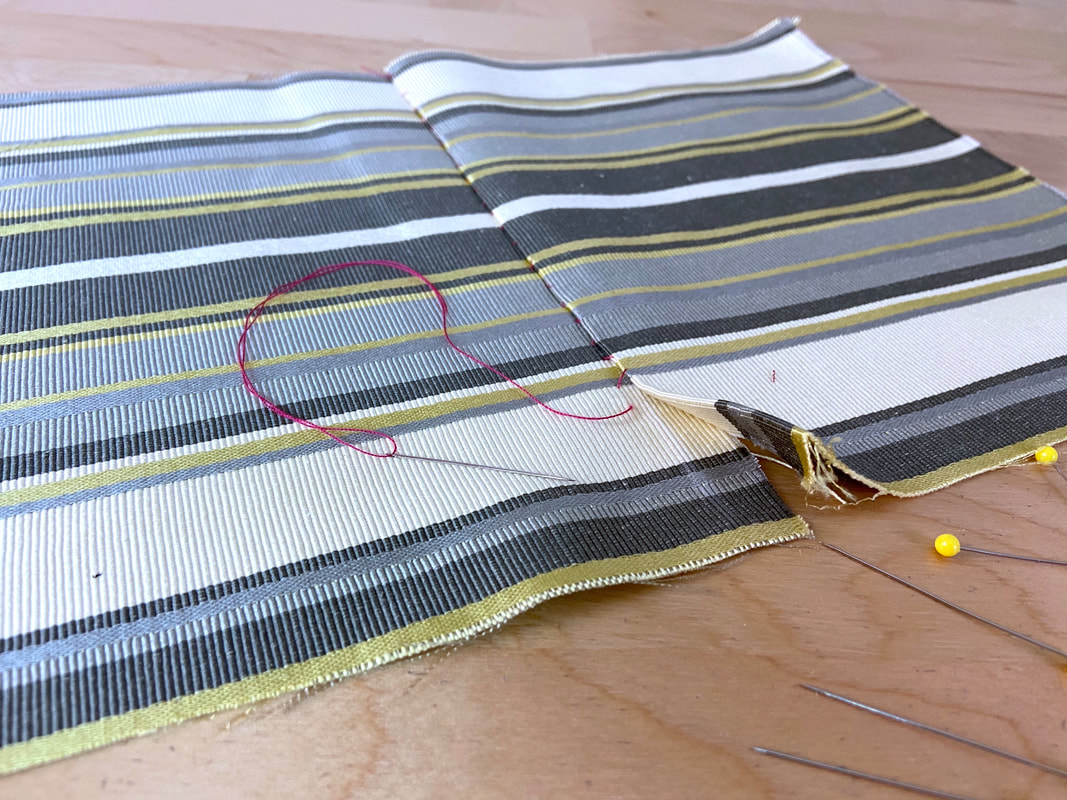
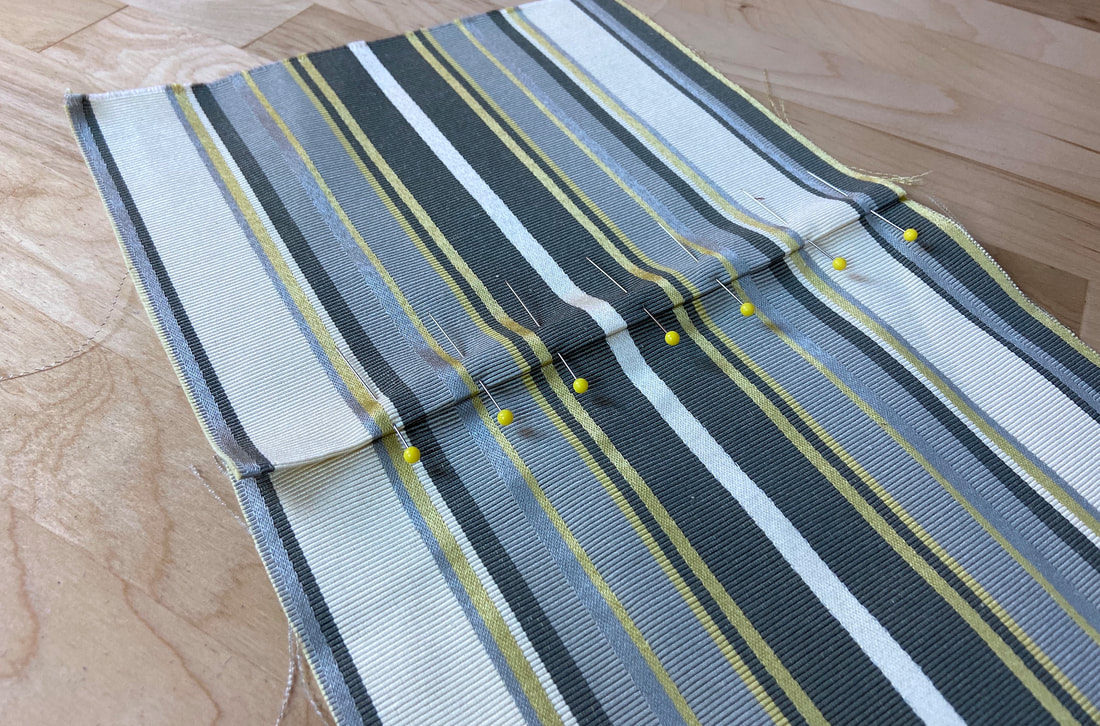
Aside from the pocket application described above, slip basting can be used to keep stripes, plaids and other prints aligned at the seamline prior to machine stitching. Matching prints like these require alignment from the face side. Remember, a regular uneven basting stitch is applied on the wrong side of the matching seam edges, as the fabric face sides are touching. This makes it impossible to know if the stripes are actually aligning or not, since you can’t see the right side of the seamline.
Slip basting is also a great tool for making fit adjustments from the right side of the garment. This can either be done on the dress form or when the garment is fitted on the body. It imitates a finished seamline and thus it is the most accurate way to perform fittings.
How To Sew A Slip Basting Stitch:
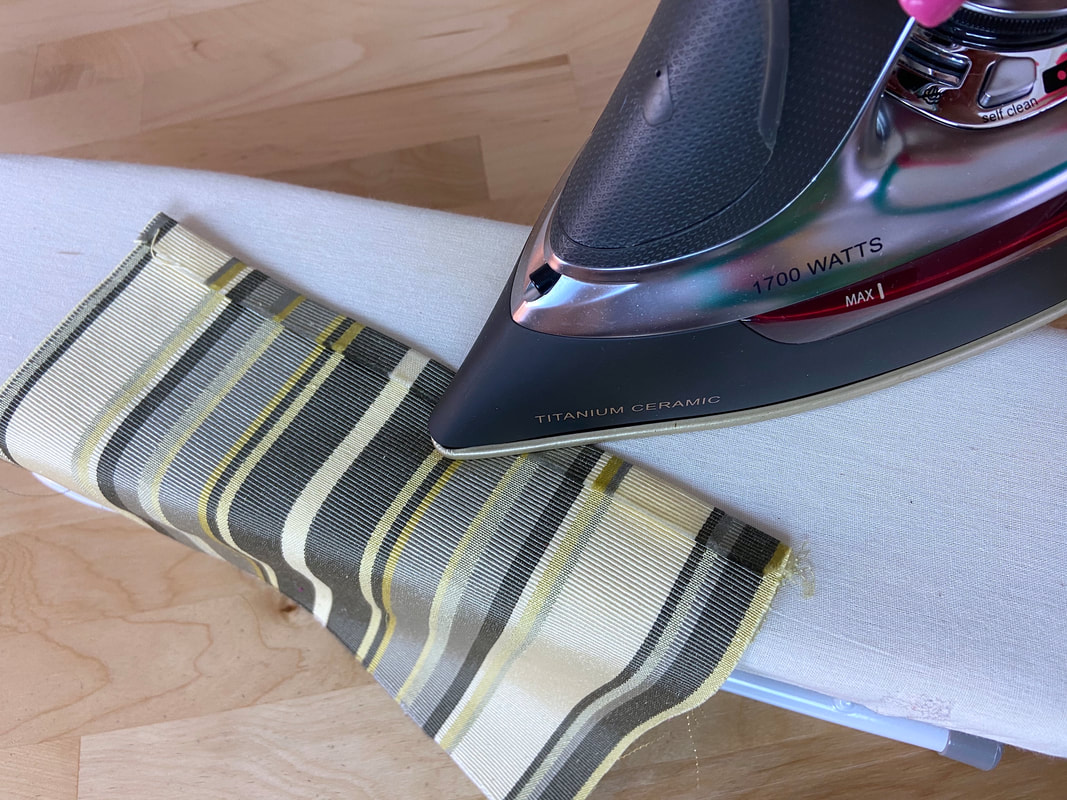
1. To slip baste a seamline from its face side, fold one of the seam edge inward, along its seamline, and iron the fold to crease.
2. Working on the fabric face side, place the folded edge on top of the other seam edge such that the fold aligns with its seamline.
Insert pins to keep these two seamlines aligned.
3. Stitch from right to left, inserting a ¼” long stitch through the flat fabric surface and then another through the folded fabric edge. Continue alternating between the fabric surface and the folded edge as shown. The slip basting stitch should keep the seamlines together but appear almost invisible on the seam’s right side.
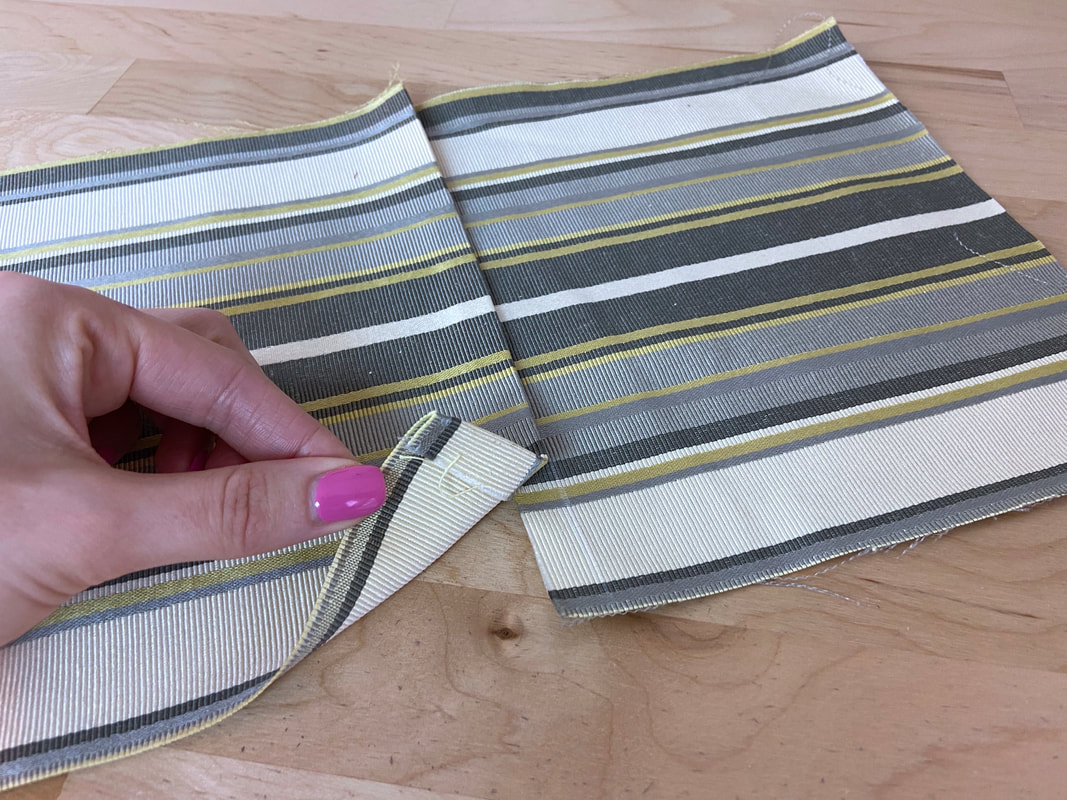
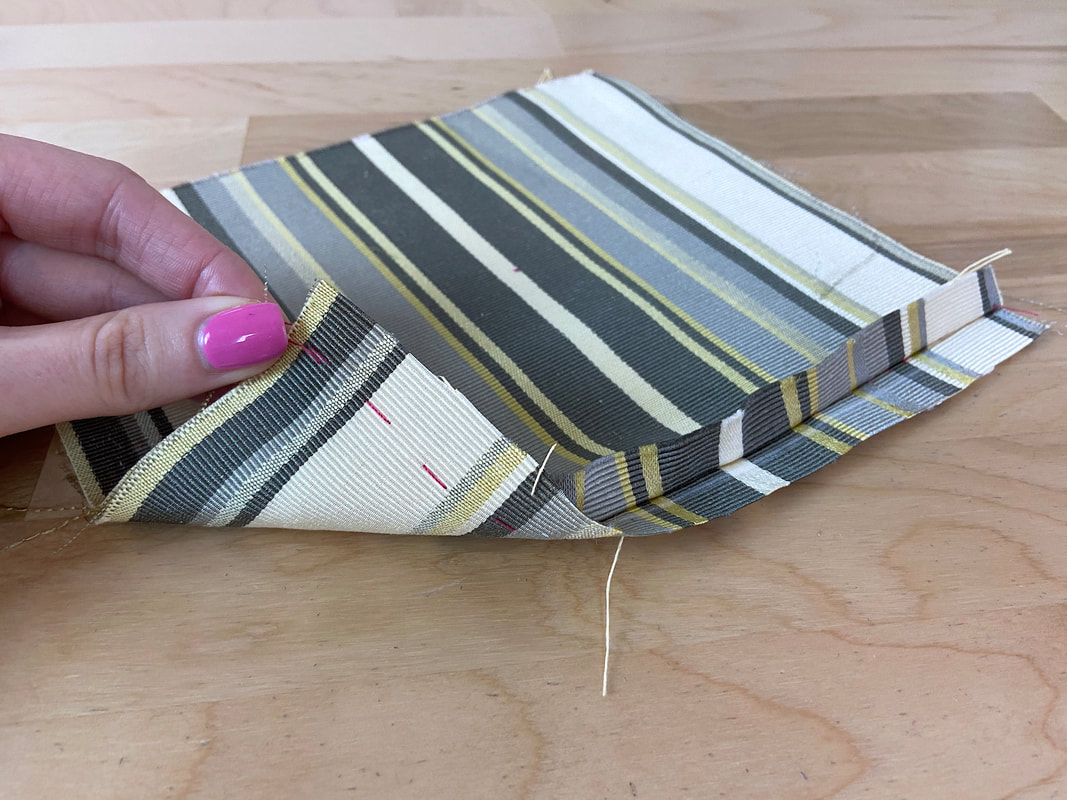
4. When complete, flip the folded edge over such that the fabric face sides are touching and wrong side is exposed.
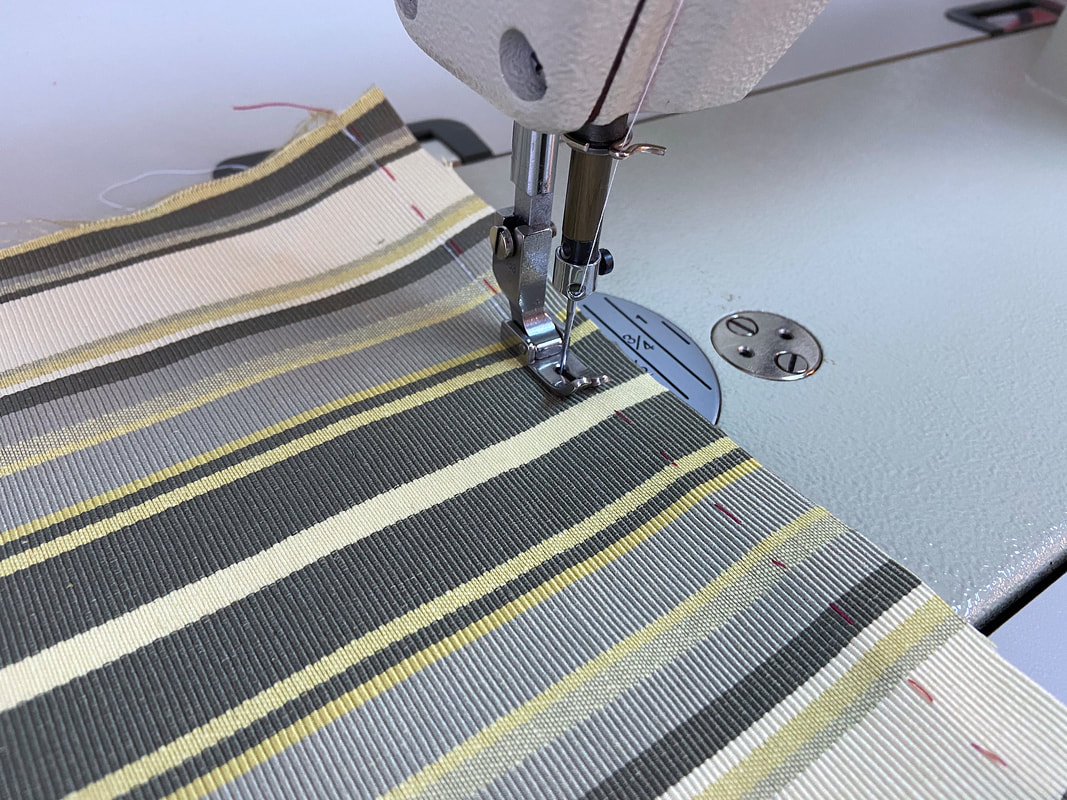
Stitch the seam edges together as you would any regular seam.
The end result should be a seam with perfectly matched stripes.

