
The folded-and-topstitched application is essentially a continuation of the overedge finish described in this tutorial: Sewing An Overedge Stitch Facing Finish
|
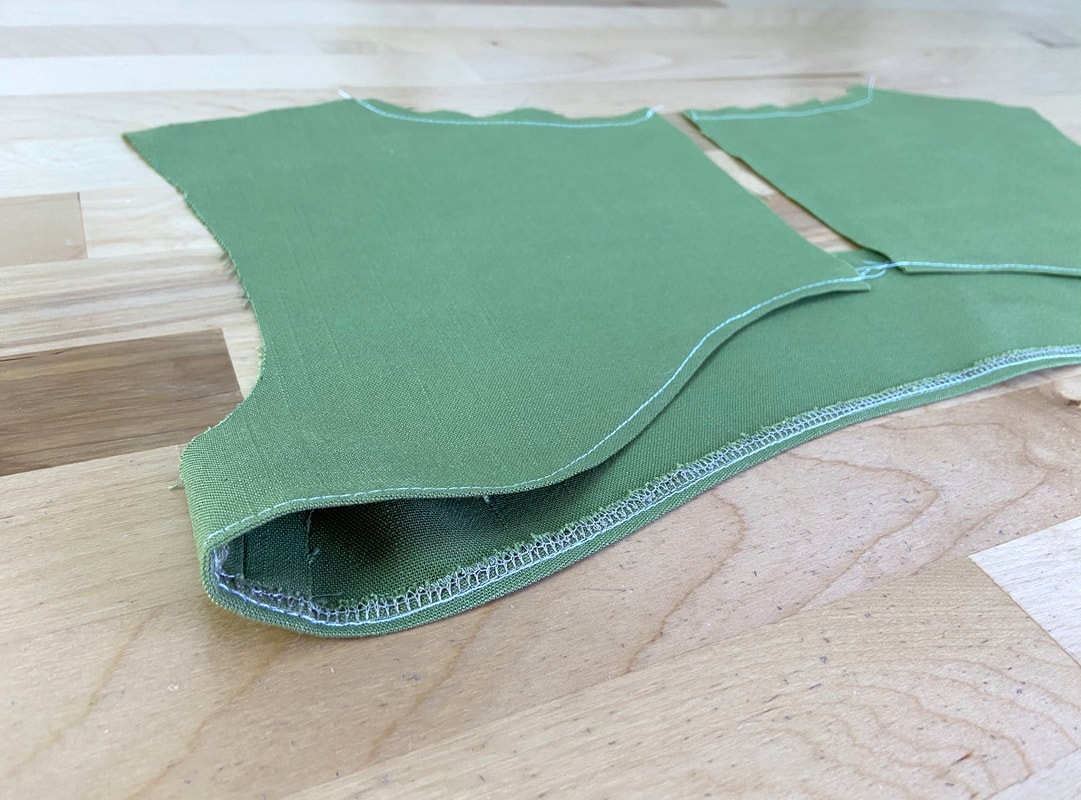
After the overedge stitch is applied along the facing’s free-hanging edge, the edge is folded once towards the fabric’s wrong side. This fold is then topstitched to permanently enclose the overedge application on the facing's wrong side.
This finish is identical to the turned-and-stitched technique, but the addition of the overedge stitch prevents the fabric’s cut edges from unraveling. It mixes the anti-fraying capabilities of an overedge stitch with the clean look of a folded edge.
|
Before applying the edge finish, sew all the facing seams first.
|
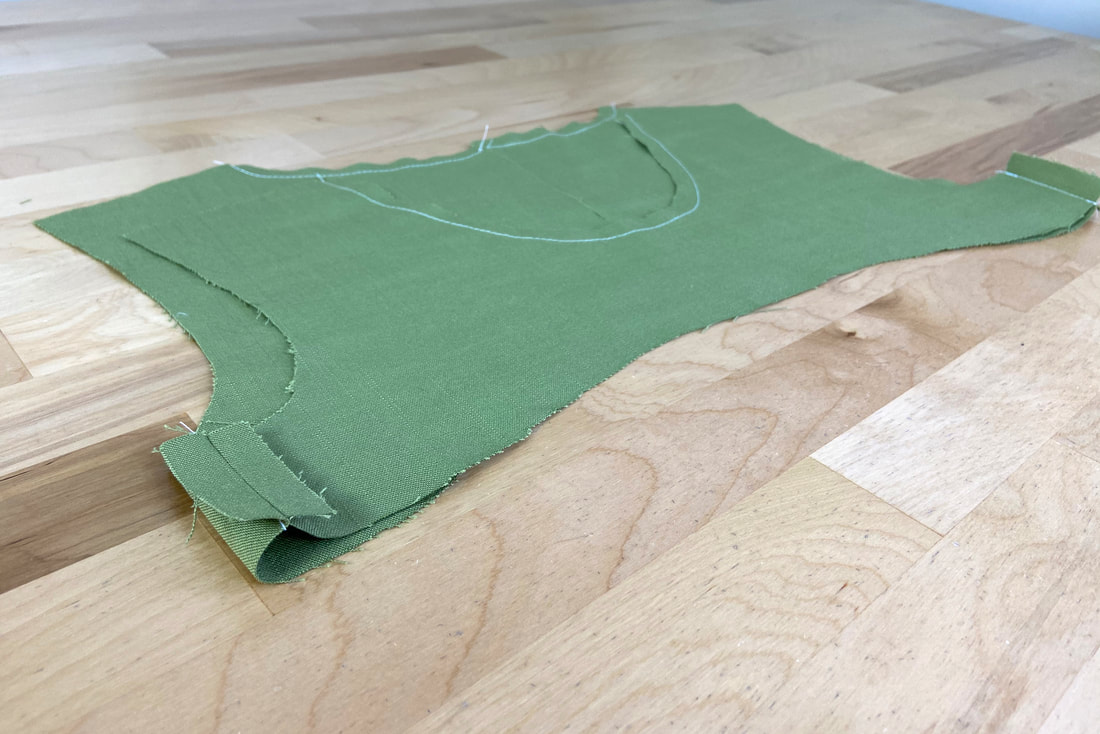
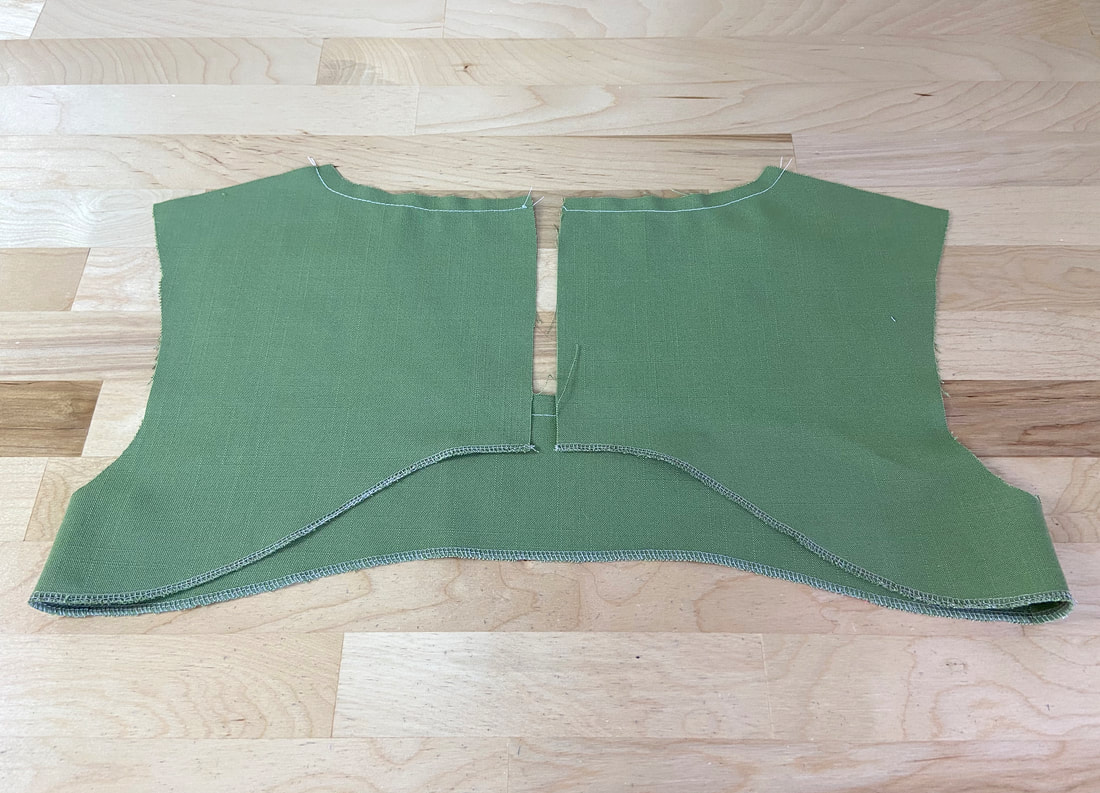
1. Apply an overedge stitch to the outer edge of the facing unit. In this case, a serging stitch is used. If you do not have an overlock machine, use a zigzag stitch available on your home sewing machine.
|
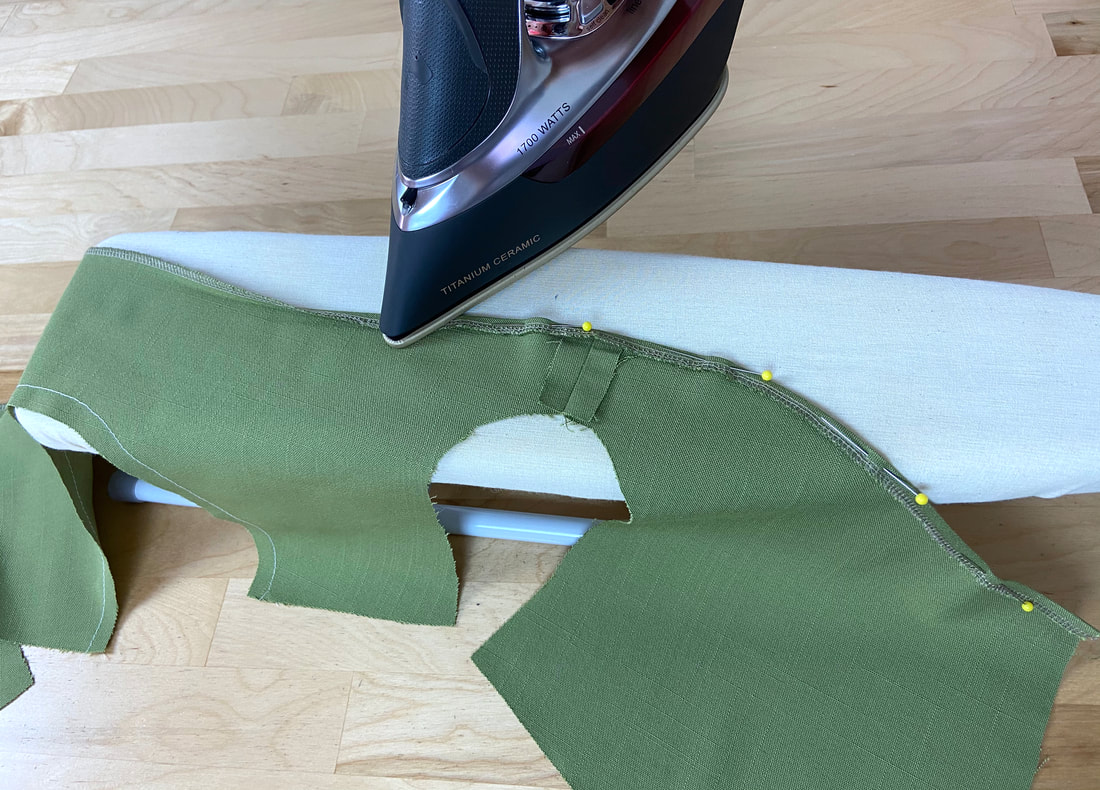
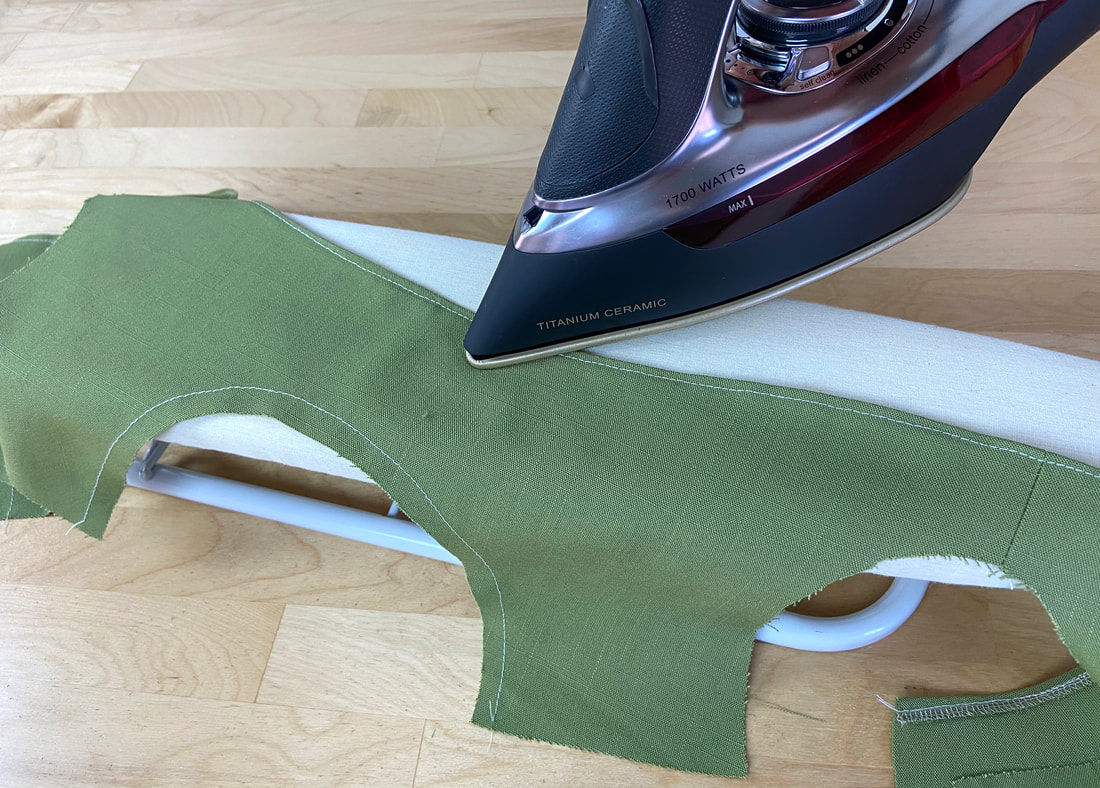
2. With the facing's wrong side up, fold the serged edge towards the wrong side of the facing at about ¼”, and iron as you fold to crease the fold line. Insert a few pins to hold the semi-curved folded edge in place.
|
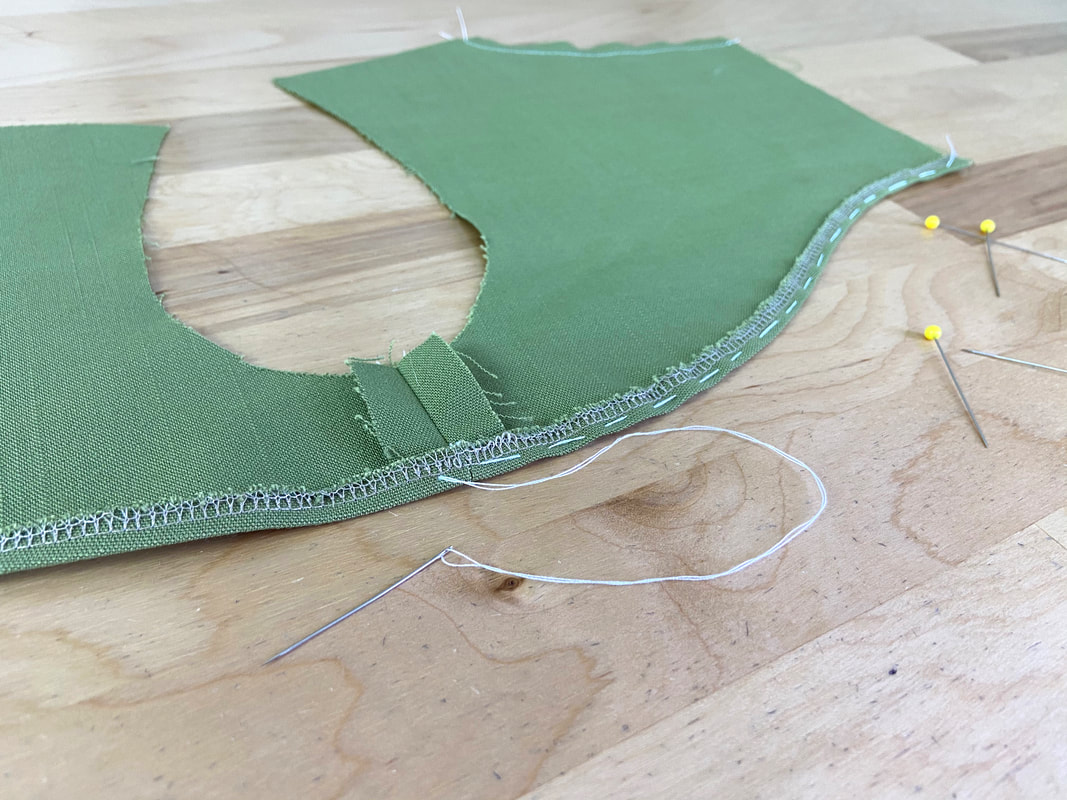
3. For added comfort during the machine stitching process, hand baste the folded edge as shown.
|
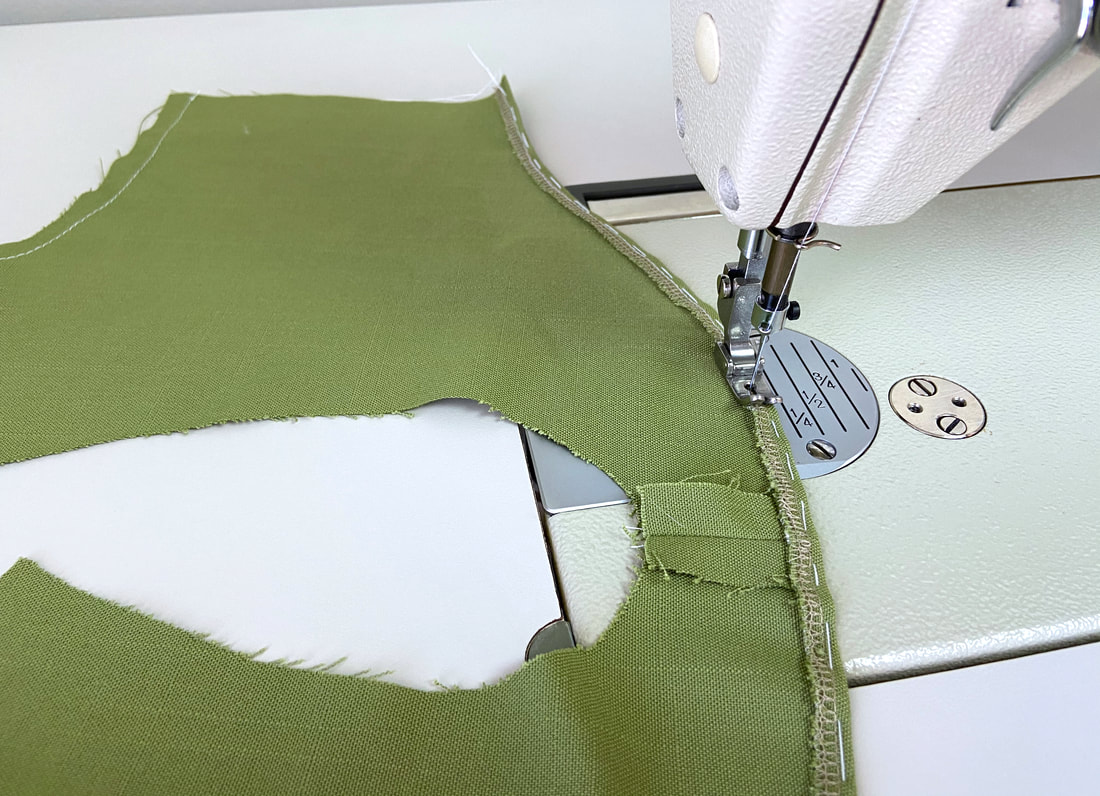
4. Working from the facing's wrong side, topstitch the folded edge at about 1/8” away from the fold line as shown. Overlap the ends of the stitch to lock it and thus prevent it from unraveling.
|
|
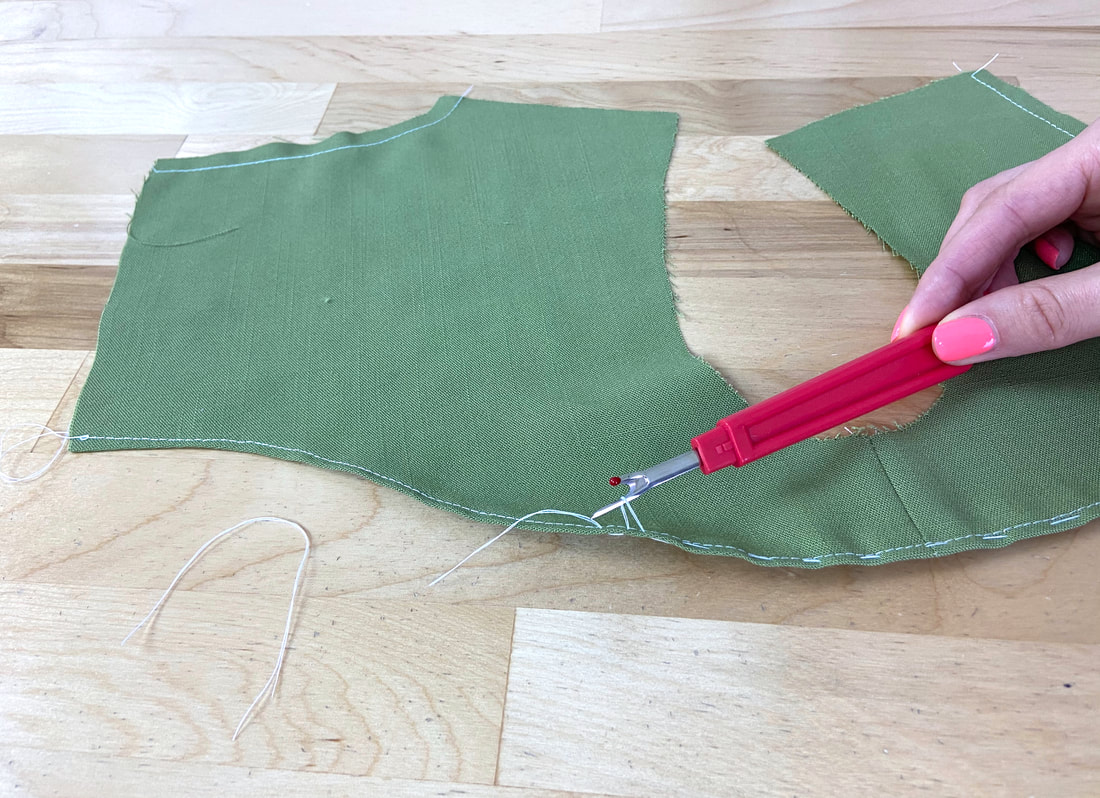
5. As a final step, remove the hand basting and iron the finished facing edge before sewing the facing unit to the garment.

|
When to use: Use the folded overedge technique when sewing high-fraying fabrics. It is a great application for facing edges that need to remain as flat as possible such that they don’t create a visible outline on the right side of the garment.

|
All content, including images and text, may not be copied, replicated, or redistributed without express written permission. This website is regularly screened and monitored for content protection.
|
