
A hand stitched zipper finish is perfect for those that either don’t feel comfortable topstitching a zipper on a sewing machine or lack the right equipment to do so.
|
This zipper finish is also less noticeable on the face of the garment, making it suitable with tailored or dressy styles for which topstitching is not desirable. This can be either due to the fabric’s sensitivity or simply a preferred design finish.
A hand-applied zipper can be hand stitched using a blind stitch (both on the machine or by hand) or a hand-applied prickstitch.
In this tutorial, you will learn how to finish a lapped zipper using both the prickstitch and blind stitch techniques. As opposed a blind stitched application, the prickstitched version is somewhat visible on the face of the garment.
How To Sew A Prickstitched Zipper Application
|
1. Refer to this tutorial: Sewing A Lapped Zipper for detailed steps on sewing a lapped zipper application. Repeat steps 1-13 to complete the zipper. Stop right before the machine topstitch application. Don’t skip the hand basting at Step 13 as it will provide lots of stability in the prickstitch application.
The prickstitch will be applied in the same alignment and at the same distance from the seam as you would a machine topstitch in a lapped zipper application.
Note: The lapped topstitched placket is conventionally placed on the left side of the zipper.
|
A hand applied pricksticth is a type of backstitching that leaves short, spaced-out stitches on the face side and long, semi-overlapped stitches on the wrong side of the application.
To finish a lapped zipper with a prickstitch:

|
2. Stitch in place a few times to lock the thread.
|
|
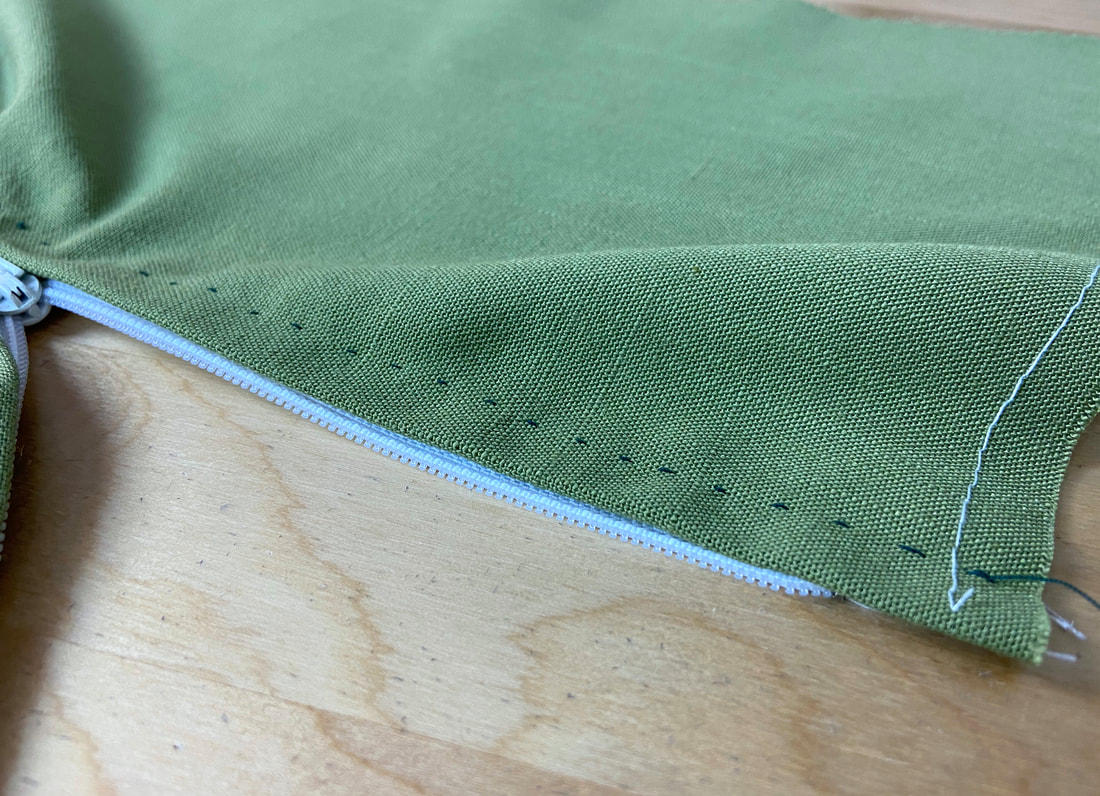
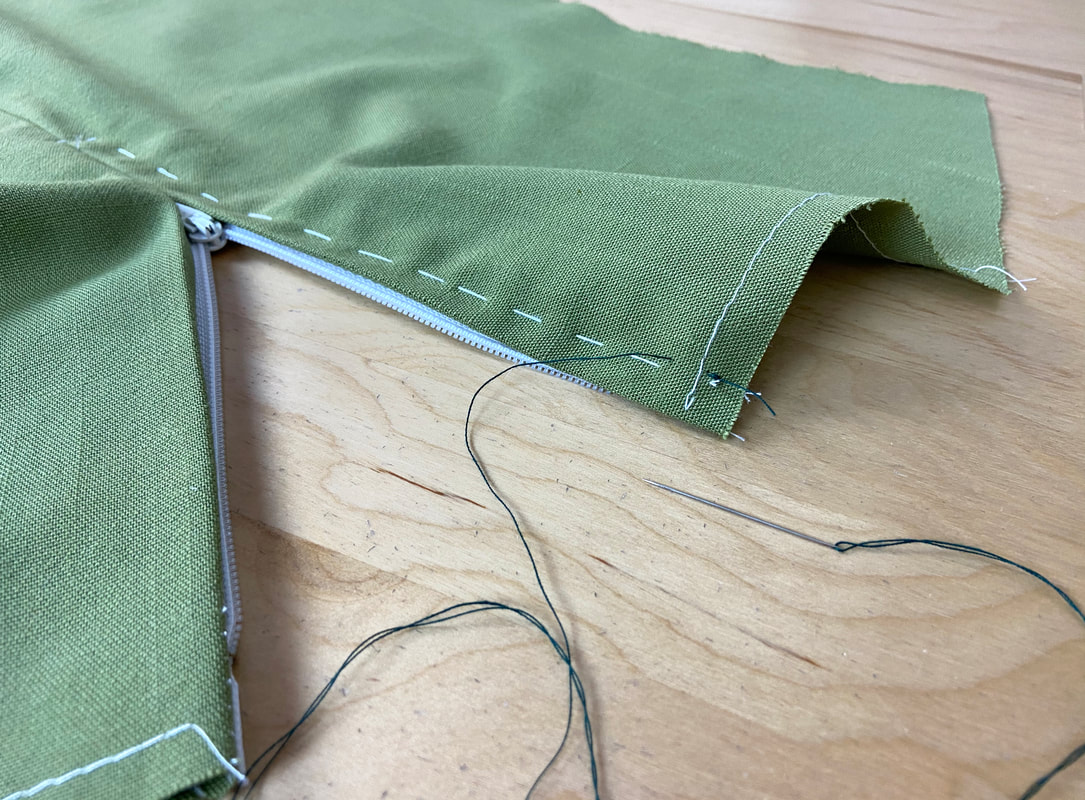
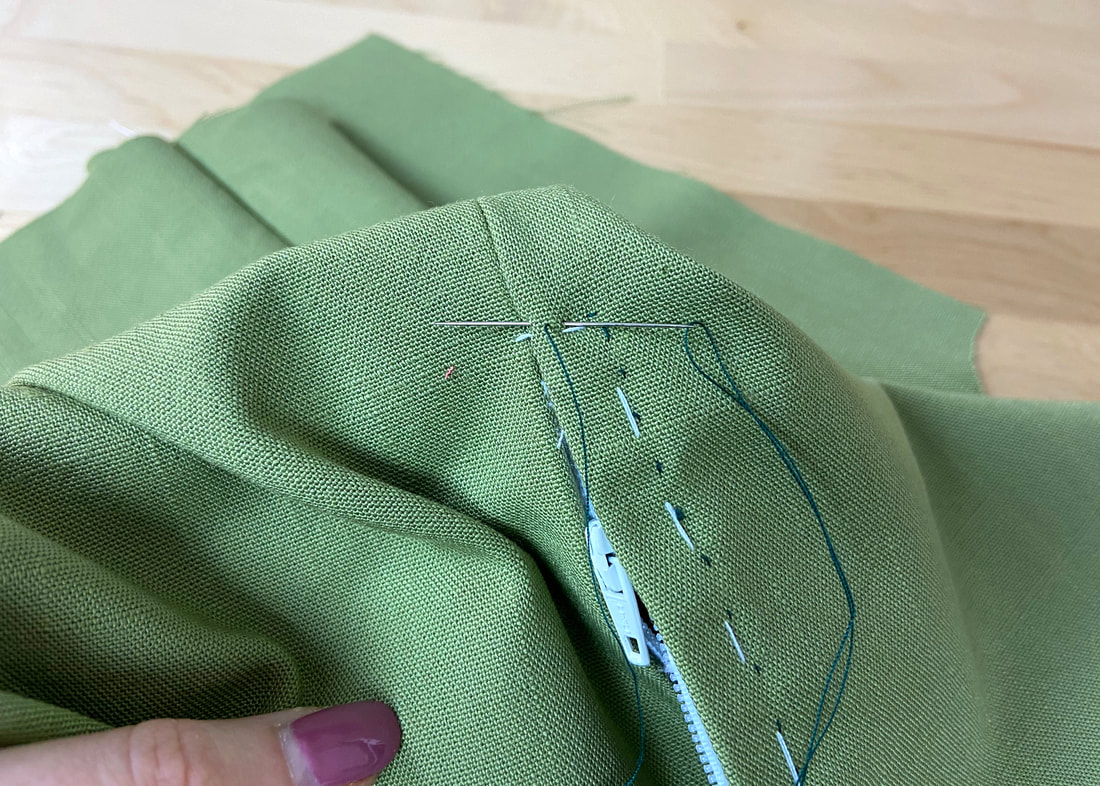
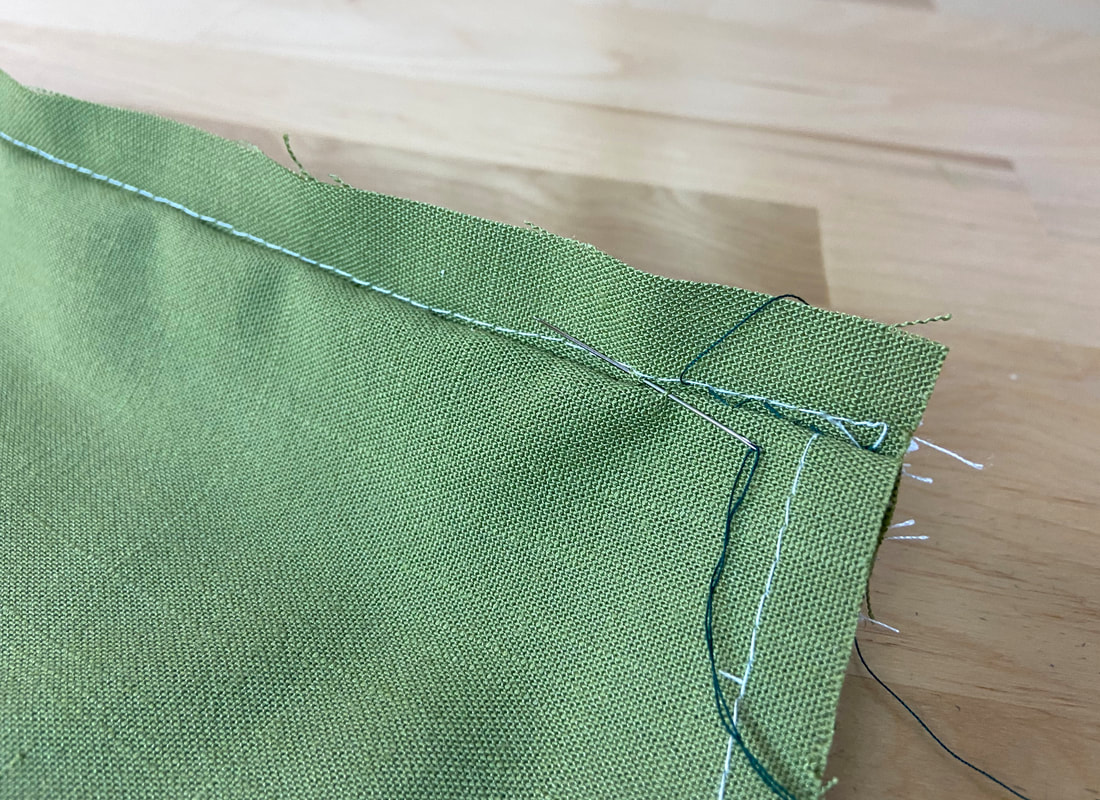
3. Starting at the top of the zipper, take a hand stitch through all garment, seam allowance and zipper tape layers of the placket.
|
4. Next, take a small stitch back and bring the needle out at about ¼”-3/8” from this initial stitch.
|
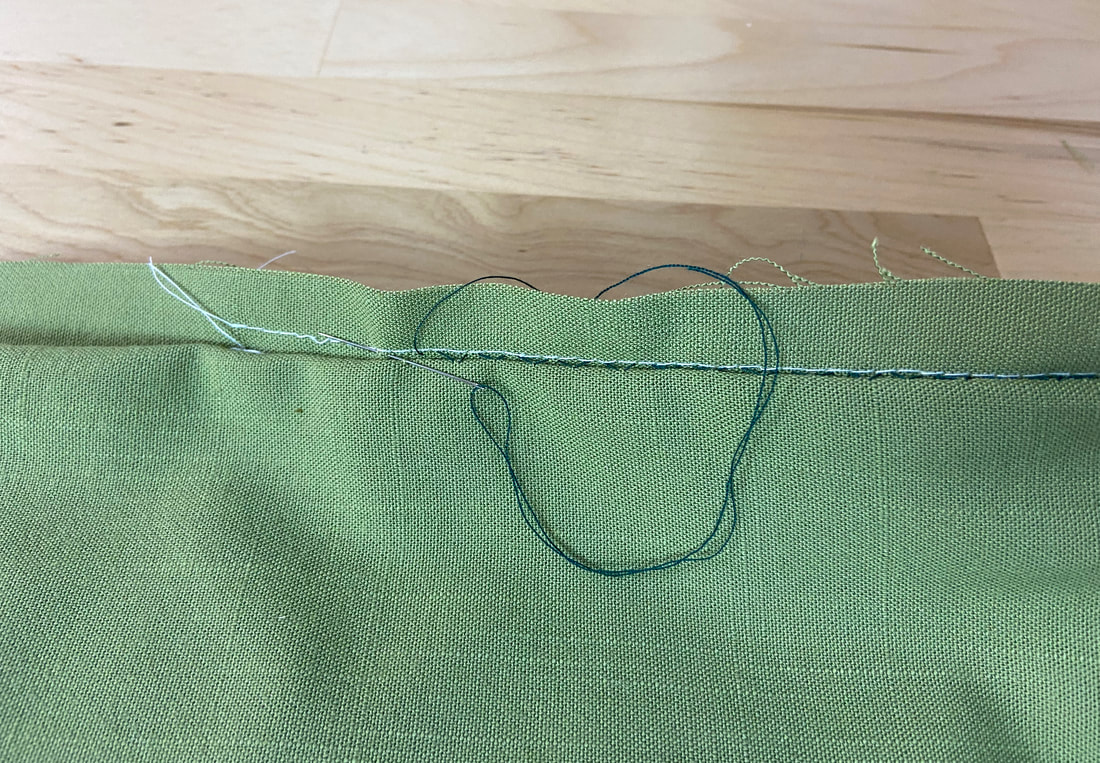
Take another small stitch back and again, bring the needle out in front of the last needle insertion point, at about ¼”-3/8”. As you continue stitching in this manner, small dash-like stitches will start to form.
|
|
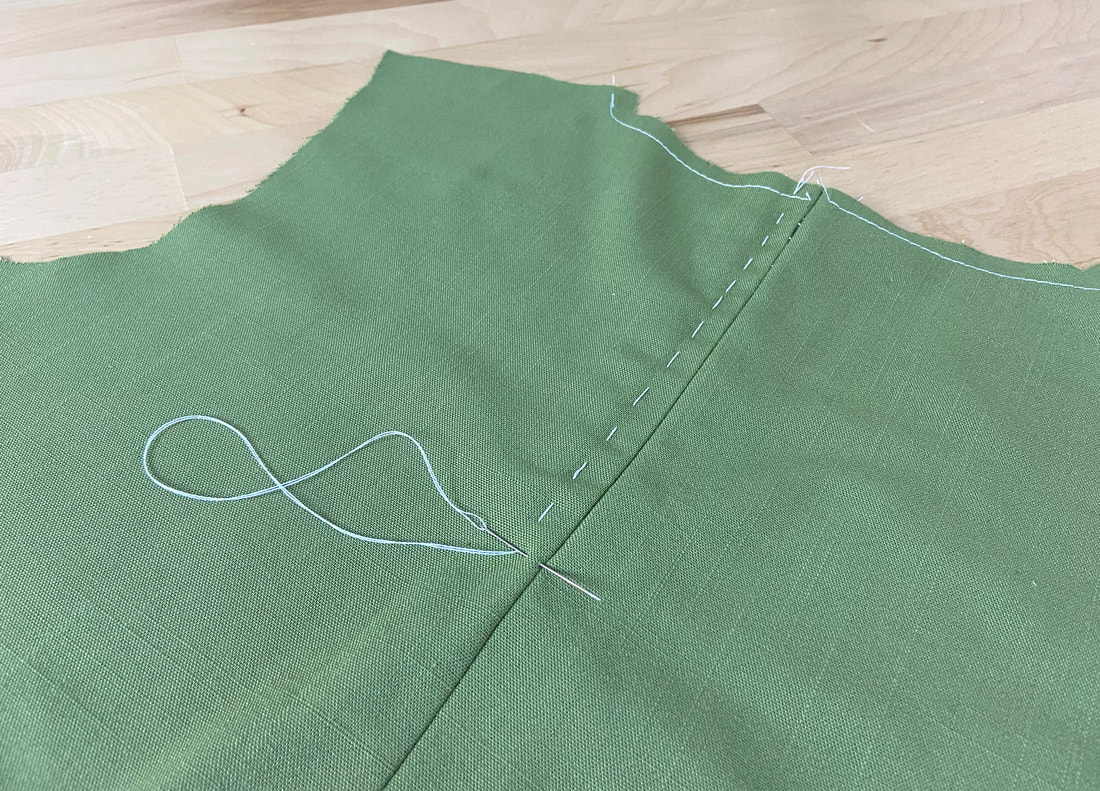
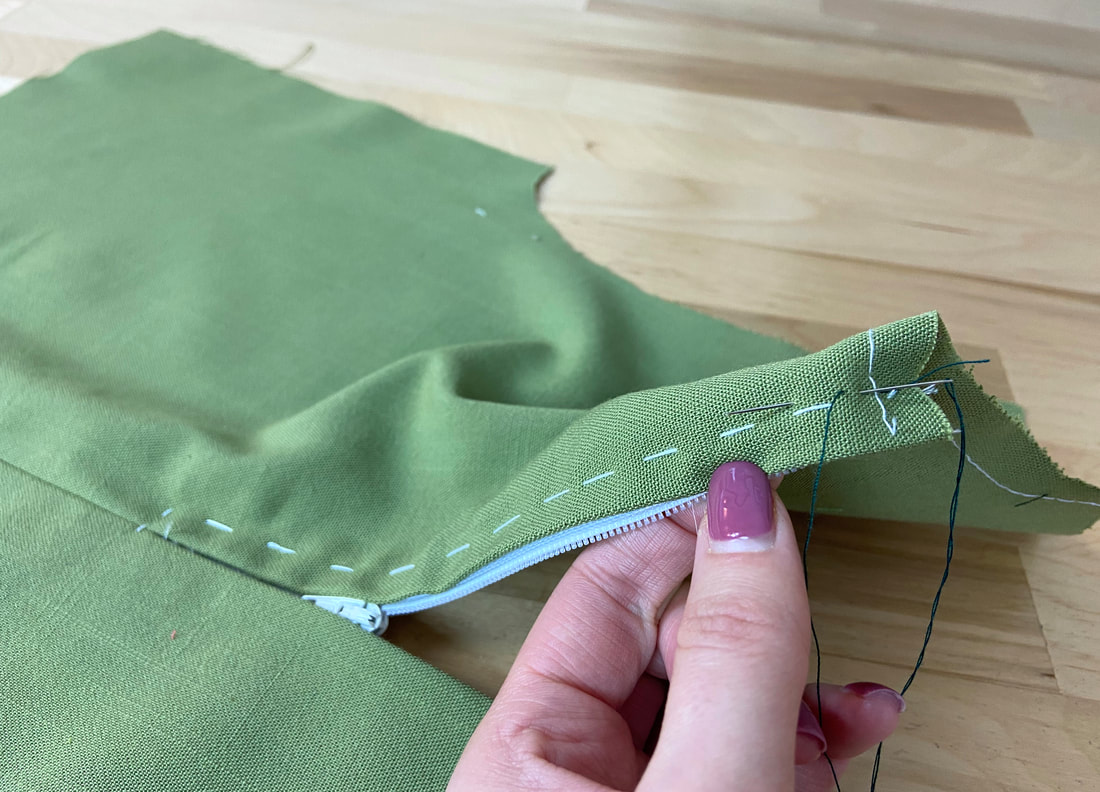
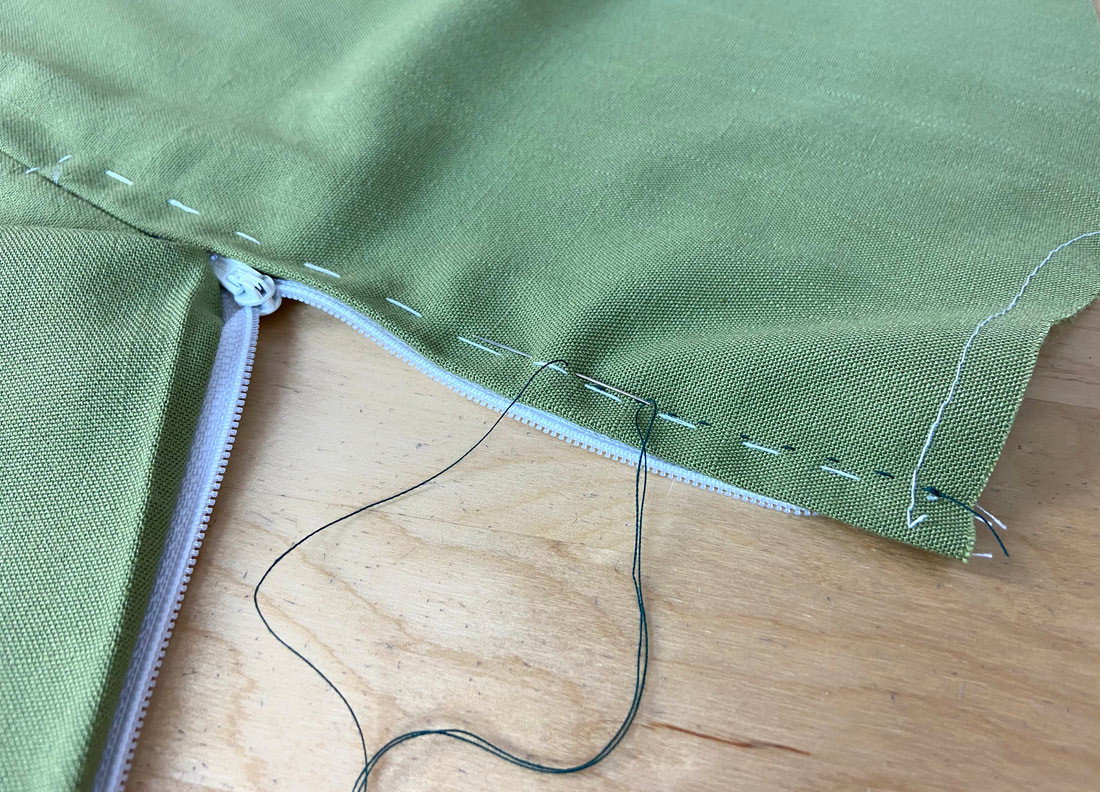
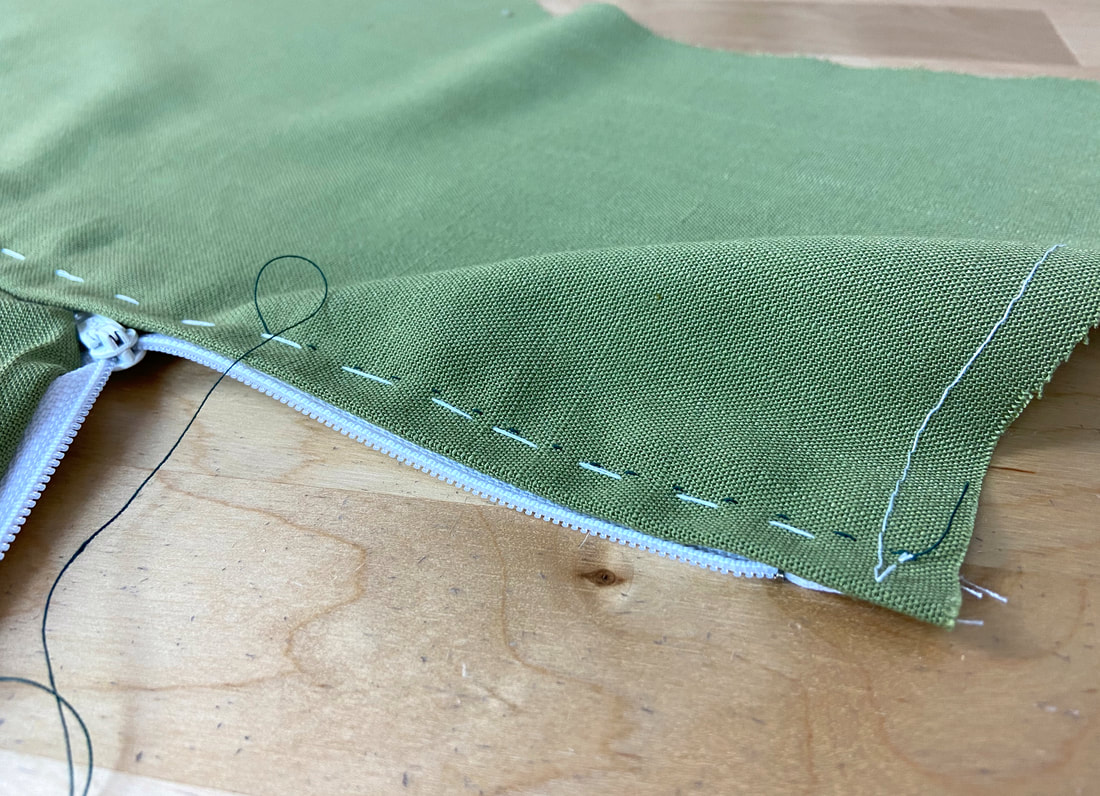
5. Continue stitching until you arrive at the area where the hand basting pivots horizontally. Following the direction of the hand basting, pivot and prickstitch until you arrive at the seamline (bottom of the zipper).
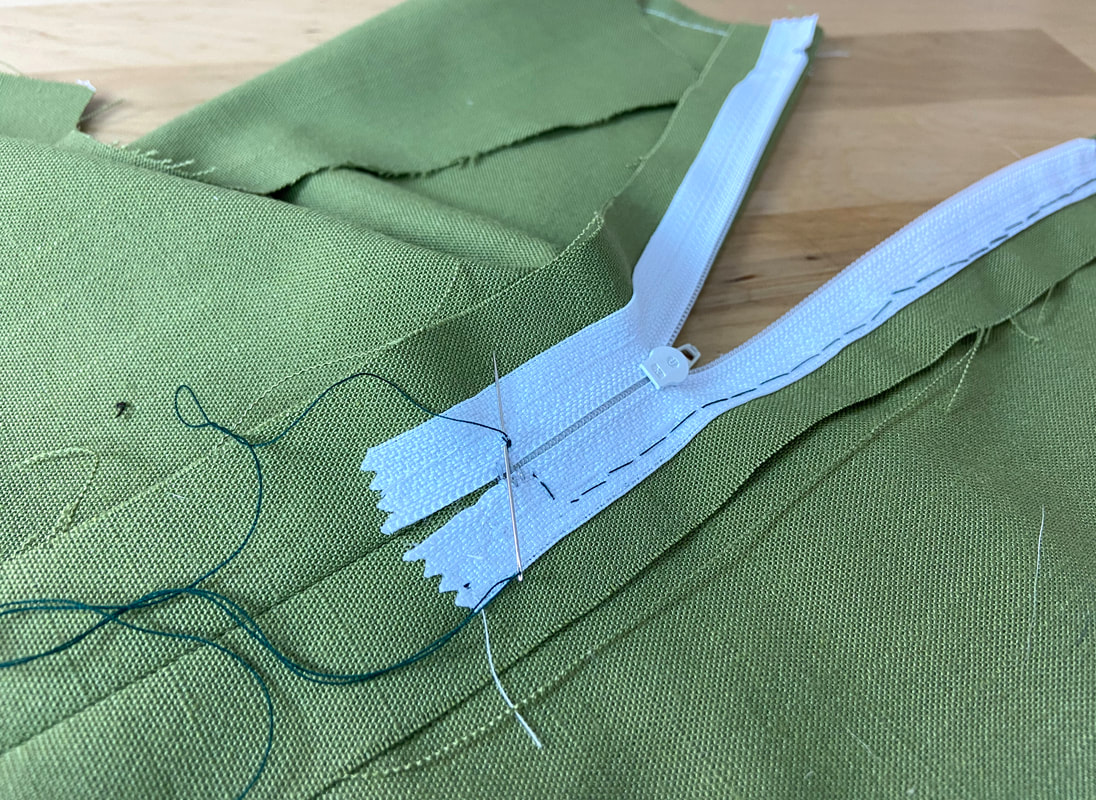
|
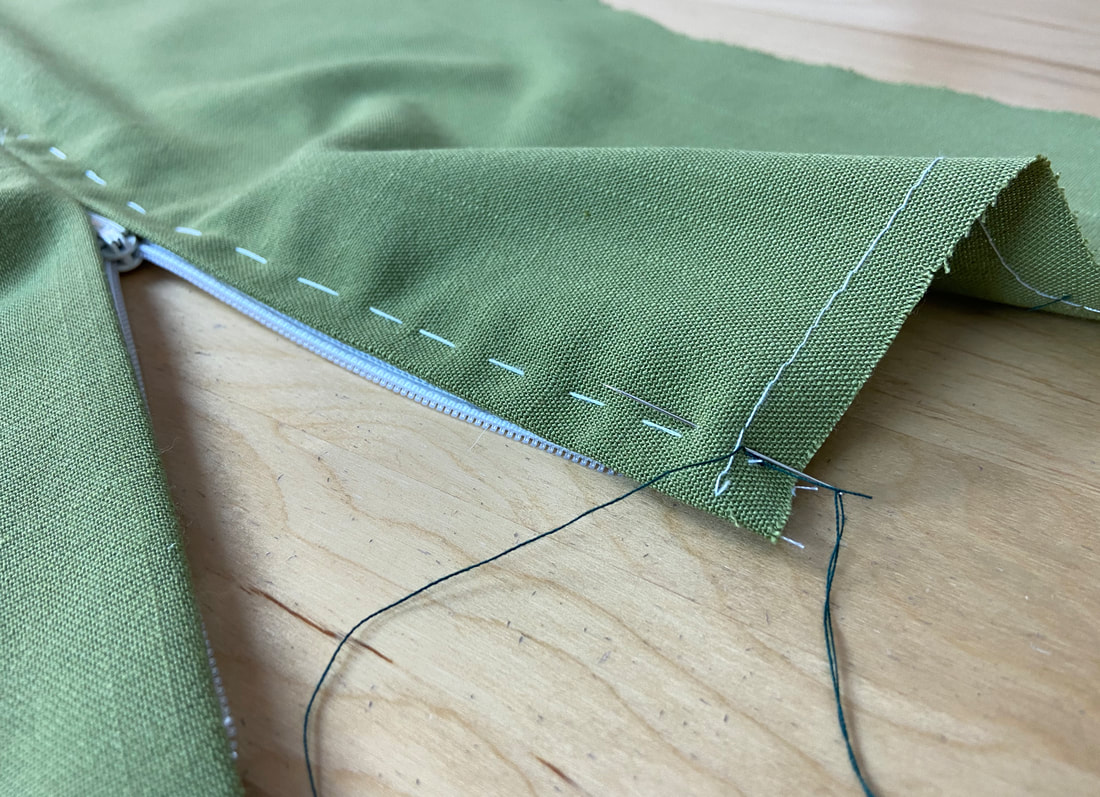
6. At this point, bring the thread to the wrong side of the zipper application and stitch in place a few times, either through the zipper tape or seam allowance layers, to lock the stitch.
A prickstitched zipper application is not as durable as a regular machine topstitched one. Keep this in mind when using this finish on heavy-duty garments. If needed, you may apply two rows of prickstitching for extra durability. The double row of prickstitching will conveniently also become a custom design feature.
How To Sew A Blindstitched Lapped Zipper Finish
|
1. Refer back to this lapped zipper application tutorial: Sewing A Lapped Zipper Application. Repeat Steps 1-13 to insert the zipper into the seam.
Hand basting the lapped zipper in Step 13 is extremely important in the blind stitching process, so be sure to apply it exactly as described.
|
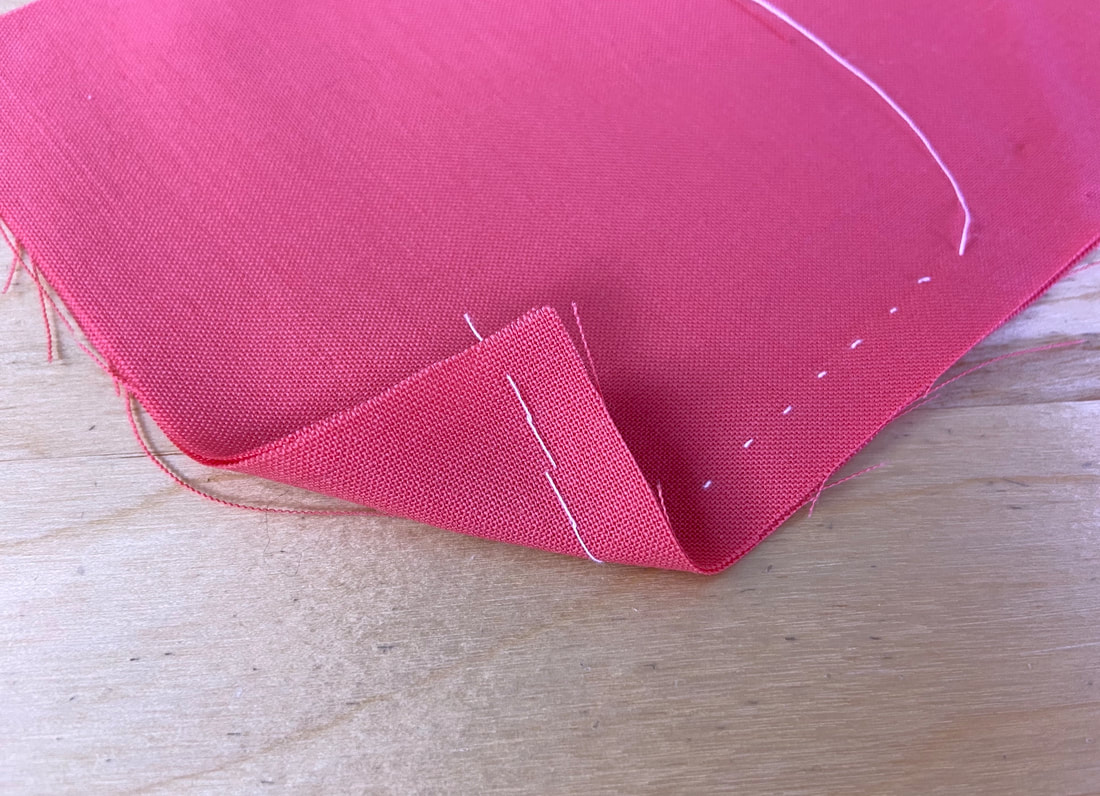
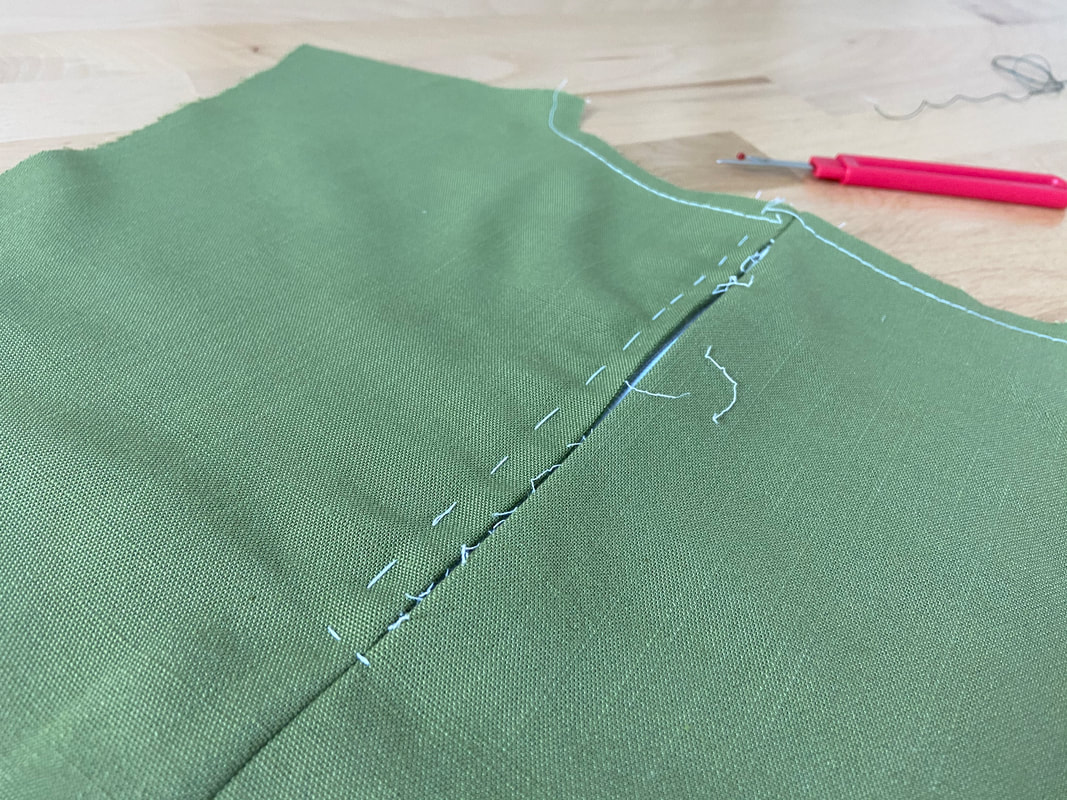
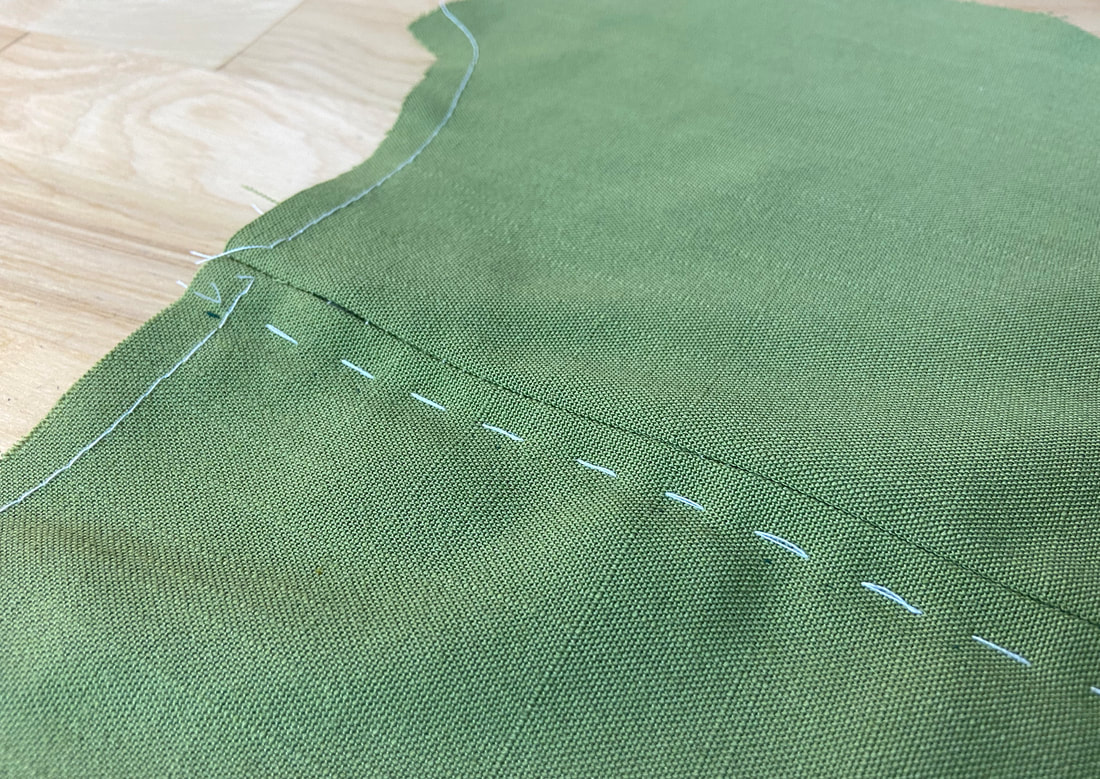
2. With the zipper application on its right side, fold the garment layer along the basting to expose the seam allowance underneath.
|
3. Starting at the top, blind stitch the underside of the garment layer to the seam allowance as shown.
To blind stitch these two layers together, take a small stitch from the seam allowance then a few threads from the folded edge of the garment layer.
|
4. Continue alternating between the seam allowance and garment layer until you arrive at the bottom, horizontal hand basting. At this point, stitch a few times in place to lock the threads.
|
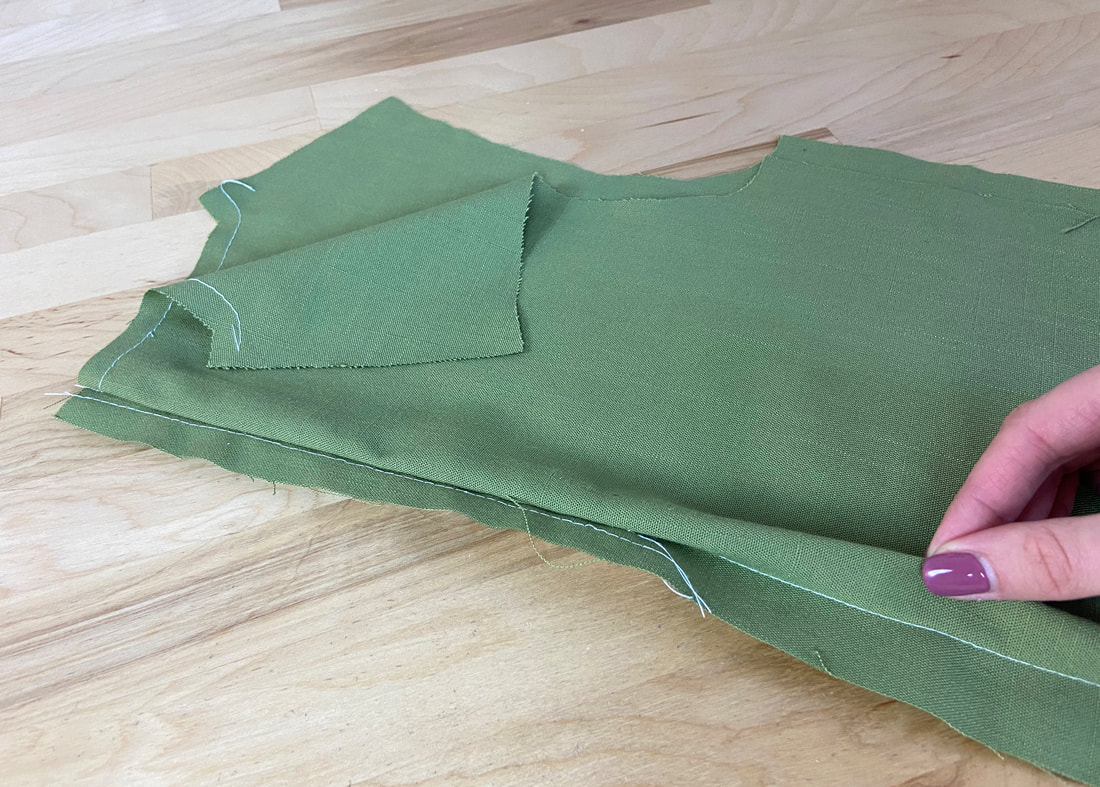
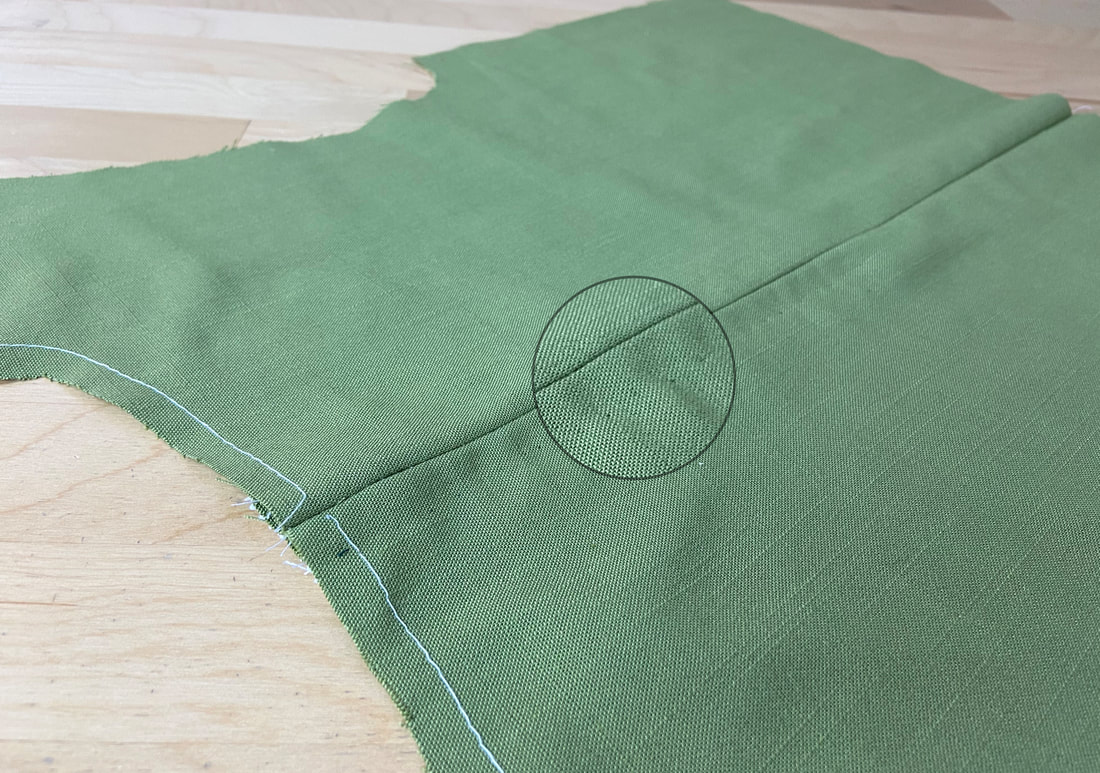
If you look on the face of the zipper application, the stitch is almost invisible.
|
Just like the prickstitched application (shown above), a blind stitched zipper is not highly durable. Luckily, a blind stitched zipper style is used on dressier garments that are meant to be conventionally dry cleaned and not worn as often.

|
All content, including images and text, may not be copied, replicated, or redistributed without express written permission. This website is regularly screened and monitored for content protection.
|
