Before proceeding to cutting your sewing patterns, the fabric should first be correctly prepared to avoid numerous fit, misalignment and shrinkage issues in the final garment.
Fabric prep is done before the sewing patterns are aligned and pinned to the fabric. Keep in mind that not all fabrics should be prepared using the conventional process described below.
Fabrics like leather, suede, those with a water proof, applied decorative finish or attached backing may not be manipulated and re-aligned as described in this tutorial.
The process below applies mostly to conventional woven fabrics. Knits follow a different preparation process (to be discussed later).
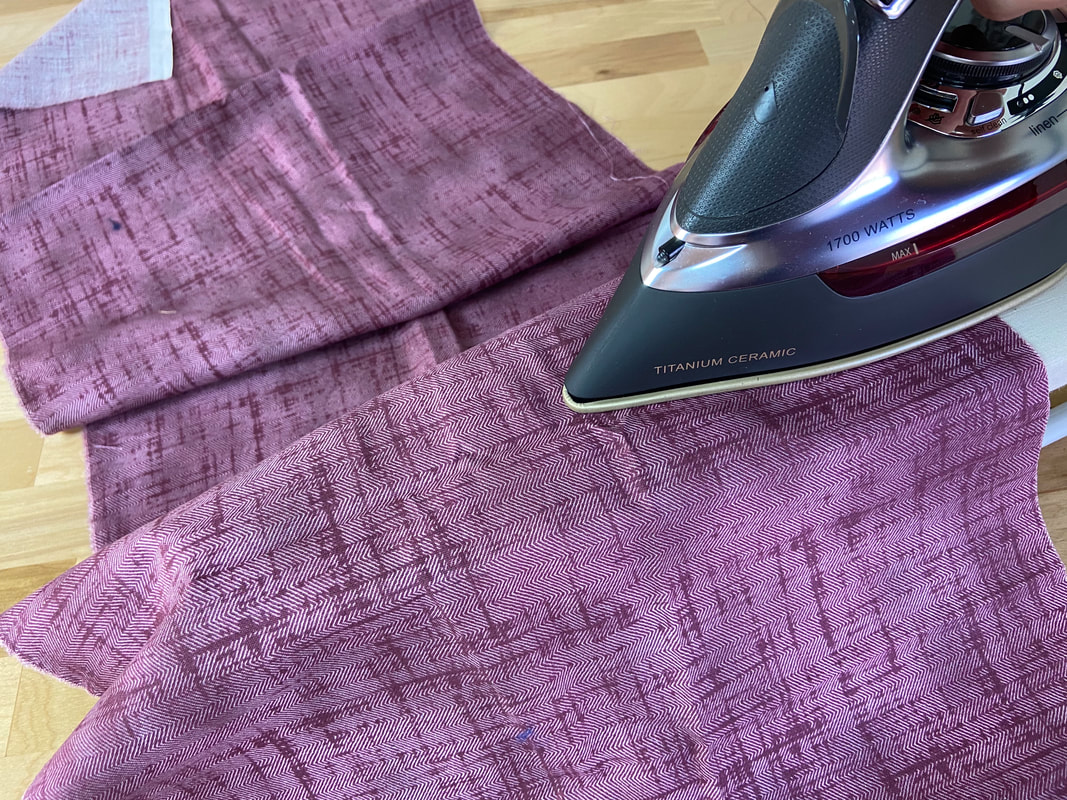
As a rule of thumb, always iron any wrinkles or creases from the surface of the fabric first.
Exercise care with heat sensitive fabrics or those that are inclined to leave iron marks. Apply steam where necessary. If a crease does not come out with extensive steam and ironing, it may be best to avoid this fabric area when placing and cutting your patterns.
These steps should be followed to prepare a non-stretch, woven fabric prior to cutting the pattern pieces:
1. Straighten the fabric ends
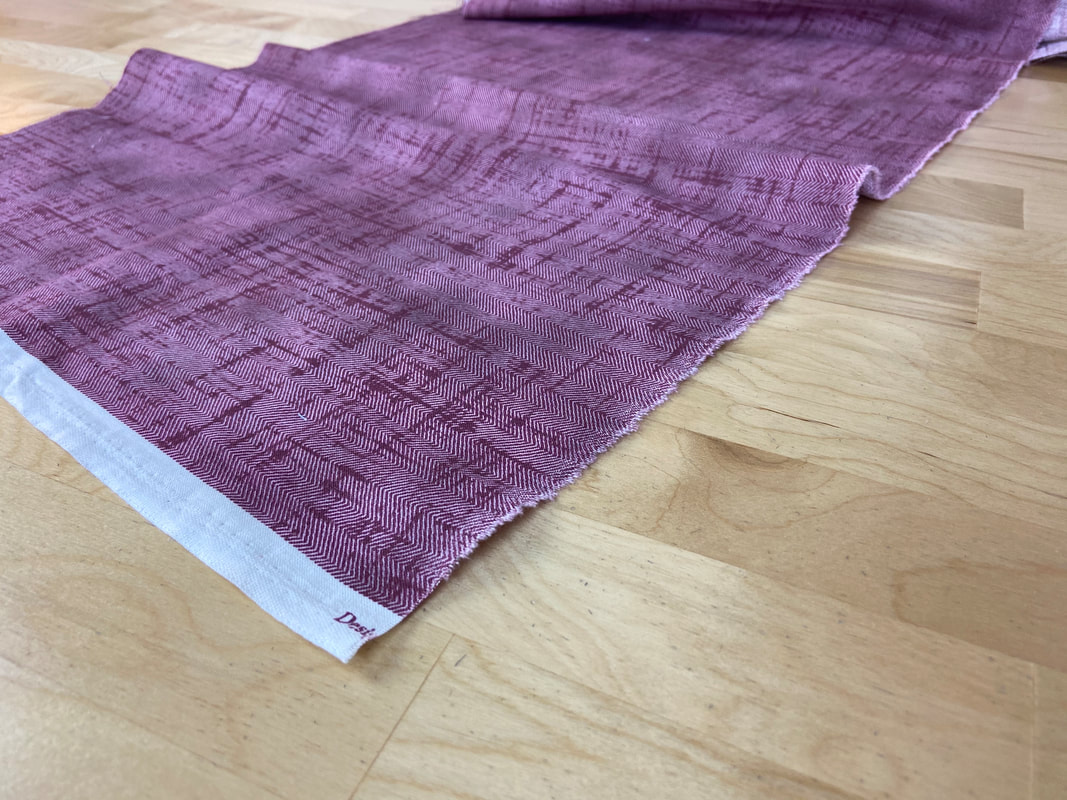
Fabric ends are those running perpendicular to the selvage edge, corresponding to the crosswise grain. Depending on how long your fabric cut is, the fabric ends are usually the shorter edges, maintaining the same width throughout the fabric cut.
Vice versa, the lengthwise fabric edge (parallel to the selvage) measures the length of your desired yardage. For instance, when buying your fabric off a bolt/roll, it is always measured along the selvage edge (lengthwise grain) and cut along the crosswise grain (perpendicular to selvage).
To achieve proper fabric alignment during pattern cutting, it is important to first straighten the ends of your fabric cut. You can do so by choosing from the following three methods, depending on the fabric’s type and/or featured print.
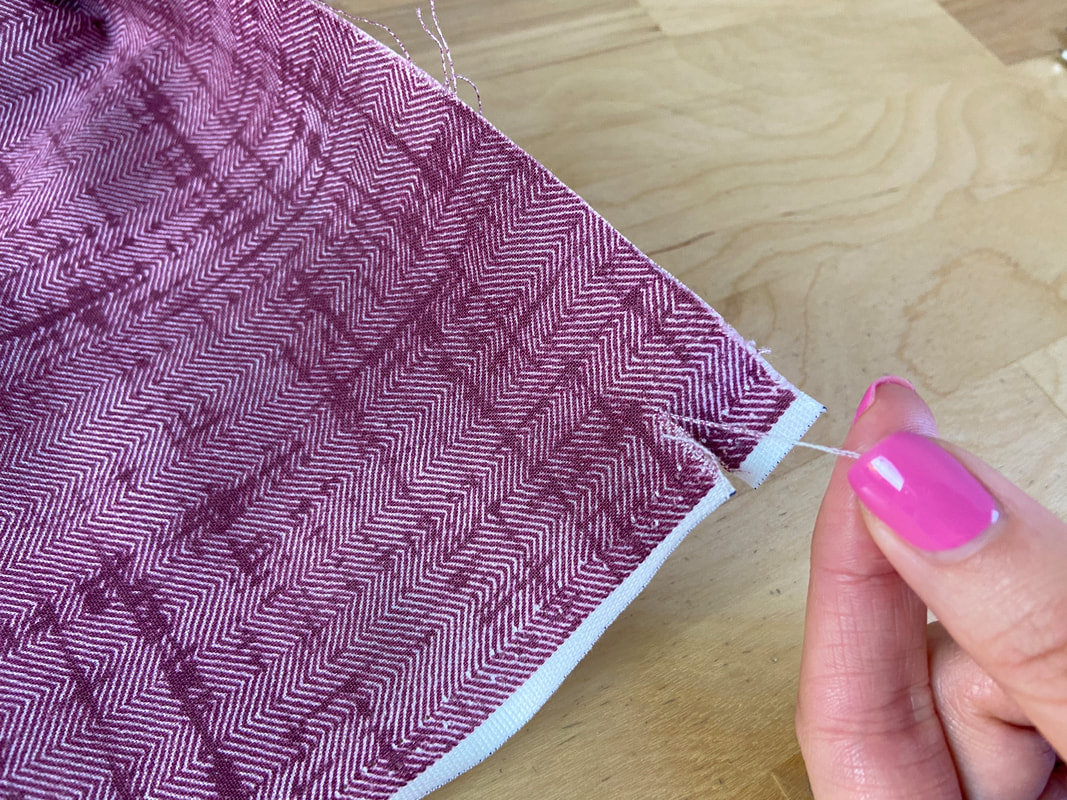
Pull a single thread from one selvage edge to the other: The line left behind will provide the cutting guide. This technique works best with loosely woven fabrics, or those that have defined crosswise threads.
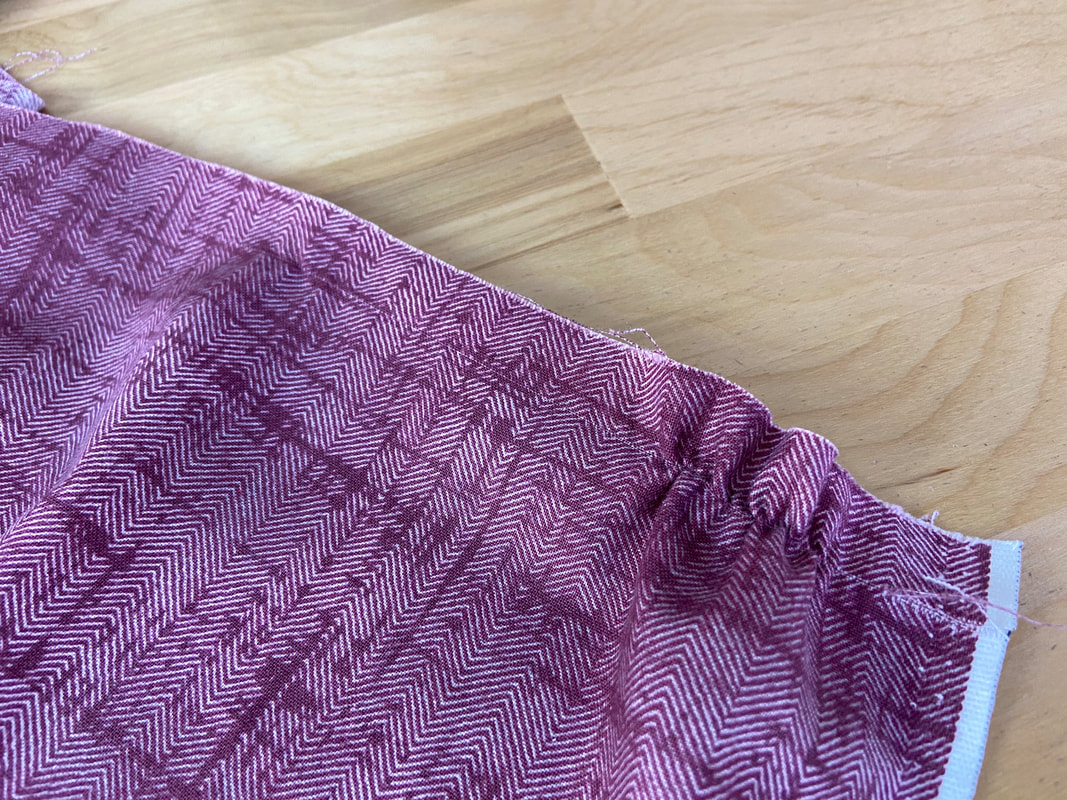
If the thread runs out into the fabric’s top edge before arriving at the other selvage edge, start over by slitting below the original slit mark. Grab another thread and pull until it arrives at the other selvage, thus forming a continuous line.
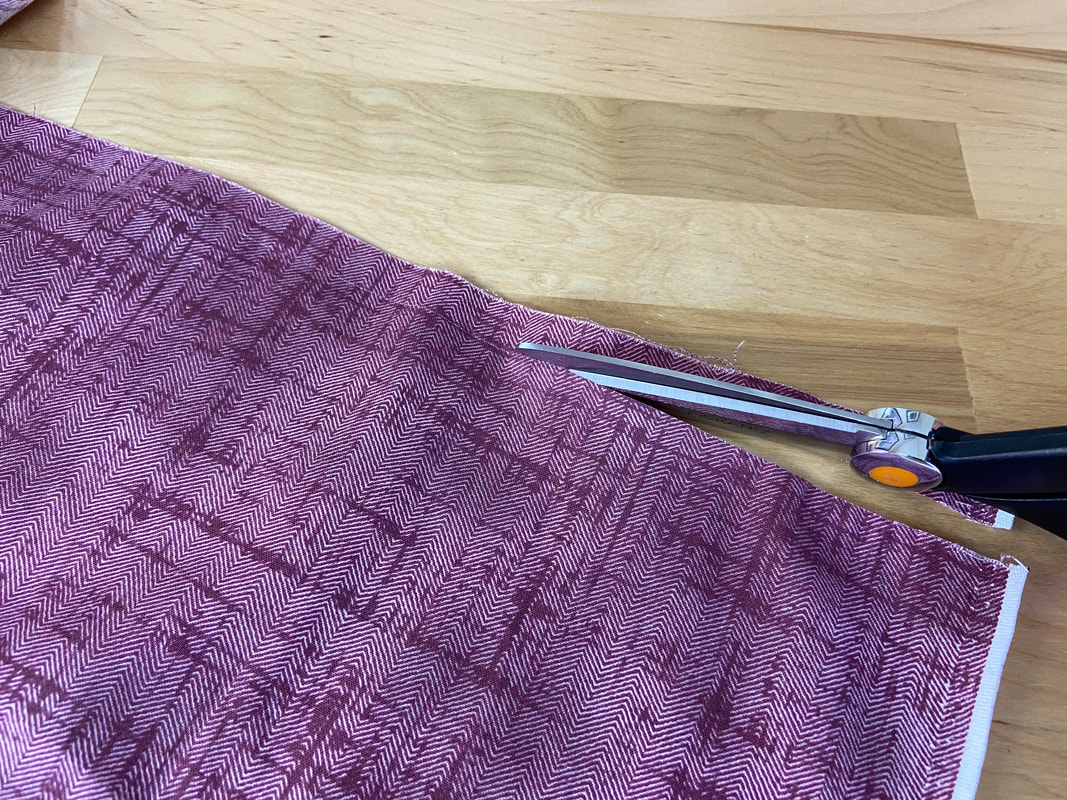
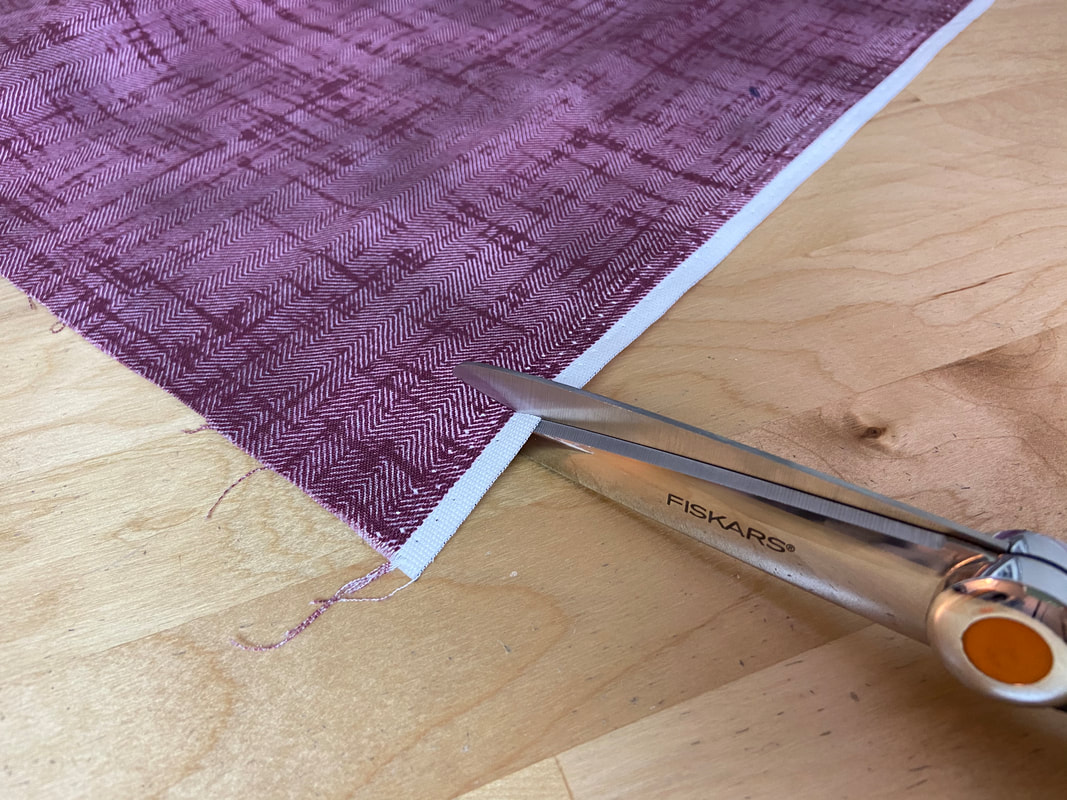
Cut the new fabric end following the formed line.
Repeat on the other end of the fabric piece.
Tearing the fabric: This is the easiest technique used in the process of straightening fabric ends. However, it is not suitable for all fabrics. It works best for tightly woven fabrics with a denser structure.
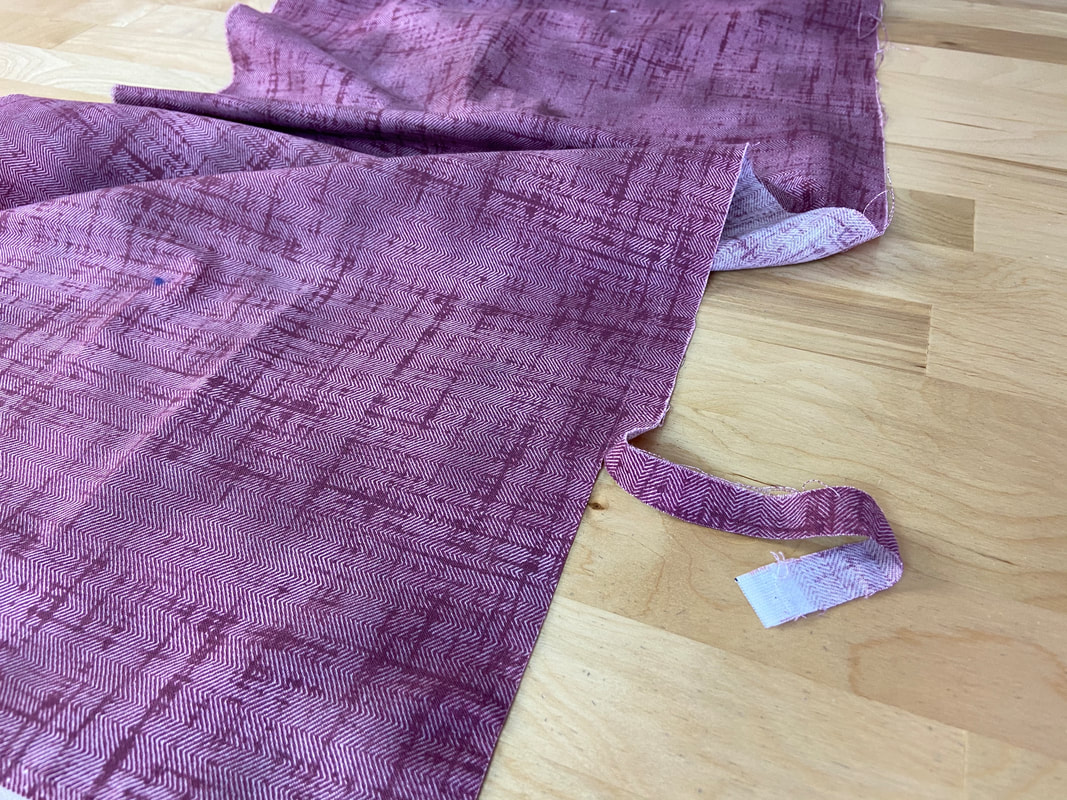
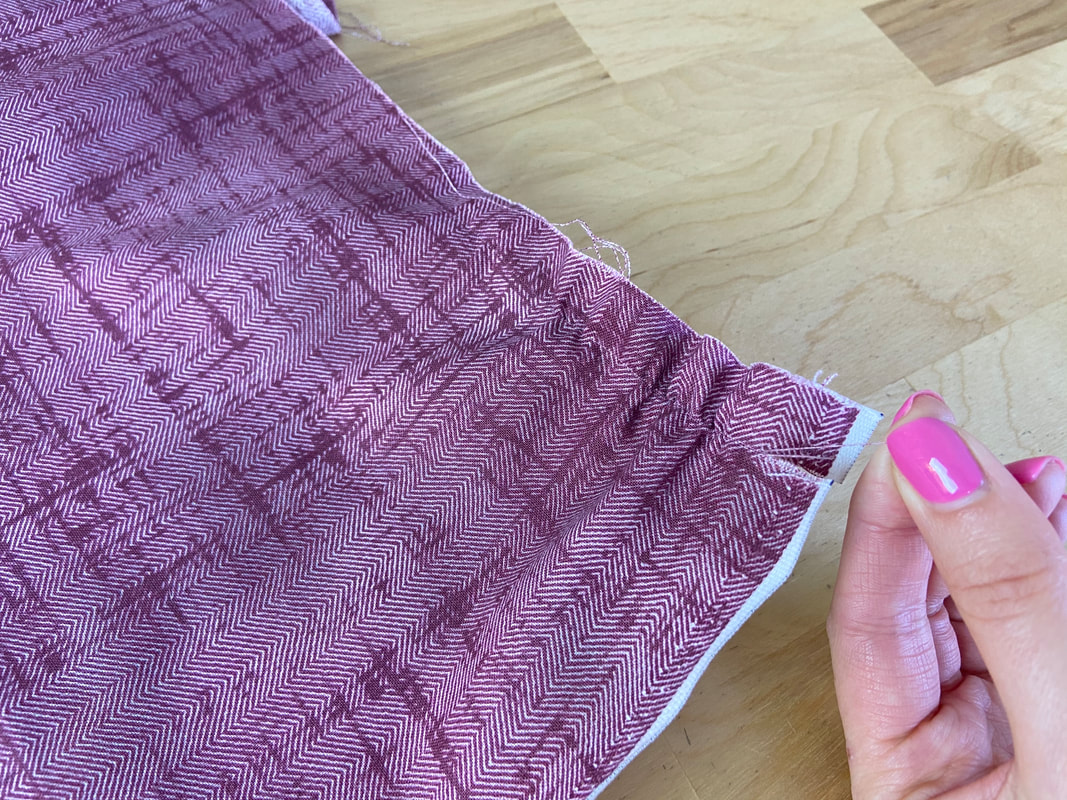
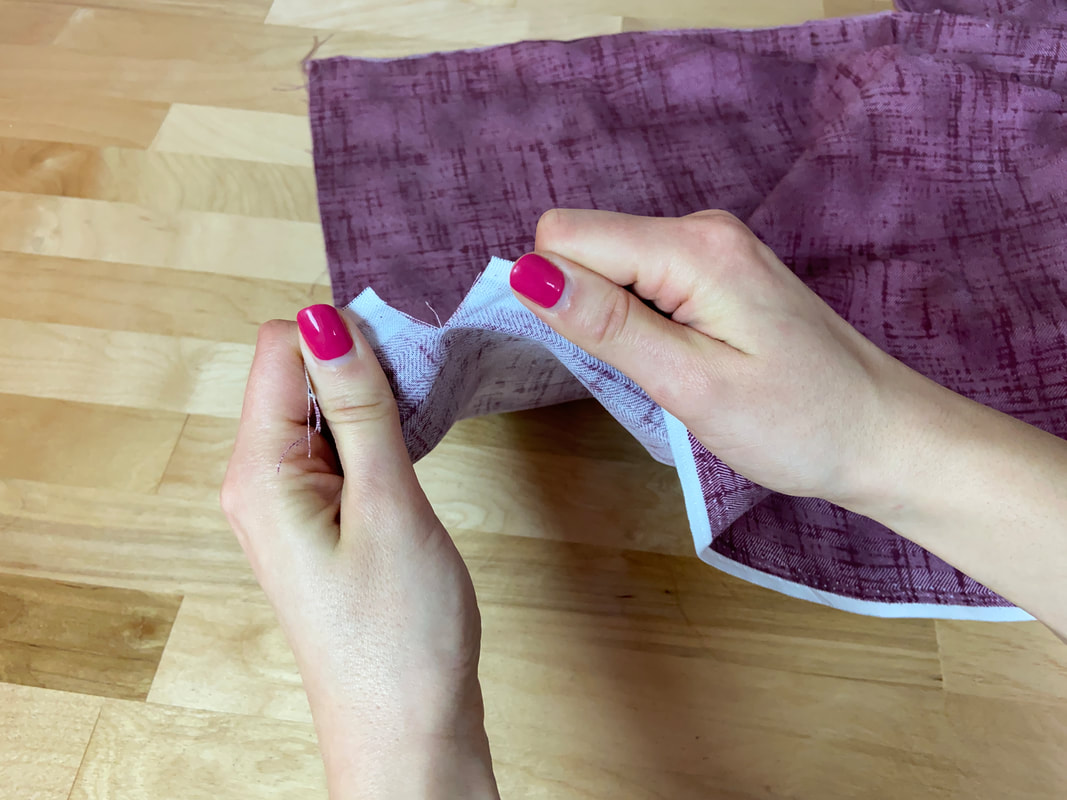
To use this technique, slit into the selvage edge perpendicularly, close to the fabric end as shown. Depending on how straight the fabric’s end already is, you may need to cut farther or closer to this existing end.
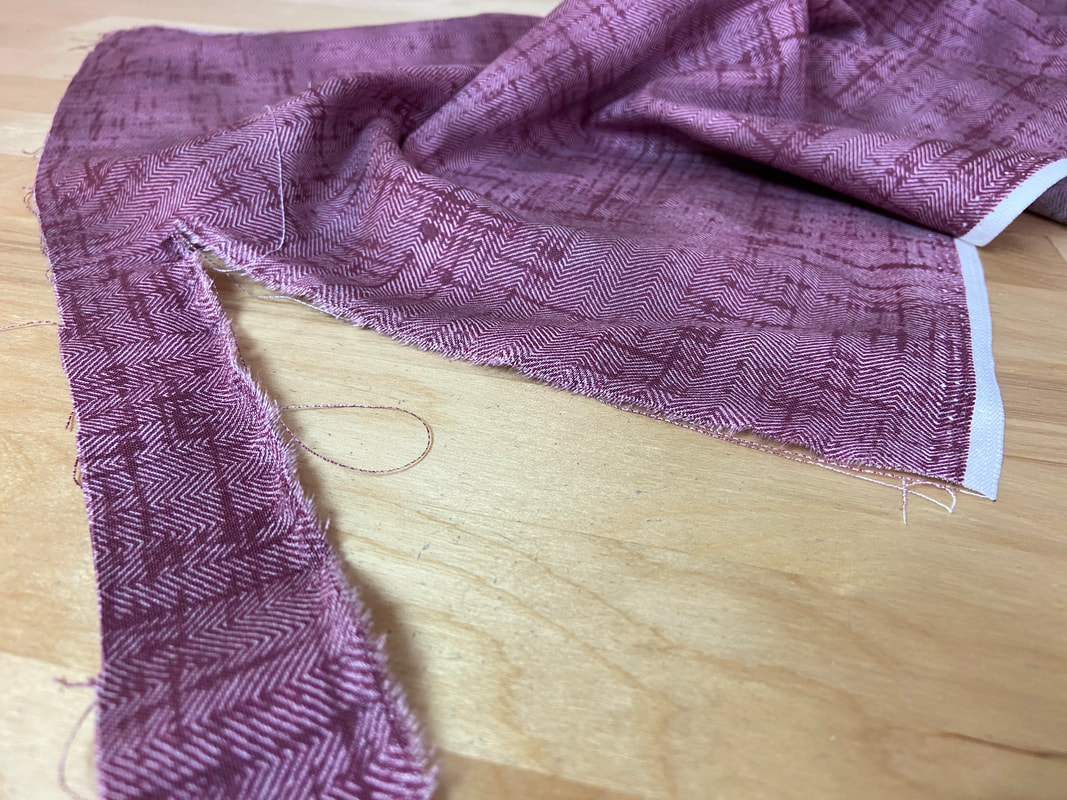
Next, pull the slit apart to separate the fabric down its crosswise grain. If you do not arrive at the other selvage edge, start over, this time, slitting lower down the selvage edge.
Since not all fabrics are suitable for this tearing technique, test one of the fabric’s ends gently before proceeding. If the fabric tears easily and evenly, you are free to tear with confidence!
Repeat the steps described above on both ends of the fabric.
Cutting on a printed line: This is another simple technique but can only be used on fabrics that feature a print with defined crosswise lines or patterns. Examples include striped, checker plaid, and other linear prints.
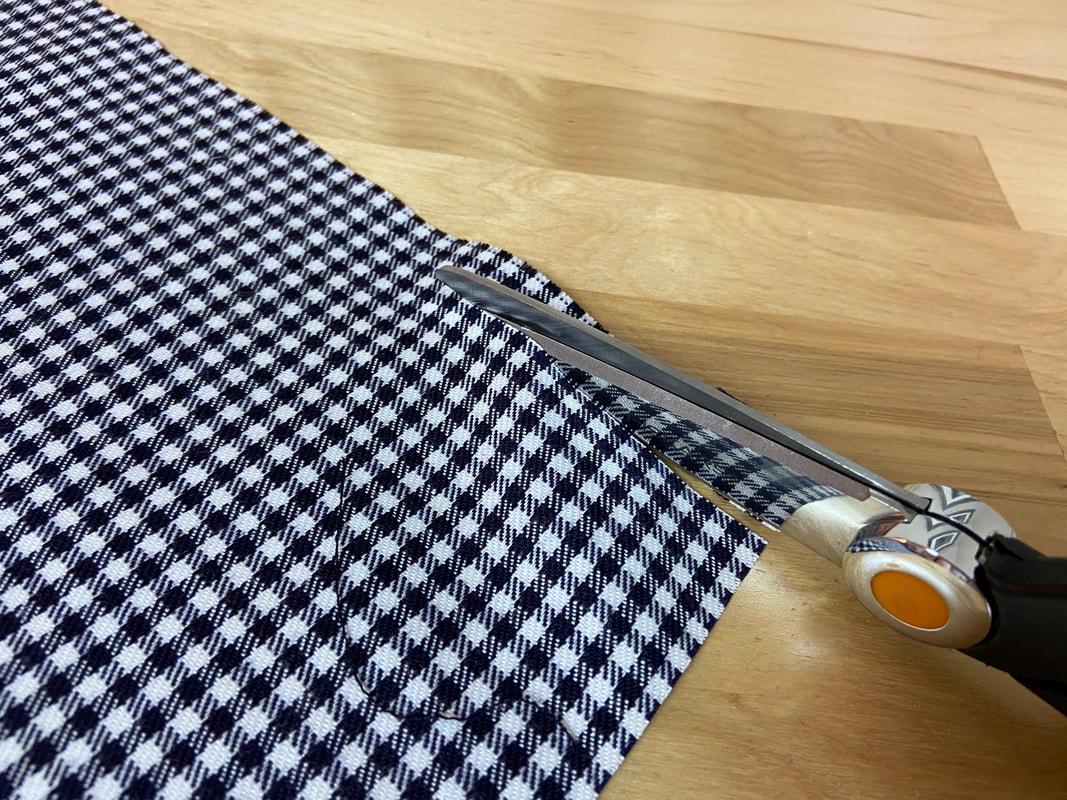
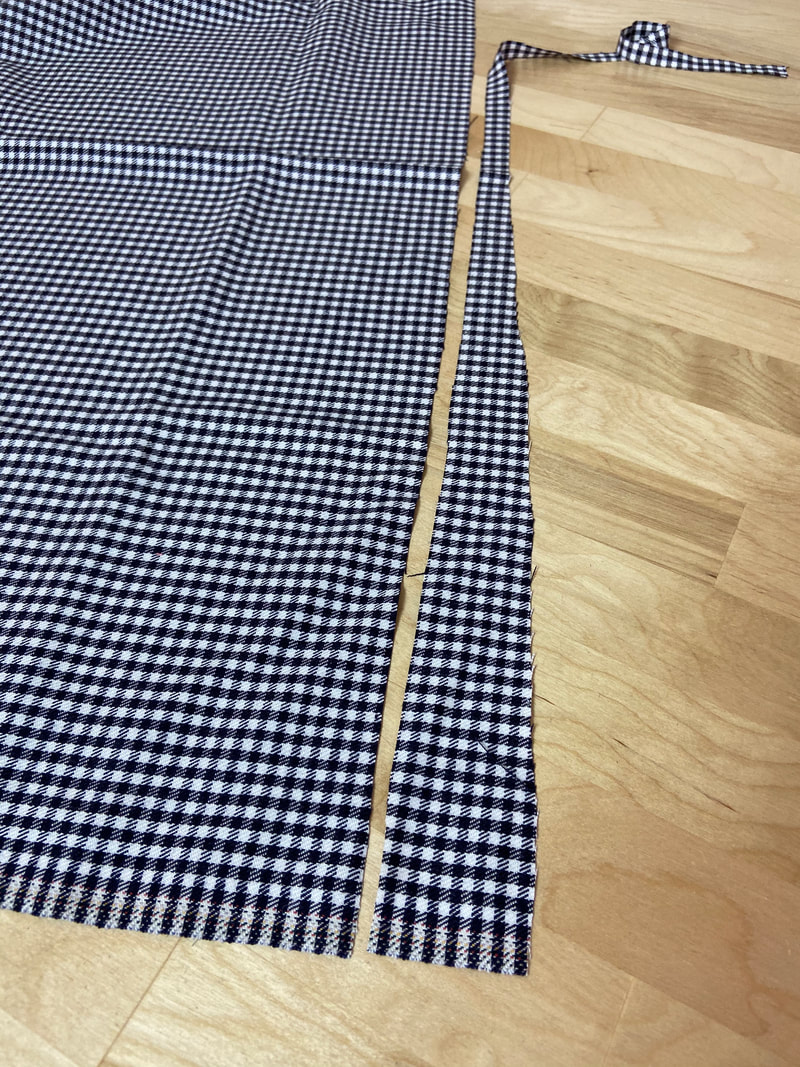
Lay your fabric flat on the table and following a defined fabric print line, re-cut to straighten the fabric edge.
Use a continuous straight line that is closest to the fabric end. This will ensure you are disposing of the least amount of fabric.
Note: Before using this technique, check the body of the fabric and make sure the print has not been applied askew by error at the factory level. Always inspect the fabric before purchasing it as there is no at-home remedy for this issue.
Repeat the process described above on both ends of the fabric.
2. Re-align the fabric grain
After straightening the fabric ends, it is important to also re-align the fabric grain. Woven fabrics are often shifted off grain during the manufacturing process. What this means is that the weft and/or warp threads have unintentionally shifted askew and need to be pulled back into alignment.
A garment cut from a fabric that has not been re-aligned properly on grain does not hang correctly and can often pull seams in undesired directions. The best example for this instance is when pant leg seams (especially jeans) twist towards one side instead of hanging straight at the sides.
There is one basic method for fabric re-alignment and it involves pulling the fabric along the bias (diagonally) to rearrange the fabric lengthwise and crosswise threads.
For this process, it is helpful to soften and loosen the fabric threads with some slight moisture before pulling them across the bias.
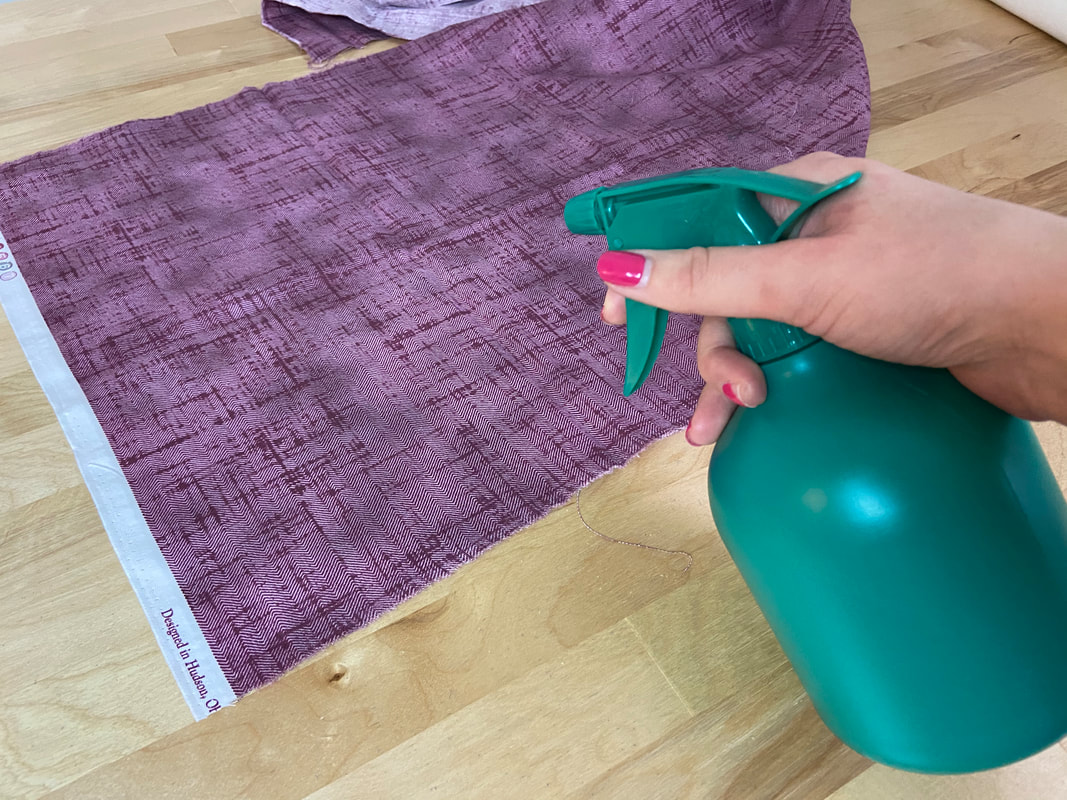
Spray the fabric surface lightly with a spray bottle and let the moisture soak for an hour or so. As an alternative, you can also add moisture by laying the fabric on a damp towel.
If your fabric is not severely off-grain, you can skip the moisture part.
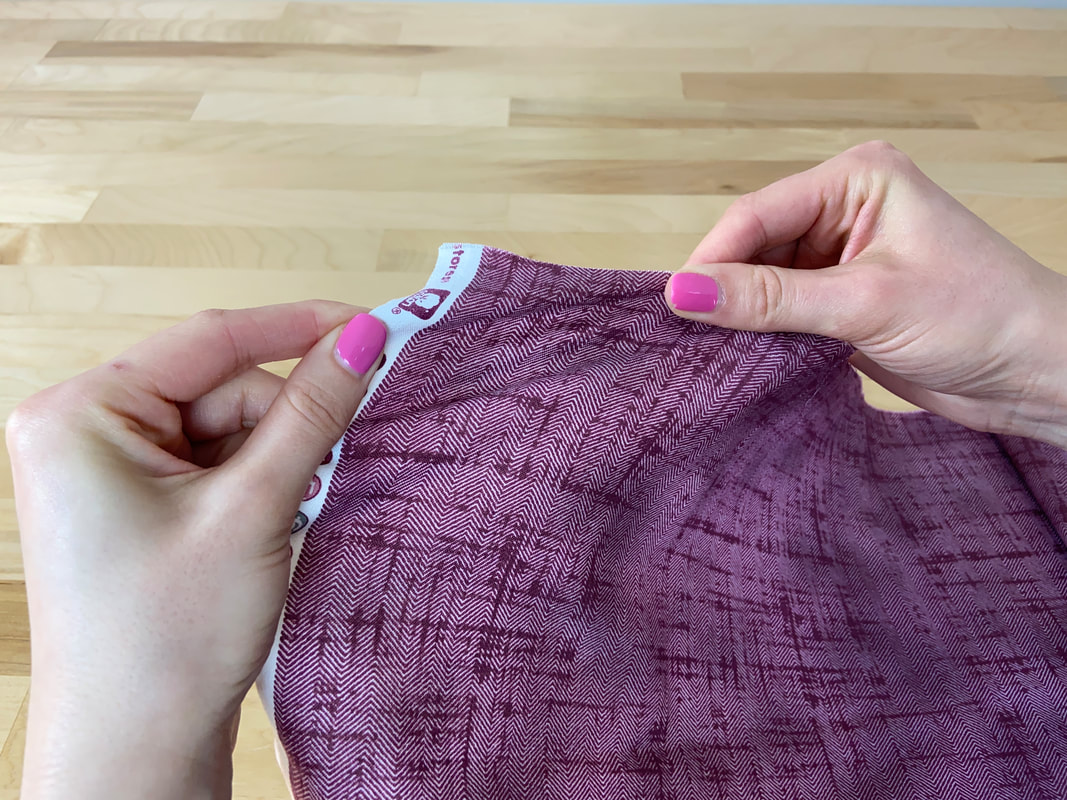
Pull the fabric diagonally, corner-to-corner, until the threads are realigned. When the fabric is laid flat on the table, its selvage edge should lay in a perfectly straight line.
3. Shrink the fabric before cutting your patterns
Shrinking the fabric prior to pinning and cutting the pattern pieces is perhaps one of the most important fabric preparation tasks. Pre-shrinking fabrics will prevent shrinkage in the final garment and is highly advisable for cotton, rayon, and wool fabrics.
While these particular fabrics are known to shrink in the wash, pre-shrinking should be done anytime you are unsure whether a fabric will eventually shrink or not. This is especially true when the garment is made of multiple types of fabric.
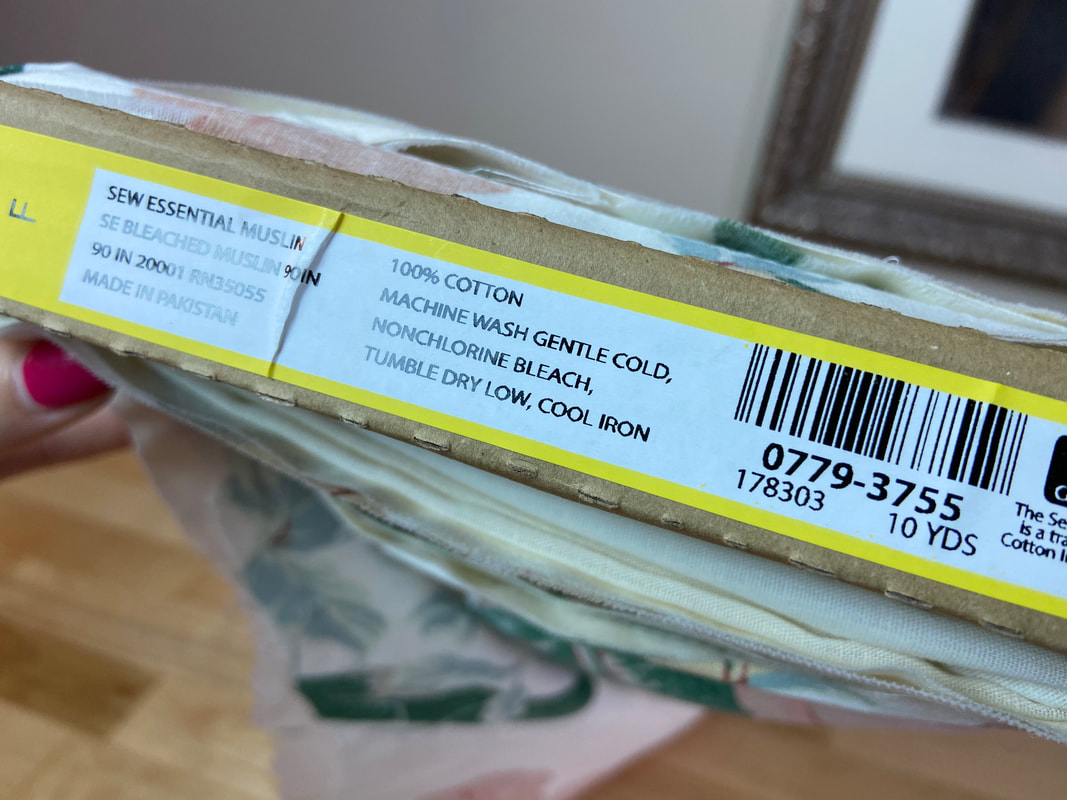
To pre-shrink fabric, wash it according to the fabric’s care instructions. The care information is usually provided on the fabric bolt or roll so be sure to note it at the time of fabric purchase.
If the fabric is dry clean only, dampen it and lay it flat on a flat surface to dry. Be careful with fabrics that leave water marks. Always pre-test a small portion of the fabric first.
Another way to pre-shrink sensitive fabric, especially woolens, is to throw it in the dryer on a low heat setting along with a few damp towels. This will release the moisture from the towels and shrink the fibers in the drying process.

