
What Is A Self-Bound Application
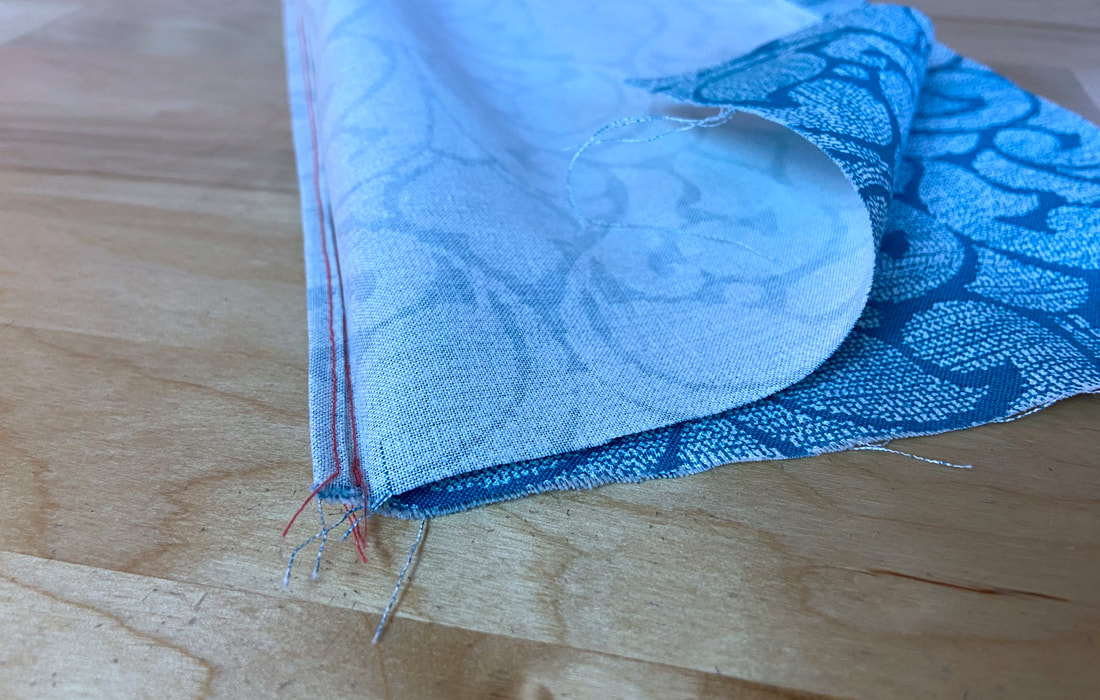
In many ways, a self-bound finish resembles a French seam in appearance. However, instead of both seam allowance layers equally encasing the edges, in a self-bound application, one of the seam allowance layers is folded over the other trimmed edge to cleanly enclose the seam.
|
A self-bound application falls in the category of self-enclosed seam finishing techniques . It is used on garments that can structurally and visually benefit from hidden seam allowance edges. Semi-sheer, open-front garments, and high-low hemlines where the wrong side of the seam(s) are exposed, work best with a self-bound finish.
|
When debating whether to use the self-bound technique, you should consider the fabric. A self-bound finish is easiest to apply with lightweight but low-fraying fabrics that are also crisp and easy to fold and handle. A slippery, sheer fabric or one that unravels easily, is more difficult to handle in the trimming and folding process.
While it resembles a French seam in appearance, a self-bound seam finish is easier and faster to apply, and does not require the fabric layers to be sewn from two different sides. Instead, the seam is stitched in a conventional fashion at the designated seam allowance, then the seam allowance edges are handled individually to complete the application.
|
When applying a self-bound finish, the seam allowance needs to be graded allowing for one layer to enclose the other in a clean, bulk-less style.
Grading entails trimming one of the seam allowance layers shorter than the other in order to either remove unnecessary excess or as in this case, aid in the construction process. Grading is simple to apply but it does require a good pair of scissors.
You can learn more about grading in this tutorial: Trimming and Grading Seam Excess
How To Apply A Self-Bound Finish To A Straight Seam
Assuming the seam allowance is ½” :
|
1. Stitch the seam in a conventional fashion with the face sides touching and following the ½” seam allowance. For detailed steps on sewing a straight seam, check out this tutorial: How To Sew A Straight Seam
|
|
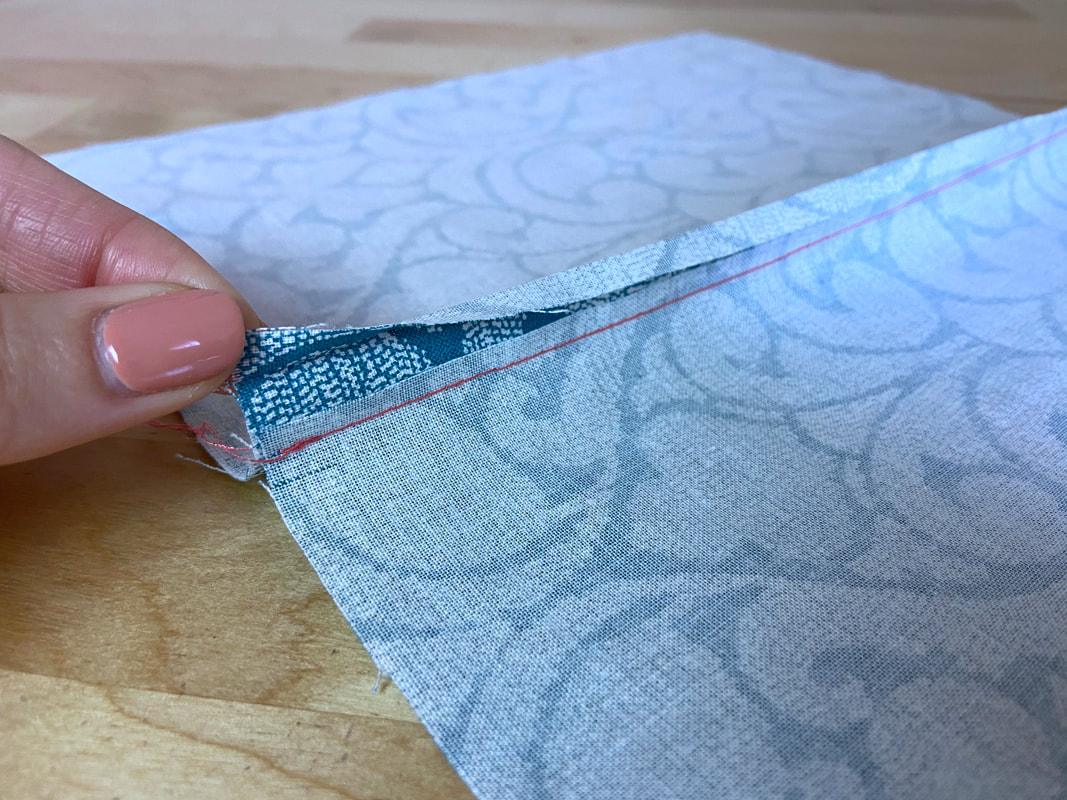
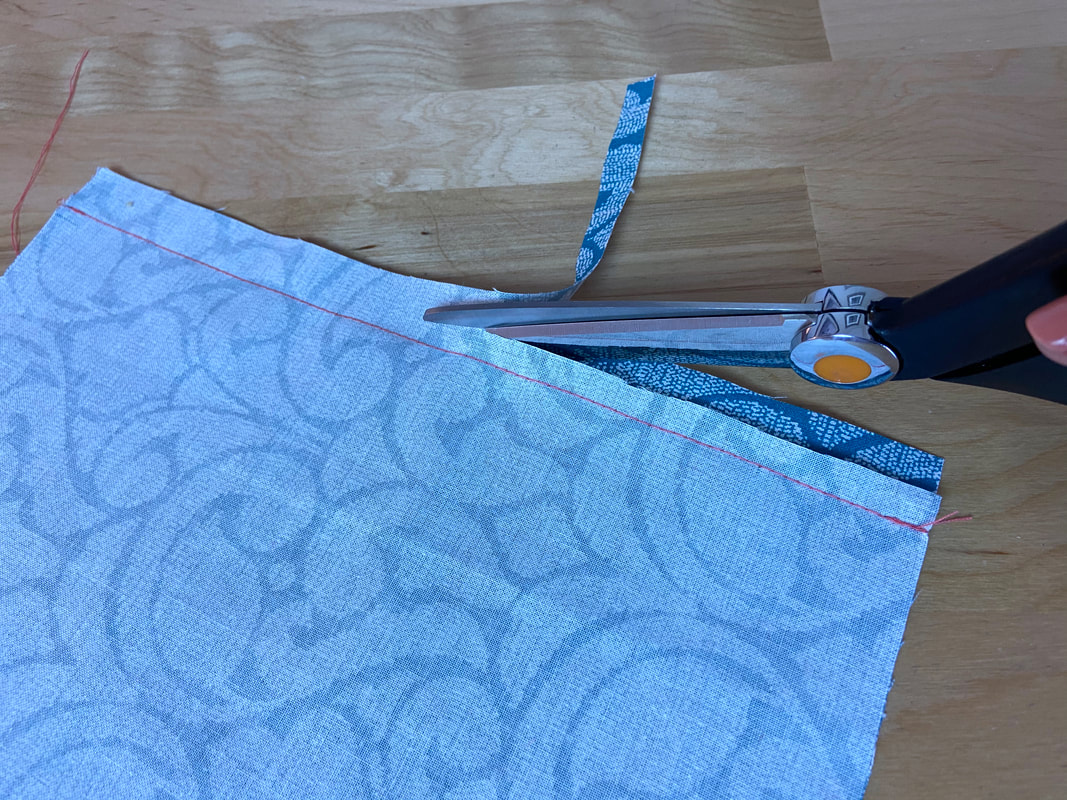
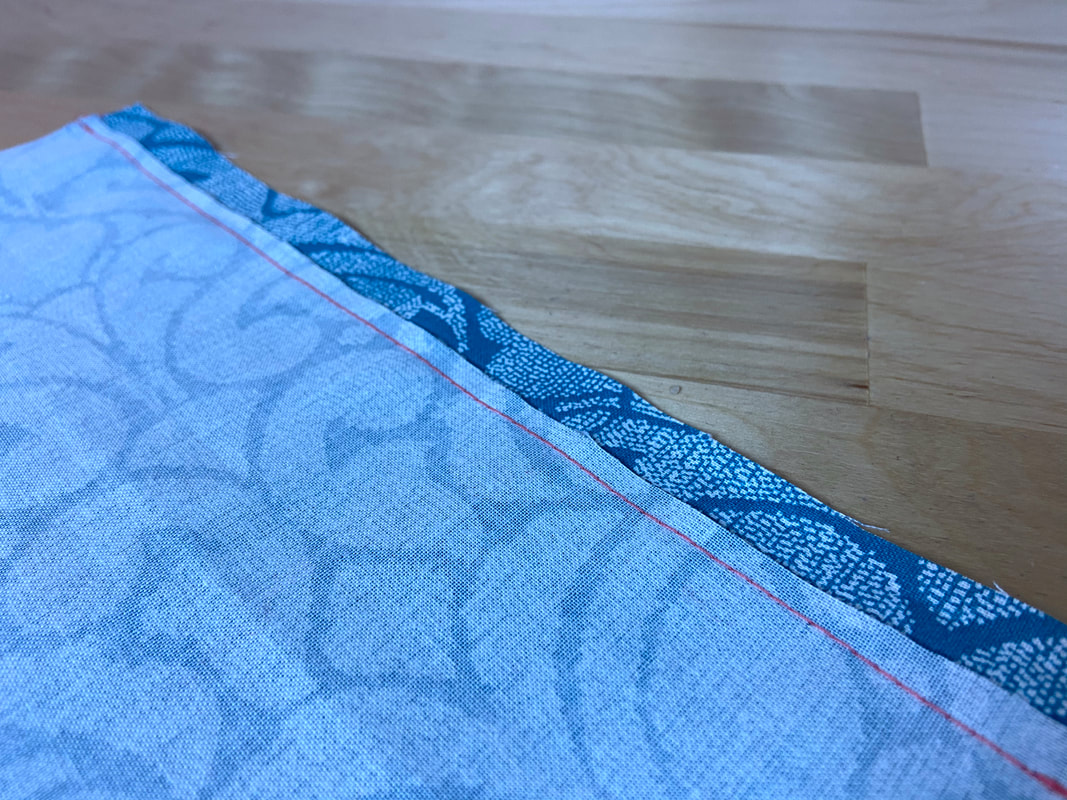
2. Trim one of the seam allowance edges (the one you find most comfortable to work with) down to 1/8” evenly throughout. This process is called grading.
|
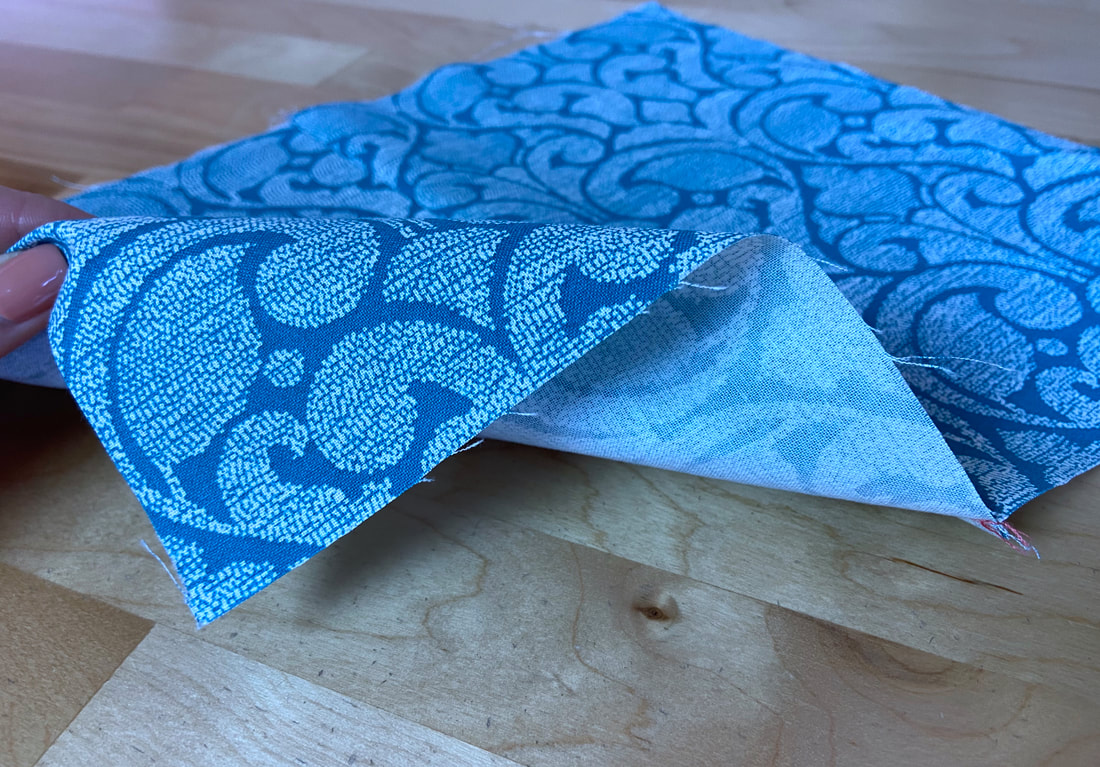
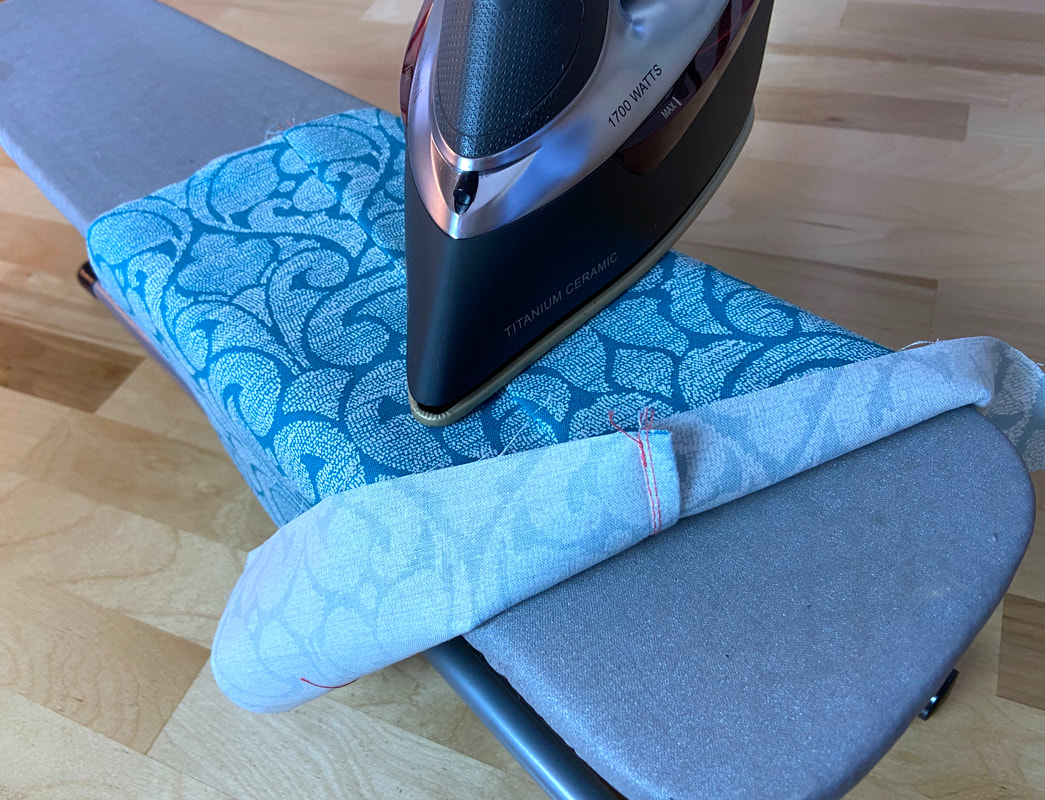
3. Fold the untrimmed, wider seam allowance layer inwards at approximately 1/8” and press the resulting fold line to stabilize it. Ironing at this stage will greatly facilitate the remaining sewing process below.
|
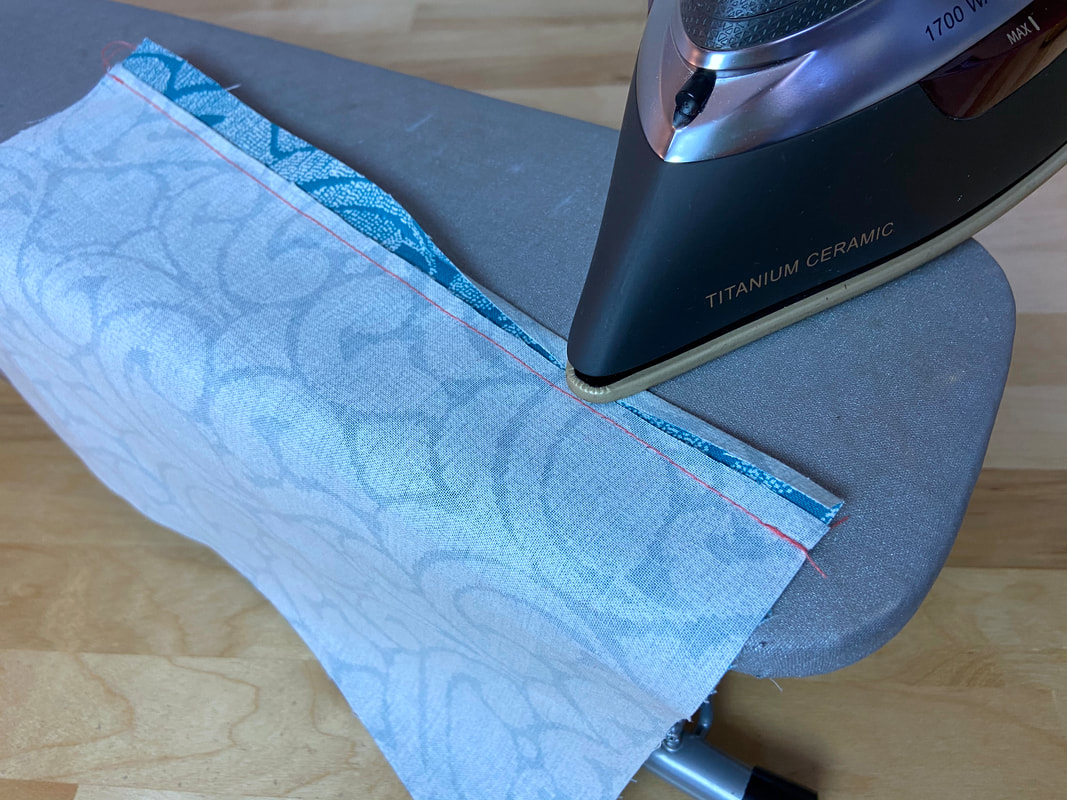
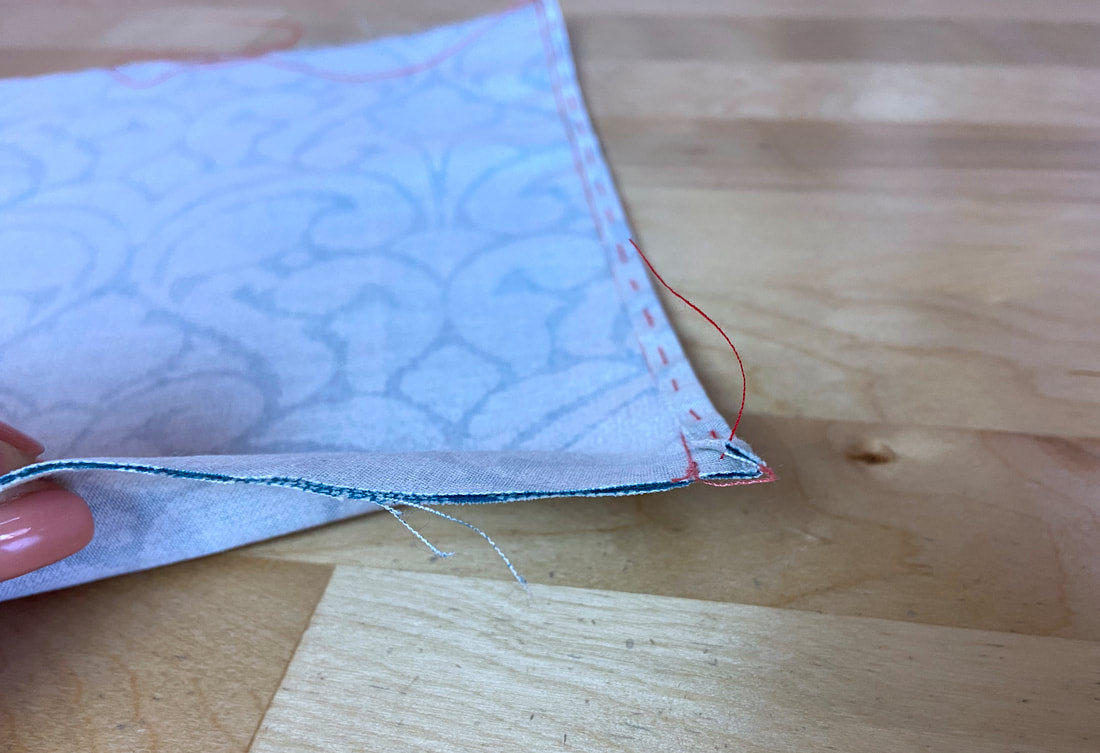
4. Fold and press the wider (folded) seam allowance layer again down the center such that it goes over the trimmed edge. At this point, the folded edge should align with the seam stitch, and enclose all fabric raw edges underneath as shown.
As you apply the self-bound finish, it is imperative that you iron as you fold. The pressed folds will keep everything in the proper alignment needed for the stitching process below.

|
|
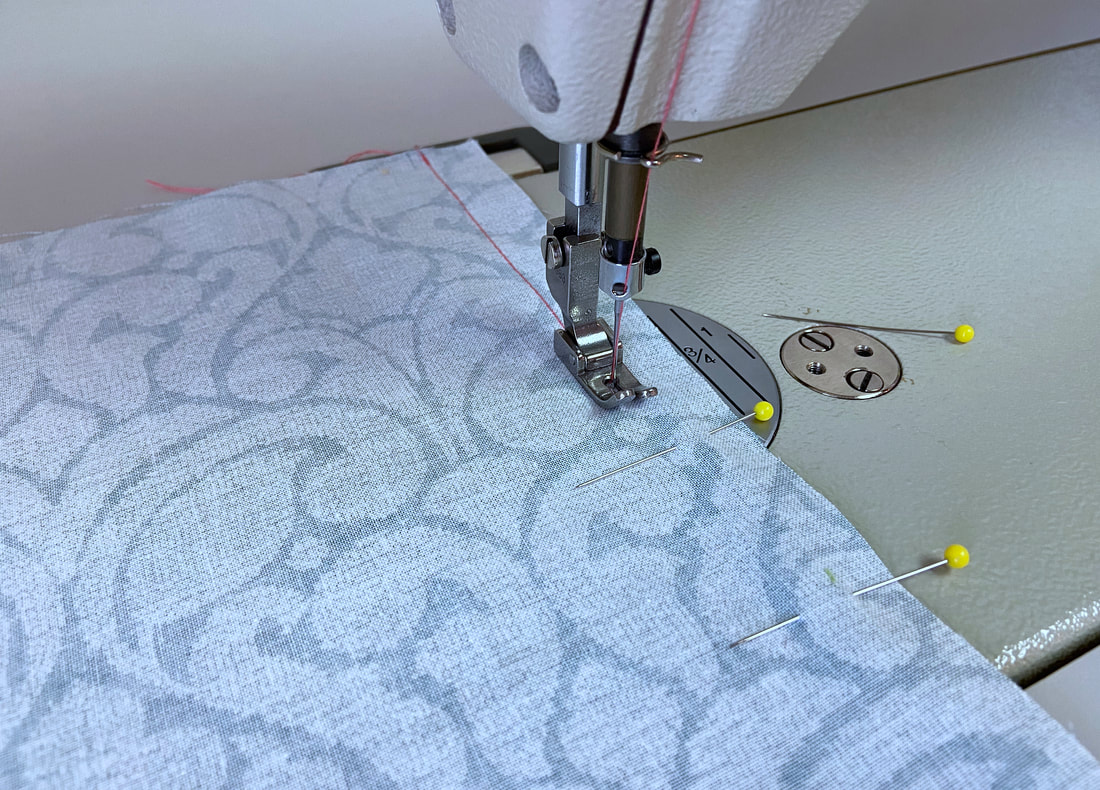
5. Insert a few pins through the folded layers, or hand baste to further stabilize.
|
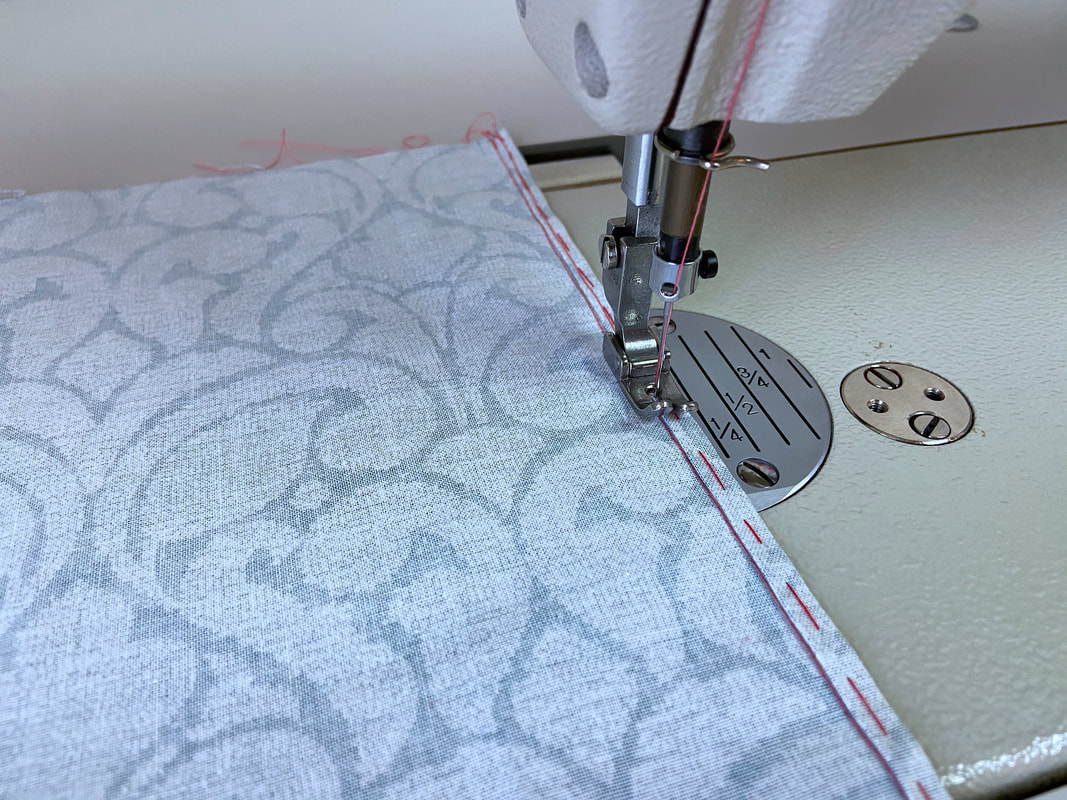
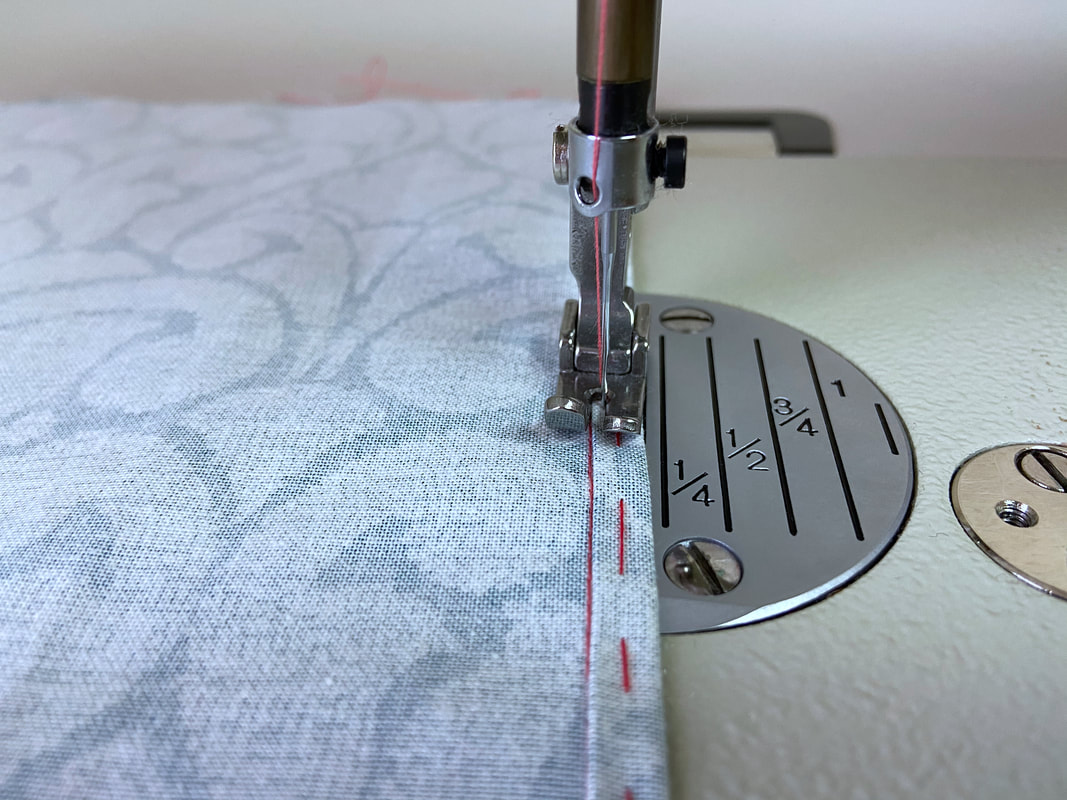
6. Machine stitch next to the folded edge catching all seam allowance layers underneath.
|
Keep the stitch close to the existing seam stitch but do not overpass it on the left. Doing so will apply the stitch into the body of the garment which risks distorting the seamline.
Note: For increased durability, backstitch at the beginning and end of the stitch.
|
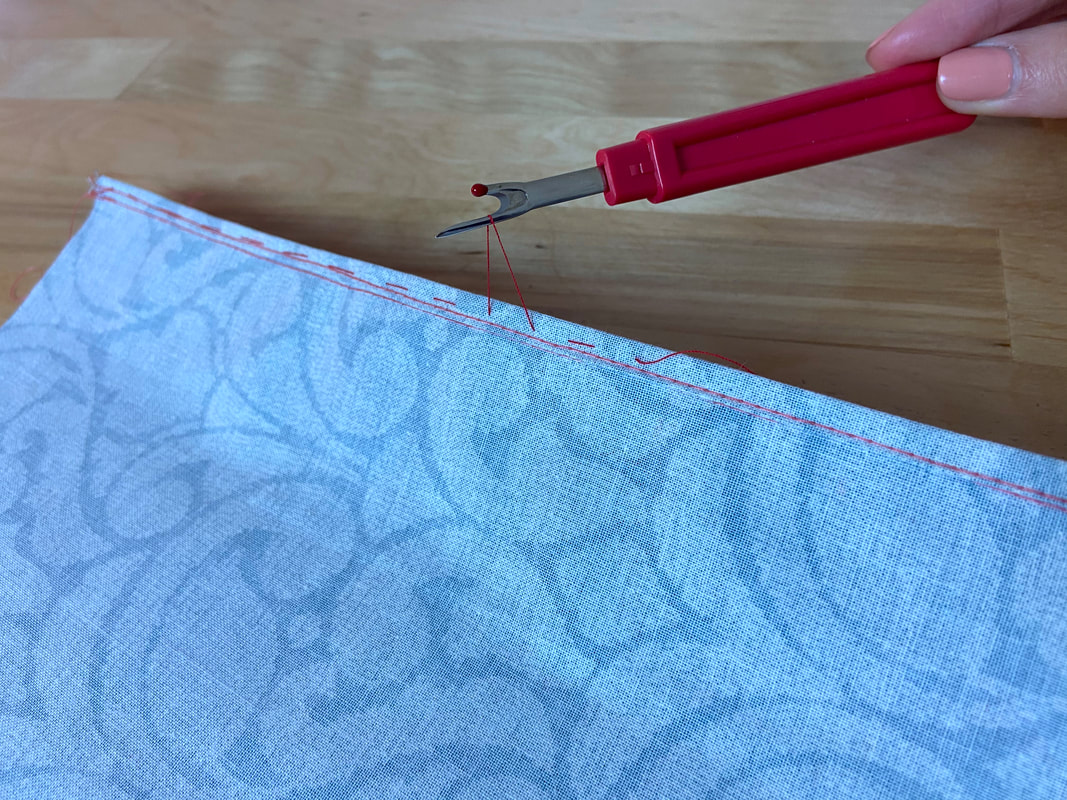
7. Remove all hand basting stitches at this point.
|
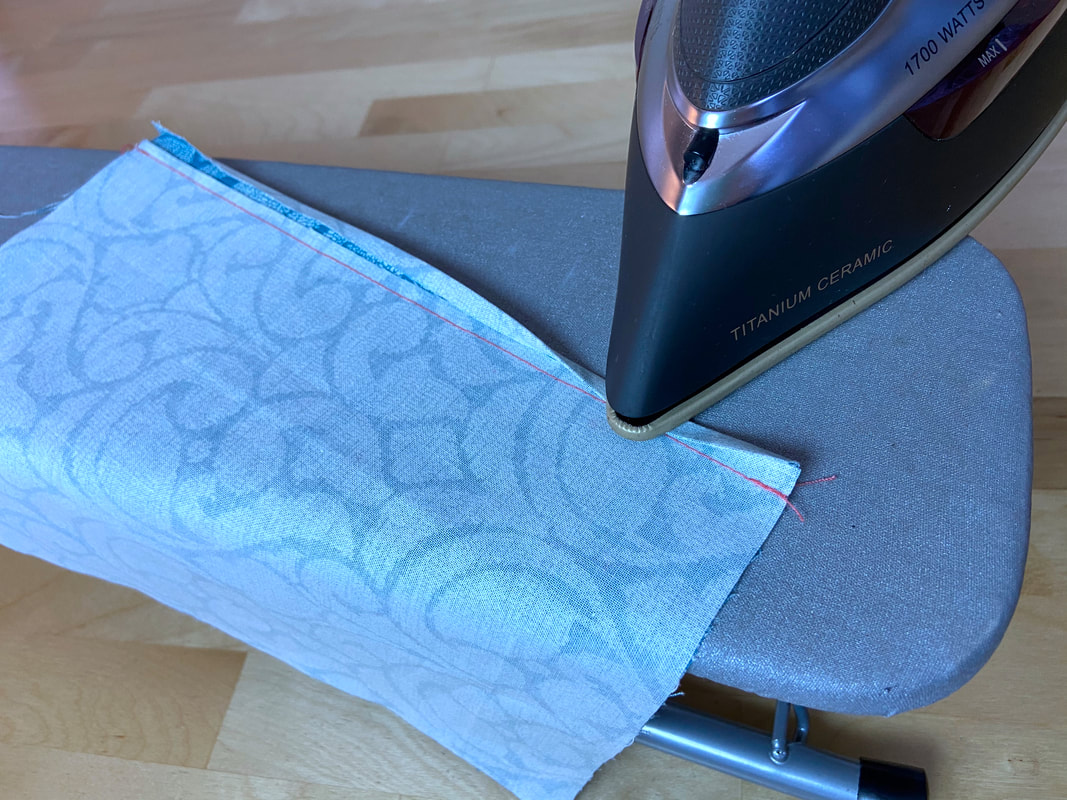
8. Iron the finished self-bound seam allowance in the direction it was stitched, then iron the seam with the seam allowance pointing in a single direction.
If unsure of the proper direction, always the iron seam allowance layers toward the back of the garment.
Use a protective cloth for heat-sensitive fabrics, especially when pressing directly on the face of the garment.
 |
All content, including images and text, may not be copied, replicated, or redistributed without express written permission. This website is regularly screened and monitored for content protection.
|
