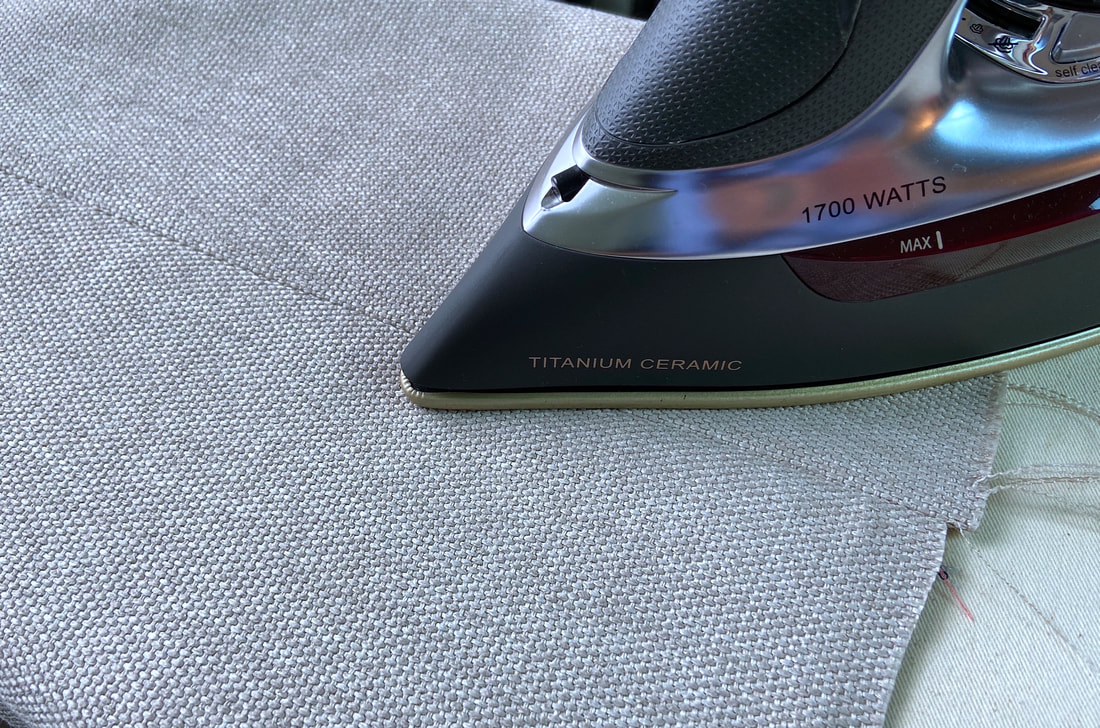
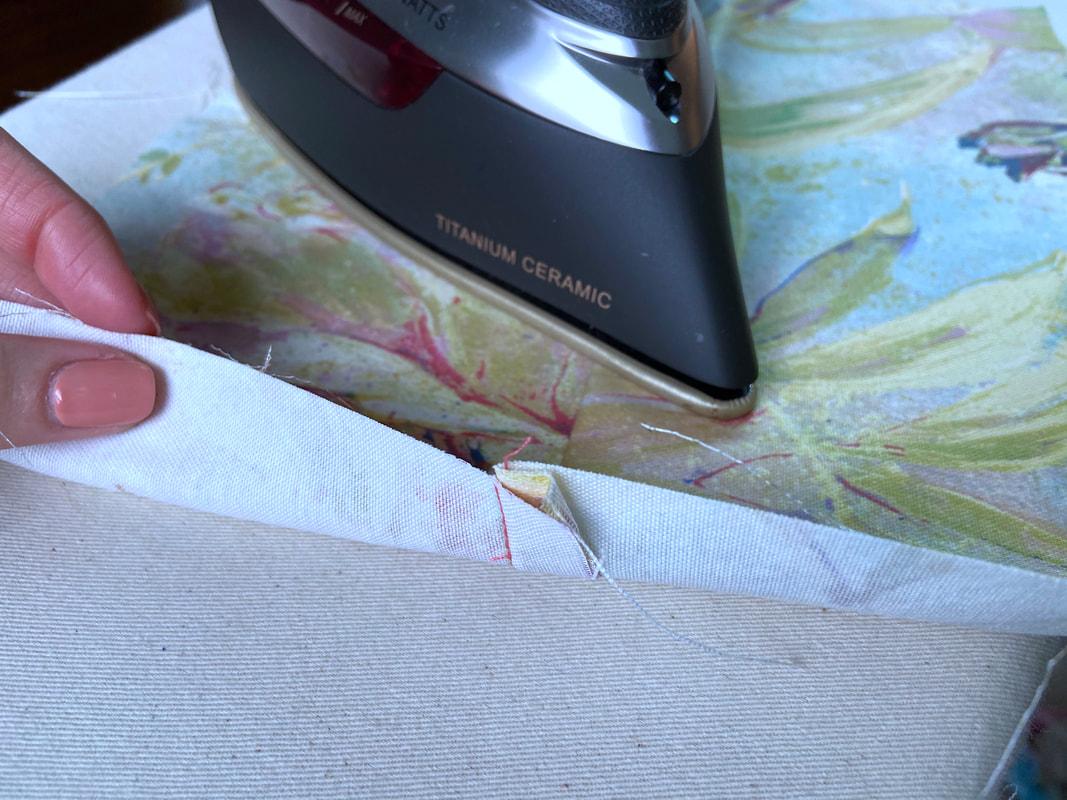
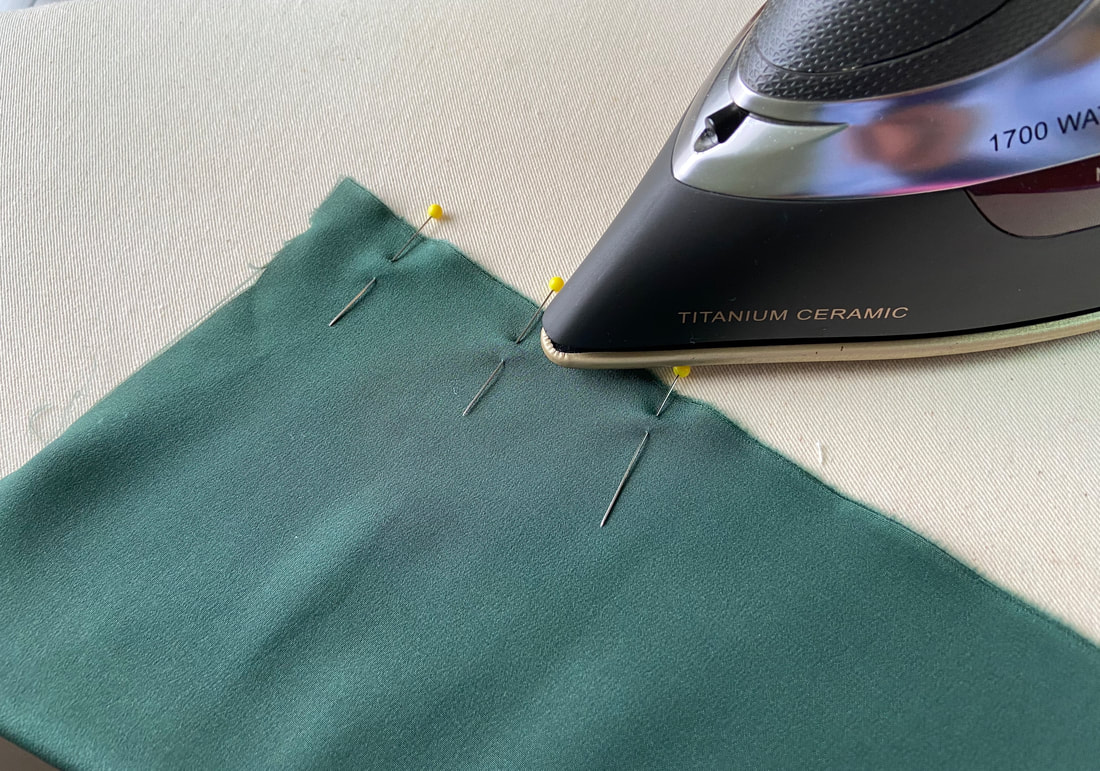
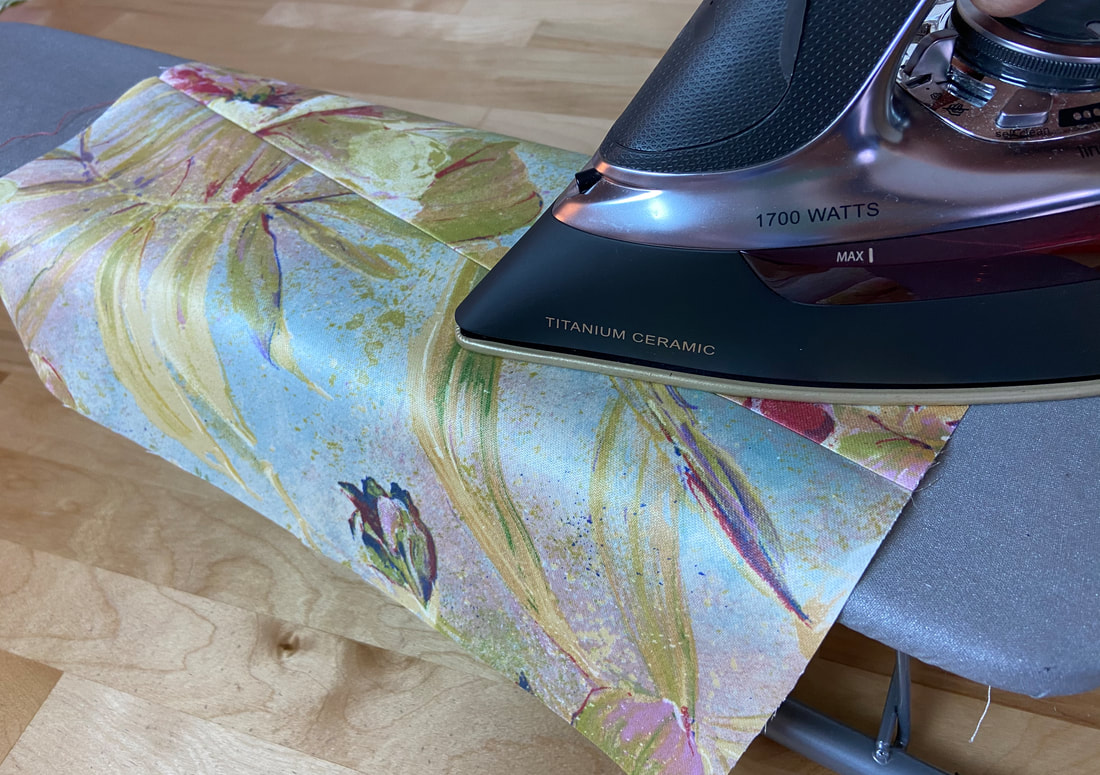
Ironing is perhaps one of the most important factors when it comes to correctly and professionally sewing a garment. In fact, one of the most essential rules in dressmaking pertains to ironing.
The rule? Always iron all seams and stitch lines as soon as they are applied and not after the garment has already been entirely sewn.
While the concept of ironing a seam is pretty standard, the direction in which the stitch and the seam allowance is pressed plays an important role in the quality of the seam’s final finish and overall appearance.
Ironing as you go will not only ensure all seams lay flat and smooth, it will also aid in the sewing process by stabilizing seam allowance edges and fold lines.
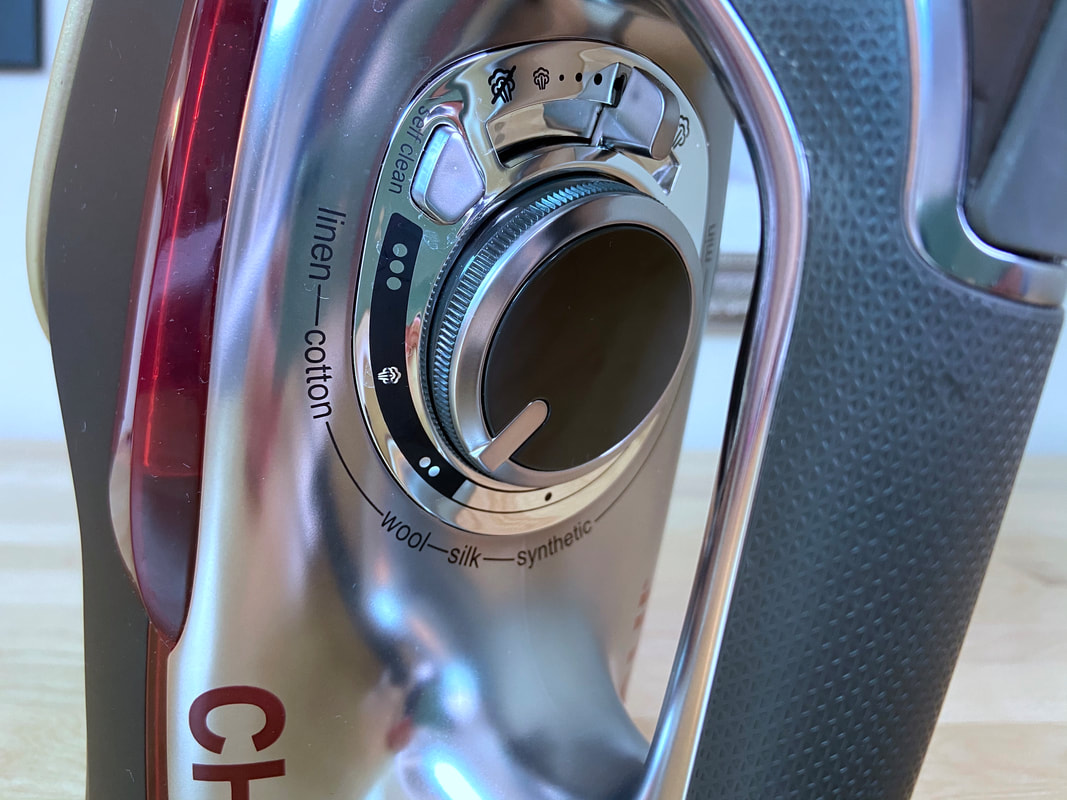
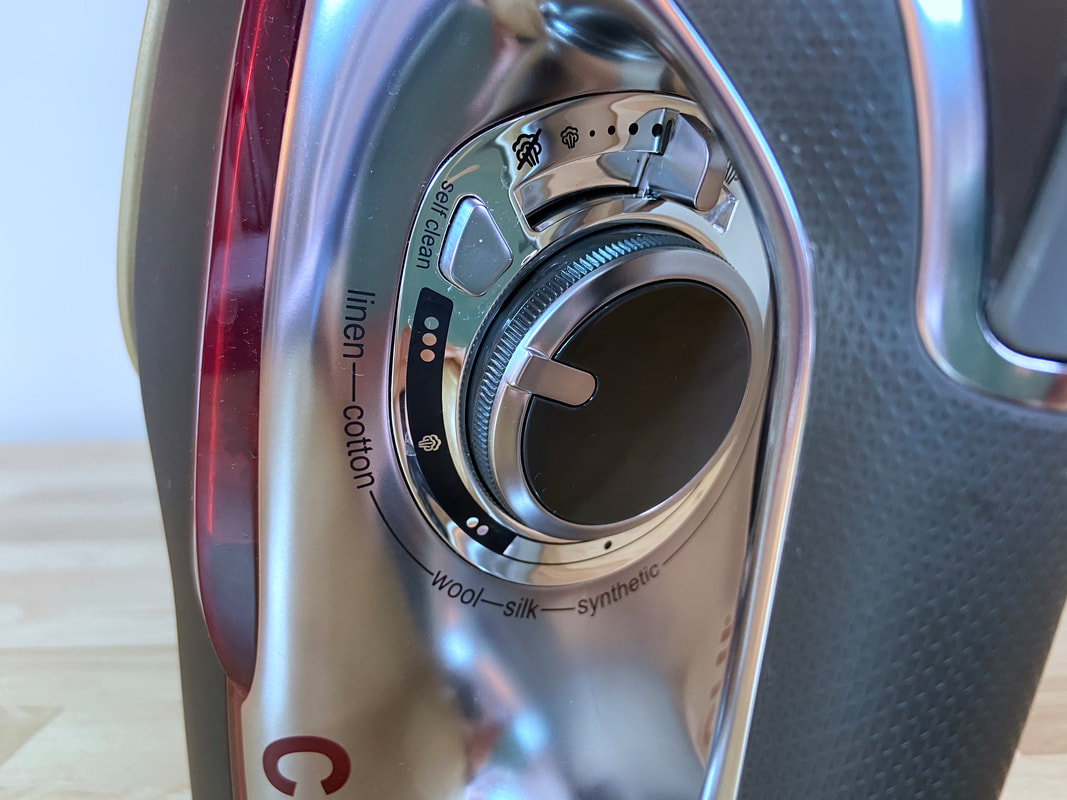
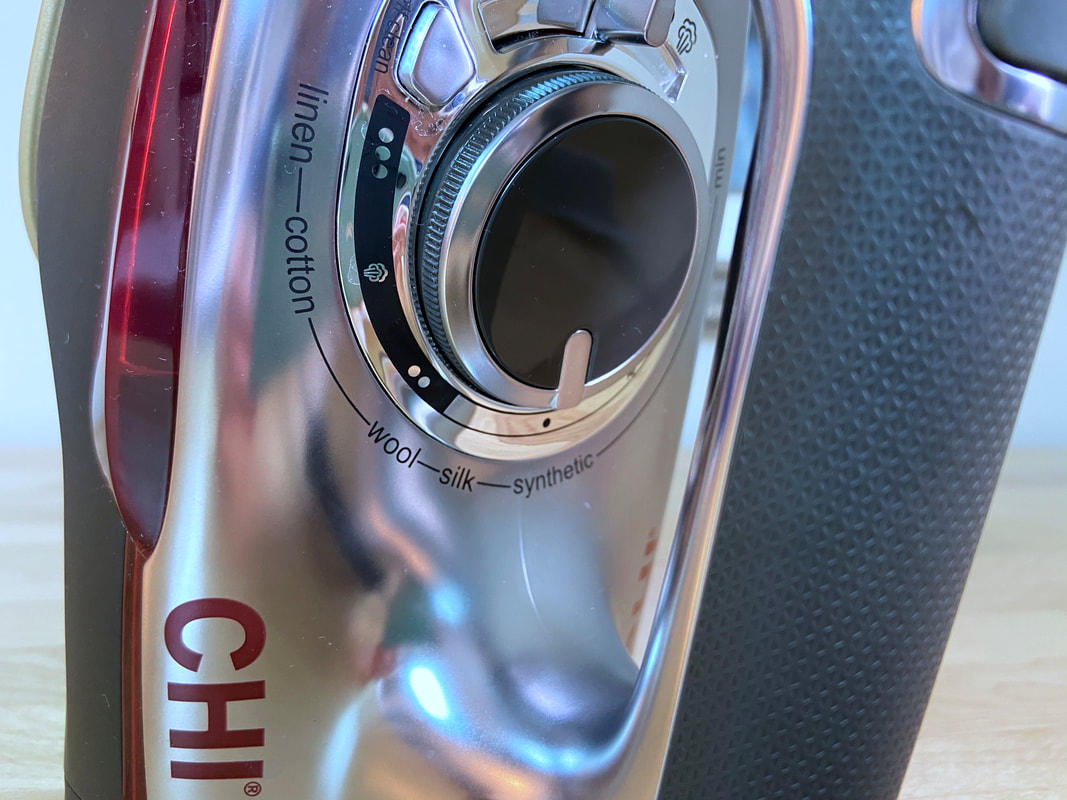
Before delving into seam ironing techniques, it is equally important to understand the concept of heat sensitivity and how to adjust your iron settings to accommodate your fabric.
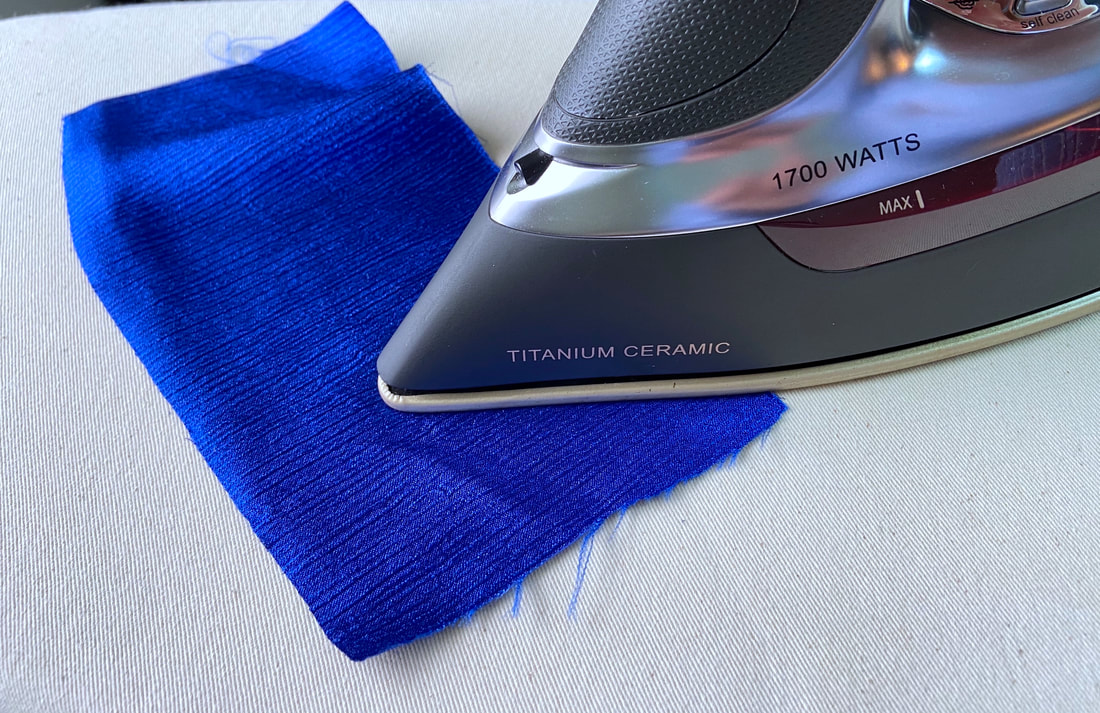
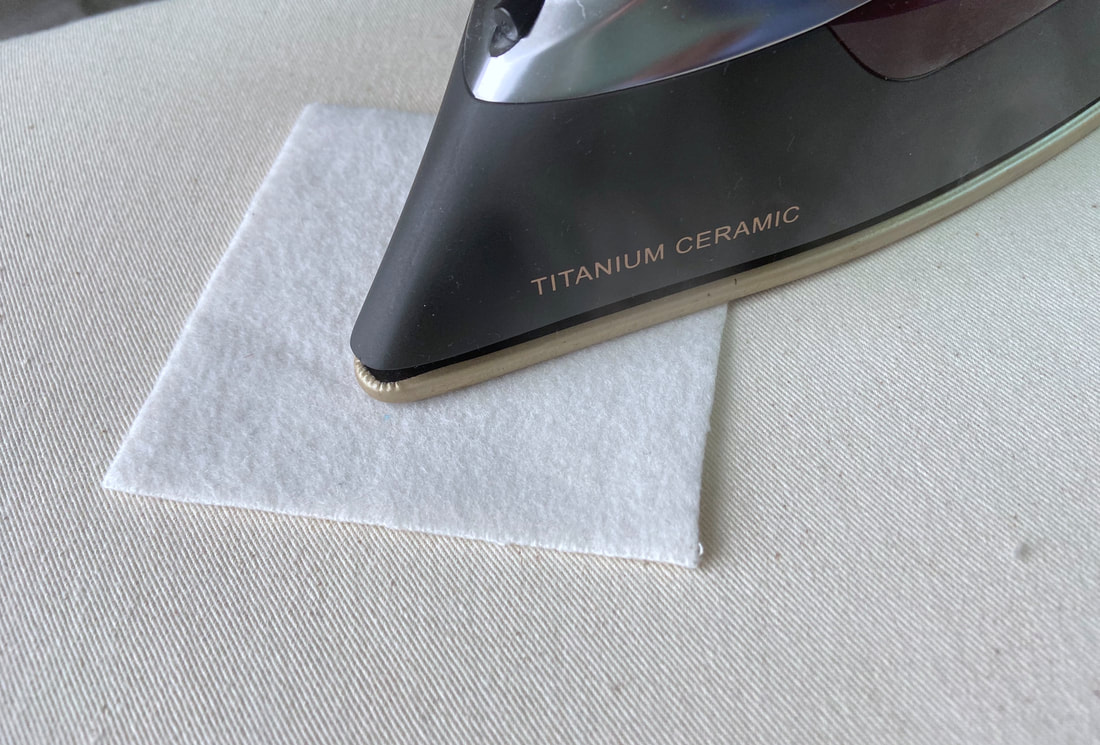
Unless you have years of experience, it is difficult to know how a certain fabric will react to your iron. For that reason, always pre-test a fabric scrap before ironing directly on the garment pieces.
Here are a few basic ironing concepts to keep in mind:
- Silk and woolens should be ironed carefully, either under very low heat or using a cool iron.
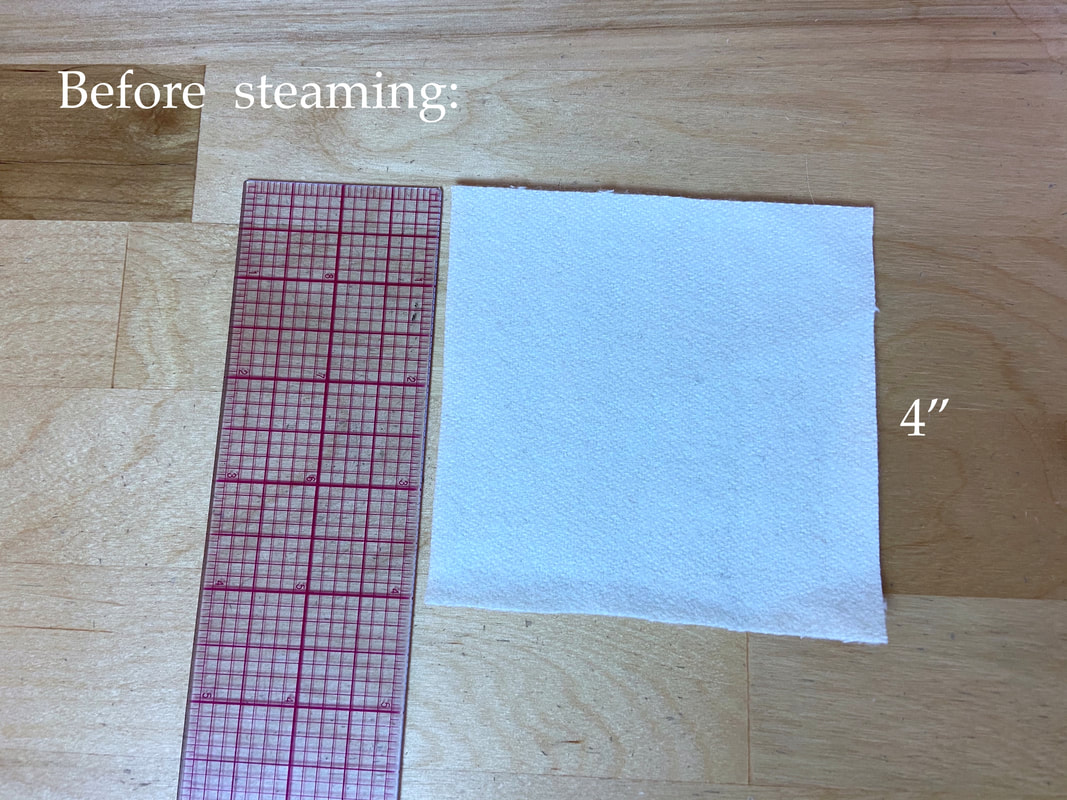
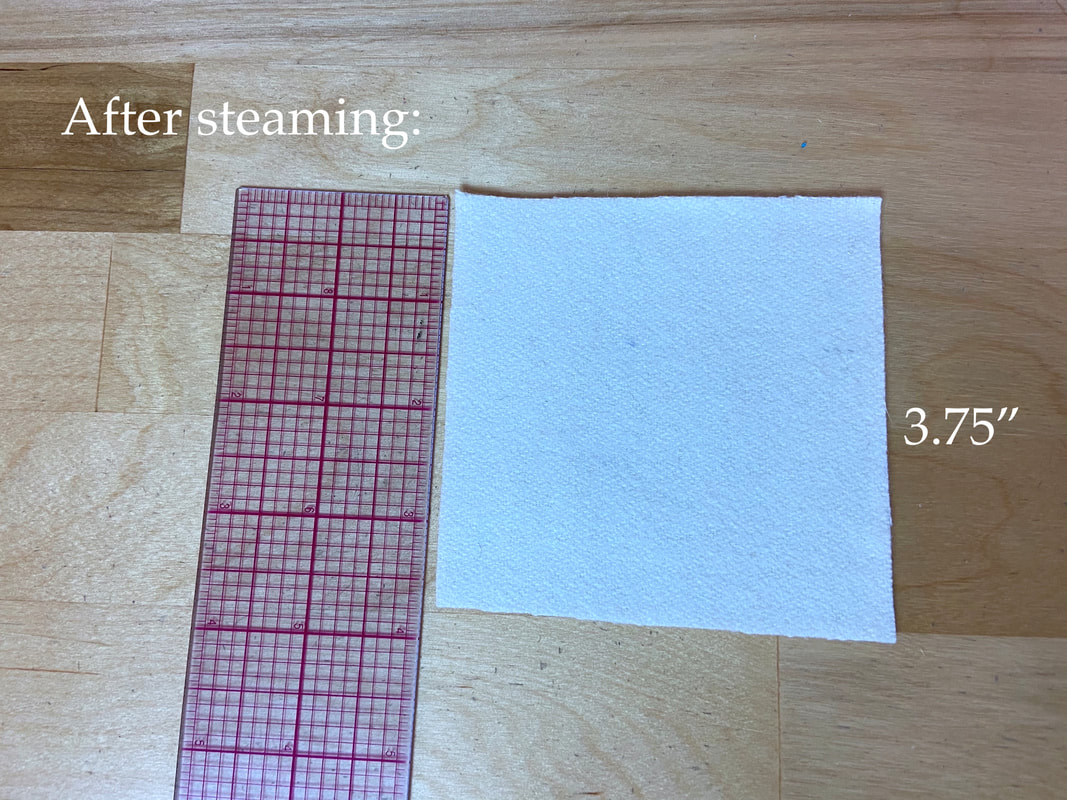
- Do not steam wool if it has not been pre-shrunk.
Wool will considerably shrink under moist heat, sometimes enough to alter the actual size of the garment.
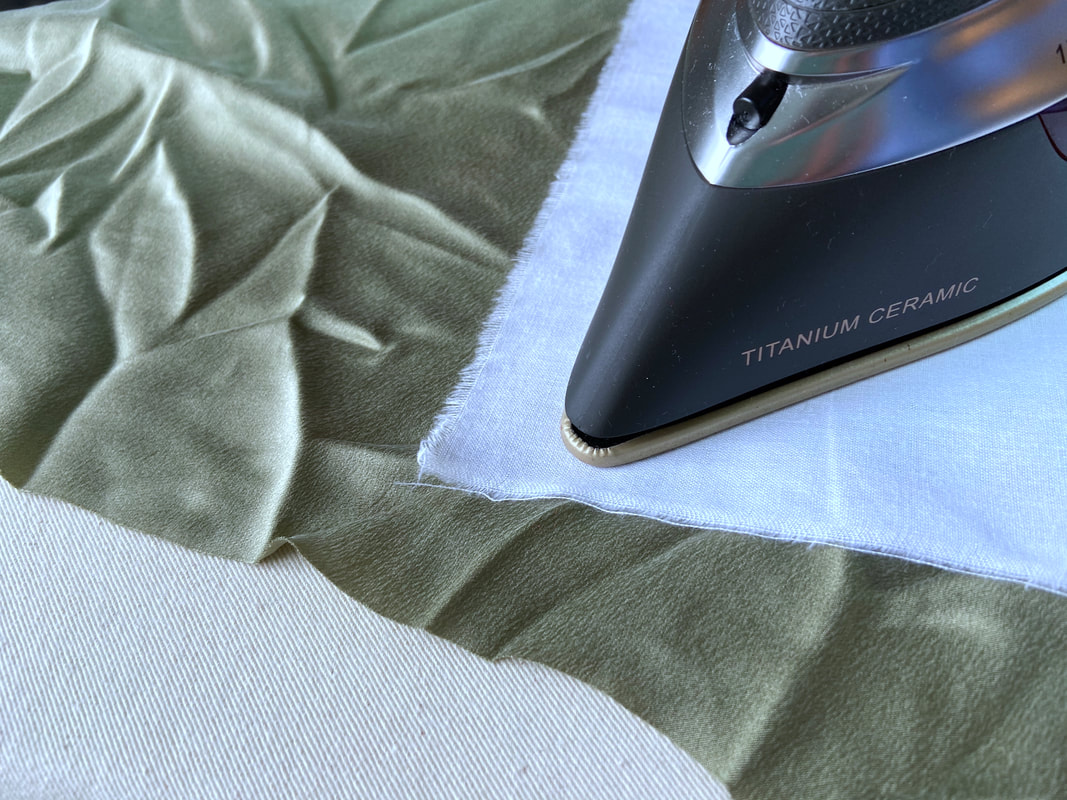
- In addition to very low heat, always use a protective cotton cloth when ironing silk and wool fabrics.
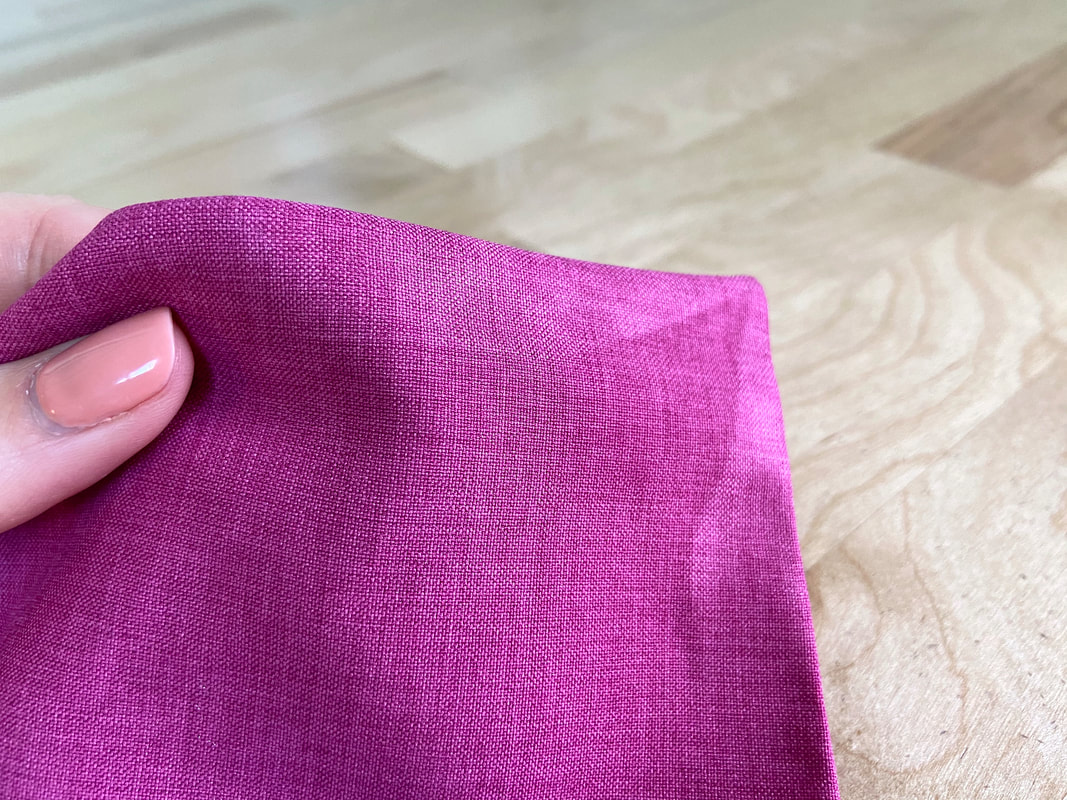
- The iron plate can often leave a heat mark on the fabric surface; thus, you should always pretest a scrap prior to ironing the seam.
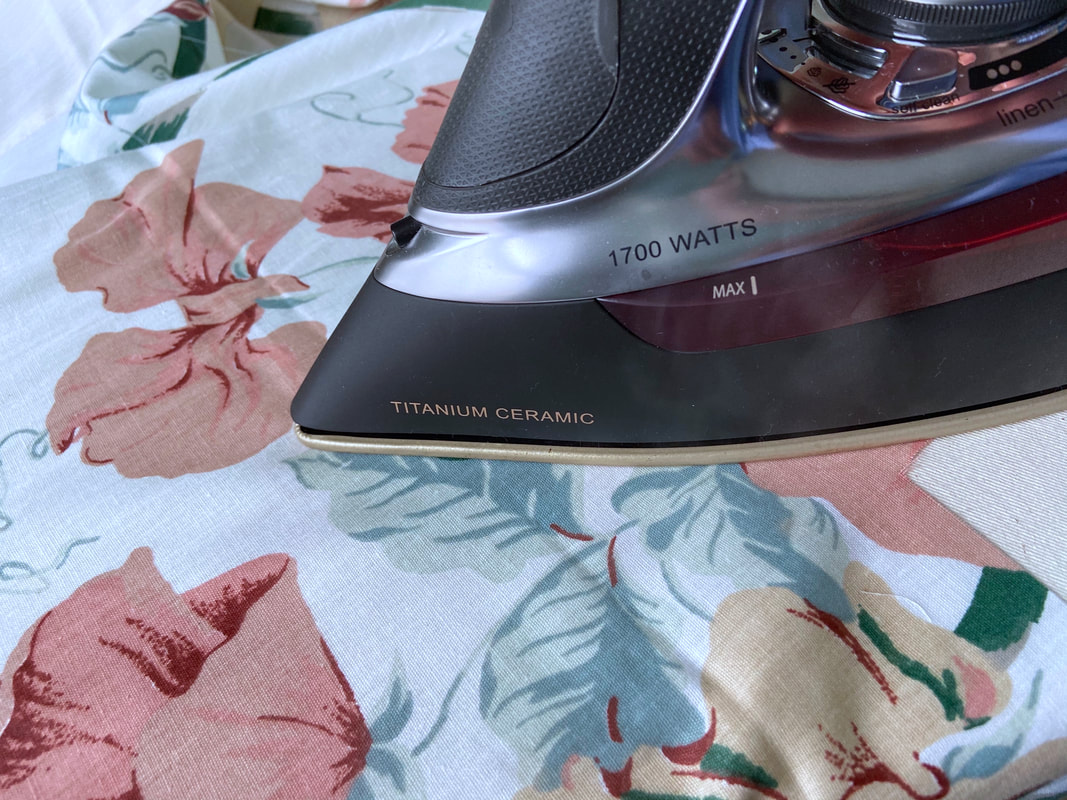
- Cotton and linen fabrics are well-adjusted to high heat and steam. Cotton is not a heat sensitive fabric and is often used as a protective ironing cloth. It responds very well to steam leaving defined creases and flat seams.
While it easily wrinkles during wear, linen loves to be ironed. Just like cotton, ironing linen leads to smooth, flat seams and crisp fold lines. However, some linen fabrics (especially darker colors) can retain heat marks. Use a protective cloth to minimize the risk and protect the fabric surface.
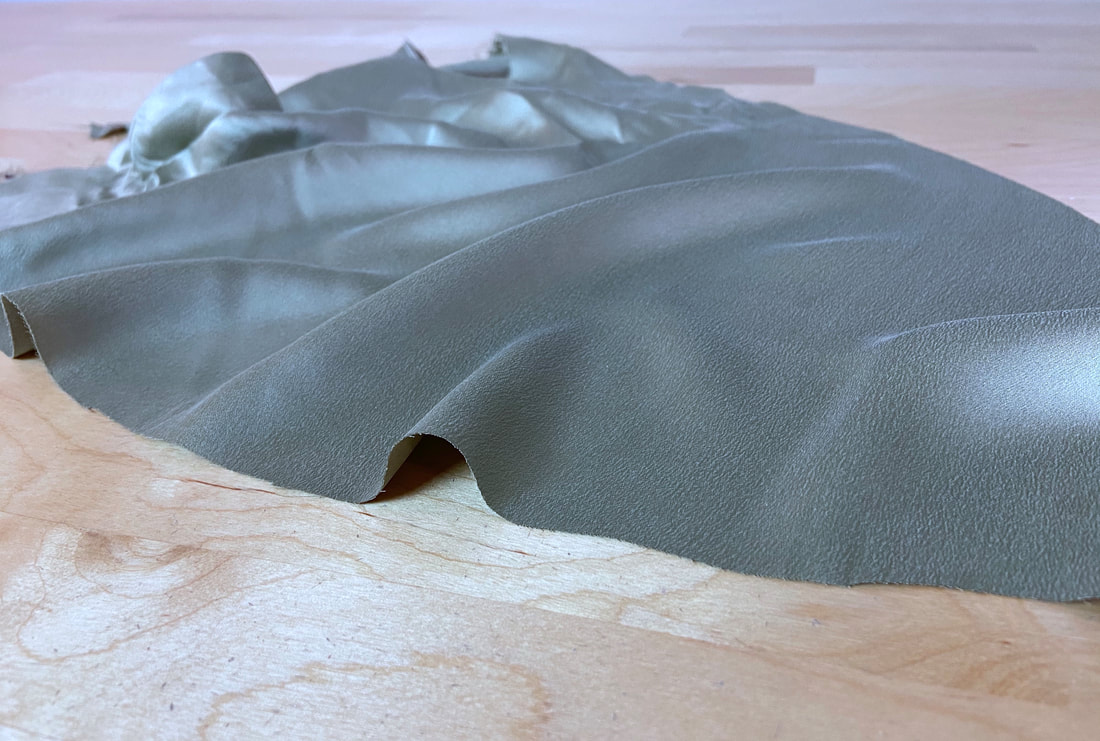
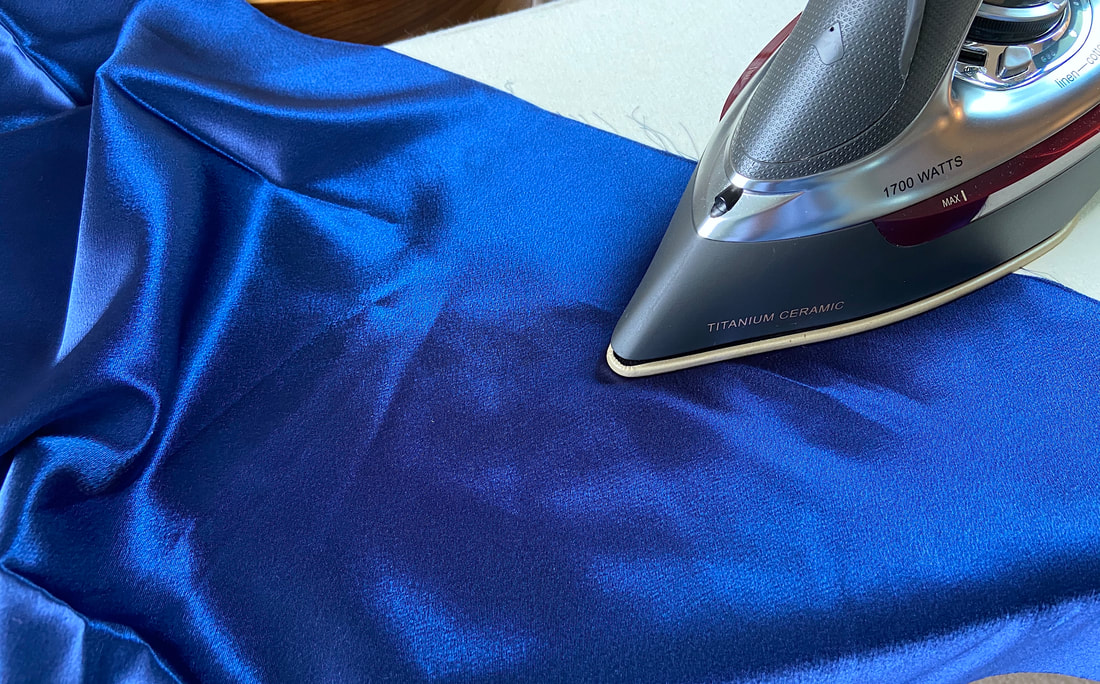
- Polyesters, rayons (viscose) and nylons should be ironed on a synthetic heat setting. This is usually medium to low heat, depending on the fabric. Steam can be used but should be tested first. Some synthetic fabrics, like satin for example, will often crinkle under the pressure caused by steam.
If the heat is too high, the fabric may stick to the iron plate and can even slightly melt in the process. Lower heat, a protective cloth, and pre-testing a scrap piece is essential in safely ironing synthetic fabrics. The trick with synthetics is finding the right balance between a heat setting that is safe but high enough to press seams flat and leave a defined crease line.
How To Iron Seams
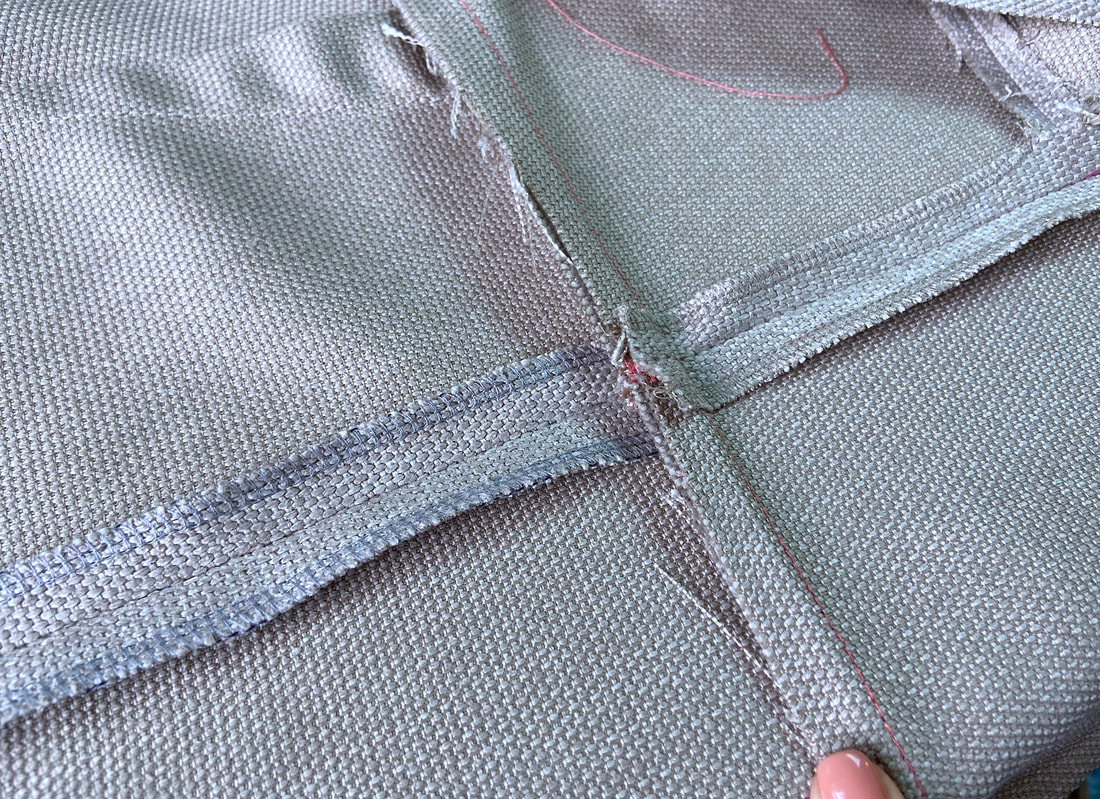
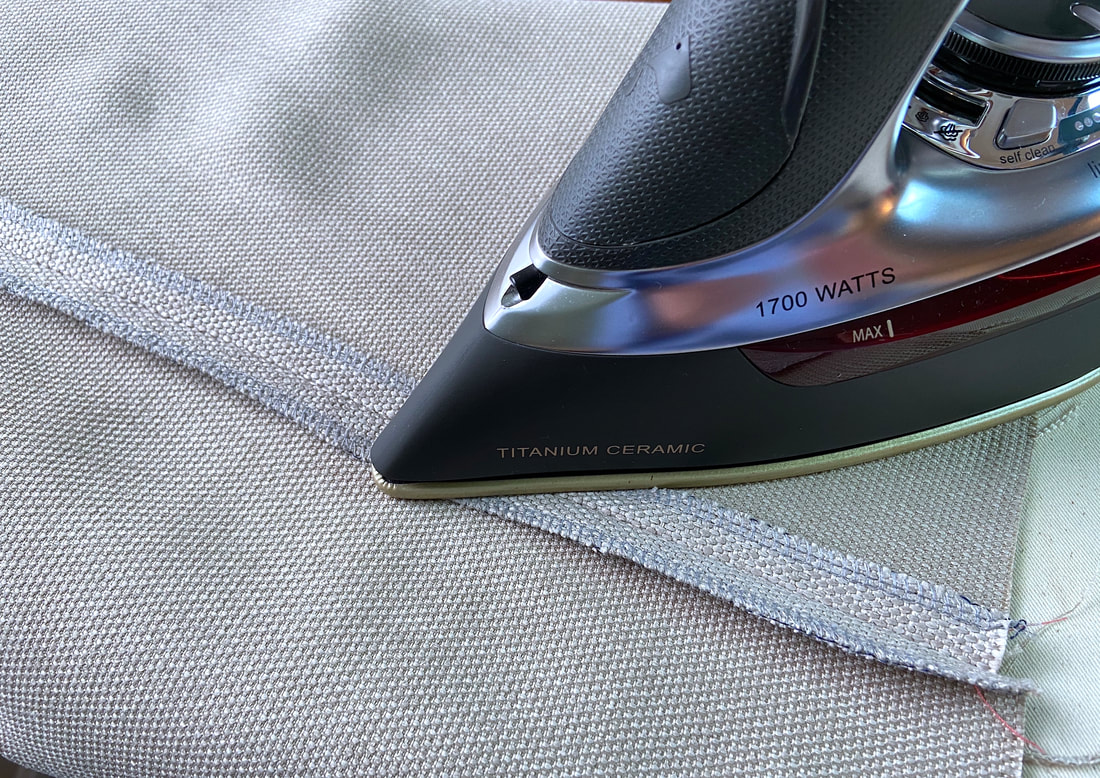
Most seams follow the same basic ironing conventions. The seam stitch is first ironed in the direction it was applied, then the seam allowance layers are pressed either open or together towards one side.
In the dressmaking process, all seams must be finished and pressed before they cross with other seams.
When the seam allowance is pressed open, it is easiest to iron from the wrong side of the seam.
To get the seam extra flat and smooth, press it again from its face side. As always, use a protective cloth and always pre-test a scrap of fabric first if working with heat sensitive fabrics.
When ironing both seam allowance layers to one side, you may find it’s easier to press from the right side of the seam first. Doing so provides more directional control over the seam allowance underneath, without the risk of creasing the seamline.
Keep in mind that most seam allowance finishes should be applied before the seam is pressed.
Never iron through pins, or directly on top of buttons and zipper teeth. Doing so may cause the plastic to melt, damaging the garment and staining the iron plate. You should also avoid ironing hand basting stitches when possible, as this can make them more difficult to remove.
Ironing Straight Seams
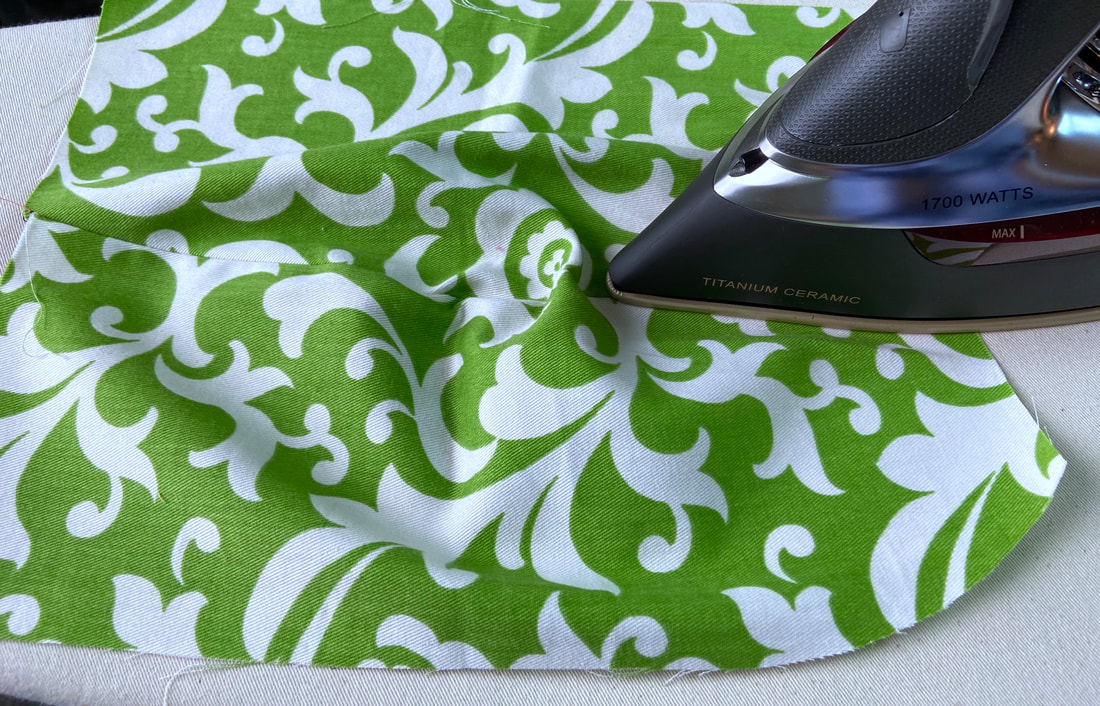
Straight seams are the easiest to iron, requiring just a plain ironing board. The iron should be set at the appropriate heat setting for the fabric at hand. Depending on the fabric, some seams will be more difficult to iron than others.
When ironing the seam on a flat surface, make sure that no unwanted crease lines are formed on the face of the seamline. Keep the seam as flat as possible in the ironing process. As always, use a protective cloth with heat sensitive fabrics, especially when pressing from the face of the garment.
Ironing Curved And Shaped Seams
Since a clothing item shapes to the human form, it commonly features some sort of curvature and 3-dimensionality.
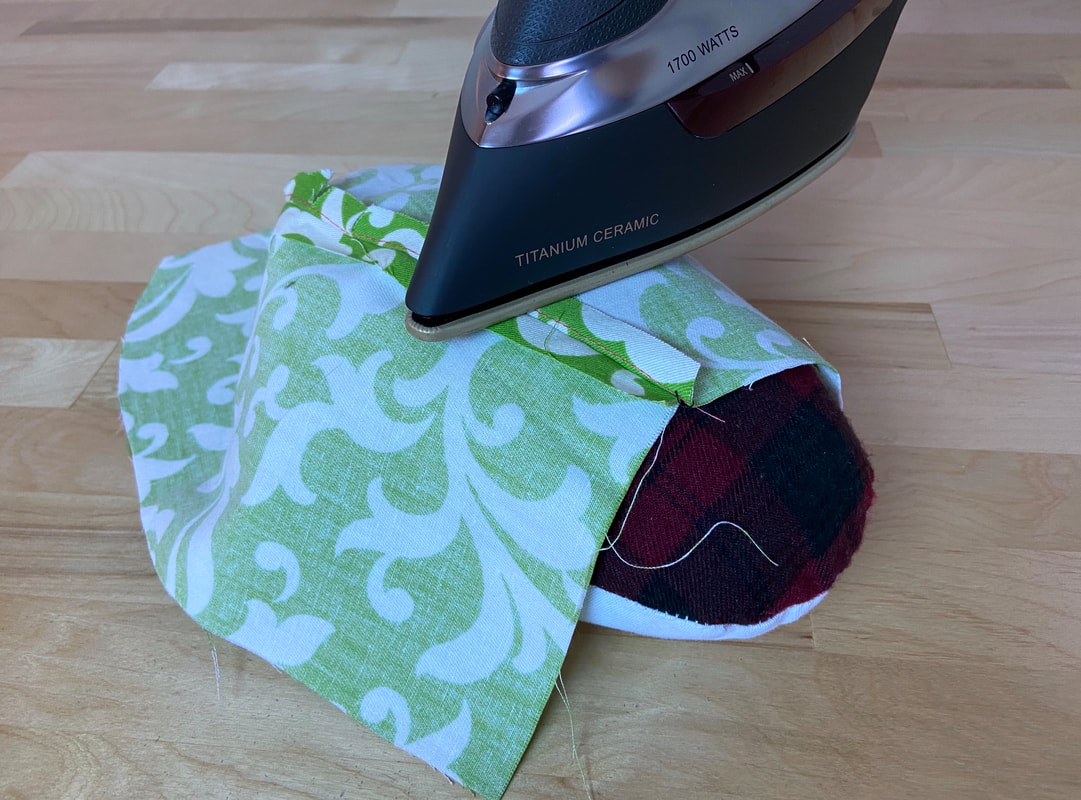
If you try to iron a curved or shaped seam (like princess seams or bust darts) on a flat surface, you’ll find that not only is this quite difficult to do, the end result is not as smooth and professional.
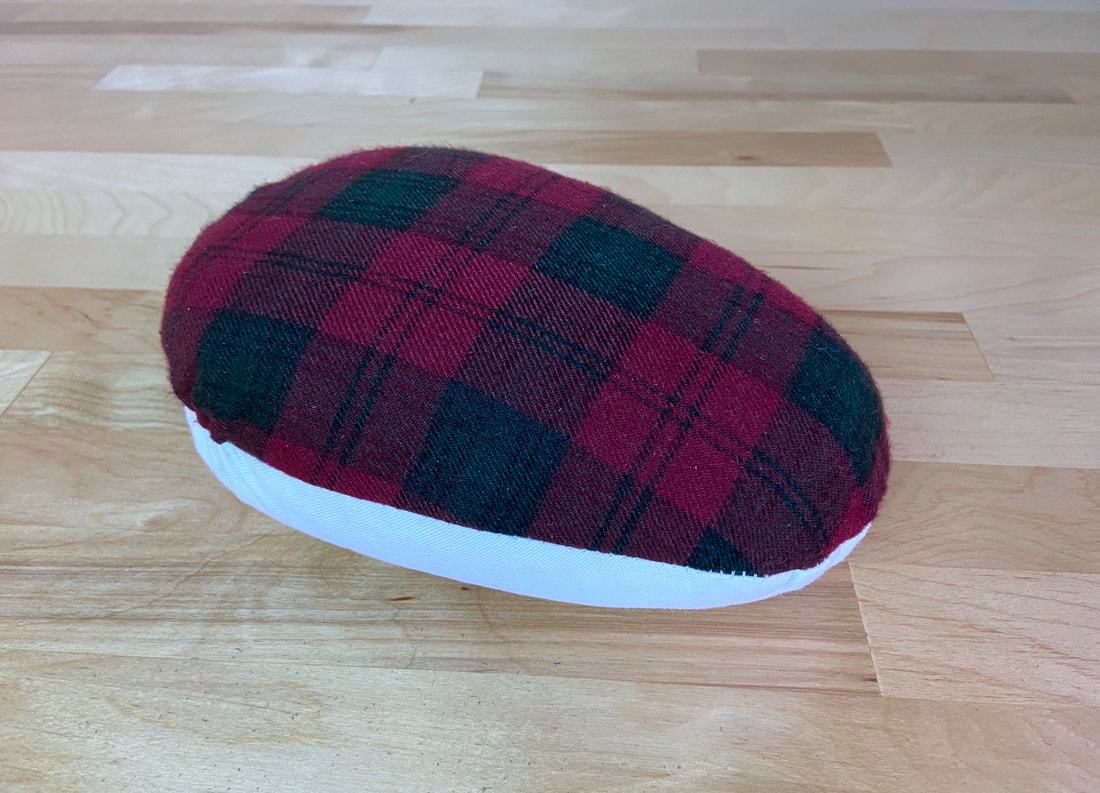
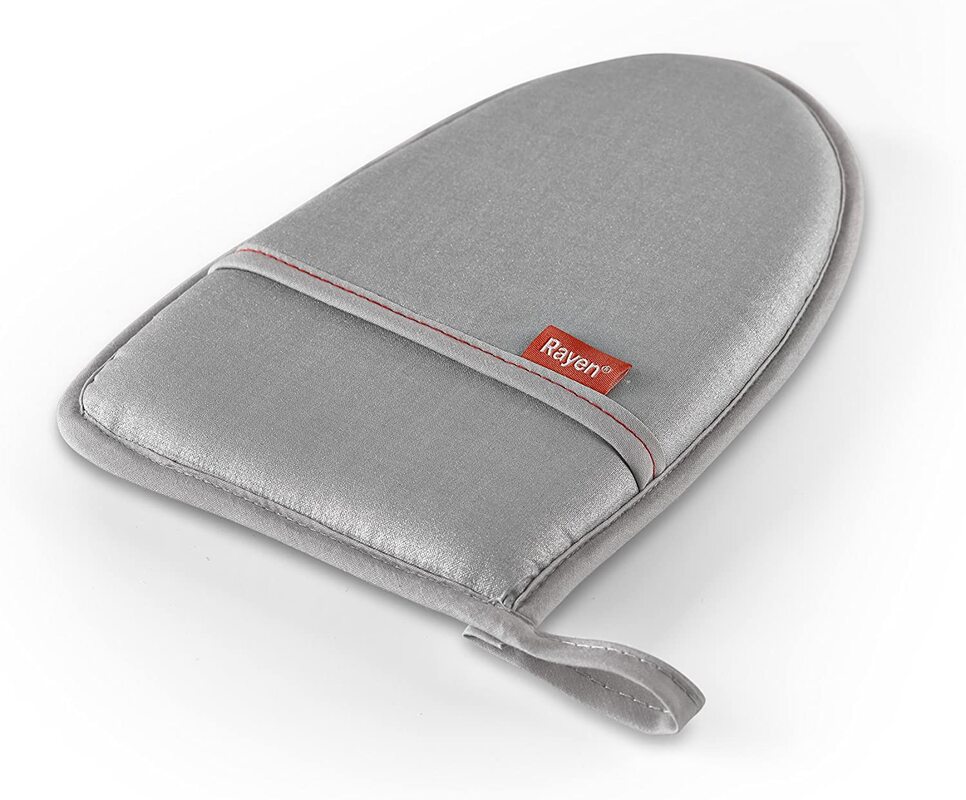
These special seams are best ironed over a tailor's ham or an ironing mit. Both of these ironing add-ons can be purchased separately, and while not required, they make a huge difference in the ironing and sewing process.
A tailor’s ham is an oval shaped, curved-surface cushion that allows you to iron a curved/shaped seam by molding to the seam’s curvature. Conventionally, a tailor’s ham is constructed of a textured wool fabric on one side and a plain cotton on the other. The wool surface holds steam as you press wool fabrics. The cotton-faced side works universally with all other fabrics, withstanding high temperatures and heavy steam.
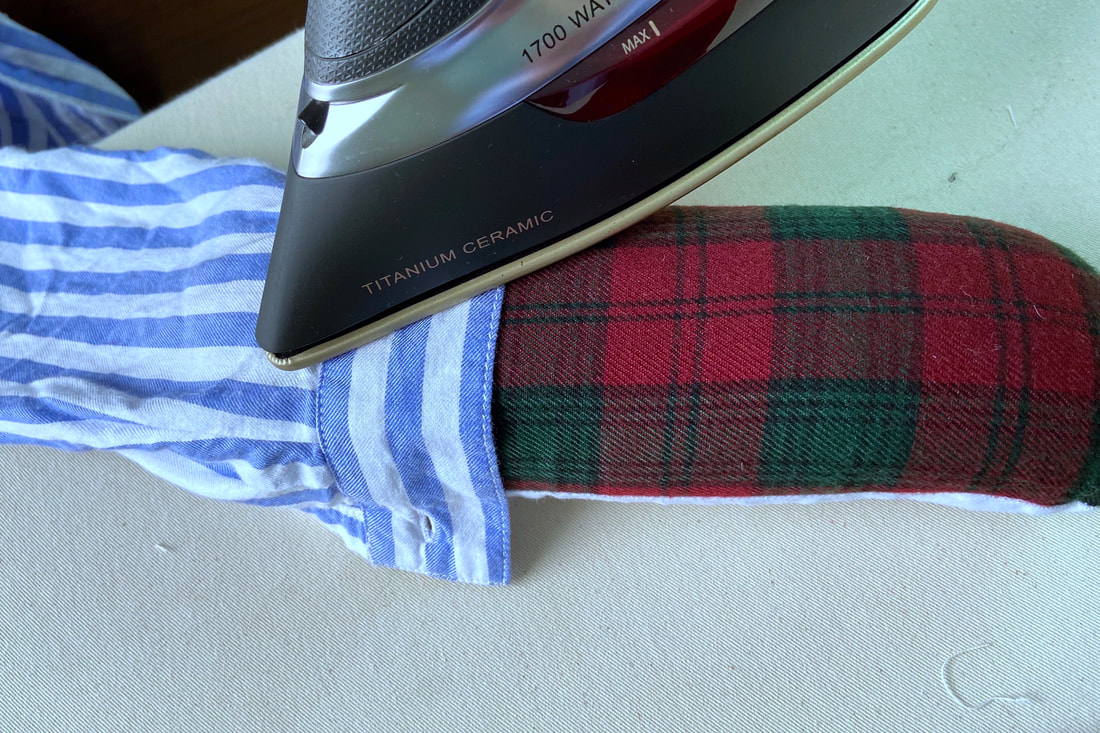
An ironing mit is a great option for pressing difficult-to-reach curved areas that can’t be ironed with a regular tailor’s ham. An ironing mit is similar to an oven mit in its structure. It is cushioned on all sides and curved similar to a tailor’s ham. In the ironing process, you can slip the mit over your hand, but be very careful not to accidentally touch your skin with the hot iron plate.
The safest and easiest way to use an ironing mit is to either slip it on the sharp end of your ironing board or the end of a sleeve board (discussed in more detail below).
If you are unsure which of these two add-ons to choose, go for a tailor’s ham first and invest in the ironing mit as you become more advanced.
Ironing Sleeve And Pant Inseams
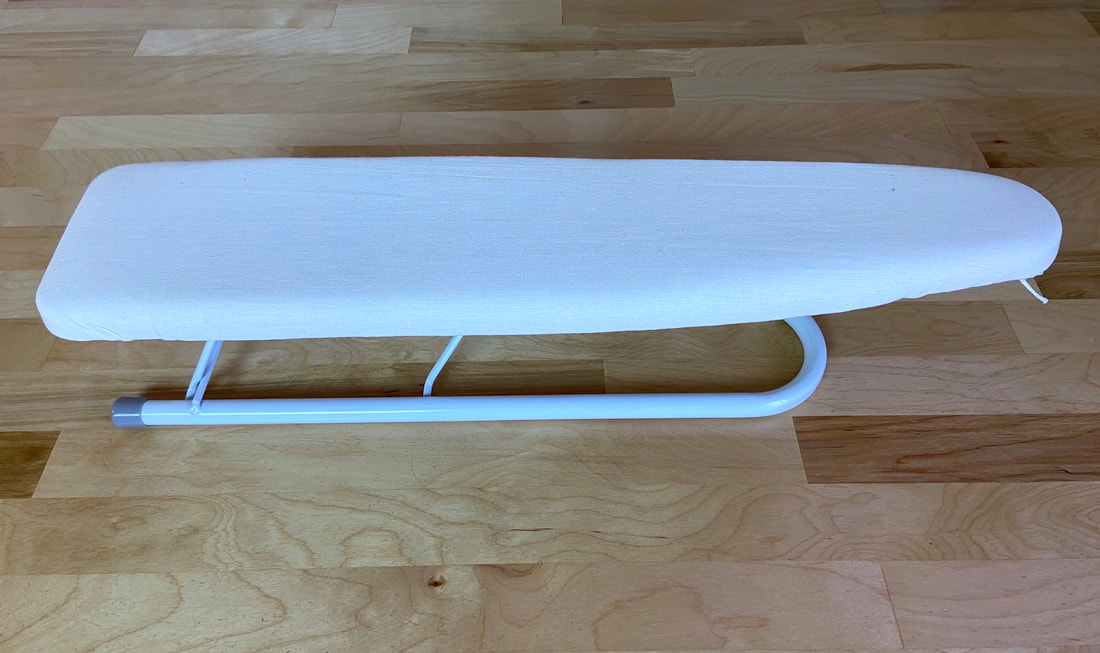
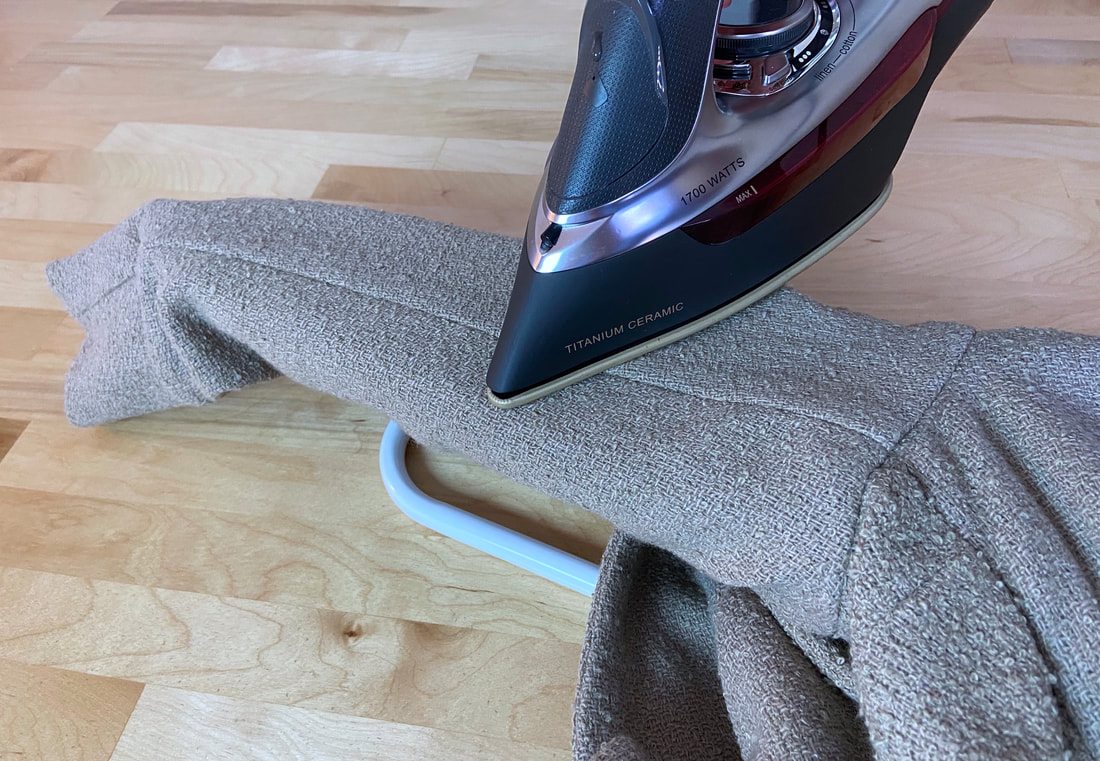
If you are only using a regular ironing board, ironing sleeves and pant inseams will become a big challenge. The seams are enclosed in a narrow tubular shape which makes them difficult to reach and handle in the ironing process. Your best friend when pressing these difficult seams will be either a sleeve ironing board or a curved seam roll.
Both are shaped to be long and narrow, allowing sleeves and pant legs to be easily slipped over for pressing. Seam roll aside, if there is a single addition to your regular ironing board, it should undoubtedly be a sleeve board. While it is perfect for sleeves, this narrow ironing board is quite versatile, allowing you to press other difficult areas like darts, enclosed curved edges and corners.
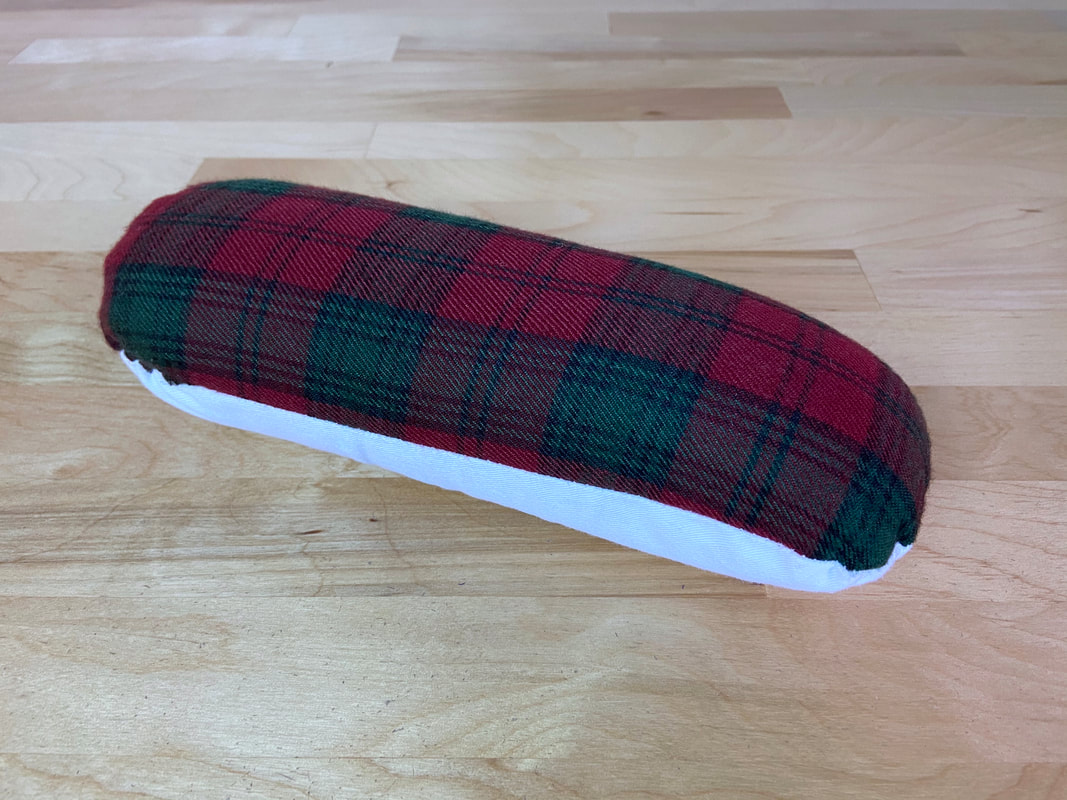
A sleeve roll is built similar to a tailor’s ham featuring a cushion with textured wool on one side and cotton on the other. However, instead of a wide oval shape, a seam roll is long and narrow.
It provides a flexible ironing tool for seams that are enclosed in a narrow circular shape such as those on sleeve cuffs and collars. A sleeve roll provides an easier way to mold seam allowance edges flat, preventing creasing in organically shaped seams.
Ironing High Pile Fabrics
Have you ever wondered how high-pile fabric seams are ironed? After all, pressing them in a conventional fashion on a flat ironing board will not only distort the fabric surface it will also flatten the textured pile.
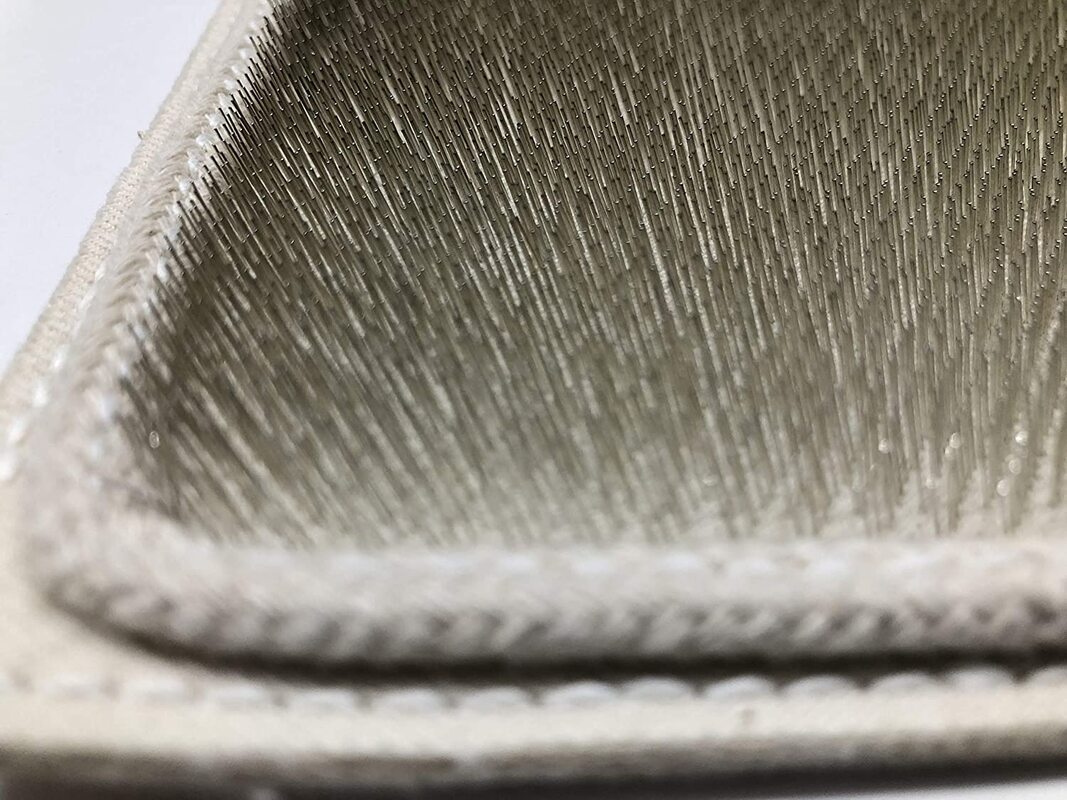
There is actually a specialized ironing tool designed specifically for high-pile fabric. It is basically a needle board featuring a surface covered with side-by-side steel wires. During the ironing process, the fabric is placed face down on top of these vertical wires. This allows the pile fibers to fall in between the needles thus preventing them from being ironed completely flat.
Not that you should invest in a needle board right away, but if you find yourself enjoying work with textured pile fabrics, it could be a nice investment later down the road.

