
A turned-and-stitched seam finish provides an elevated, clean look on the inside of the garment. While fairly simple in its construction, it does take a few extra steps to complete.
|
The end result provides a professional look that hides the fabric raw edges with a topstitched fold.
This is a great finish for mediumweight fabrics featuring a tighter weave that does not unravel easily. While a turned and stitched finish visually encloses all cut edges, it does not completely contain the fabrics from fraying.
After a few wash cycles, you may notice loose threads sticking out from under the stitched folds. For that reason, consider using this finish for dry clean only garments like medium to heavy dresses/tops, coats and jackets.
|
As an alternative, you can apply an overedge stitch like serging or zigzag along the seam allowance raw edges prior to folding and topstitching them.
Applying A Turned-and-Stitched Seam Finish On A Straight Seam
|
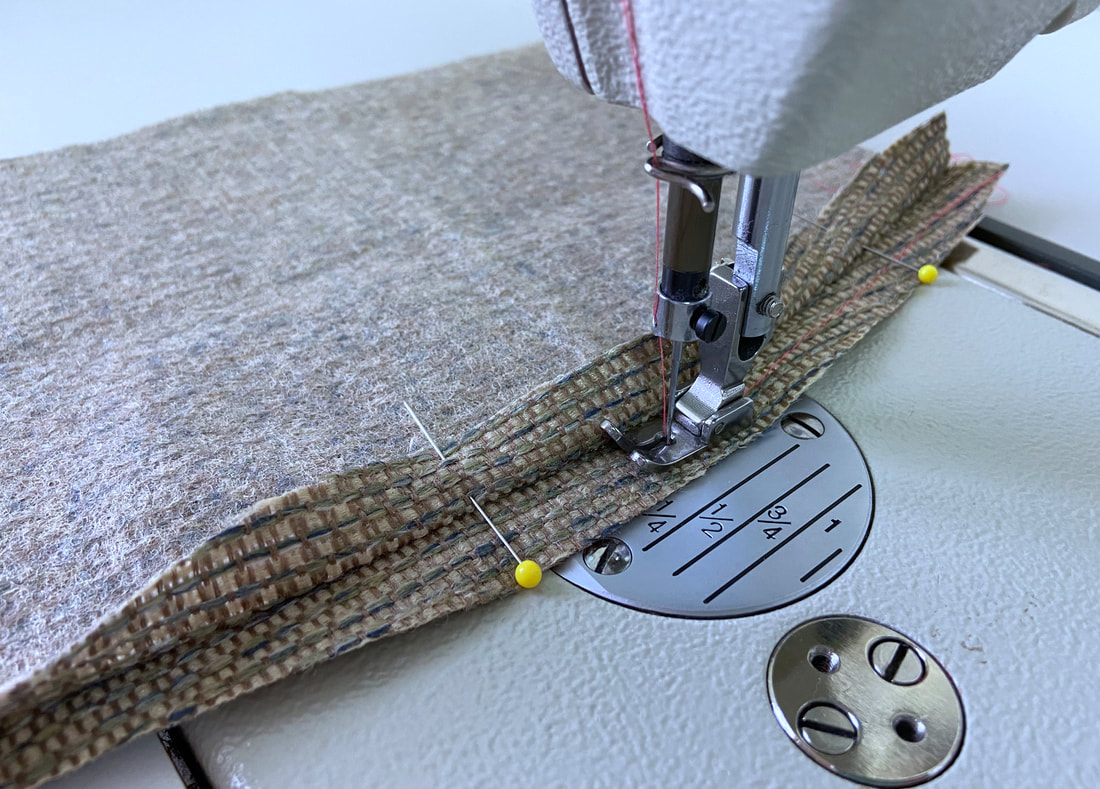
If you choose to use this finish with high-fraying fabrics you should consider applying an overedge stitch like serging or a zigzag stitch to contain unraveling threads and provide long term durability. This is especially important for extending the garment’s lifecycle as it goes through continuous wear and wash cycles.
|
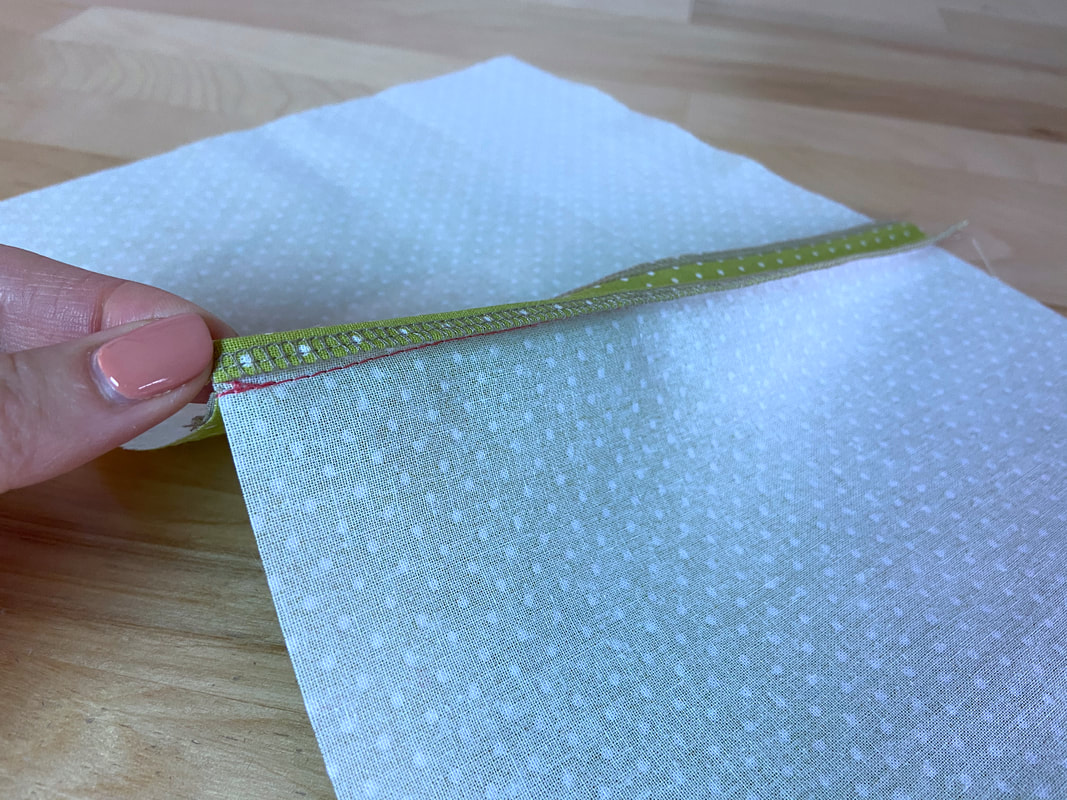
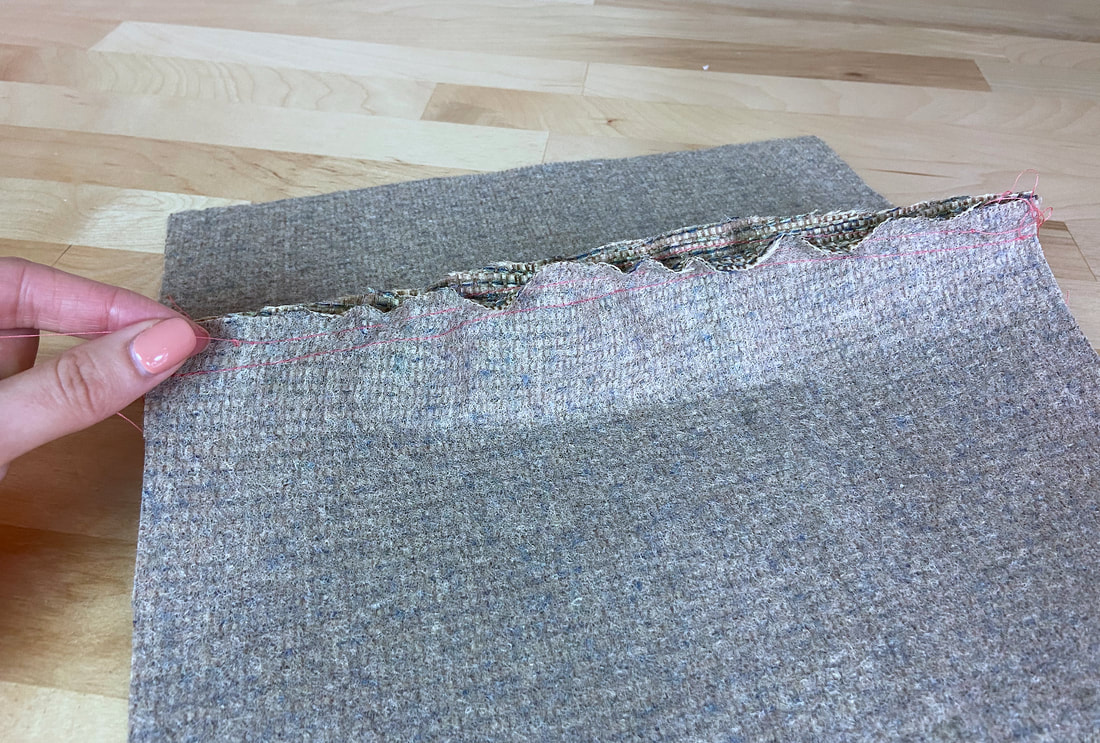
1. Turn each seam allowance edge in towards the wrong side of the fabric at about 1/8”- 1/4” distance. If working with a very wide seam allowance or thick, textured fabric, you may even fold up to ½”. The larger the folded intake, the more protected the edges will be from unraveling.

|
|
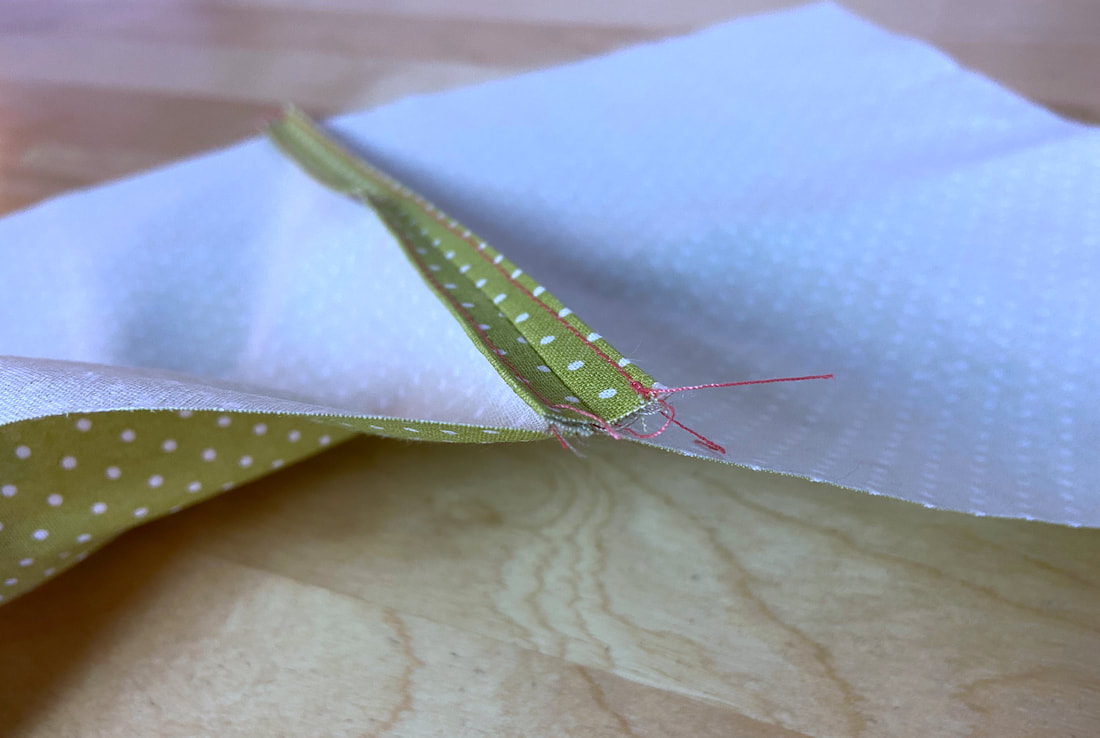
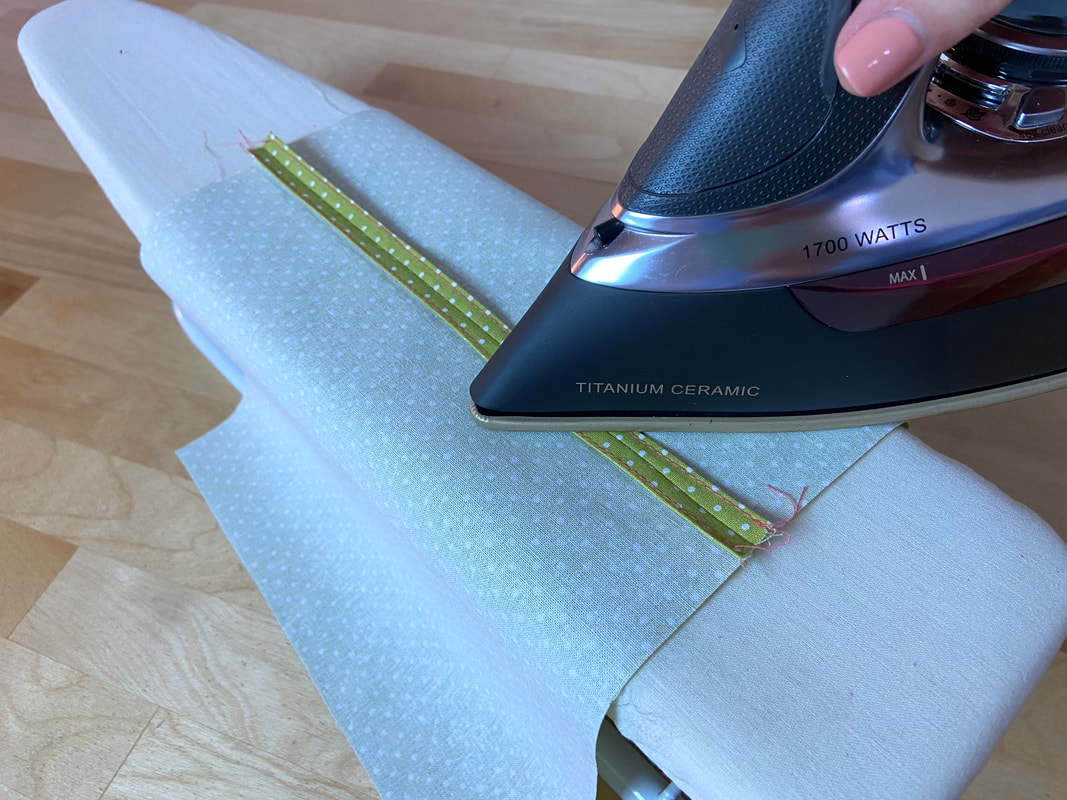
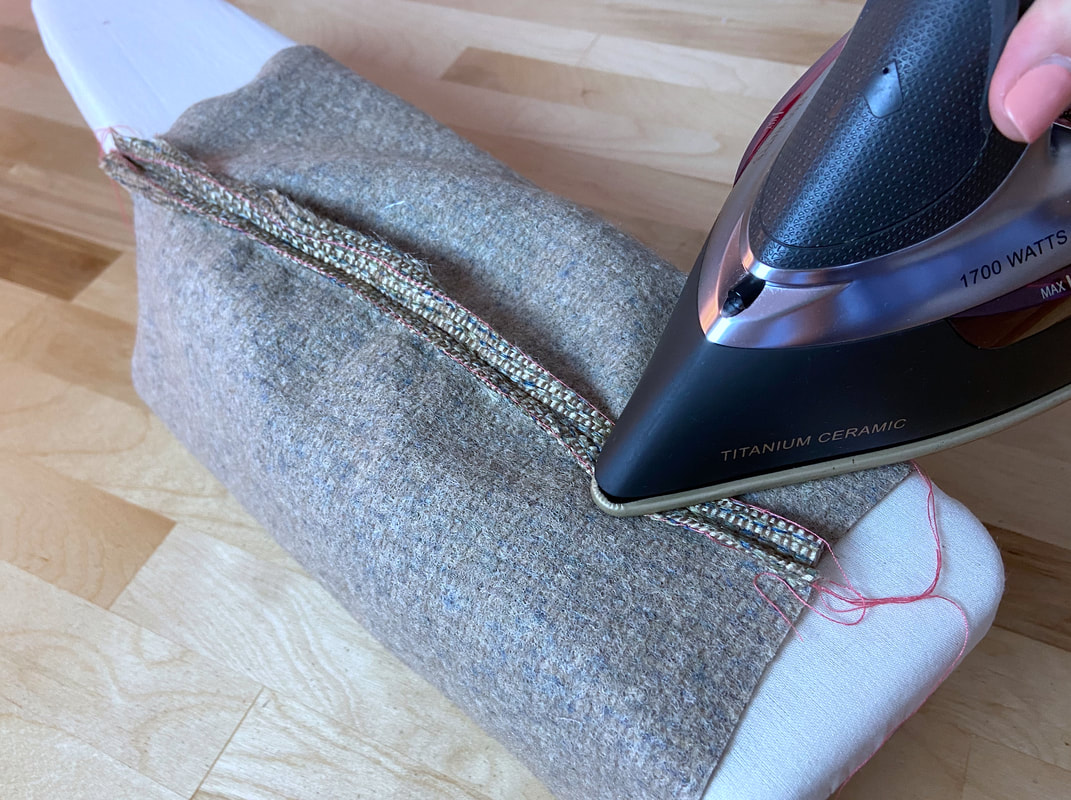
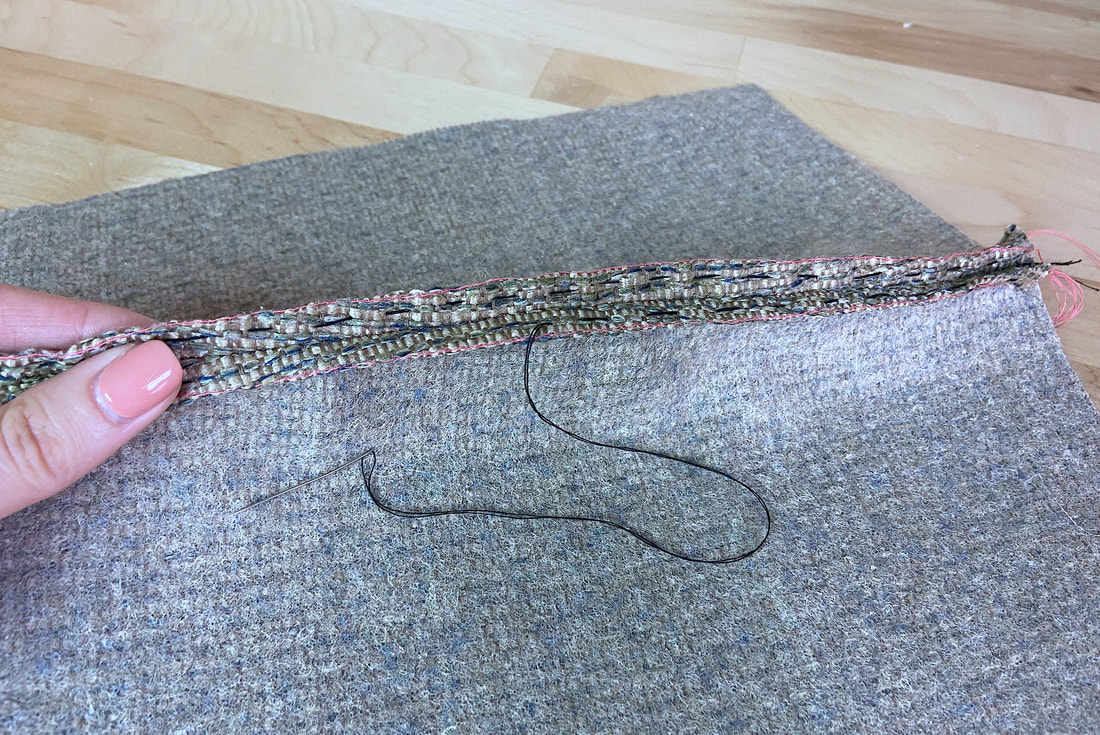
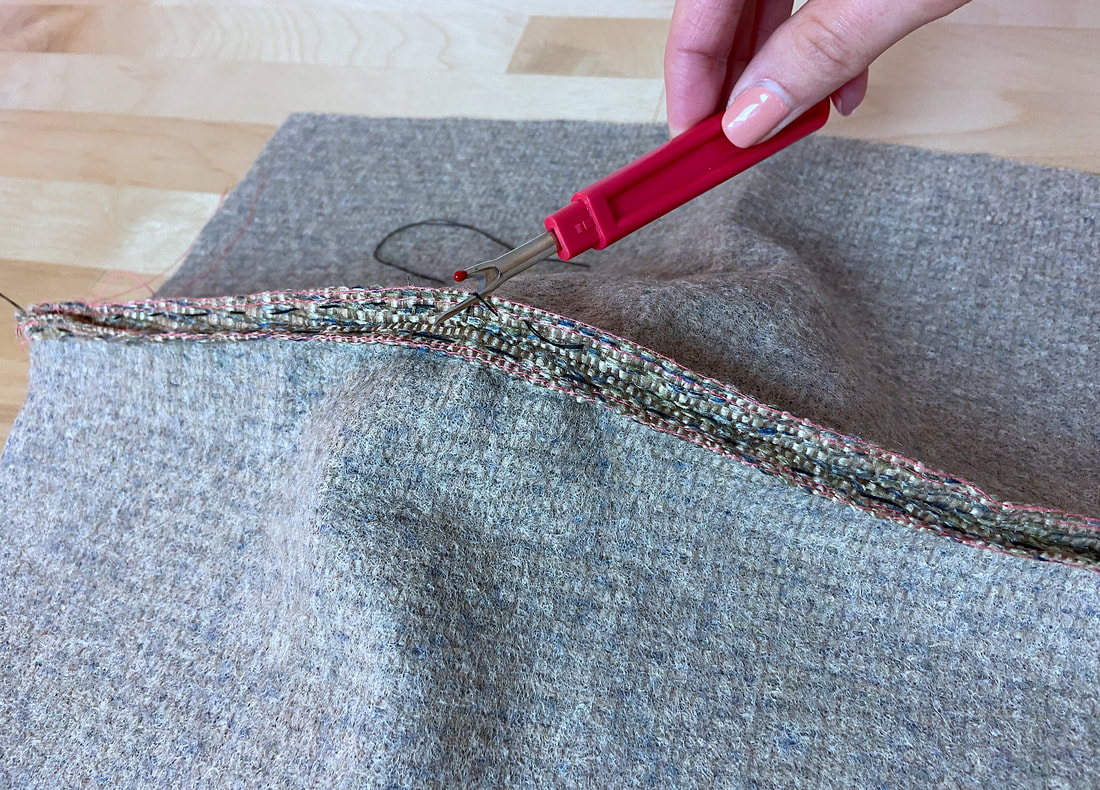
2. To facilitate the stitching process, iron as you fold to crease the fold lines. If you need an extra layer of stability, you should hand baste the folded edges prior to machine stitching them (shown below).
|
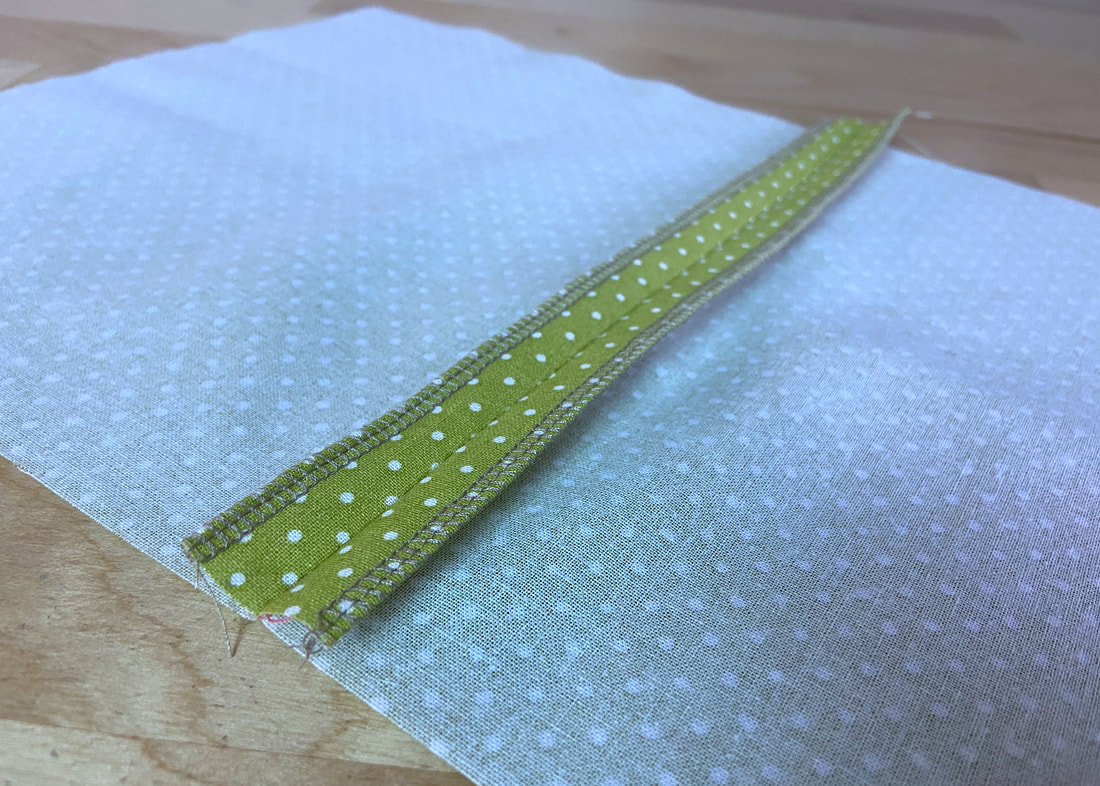
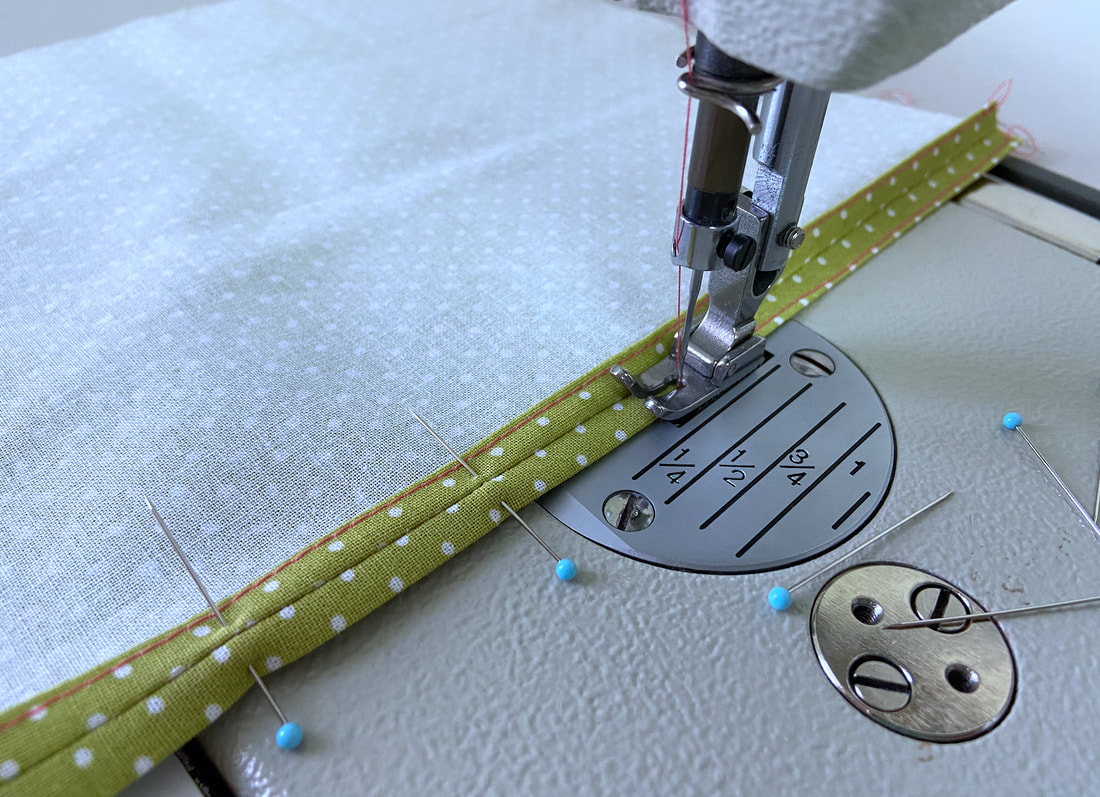
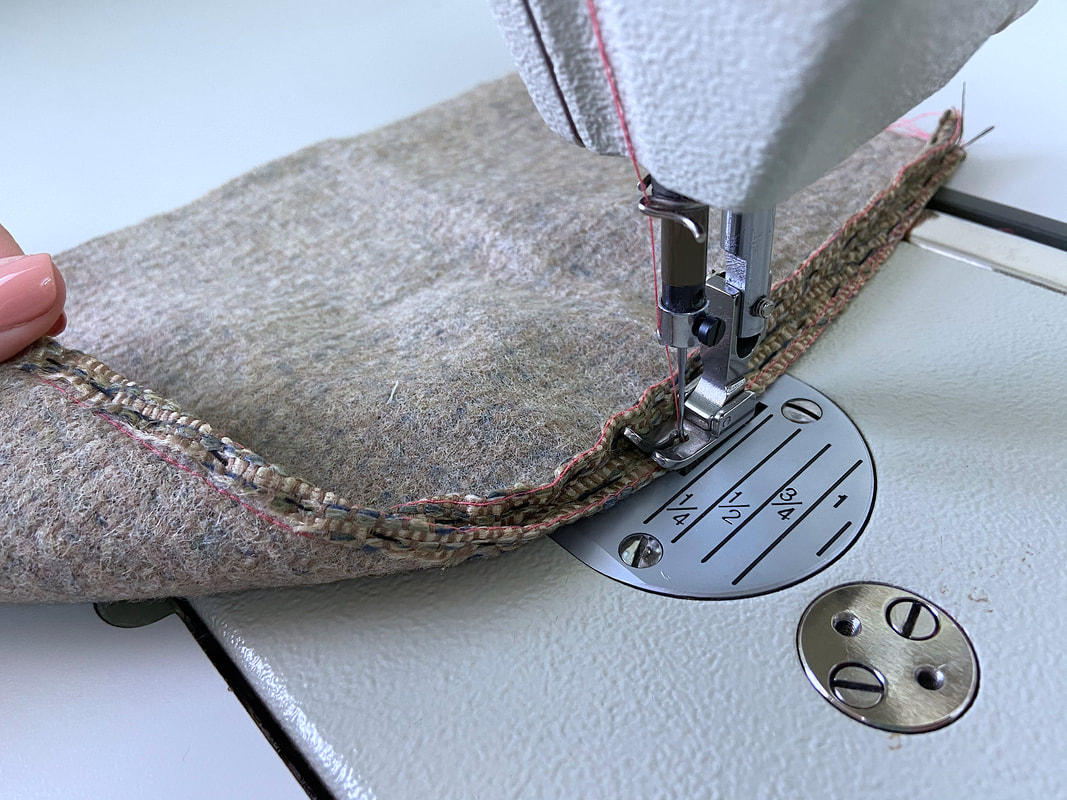
3. To complete the application, carefully stitch along each seam allowance folded edge, applying the stitch at about 1/8” from the fold line.
|
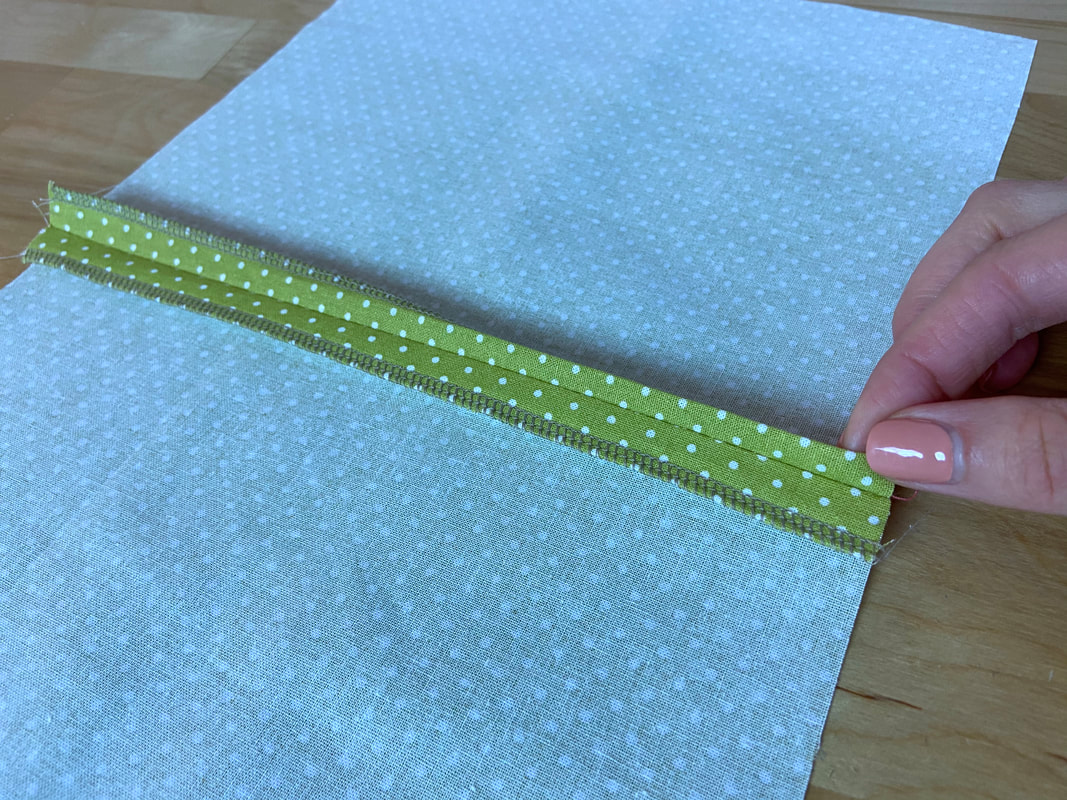
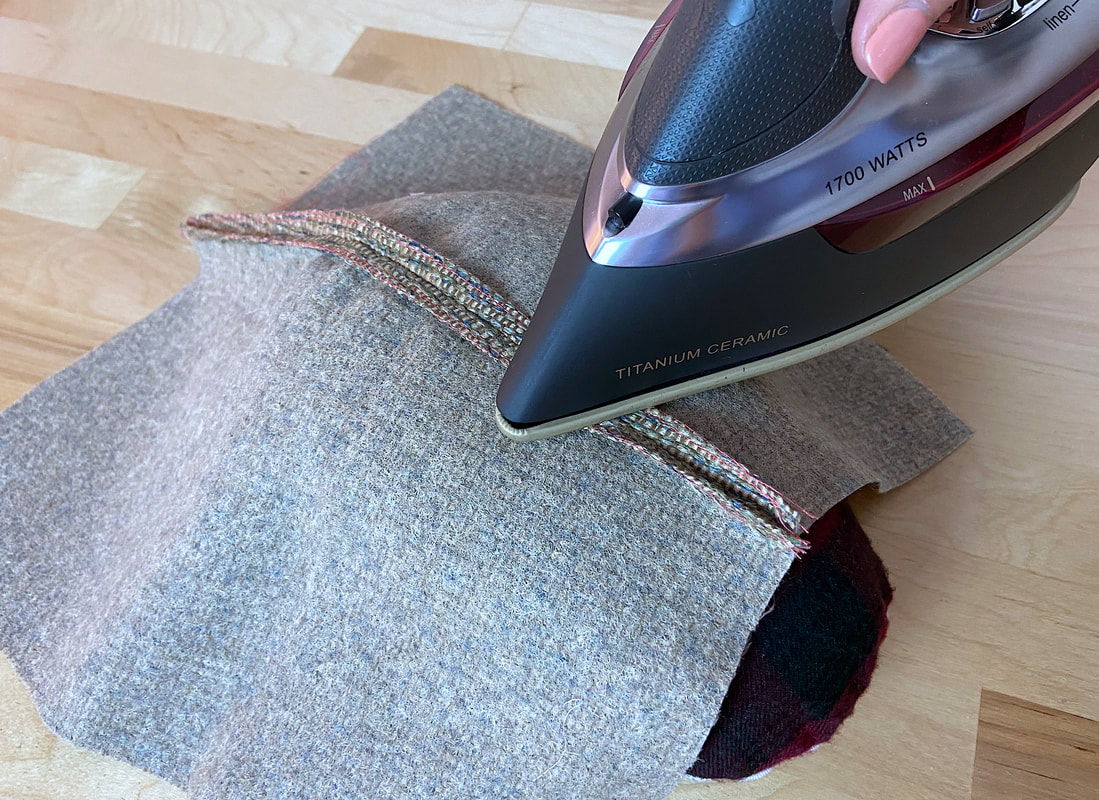
4. As a final step, iron each folded seam allowance layer in the direction it was stitched.
Applying A Turned-and-Stitched Seam Finish To A Curved Seam
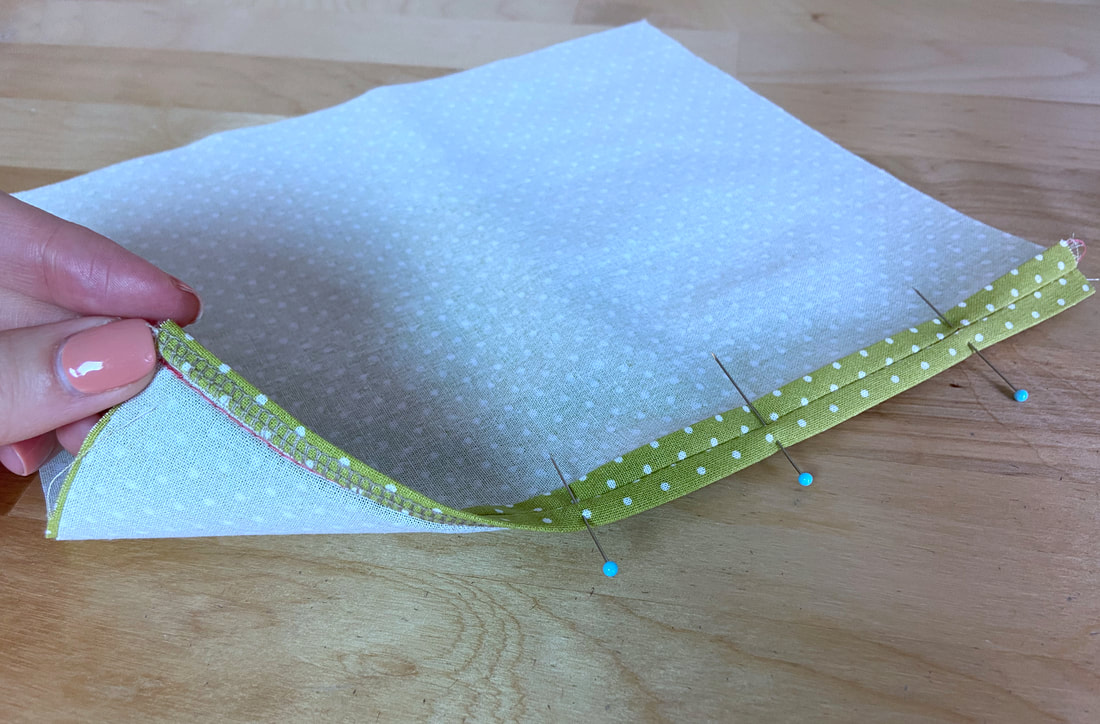
What if you wanted to apply a turned-and-stitched finish to uneven or curved seam allowance edges? If you attempt to replicate the steps above on a curved fabric edge, you will notice that it is very difficult, if not close to impossible, to fold it evenly. In this case, something called easestitching is applied at the same distance as the intended fold, to help direct the curved fabric edge inward.

|
Easestitching is a usually longer-length straight stitch that is pulled similar to a gathering stitch to facilitate the process of folding curved fabric edges.
|
1. Apply a longer straight stitch (machine basting) at about 1/8”-1/4” from the seam allowance edge: this should be the same distance as the location of the desired fold. Leave enough loose thread at the end of the stitch so it can be easily pulled in the steps to follow.
|
2. Grab one of the loose thread-ends, and gently pull, spreading the tension evenly across the seam allowance edge as shown. The goal is not to add gathers but rather direct the edge to turn inward, toward the fabric wrong side. Initially, you may need to manually direct the easestitched edge to point toward the fabric wrong side as you pull the loose threads.
|
3. At this point, it should be fairly easy to fold the curved seam allowance edges at the needed distance throughout. As you fold, iron the edges to facilitate the stitching process.
|
If you are a beginner, you should consider hand basting the curved folds for added stability during the final stitching process.
|
4. Carefully stitch each seam allowance layer individually, at about 1/8” from the folded edge.
|
|
5. Last but not least, remove the hand basting and iron the topstitching in the direction it was applied. As a final step, iron the seam with the seam allowance open as shown above. Given that the seam is curved, it is easiest to iron over a tailor's ham.
 |
All content, including images and text, may not be copied, replicated, or redistributed without express written permission. This website is regularly screened and monitored for content protection.
|
