What Is A Slit Seam?
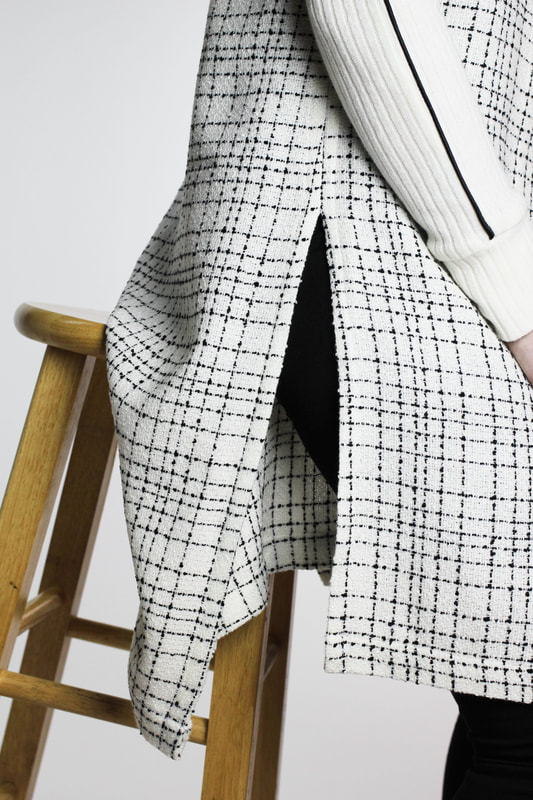
Slits are a great way to modernize and add comfort to a garment. They are the perfect addition to skirts and dresses while also working beautifully with blouses and tunic tops.
Conventional slits almost always extend from a closed seam. Constructing them as seam extensions is a simple way to ensure a durable, functional and properly-fitted result.
A slit opening can be as long or as short as needed. What matters is that the opening edges are clean-finished correctly, featuring a smooth transition from the closed end of the seam to the start of the slit opening.
Finishing slit edges correctly is perhaps the most important factor when it comes to achieving a well-constructed, professional slit. During wear, slits tend to open, exposing the wrong side of the garment. Therefore, the slit opening edges should be finished such that they look just as clean on the inside as they do on the garment’s face side.
Note: Keep in mind that since slits often expose large portions of the garment’s underside, all garment seam allowances should also be finished in a clean, professional manner.
Some of the most common ways to finish slit edges include the double-folded and topstitched technique, a single-fold and topstitch (requires that an overedge stitch is applied along the fabric’s raw edges), lining, and a facing. The method used depends on the garment’s overall design and whether it is lined or unlined.
Most eveningwear and formal styles like cocktail dresses, business wear and tailored items, use fully lined slits. That’s because slits that are finished with lining have no visible topstitching on the face of the garment.
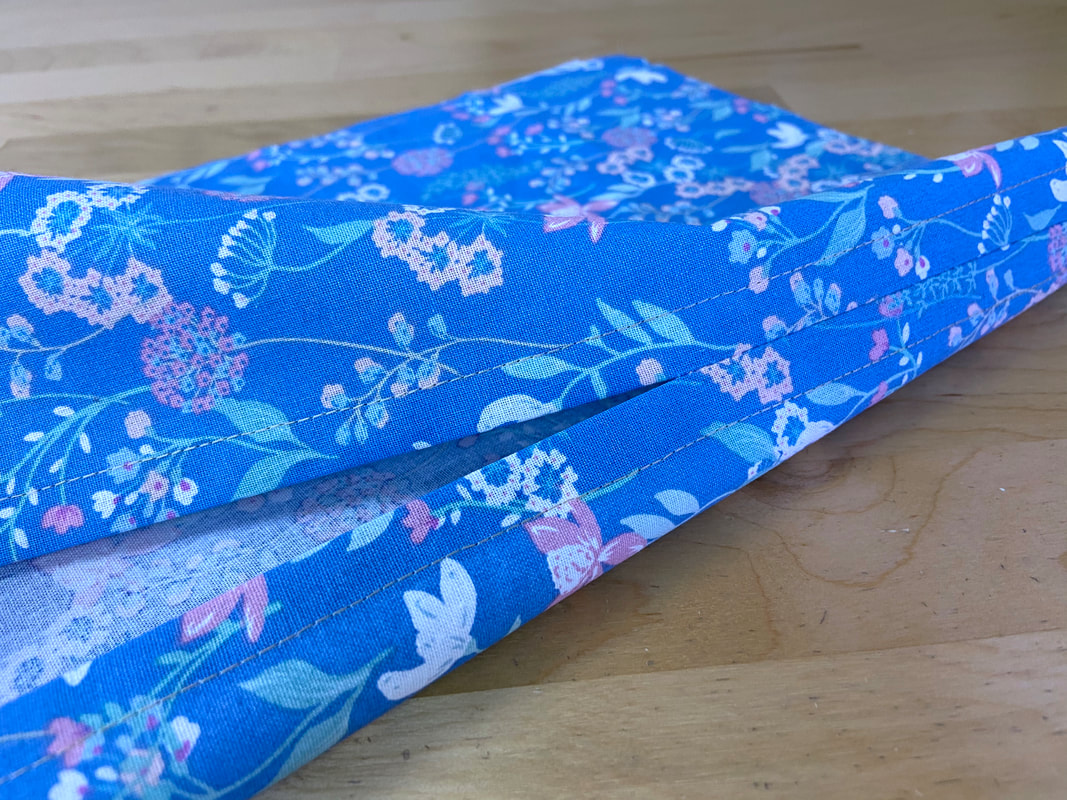
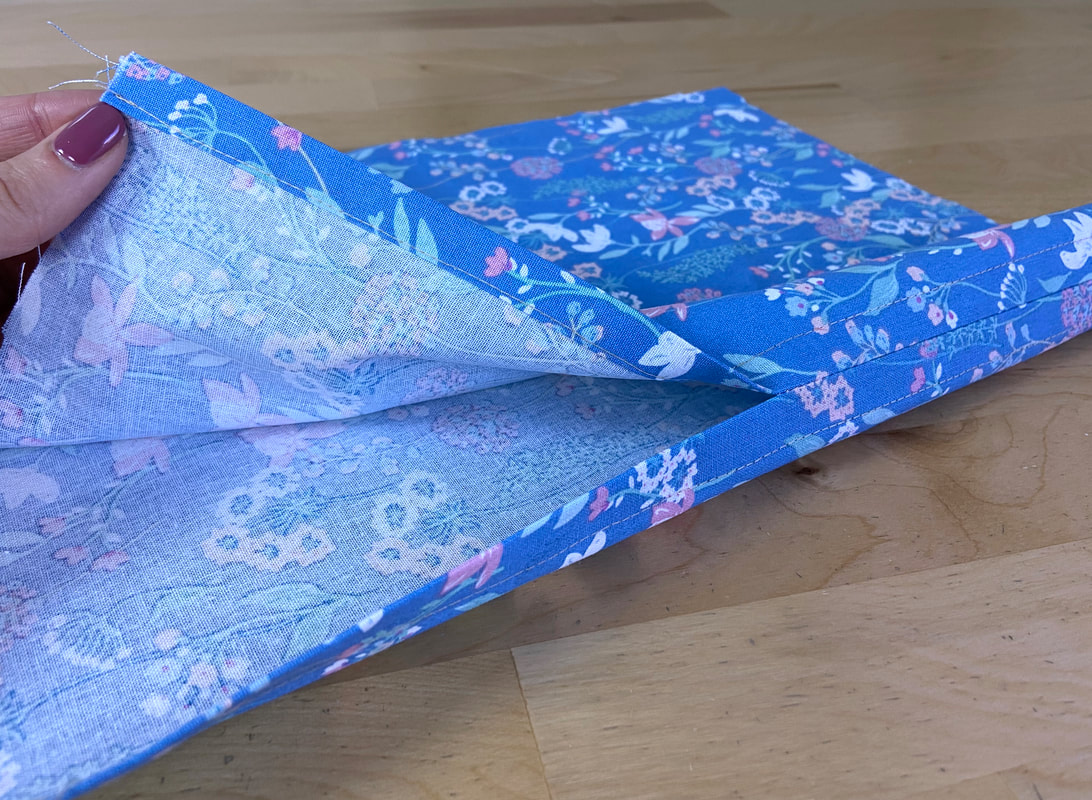
Casual, unlined garments work well with slits that are topstitched. In terms of topstitching, the most common technique is the double-fold and topstitched finish. This method requires the seam allowance to be folded twice after which the fold is topstitched closed. This is the method you’ll learn to sew in this tutorial.
Using binding and facings provide another good quality finish. The binding (or facing) is sewn to each individual opening edge and folded under to clean-finish it. The inward facing/binding edges can then be machine topstitched or blindstitched by hand.
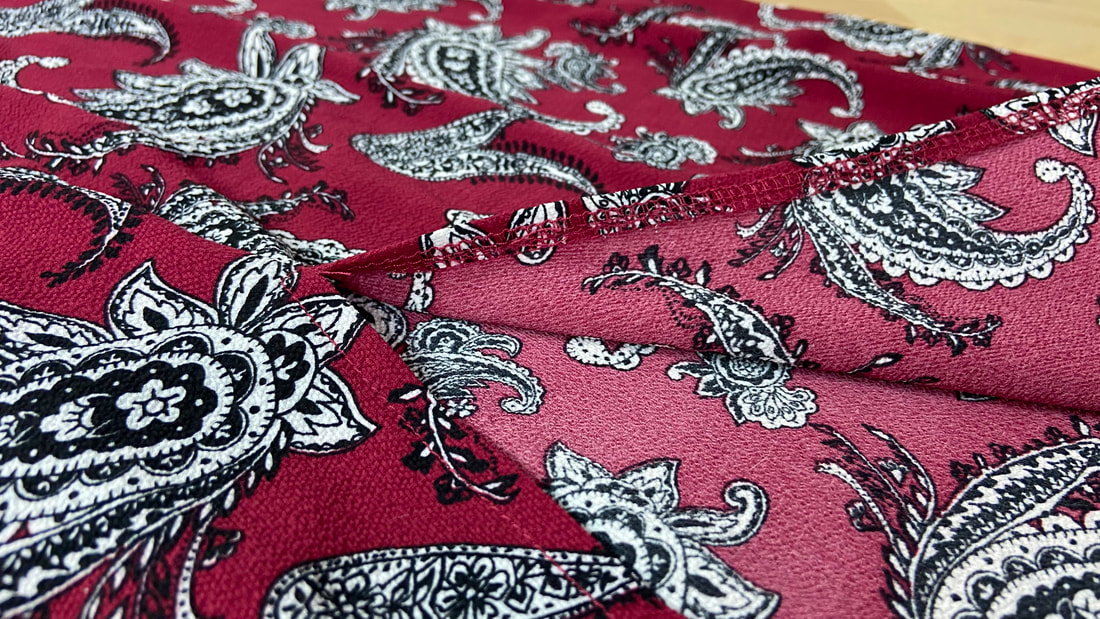
A fast, inexpensive way to finish a slit is by applying an overedge stitch to each of the slit’s seam allowance edges, then folding each edge once and topstitching it in this position. Although it is easy to sew, this is considered a lower-quality finish since the overedge stitching is exposed on the face of the garment during movement.
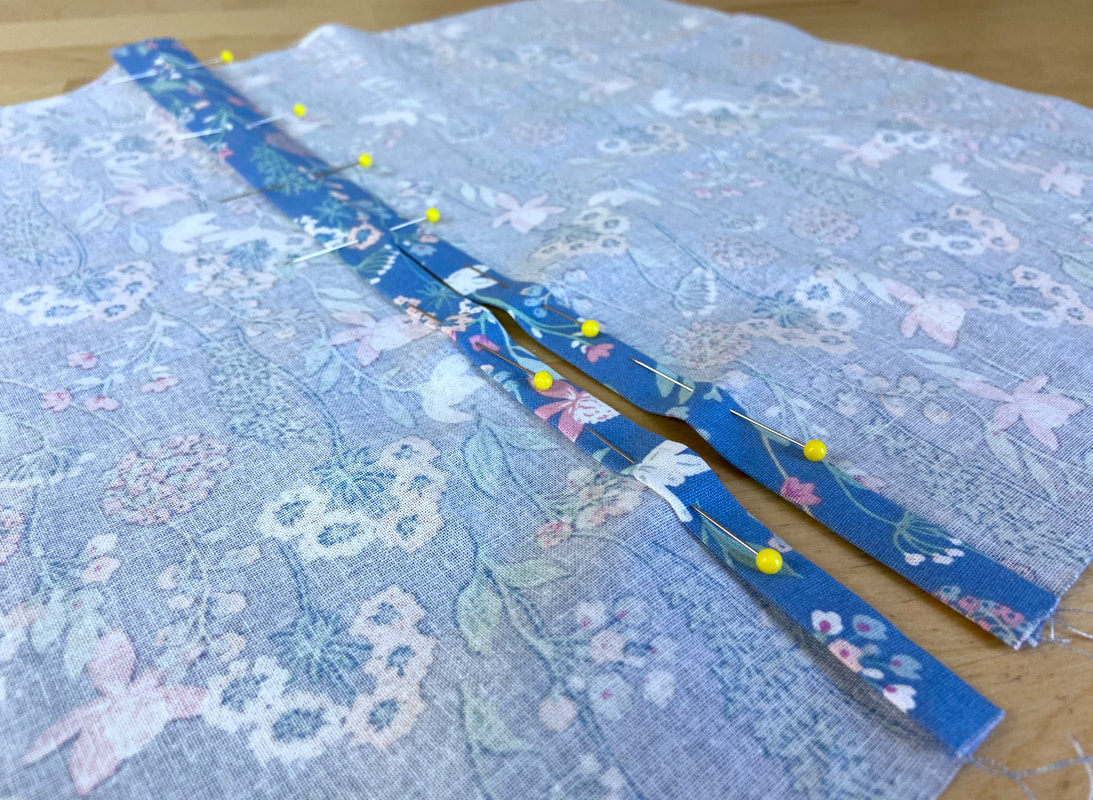
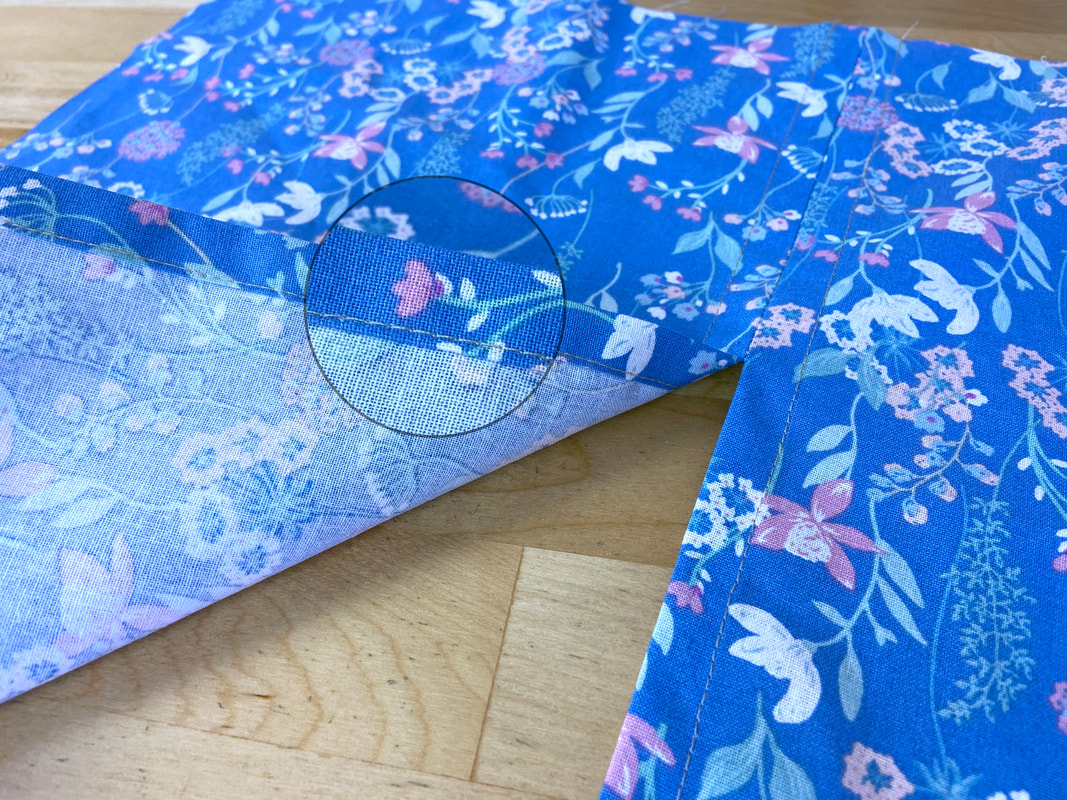
Regardless of which finish you choose, the technique has to blend into the closed portion of the seam smoothly. The easiest way to achieve a good quality transition is to apply the same finish used on the slit opening edges to the rest of the seam allowance layers on each side of the seam. Logically, this means that any seam that opens into a slit will always be finished with its seam allowance edges open, pointing away from each other (as shown below).
How To Sew A Slit Extending From A Seam: Topstitched Method
To truly understand how a slit is constructed, it is important to follow the proper sewing steps for the entire seam that houses it.
In this tutorial, the seam housing the slit has a seam allowance of 1”. This larger seam allowance provides enough width to comfortably fold each seam allowance edge inward twice. If working with a lightweight, thin fabric, use a narrower seam allowance (1/2” for example) as this will provide a less bulky finish.
First, let’s start with sewing the closed portion of the seam:
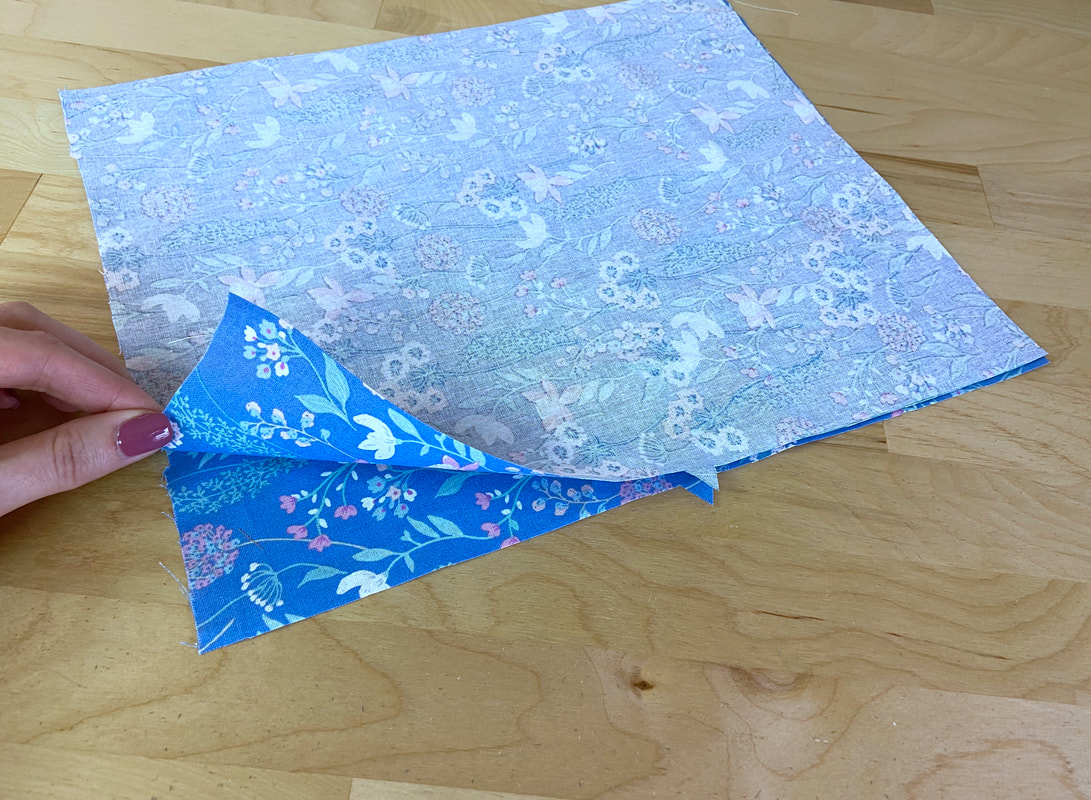
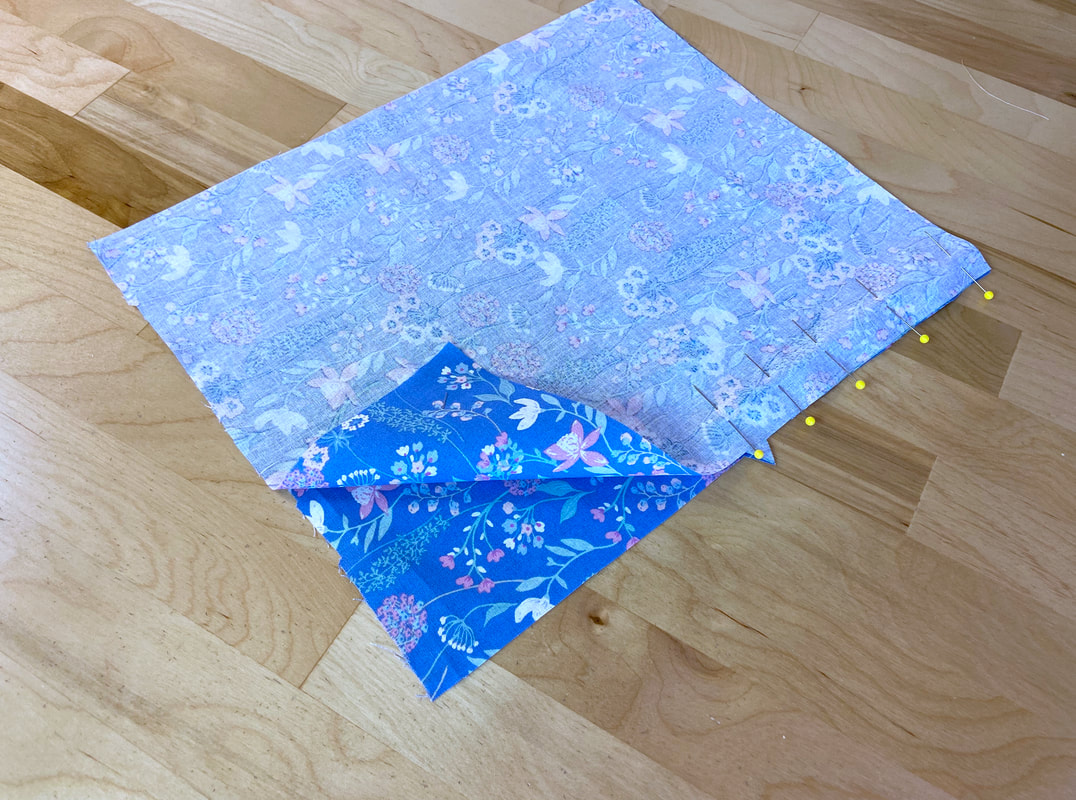
1. Match the seam edges with fabric face sides touching and raw edges aligning. Both seam edges should have a notch to mark the top of the slit opening. When the seam edges are aligned, the notches should match up perfectly as shown.
Starting at the top of the seam, insert pins horizontally until you arrive at the location of the matching notches.
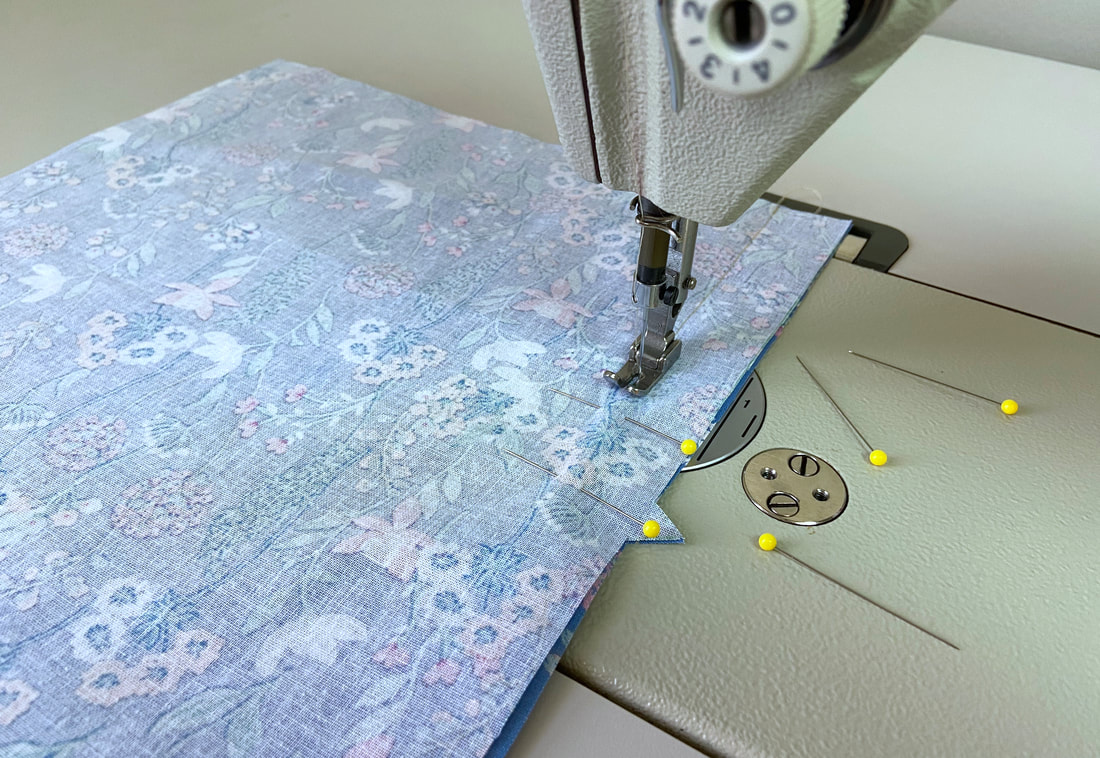
2. Starting at the top of the seam, stitch following the 1” seam allowance until you arrive at the notch.
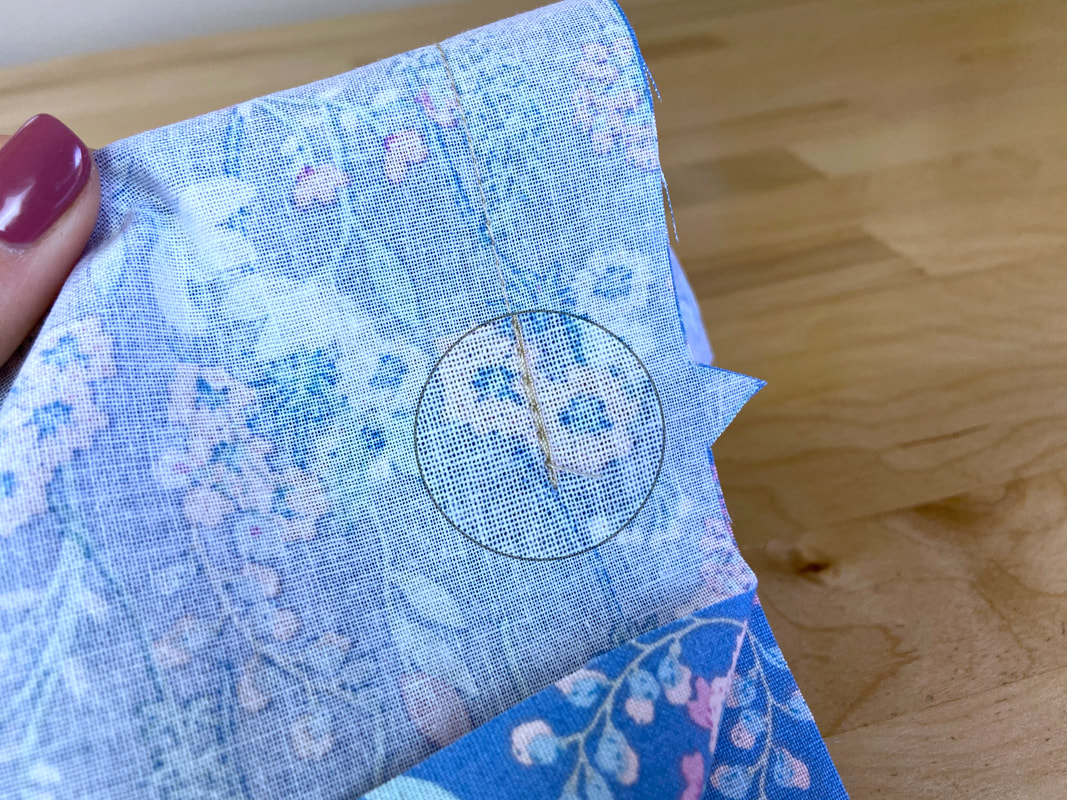
3. When arriving at the matching notches, it is very important that you backstitch at this location. These notches correspond to the top opening of the slit. Since this area receives a lot of pull and strain during wear, backstitching at this volatile location prevents the closed portion of the seam from unraveling during wear. A properly-applied backstitch is able to withstand the stress the slit receives during movement.
4. With the stitched seam on its wrong side, iron the seam allowance open.
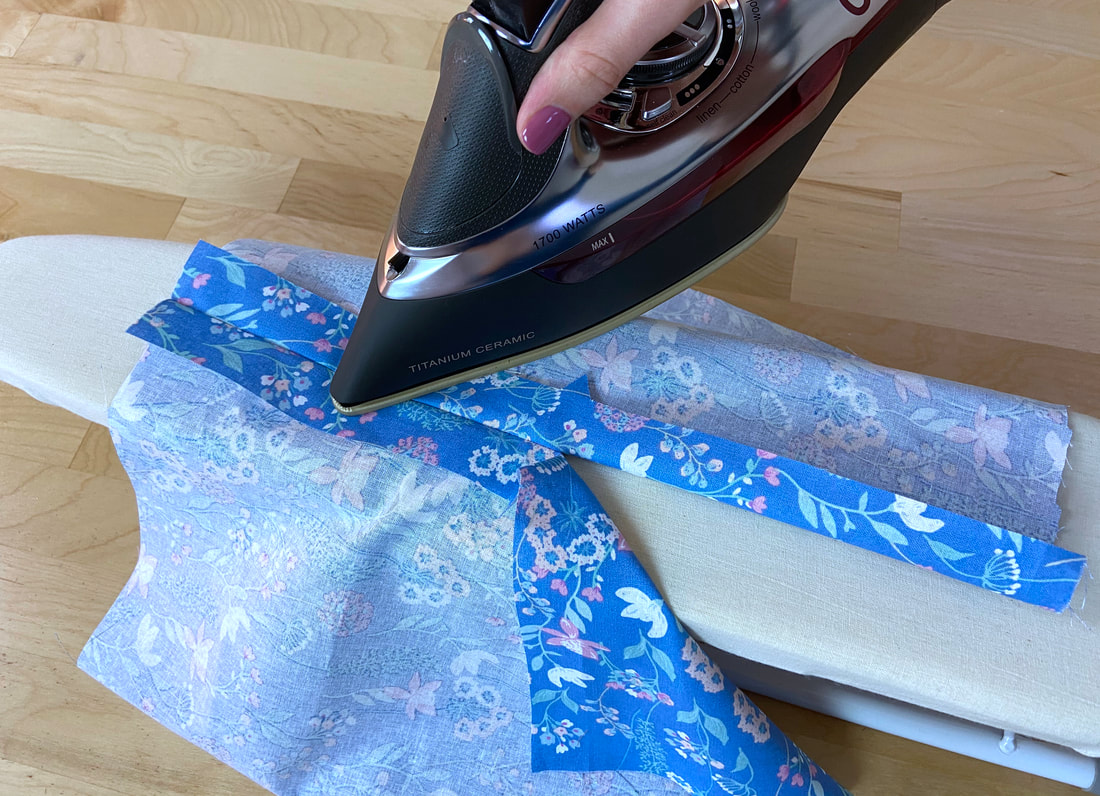
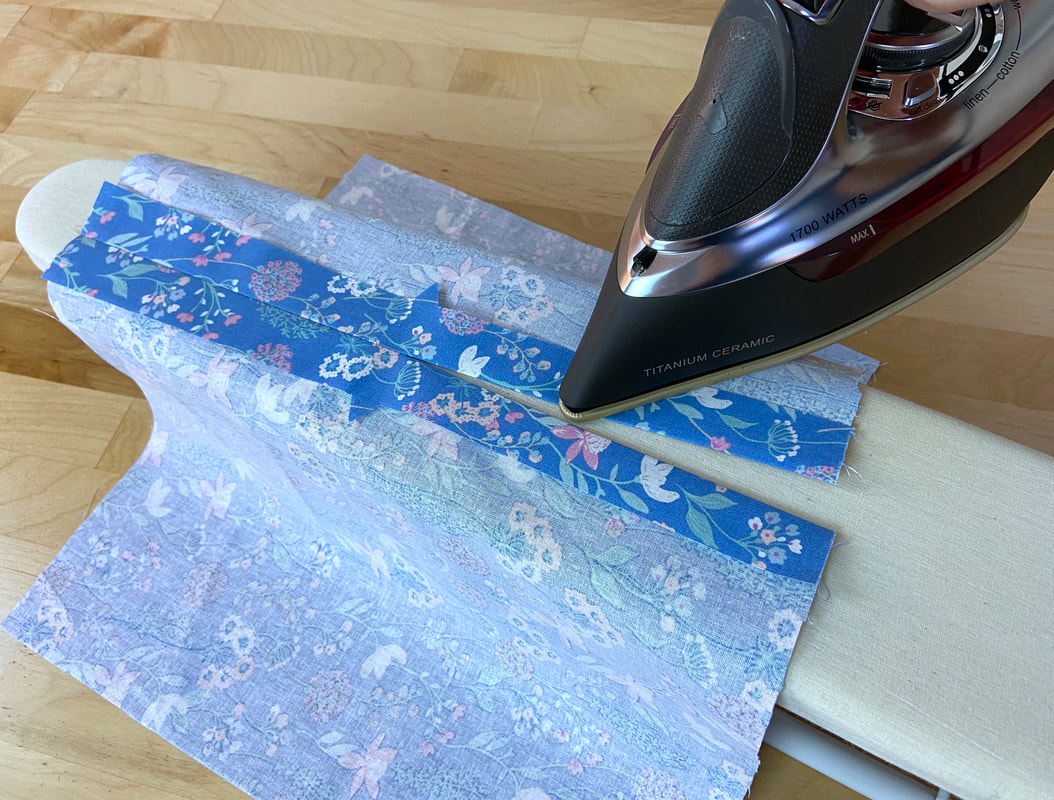
5. Next, fold the slit opening edges inwards at the same distance as the seam allowance (1” in this case). Each fold line should correspond to the seamline, becoming a smooth continuation of the closed seam at the top. Iron as you fold to crease the folded edges.
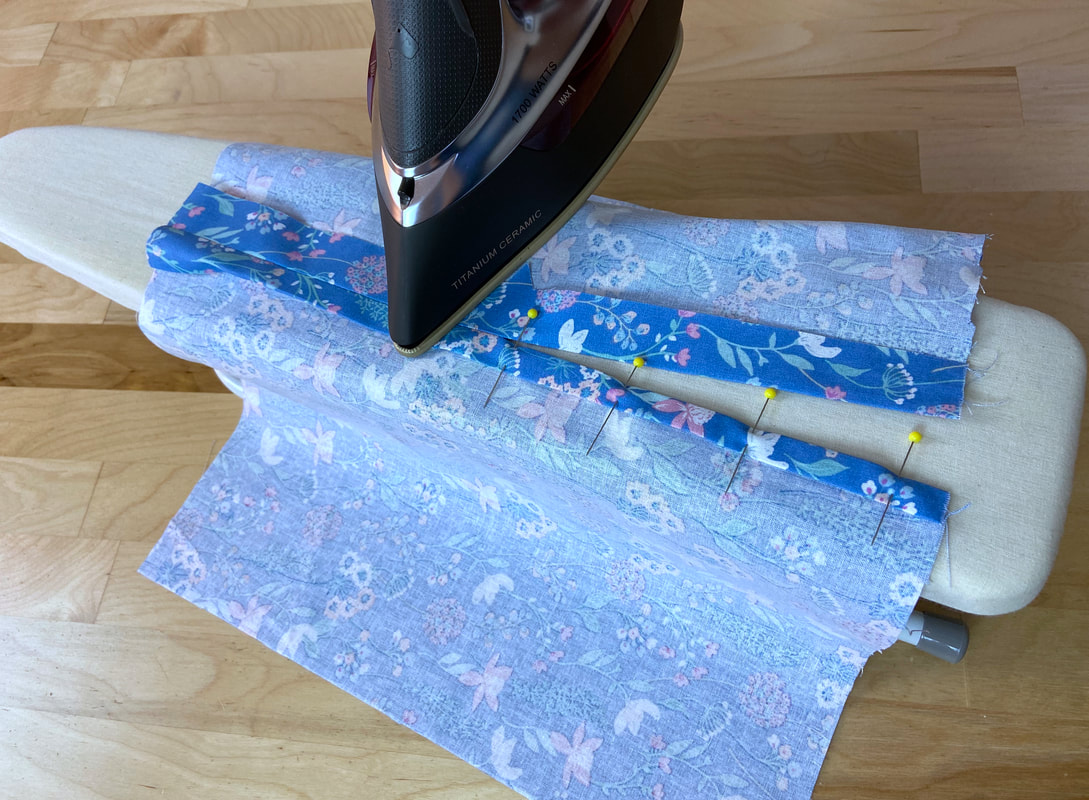
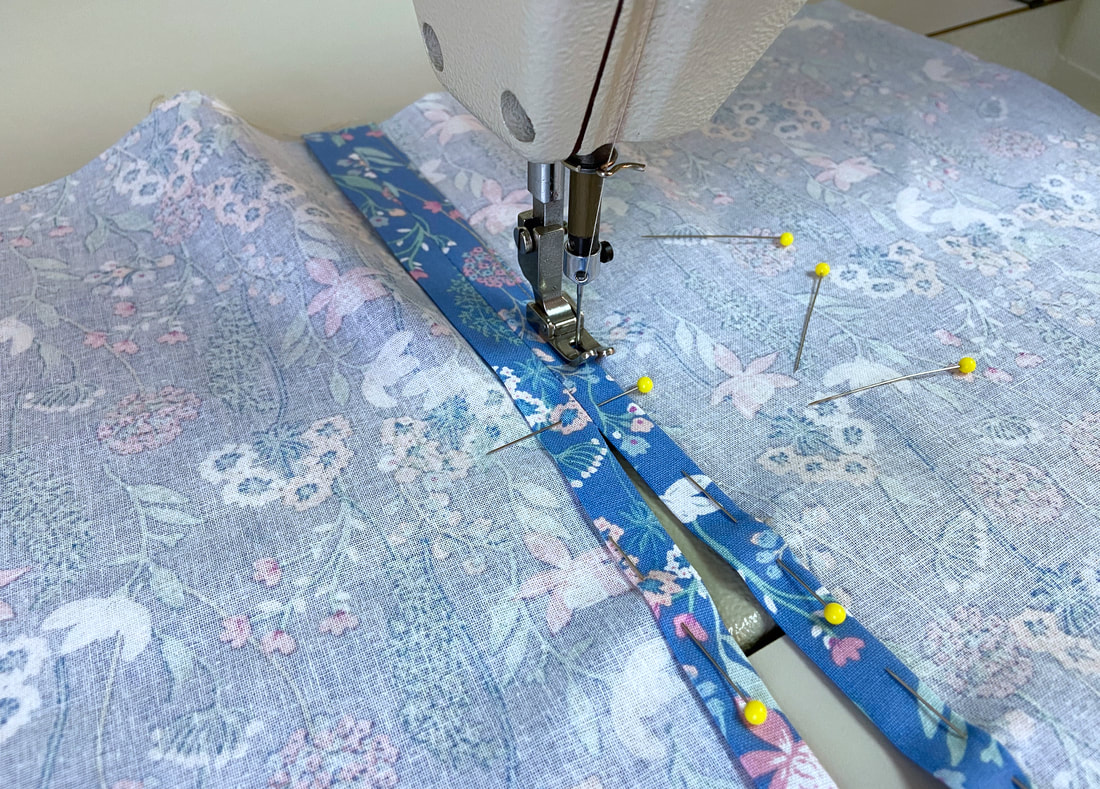
6. Next, fold each seam allowance raw edge inwards such that it is fully enclosed within this second fold. Underneath the folds, the raw edges will meet back at the seamline. Iron the folds, and insert a few pins perpendicularly as you iron to secure.
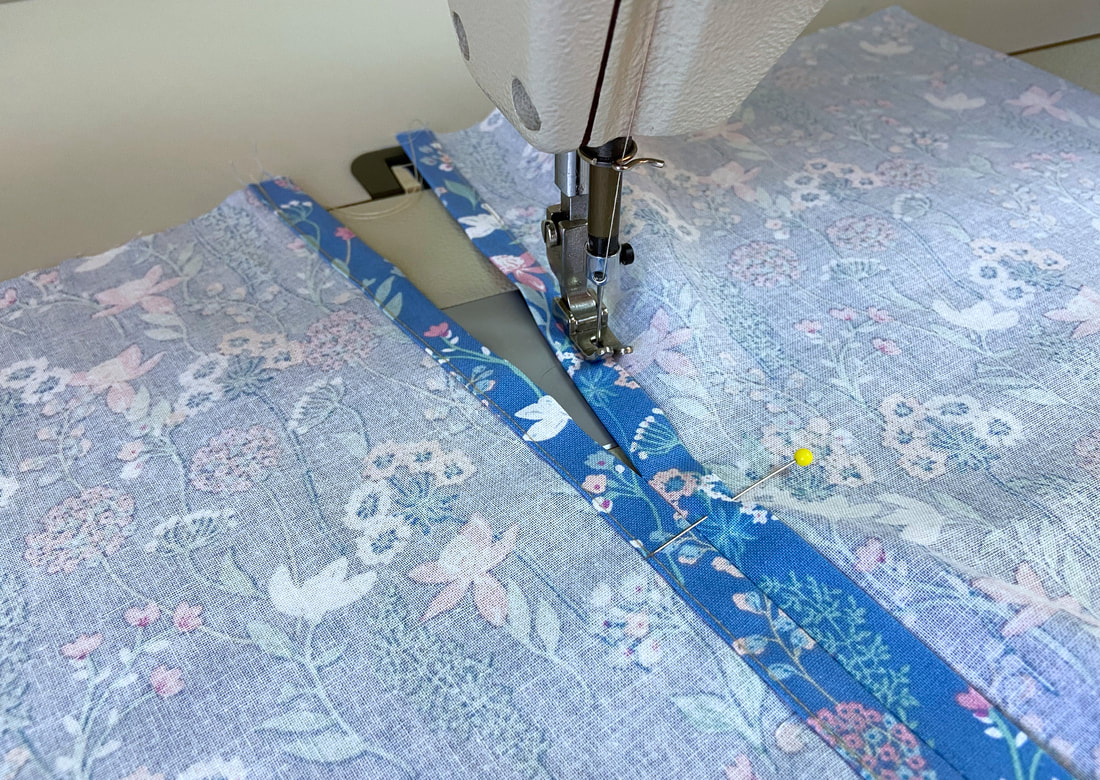
7. With the slit application's wrong side up, stitch next to the inner seam allowance fold line, catching the garment layer underneath. Stitch from the top of the closed seam all the way to the bottom of the slit opening.
8. Repeat stitching on the other side, this time, starting at the bottom of the slit and ending at the top of the closed seam.
The idea is to always stitch from the wrong side of the seam so that you can follow the seam allowance folded edge as a guide. This simple technique will help you apply an even topstitch on both sides of the closed seam, smoothly extending into each slit opening edge at the bottom.
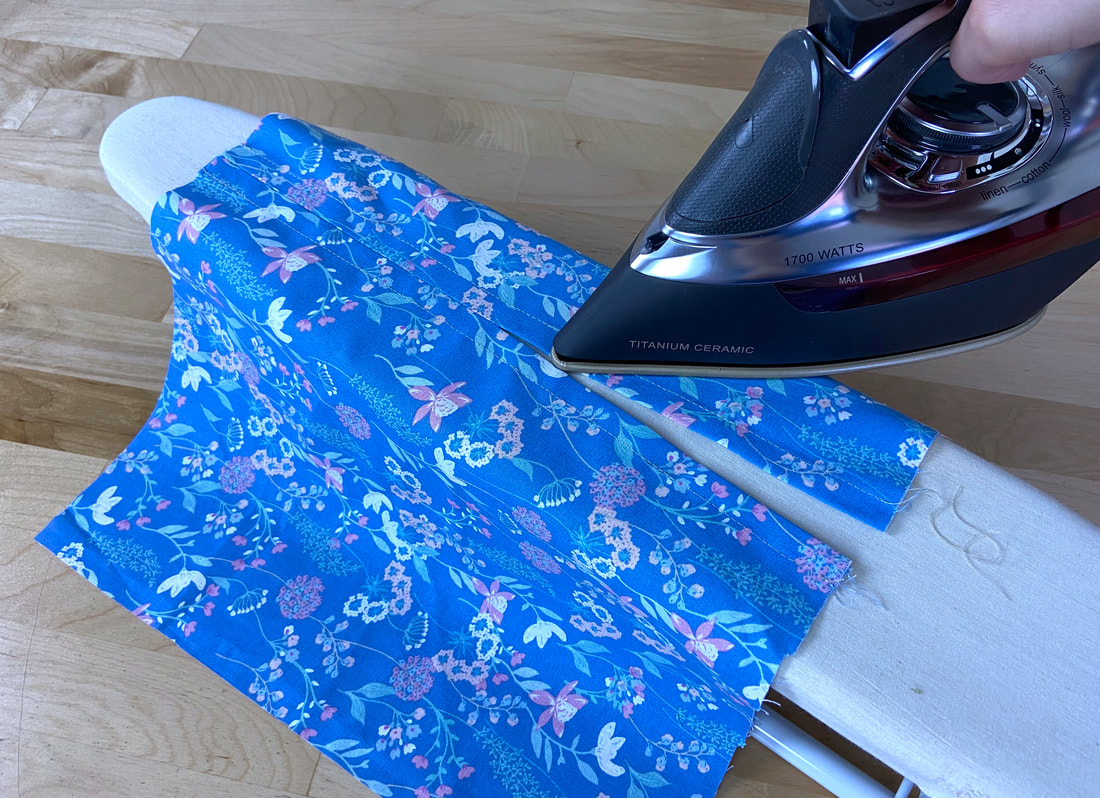
9. As a last step, iron the slit application for a smooth, flat finish. Don’t forget to use a protective cloth if working with a heat sensitive fabric.

