
In the sewing process, armholes are treated very similar to neckline edges. A garment’s armhole, also known as the armscye, is a circular edge that extends from the tip of the shoulder to the underarm. This edge can serve as a seam for connecting a sleeve to a garment or be finished into a sleeveless style.
With a sleeveless garment, the edge of the armhole is always completed after the garment’s shoulder and underarm (side) seams have been fully stitched and finished.
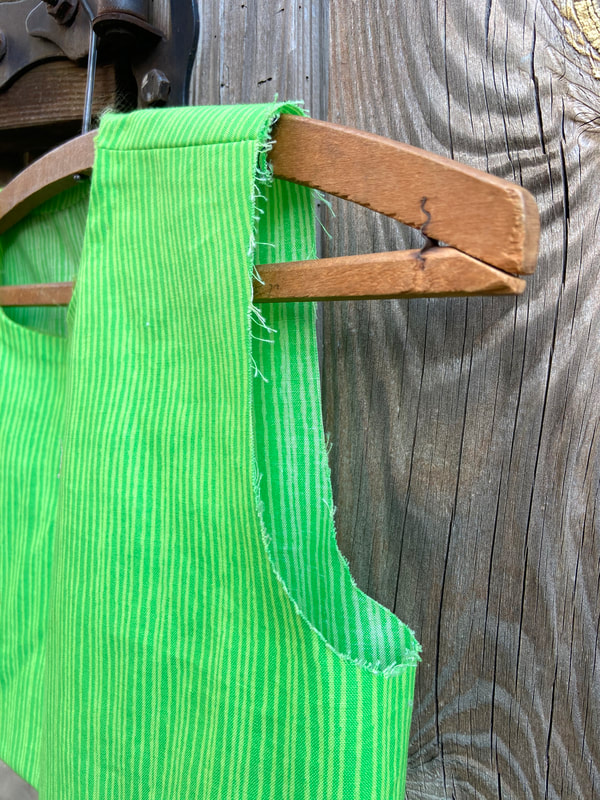
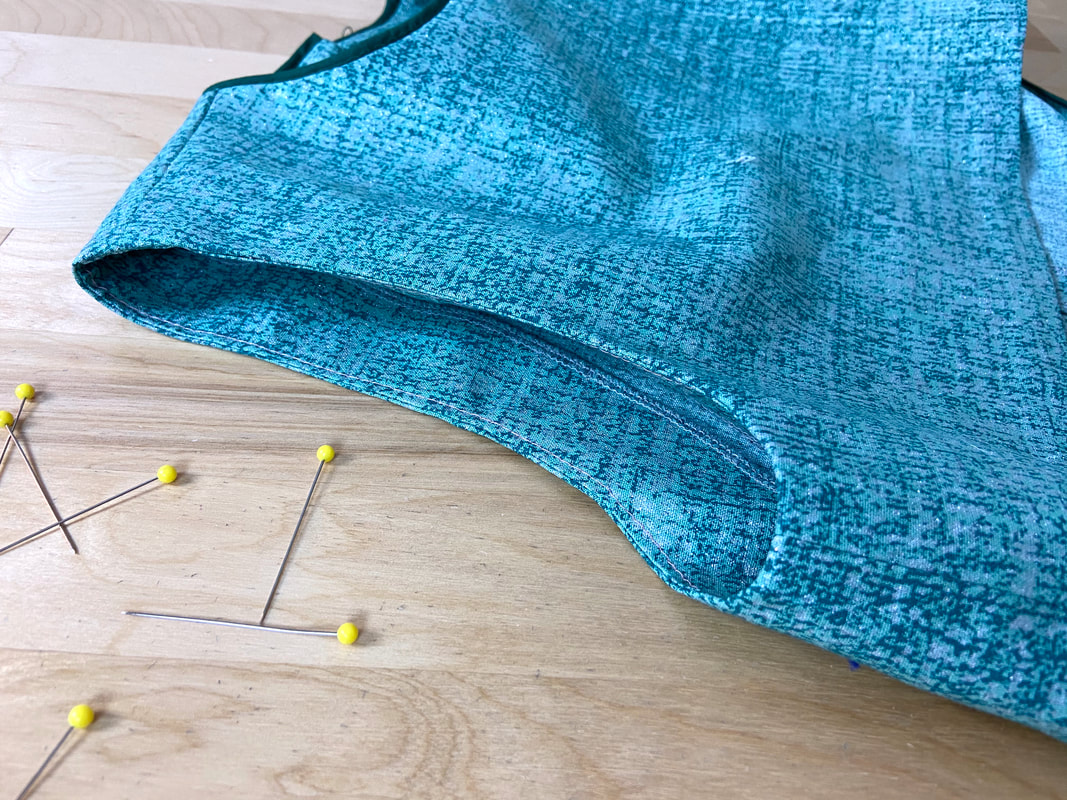
These two seams create an enclosed oval edge that can often pose a bit of a challenge to finish, especially at the underarm where the curve becomes more abrupt. Therefore, the technique used to finish a sleeveless edge should always be compatible with curved edges.
|
The completed armhole should lay smooth and flat throughout.
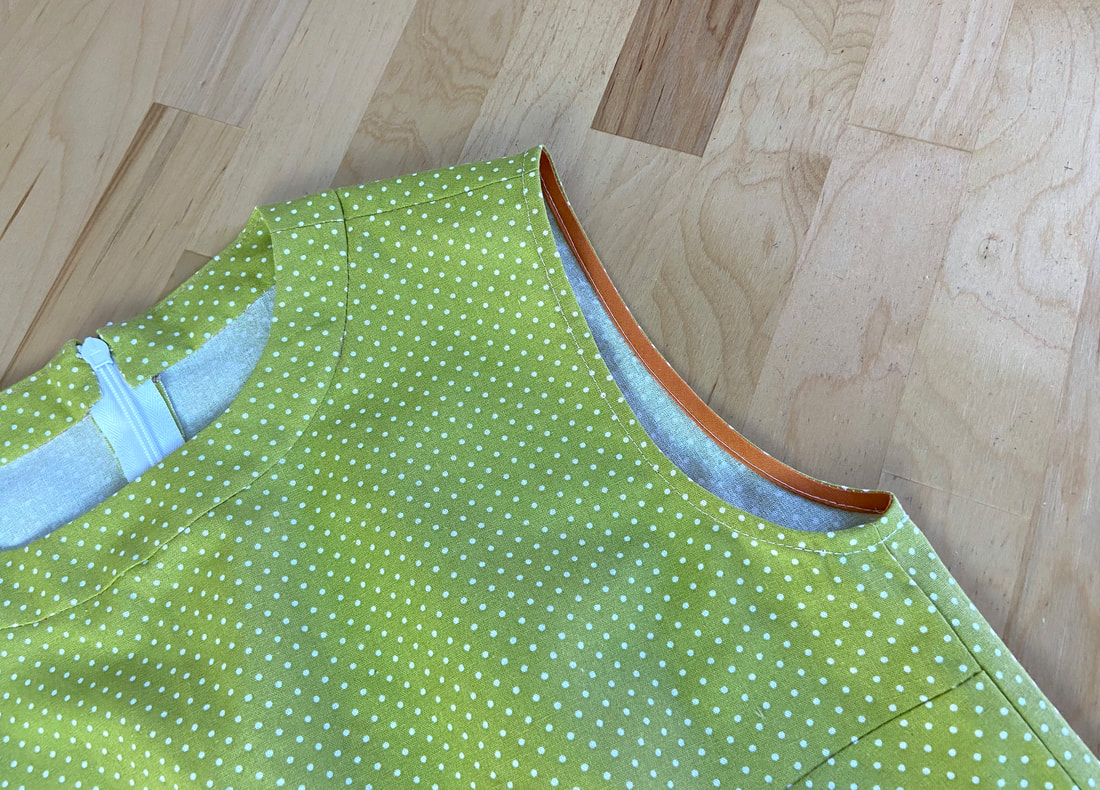
Understanding An Armhole Edge's Structure And Components
In a basic garment, the armscye has two crossing seams.
|
The shoulder seam intersects the top of the armhole horizontally.
|
At the bottom, the garment side seam crosses vertically into the underarm.
These two seams separate the front garment portion from the back, providing a crucial sewing mark for matching armhole facings, sleeves, and lining.
|
The classic shape of the armhole is an oval with the curved-most part located at the underarm.
Some designs feature an extended shoulder seam that forms more of a dropped shoulder look. This style has the look of a cap sleeve and sometimes, requires a different finishing technique than a conventional armhole edge. In this case, pay close attention to your sewing instructions if you have them.
Other armhole shapes have both the underarm and shoulder seams extended out into a kimono sleeve style. This provides the look of a short sleeve even though no separate sleeve is set into the armhole edge. As is true for the dropped shoulder style described above, the edge is often finished completely different than that of a standard armhole.
In this case, the edges are straighter and often finished similar to the bottom edge of a sleeve. For example, a double-folded and topstitched technique, which could not otherwise be used on a conventional armhole edge, can be used in this instance if the extended bottom edge is straight enough to withstand it.
Dressmaking Techniques For Finishing Armhole Edges
Let’s go back to a regular armhole edge for a second- How do you decide what finish to apply? More to the point, what kind of armhole finishing techniques are there?
As is true with sewing any garment, fabric thickness, weight and fraying capabilities are always taken into consideration. But here’s a secret: The easiest way to determine the appropriate armhole finish is to look at the existing neck finish. A well-balanced garment will always have the same application on its armhole edges as it does along the neckline.
|
For instance, a neckline that is finished with a facing would not have a topstitched bound finish along its sleeveless edges. Vice versa, if the finished neckline edge is topstitched, both armhole edges should feature the same kind of topstitched finish. This will provide a balanced design both visually and functionally.
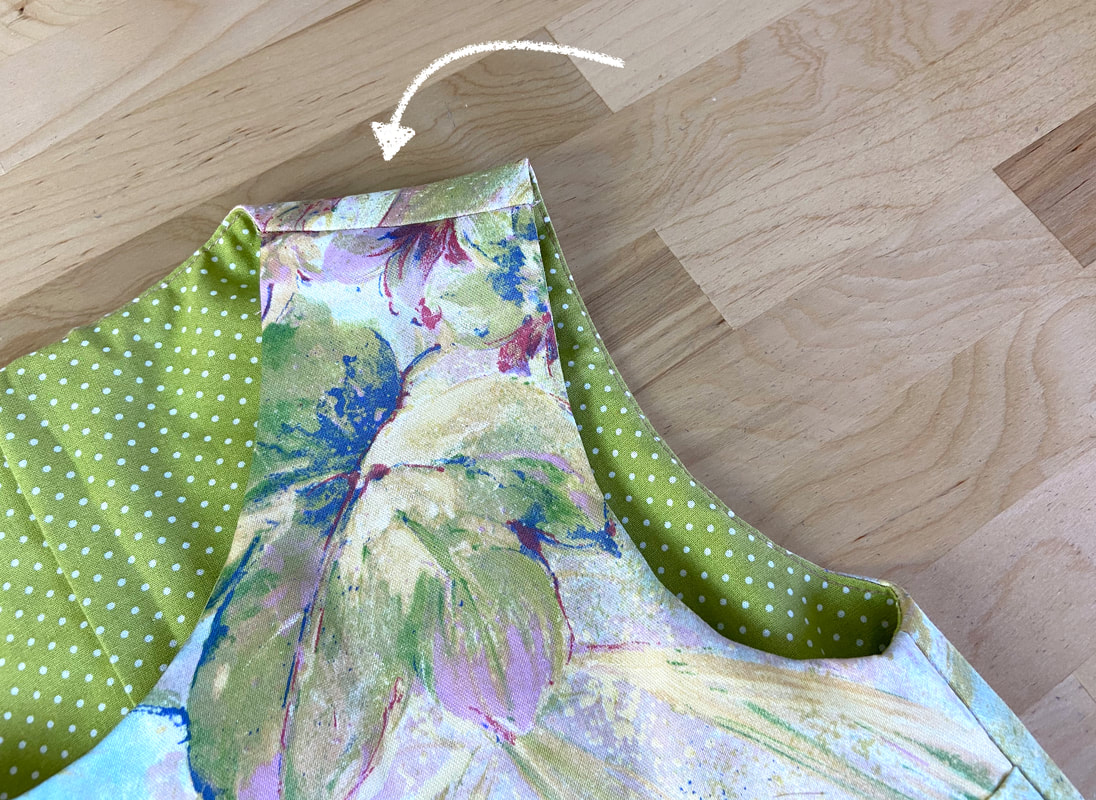
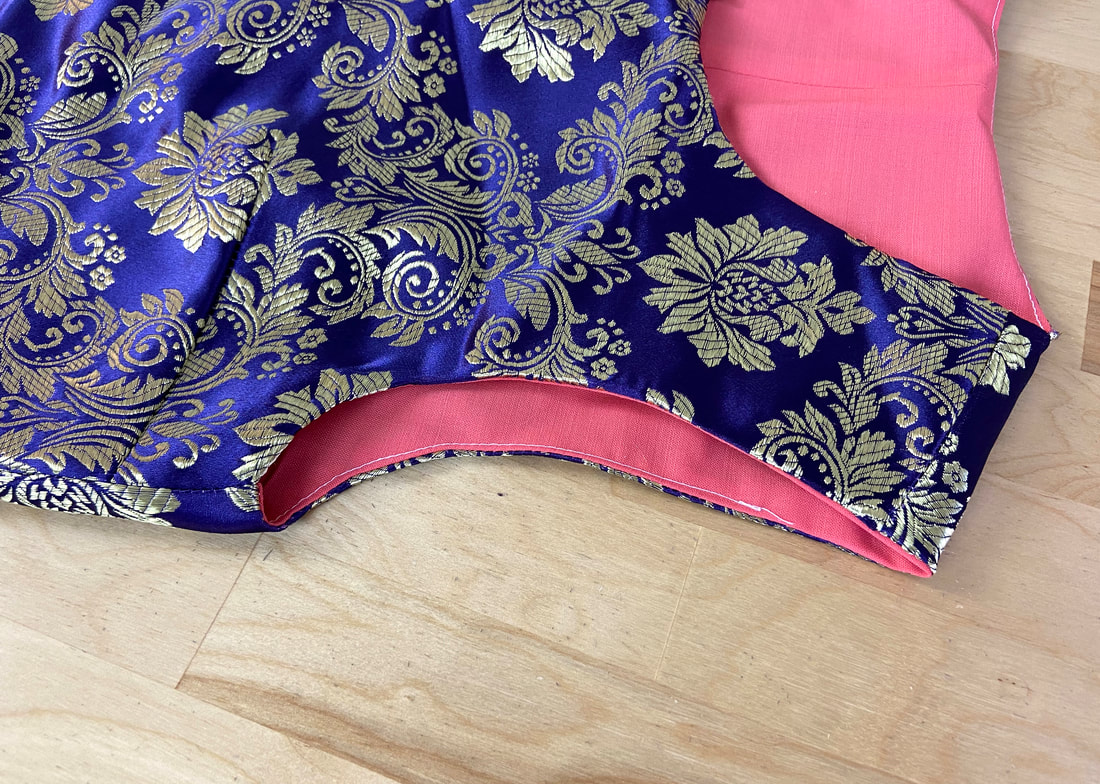
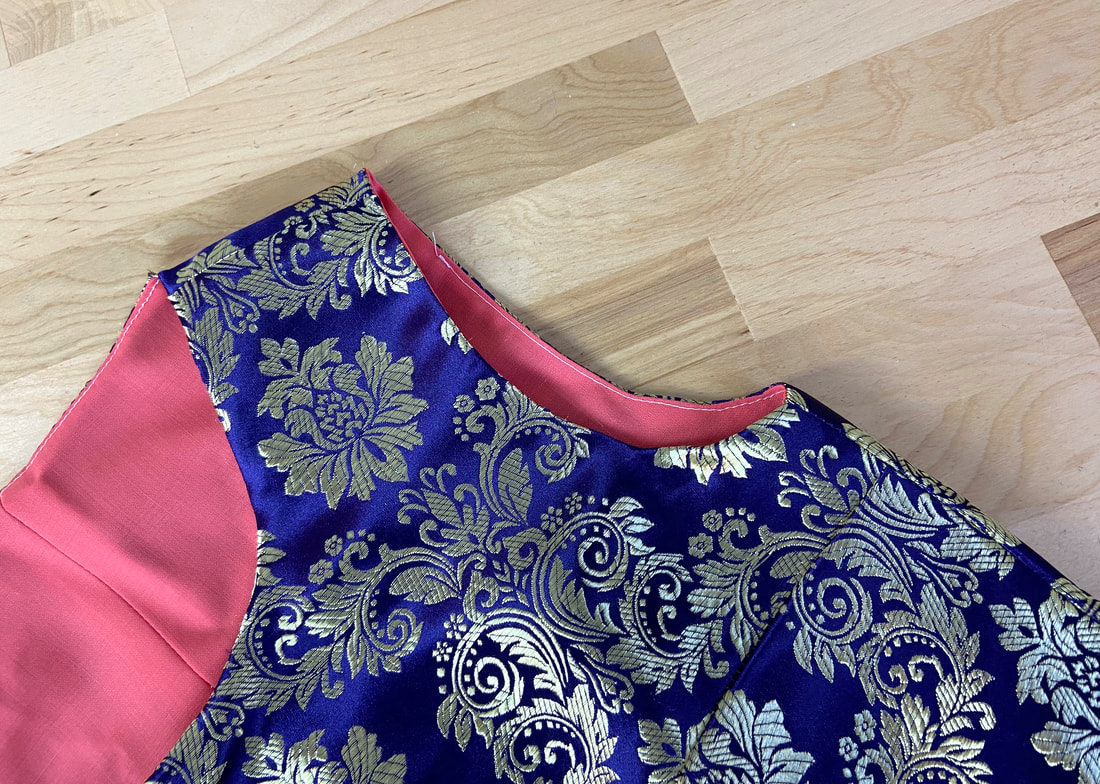
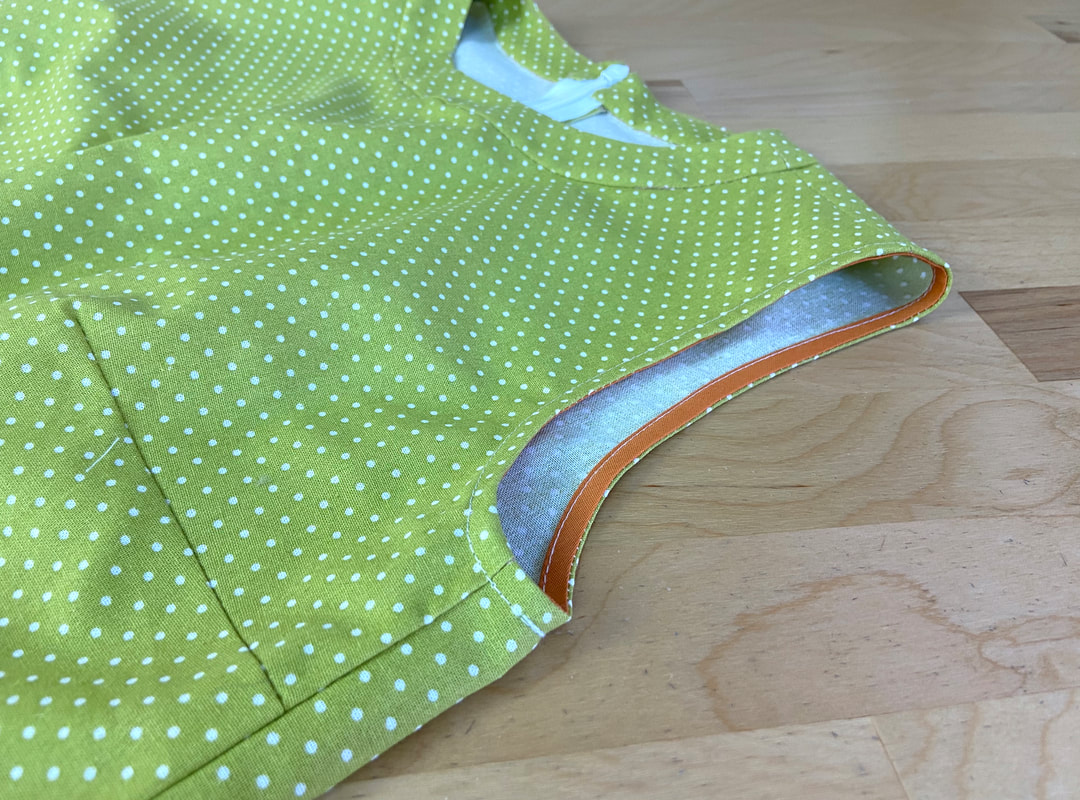
The two most common techniques used for finishing armhole edges are shaped facings and binding.
|
Facings provide a dressier, more tailored finish. They work well with medium-to-heavy fabrics and garments that have more structure. Applying an armhole facing is perhaps one of the best techniques to learn as a sewing beginner.
|
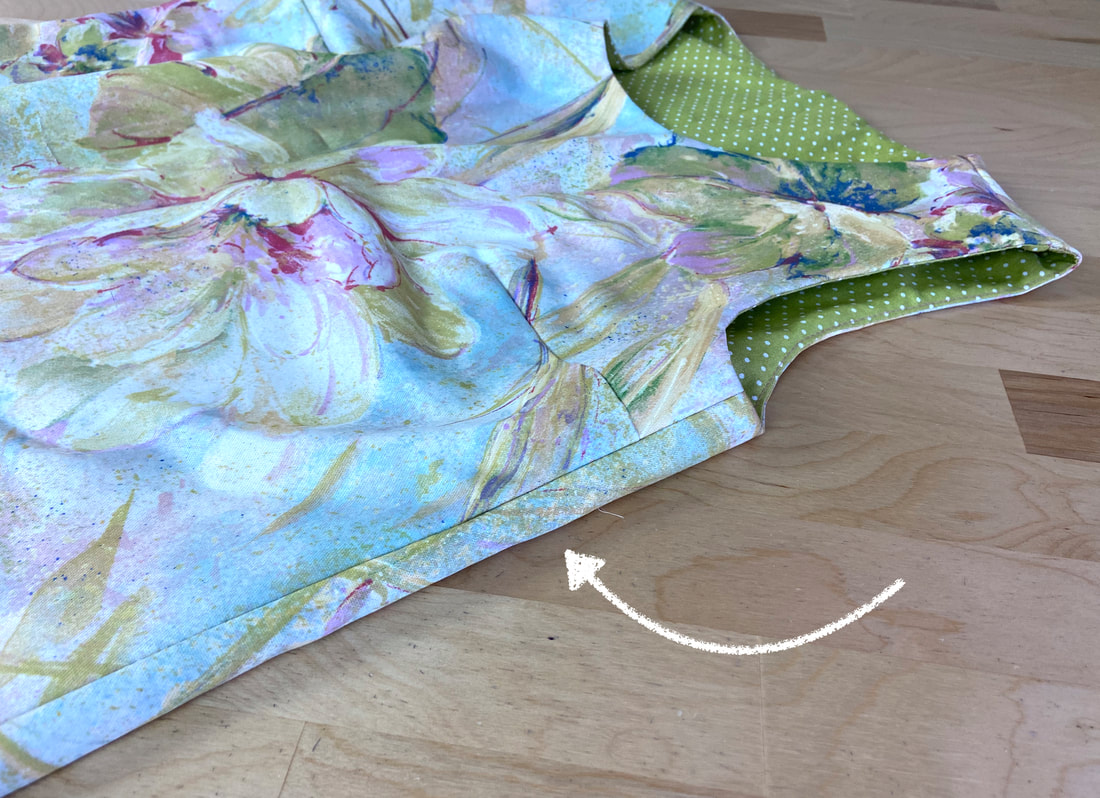
Binding on the other hand, can be both machine topstitched and hand stitched. It provides a fast, casual finish suitable for lightweight blouses and dresses. Binding is a great armhole finish for lightweight fabrics that have high-draping capabilities.
Aside from these two basic finishes, additional techniques like bias facing strips, banding, all-in-one facings, decorative trims, and lining can be used. Tutorials on all these techniques are included at the bottom of this page.
To recap, here are some basic concepts to adhere to when finishing sleeveless edges:
- For a well-balanced garment, the finish applied at the armholes should match that of the neckline.
- Armhole edges are finished after the shoulder and side seams have been fully sewn, finished and ironed.
- If you are a sewing beginner, use hand basting instead of pins to keep armhole edges together in the machine stitching and finishing process. While the top shoulder area is only slightly curved, the underarm edge is a narrowly abrupt curve and more difficult to manage in the stitching process. Hand basting will provide stability and prevent the fabric layers from shifting.
- Consider both the fabric and shape of the entire armhole edge when deciding on the appropriate finish.
- Depending on which finishing technique is used, you may need to trim and notch the seam allowance at the underarm curve so that the finished armhole lays flat. This is usually the case with most facing and lining techniques.
Sleeveless Finishes: Tutorials

|
All content, including images and text, may not be copied, replicated, or redistributed without express written permission. This website is regularly screened and monitored for content protection.
|
