|
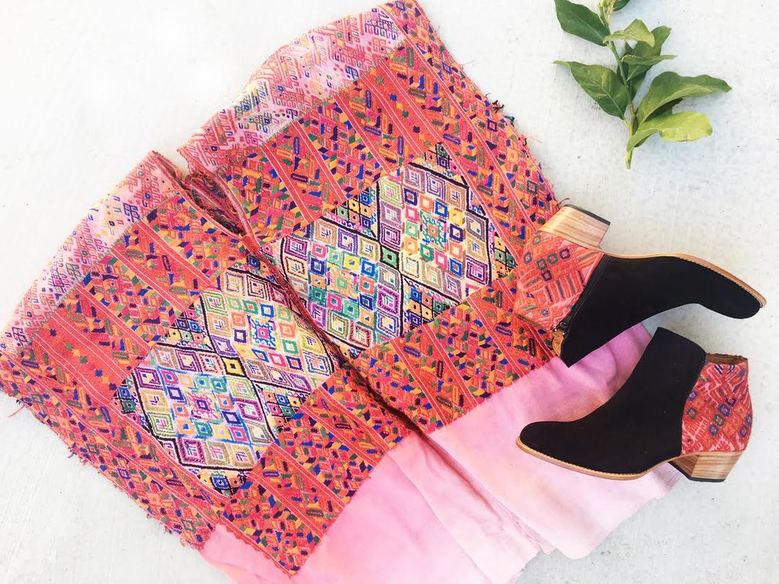
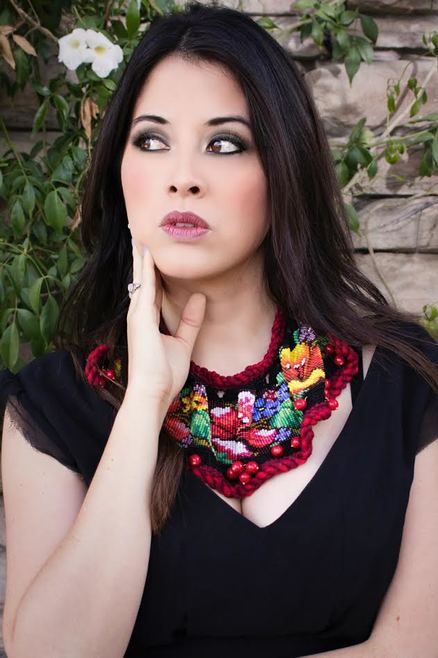
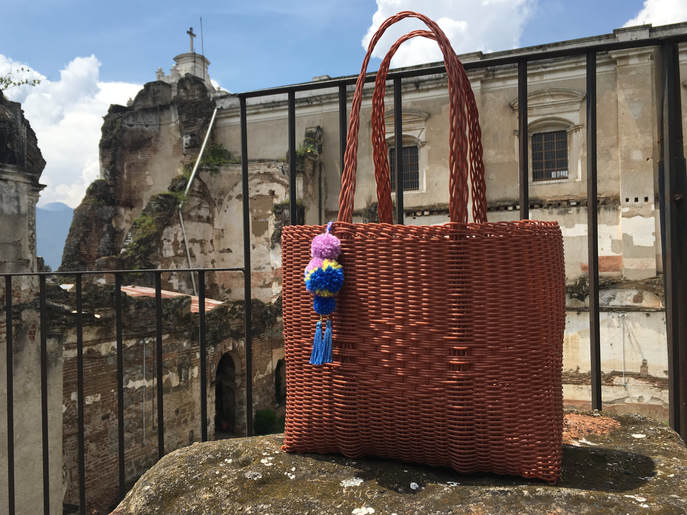
There is nothing more inspiring than a brand with a purpose. Madre Luna is an accessories brand with a special message that goes beyond the bottom line. Started by Alda Esco in 2017, it brings to market high quality, hand crafted products with a socially conscious purpose. Photo courtesy of Madre Luna The inspiration comes from generations of textile hand weaving in the highlands of Guatemala. It captures traditional Mayan techniques that are still used today in this rare and precious corner of the world. Alda's aim is to empower these communities and keep this craft alive by incorporating it into her unique designs. The end result? A breathtaking juxtaposition of color and texture all captured by a clean, wearable and somewhat modern silhouette. Alda Esco of Madre Luna. Photo courtesy of Alessandri Photography Madre Luna is a little gem in the middle of a crazy, mass produced fashion industry. Every fabric and labor process that goes into each shoe and bag design is carefully sourced and crafted to maintain the work of local carftsmen in Guatemala intact. As the industry becomes more driven by fast fashion with extremely fast turn-around times for design and production, coming across a brand that is conscious and rich in purpose and tradition is truly a breath of fresh air. In the interview to follow, Alda Esco of Madre Luna gives us a glimpse of what it is like to take her beautiful, conscious designs from conceptualization to production, and the process behind keeping her handcrafted brand alive and flourishing in the fast-paced world of fashion. Photo courtesy of Madre Luna Designing and producing shoes and accessories is perhaps a dream for those that love fashion. When did you become interested in accessory design and what inspired you to pursue this path? I became interested in design in childhood. I took an early interest in art and design while studying Fine Arts at California Polytechnic Universtiy. With an interest in designing and going back to my roots, I decided to create my own fashion brand of boots and accessories with an approach to a human-centered design practice that places emphasis on sustainable design. What inspired me to pursue this path was the opportunity to create an impact on social responsibility in Guatemala.
0 Comments
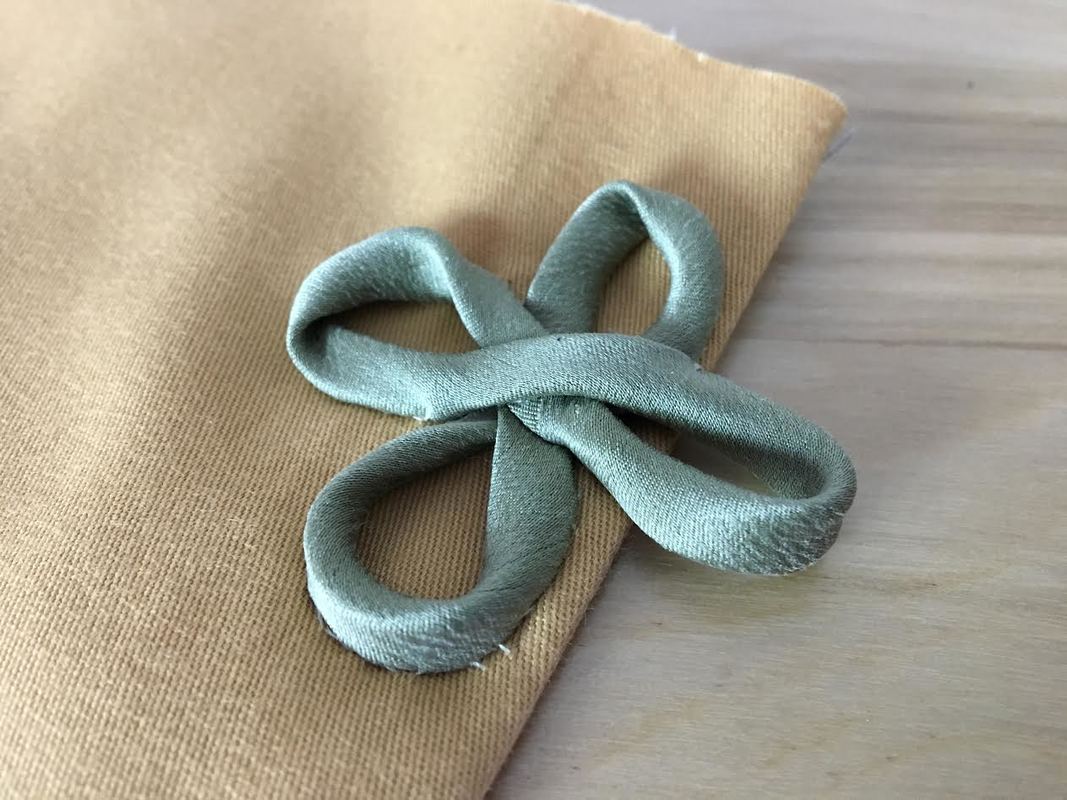
Frog closures (or fasteners) are rich in history dating back to traditional Chinese apparel. They were later adopted by 17th-19th century military wear. Traditionally, frogs are used in pairs, with one piece serving as the button loop on one edge of the garment opening and the other identical piece, as a decorative accent underneath the button on the opposite opening edge. When the garment is closed, the frogs meet to create beautiful braided design. Frog closures can be constructed from a variety of different materials including cording or custom-made fabric tubing. Historically, European military uniforms used rich frog fasteners that were sometimes made of gold and other high grade materials. Although they are of a functional nature, it was (and still is) very common to use frog closures for decorative purposes only. When used for ornamental purposes, there is usually another functional closure underneath the frog brading- These closures hidden underneath can either be snaps, buttons, hoop and loop tape, etc. Historically, frogs were sometimes used excessively on a garment having a strictly ornamental purpose. Later in the 19th century, frog-style closures were adopted by mailman and telegraph-worker uniforms. Needless to say, frog fasteners are a classic. They are rich in culture and tradition and still used today in outerwear and oriental-inspired clothing. Speaking of today, you have certainly come across this uniquely classic closure on coats, jackets and cardigans. Now that you know a bit about its rich history, did you know that you can make a frog closure at home? While individual frog fasteners are not difficult to find in stores, having control over size and fabric is a great advantage in garment construction. Making frog closures by hand is actually quite a common practice for dressmakers, especially traditional ones. Why? Because the fabric used for the garment can also be used to construct the frog, thus allowing for a well-matched, professional finish. While it might sounds a bit difficult (right?), making a frog closure by hand is actual fairly simple, and seriously fun. To make a frog that matches the garment you are sewing, it is a good idea that you learn how to make the fabric tubing by hand. The frog design process entails that you use a paper diagram during construction. As you'll see below, this diagram will maintain the even nature of each frog loop, and serve as a guide for the size, shaping and eventually sewing the frog closure properly. Keep reading for a step-by-step guide on how to design and make your own frog closure below! Don't let the initial process intimidate you- This is where you can really get your creative juices flowing since it is you that gets to decide on the frog closure's color, size and even braid shape! As mentioned above, making your own frog fastener is not difficult to do but keep in mind that it does require some hand stitching. If you are a sewing beginner, start with a larger size frog as it will be much easier to handle and sew in the process. How To Design And Make a Frog Loop Closure (Fastener) By Hand Before getting started, check out our tutorial on how to make button loop tubing by hand. This fabric tubing is commonly used in the construction of homemade frog fasteners.
They say a picture is worth a thousand words. Capturing a single moment in time, no matter how simple, how unimportant it may seem, can reveal something truly meaningful if you care to take a closer look. Photography doesn't just introduce us to a physical object visually, it is also designed to awaken feelings and sentiments we often cannot control. It is this core concept of photography as an art form that is prevalent in Connie Jang's work- a NYC based photographer with a style so individually unique, it stands apart in its juxtaposition of clean lines and emotional complexity. Photographer Connie Jang. Photo by Charles Caesar Connie Jang's work depicts the essence of the moment. Her work opens our eyes to things that are so obviously in front of us, we actually fail to see them. In the spontaneity of her work, the mystery of the everyday is intriguing and positively overwhelming. Some of her images feature clean lines that are strong and bold in their simplicity. Others, like her breathtaking portraiture, fill the viewer with captivating emotion unwillingly inspiring him or her to create a unique story behind each image. Photography that provokes us to think and relate back to our most internal feelings and emotions, whether they are positive or negative in nature, is the true essence of the word "art". As you'll see in the examples of her work below, she loves to play with shadows and natural window lighting. As briefly mentioned above, her portraits are captivating, to say the least. She graduated from Parsons New School For Design with a bachelor's degree in photography, and is now working as a freelance photographer in NYC. Perhaps what is most inspiring about Connie Jang as an artist is that she never stops experimenting. Creating work for just about all branches of photography, from fashion to food photography to retouching work, it is this multi-faceted nature that allows her to build depth in her work, regardless of the field she photographs in. Most of Doina Alexei editorials and studio shoots over the years have been photographed by Connie Jang. In the interview to follow, she opens up a bit more about her artistic process and what inspires her most. Behind the scenes, behind each image, you'll find a person that is a genuine representation of her work- every image capturing a moment of her life or a thought pattern in time. Absorb every image below and allow your mind to wander a little... Photo courtesy of Connie Jang What provides the greatest inspiration in your work? The beauty and simplicity in the everyday motivates my work. I enjoy using photography as a way to answer questions that words may not otherwise fully express. Photo courtesy of Connie Jang What are the greatest challenges for a freelance photographer working in NYC? New York is very competitive and there is an overwhelming amount of talented photographers that are also working as hard as you are. It can be a letdown when other photographers are on the rise, but you always have to remind yourself that we are all going at different paces. "I enjoy using photography as a way to answer questions that words may not otherwise fully express." Photo courtesy of Connie Jang Is there a place, in NYC or any other corner of the world, that provides a great point of inspiration in your work? Maybe a place you like to visit that allows you to focus completely on your work and recharges you artistically?
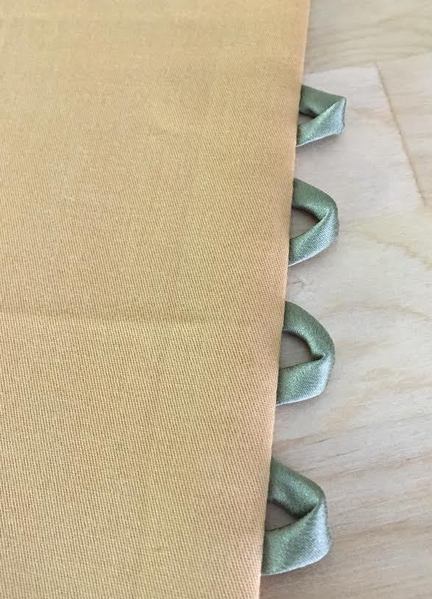
Traditional buttonholes cannot always be added to garments. In the case of very delicate fabrics like lace, beaded/sequenced and some silk weaves, using conventional button holes can irreversibly damage the fabric. These fabrics, especially when used for evening and bridal wear require the least amount of handling in the sewing process. Applying a conventional buttonhole using a home sewing machine (or any tailoring button hole for that matter), requires that the fabric be turned in various directions under the presser foot often resulting in stretching and damaging the fabric in the process. In addition, not all home sewing machines feature a buttonhole setting. As a sewing beginner you might have a very basic sewing machine in which case, it may be easier and more convenient to use button loops instead of buttonholes. Although regular buttonholes can actually be sewn by hand using a whipstitch, this is often time consuming to do requiring some practice in order to achieve the correct application. The fix? Button loops might be the best alternative. Button loop applications do not require any work on the surface of the fabric.They are also not very difficult to sew by hand. Although button loops work well with any style button, the best result is achieved when used in combination with ball-style buttons. These style buttons are easier to insert and attach to the loop in a sturdier fashion. Individual button loops are sometimes pre-made and available for purchase at craft/fabric stores or you can make your own to match the fabric of the garment. This process entails that you sew very thin tubing which you can then cut and fold to create the loops. Keep in mind that almost all button loops are sewn to the edge of a garment, most commonly along center front or center back. In most cases, the edges should be aligned and not overlap- keep that in mind as you make appropriate changes to your pattern pieces. To secure the loop and enclose its raw edges, a facing or band is usually used along the garment's edge. We'll illustrate this important concept in the steps to follow. Always test the button loop on scrap fabric to make sure it works with the style and size of button before the final application on the garment. The button should be easily inserted through the loop but also fit snugly in order to keep the edges efficiently and durably closed during wear. How To Make Button Loop Tubing By Hand The benefit of making button loop tubing by hand is that you get to choose the fabric allowing you match it perfectly to the garment being sewn. While you can certainly use store-bought tubing or other suitable cording for button loop construction, making button loop tubing at home is a good skill to develop if you plan to use button loop closures more often. The good new is, it is actually quite simple! Here's how:
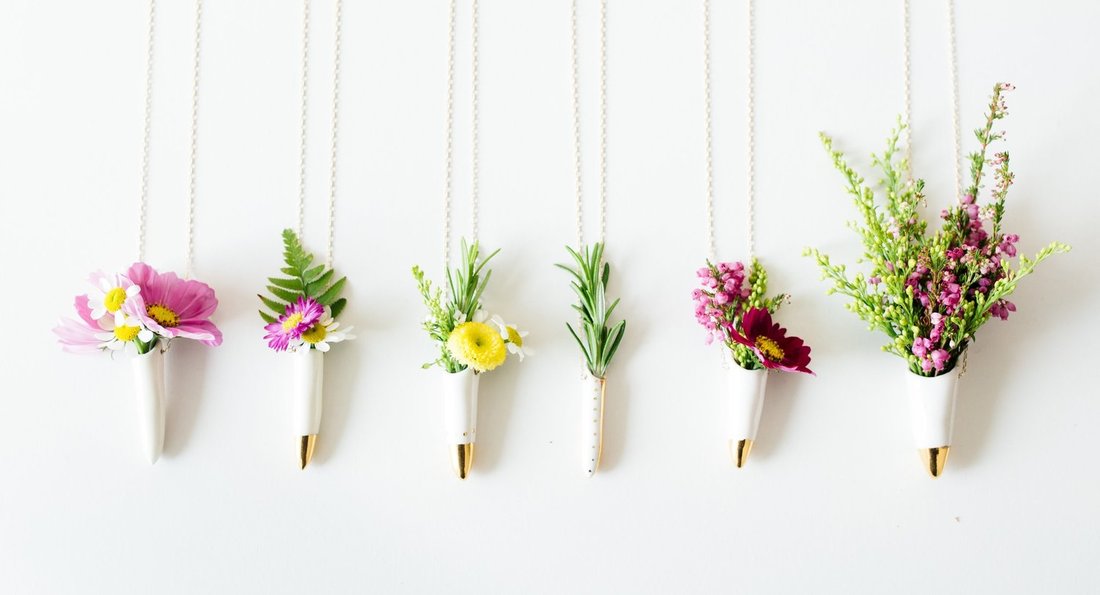
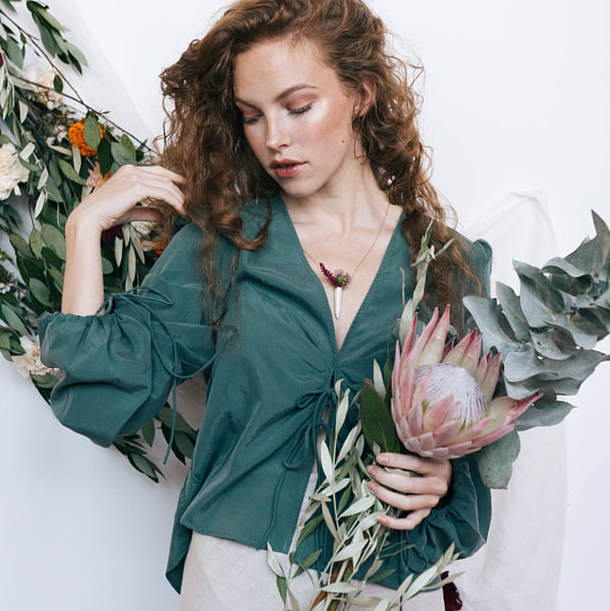
Whether we are consciously aware of it or not, we are all deeply connected to nature. In a world where technology has taken over just about every industry, discovering a brand that goes back to basics in the most thoughtful, user-sensitive way can be a gold mine. Incorporating a slice of nature into wearable items that you can take with you wherever you go in whatever assortment you desire is a concept that seems almost far-fetched, right? Not for Petal and Clay, a brand that has come up with a solution to bring you closer to the beauty of nature regardless of your location. Rose Otter of Petal and Clay. Photo courtesy of Myray Creative Nobody captures the vibrancy and essence of nature more efficiently than Petal and Clay, a jewelry brand that is sensitive to what earth and mother nature has to offer. Feminine with an outburst of color combinations, their beautiful necklaces allow you to take a piece of nature with you wherever you go. It is a concept born at the hands of Rose Otter, whose deep connection to nature, and especially flowers, originates from her childhood in southern Oregon where she played in its rich flower fields as a child. Petal and Clay is a user-conscious brand allowing you a canvas to mix and match assortments of flowers, leafs or fresh springs in a necklace style featuring delicate, handmade clay vases. Photo courtesy of Candace Molatore For those that are caught in the bustle and hustle of the big city, a little reminder of the beauty of live flowers you can actually wear and hold near to you at all times can certainly make the day a little better. The beautiful work you'll see below captures a dreamy, romantic quality that is bold yet feminine in a clean, pastel sort-of-way. Rose Otter, the brand's creative director, tells us a little bit more about her unique concept and the carefully crafted process that goes into building every piece from design to production. How was the name “petal and clay” born and what is its significance? I had been playing around with different names for a while but I didn’t have one that I loved. I spent a weekend with my childhood friend and she actually came up with it! We knew right away that it was perfect. It felt even more special that she came up with the name because her and I grew up playing in flower-filled meadows together. Photo courtesy of Myray Creative There is a special connection to flowers in your work. Can you talk a bit about where this passion for nature, and especially flowers, originates? What connects/attracts you to them?
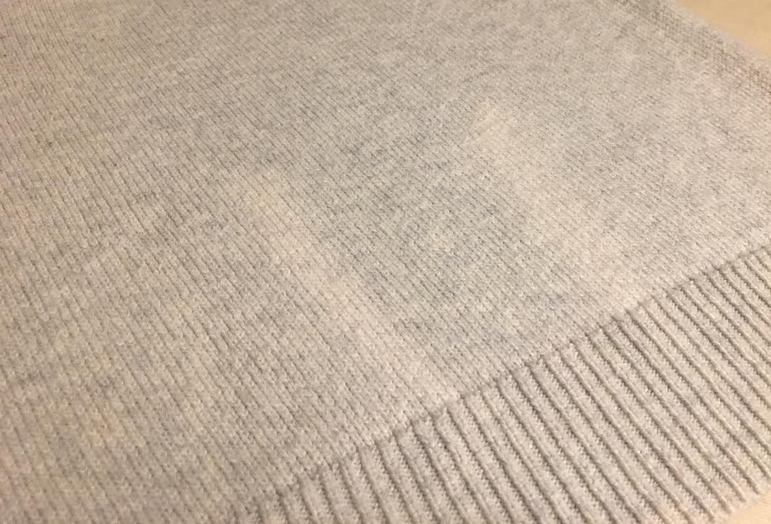
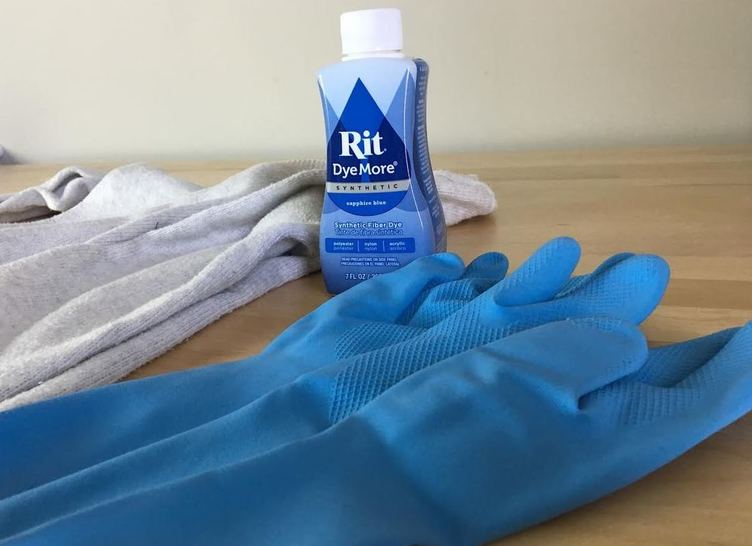
Have you ever tried to remove a tough stain with bleach and in return, you end up removing a layer of dye from the fabric's surface? We've all been there... The reality is, there's really no way to actually remove bleach stains. Once the damage is done, you can either turn the damaged clothing item into strictly-for-inside-the-house wear or toss it in the trash all together. Removing damage caused by bleach is impossible because a bleach stain is in itself a form of permanent removal and discoloration of fabric dye. While bleach works wonders as a stain removal technique on white items that are not visually affected by brightening agents, using it even on slightly off-white clothing can visibly stain it permanently. If you've ever been the culprit of accidentally ruining your favorite clothing items with bleach, you are not alone. There is however, a way you can undo the damage. The solution? Dyeing the entire garment a different color. If you follow the dyeing directions accordingly, it is actually quite simple (and fun!) to do. The item in question will of course, never look the same again but you might actually like the new result even better! Plus, it can be quite rewarding to know that you can fix something that is often deemed unfix-able. Do we even have to mention that you get to play fashion designer for a day an decide what color the new clothing item should be? Getting to make that executive decision can feel like quite an accomplishment in itself. The process of dyeing fabric varies and depends mostly on the type of fiber the clothing item consists of. Generally, natural fibers are much easier to dye than synthetics due to their more absorbent, color retention properties. For that reason, fabrics like cotton, linen, silk and wool require a shorter dying time and simpler dying process. On the other hand, synthetic fibers like polyester and acrylic for example, require more concentrated specialty dyes and a more extensive dying time and/or process. It is very important that before you buy the fabric dye (which should be available at your local fabric or craft stores) you note the damaged garment's fabric. With this information in hand, choosing the correct fabric dye and achieving the best results in the dyeing process should be quite easy.
Always read the label before making the final purchase- It has valuable information such as fabric compatibility information and the step-by-step process associating with dyeing temperature and preparation. Keep in mind that when it comes to dyeing clothing, fabric content is one of the most important elements to consider- the quality of the final color will depend greatly on it even if all the proper steps are followed as noted on the label. |
The Blog:A journey into our design process, sewing tutorials, fashion tips, and all the inspiring people and things we love. Doina AlexeiDesigner by trade and dressmaker at heart. I spend most of my days obsessing over new fabrics and daydreaming new ideas. Sadie
Executive Assistant & Client Relations Manager Archives
November 2019
Categories
All
|
-
Sewing Tutorials
-
Basics
>
- Aligning Pattern Grainlines To Fabric
- Preparing Fabrics For Sewing
- Pinning Sewing Patterns To Fabric
- Placing Sewing Patterns On Fabric For Cutting
- Rotary Cutters or Fabric Scissors?
- Cutting The Sewing Patterns
- What Are Notches And How To Use Them In The Sewing Process
- Transferring Notches From Pattern To Fabric
- Transferring Seamlines to Fabric
- Staystitching
- Backstitching: A Complete Guide
- Hand Basting: A Complete Guide
- Sewing Continuous Bias Binding
- Darts >
-
Sewing Seams
>
- The Basics Of Seams And Seam Allowance
- How To Sew A Straight Seam
- Sewing Curved Seams
- Sewing Corner Seams
- Trimming And Grading Seam Excess
- Notching/Clipping Seam Allowance for Tension Release
- Sewing Topstitched Seams
- Sewing Corded Seams
- Sewing A Slot Seam
- Sewing A Gathered Seam
- Sewing Bias Seams
- Sewing Seams With Ease
- Sewing Seams With Crossing Seamlines
- Sewing Unlike Fabric Seams
- How To Iron Seams: Ironing Tools And Conventions
- Sewing With Knit Fabrics
- Understanding Stitch Length And Tension
- Sewing Unique Fabric Seams
-
Seam Finishes
>
- Seam Finishing Techniques - Overview
- Applying A Pinked Seam Finish
- Applying A Bias Bound Seam Finish
- Serging And Zigzag Seam Finishes
- Sewing A Self-Bound Seam Finish
- Sewing A French Seam Finish
- Sewing A Hong Kong Seam Finish
- Sewing A Mock French Seam Finish
- Sewing A Turned-and-Stitched Seam Finish
- Sewing Overcast Hand-Applied Seam Finishes
- Sewing A Flat Felled Seam
- Sewing A Hairline Seam Finish
-
Hem Finishes
>
- Garment Hem Finishes: Overview
- Sewing A Double Fold Hem Finish
- Sewing A Single Fold Hem Finish
- Sewing Bound Hem Finishes
- Sewing An Exposed Double Layer Bound Hem
- Sewing A Folded-Up Bound Hem with Pre-folded Binding
- Sewing A Hong Kong Hem Finish
- Sewing A Band Hem Finish
- Sewing A Bias Faced Hem Finish
- Sewing A Twill Tape Hem Finish
- Sewing A Rolled Hem Finish
- Sewing A Shaped Hem Facing
- Using Fusible Hem Tape And Webbing
- Finishing A Lace Fabric Hem
- Finishing A Leather Hem
- Sewing Faced Hem Corners
- How To Finish Lining At The Hem
- Finishing Fabric Corners by Mitering >
- Interfacing A Hemline: Lined And Unlined Examples
-
Sewing Pockets
>
- Curved Patch Pocket With Flap
- Unlined Square Patch Pockets
- Lined Patch Pockets: Two Ways
- Extension On-Seam Pockets
- Separate On-Seam Pocket
- Front Hip Pockets
- Bound Double Welt Pocket
- Double Welt Pocket With Flap
- Self-Welt Pocket (Using Single Fabric Layer)
- Slanted Welt Pocket (Hand-Stitched)
- Faced Slash Pockets: Overview >
-
Sewing Zippers
>
- Sewing Zippers: General Information
- Sewing A Centered Zipper
- Sewing A Lapped Zipper
- Sewing An Invisible Zipper
- Sewing A Fly Front Zipper
- Sewing A Closed-End Exposed Zipper (No Seam)
- Sewing An Exposed Separating Zipper
- Sewing Hand Stitched Zipper Applications
- Sewing A Zipper Underlay
- Sewing A Placket-Enclosed Separating Zipper
- Sleeveless Finishes >
-
Neckline Finishes
>
- Sewing A Neck Shaped Facing
- Sewing An All-In-One Neck Facing
- Neck And Garment Opening Combination Facings >
- Sewing A Bias Faced Neckline Finish
- Sewing A Band Neckline Finish
- Bound Neckline Finishes: Overview >
- Sewing A Semi-Stretch Strip Band Neckline
- Ribbed Neck Band And Classic Turtleneck
- Decorative Neckline Finishes >
- Finishing Facing Edges >
-
Extras
>
- A Complete Guide on Interfacing
- Sewing Bound Spaghetti Straps
- Sewing Spaghetti Straps To A Faced Neckline
- Sewing Ruffles: Overview
- Patterning And Sewing A Circle Ruffle
- Sewing A Gathered Heading Ruffle
- Sewing Double Layer Gathered Ruffles
- Sewing A Gathered Ruffle Into A Seam
- Sewing A Gathered Ruffle To A Fabric Edge
- Sewing A Fabric Surface Slit
- Sewing A Slit Seam
- Hand-Applied Straight Stitches
- Hand-Applied Blind Stitches
- Hand-Applied Overedge Stitches
- Hand-Applied Tack Stitches
- Hand-Applied Decorative Stitches
-
Basics
>
- Custom Bridal
- Custom Apparel
- About
- Blog
Services |
Company |
|








 RSS Feed

