|
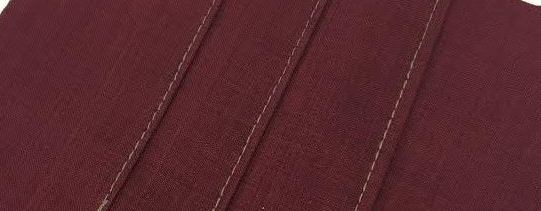
Top-stitching is a single or set of machine stitches that are applied to the face side of the garment both for decorative and functional purposes. Top-stitching is extremely common on more casual items like sportswear, denim and active wear. If you are just getting started on sewing, top-stitching is a great way to add some uniqueness to the outside of the garment as well as practice straight stitching. Top-stitching is usually done with a longer stitch length so that it doesn't bulk up the fabric and create a smooth finish on the outside. When applied for decorative purposes, contrast thread creates the best effects. You can also experiment by top-stitching with zigzag and the embroidery stitches you have available on your sewing machine. The functional aspect of top-stitching really comes in handy if you are trying to keep certain pleats or excess seam allowance from flopping around on the inside of the garment. Top-stitching is a great tool to use along some seams not only for durability but also to keep seam allowance flat and pointing to a certain direction. Doing so maintains the garment's structure and requires less ironing of the seams after washing. So now that you know a bit about the magic of top-stitching, lets do some practice exercises! We encourage you to practice both decorative and functional top-stitching on scrap fabric before applying it to your final project. Top-stitching requires a certain comfort level and stability in order to achieve smooth, even stitching. Don't get discouraged if your first stitches are uneven. Keep practicing and you'll be a pro in no time!
2 Comments
If you are ready to take it to the next level in your sewing journey, then you are most likely ready to make your own sewing patterns! Using store-bought patterns is great in the learning process but being able to build and manipulate your own sewing patterns gives you unlimited design opportunities and can be so gratifying. Professional marked pattern paper is the best to use but lets face it, sewing is an expensive hobby. Good quality fabrics, practice muslin, trims and findings, and all the necessary tools can add up to a pretty penny. If you're just learning how to sew it can start to put a dent in your bank account. Pattern paper, just like fabric, is one of the items that needs constant replenishing, which is why cutting some corners and getting a bit creative can help you find replacements that work just well but cost much less. We've discussed some sewing hacks in our previous blog and now it's time to talk about pattern paper hacks- An equally important part of the sewing process! The pattern paper used in the fashion/clothing manufacturing industry is numbered-dotted white paper. It facilitates pattern making by offering pre-marked points and numbers at 1" increments. Although the markings will save you some effort and make the patterning process much faster, if you have an 18" marked plastic ruler you can easily create patterns without the need of these pattern markings. In addition, marked pattern paper is not easy to find in local sewing/craft stores so you have to turn to online shopping to get your hands on it. Note: If you are starting to make your own patterns, these three tools are a must have: an 18" marked clear ruler, a mechanical pencil, and a simple unmarked french curve. As mentioned above, you don't have to use professional pre-marked pattern paper if you can't find it or afford it. However, pattern paper should have the following necessary characteristics to function best: -Be Flexible: Easy to handle, be folded without forming deep creases, and bend without ripping when pinned. -Be durable: It shouldn't rip easily when handled or pinned. -Not too thick (unless you are using it on slopers) -Easy to pin: The pins should go through easily without too much damage to the paper. If you are looking for a cheaper, easier-to-find replacement for professional pattern paper, all the characteristics listed above should be taken in consideration. Here are the three substitutes for professional pattern paper that you can easily find at your local crafts/arts/shipping stores. The best part is, they wont break the bank!
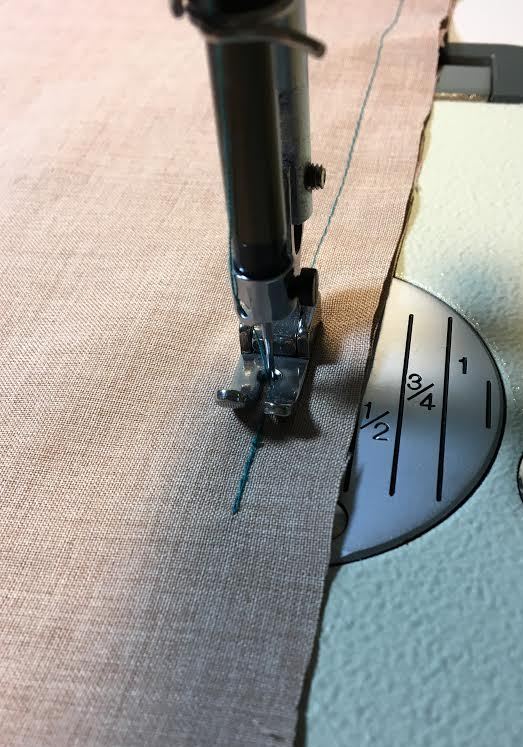
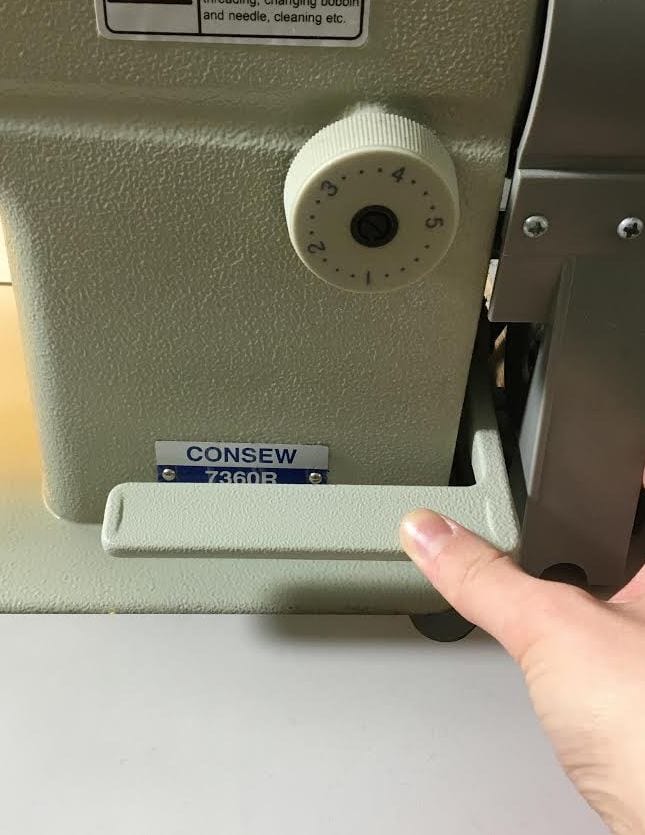
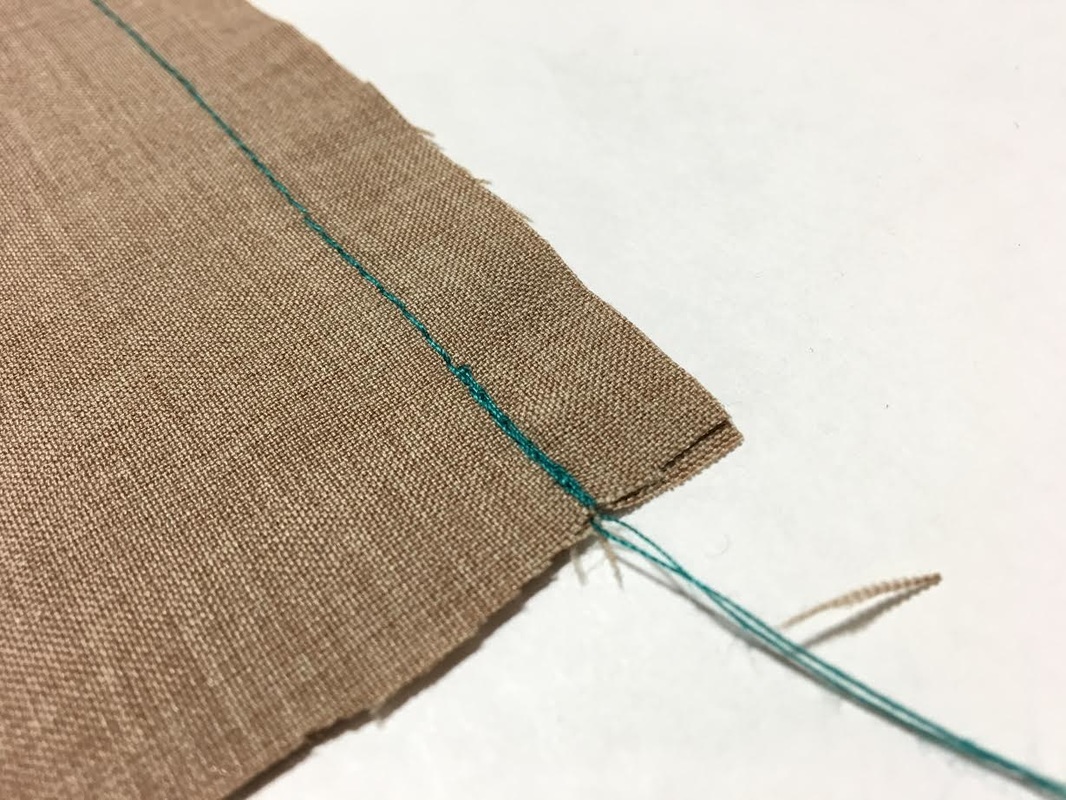
Back-stitching… what is it and why do we need it? In the process of learning how to sew, back-stitching is probably one of the first terms you’ve heard. Back-stitching is the act of stitching backwards on a sewing machine or by hand in order to lock the stitch in place so that it doesn’t unravel or come apart with use. It is perhaps one of the most important habits you should develop as a dressmaker/seamstress. The devil is in the details and this is certainly a detail that matters in the sewing process. The good news is that once you get into the habit of back-stitching at the beginning and/or end of a stitch you will start doing it automatically, without thinking. So why is back-stitching important anyways? Backstitching contributes to the durability of a clothing item. It is not a secret that our clothing goes through a lot of push and pull throughout its lifetime. From stretching, to constant washing and drying and exposure to all the daily elements that contribute to a garment’s age, we can all agree that clothing has a pretty stressful life. By blocking stitches from coming apart with use, back-stitching is able to lengthen a garment’s life span. A simple locking of a stitch can make the difference between good and bad quality when it comes to apparel. Back-stitching also facilitates the sewing process. When you’re sewing and putting all the pieces of fabric together, you often find yourself matching up seams and pulling on them in the stitching process. You need to iron every seam as you sew it which requires you to put some strain on the seam by ironing the excess down the middle or to a particular side. When your seams are back-stitched, you can pull and adjust them easily without having to worry about anything coming undone in the process. Having stitch stability in your seams is very important in sewing comfortably and efficiently. You’ll have to do a lot less damage control later on if all the seams are securely held in place during the sewing process. How to Backstitch Using a Sewing Machine Backstitching On An Industrial Sewing Machine: If you own an industrial sewing machine, your sewing is most likely advanced enough to know how to do a back-stitch on it. However, even as a beginner you should be able to recognize the back-stitching "button" on any sewing machine. It is for this reason we'll show you this simple process on both an industrial and home sewing machine. The first thing you'll notice is that even though these two types of machines come from two different families, the back-stitching button looks and works almost identically. To backstitch on an industrial machine, press and hold down on the back-stitching button and press on the foot control. You will notice your machine will start sewing backwards. Maintain the fabric straight so that the backwards stitch goes right on top of the forward stitch you sewed previously. Let go of the foot control and back-stitch button once the backwards stitch reaches anywhere from 1/2-3/4" in average length. For added security you may sew another regular straight stitch on top of the back-stitching.
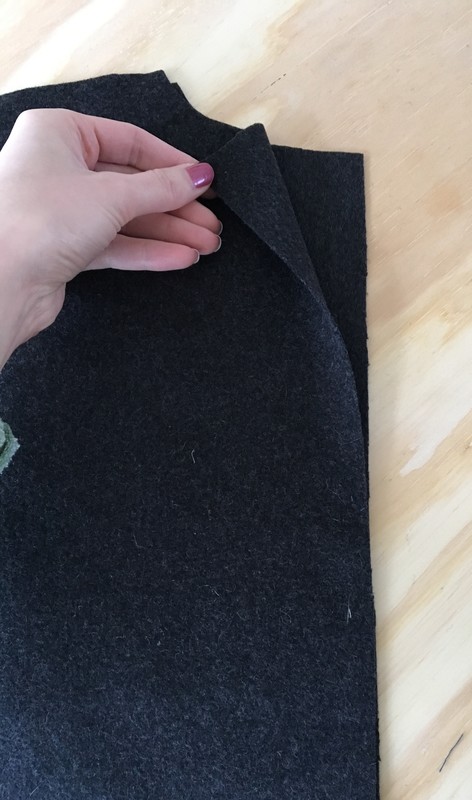
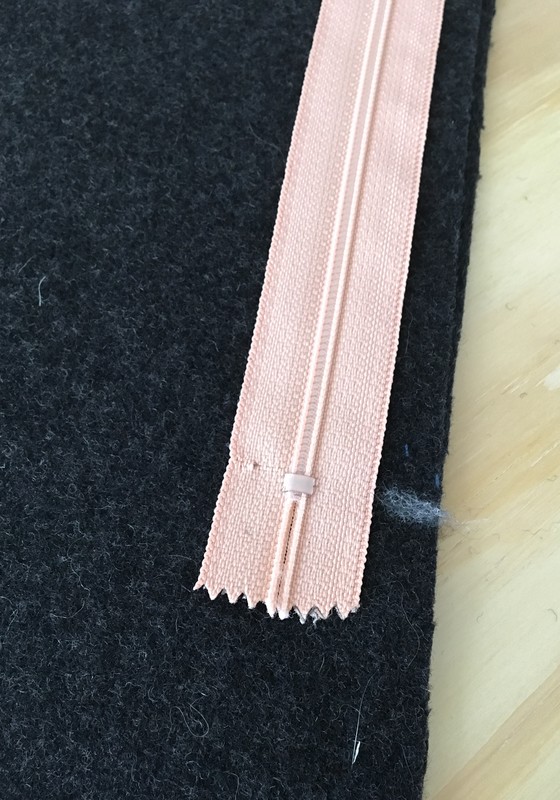
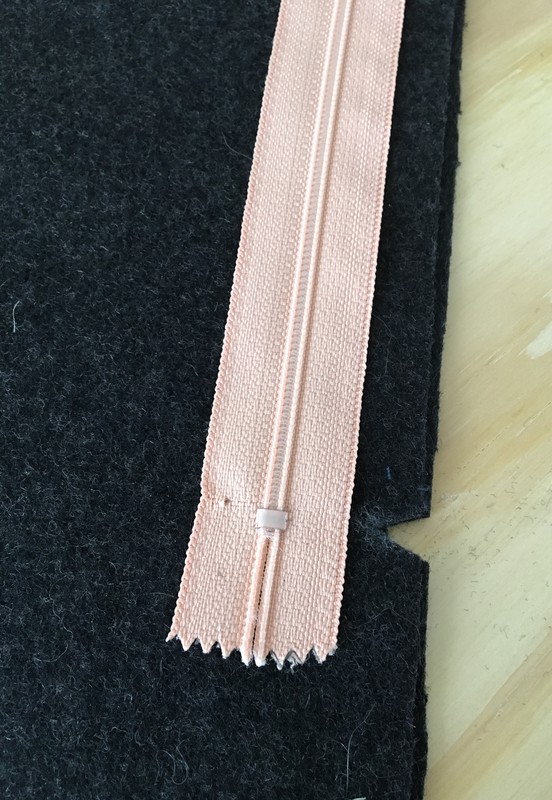
Sewing zippers can be one of the most intimidating and terrifying experiences for a sewing beginner! Here's the thing- If you really want to learn how to sew you have to be willing to make some (lots of..) mistakes, eliminate your fears of making these mistakes, and let go of perfectionism. Sewing is a craft that is learned best though the practice of making errors as opposed sewing classes and theory only. You'll breathe a sigh of relief when we tell you that a lapped zippers are actually quite simple to install. If done correctly, it only takes a few steps and the result of seeing a fully-functional lapped zipper will feel so gratifying! So let's get started. What is a lapped zipper? A lapped zipper application uses a regular zipper to create "the look" of a side placket overlapping the zipper. The reason why we refer to it as "a look" is that it does not require the construction of an actual placket but rather uses a stitch on one side of the seam-line to create the allusion of a flap over the zipper. Lapped zippers are the most common and simple to sew and most commonly used on medium to heavy weight tops, dresses and bottoms along center back, center front and sometimes side seam. A lapped zipper works best with more medium weight fabrics because it requires a bit more structure. The Easiest (and Correct) Way to Sew a Lapped Zipper There are a multitude of ways to apply certain sewing techniques and finishes, and you should always pick the one that works best for you! However, when it comes to zippers, we really recommend that you begin with learning the correct application steps before adopting sewing hacks that work best for you. Why? Well, as you dive deeper into learning zipper application techniques, the true-and-tried methods are the ones that will be the most time efficient and minimize mistakes and complications in the process. Three Most Common Misconceptions About Lapped Zippers 1. That the placket extends over the seam-line to cover the zipper: As a sewing beginner, it is common to look at a lapped zipper and get the impression that the placket extends over the seam-line to cover the zipper. In reality, that is simply an illusion. The seam-line always remains aligned properly, while the seam allowance underneath, on the opposite end of the placket side, extends slightly inward to hide the zipper teeth. 2. That you always clip the seam allowance of the fabric at the area where the zipper ends: It is common to think that you always need to clip the seam allowance at the bottom of a lapped zipper application but the good news is, that is rarely necessary. On a regular seam, you're seam allowance should lay nice and flat without needing to be clipped for movement and tension release. We always try to encourage that you try not to clip the fabric unnecessarily but only when required by specific finishes- this can result in weakening durability, especially over time. In the case of a vent or a specialized hem finish at the bottom of the same seam that houses a lapped zipper, clipping the seam allowance may be necessary. 3. That the zipper should be kept open when it is sewn in: Although you might find it easier and more comfortable to work with an open zipper, the correct way to apply a lapped zipper is keeping the zipper closed. That might come as a surprise, especially if you've already dabbled in zipper construction a bit. The benefits of keeping the zipper's teeth closed during application ensures that both sides of the zipper will be aligned accurately on both sides of the seam-line. If you work with a zipper that is open, you will have to first baste both zipper sides in and baste it's alignment before adding the final stitches- that adds a few unnecessary steps, so we'll show you how to get rid of them in the tutorial below by working with a closed zipper during the entire process! Sewing Steps For a Lapped Zipper Using A Regular Foot In this simple tutorial, we'll show you how to apply a lapped zipper to a center back seam with a 1" seam allowance. As a beginner, we recommend that you work with a 1" seam allowance for lapped zippers because it gives you enough excess to form the placket-like structure and comfortably attach the zipper during sewing. 1. Mark the placement of the zipper on seam allowance. If your pattern has notches that mark the bottom of the zipper placement, make sure you transfer them to your pattern. If not, you can use the length of your zipper to mark where it's placement will end. Simply hold the zipper along the seam allowance and mark with a fabric marking pencil then a clipped notch, the location where the zipper's bottom hits.
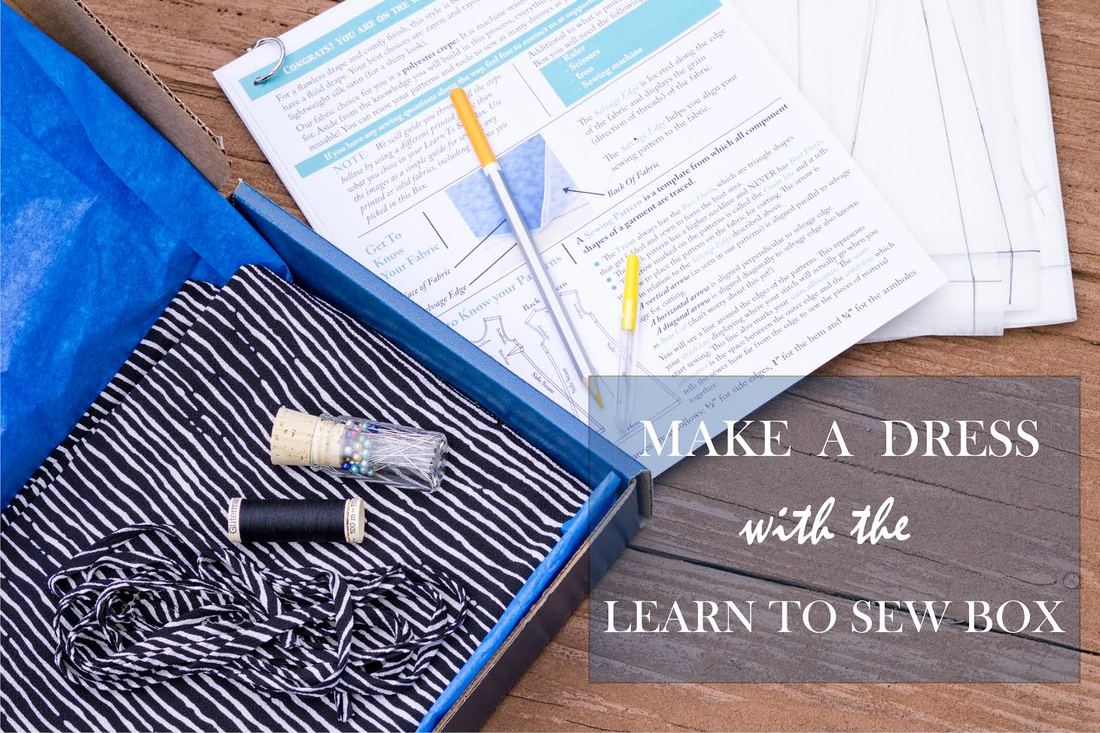
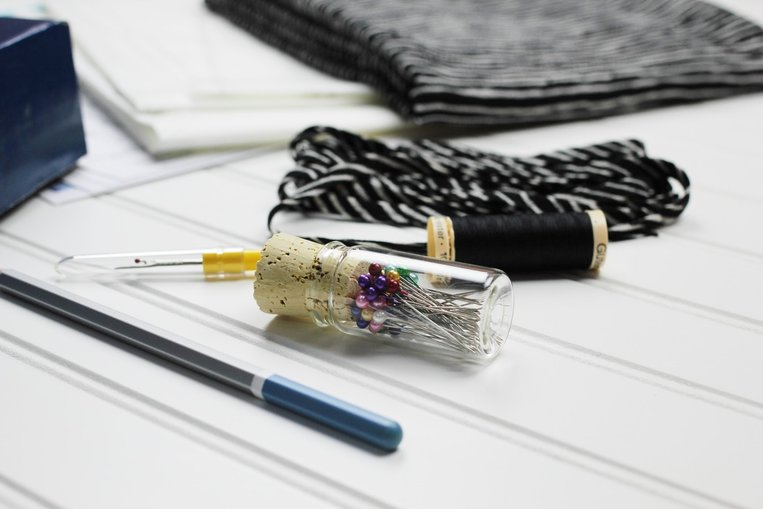
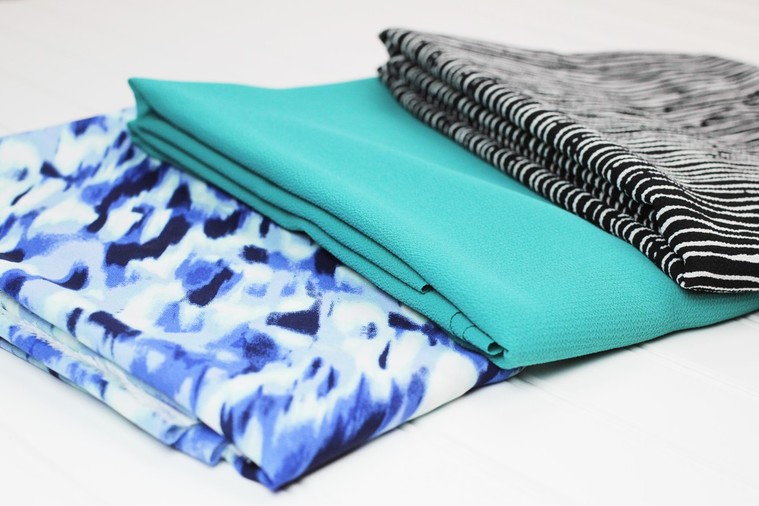
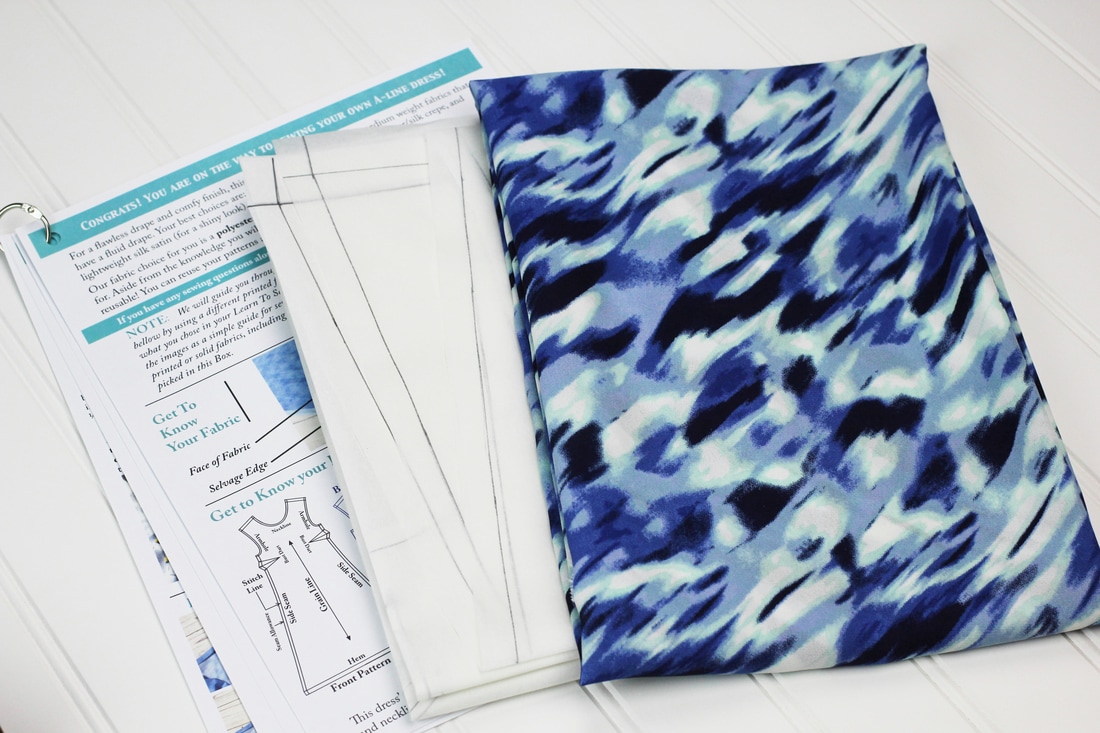
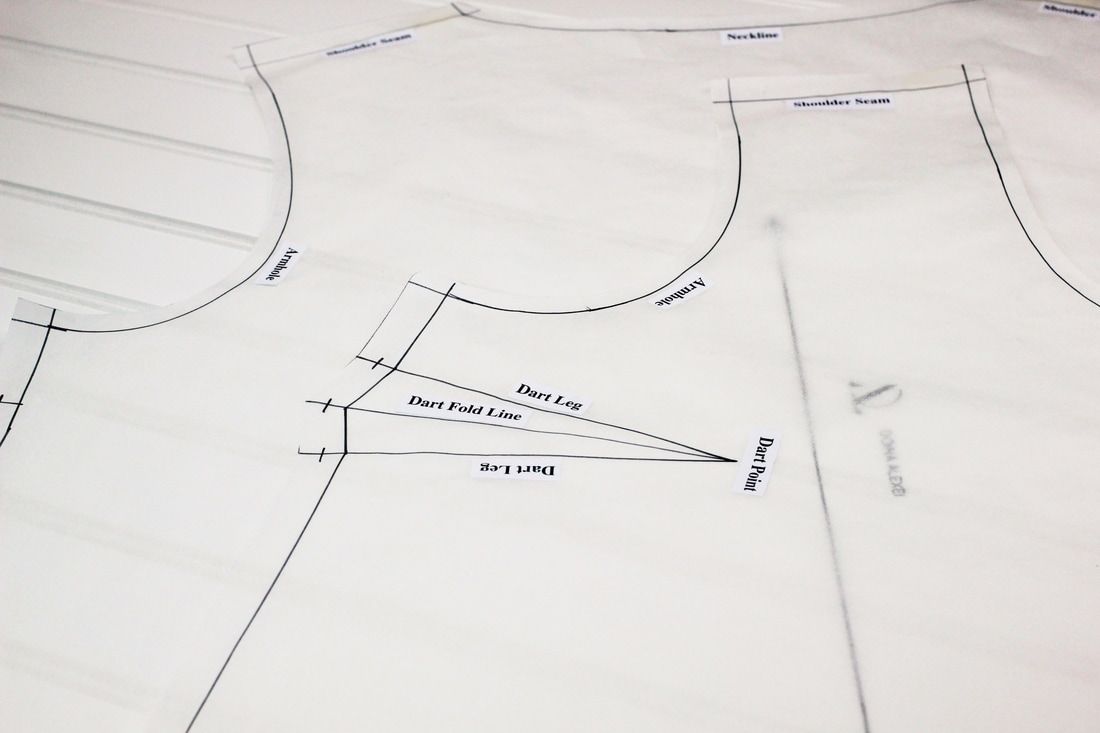
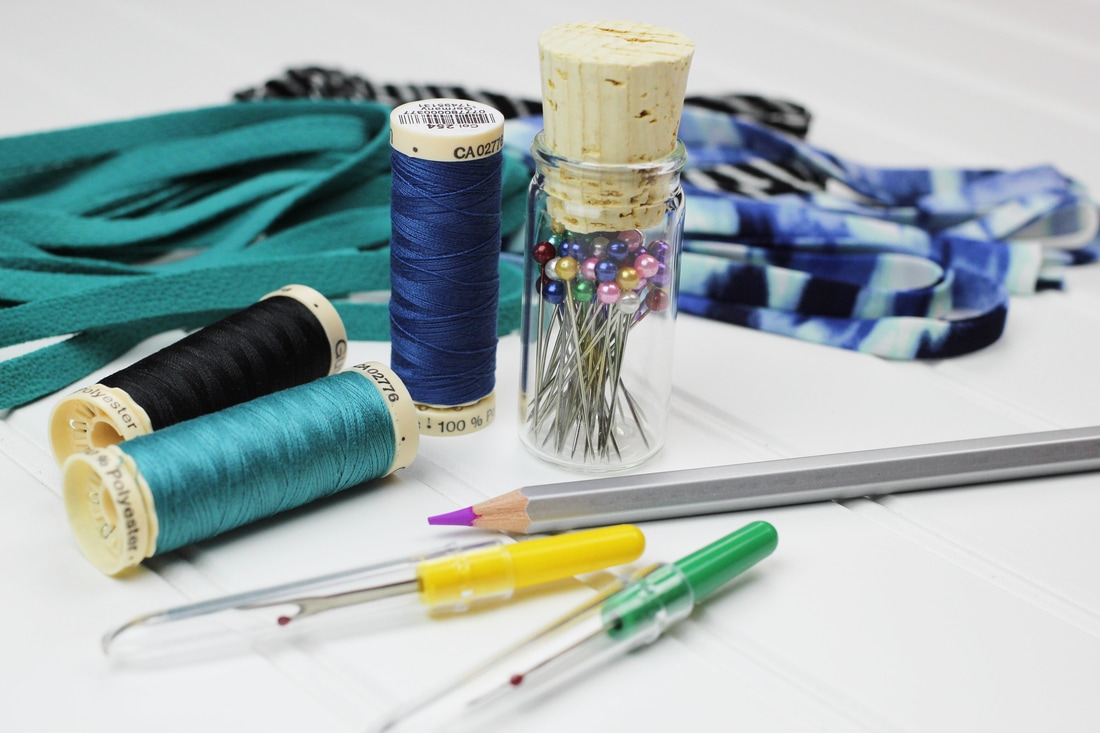
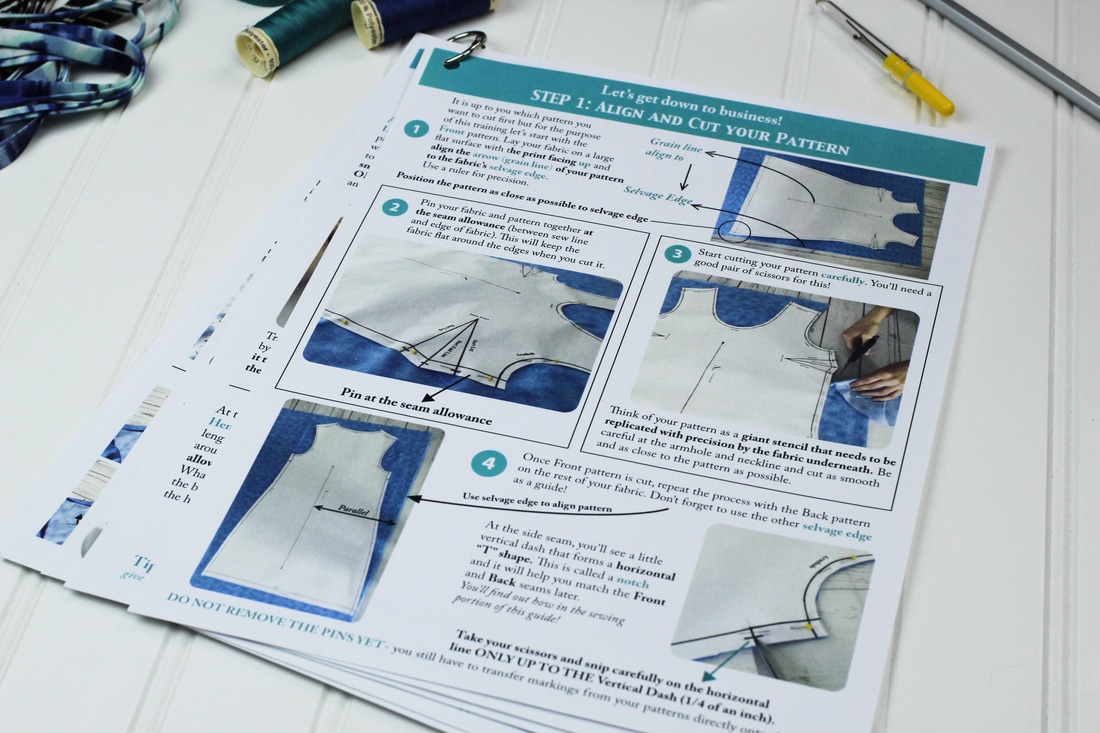
Although the fashion design degree certainly came in handy, most of the sewing techniques and secrets I know today are self-taught from years of trial and error and experimentation. I have probably worked with every type of fabric imaginable and designed just about everything from tailored trousers to summer dresses and beyond. My first collections were all done by hand from start to finish. I would design every piece, draft the sewing patterns, size them and sew everything from blouses, to dresses and jackets all on my own- believe me, that is certainly not a job for a single person. I was working in a small space, to be more precise, it was my tiny, overheated bedroom. When I look back on that now, I ask myself how I was able to do it? How come those working conditions were not able to stop me? The answer is actually quite simple. I don’t have to over analyze my past to know that when you really love and want something wholeheartedly, your brain makes no excuses. As cliche as it sounds, there really is no such thing as “I can’t”, there’s only “ I don’t want it bad enough”. The Difficulty of Getting Started In The Sewing Process There are many things I’ve learned along the way, but one of the most resounding is that there really wasn’t a single tool out on the market that could offer a simple, non-intimidating option for those who want to teach themselves how to sew. People find sewing complicated and overwhelming because it seems to have too many steps required to get started and most people don’t even know where to begin. Taking sewing classes are an option but they often clash with most family and work schedules and take some financial investment on the beginner’s part. For those that prefer self-teaching sewing options in the comfort of their home where they can control the time and focus put into it, books are sometimes too general or complicated and there isn’t a simple start-to-finish comprehensive online guide to help them in the process. Even some of the manuals I was using throughout college when I was starting out where packed with detailed information so overwhelming, that I can’t imagine the average sewing beginner being able to get past the first stages of learning how to sew. I, of course, stuck to it because I was studying for a degree, but for someone who wants to learn the basics of sewing as a hobby, the self-teaching process is most likely to fall apart on week one. It is the combination of all of these experiences and constantly hearing from friends and acquaintances “I wish I knew how to sew!” that has inspired me to come up with a solution. One that is for those that want to teach themselves how to sew in the privacy of their own homes on their own time frame. The result? The Learn to Sew Box: A simple box that includes everything you need to get started along with a simple step-by-step visual guide walking you through how to sew an A-line dress from start to finish. About the Learn To Sew Box In order to keep the learning process as simple and as personalized as possible, the Learn to Sew Box gives you the ability to choose from four fabrics: 3 print options and one solid. Once you make your fabric choice, all you have to do is choose your size! We opted for a Small-Medium-Large method, as to not confuse the sewing beginner with number sizes. The box comes equipped with full Front and Back dress sewing patterns (in your choice of size) which are in the simple, industrial form on easy-to-handle tracing paper. The pattern elements are clearly marked with their corresponding terms (armhole, neckline, darts etc) and they are also reusable! So if you like how the dress fits, sew it in a few different fabrics. Along with the fabric and sewing patterns, we’ve included the basic supplies you’ll need, which are also reusable. The idea was to save you the unnecessary and confusing trips to the fabric store by providing you with all the basic supplies you need. Starting with the basics in a simple way is the best way to truly understand the sewing process. The supplies include: Sewing pins, a water soluble marking pencil, a seam ripper and matching thread. To tie it all together, a 5-page step-by-step visual guide will walk you through the process of aligning the sewing pattern on fabric, cutting the pattern out, marking the fabric and sewing the dress in the most simple yet detailed way. This guide will introduce you to seam allowance, grain line, notches, and the types of fabric best used with this A-line dress. It will also include some tips and secrets I’ve adopted from trial-and-error along the way. Learning Important, Basic Sewing Techniques: The Simple Way So why should a dress be the first item you make? Well, learning how to sew a dress is actually the best way to understand some of the most common techniques and elements you’ll come across in sewing. The simple A-line dress style included in the box has bust darts, it requires a binding method for clean-finishing the armholes and the neckline, and the hem is finished with a double folded machine stitch. These are the most common, basic techniques you can apply to most of your future sewing projects. It is imperative that you understand how to sew a simple dart and how to mark it on fabric- Chances are, you will come across darts about 90% of the time you are working with woven fabrics. As far as learning how to clean finish with binding, this has become the most common way casual necklines and armholes are finished both for woven and knit fabrics. If you take a peek into your closet right now, you will most likely find most of your casual styles to have a binding around neck and sleeveless edges. Same thing goes for a double folded, machine stitched hem- It is the most commonly used to clean finish hems and a method you’ll be able to use on most fabrics and styles in the future. As you become more advanced, you can actually use this dress pattern to create tops and dresses in other styles. The Learn To Sew Box is sort of like the teacher I never had but always wanted- you know the one that breaks everything down in simple terms and spills some trade tips and secrets in the process? |
The Blog:A journey into our design process, sewing tutorials, fashion tips, and all the inspiring people and things we love. Doina AlexeiDesigner by trade and dressmaker at heart. I spend most of my days obsessing over new fabrics and daydreaming new ideas. Sadie
Executive Assistant & Client Relations Manager Archives
November 2019
Categories
All
|
-
Sewing Tutorials
-
Basics
>
- Aligning Pattern Grainlines To Fabric
- Preparing Fabrics For Sewing
- Pinning Sewing Patterns To Fabric
- Placing Sewing Patterns On Fabric For Cutting
- Rotary Cutters or Fabric Scissors?
- Cutting The Sewing Patterns
- What Are Notches And How To Use Them In The Sewing Process
- Transferring Notches From Pattern To Fabric
- Transferring Seamlines to Fabric
- Staystitching
- Backstitching: A Complete Guide
- Hand Basting: A Complete Guide
- Sewing Continuous Bias Binding
- Darts >
-
Sewing Seams
>
- The Basics Of Seams And Seam Allowance
- How To Sew A Straight Seam
- Sewing Curved Seams
- Sewing Corner Seams
- Trimming And Grading Seam Excess
- Notching/Clipping Seam Allowance for Tension Release
- Sewing Topstitched Seams
- Sewing Corded Seams
- Sewing A Slot Seam
- Sewing A Gathered Seam
- Sewing Bias Seams
- Sewing Seams With Ease
- Sewing Seams With Crossing Seamlines
- Sewing Unlike Fabric Seams
- How To Iron Seams: Ironing Tools And Conventions
- Sewing With Knit Fabrics
- Understanding Stitch Length And Tension
- Sewing Unique Fabric Seams
-
Seam Finishes
>
- Seam Finishing Techniques - Overview
- Applying A Pinked Seam Finish
- Applying A Bias Bound Seam Finish
- Serging And Zigzag Seam Finishes
- Sewing A Self-Bound Seam Finish
- Sewing A French Seam Finish
- Sewing A Hong Kong Seam Finish
- Sewing A Mock French Seam Finish
- Sewing A Turned-and-Stitched Seam Finish
- Sewing Overcast Hand-Applied Seam Finishes
- Sewing A Flat Felled Seam
- Sewing A Hairline Seam Finish
-
Hem Finishes
>
- Garment Hem Finishes: Overview
- Sewing A Double Fold Hem Finish
- Sewing A Single Fold Hem Finish
- Sewing Bound Hem Finishes
- Sewing An Exposed Double Layer Bound Hem
- Sewing A Folded-Up Bound Hem with Pre-folded Binding
- Sewing A Hong Kong Hem Finish
- Sewing A Band Hem Finish
- Sewing A Bias Faced Hem Finish
- Sewing A Twill Tape Hem Finish
- Sewing A Rolled Hem Finish
- Sewing A Shaped Hem Facing
- Using Fusible Hem Tape And Webbing
- Finishing A Lace Fabric Hem
- Finishing A Leather Hem
- Sewing Faced Hem Corners
- How To Finish Lining At The Hem
- Finishing Fabric Corners by Mitering >
- Interfacing A Hemline: Lined And Unlined Examples
-
Sewing Pockets
>
- Curved Patch Pocket With Flap
- Unlined Square Patch Pockets
- Lined Patch Pockets: Two Ways
- Extension On-Seam Pockets
- Separate On-Seam Pocket
- Front Hip Pockets
- Bound Double Welt Pocket
- Double Welt Pocket With Flap
- Self-Welt Pocket (Using Single Fabric Layer)
- Slanted Welt Pocket (Hand-Stitched)
- Faced Slash Pockets: Overview >
-
Sewing Zippers
>
- Sewing Zippers: General Information
- Sewing A Centered Zipper
- Sewing A Lapped Zipper
- Sewing An Invisible Zipper
- Sewing A Fly Front Zipper
- Sewing A Closed-End Exposed Zipper (No Seam)
- Sewing An Exposed Separating Zipper
- Sewing Hand Stitched Zipper Applications
- Sewing A Zipper Underlay
- Sewing A Placket-Enclosed Separating Zipper
- Sleeveless Finishes >
-
Neckline Finishes
>
- Sewing A Neck Shaped Facing
- Sewing An All-In-One Neck Facing
- Neck And Garment Opening Combination Facings >
- Sewing A Bias Faced Neckline Finish
- Sewing A Band Neckline Finish
- Bound Neckline Finishes: Overview >
- Sewing A Semi-Stretch Strip Band Neckline
- Ribbed Neck Band And Classic Turtleneck
- Decorative Neckline Finishes >
- Finishing Facing Edges >
-
Extras
>
- A Complete Guide on Interfacing
- Sewing Bound Spaghetti Straps
- Sewing Spaghetti Straps To A Faced Neckline
- Sewing Ruffles: Overview
- Patterning And Sewing A Circle Ruffle
- Sewing A Gathered Heading Ruffle
- Sewing Double Layer Gathered Ruffles
- Sewing A Gathered Ruffle Into A Seam
- Sewing A Gathered Ruffle To A Fabric Edge
- Sewing A Fabric Surface Slit
- Sewing A Slit Seam
- Hand-Applied Straight Stitches
- Hand-Applied Blind Stitches
- Hand-Applied Overedge Stitches
- Hand-Applied Tack Stitches
- Hand-Applied Decorative Stitches
-
Basics
>
- Custom Bridal
- Custom Apparel
- About
- Blog
Services |
Company |
|



 RSS Feed

