|
What is seam allowance? Seam allowance is the distance from the raw edge of the fabric to the seamline (or seam stitch line). Seam allowance allows for the formation of all seams by providing excess fabric for efficiently stitching a seam together. Although you can't see it on the face of the garment, seam allowance is present along most edges of the fabric pieces that comprise a clothing item. As a sewing beginner, it is imperative that you learn how to recognize seam allowance on a sewing pattern, how to transfer the seam allowance marks onto fabric (when necessary), and how to use seam allowance to sew seams properly.
How is seam allowance length determined? The length of seam allowance is based mainly on two things: The type of fabric and seam finishing technique used for the project at hand. Before we delve deeper into what fabrics work with what seam allowance, it is important to note that the most common seam allowance (used on most regular seams) is either 5/8" or 1/2". If you use commercial store-bought sewing patterns, you'll find that most seams have a seam allowance of 5/8". If you make your own patterns, it is recommended that you work with 1/2" seam allowance due to the fact that it is easier to work with and measure.
0 Comments
What are seams? Seams are the building blocks of a clothing item. A seam is the point of connection between the fabric pieces that make up a garment. As a sewing beginner, the first thing you will learn how to do is sew a basic seam. If you can master sewing simple seams, you'll find it much easier to move on to more complicated sewing techniques. In dressmaking, almost all sewing reverts back to the same construction methods used for sewing basic seams. 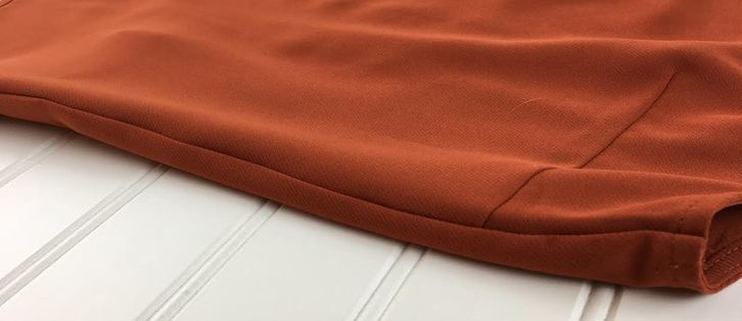 You cannot sew a seam without seam allowance. Seam allowance is the distance from the seamline to the raw edge of the fabric, allowing for the fabric pieces to be durably connected without jeopardizing the size and/or fit of the garment. In order to successfully sew a seam, it is important to understand some basic seam allowance concepts. We'll give you the nitty-gritty on seam allowance in next week's blog, but for now, here are a few basic seam allowance "rules" you should be familiar with (especially if you've never tried your hand at sewing before):
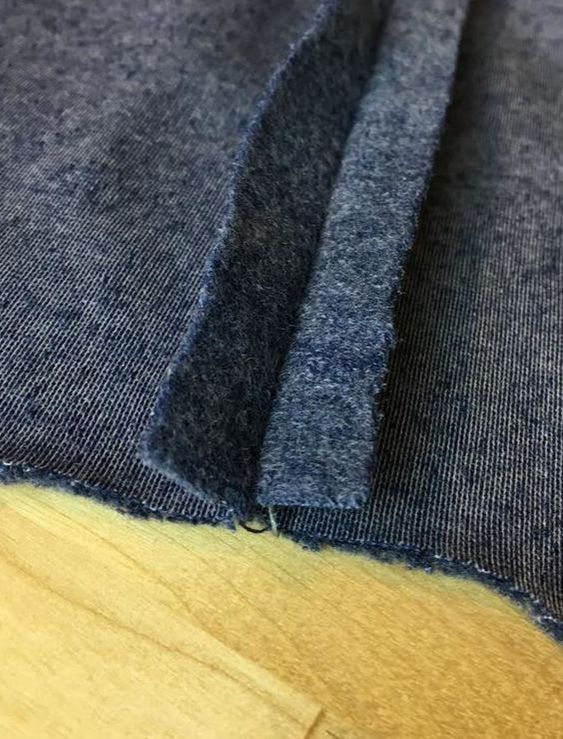
- The length of seam allowance used is mainly decided on the type of fabric and seam finishing technique used. A thicker, bulkier fabric requires larger seam allowance while thinner, lightweight fabrics work well with shorter seam allowance. - The most commonly used seam allowance measures 5/8" to 1/2", and is used mainly on light to medium weight fabrics. - Seam allowance is usually clean finished to ensure seam durability and prevent the raw fabric edges form fraying. The type of clean finishing technique used for seam allowance is decided on weight and type of fabric, as well as design/style of the garment. - After the seam is stitched, the seam allowance should always be ironed down in a specified direction in order for the seam to lay flat (you'll see a demonstration of this in the sewing tutorial below). - Due to the fact that the seam allowance is enclosed on the inside of a garment, it can withstand various marks such as notches, clips and wedges necessary in the construction process. Since these marks are added to seam allowance, they are never visible on the face of the garment. - All conventional sewing machines have a seam allowance guide to the right of the sewing machine needle. In order to sew each seam at the proper seam allowance, the raw edge of the fabric is aligned with the appropriate seam allowance guide line according to the required seam allowance length. You will get a a look at the application process behind these seam allowance basics in the tutorial below. I have always wanted to develop a product that had a bit of science to it. Out of my own need (and perhaps love) for easy-care, portable and convenient items, it came to me: A highly absorbent beach towel that is soft, lightweight and conveniently compact. Not that I'm a jet setter that takes multiple beach vacations a year (wouldn't that be nice...) but when I do finally take that week long beach trip, I love to pack light with functional, versatile items that don't weigh me down. 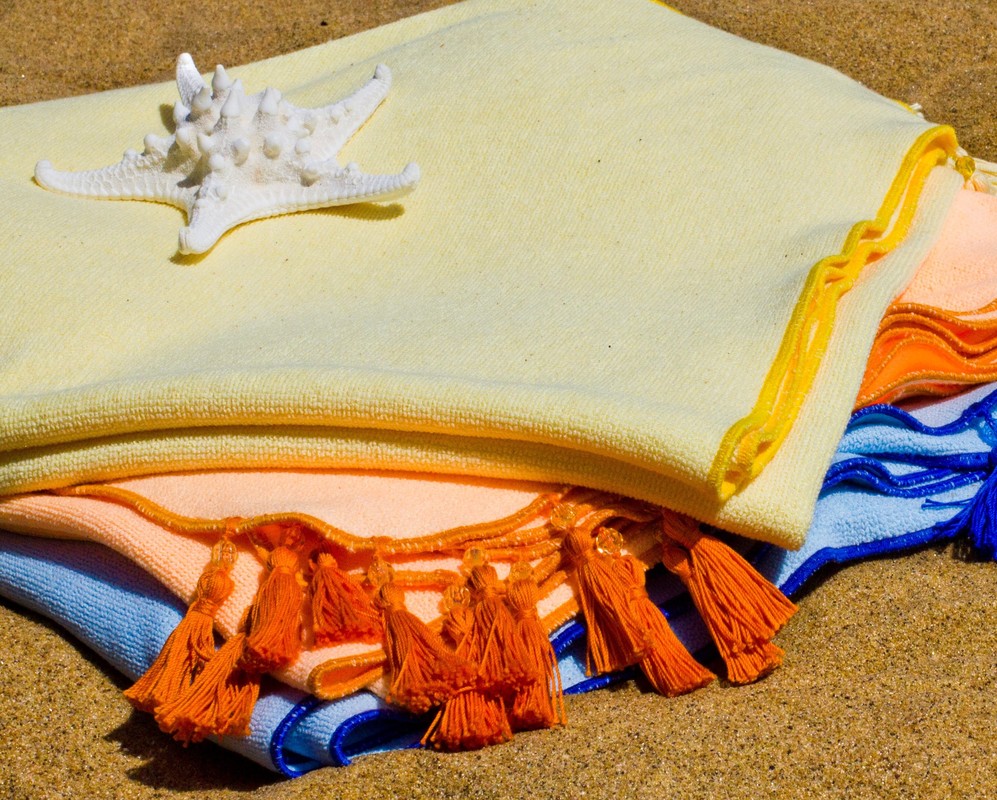 I have to say, a conventional beach towel has never done it for me. I usually dread packing it because it is bulky, heavy and takes up too much unnecessary space. When I take it down to the beach, it doesn't fit in just any beach tote or bag. The beach bag has to be large enough to accommodate the towel's volume and weight- It's either a large beach bag or I'm forced to wobble around with a bulky, wet beach towel in one hand and a bunch of other beach-related things in the other. As conventional terry fabric (used for traditional beach towels) absorbs more water, it becomes heavier and less absorbent, adding to its weight. On a hot summer day, this scenario is less than ideal.  I have to admit, the search for the perfect beach towel material took some trials and tribulations. Weight, softness and absorbency were key, and it took a few failed tries to finally hit the nail on the head and find the perfect balance between these three elements. The testing went on for months until I finally came across a specialized, double sided terry microfiber. One that has been engineered specifically for absorbency both in fiber content and weave construction, with the added bonus of lightness, softness and high draping capabilities. Once the fabric was discovered, the rest of the design elements, such as those special corner tassels I'll tell you more about later, came together effortlessly. 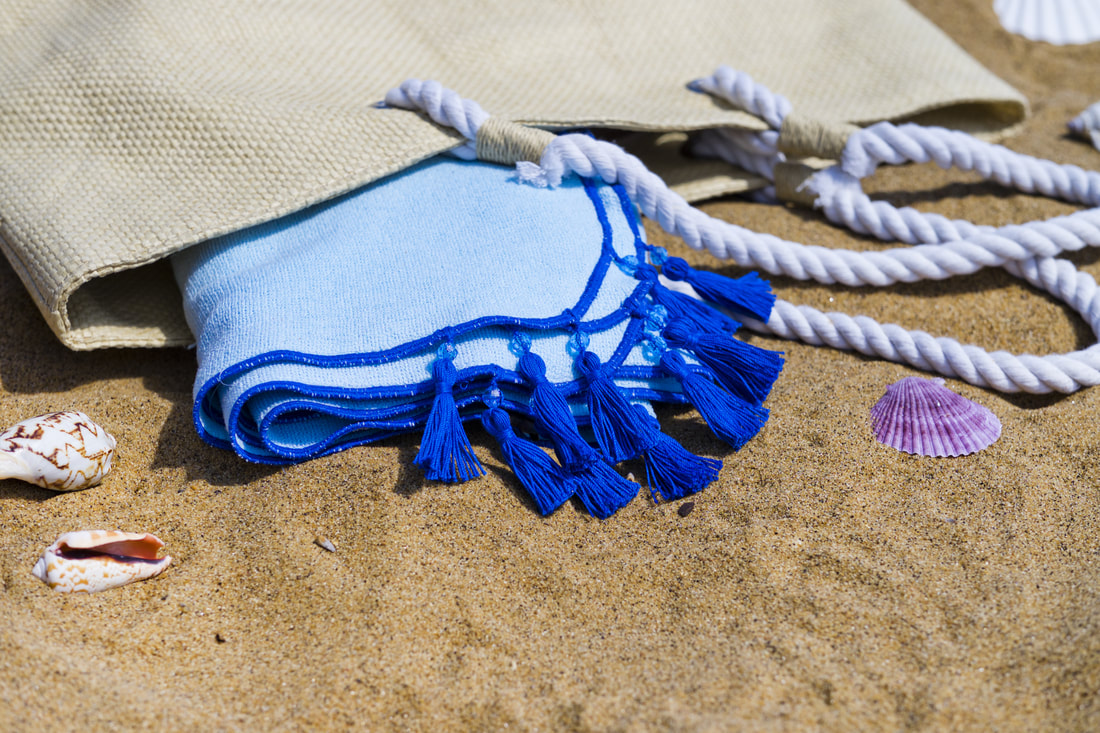 Portable. Compact. Lightweight. These three elements are key to the ultimate functionality of the microfiber beach towel. After all, the quest started with these desired aspects in mind, and this particular double terry microfiber allows for their perfect merging. It features a specialty weave constructed with filaments that are 3 times finer than silk. And what is silk known for? Softness, drape and a luxurious feel on the skin.
The unique construction of these filaments incorporates their softness and drape into a thin double layer of terry microfiber. Pair this quality with a specialized weaving process, and you've got yourself a light, compact beach towel for everyday use. Perhaps what I love most about this particular textile is that despite its very lightweight characteristic, it feels sturdy and stable on beach sand or a pool chair. Conveniently, the towel folds into thin layers that are light and highly portable, fitting into just about any beach bag. As a sewing beginner, you probably won't dive into sewing button closures straight away. However, at some point or another, a sewing project might call for the addition of a button closure. While buttons are a breeze to sew, buttonholes can be a bit more challenging, especially when it comes to their size and alignment. Conveniently, most home sewing machines offer a buttonhole setting. In the case your machine doesn't offer this option, or you feel a bit intimidated by sewing the buttonhole on your machine, it can always be constructed by hand. Sewing a hand-worked buttonhole will also help you understand a bit more about the structure, size and alignment of traditional button closures. In addition, a hand-worked buttonhole helps you practice a few very important hand stitches such as a blanket stitch and straight tack. While the opening slit of a machine-sewn buttonhole is cut using a seam ripper after the stitches have been applied, hand-sewn buttonholes require that the slit is carefully cut first, after which a dense blanket stitch is applied to clean finish its raw edges. Traditionally, there are two styles of hand-sewn (hand-worked) buttonhole finishes: A fanned buttonhole where one of the buttonhole side edges is sewn with circular stitches to resemble a fan, and a straight edge buttonhole where both edges look the same and are finished with straight tacks. Most commonly, fanned buttonholes are used on horizontal applications and often used with shank buttons due to their ability to fit into the fanned area better. Vise versa, straight edge buttonholes are used on vertical applications, providing a durable, identical finish on both top and bottom edges.
While it is always a good idea to follow this traditional concept, it may be a bit tricky for sewing beginners to construct a fanned buttonhole. We recommend starting with a straight-edge style (which is much easier to sew) and using it on both horizontal and vertical applications until you can truly feel comfortable sewing good quality blanket stitches. |
The Blog:A journey into our design process, sewing tutorials, fashion tips, and all the inspiring people and things we love. 
Doina AlexeiDesigner by trade and dressmaker at heart. I spend most of my days obsessing over new fabrics and daydreaming new ideas. 
Sadie
Executive Assistant & Client Relations Manager Archives
November 2019
Categories
All

|

-
Sewing Tutorials
-
Basics
>
- Aligning Pattern Grainlines To Fabric
- Preparing Fabrics For Sewing
- Pinning Sewing Patterns To Fabric
- Placing Sewing Patterns On Fabric For Cutting
- Rotary Cutters or Fabric Scissors?
- Cutting The Sewing Patterns
- What Are Notches And How To Use Them In The Sewing Process
- Transferring Notches From Pattern To Fabric
- Transferring Seamlines to Fabric
- Staystitching
- Backstitching: A Complete Guide
- Hand Basting: A Complete Guide
- Sewing Continuous Bias Binding
- Darts >
-
Sewing Seams
>
- The Basics Of Seams And Seam Allowance
- How To Sew A Straight Seam
- Sewing Curved Seams
- Sewing Corner Seams
- Trimming And Grading Seam Excess
- Notching/Clipping Seam Allowance for Tension Release
- Sewing Topstitched Seams
- Sewing Corded Seams
- Sewing A Slot Seam
- Sewing A Gathered Seam
- Sewing Bias Seams
- Sewing Seams With Ease
- Sewing Seams With Crossing Seamlines
- Sewing Unlike Fabric Seams
- How To Iron Seams: Ironing Tools And Conventions
- Sewing With Knit Fabrics
- Understanding Stitch Length And Tension
- Sewing Unique Fabric Seams
-
Seam Finishes
>
- Seam Finishing Techniques - Overview
- Applying A Pinked Seam Finish
- Applying A Bias Bound Seam Finish
- Serging And Zigzag Seam Finishes
- Sewing A Self-Bound Seam Finish
- Sewing A French Seam Finish
- Sewing A Hong Kong Seam Finish
- Sewing A Mock French Seam Finish
- Sewing A Turned-and-Stitched Seam Finish
- Sewing Overcast Hand-Applied Seam Finishes
- Sewing A Flat Felled Seam
- Sewing A Hairline Seam Finish
-
Hem Finishes
>
- Garment Hem Finishes: Overview
- Sewing A Double Fold Hem Finish
- Sewing A Single Fold Hem Finish
- Sewing Bound Hem Finishes
- Sewing An Exposed Double Layer Bound Hem
- Sewing A Folded-Up Bound Hem with Pre-folded Binding
- Sewing A Hong Kong Hem Finish
- Sewing A Band Hem Finish
- Sewing A Bias Faced Hem Finish
- Sewing A Twill Tape Hem Finish
- Sewing A Rolled Hem Finish
- Sewing A Shaped Hem Facing
- Using Fusible Hem Tape And Webbing
- Finishing A Lace Fabric Hem
- Finishing A Leather Hem
- Sewing Faced Hem Corners
- How To Finish Lining At The Hem
- Finishing Fabric Corners by Mitering >
- Interfacing A Hemline: Lined And Unlined Examples
-
Sewing Pockets
>
- Curved Patch Pocket With Flap
- Unlined Square Patch Pockets
- Lined Patch Pockets: Two Ways
- Extension On-Seam Pockets
- Separate On-Seam Pocket
- Front Hip Pockets
- Bound Double Welt Pocket
- Double Welt Pocket With Flap
- Self-Welt Pocket (Using Single Fabric Layer)
- Slanted Welt Pocket (Hand-Stitched)
- Faced Slash Pockets: Overview >
-
Sewing Zippers
>
- Sewing Zippers: General Information
- Sewing A Centered Zipper
- Sewing A Lapped Zipper
- Sewing An Invisible Zipper
- Sewing A Fly Front Zipper
- Sewing A Closed-End Exposed Zipper (No Seam)
- Sewing An Exposed Separating Zipper
- Sewing Hand Stitched Zipper Applications
- Sewing A Zipper Underlay
- Sewing A Placket-Enclosed Separating Zipper
- Sleeveless Finishes >
-
Neckline Finishes
>
- Sewing A Neck Shaped Facing
- Sewing An All-In-One Neck Facing
- Neck And Garment Opening Combination Facings >
- Sewing A Bias Faced Neckline Finish
- Sewing A Band Neckline Finish
- Bound Neckline Finishes: Overview >
- Sewing A Semi-Stretch Strip Band Neckline
- Ribbed Neck Band And Classic Turtleneck
- Decorative Neckline Finishes >
- Finishing Facing Edges >
-
Extras
>
- A Complete Guide on Interfacing
- Sewing Bound Spaghetti Straps
- Sewing Spaghetti Straps To A Faced Neckline
- Sewing Ruffles: Overview
- Patterning And Sewing A Circle Ruffle
- Sewing A Gathered Heading Ruffle
- Sewing Double Layer Gathered Ruffles
- Sewing A Gathered Ruffle Into A Seam
- Sewing A Gathered Ruffle To A Fabric Edge
- Sewing A Fabric Surface Slit
- Sewing A Slit Seam
- Hand-Applied Straight Stitches
- Hand-Applied Blind Stitches
- Hand-Applied Overedge Stitches
- Hand-Applied Tack Stitches
- Hand-Applied Decorative Stitches
-
Basics
>
- Custom Bridal
- Custom Apparel
- About
- Blog
 RSS Feed
Services |
Company |
|
