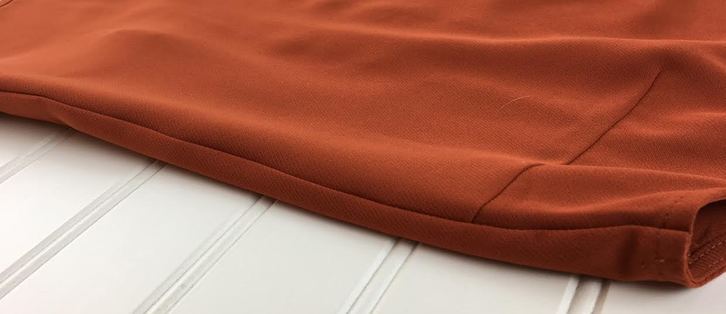
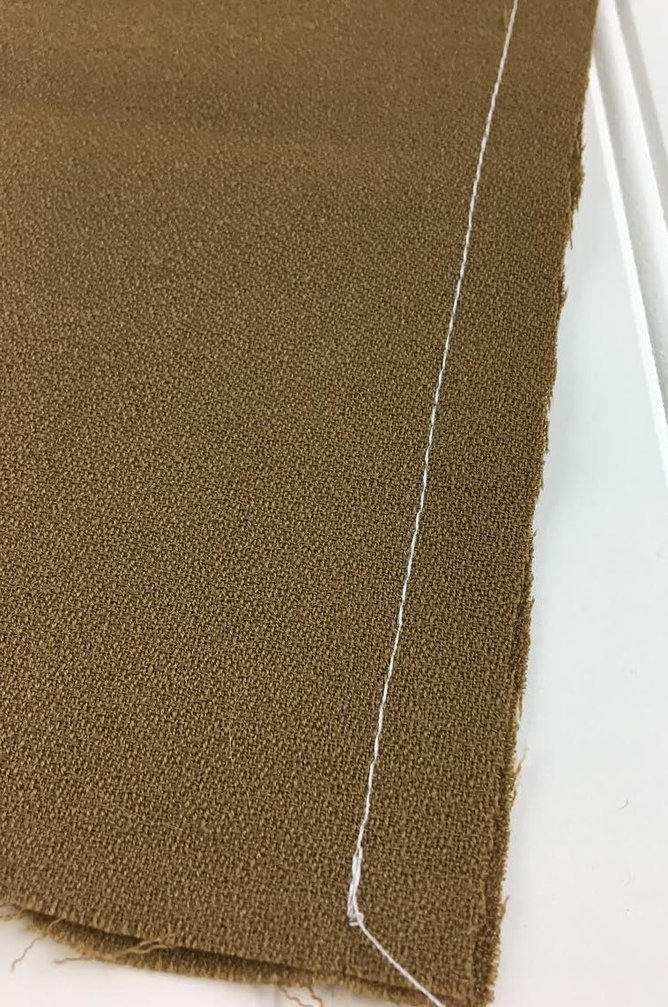
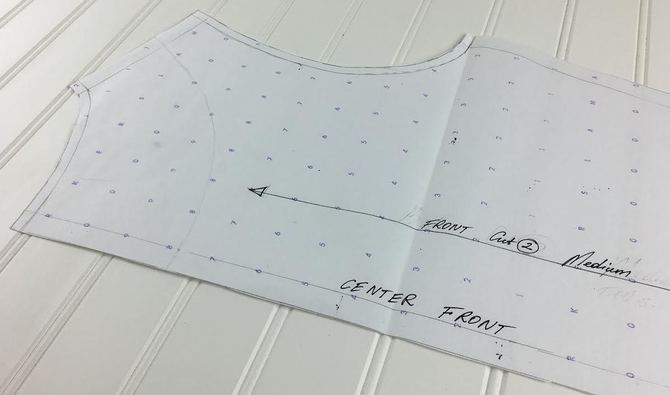
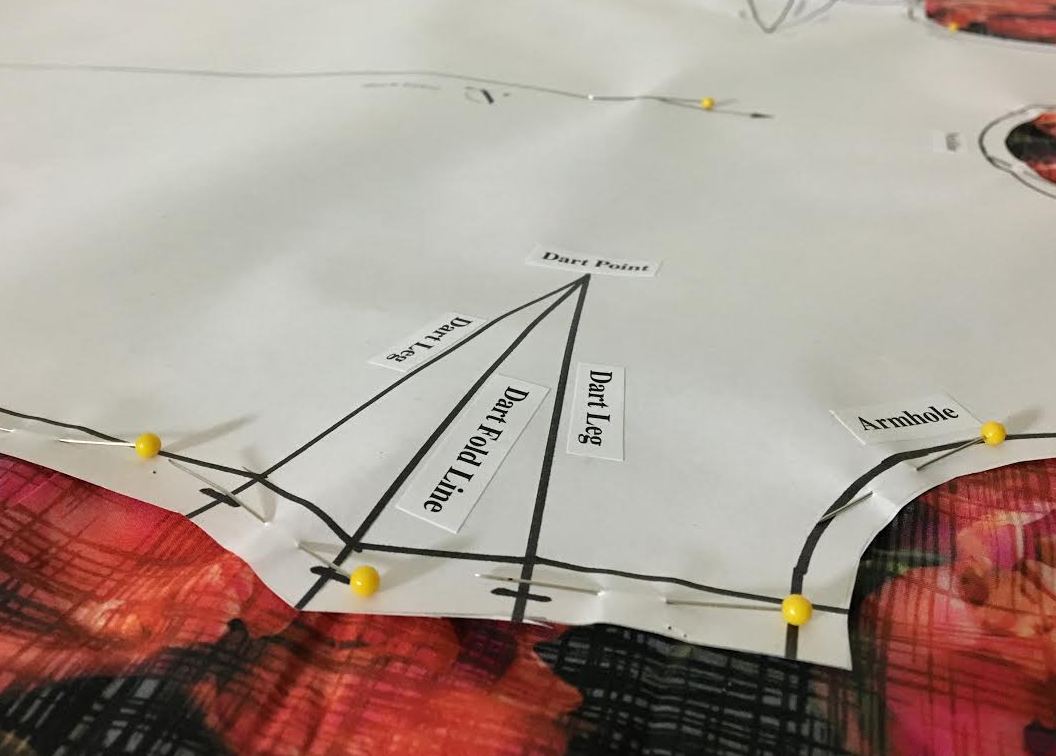
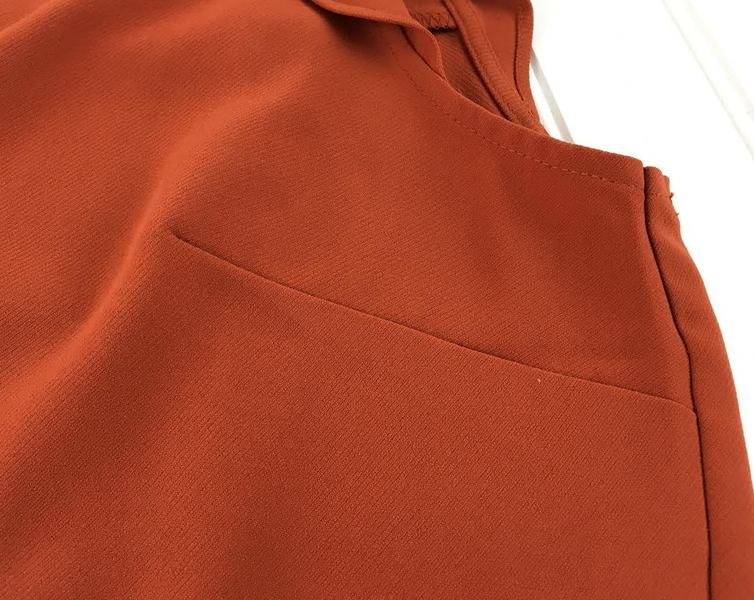
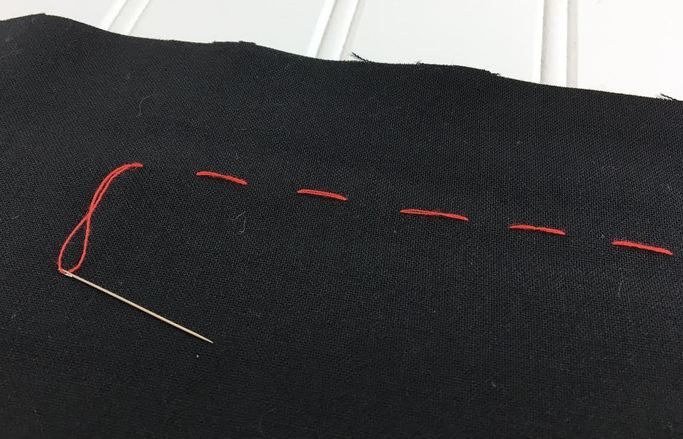
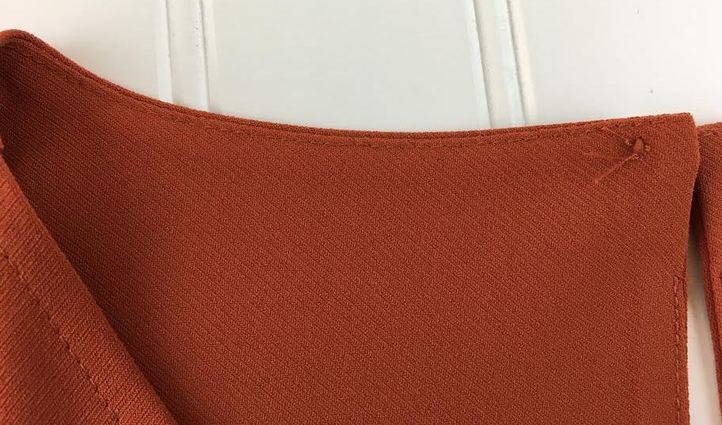
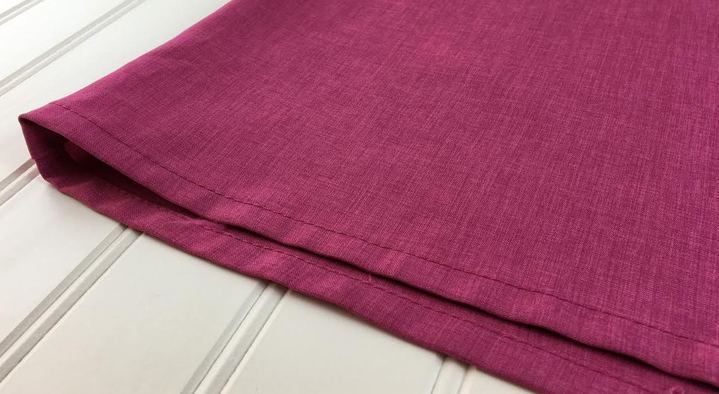
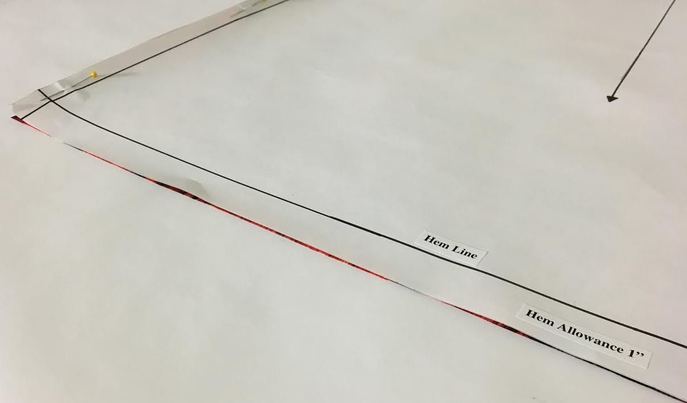
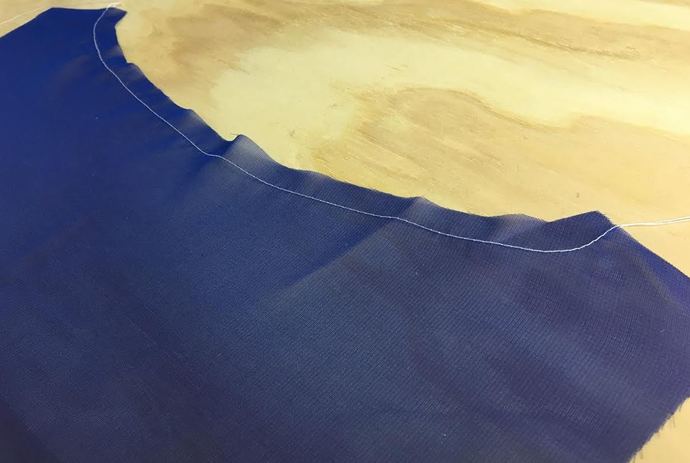
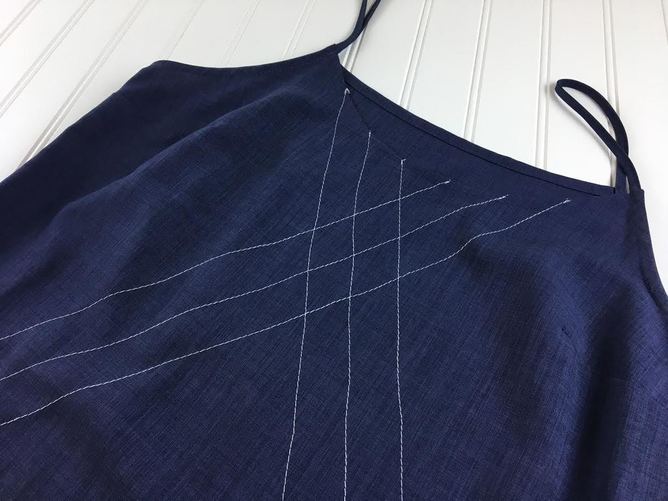
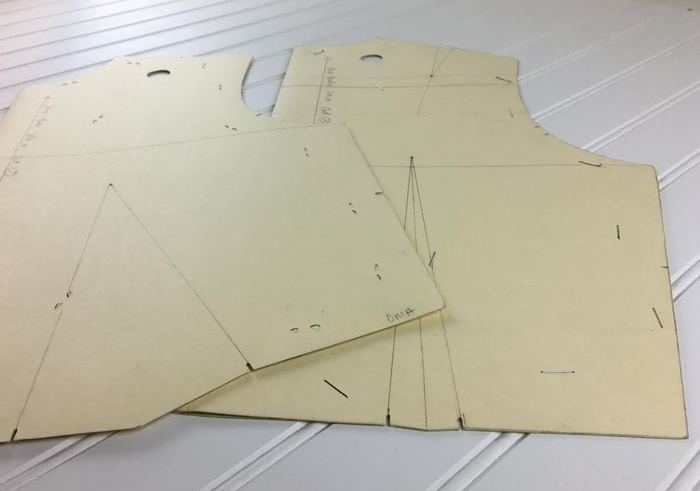
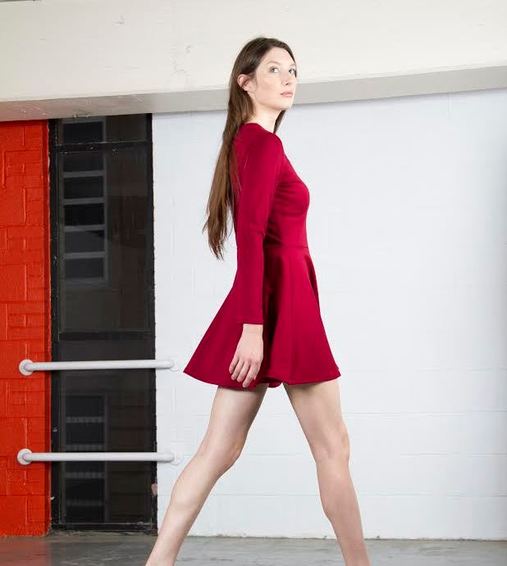
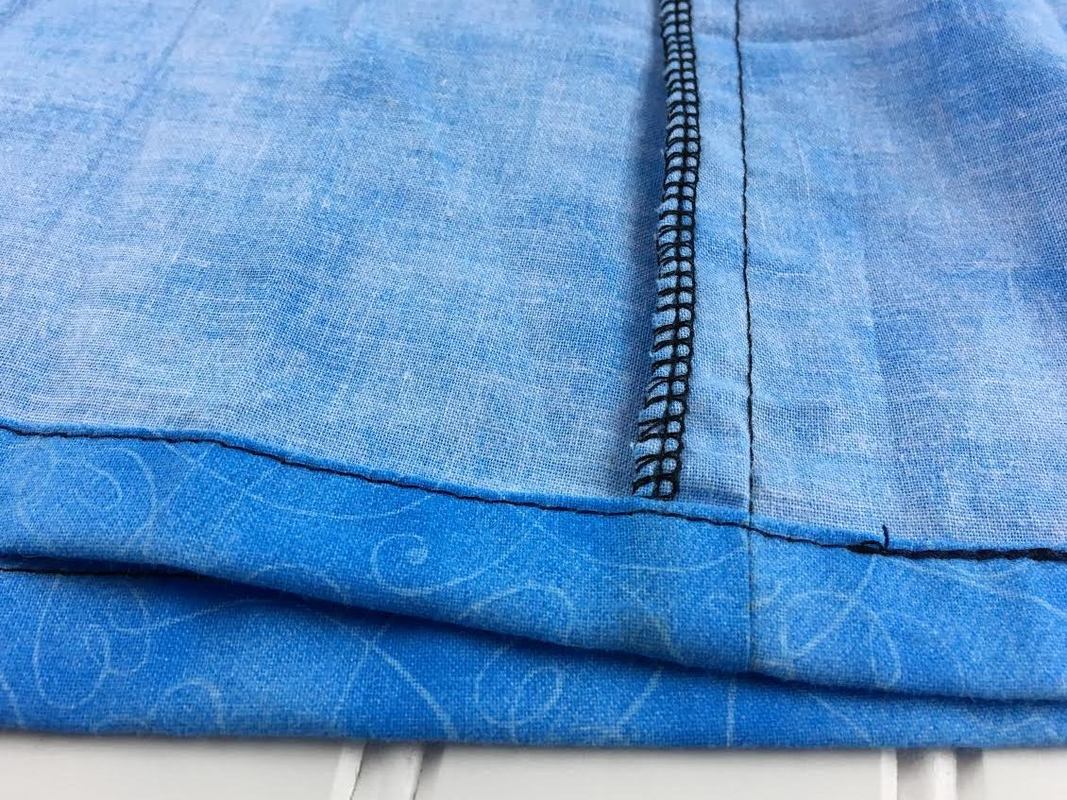
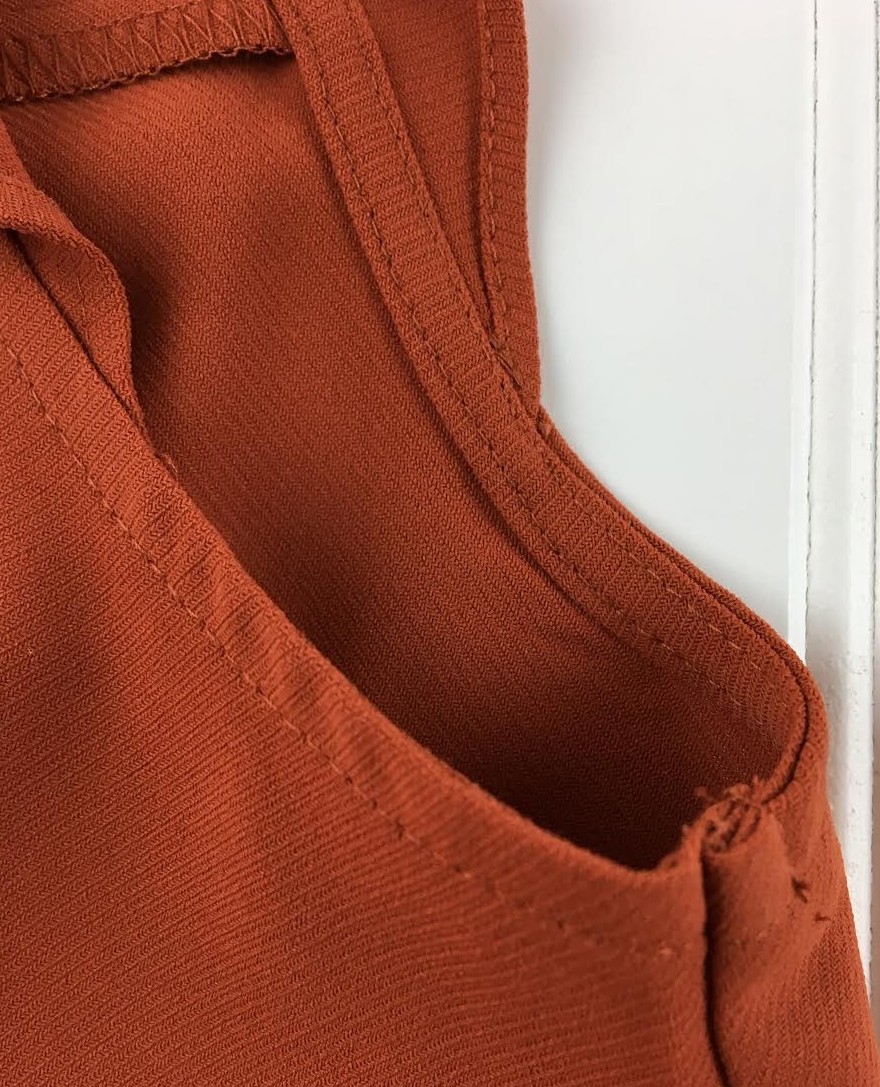
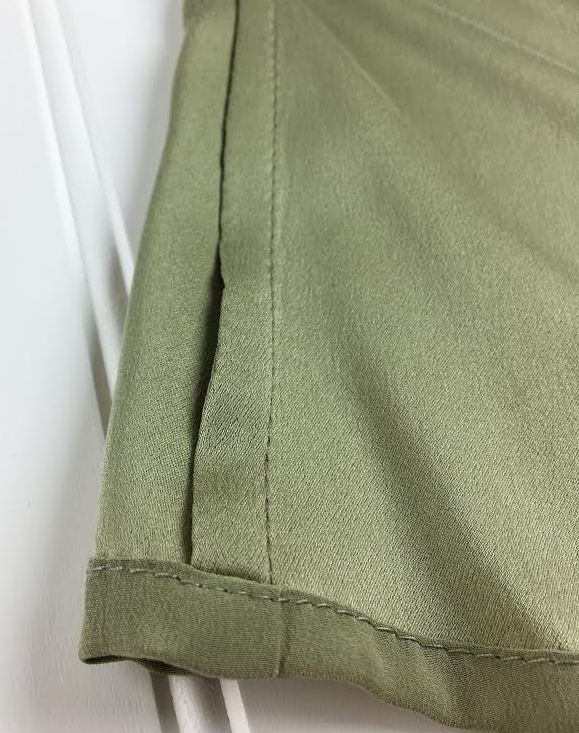
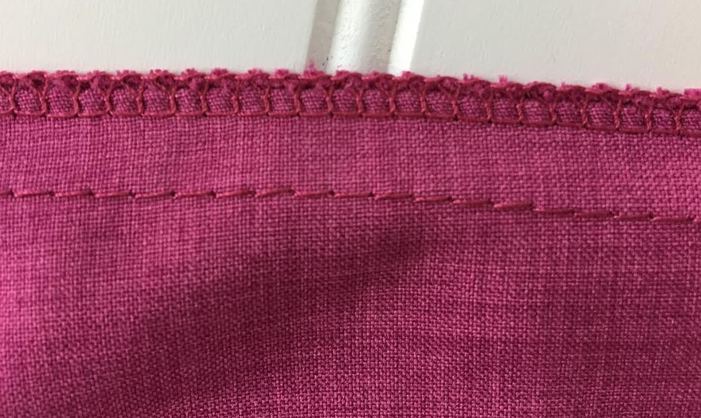
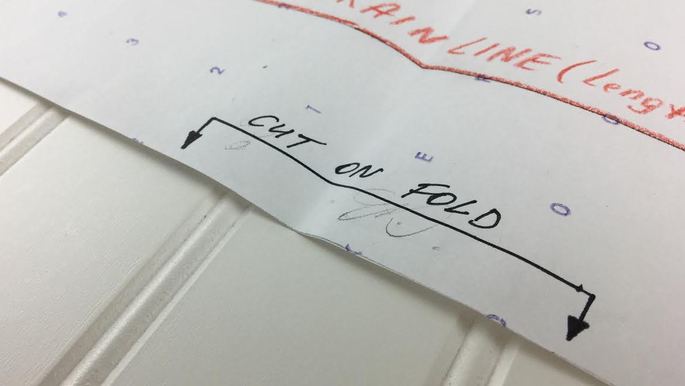
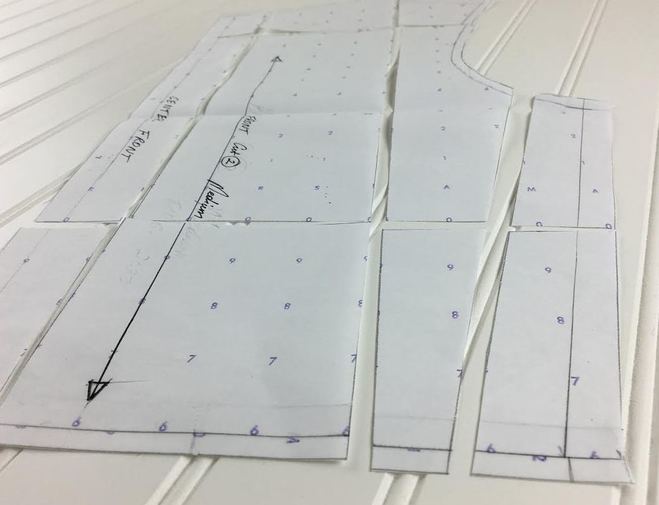
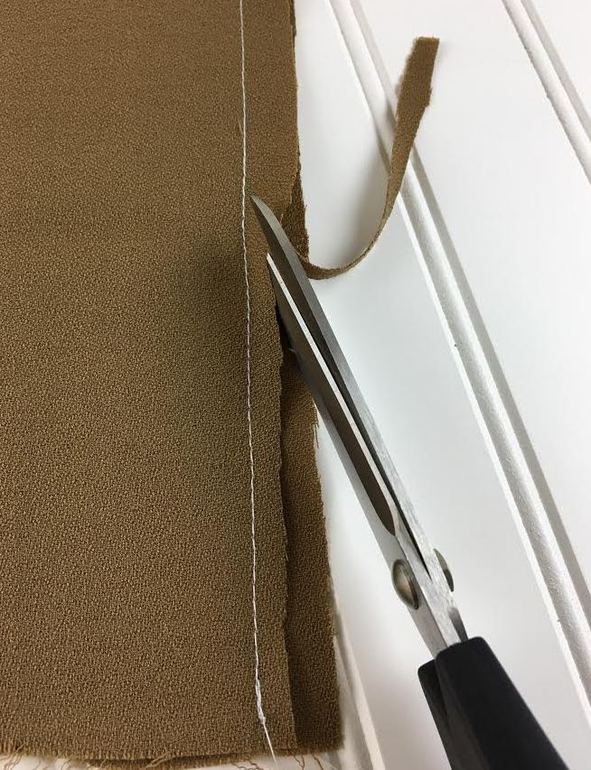
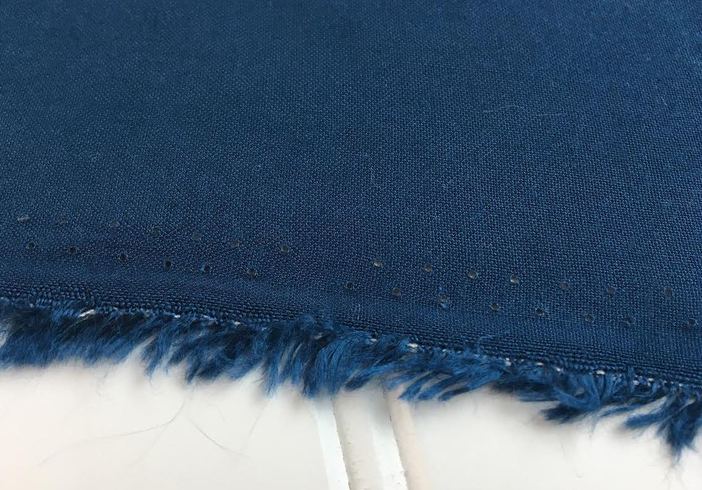
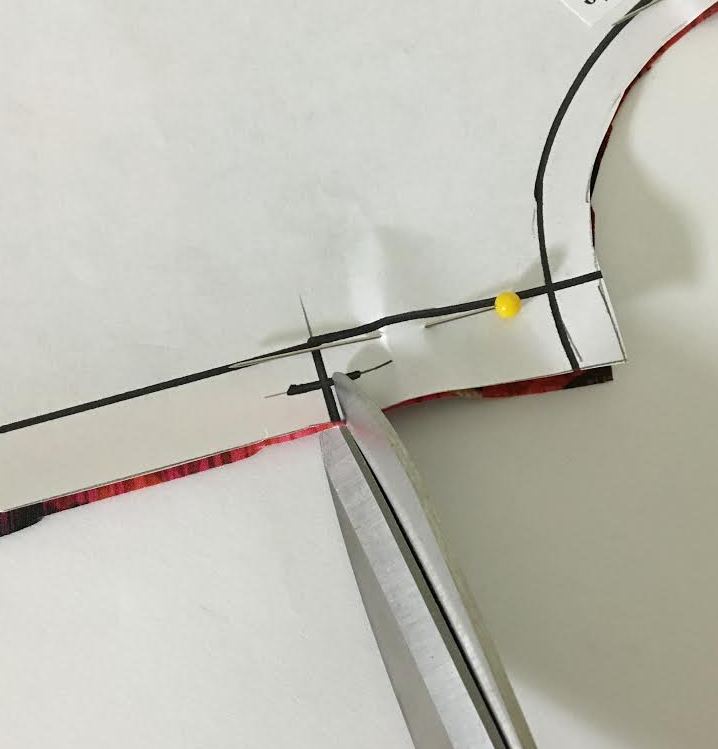
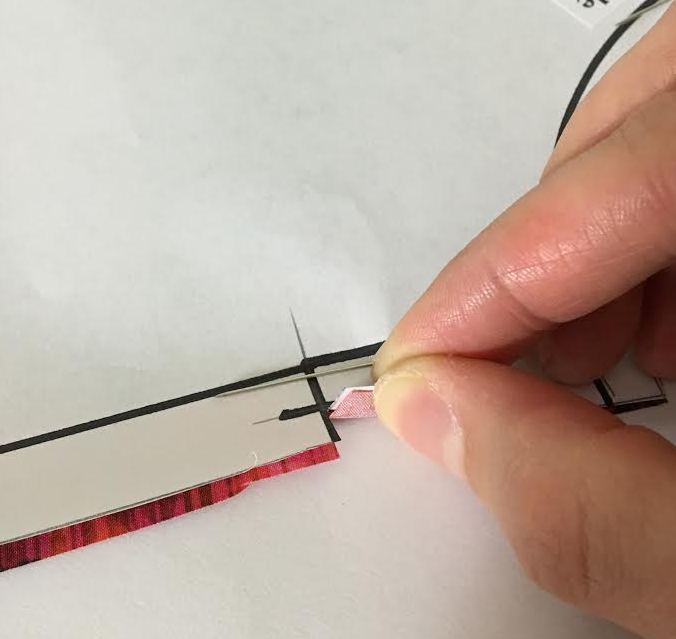
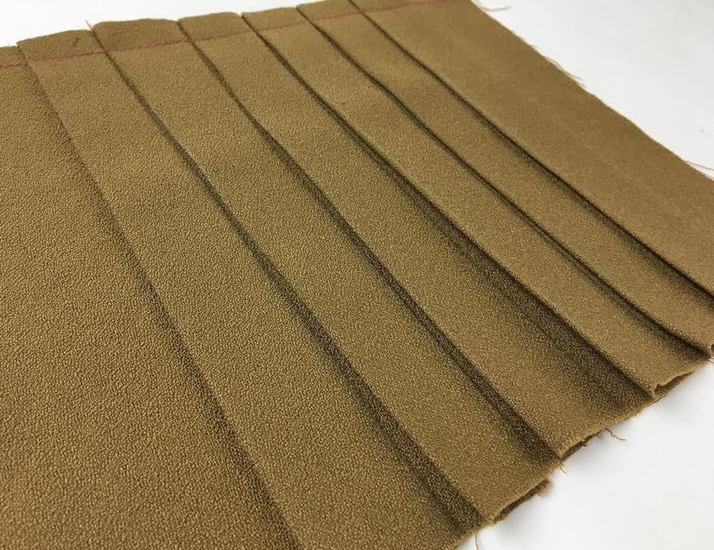
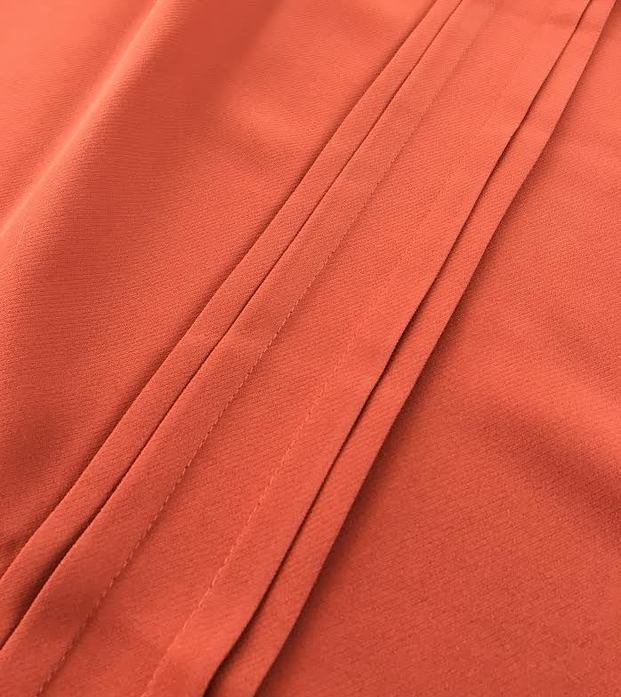
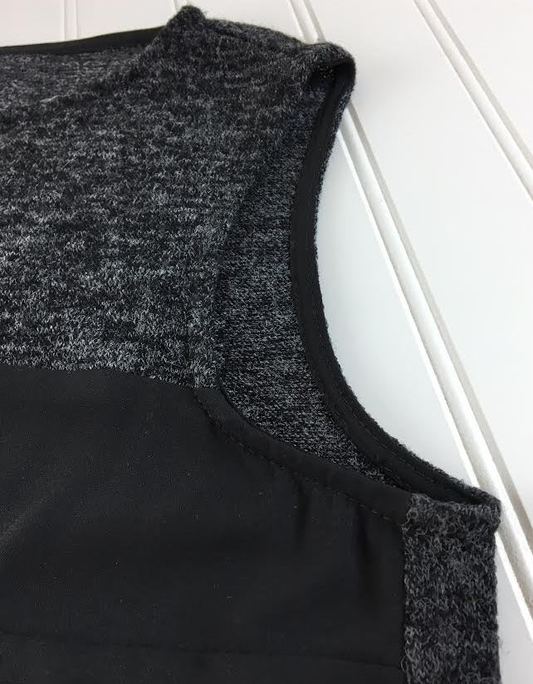
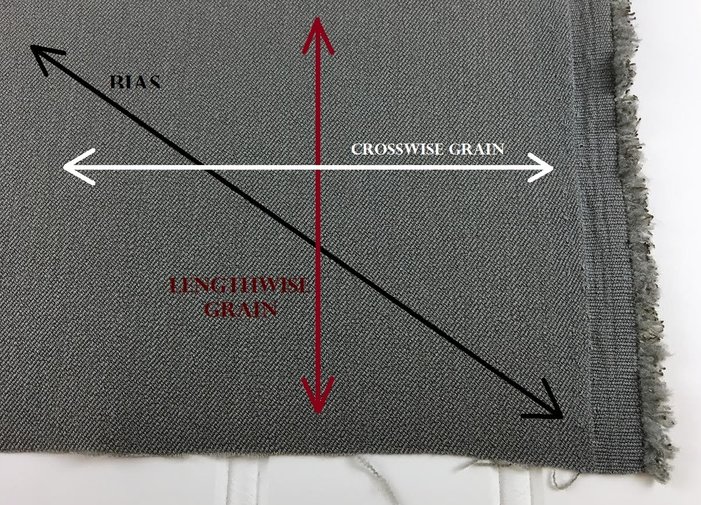
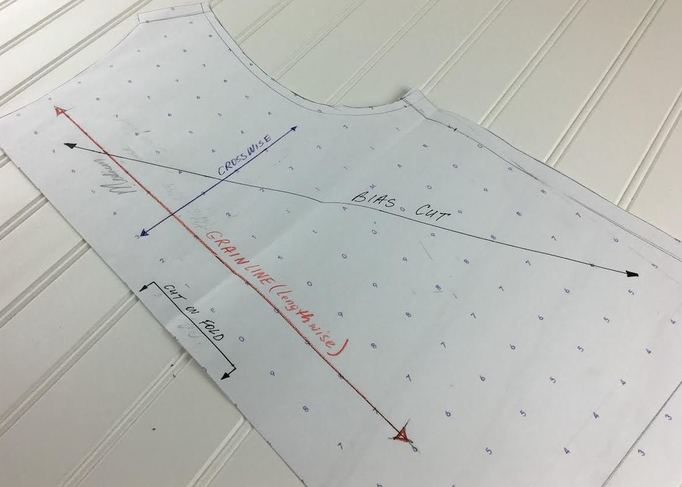
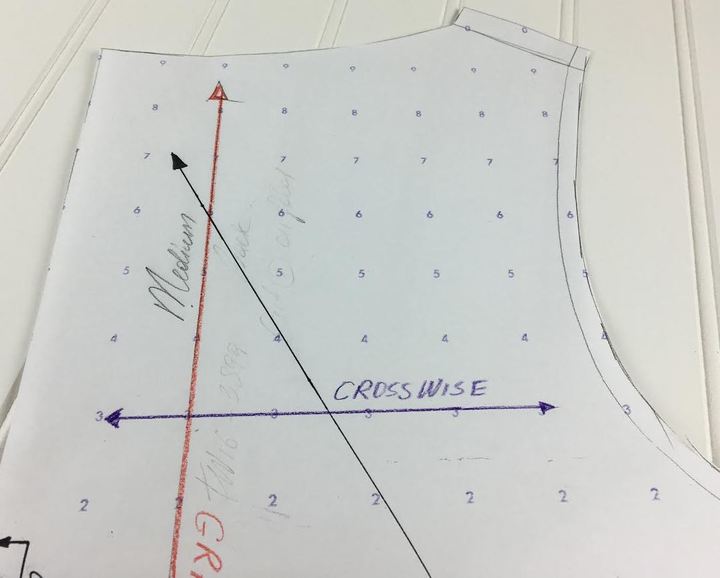
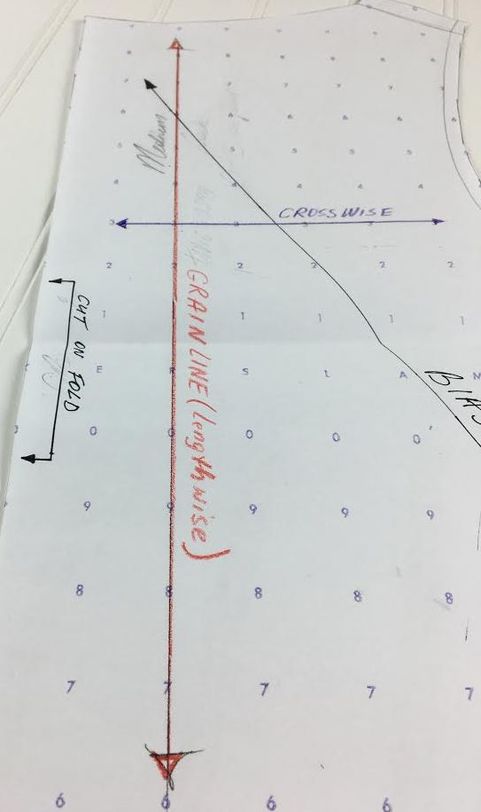
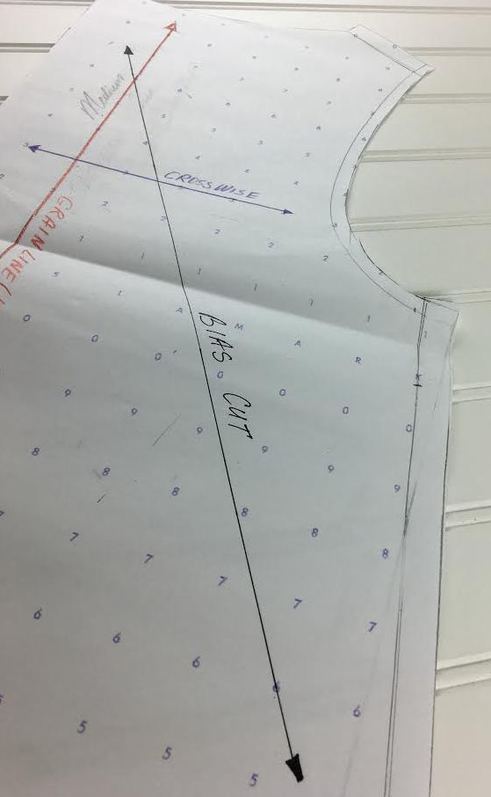
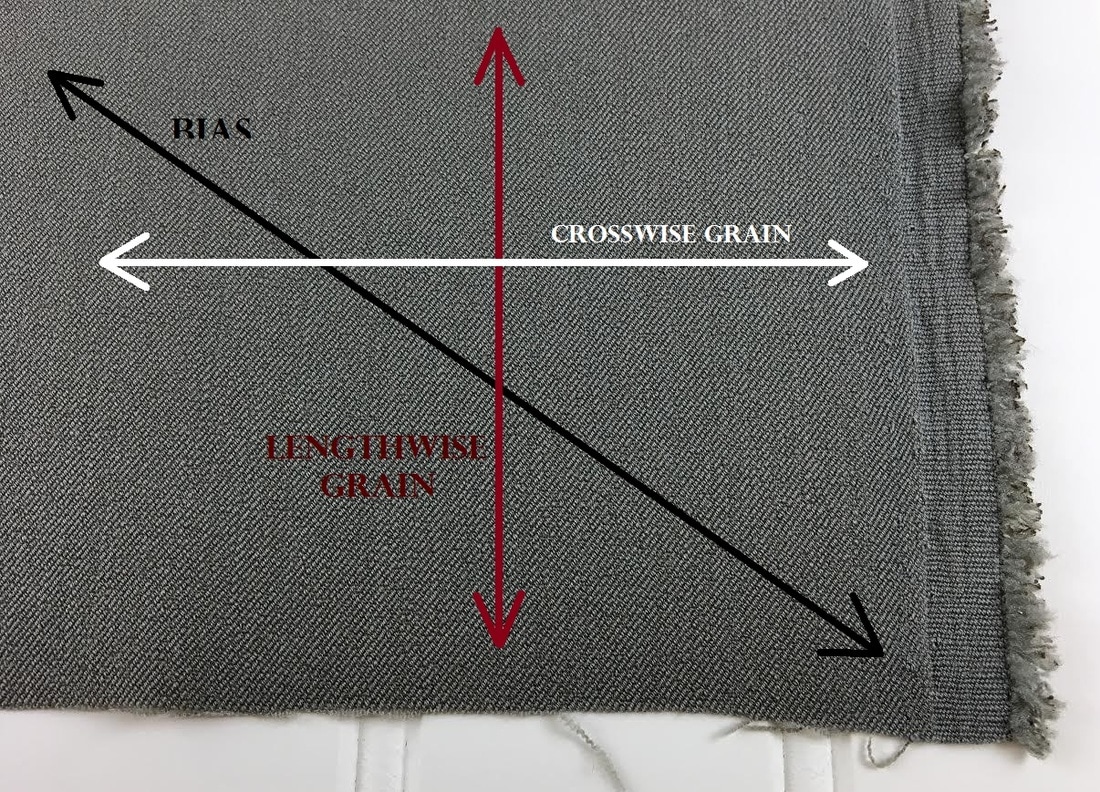
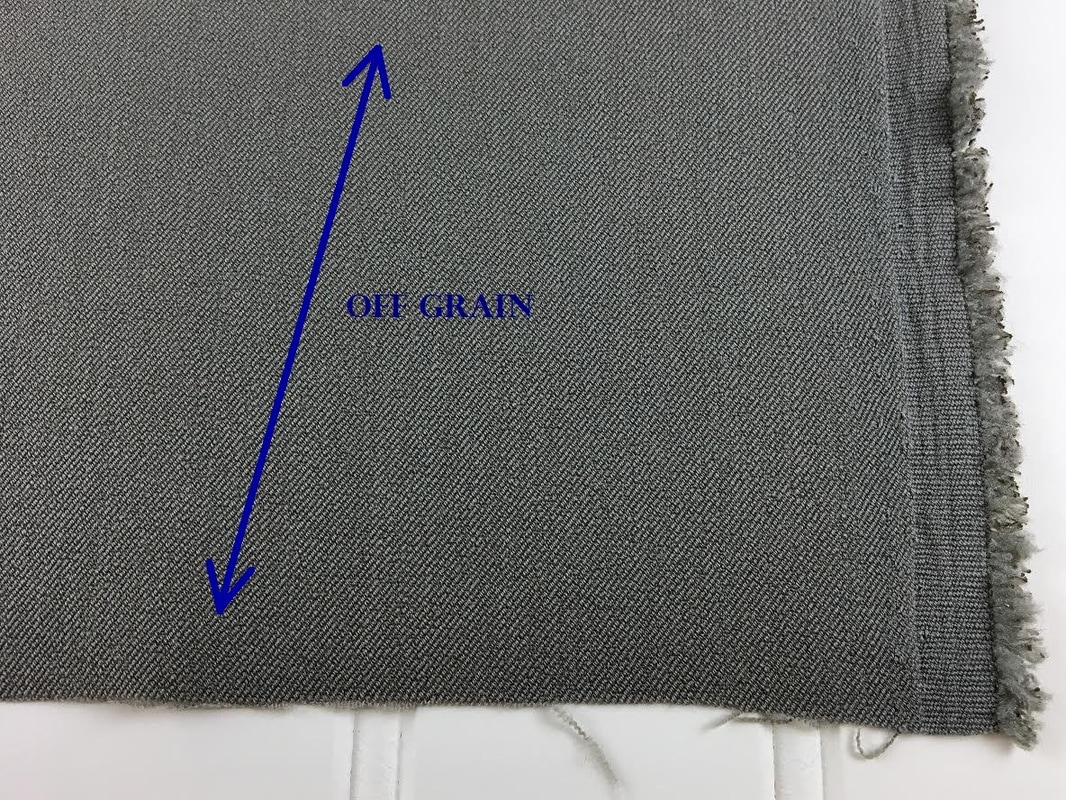
Learn to Sew: Sewing Terms You Should Know If You Are In The Process of Learning How To Sew5/2/2017 Seam: A seam is the stitch line where two or more pieces of fabric are joined together. In dressmaking, there are a variety of different seam finishes that are used for specific fabrics and styles. Seams can be broken down into two main groups: Conspicuous and inconspicuous seams. Inconspicuous seams are those that do not have any visual stitching or reinforcing on the face side of the garment. The seam line is the only thing visible in an inconspicuous seam- Best examples are plain, french seams and bound seams. Conspicuous seams are those that have stitching visible on the right side of the garment. Some examples include top-stitched seams, flat fell, and lapped. Seam Allowance: Seam allowance represents the excess fabric necessary to sew a seam together. In other words, it is the distance from the actual stitch line to the edge of the fabric. Seam allowance is left on the inside of the garment and is usually clean-finished using a variety of different methods. The width of seam allowance varies depending on the garment's style, finishing method and fabric. On most seams, anywhere from 5/8" to 1/2" is the most appropriate seam allowance to use. 1/4" seam allowance is found on lightweight fabrics along the raw edges that will be finished with double folded binding or serging. 1/4" seam allowance is also common on seams of light to medium weight knits. Bodice: The bodice is the upper front and back portion of a garment starting at the waist up. Think of the bodice as the upper torso area. This term is used widely in the sewing/clothing manufacturing industry to facilitate communication without having to list all the upper elements of a garment individually. When referring to the bodice of a garment, you are including all its components such as darts, waistline, neckline and armholes. Center Front/Center Back: The center front and center back are vertical lines that depict the precise middle of a garment's front and respectively, back. These two center lines are imperative to pattern making as they serve as important guides for pattern symmetry, placement, transfer and design. On basic garments, the center front and center back lines can serve as cut-on-fold lines, making a pattern more efficient to cut and manage. The center lines are also used in the design process as a guide for manipulating and altering sewing patterns into various styles and designs. The center front and back lines are also very important in the preliminary fitting process when making muslin prototypes- marking these two center lines precisely on the muslin fabric and then aligning them exactly to the dress form's center front and center back guides will result in the most correct and precise fitting process. Darts: Darts are triangular shapes that get folded and stitched down in order to remove excess in strategic places on the human body. Darts are used to create the 3-dimensional aspect of a garment. Because fabric is flat and has to fit and drape around an organic shape, darts are added to the bust area, waist, hips and sometimes elbows to contour along the human form. There are mainly two types of darts: single pointed darts and double pointed darts. Single pointed darts are the most common and have a single vanishing point. Double pointed darts are usually used vertically on the waistline of dresses, blazers and jackets in order to either accentuate it or create a form fitting effect. Double pointed darts are like two single pointed darts that are connected and sewn together- They have two vanishing points on opposite ends. Basting: Basting is a form of stitching that can be done by hand or using a sewing machine and is comprised of a set of stitches that are much longer in length. Basting is usually used to hold or stabilize two or multiple layers of fabric in place, align zippers or during fittings. It is usually removed once its purpose is served. Hand basting is used a lot during construction to hold certain seams and pieces of the garment together. Hand basting can be even or uneven. Even basting has even stitches, meaning they are the same length and spaced out evenly. This type of basting is used on thinner fabrics and more delicate round edges that require a lot more control. Uneven basting is the most common and fast- the stitches are uneven and it serves as a quick way to stabilize and control most seams and layers of fabric before final stitching. Machine basting refers to using the longest stitch available on your sewing machine. Understitch: The understitch is a straight stitch applied to the inside of a garment on linings, facings, binding and various types of pockets in order to keep the inside layers from losing their alignment and protrude on the outside of a garment. Although not visible on the face side of a garment, understitching is one of the most important components for a well-made professional garment. Understitching flattens and keeps excess seam allowance facing one direction to ensure that all the edges remain flat and smooth. Durability is also highly affected by understitching, especially after a few wash cycles which can distort edges that haven't been understitched properly. Hem/Hemline: The hem represents the bottom edge of a garment. Hems come in different shapes and lengths. There are straight hems, high-low hems, round hems and asymmetric hems. They are positioned at different lengths according to the design. Hem Allowance: While the hemline represents the bottom edge of a garment, the hem allowance is the excess fabric necessary to clean-finish the hem. The hem allowance follows the same concept as regular seam allowance: It is the distance from hemline to the raw edge of the fabric. Hem allowance however requires different finishes than regular seam allowance and can be anywhere from 1/4" to 2 1/2" in length. Curved edges and lightweight fabrics are best finished with smaller hem allowance because they are easier to fold and stabilize. On the other hand, longer hem allowance is used on thicker fabrics especially tailored items. The best hem allowance to work with as a sewing beginner is 1". Stay-stitching: Stay-stitching is a process applied during sewing which is not visible on the outside of the garment, used to stabilize vulnerable edges like the neckline, waistline and certain bias cuts. Stay-stitching is used to ensure that during the construction process, the natural handling and pulling of the fabric pieces do not damage or stretch the curved, most sensitive areas of a garment. Although stay-stitching is seldom seen on the finished garment, even on the inside, it is a necessary step in facilitating the sewing process and improving the quality of the final product. Top-stitching: Top-stitching is represented by single or multiple straight stitches applied to the face side of a garment for decorative or functional purposes. Top-stitching is very common on more casual sporty items like denim, active wear and sportswear. It can be done in contrast colored or thicker thread and can be applied along seam lines, pleats, tucks, zippers and different pocket types. Although mostly used for ornamental purposes, top-stitching can improve functionality by keeping excess fabric from seam allowance, pleats and tucks flat and pointing in a single direction without shifting around. Slopers/Blocks: Slopers or Blocks are a set of basic sewing patterns that are used as a starting point for generating patterns for a variety of different designs and styles. Most clothing and manufacturing companies have their individually developed slopers that fit within their customer base. You can turn any design into a sloper as long as it can be used to develop other sewing patterns. However, the most common slopers are simple, form-fitting patterns with basic darts. A list of basic front and back slopers includes: Bodice sloper with bust and waist darts, basic skirt sloper with single pointed waist darts, basic pant sloper with single pointed waist darts, basic sleeve sloper with/without elbow dart, and dress slopers with bust darts and double pointed waist darts. These simple slopers can be manipulated to achieve any style desired. Swing: The swing of a clothing item refers to the movement of a dress or skirt's bottom. The amount of swing a dress or skirt has can be none to maximum, and depends on a combination of factors like fabric, design, drape and finishes used. Fabrics like rayon, silk and most poly blends have the most swing. Linen, cotton, thick wool and acrylic fabrics have less swing. Swing is a term applied to non-form fitting silhouettes like A-line and gathered waist. Clean Finishing: Clean finishing refers to using a variety of methods to finish fabric raw edges on a garment during construction so that the fabric doesn't fray with repeated use. The most common areas of a garment that require clean finishing are: the seam allowance's raw edge on the inside of a garment, along armhole edges and neckline, and all hem raw edges. The most common way to clean finish seams is by using a serging/overlock stitch. Depending on the garment type and fabric used, a variety of more labor-intensive, high quality finishes can be used. Examples include: french seam, flat fell, lapped seam finish, and bound. Serging/Overlock Stitch: A serging (overlock) stitch is usually applied to the raw edges of fabric for clean finishing purposes and is done by an overlock sewing machine/serger. A serged stitch is sometimes a 2-in-1 way to sew a seam together: it applies a straight stitch while also clean finishing the seam's raw edge (usually used on knits). A serged stitch is achieved by using four rows of thread, two of each apply straight stitches and the other two loop around the raw edge. Cut On Fold: Cutting on fold refers to the act of folding the fabric in half, and cutting a sewing pattern on this fold in order to achieve two symmetric sides of the specified pattern. However, you can't cut just any pattern on fold. Sewing patterns that require to be cut on fold usually have specific symbols listed along the "cut on fold" edge. The most important things you should remember about patterns that need to be cut on fold is that: They are symmetric on both sides of the cut-on-fold edge, the cut-on-fold line is always straight, and this edge never has seam allowance. The cut on fold method is often used in order to save pattern paper and make it more efficient and easy to cut when working on smaller surfaces. Pattern Grading: Pattern grading means creating patterns in various sizes. A base size is used (usually a medium or small) to increase or decrease the body of each sewing pattern thus creating a variety of different sizes. The term "grading" in dressmaking always refers to changing the measurements of "something". In this case, the grading of pattern size either up or down depending on the sizes needed. Fabric Grading: While pattern grading refers to changing the entire size of a sewing pattern, fabric grading is used during the construction phase to trim excess seam allowance during specialized finishes in order to minimize bulk and facilitate sewing. Fabric grading is most commonly used when sewing flat fell seams which require the trimming of one of the seam allowance edges. Selvage: When it comes to understanding fabric weaves and how to cut your sewing patterns correctly, selvage is the most important term to remember. The selvage refers to the edge of the fabric that is aligned parallel to its grain. If you look at a your fabric, you will notice either a white or dense bunching of fibers along the vertical edge of the fabric- this is called the selvage edge. For correct drape an durability, most sewing patterns are aligned and cut parallel to the selvage edge. Notch: A notch is a small snip (or wedge) in the seam allowance that helps mark and match adjoining edges or differentiate between front and back patterns. Traditionally, front patterns have single notches and back patterns have double notches. Triple notches are also common in zipper and vent markings. Depending on the sewing patterns you are working with, a notch can be marked in the shape of a triangle that requires you to actually cut it out, or little "T" shapes that require you to clip on the horizontal line only up to the vertical dash (about 1/4" in). The latter method is much easier and faster (especially if you are making your own patterns) and most commonly used in the fashion industry. Gathering: Gathering is an even bunching of fabric which gets sewn to a smaller regular adjoining edge in order to create fullness. Gathering requires that both the regular edge and the edge receiving the gathering are measured to ensure the correct ratio of fullness is achieved. Since gathering is usually about half or one third of the regular edge it gets connected to, the length of the gathered edge is determined by measuring the regular edge then adding the necessary excess to allow for gathering. Gathering is usually achieved using two rows of longer stitches (6-12 stitches per inch) on the sewing machine, then pulling the bobbin threads to draw in the fabric, thus creating a gathered seam. The gathering stitch is similar to a basting stitch, but in many cases, a bit shorter. If the fabric is heavy to medium weight you will need a longer gathering stitch. Vise versa, if you are working with light weight, delicate fabrics, a shorter stitch works better. Keep in mind that your gathering stitch should always be larger then the regular stitch you use to sew the seam regularly. Pleats: Pleats are folds of fabric that get set into a seam. The folding can be even or uneven and come in different styles and sizes. The basic pleats you should be familiar with are side (knife) pleats, box pleats, inverted pleats, and accordion pleats. Although the styles vary, all pleats require a fold line and a placement line- When you create a pleat fold you need a line to align the fold with. Pleats usually hang best and are easiest to work with if folded on the grain. Pleats can also have specialized finishes like top-stitching, edge stitching and industrial treatment (for accordion pleats). Pleats can also be soft hanging or posses a very sharp, structured characteristic. The best pleats to try at home if you are a sewing beginner are: Box pleats, inverted pleats and side pleats. Accordion pleats are very difficult to achieve at home because home irons don't have the pressing power to set the folds in like the ones in an industrial setting. Tucks: Tucks are also represented by folds of fabric but as opposed to pleats (described above), they actually get stitched down. A basic tuck has a fold line and two symmetrically positioned stitch lines on either sides. When the tuck gets folded down the fold line, the stitch lines match up and get sewn together right on the top of this line. Tucks come in a few different styles and variety of widths. The width of the tuck is calculated by measuring horizontally from fold line to the stitch line. The tucks can be arranged to start right where another one ends in an even alignment, or have separation in between. Some specialty tucks you should be familiar with are dart tucks, corded tucks and decorative shell tuck. Armhole: The term armhole is used to describe the opening that allows for the arms to be inserted or a sleeve to be attached. The term can be used to describe a sleeveless garment or an unfinished raw edge along this opening. It is a pretty straight forward term, but used a lot in facilitating communication in the fashion/manufacturing industry. Grain: The grain refers to the position of the weft and warp threads on a fabric's weave. Understanding grain is essential in being able to position and cut your sewing patterns properly. Before we dive into more detail, here's what you need to know about the basic grain of a fabric: Warp threads are positioned vertically, parallel to the selvage edge. Vise versa, weft threads are positioned horizontally, perpendicular to the selvage edge. Warp threads constitute the lengthwise grain, and weft threads the crosswise grain. Going diagonally against the selvage edge, intersecting the lengthwise and crosswise grain, is the bias. If your sewing pattern is aligned with neither of the three terms mentioned above, it is considered to be off-grain. Keep reading as we describe these terms in detail bellow. Grain Line: The grain line on a sewing pattern is a double pointed arrow that relates the placement of said sewing pattern on the fabric in relation to the fabric's grain (or the selvage edge). The grain line on a pattern works hand in hand with the grain of the fabric. A grain line placed vertically on the pattern is aligned parallel to selvage edge, a horizontal grain line is aligned perpendicular, and a diagonal line is aligned diagonally in relation to the selvage edge of fabric. Having a grain line as a guide for placement ensures that the pattern is always cut correctly, eliminating fit, drape and various comfort issues. Crosswise: As briefly described above, the threads that are positioned perpendicular to the selvage edge also called weft, represents the crosswise grain. In other words, if a sewing pattern needs to be cut on the crosswise grain, it will be placed horizontally on the fabric, perpendicular to selvage edge. Weft threads are thinner and not as durable as warp threads (aligned vertically, parallel to the selvage edge) which is why it is uncommon for most patterns to be cut crosswise. The fabric is more difficult to manipulate, fold and work with for patterns cut on the crosswise grain. Lengthwise: The lengthwise grain consists of the fabric's warp threads, positioned parallel to the selvage edge. This is the most common grain for cutting sewing patterns. Because warp threads are more durable and easy to fold and iron vertically, cutting your patterns on the lengthwise grain will ensure that the garment drapes well and is structured appropriately- It also makes the fabric much easier to work with during the construction process. Tip: If you want to do a little experiment on your own and test if vertical warp threads are more durable than horizontal weft threads, try pulling a single thread out of the fabric weave vertically and horizontally. You will notice that the horizontal thread will be weaker than the vertical. You will find that slowly pulling and removing a warp thread is much easier and does not break as much as removing a weft thread. Bias: The bias grain is positioned diagonally to the selvage edge. Cutting a sewing pattern on the bias is more expensive because it requires a bit more fabric. However, this results in a beautiful drape and exquisite comfort. If you pull on your fabric diagonally, you'll notice that it has quite a stretch, even if the fabric itself is a non-stretch woven. It is this stretchiness that allows for the best fit and comfort. Bias cuts are used a lot in evening wear and bridal, specifically for flowy, A-line gowns. Off Grain: Just as the name suggests, off grain means that the grain is not corresponding to any of the options described above. Cutting a sewing pattern off-grain can result in a poor fitting garment and incorrect drape. Off-grain in sewing is considered a cutting error and there is no such thing as an "off-grain grainline" on a pattern. Cutting a pattern off grain can ether signify that the pattern wasn't positioned correctly on the fabric in regards to the selvage edge or that the fabric wasn't properly prepared and "blocked" prior to cutting. Ease: The term used to describe allowing for slight excess at the seams to create more flexibility and comfort in a garment. When working with woven fabrics, ease is something you should consider around certain areas of the garment if you are sewing a form-fitting style. Although sometimes applied along the entire seam, ease is something that can be more localized, such as: around the bust area, armhole, waist, hips and knees (on pants). Any area where the body has a more organic shape and requires more movement should have a bit of excess allowance for comfort. The added ease can be anywhere from 1/8"-1/4" and even 5/8"-1/2" in some cases depending on the style and fabric being used.
2 Comments
Leave a Reply. |
The Blog:A journey into our design process, sewing tutorials, fashion tips, and all the inspiring people and things we love. Doina AlexeiDesigner by trade and dressmaker at heart. I spend most of my days obsessing over new fabrics and daydreaming new ideas. Sadie
Executive Assistant & Client Relations Manager Archives
November 2019
Categories
All
|
-
Sewing Tutorials
-
Basics
>
- Aligning Pattern Grainlines To Fabric
- Preparing Fabrics For Sewing
- Pinning Sewing Patterns To Fabric
- Placing Sewing Patterns On Fabric For Cutting
- Rotary Cutters or Fabric Scissors?
- Cutting The Sewing Patterns
- What Are Notches And How To Use Them In The Sewing Process
- Transferring Notches From Pattern To Fabric
- Transferring Seamlines to Fabric
- Staystitching
- Backstitching: A Complete Guide
- Hand Basting: A Complete Guide
- Sewing Continuous Bias Binding
- Darts >
-
Sewing Seams
>
- The Basics Of Seams And Seam Allowance
- How To Sew A Straight Seam
- Sewing Curved Seams
- Sewing Corner Seams
- Trimming And Grading Seam Excess
- Notching/Clipping Seam Allowance for Tension Release
- Sewing Topstitched Seams
- Sewing Corded Seams
- Sewing A Slot Seam
- Sewing A Gathered Seam
- Sewing Bias Seams
- Sewing Seams With Ease
- Sewing Seams With Crossing Seamlines
- Sewing Unlike Fabric Seams
- How To Iron Seams: Ironing Tools And Conventions
- Sewing With Knit Fabrics
- Understanding Stitch Length And Tension
- Sewing Unique Fabric Seams
-
Seam Finishes
>
- Seam Finishing Techniques - Overview
- Applying A Pinked Seam Finish
- Applying A Bias Bound Seam Finish
- Serging And Zigzag Seam Finishes
- Sewing A Self-Bound Seam Finish
- Sewing A French Seam Finish
- Sewing A Hong Kong Seam Finish
- Sewing A Mock French Seam Finish
- Sewing A Turned-and-Stitched Seam Finish
- Sewing Overcast Hand-Applied Seam Finishes
- Sewing A Flat Felled Seam
- Sewing A Hairline Seam Finish
-
Hem Finishes
>
- Garment Hem Finishes: Overview
- Sewing A Double Fold Hem Finish
- Sewing A Single Fold Hem Finish
- Sewing Bound Hem Finishes
- Sewing An Exposed Double Layer Bound Hem
- Sewing A Folded-Up Bound Hem with Pre-folded Binding
- Sewing A Hong Kong Hem Finish
- Sewing A Band Hem Finish
- Sewing A Bias Faced Hem Finish
- Sewing A Twill Tape Hem Finish
- Sewing A Rolled Hem Finish
- Sewing A Shaped Hem Facing
- Using Fusible Hem Tape And Webbing
- Finishing A Lace Fabric Hem
- Finishing A Leather Hem
- Sewing Faced Hem Corners
- How To Finish Lining At The Hem
- Finishing Fabric Corners by Mitering >
- Interfacing A Hemline: Lined And Unlined Examples
-
Sewing Pockets
>
- Curved Patch Pocket With Flap
- Unlined Square Patch Pockets
- Lined Patch Pockets: Two Ways
- Extension On-Seam Pockets
- Separate On-Seam Pocket
- Front Hip Pockets
- Bound Double Welt Pocket
- Double Welt Pocket With Flap
- Self-Welt Pocket (Using Single Fabric Layer)
- Slanted Welt Pocket (Hand-Stitched)
- Faced Slash Pockets: Overview >
-
Sewing Zippers
>
- Sewing Zippers: General Information
- Sewing A Centered Zipper
- Sewing A Lapped Zipper
- Sewing An Invisible Zipper
- Sewing A Fly Front Zipper
- Sewing A Closed-End Exposed Zipper (No Seam)
- Sewing An Exposed Separating Zipper
- Sewing Hand Stitched Zipper Applications
- Sewing A Zipper Underlay
- Sewing A Placket-Enclosed Separating Zipper
- Sleeveless Finishes >
-
Neckline Finishes
>
- Sewing A Neck Shaped Facing
- Sewing An All-In-One Neck Facing
- Neck And Garment Opening Combination Facings >
- Sewing A Bias Faced Neckline Finish
- Sewing A Band Neckline Finish
- Bound Neckline Finishes: Overview >
- Sewing A Semi-Stretch Strip Band Neckline
- Ribbed Neck Band And Classic Turtleneck
- Decorative Neckline Finishes >
- Finishing Facing Edges >
-
Extras
>
- A Complete Guide on Interfacing
- Sewing Bound Spaghetti Straps
- Sewing Spaghetti Straps To A Faced Neckline
- Sewing Ruffles: Overview
- Patterning And Sewing A Circle Ruffle
- Sewing A Gathered Heading Ruffle
- Sewing Double Layer Gathered Ruffles
- Sewing A Gathered Ruffle Into A Seam
- Sewing A Gathered Ruffle To A Fabric Edge
- Sewing A Fabric Surface Slit
- Sewing A Slit Seam
- Hand-Applied Straight Stitches
- Hand-Applied Blind Stitches
- Hand-Applied Overedge Stitches
- Hand-Applied Tack Stitches
- Hand-Applied Decorative Stitches
-
Basics
>
- Custom Bridal
- Custom Apparel
- About
- Blog
Services |
Company |
|




 RSS Feed

