|
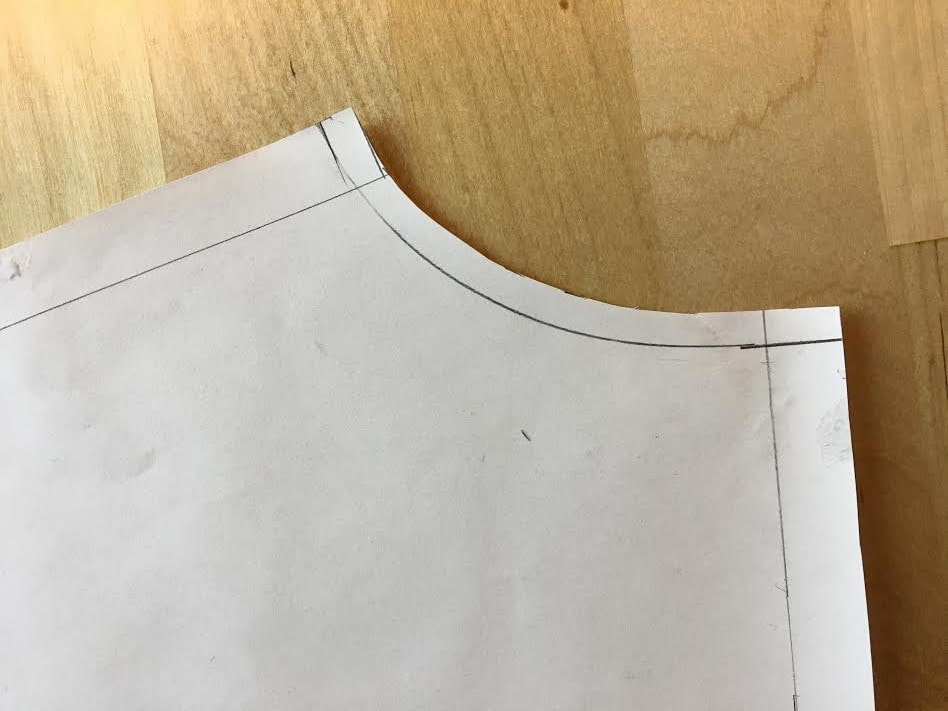
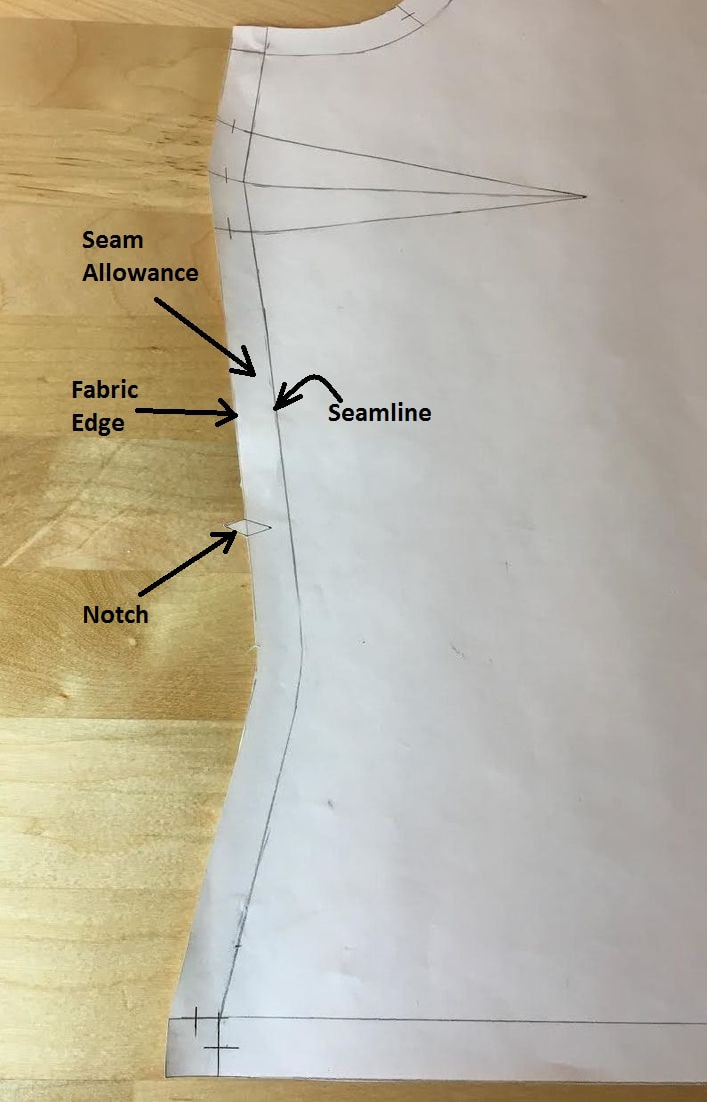
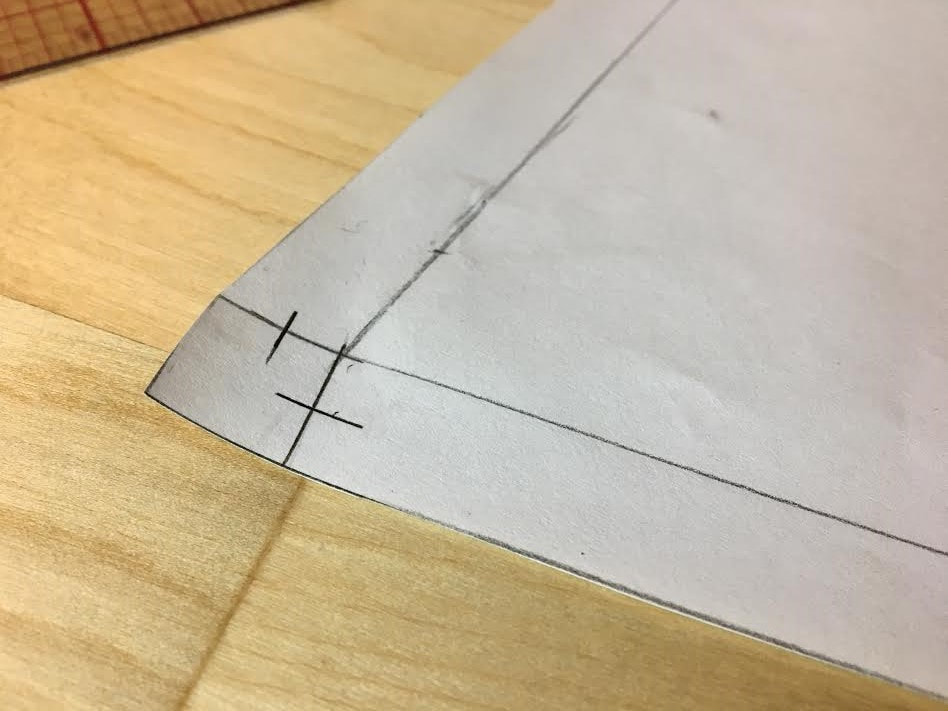
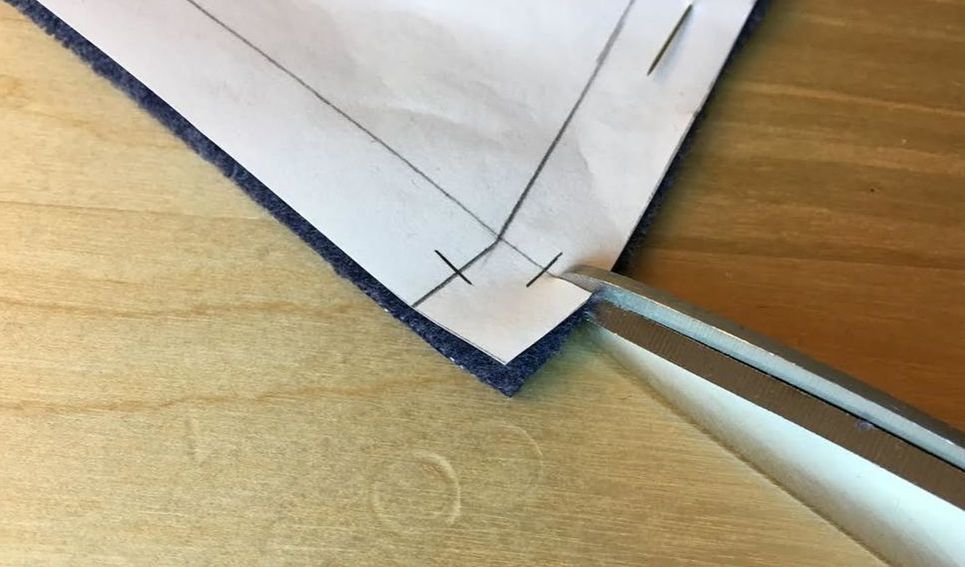
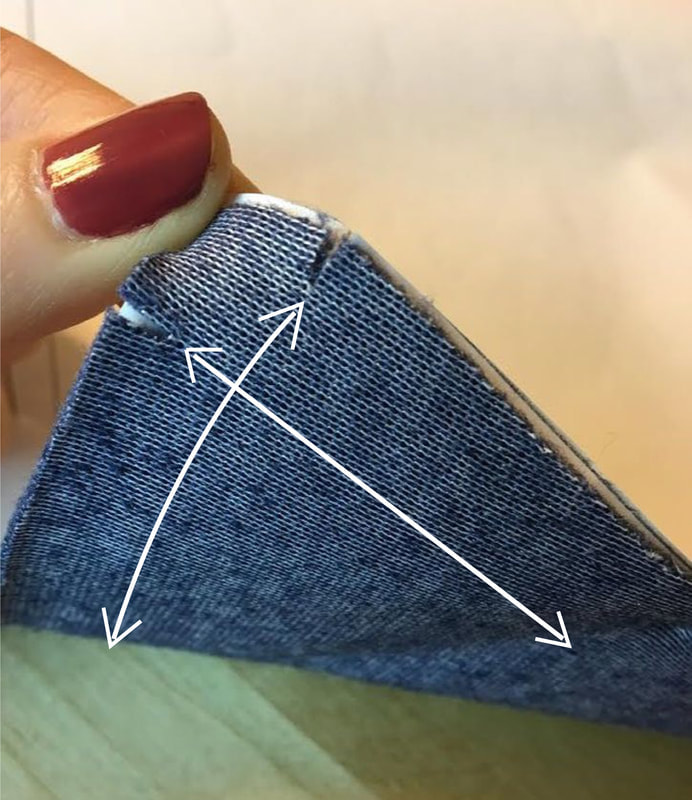
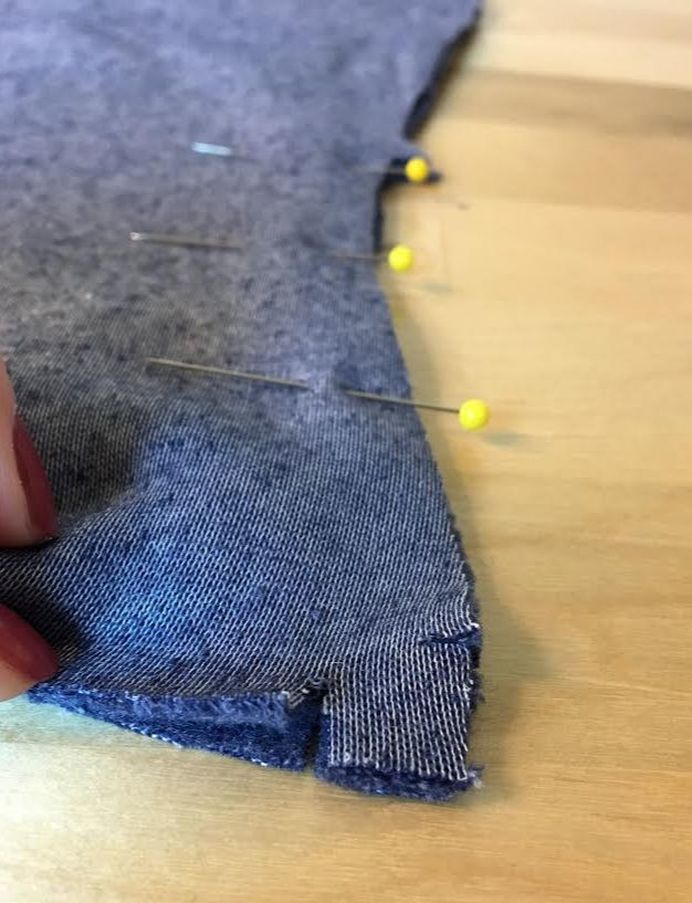
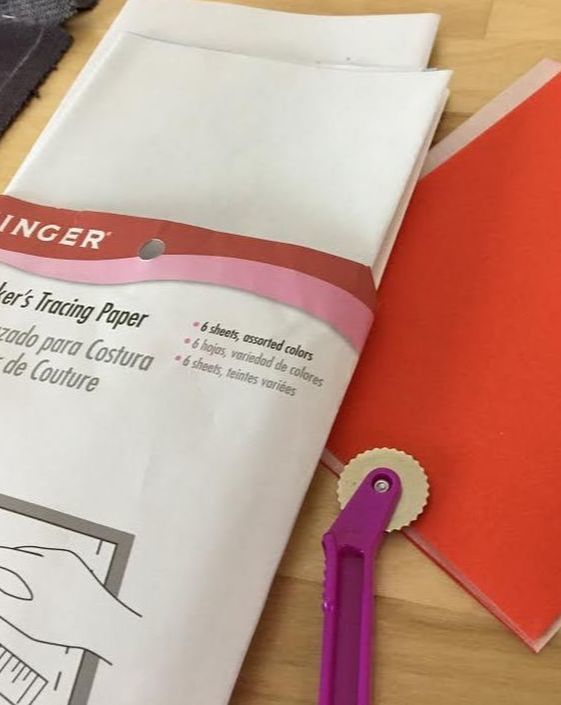
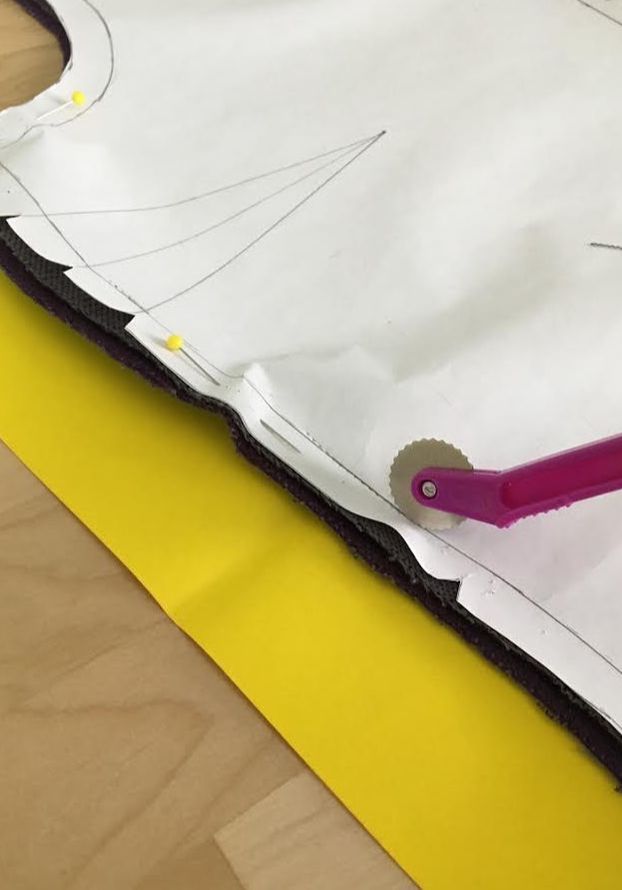
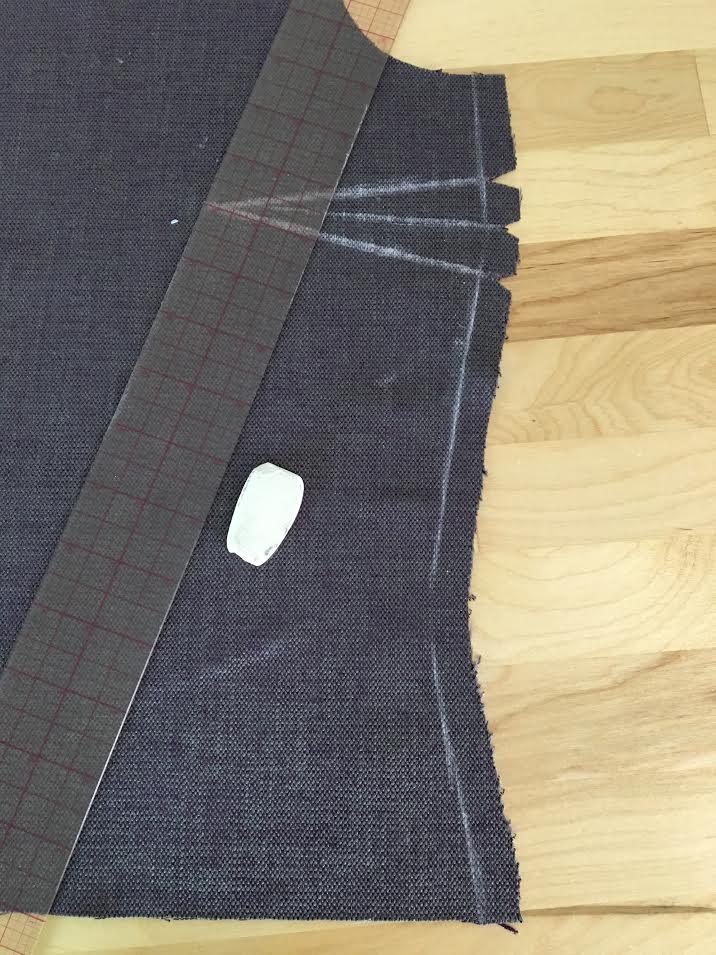
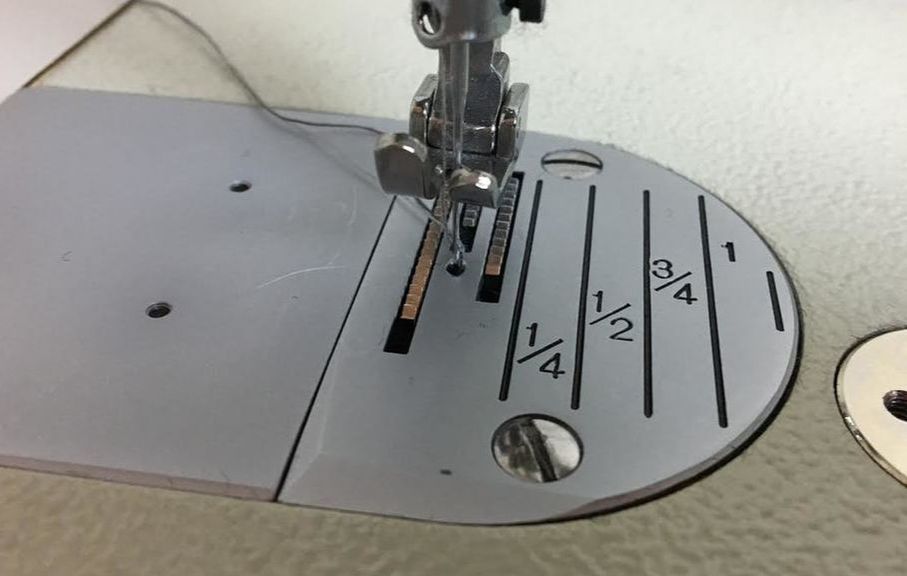
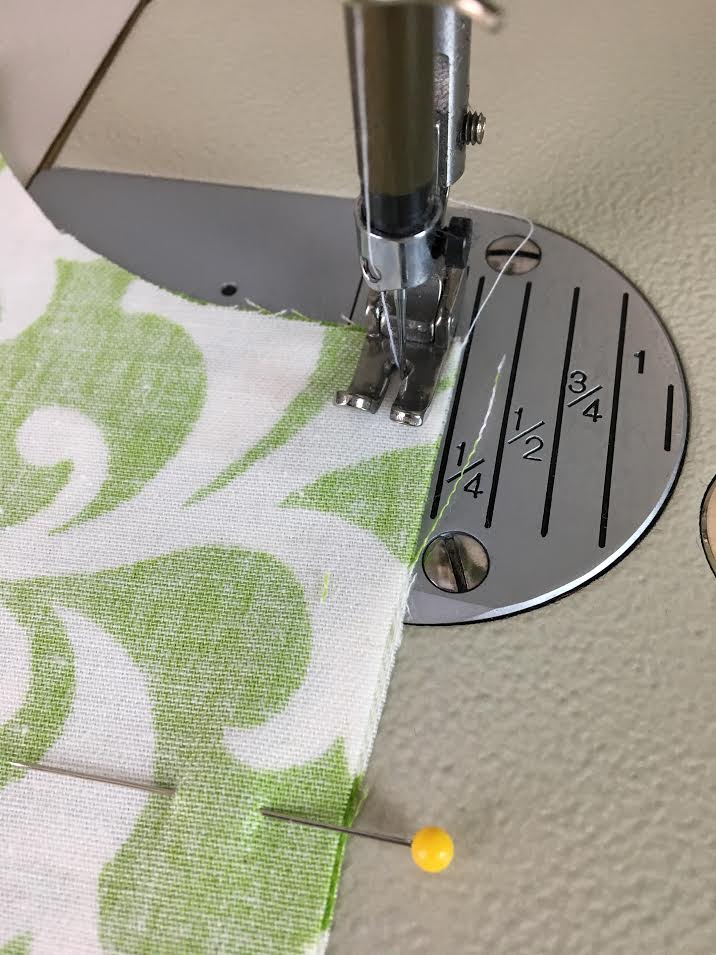
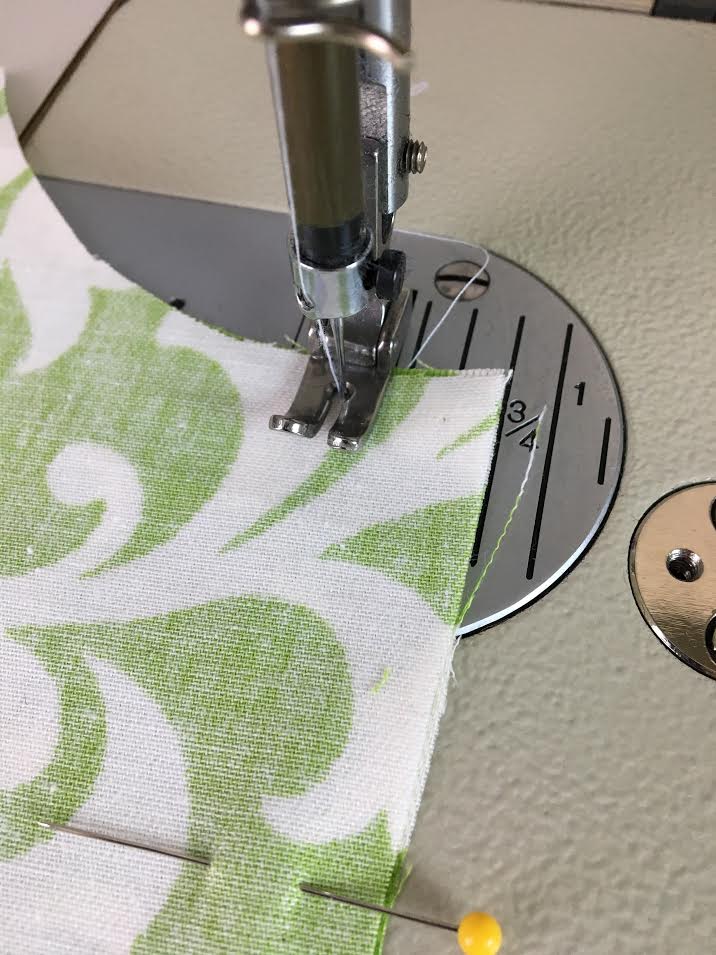
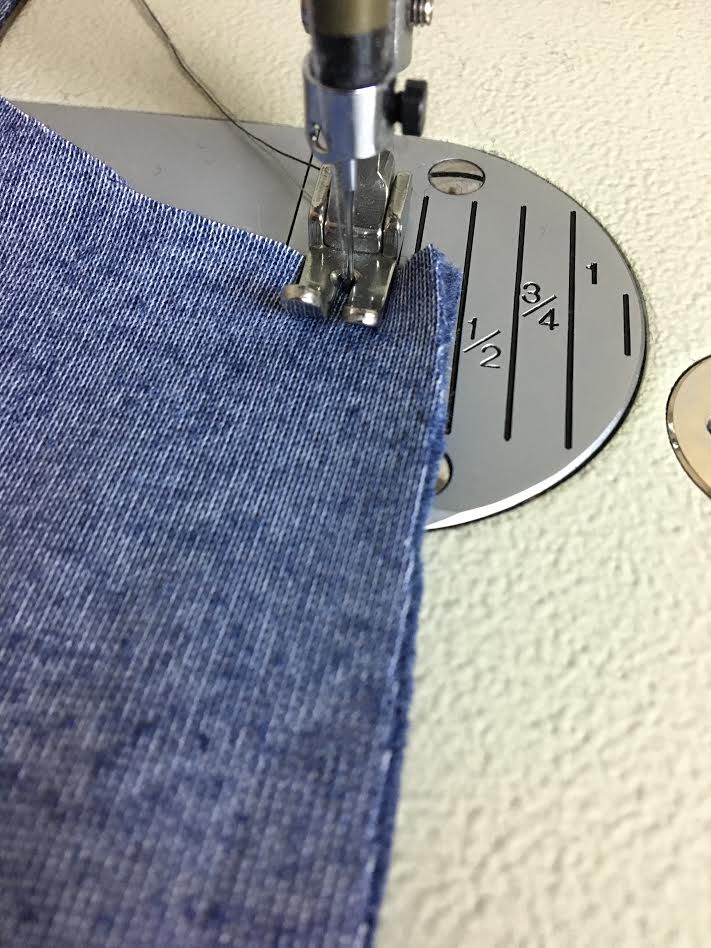
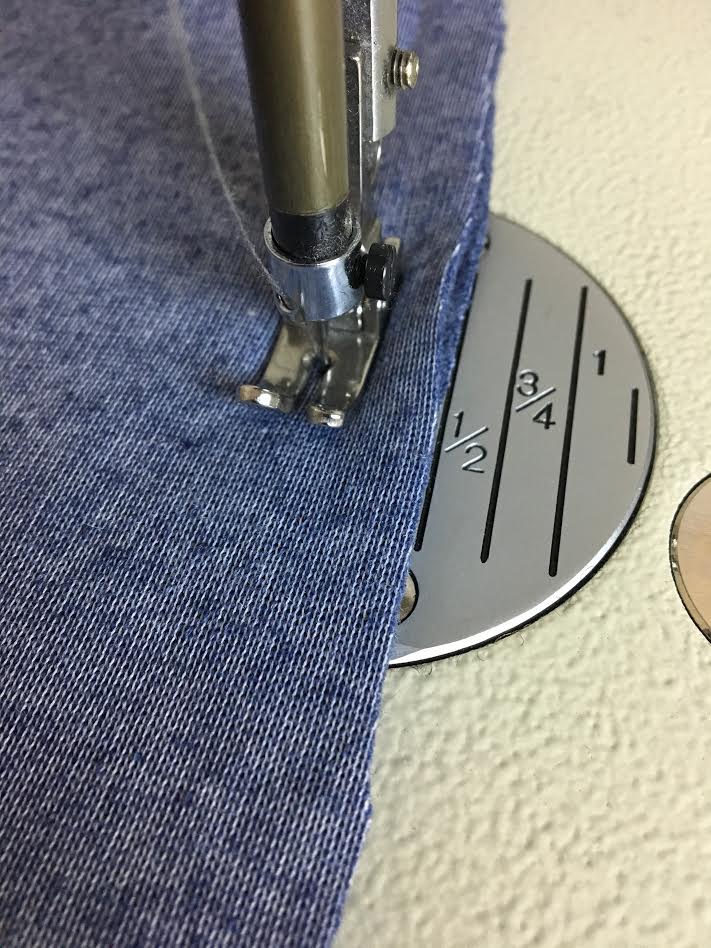
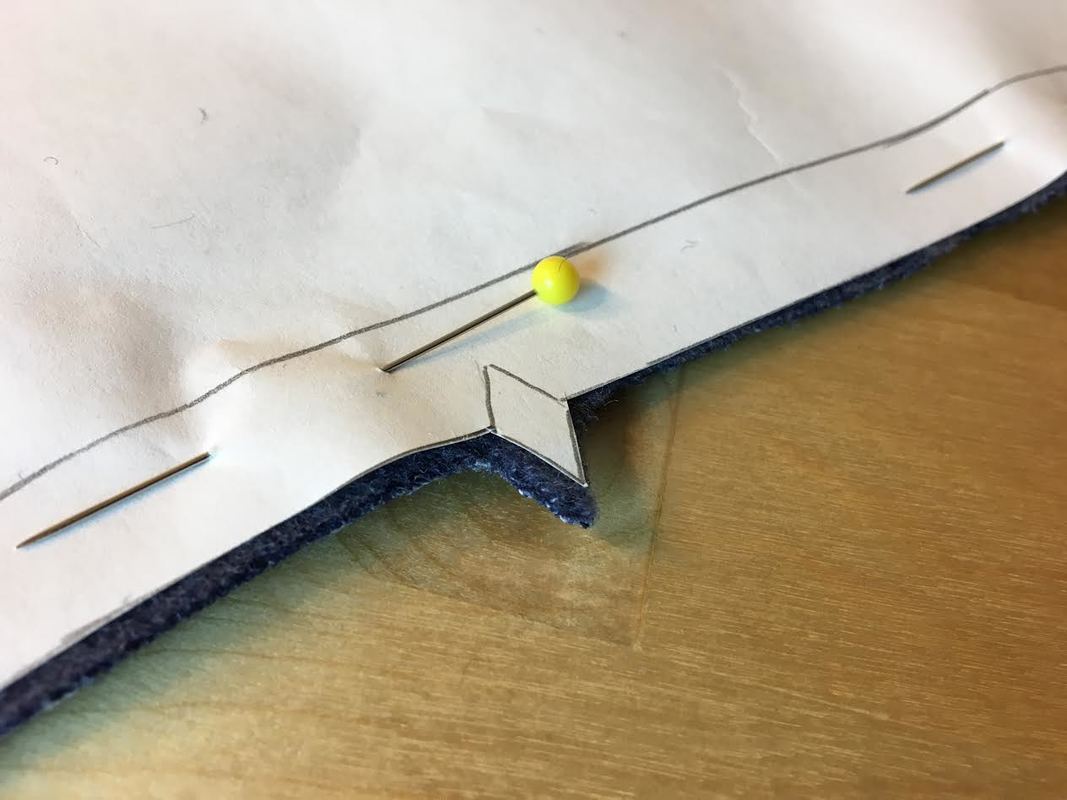
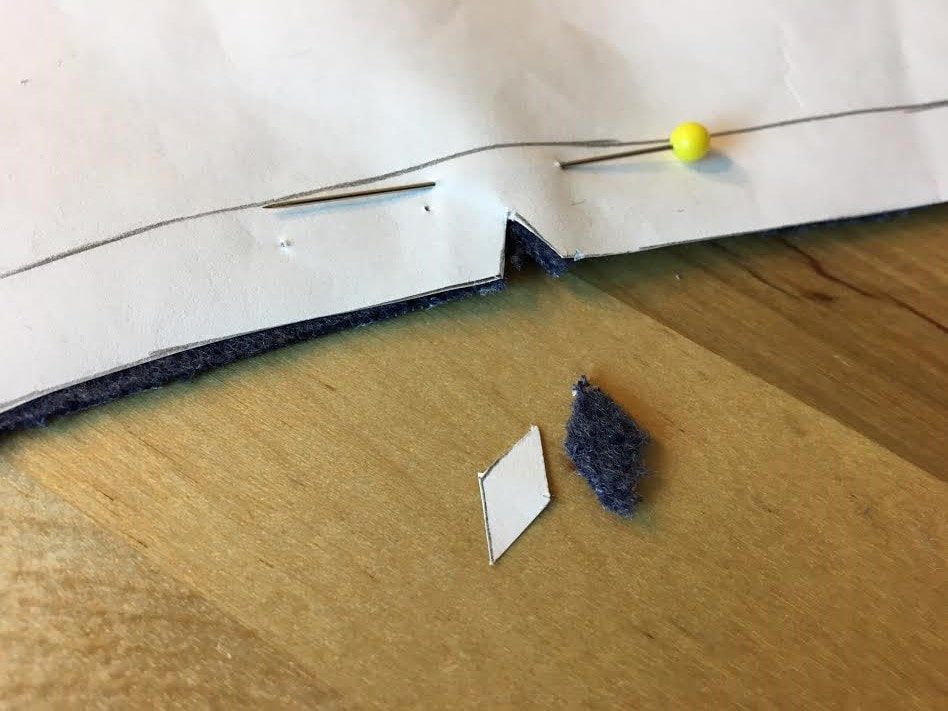
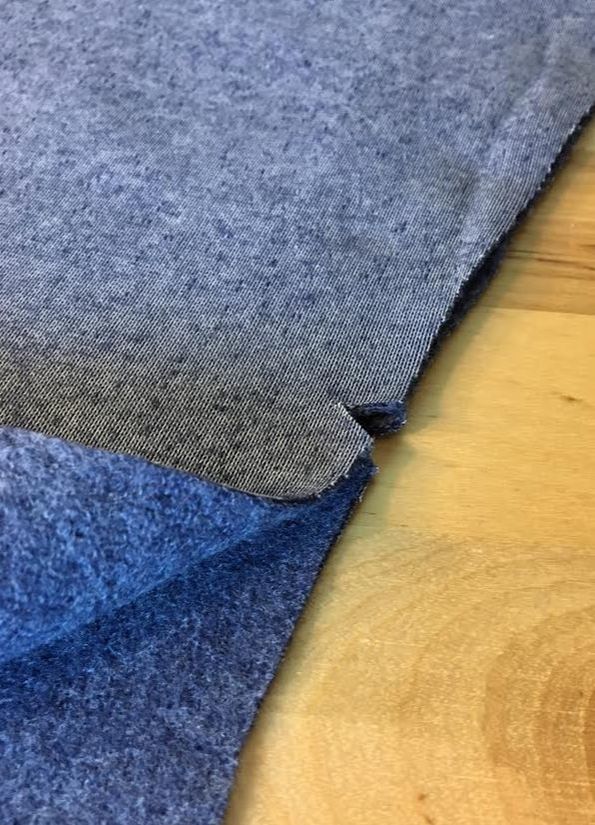
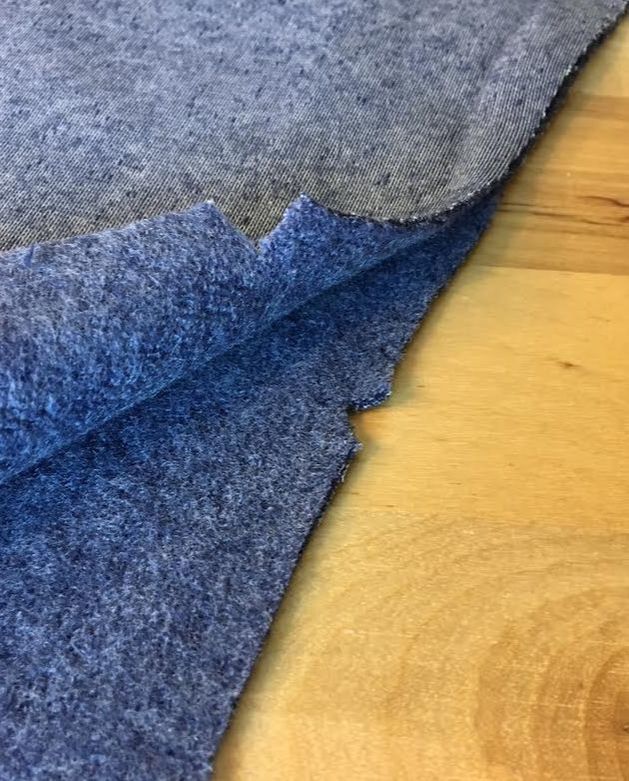
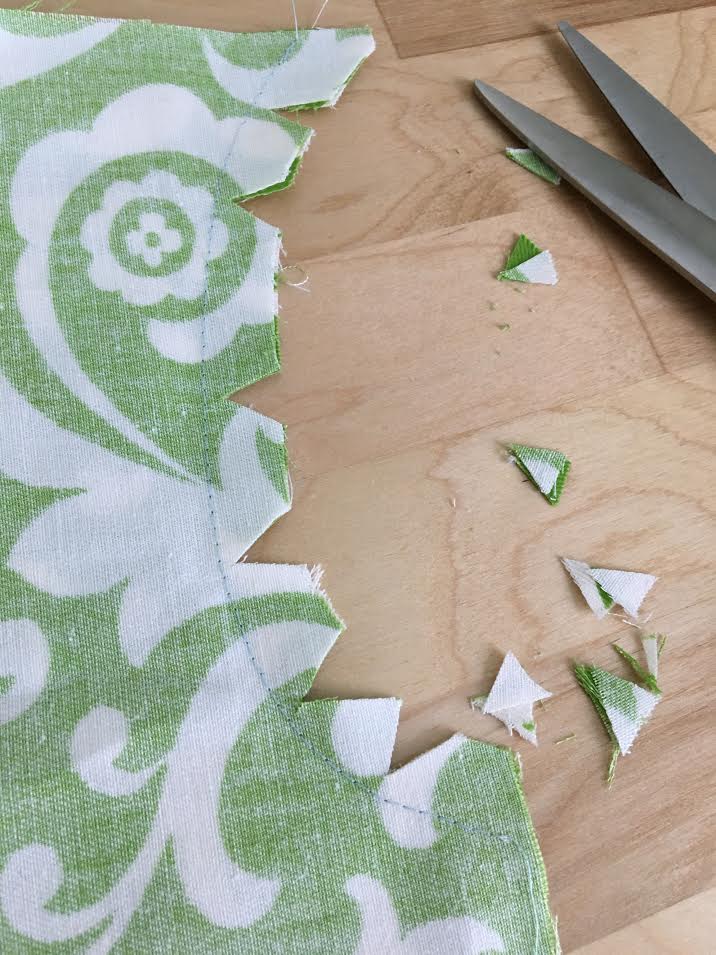
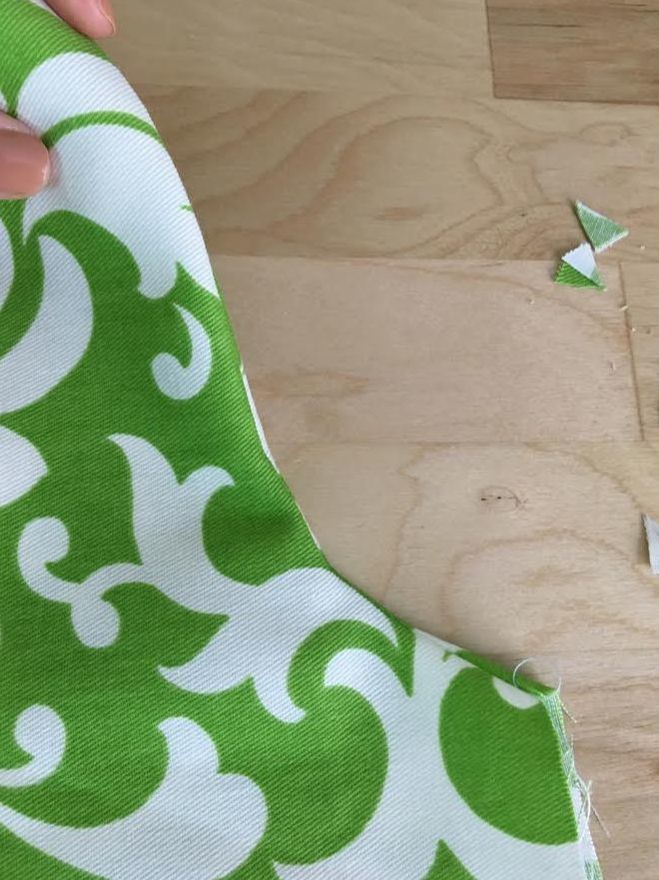
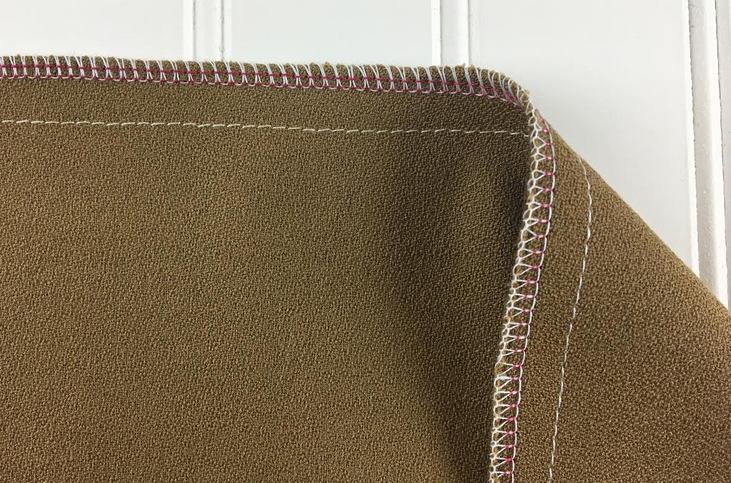
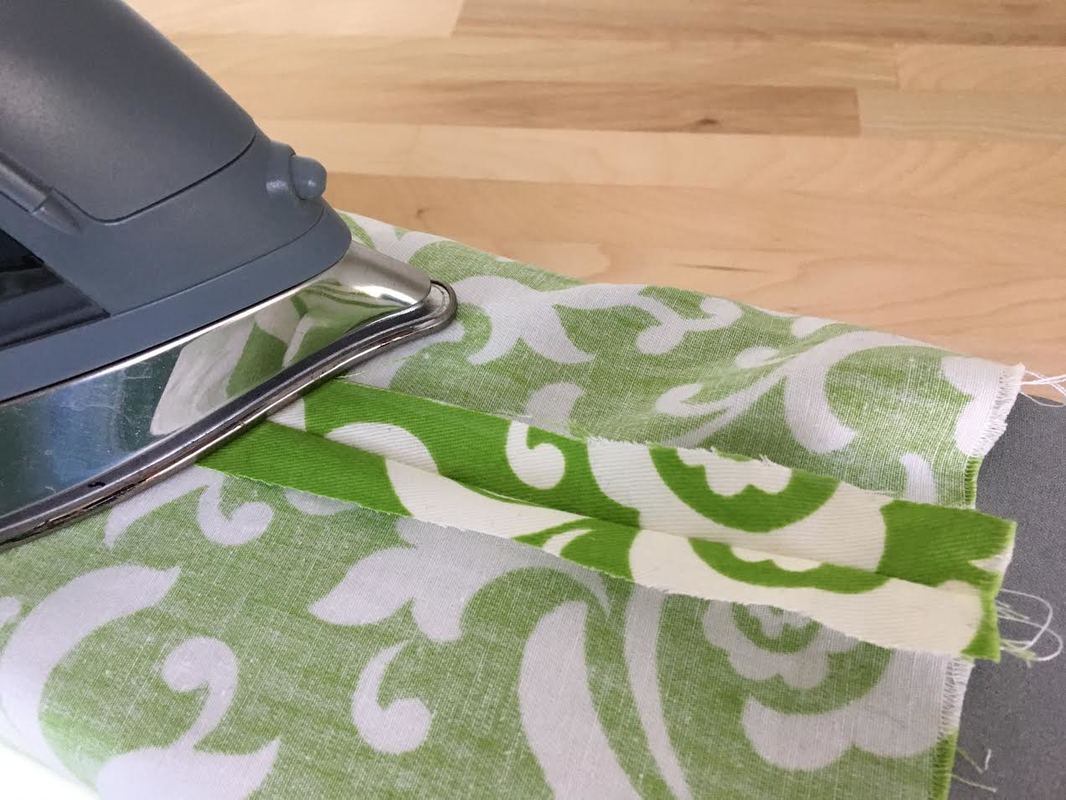
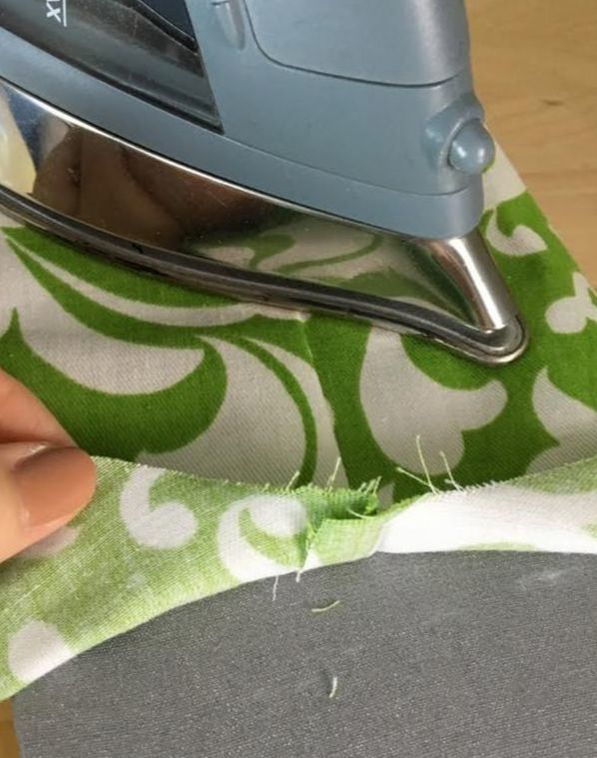
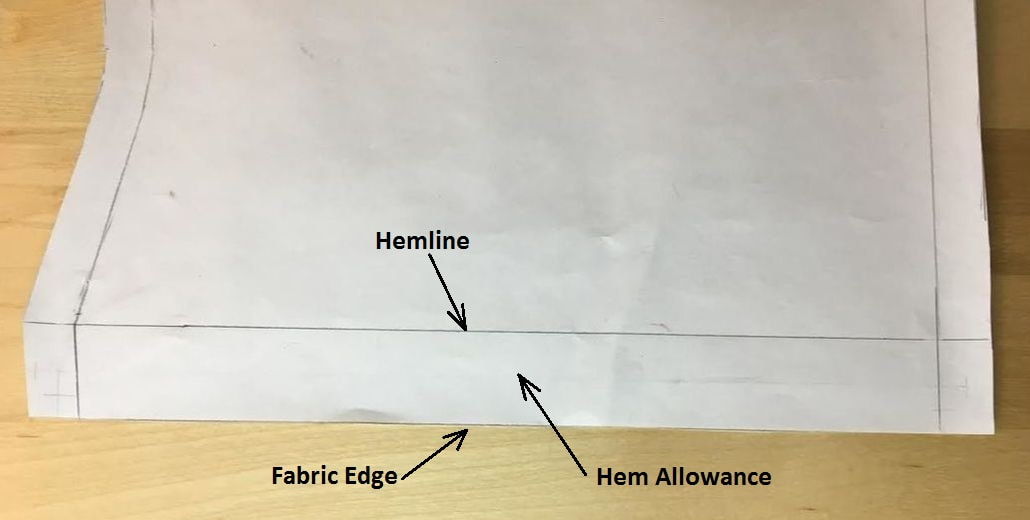
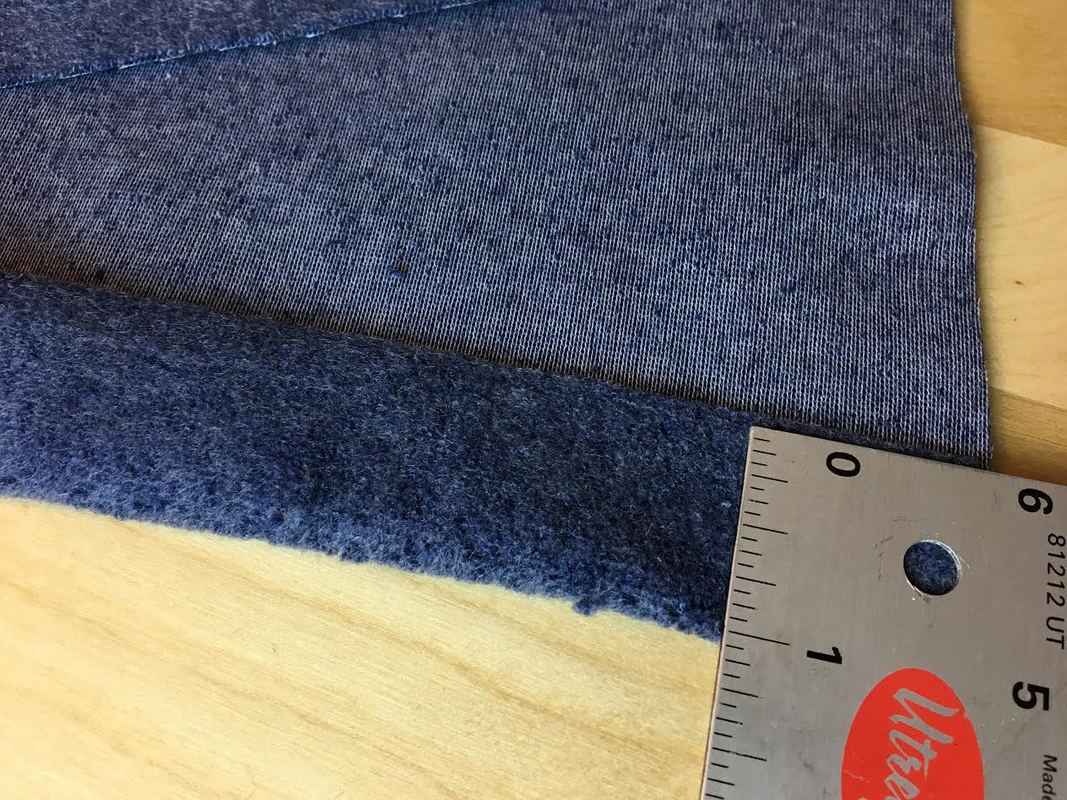
What is seam allowance? Seam allowance is the distance from the raw edge of the fabric to the seamline (or seam stitch line). Seam allowance allows for the formation of all seams by providing excess fabric for efficiently stitching a seam together. Although you can't see it on the face of the garment, seam allowance is present along most edges of the fabric pieces that comprise a clothing item. As a sewing beginner, it is imperative that you learn how to recognize seam allowance on a sewing pattern, how to transfer the seam allowance marks onto fabric (when necessary), and how to use seam allowance to sew seams properly. How is seam allowance length determined? The length of seam allowance is based mainly on two things: The type of fabric and seam finishing technique used for the project at hand. Before we delve deeper into what fabrics work with what seam allowance, it is important to note that the most common seam allowance (used on most regular seams) is either 5/8" or 1/2". If you use commercial store-bought sewing patterns, you'll find that most seams have a seam allowance of 5/8". If you make your own patterns, it is recommended that you work with 1/2" seam allowance due to the fact that it is easier to work with and measure. While 5/8" and 1/2" are the most commonly used lengths, seam allowance can vary depending on the weight and weave structure of the fabric. Fine, lightweight fabrics work best with a shorter seam allowance length, not exceeding 1/2". Fabrics that feature a thicker, looser weave should have a larger seam allowance in order to provide a more durable finish that is easier to sew. You'll find that sewing thick, bulky fabrics at short seam allowance offers less stability during machine stitching. In addition, the short fabric excess doesn't offer enough room for the seam to be clean finished appropriately, preventing the seam from laying flat once complete. That being said, if the clothing item you are sewing calls for a thick, heavyweight fabric, make sure you add larger seam allowance along its main, structural seams (3/4" to 1"). In the case the seam allowance is too long, you can always trim the excess once the seam is stitched. Vise versa, you cannot add additional seam allowance once the fabric pieces are cut and the seam has been permanently stitched. In the case of medium weight fabrics, the traditional 5/8" and 1/2" seam allowance should work best for most basic seams. Seam allowance length is also determined on the clean finishing method used for the particular seam at hand. Due to the fact that most fabric edges fray once cut, the edges of the seam allowance should be clean finished in order to prevent further fraying, thus maintaining the long term life and quality of the garment. Regardless of the fact that seam allowance is normally enclosed on the inside of the garment, clean finishing its raw edges should always be performed to maximize durability for continuous wear and care. When a garment is designed and the sewing patterns are being drafted, all seam allowance finishing techniques should be determined before the seam allowance is added along each edge of the pattern pieces. If a special seam finish is required, then the correct seam allowance should be added to each corresponding pattern piece to sustain this special seam finish. While seam finishing techniques are often chosen based on fabric style and weight, they may also pertain to design aesthetics or durability standards. Both aspects should be taken in consideration when deciding on the correct seam allowance length. For example, a french seam or a lapped seam finish may require a larger seam allowance than a basic seam that is clean finished with serging or a zig zag stitch. For a step-by-step tutorial on completing basic seam clean finishing techniques, check out this tutorial: How To Finish Seam Raw Edges: 4 Ways. Identifying seam allowance on a sewing pattern: Being able to instantly identify both the location and length of the seam allowance on a pattern is an important step in the sewing/cutting process. Seam allowance notations vary greatly across different style patterns. Some commercial sewing patterns don't include pre-marked seamlines while others do. For sewing beginners, it is really helpful to have physical seamlines marked along the edge of each pattern piece. Take a look at the image below: The outer-most edge of the sewing pattern represents the edge of the fabric, while the inner line, marked at a specified distance in, depicts the seamline or (stitch-line). This distance defines the seam allowance. The seamline itself can be solid or doted depending on the sewing patterns. As mentioned above, some commercial sewing patterns don't actually depict the seamline directly on the paper patterns. For these patterns, the seam allowance length for each edge is provided in the form of a given measurement, and the physical seamline (stitch line) is implied. A common way to note the seam allowance on a sewing pattern without using a physical line, is to add notches along each corner of the pattern pieces. These notches imply the location of each seamline (stitch-line), and are transferred onto fabric once the pattern pieces have been cut. When the fabric pieces are placed together for sewing, the location of the overlapping seam allowance notches are aligned with the sewing machine needle. Naturally then, the edge of the fabric aligns itself to the appropriate seam allowance guide on the sewing machine without the necessity for you to actually remember the exact seam allowance measurement. This method is used by more seasoned dressmakers. We highly recommend that if you are working with a sewing pattern as such, use a ruler to physically draw the seamline (stitch line) along each edge- This will be incredibly helpful in the process of matching each seam and sewing the fabric pieces accordingly. You'll find that once your pattern pieces are cut, you'll often refer back to the patterns for sewing information. For that reason, having detailed markings on your sewing patterns, even if you have to add them yourself, is highly suggested. While most pattern edges include seam allowance, some common exceptions exist. There are two types of edges that don't require seam allowance: Cut on fold edges, and fabric edges that are either left unfinished or don't require seam allowance for clean finishing (such as bound edges). You will eventually be able to recognize these edges on a sewing pattern by the fact that the seamline (stitch line) is missing. There may also be additional information noted along these specific edges. In the case of a cut on fold edge, where the edge is aligned with the fabric's fold during cutting, you'll often find the notation "Cut On Fold" or symbols denoting a cut on fold edge (displayed below). Marking/transferring seam allowance on fabric: Once you've identified the seam allowance on your sewing patterns, it is important to learn how to transfer the seam allowance marks from pattern to fabric. This is extremely important for sewing beginners due to the fact that fabric pieces can be a bit confusing to align to one another when the pattern notations are missing. After the sewing patterns have been cut, it is helpful to draw the actual seamlines on the fabric pieces, especially if you have very little experience sewing. You can do so by using tracing paper and a tracing wheel, or draw the seamlines by measuring from the edge of the fabric in at the appropriate seam allowance length using tailors chalk or a fabric marking pencil. Once you get used to the sewing process and the idea of seam allowance, you will no longer find the need to transfer the seamlines. At the very beginning however, having a physical stitch-line on fabric you can follow will make sewing a seam easier, ensuring a smooth, straight line. The other option for marking seam allowance on the fabric pieces is by using the corner notching method briefly described above. Clip seam allowance notches along each corner of the pattern and align these notches with the sewing machine needle. This will naturally align the lengthwise edge of the fabric to the appropriate seam allowance guide on your sewing machine. Follow this seam allowance guide to sew the rest of the seam. The notches will also help with matching the fabric edges correctly, ensuring each fabric piece comprising the seam has the same seam allowance. Ultimately, when you get used to the concept of seam allowance and feel comfortable stitching on your sewing machine, you wont necessarily need to transfer seam allowance marks onto the fabric pieces. You can simply consult your sewing patterns (or just remember what the seam allowance is along each edge), and use the machine's seam allowance guide lines to sew all seams. Using seam allowance to sew a seam: As mentioned above, a seam cannot exist without some form of seam allowance. Every fabric piece comprising a clothing item features seam allowance along its edges (unless cut on fold or left unfinished). When sewing a seam, seam allowance is used as a guide, ensuring that the garment maintains the correct fit and proper measurements throughout. The number one rule when it comes to sewing a seam, is that the seam allowance of all fabric pieces forming the seam should have the same seam allowance length. For example, when sewing a side seam at 5/8"seam allowance, each individual fabric piece comprising the seam should have a seam allowance of 5/8" along the edge. You cannot sew a 5/8" seam allowance to an edge that have a 1" seam allowance, for example. If for whatever reason, you find yourself in a situation where the seam allowance on two corresponding edges do not match, trim the larger seam allowance to match the shorter one before proceeding with pinning and finally stitching the seam. In order to successfully stitch a seam, follow the seam allowance evenly throughout by aligning the edges of the fabric to the appropriate seam allowance guide on your sewing machine. As you sew, keep an eye on the edge of the fabric ensuring that it stays aligned to the machine guide at all times. If you actually transferred the seamline onto the fabric (whether using tailors chalk or tracing paper), stitch directly on the marked line but make sure you also keep an eye on the seam allowance machine guide. This will ensure that the seam is finished evenly while also providing some practice in using the seam allowance guide on your sewing machine. Understanding seam allowance notches. Aside from providing a means for sewing a seam, seam allowance is also used for various marking techniques that aid in the sewing process. To begin with, seam allowance is almost always enclosed on the inside of the garment which means it can provide a platform for sewing notations that shouldn't be visible on the face of the garment. Notches are one of these important notations, greatly facilitating the sewing process. Notches are marked with cut clips or wedges which are applied within a seam allowance edge in order to facilitate seam matching. They are not visible on the right side of the garment, and used only in the process of aligning the correct fabric edges to one another. Notches are also used to differentiate between front and back pieces. You can learn more about seam alignment notches in this tutorial: What Are Notches And How Are They Used In Sewing: Everything You Need To Know As a Sewing Beginner. Another style of notching comes in the form of clips and wedges used for tension release. The seam allowance is basically clipped into groups of triangle wedges along curved or cornered seams that require tension release and flexibility. Releasing tension in a seam is possible due to the versatility of seam allowance- It allows for the application of tension-release clipping that is hidden on the wrong side of the garment without compromising it aesthetically or functionally. Clean finishing raw seam allowance edges. Clean finishing seam allowance raw edges is a necessary part to completing a garment. Most fabric raw edges, especially woven fabric, will fray if left unfinished. If you're not entirely sure what fraying means, it happens when the threads forming the fabric weave come undone and fall off along the cut edges. While you may be tempted to leave seam allowance unfinished, it is very important that fabric raw edges are somehow reinforced to prevent fraying during continuous wear and care. Aside from containing fraying, clean finishing techniques also enhance seam stability and durability. Similar to seam allowance length, clean finishing methods are decided based on type of fabric and garment design. The most common clean finishing technique is serging or zig-zag (on a home sewing machine). This is a popular method due to the fact that it works on almost all woven and knit fabrics, also being the easiest and least expensive to perform. For specialized clean finishing techniques, the length of the seam allowance should be chosen accordingly (in addition to considering type of fabric and garment design). When sewing a regular seam, you'll have two portions of seam allowance to work with (one for each portion of the seam). As you get more practice, you'll learn that clean finishing seam allowance is closely related to the matter in which the seam will finally be ironed. Seam allowance plays an important role in the seam laying flat and maintaining a smooth structure. Choosing the correct seam allowance finish should be considered carefully such that it maintains the seam's professional finish. For a step-by-step guide on performing some basic seam allowance finishes, check out this blog: How To Finish Seam Raw Edges: 4 Ways. How to iron seam allowance: Two basic methods. For a seam to lay flat and achieve a smooth, professional finish, it should be ironed during the construction process. It is also important to note here that one of the most basic rules in dressmaking is: iron every seam as you go and not only once the garment is complete. Depending on the direction it is ironed in, seam allowance actually facilitates the ironing process allowing for the seam to have a smoother finish. As a beginner, you should familiarize yourself with which direction seam allowance should be ironed in as this is often a common question when getting started. Here are some ironing basics and best practices for ironing seam allowance: - Seam allowance can be ironed open, with each seam allowance edge pointing away from each other. In this instance, each edge is clean finished separately. If you are using a serged, zig zag, or bound finish, it is much easier to clean finish each edge individually prior to sewing the seam than attempting to clean-finish each separate edges once the seam is stitched. -When ironing seam allowance edges open, iron on the wrong side of the garment, directly on top of the seam allowance edges first, before ironing the seam on its right side. This will ensure a smooth, flat finish. - When all seam allowance edges are clean finished together, the seam is stitched first, after which the seam allowance finish is applied. In this case, the seam allowance is ironed pointing to one side. Contrary to open seam allowance, it is much easier to iron this type of seam allowance finish on the face of the seam as opposed to its wrong side. - When clean finished together, the seam allowance on vertical side seams is usually ironed towards the back. - Dart excess and horizontal seam allowance should be ironed towards the waistline, unless otherwise stated. Hem Allowance: The hem is the bottom-most edge of the garment, marking its length. Similar to the seamline, the hemline is the finished edge of a garment's hem. Hem allowance provides the excess fabric needed to achieve a clean-finished hemline. In other words, hem allowance is the distance from the raw edge of the fabric to the hemline. While hem allowance is sort of its own entity, it shares very similar characteristics with seam allowance, so we'll briefly introduce you to it. Just like the raw fabric edges of seam allowance should be clean-finished, so should the raw edges of a garment's hem in order to prevent fraying and promote durability. While seam allowance entails that you work with two separate fabric edges, hem allowance is usually a single fabric edge. Hem allowance is usually a bit longer than regular seam allowance due to the fact that it is often folded up twice to enclose the fabric's raw edge. As is true for seam allowance, hem allowance length should be chosen based on garment design and fabric type. The thicker the fabric, the longer the hem allowance should be- This ensures that there is enough excess fabric available to perform the appropriate hem finishing techniques. Vise versa, for thinner fabrics that are lightweight, a shorter hem allowance works best, preventing unnecessary bulk along the hemline. Two of the most common hem finishing techniques are double folded and machine stitched and serged and machine stitched. These two are simple and inexpensive to do. Both of these finishes leave a horizontal topstitch on the face of the garment at a specific distance up from the garment's finished hemline. In the instance where top-stitching is not desired, hemlines can be clean finished using a hand-applied blind stitch which appears invisible on the face of the garment. Other hem clean finishing techniques include: binding, twill tape, a baby hem (used on very thin fabrics), and enclosed in lining. For a step-by-step guide on the most common hem finishing techniques, check out: 4 Easy And Most Common Ways To Clean Finish Hems.
0 Comments
Leave a Reply. |
The Blog:A journey into our design process, sewing tutorials, fashion tips, and all the inspiring people and things we love. Doina AlexeiDesigner by trade and dressmaker at heart. I spend most of my days obsessing over new fabrics and daydreaming new ideas. Sadie
Executive Assistant & Client Relations Manager Archives
November 2019
Categories
All
|
-
Sewing Tutorials
-
Basics
>
- Aligning Pattern Grainlines To Fabric
- Preparing Fabrics For Sewing
- Pinning Sewing Patterns To Fabric
- Placing Sewing Patterns On Fabric For Cutting
- Rotary Cutters or Fabric Scissors?
- Cutting The Sewing Patterns
- What Are Notches And How To Use Them In The Sewing Process
- Transferring Notches From Pattern To Fabric
- Transferring Seamlines to Fabric
- Staystitching
- Backstitching: A Complete Guide
- Hand Basting: A Complete Guide
- Sewing Continuous Bias Binding
- Darts >
-
Sewing Seams
>
- The Basics Of Seams And Seam Allowance
- How To Sew A Straight Seam
- Sewing Curved Seams
- Sewing Corner Seams
- Trimming And Grading Seam Excess
- Notching/Clipping Seam Allowance for Tension Release
- Sewing Topstitched Seams
- Sewing Corded Seams
- Sewing A Slot Seam
- Sewing A Gathered Seam
- Sewing Bias Seams
- Sewing Seams With Ease
- Sewing Seams With Crossing Seamlines
- Sewing Unlike Fabric Seams
- How To Iron Seams: Ironing Tools And Conventions
- Sewing With Knit Fabrics
- Understanding Stitch Length And Tension
- Sewing Unique Fabric Seams
-
Seam Finishes
>
- Seam Finishing Techniques - Overview
- Applying A Pinked Seam Finish
- Applying A Bias Bound Seam Finish
- Serging And Zigzag Seam Finishes
- Sewing A Self-Bound Seam Finish
- Sewing A French Seam Finish
- Sewing A Hong Kong Seam Finish
- Sewing A Mock French Seam Finish
- Sewing A Turned-and-Stitched Seam Finish
- Sewing Overcast Hand-Applied Seam Finishes
- Sewing A Flat Felled Seam
- Sewing A Hairline Seam Finish
-
Hem Finishes
>
- Garment Hem Finishes: Overview
- Sewing A Double Fold Hem Finish
- Sewing A Single Fold Hem Finish
- Sewing Bound Hem Finishes
- Sewing An Exposed Double Layer Bound Hem
- Sewing A Folded-Up Bound Hem with Pre-folded Binding
- Sewing A Hong Kong Hem Finish
- Sewing A Band Hem Finish
- Sewing A Bias Faced Hem Finish
- Sewing A Twill Tape Hem Finish
- Sewing A Rolled Hem Finish
- Sewing A Shaped Hem Facing
- Using Fusible Hem Tape And Webbing
- Finishing A Lace Fabric Hem
- Finishing A Leather Hem
- Sewing Faced Hem Corners
- How To Finish Lining At The Hem
- Finishing Fabric Corners by Mitering >
- Interfacing A Hemline: Lined And Unlined Examples
-
Sewing Pockets
>
- Curved Patch Pocket With Flap
- Unlined Square Patch Pockets
- Lined Patch Pockets: Two Ways
- Extension On-Seam Pockets
- Separate On-Seam Pocket
- Front Hip Pockets
- Bound Double Welt Pocket
- Double Welt Pocket With Flap
- Self-Welt Pocket (Using Single Fabric Layer)
- Slanted Welt Pocket (Hand-Stitched)
- Faced Slash Pockets: Overview >
-
Sewing Zippers
>
- Sewing Zippers: General Information
- Sewing A Centered Zipper
- Sewing A Lapped Zipper
- Sewing An Invisible Zipper
- Sewing A Fly Front Zipper
- Sewing A Closed-End Exposed Zipper (No Seam)
- Sewing An Exposed Separating Zipper
- Sewing Hand Stitched Zipper Applications
- Sewing A Zipper Underlay
- Sewing A Placket-Enclosed Separating Zipper
- Sleeveless Finishes >
-
Neckline Finishes
>
- Sewing A Neck Shaped Facing
- Sewing An All-In-One Neck Facing
- Neck And Garment Opening Combination Facings >
- Sewing A Bias Faced Neckline Finish
- Sewing A Band Neckline Finish
- Bound Neckline Finishes: Overview >
- Sewing A Semi-Stretch Strip Band Neckline
- Ribbed Neck Band And Classic Turtleneck
- Decorative Neckline Finishes >
- Finishing Facing Edges >
-
Extras
>
- A Complete Guide on Interfacing
- Sewing Bound Spaghetti Straps
- Sewing Spaghetti Straps To A Faced Neckline
- Sewing Ruffles: Overview
- Patterning And Sewing A Circle Ruffle
- Sewing A Gathered Heading Ruffle
- Sewing Double Layer Gathered Ruffles
- Sewing A Gathered Ruffle Into A Seam
- Sewing A Gathered Ruffle To A Fabric Edge
- Sewing A Fabric Surface Slit
- Sewing A Slit Seam
- Hand-Applied Straight Stitches
- Hand-Applied Blind Stitches
- Hand-Applied Overedge Stitches
- Hand-Applied Tack Stitches
- Hand-Applied Decorative Stitches
-
Basics
>
- Custom Bridal
- Custom Apparel
- About
- Blog
Services |
Company |
|



 RSS Feed

