|
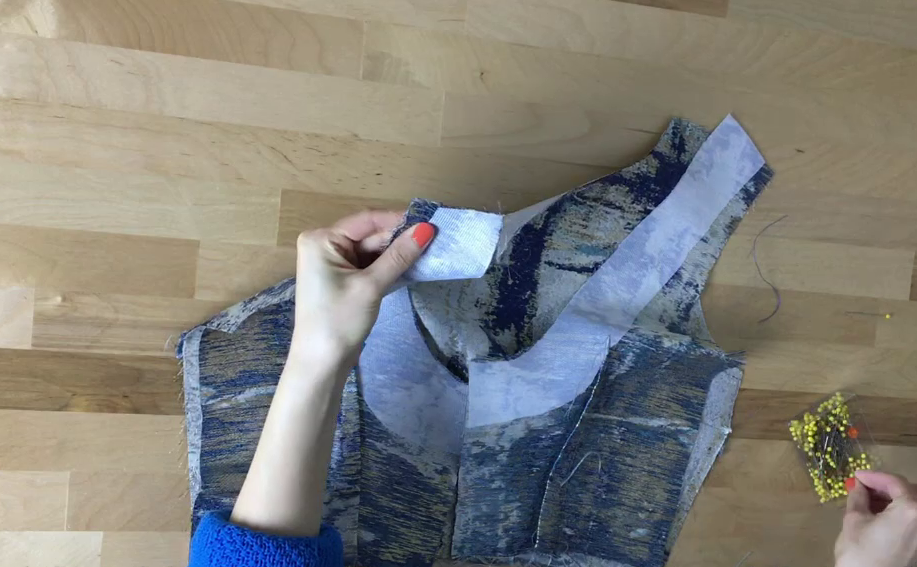
If you are a sewing beginner, the notion of sewing lining can be just as much confusing as rewarding when trying to fit all those fabric pieces together like a puzzle. The confusion often stems from the fact that there are various techniques you can use to fully line a garment, and honestly, all of them are usually correct. Sewing is not as black and white as you may think, and there are often a variety of different methods for achieving the same task. So before we get started, remove the notion that you have to sew lining using a single technique. Obviously, you want to choose the one that is easiest and most logical for the project at hand, but it's OK if you reverse the steps or switch up the rules a bit. In this tutorial, I'll show you the easiest technique for fully lining a sleeveless fitted blouse (with darts). This technique works only if you have a front or back seam that completely separates. Normally, a non-stretch woven garment that is lined will require some form of closure like a zipper, buttons, snaps etc. Zipper closures, of course, are simple and the most widely used so you can expect to have one down the center back seam in most form fitted, lined garments. The blouse I'm lining in this tutorial is a crop top part of this sewalong in the making. This little crop top completes a two-piece cocktail dress that features a more tailored style. Naturally, a tailored garment is best finished with lining as it provides structure and emphasizes its clean lines. In the steps to follow, I'll be referring to the blouse outer layer as the self and lining layer as simply, the lining. After all lining and self pieces are cut, always sew all existing darts first. If your garment has style lines or additional seams at the front and back, make sure you stitch them first as well. The self piece and lining piece are ready to be sewn together once you've sewn everything together into a full piece for front and respectively, a full separate piece for the back.
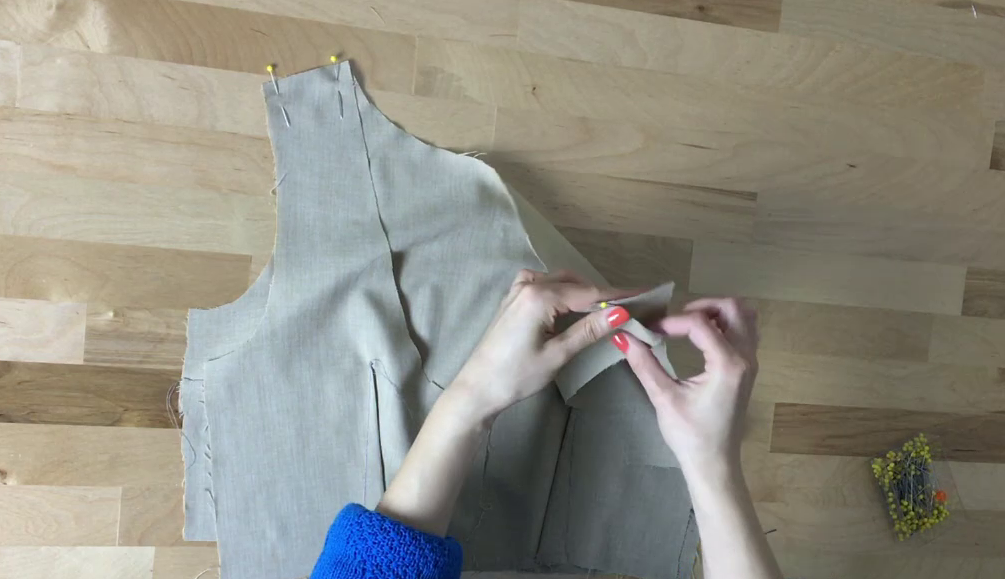
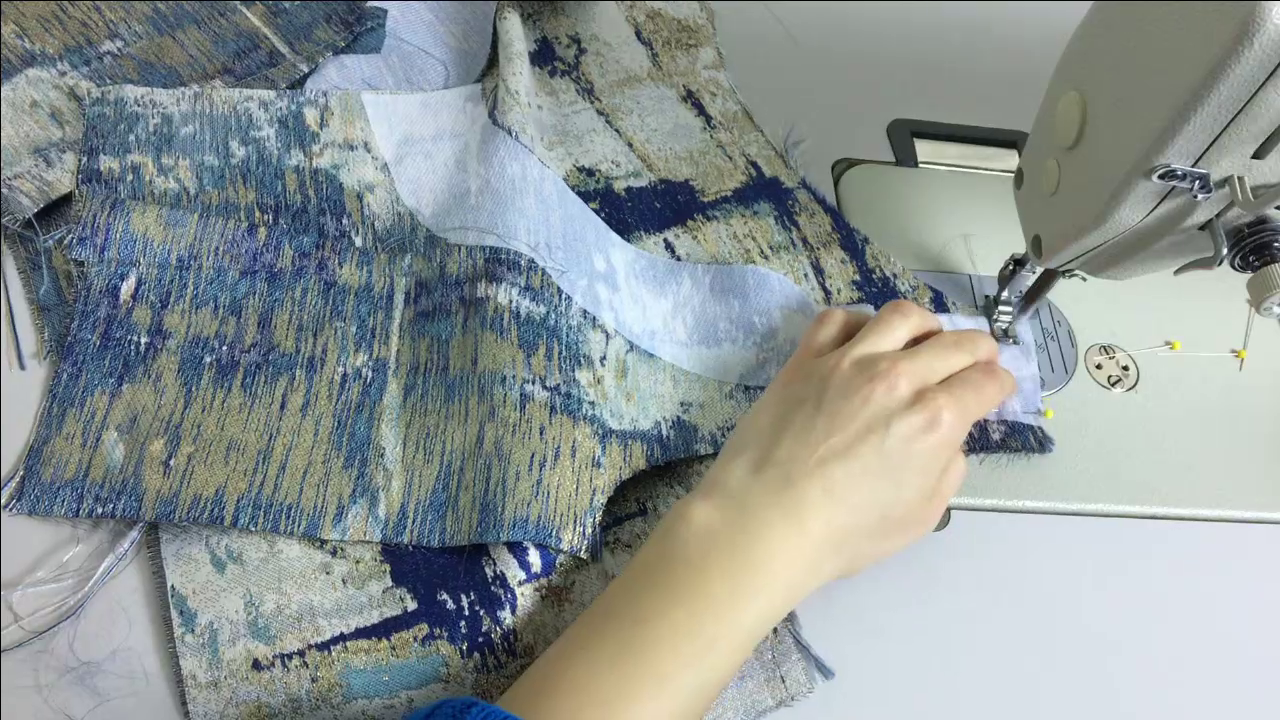
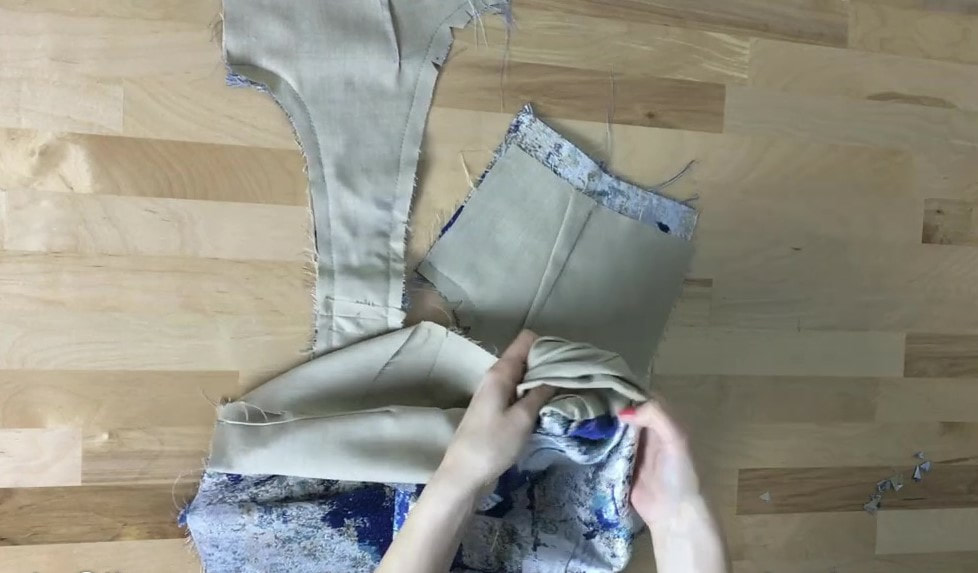
1. The very first step in this lining technique is to sew only the shoulder seams on both self and lining first. Make sure you are aligning all fabric pieces with the face sides touching as noted in this tutorial: How To Sew A Seam- The 3 Rules Keep in mind that there needs to be either a front or back seam opening for this lining method to work. In this case, I have a center back seam which will be stitched closed as one of the last steps in the process. 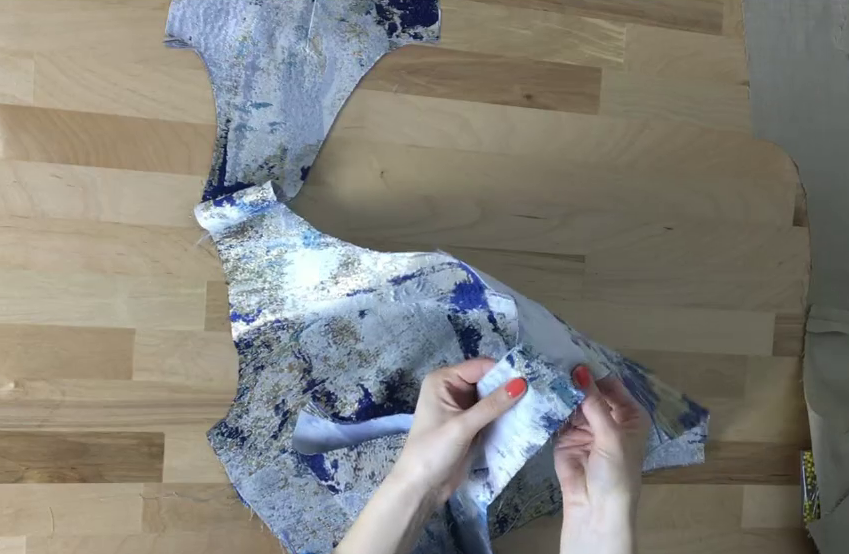 Once the shoulder seams are stitched, iron the seam allowance open on both self and lining pieces as shown. 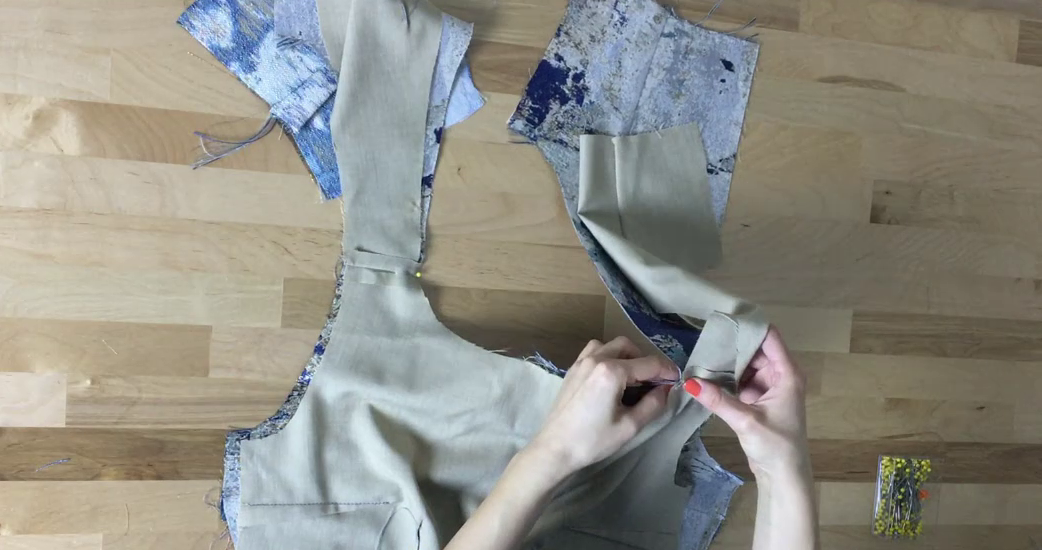 2. Lay out the blouse self such that the right side is facing up, and place the blouse lining on top of it such that both the right side of lining and blouse self are touching. You should only see the wrong side of both lining and self on the outside. Align each corresponding shoulder seam of the self and lining. At this point, the neckline edges and armhole edges should align perfectly. The shoulder seams of both lining and self should also overlap and align accordingly. First, insert a pin through the shoulder seams of both lining and self to keep the pieces together. 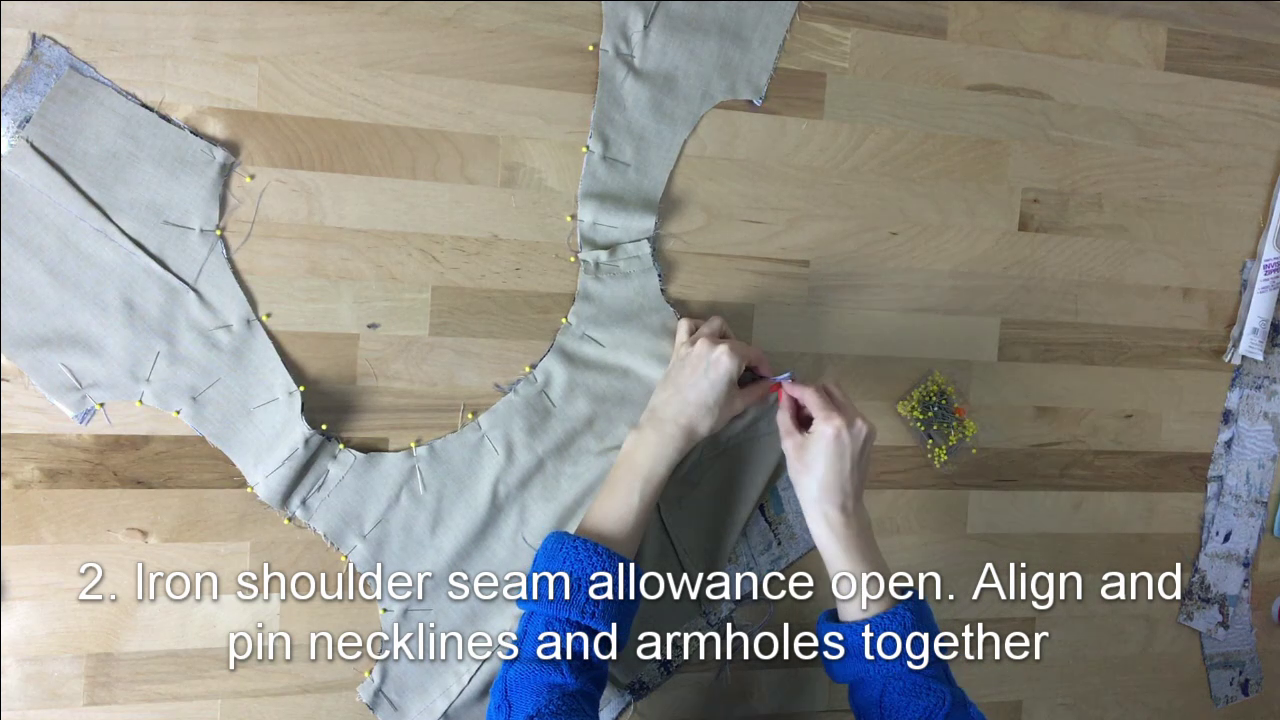 3. Once the shoulder seams are aligned and safely held in place with pins, insert additional pins along the neckline and armhole edges. For easier removal and increased safety during sewing, insert the pins perpendicular to the edge with the pin ball facing the outside, to the right of the fabric edges as shown. If you are a sewing beginner and don't feel comfortable stitching curved edges on your sewing machine quite yet, I highly recommend temporarily basting these self and lining edges together before final stitching. It will also allow for a lot more control, and keep the fabric layers from shifting as you get more comfortable with your sewing machine.  4. Stitch the neckline and armhole edges together following the designated seam allowance (according to your sewing patterns). For me, the seam allowance along both armhole and neckline edges is 1/2". Anytime the edges of a self piece are stitched to its corresponding lining, both seam edges have to have the same seam allowance. As a matter of fact, this basic rule applies to sewing all seam- The edges being stitched together have to have the same exact seam allowance.
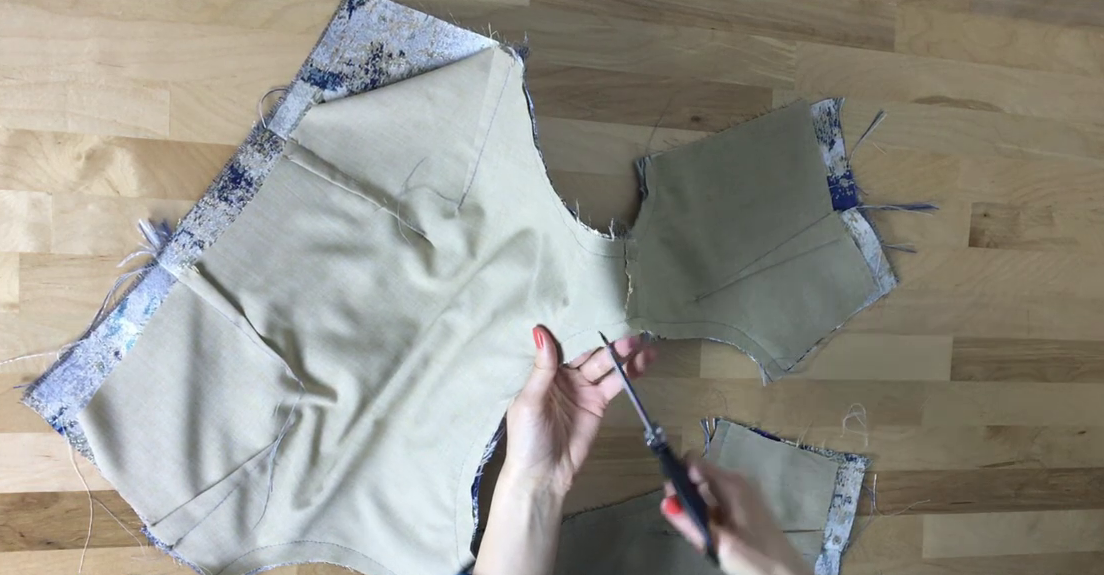
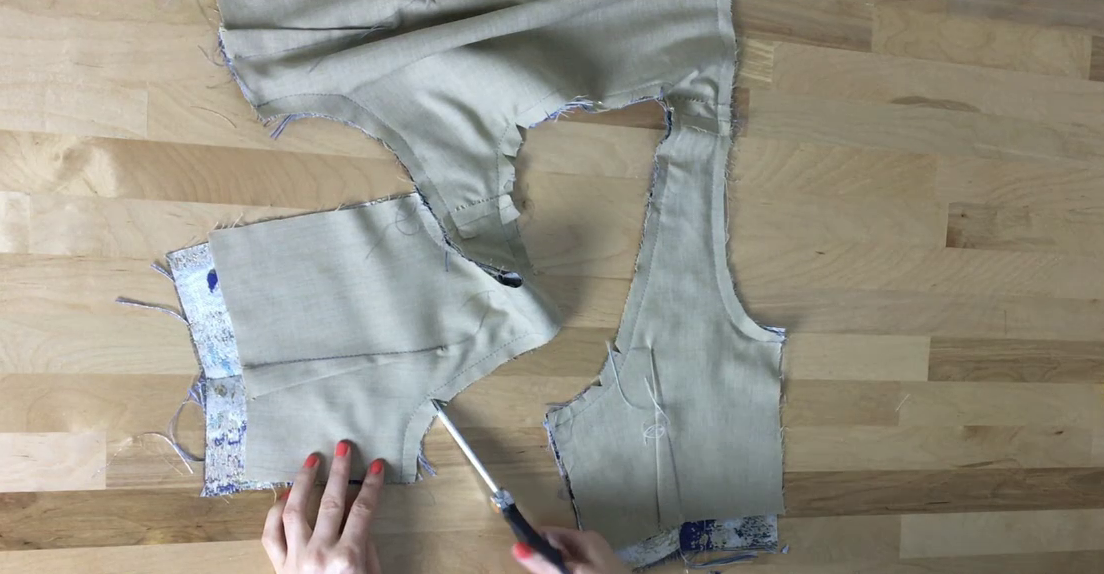 5. Next, clip little wedges along the curve of the neckline and armhole edges, adding additional snips along the more curved areas as shown. This is an essential technique used to release tension allowing for a smooth, flat curve. For more on clipping fabric edges to release tension, check out this tutorial: Clipping The Seam Allowance During Sewing: How And When To Use The Fabric Clipping Method. What happens if you skip this step? When you flip the lining over, the curved edges will have so much tension that not only will the edge bunch up with no defined curve, the lining and self layers won't lay flat against each other.
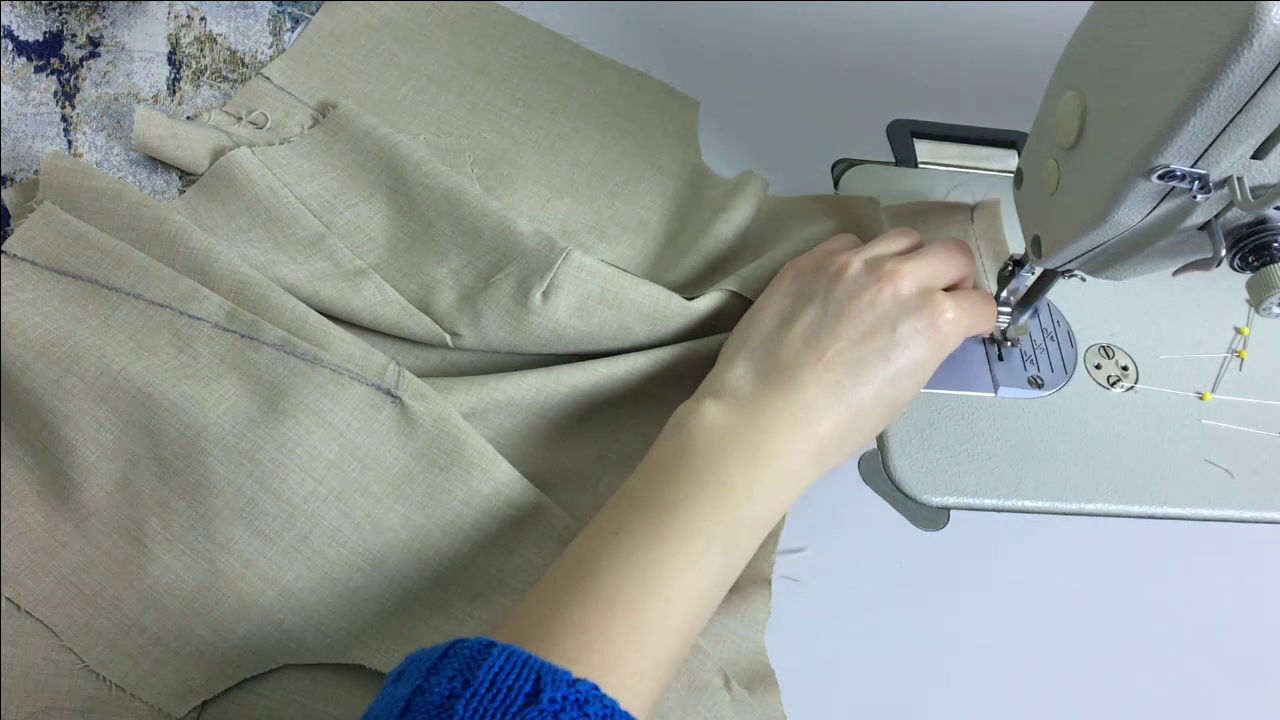
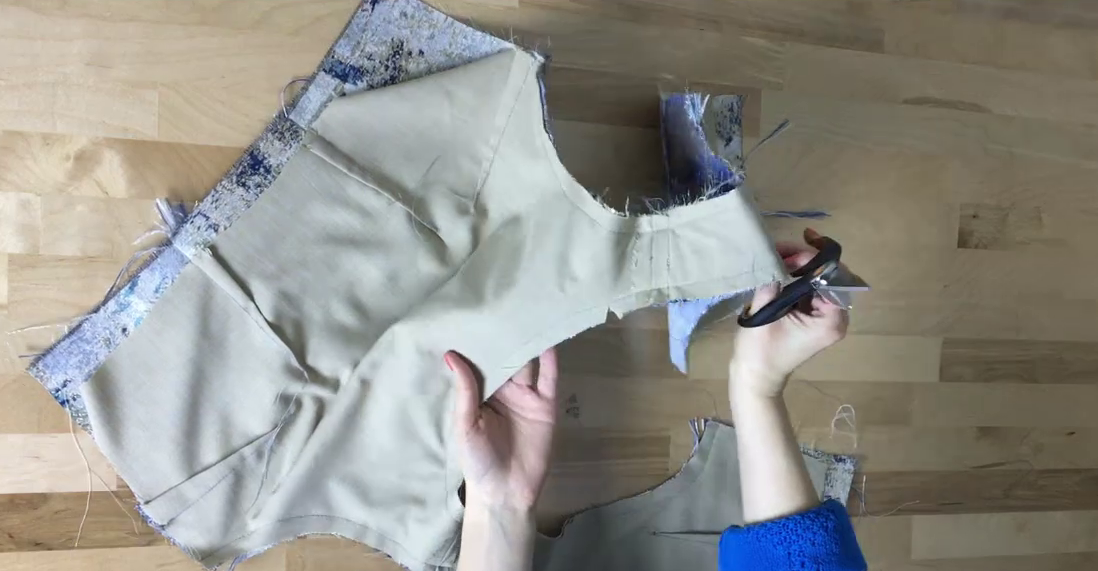
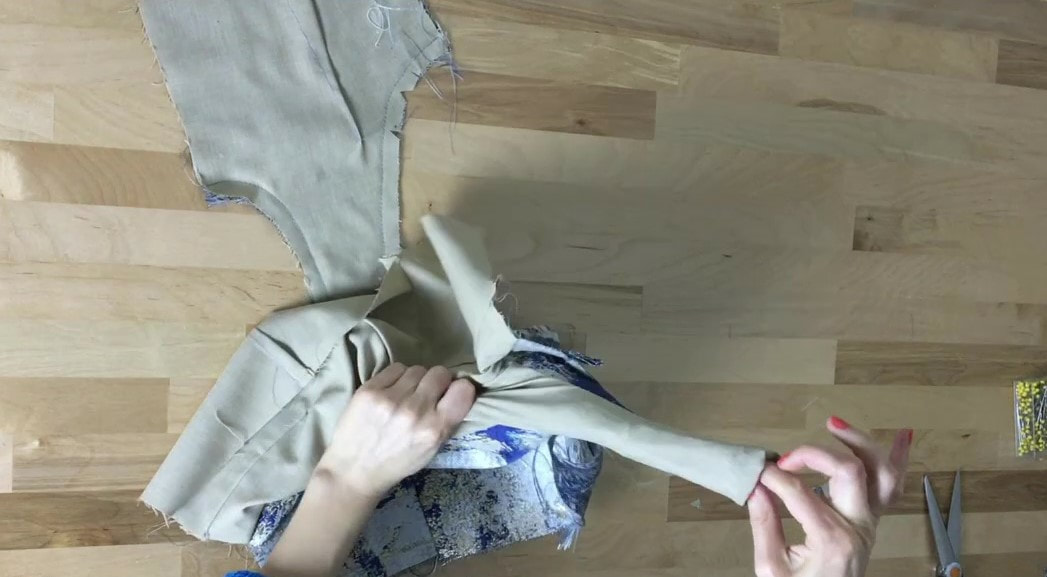
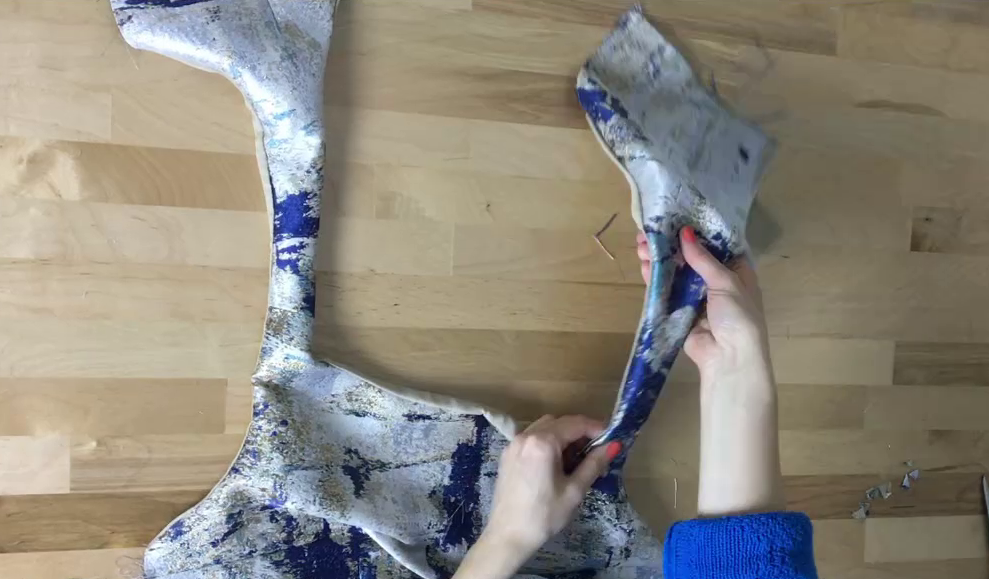
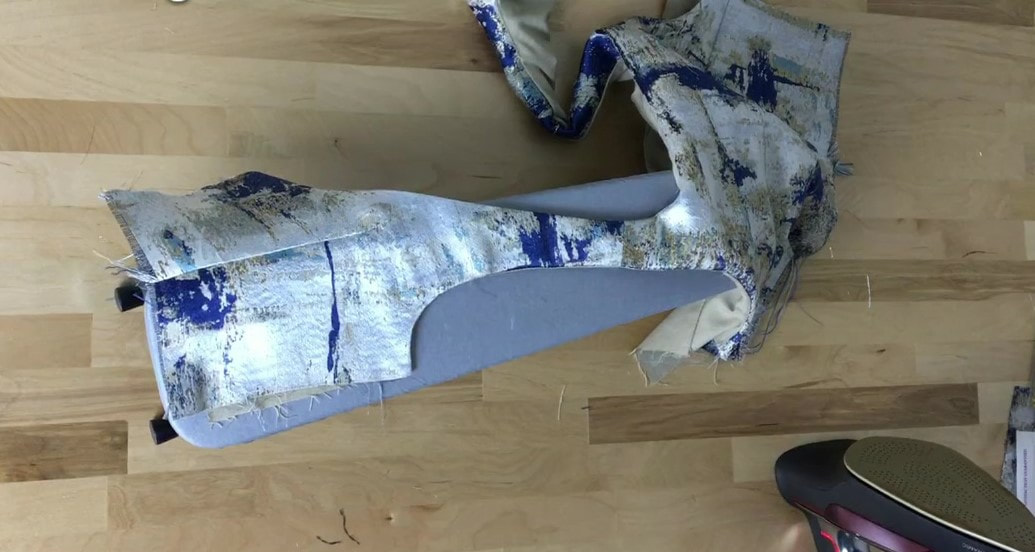
6. Now for the fun part! Once the seam allowance is clipped for tension release, it's time to turn the blouse on its face side. This is perhaps the most rewarding step when sewing full lining! Starting on one end, pull the layers inside out to expose the self and lining right sides. You'll notice that this is only possible (in this example) because there is a center back seam that is left unstitched. Although the blouse looks to be almost done, there are a couple of technicalities to take care of before ironing down the edges. It is important that you understitch the lining and facing whenever possible. Understitching refers to a machine stitch applied along the lining edges, through both the lining (or facing) and its seam allowance underneath. Understitching ensures that the lining edges do not roll towards the outside of the garment, reinforcing the curve and keeping all edges flat. 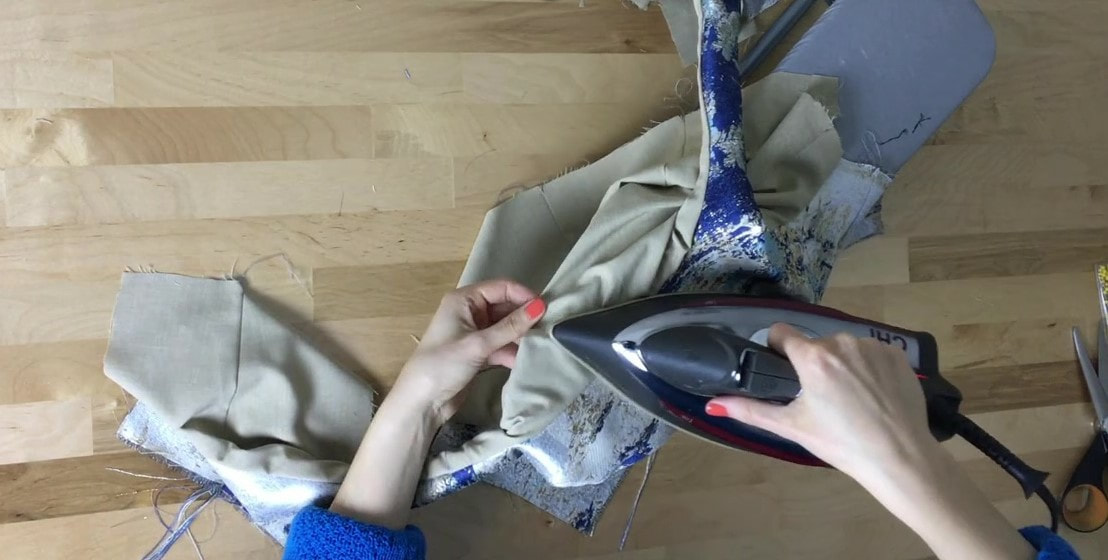 To make the understitching process easier and more accurate, iron the seam allowance towards the lining along all edges as shown. I recommend using a sleeve ironing board like the one in this tutorial. It allows you to get in tighter spaces thus providing more control and flexibility in the process. 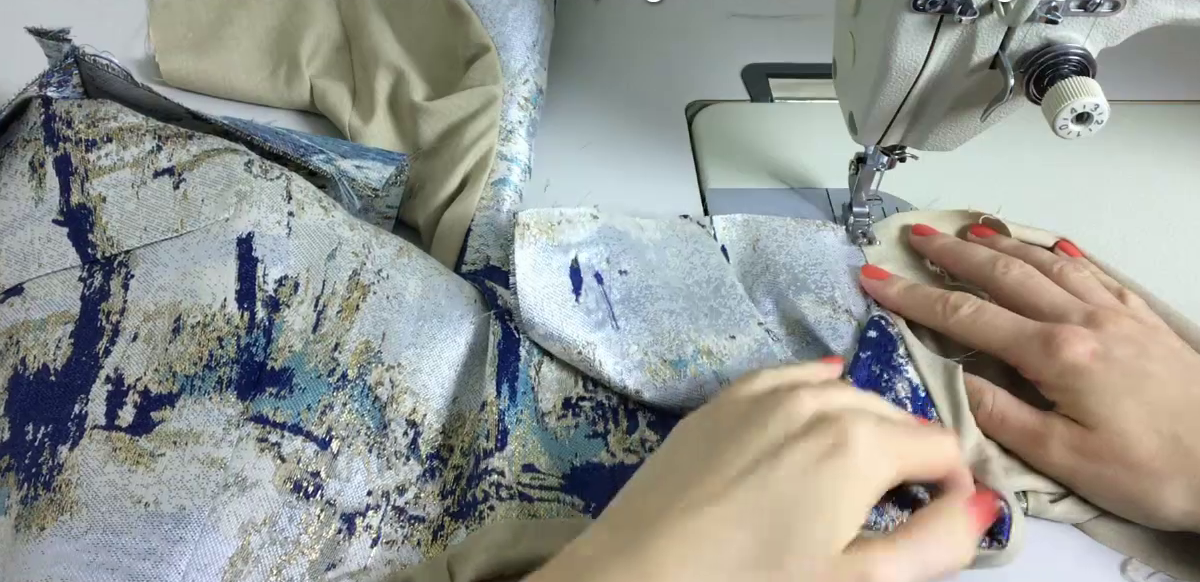 When using this lining technique, if the shoulder seams are not very wide, it is almost impossible to understitch from one end of the curve to another with a single, uninterrupted stitch. What you can do instead is start on one end of the armhole or neckline curve and stitch as close as you can get towards the shoulder seam. Backstitch and start at another end of the armhole or neckline, understitching the lining as close to the shoulder seam as you can again. If the shoulders are wide enough you'll be able to get right next to the seam. In this case, when you understitch from the other end, you'll be able to complete the stitch by meeting at the shoulder seam. In this tutorial, my shoulder seams are quite thin, so I'm just getting as close as I can to the shoulder seam. 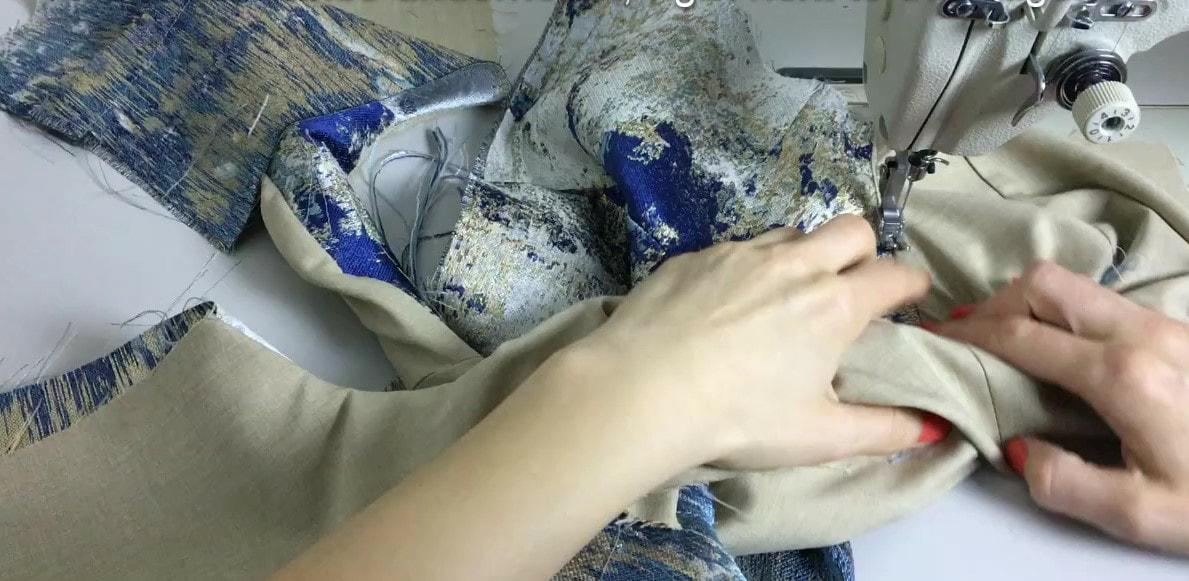 7. Repeat until you understitch as much of the neckline and armhole curves as possible. Don't worry about the shoulder seam areas that don't get understitched. Once you iron the edges down, this area should remain flat with future wear and care.
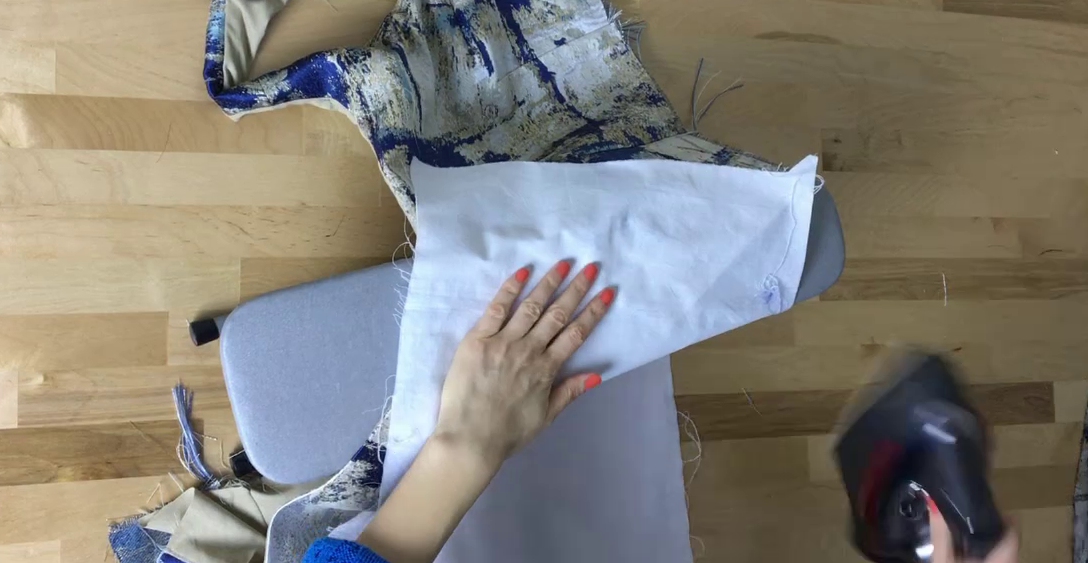
8. Next, iron all the finished edges carefully. If you are working with a heat sensitive fabric, make sure you use an ironing cloth (such as a piece of muslin or white cotton) as a protective shield. As you can tell, my metallic jacquard fabric can accrue some potential damage if it comes in direct contact with a hot iron, so I'm careful to use a piece of muslin as I'm flattening all the lined edges. I'm also working on a sleeve ironing board for this step. This isn't required of course, I just prefer it to a regular ironing board. Last but not least, lets stitch the center back seam. Keep in mind where the closure (zipper, clasps, buttons) is located on your particular garment. Don't close up all the seams before you've added the necessary closures. This crop top will have an invisible zipper at the side seam thus the center back seam can actually be stitched closed. This is one of my favorite parts about sewing full lining- once the lining is attached along all the neckline and armhole edges, seams are so easy to stitch. 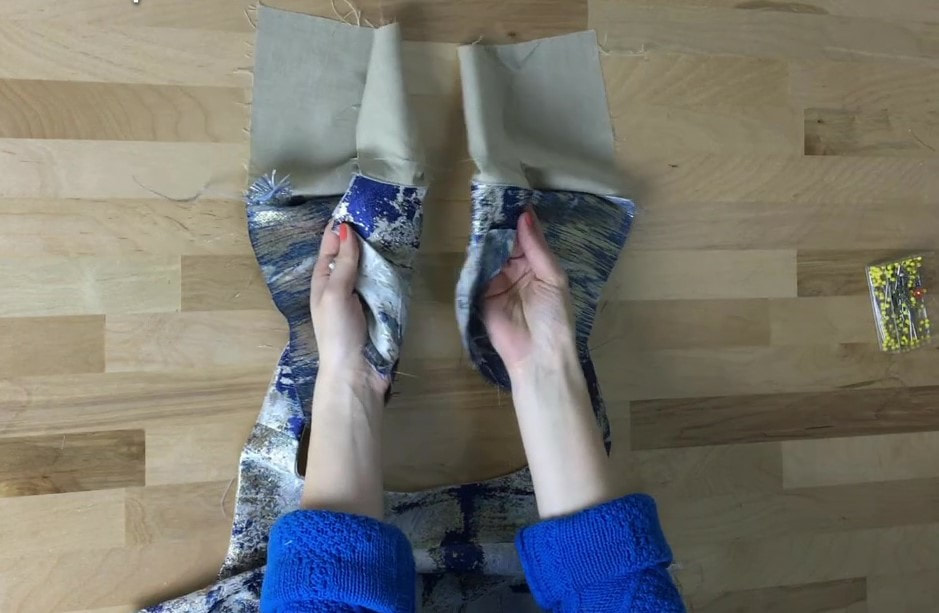 9. Open up the lining and self on both edges of the seam (center back seam in this case) as shown. 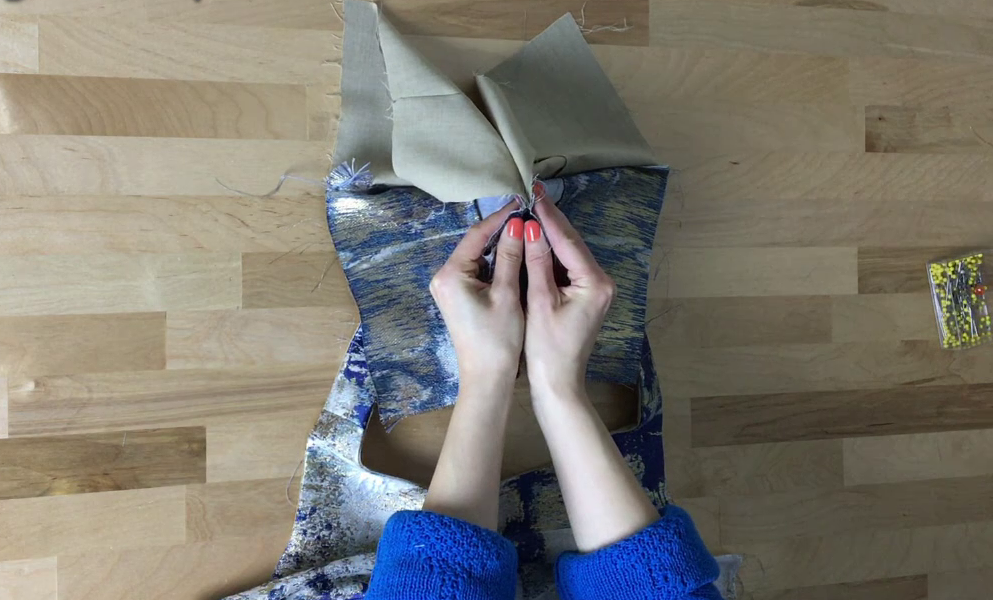 First, align the top edge seam (the one that connects lining and self together) making sure the face sides of the fabric are touching. 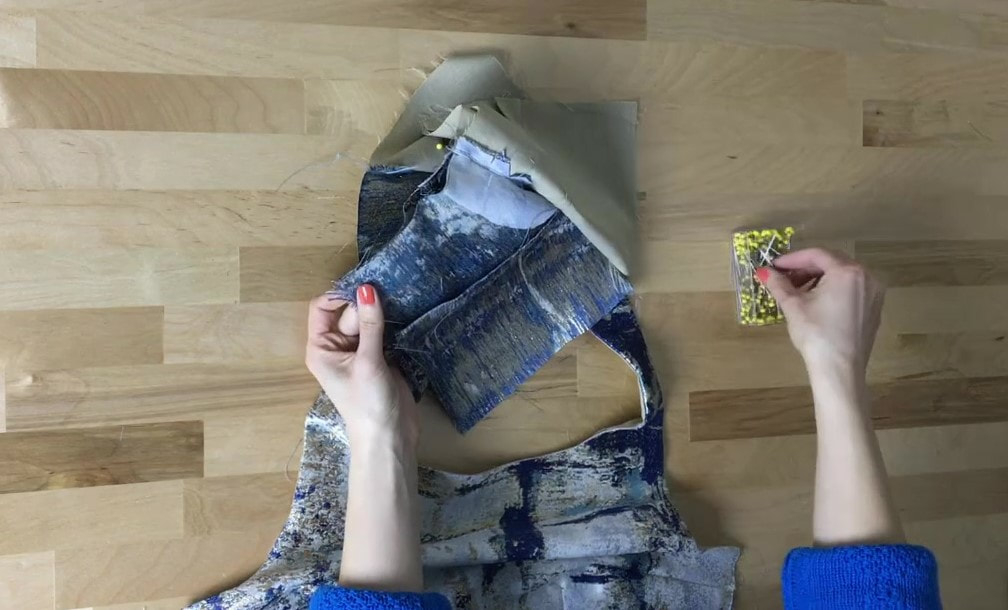 10. Insert a pin through the seam to keep this alignment perfectly in place. Pin the rest of the edges together. One end will correspond to the lining and the other will be the self.  11. Starting on one end, stitch at the designated seam allowance (1/2" in my case) connecting the corresponding lining pieces and self layers together as shown. Before folding the lining inwards, iron the seam allowance open or to one side. For best results, always iron seam allowance from the right side of the seam. This is another instance where the sleeve ironing board comes in handy. Fold the lining towards the inside of the garment such that both the self and lining seams touch. After ironing the seam allowance down in the previous step, this should align itself pretty naturally. You can sew the rest of the seams that don't have closures using the same steps described above. This crop top will have an invisible zipper and hem facing, thus before getting the side seams finalized, I have to take care of these two tasks first. Stay tuned for these tutorials next week! Lining is one of those sewing tasks that can be done so many different ways. Whether you've been sewing for years or are just starting out, what has been your favorite method for sewing lining so far? (Use the comment section below) Similar tutorials you may like: Sewing Terms You Should Know As A Beginner How To Sew A Seam: The 3 Rules 4 Practice Exercises For Getting Comfortable With Your Sewing Machine How To Understitch During Sewing And Why It Is Needed How To Sew A Round Neckline Facing Clipping The Seam Allowance During Sewing- How And When To Use The Fabric Clipping Method How To Backstitch By Hand And Using Your Sewing Machine
1 Comment
Sunny
1/1/2021 03:24:30 pm
Hi, Leave a Reply. |
The Blog:A journey into our design process, sewing tutorials, fashion tips, and all the inspiring people and things we love. 
Doina AlexeiDesigner by trade and dressmaker at heart. I spend most of my days obsessing over new fabrics and daydreaming new ideas. 
Sadie
Executive Assistant & Client Relations Manager Archives
November 2019
Categories
All

|

-
Sewing Tutorials
-
Basics
>
- Aligning Pattern Grainlines To Fabric
- Preparing Fabrics For Sewing
- Pinning Sewing Patterns To Fabric
- Placing Sewing Patterns On Fabric For Cutting
- Rotary Cutters or Fabric Scissors?
- Cutting The Sewing Patterns
- What Are Notches And How To Use Them In The Sewing Process
- Transferring Notches From Pattern To Fabric
- Transferring Seamlines to Fabric
- Staystitching
- Backstitching: A Complete Guide
- Hand Basting: A Complete Guide
- Sewing Continuous Bias Binding
- Darts >
-
Sewing Seams
>
- The Basics Of Seams And Seam Allowance
- How To Sew A Straight Seam
- Sewing Curved Seams
- Sewing Corner Seams
- Trimming And Grading Seam Excess
- Notching/Clipping Seam Allowance for Tension Release
- Sewing Topstitched Seams
- Sewing Corded Seams
- Sewing A Slot Seam
- Sewing A Gathered Seam
- Sewing Bias Seams
- Sewing Seams With Ease
- Sewing Seams With Crossing Seamlines
- Sewing Unlike Fabric Seams
- How To Iron Seams: Ironing Tools And Conventions
- Sewing With Knit Fabrics
- Understanding Stitch Length And Tension
- Sewing Unique Fabric Seams
-
Seam Finishes
>
- Seam Finishing Techniques - Overview
- Applying A Pinked Seam Finish
- Applying A Bias Bound Seam Finish
- Serging And Zigzag Seam Finishes
- Sewing A Self-Bound Seam Finish
- Sewing A French Seam Finish
- Sewing A Hong Kong Seam Finish
- Sewing A Mock French Seam Finish
- Sewing A Turned-and-Stitched Seam Finish
- Sewing Overcast Hand-Applied Seam Finishes
- Sewing A Flat Felled Seam
- Sewing A Hairline Seam Finish
-
Hem Finishes
>
- Garment Hem Finishes: Overview
- Sewing A Double Fold Hem Finish
- Sewing A Single Fold Hem Finish
- Sewing Bound Hem Finishes
- Sewing An Exposed Double Layer Bound Hem
- Sewing A Folded-Up Bound Hem with Pre-folded Binding
- Sewing A Hong Kong Hem Finish
- Sewing A Band Hem Finish
- Sewing A Bias Faced Hem Finish
- Sewing A Twill Tape Hem Finish
- Sewing A Rolled Hem Finish
- Sewing A Shaped Hem Facing
- Using Fusible Hem Tape And Webbing
- Finishing A Lace Fabric Hem
- Finishing A Leather Hem
- Sewing Faced Hem Corners
- How To Finish Lining At The Hem
- Finishing Fabric Corners by Mitering >
- Interfacing A Hemline: Lined And Unlined Examples
-
Sewing Pockets
>
- Curved Patch Pocket With Flap
- Unlined Square Patch Pockets
- Lined Patch Pockets: Two Ways
- Extension On-Seam Pockets
- Separate On-Seam Pocket
- Front Hip Pockets
- Bound Double Welt Pocket
- Double Welt Pocket With Flap
- Self-Welt Pocket (Using Single Fabric Layer)
- Slanted Welt Pocket (Hand-Stitched)
- Faced Slash Pockets: Overview >
-
Sewing Zippers
>
- Sewing Zippers: General Information
- Sewing A Centered Zipper
- Sewing A Lapped Zipper
- Sewing An Invisible Zipper
- Sewing A Fly Front Zipper
- Sewing A Closed-End Exposed Zipper (No Seam)
- Sewing An Exposed Separating Zipper
- Sewing Hand Stitched Zipper Applications
- Sewing A Zipper Underlay
- Sewing A Placket-Enclosed Separating Zipper
- Sleeveless Finishes >
-
Neckline Finishes
>
- Sewing A Neck Shaped Facing
- Sewing An All-In-One Neck Facing
- Neck And Garment Opening Combination Facings >
- Sewing A Bias Faced Neckline Finish
- Sewing A Band Neckline Finish
- Bound Neckline Finishes: Overview >
- Sewing A Semi-Stretch Strip Band Neckline
- Ribbed Neck Band And Classic Turtleneck
- Decorative Neckline Finishes >
- Finishing Facing Edges >
-
Extras
>
- A Complete Guide on Interfacing
- Sewing Bound Spaghetti Straps
- Sewing Spaghetti Straps To A Faced Neckline
- Sewing Ruffles: Overview
- Patterning And Sewing A Circle Ruffle
- Sewing A Gathered Heading Ruffle
- Sewing Double Layer Gathered Ruffles
- Sewing A Gathered Ruffle Into A Seam
- Sewing A Gathered Ruffle To A Fabric Edge
- Sewing A Fabric Surface Slit
- Sewing A Slit Seam
- Hand-Applied Straight Stitches
- Hand-Applied Blind Stitches
- Hand-Applied Overedge Stitches
- Hand-Applied Tack Stitches
- Hand-Applied Decorative Stitches
-
Basics
>
- Custom Bridal
- Custom Apparel
- About
- Blog

 RSS Feed
Services |
Company |
|
