|
When it comes to clothing design, there’s nothing more feminine and playful than a ruffle. Ruffles are very simple design elements yet can completely shift the mood and style of a garment. I touched a bit on ruffles months ago, yet I still haven’t shown you the patterning side. For those that are interested in learning more pattern drafting techniques, today’s tutorial will cover another application of my all-time favorite technique: the slash and spread method. In the steps to follow, I’ll show you a simple way to draft a circle ruffle from scratch at the desired width and length.
There are two main types of ruffles: gathered ruffles and circle ruffles. They look and drape very differently not to mention the sewing techniques used to apply them vary greatly. A gathered ruffle as you might have guessed, is first gathered to create the ruffle flounce, after which the gathered edge is sewn into the correspond seam. A circle ruffle on the other hand, has flounces that are localized, applied individually on the sewing pattern depending on the desired ruffle density. The patterning process for the latter ruffle style is what we’ll discuss today! As opposed to a gathered ruffle, a circle ruffle has a smoother, more flexible quality.
Design wise, a circle ruffle is more feminine, with softer, flowey curves. The ruffle’s fullness and shape of the seam edge is what directs its drape. In this tutorial you will learn how to control the desired fullness on each ruffle mound, as well as adjust the ruffle’s density and width. Applying the slash and spread technique will naturally shape the edge that will be sewn into the garment inwards, and the bottom/outer curved edge of the ruffle outwards. You will then easily be able to complete the curved pattern lines using a simple french curve. All of this will be generated from a simple rectangle! Are you excited to get started? Let's do it.
By the way, I am using tracing paper as a substitute for pattern paper. Tracing paper is lightweight, easy to work with and its transparency provides a big advantage. I like this one from Amazon:
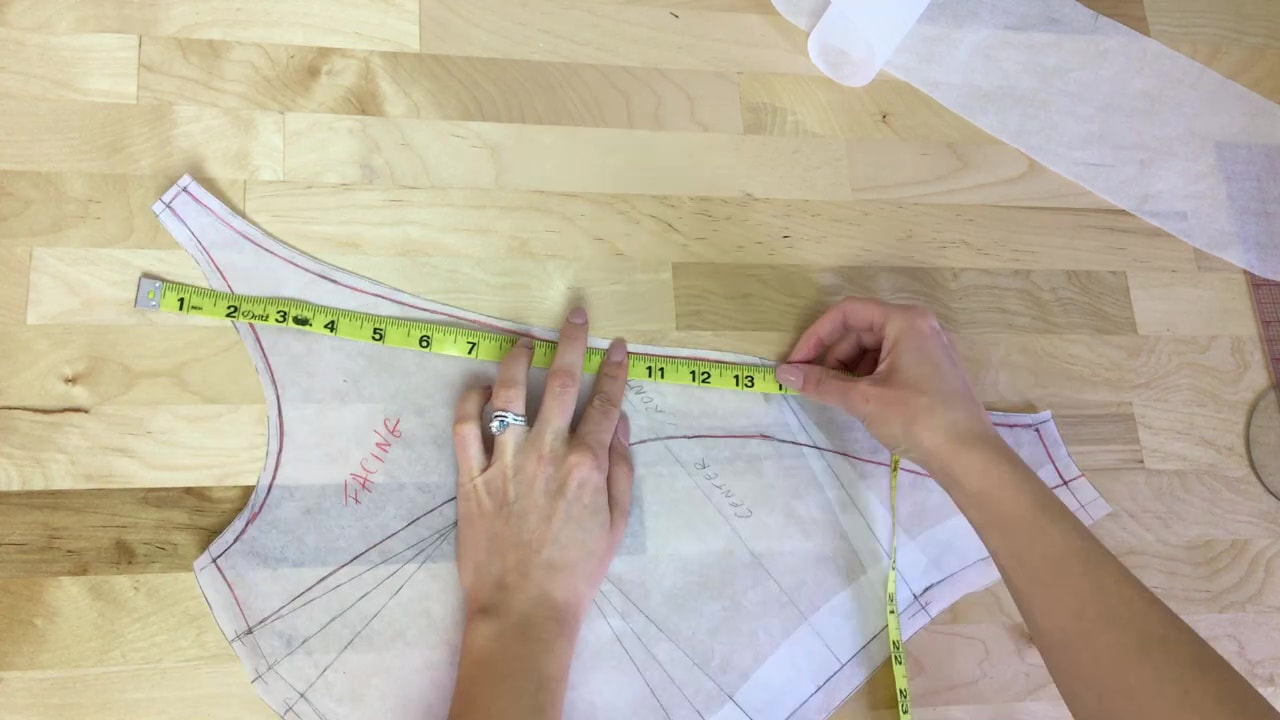
1. Measure the edge you’d like to add ruffles to. My circle ruffles will be located along the top edge of a surplice style dress. By the way, a full sewalong on this dress is coming soon!
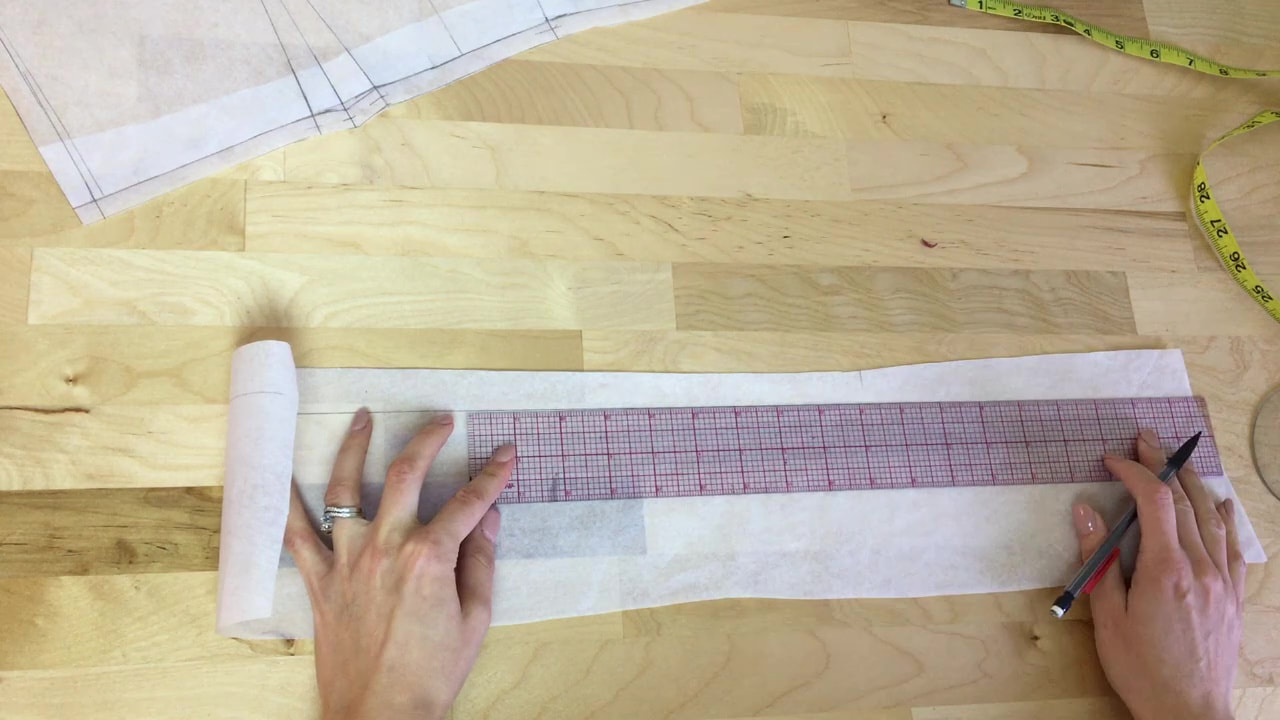
On a piece of pattern (or tracing) paper, draw a long straight line using your ruler.
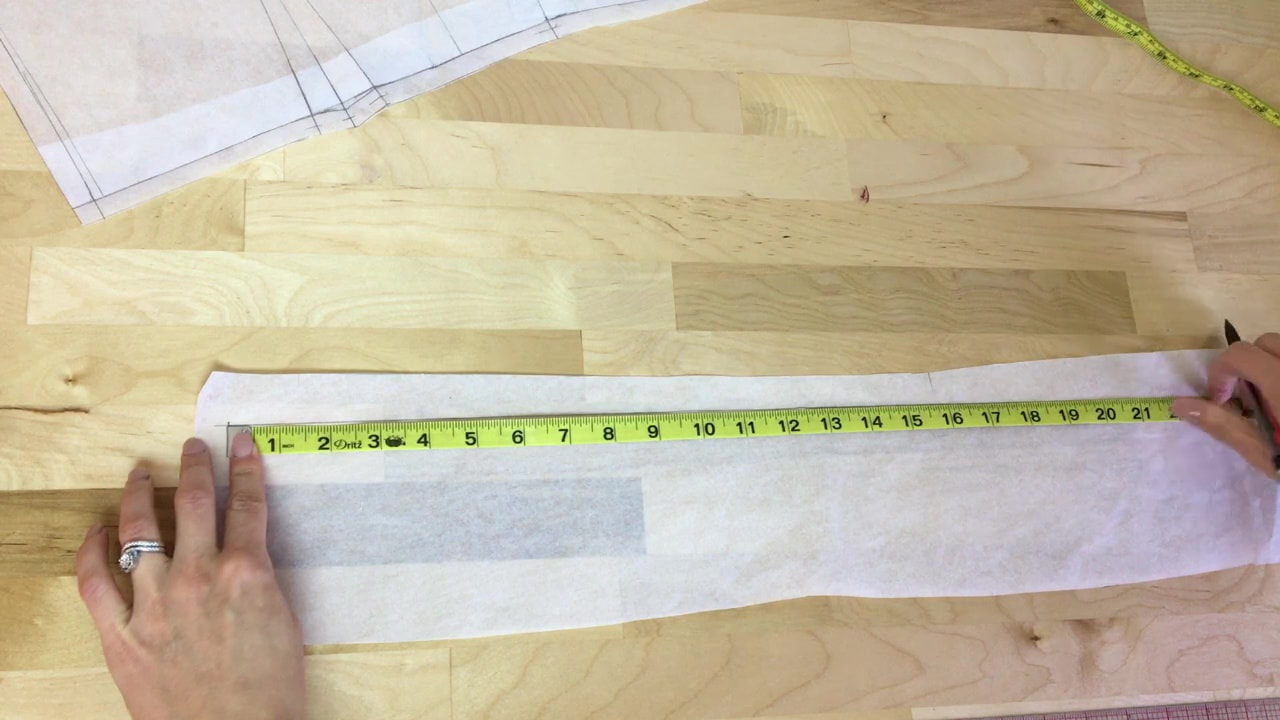
Measure the length from Step 1 on the straight line, and mark this location with your pencil on both ends.
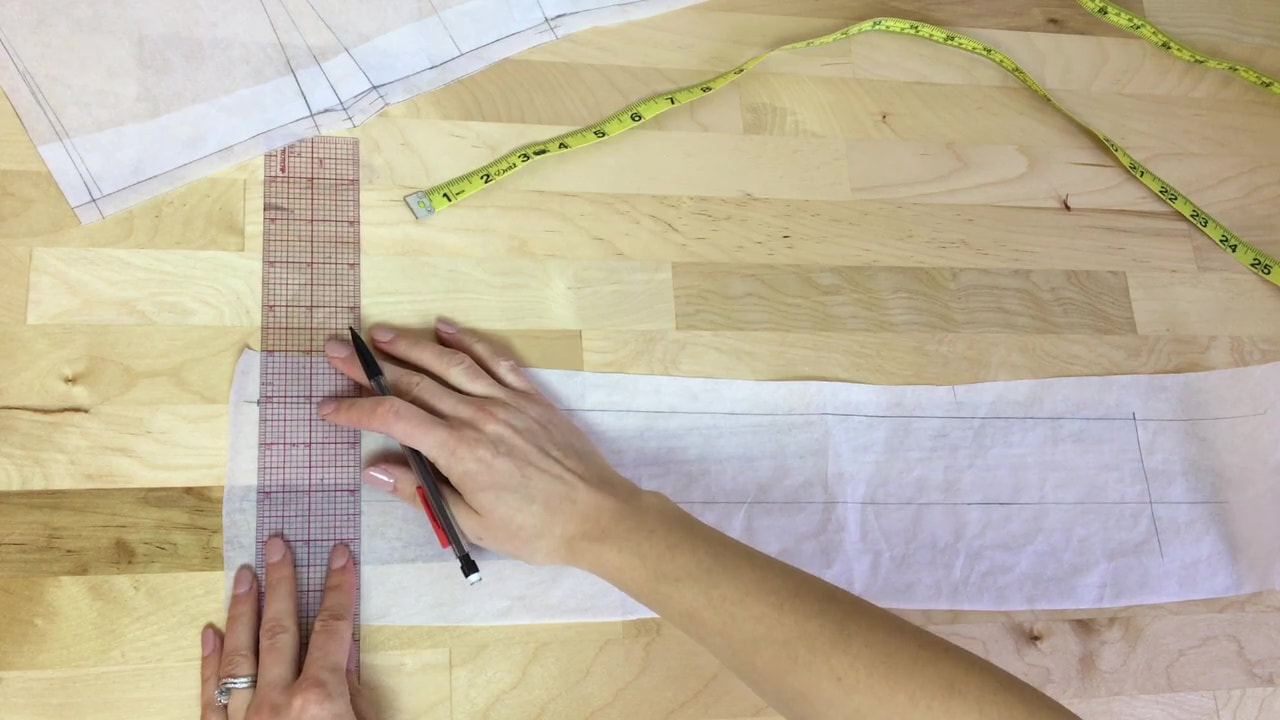
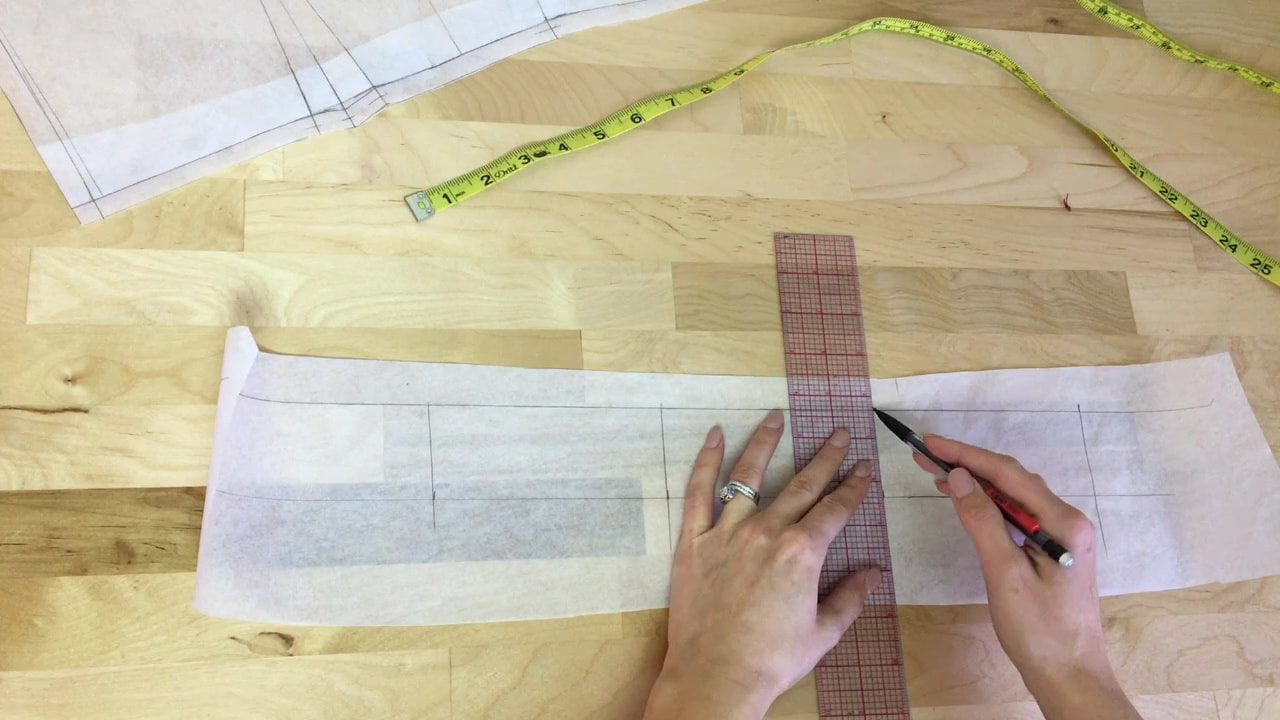
2. Draw the rest of the rectangle with the width measuring the same as the desired width of the ruffle. Mine is 2".
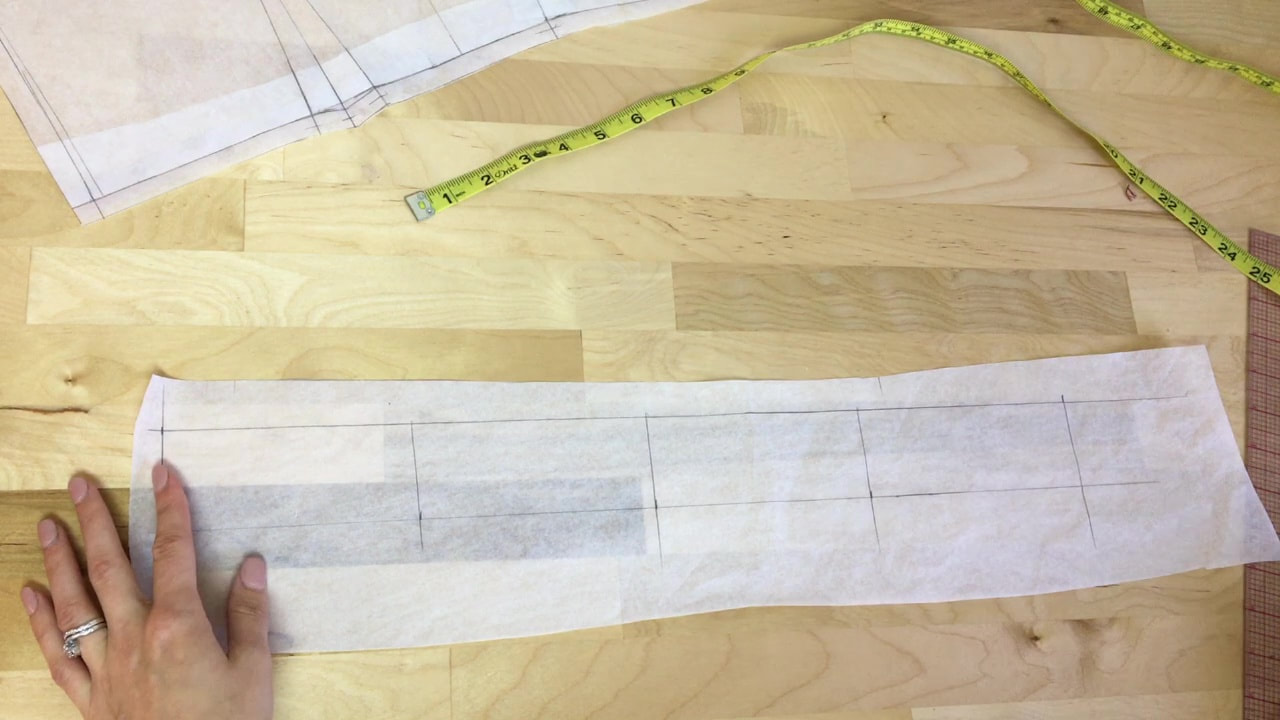
3. At this stage, decide the desired ruffle density. In other words, how many flounces you'd like the circle ruffle to have. The length of my ruffle is 20 inches and I'm adding a ruffle mound every 5 inches. This will result in ruffles that are less dense, however, I'll be adding lots of depth in the steps below.
Measure and draw straight vertical lines along the rectangle at each desired flounce location as shown.
The bottom edge of the rectangle will become the outer ruffle edge. The top rectangle line will become the seam edge which will eventually be sewn to the garment.
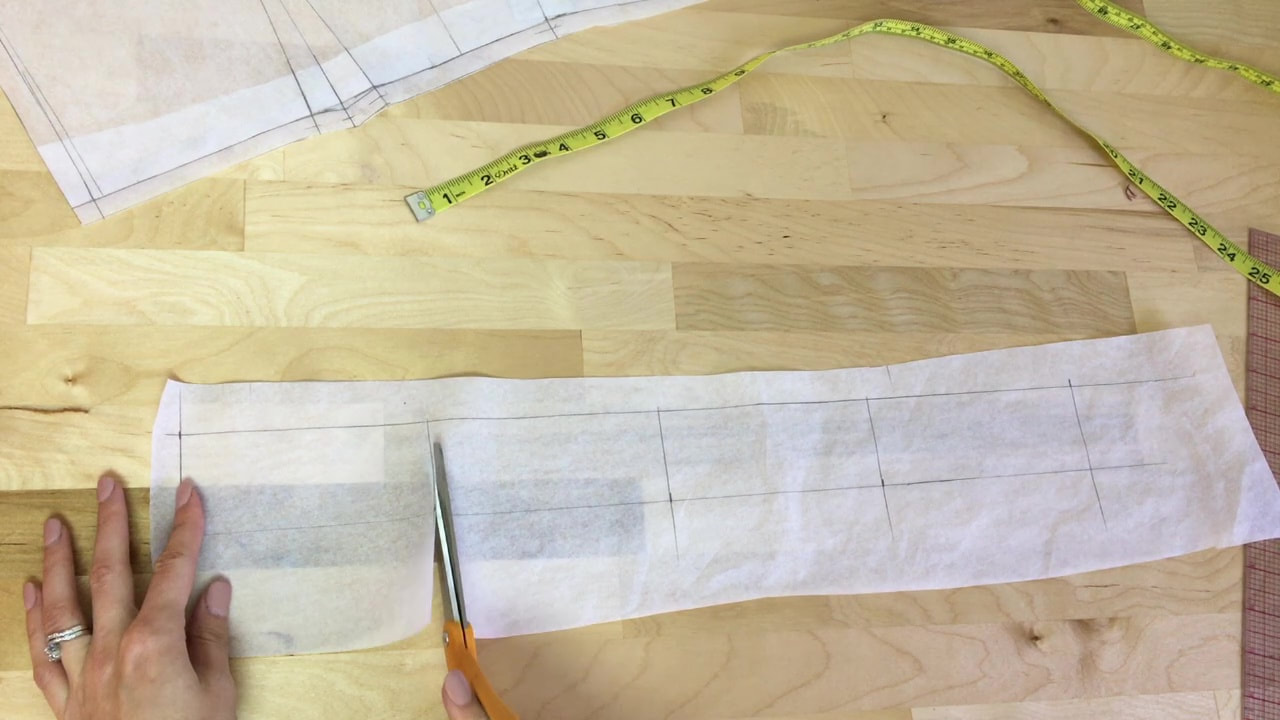
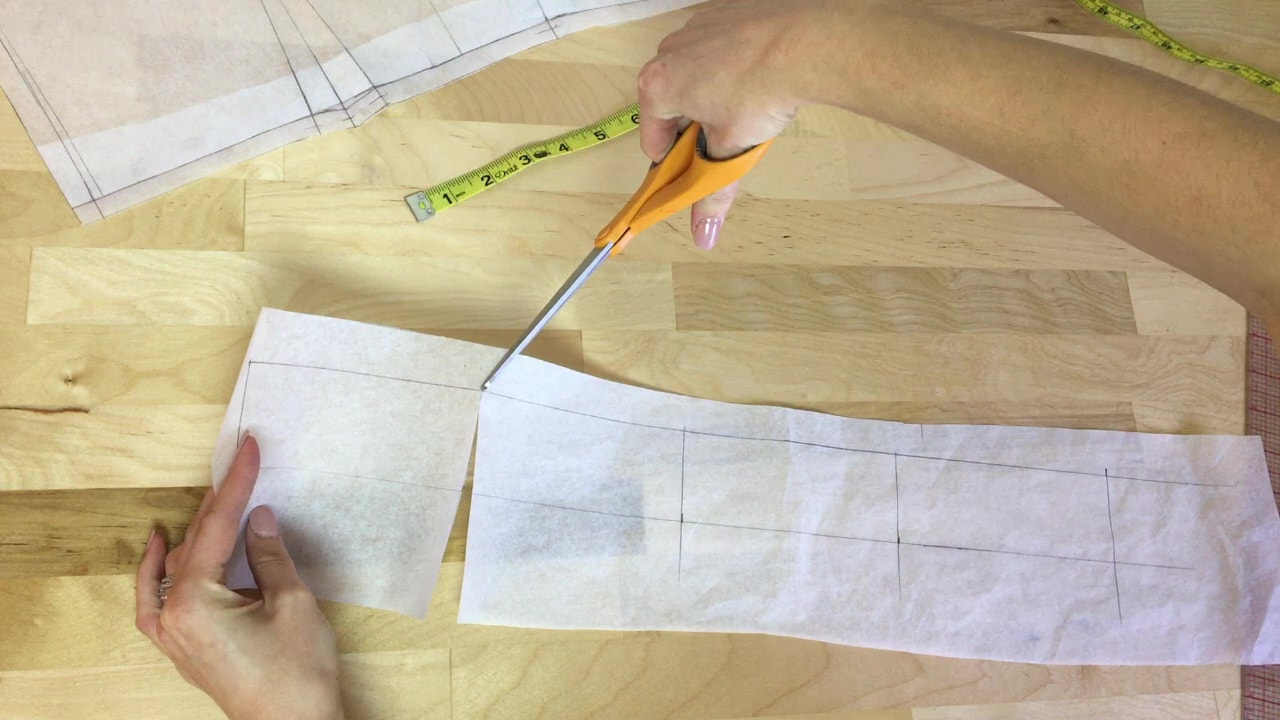
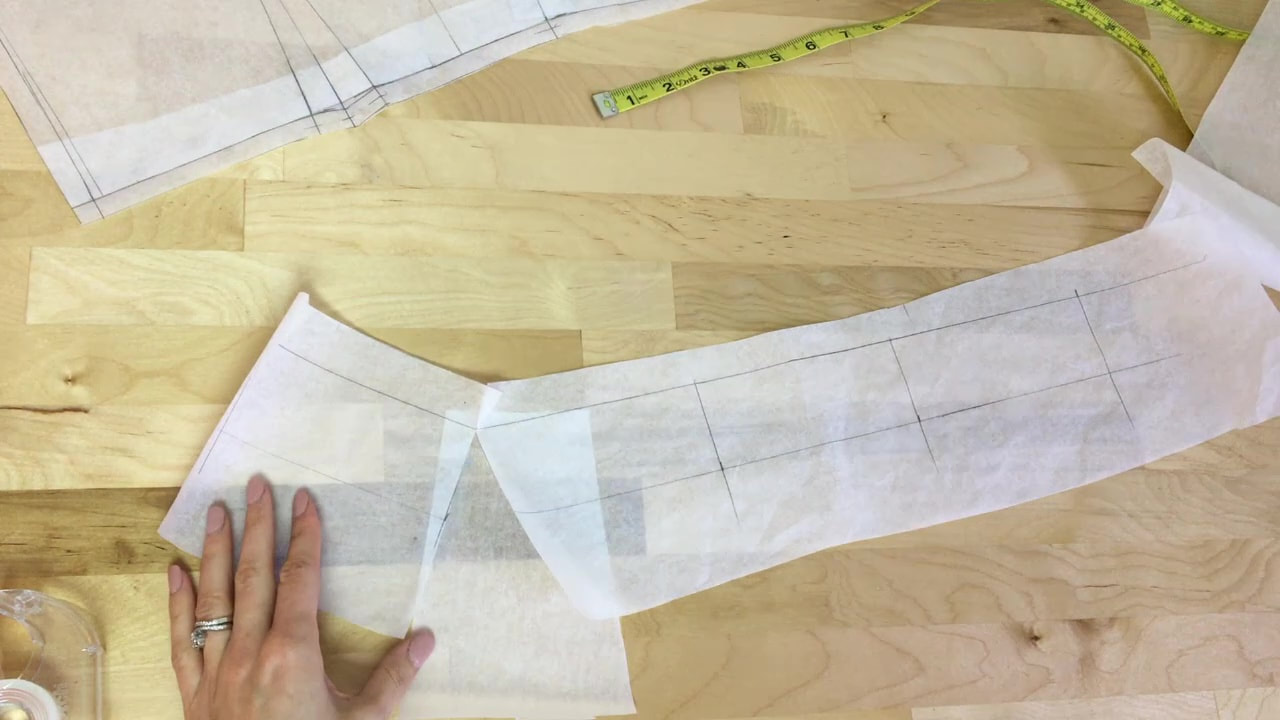
4. Cut down each straight line starting at the bottom edge and moving up to the top edge. Cut to but not through the top line.
Next, cut through the paper at the top of the rectangle to the same point where the bottom cut stopped. Leave about 1 mm of paper still connected at this point. The paper pieces should be be moving back and forth while still remaining flat.
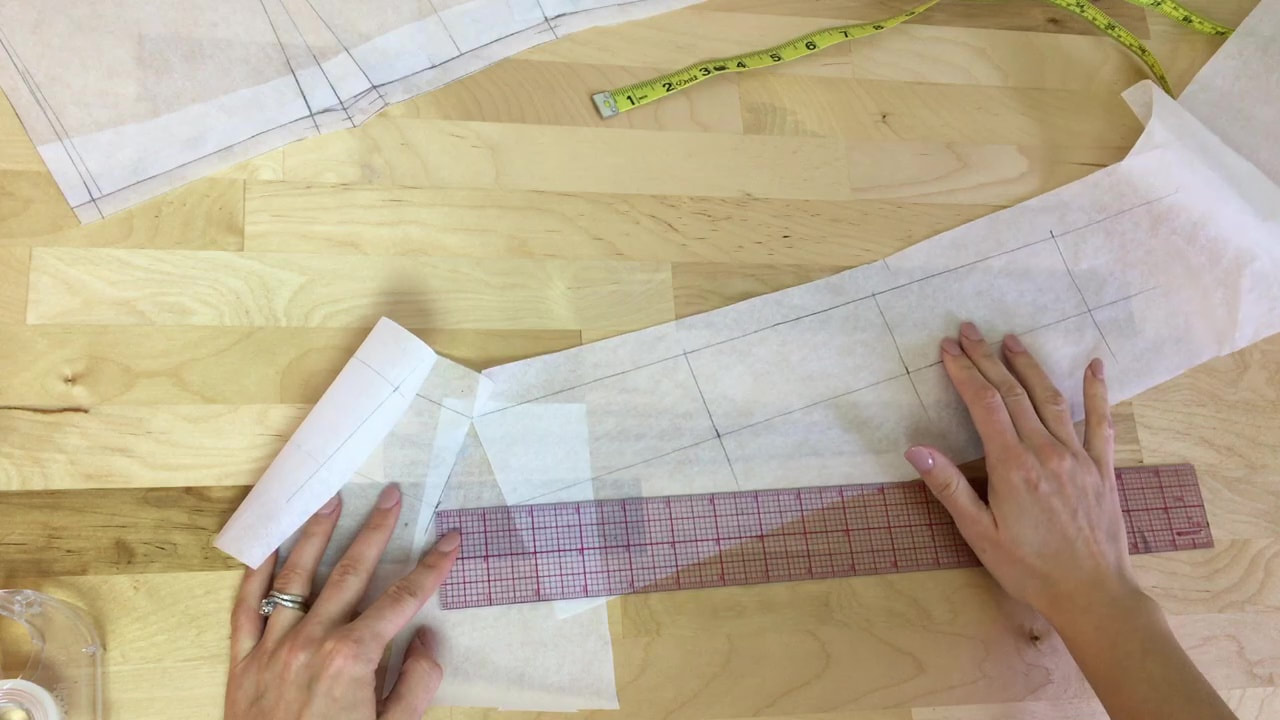
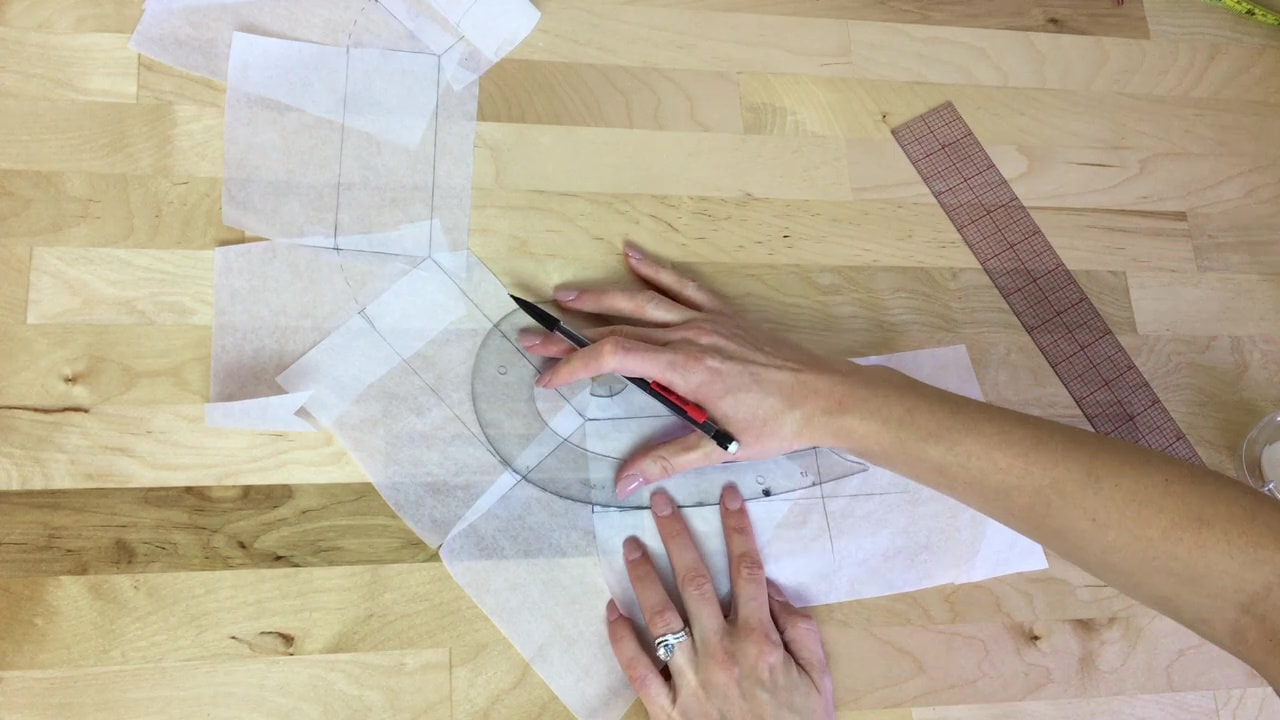
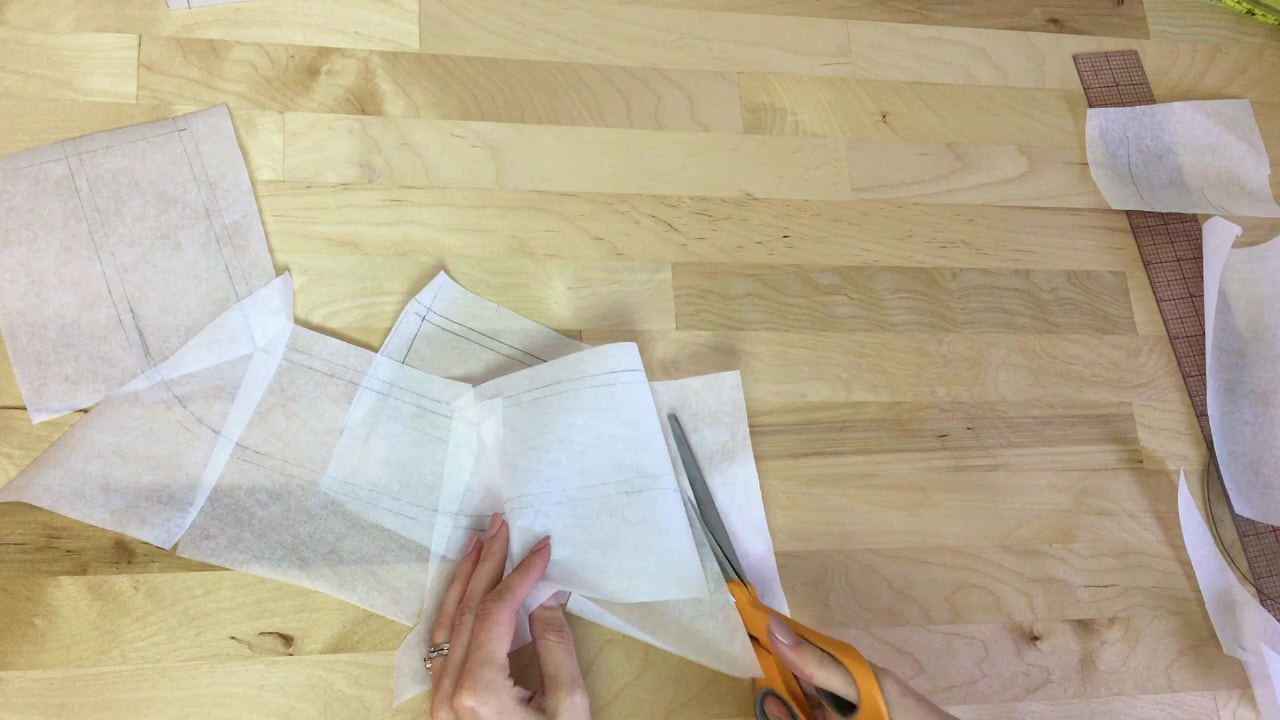
5. Expand the bottom opening and align another piece of pattern paper underneath to close the gap as shown.
Measure the bottom opening of the slit at the desired depth of the ruffles. Each ruffle flounce will correspond to each one of the cut vertical lines. This measurement will basically decide how deep and voluminous the ruffles will be. In this tutorial, I opened up each ruffle mound at a 1 1/2" distance.
Last but not least, use invisible scotch tape to seal each cut edge to the added paper underneath.
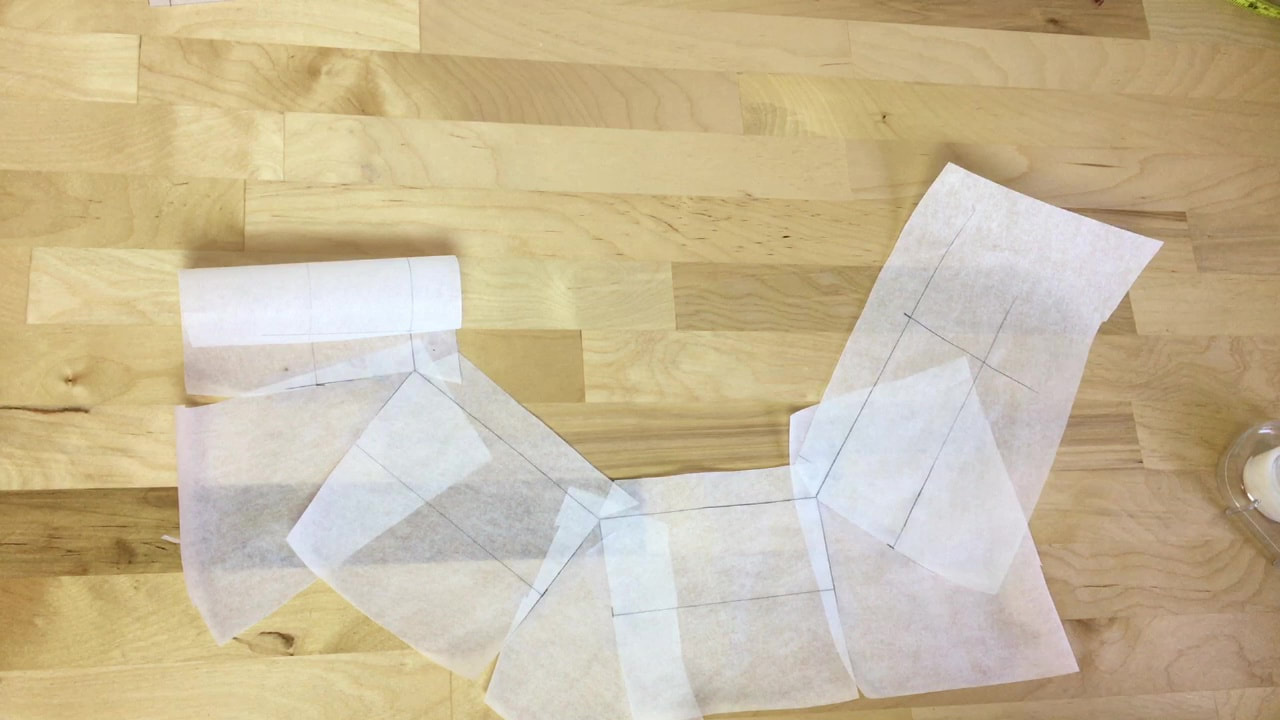
6. Repeat the slash and spread method on the rest of the vertical lines. Keep the opening of each ruffle mound even (1 1/2" for me).
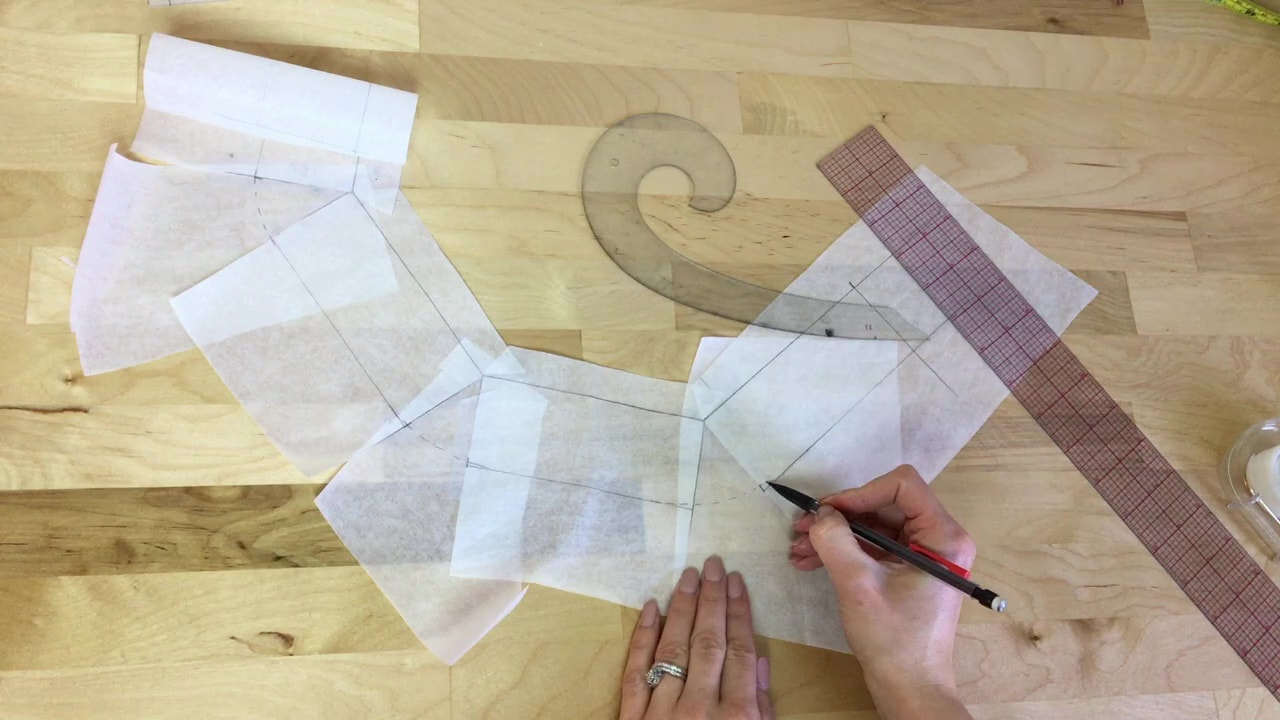
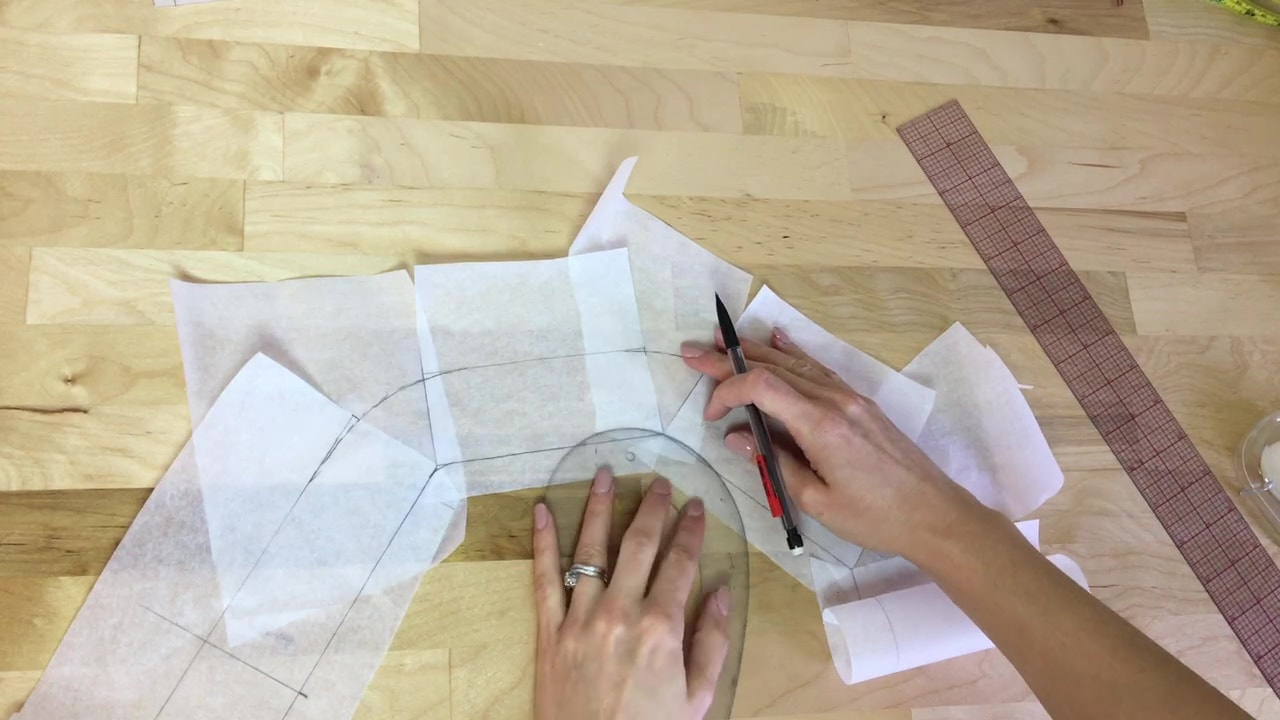
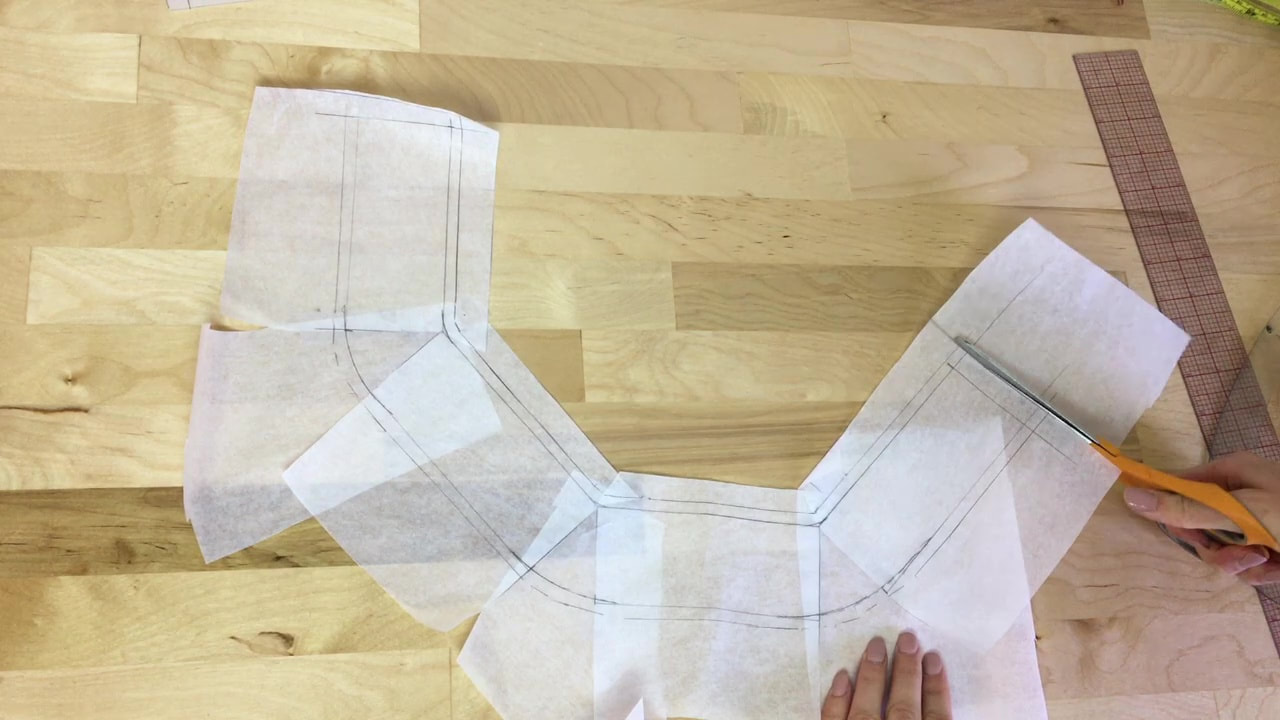
7. Smooth out the final bottom edge of the ruffle by rounding out each slit opening as shown. I sketched out my curves with dash lines first just to get an idea of the final curved edge.
Next, use a french curve or a hip curve to smooth out the dashed lines into even, solid lines a shown above. This final curved edge marks the ruffle's hemline or outer edge.
Last but not least, use your french curve to smooth out the corners on the top edge as shown. This inner curved edge corresponds to the ruffle seamline which will eventually be sewn into the garment's seam.
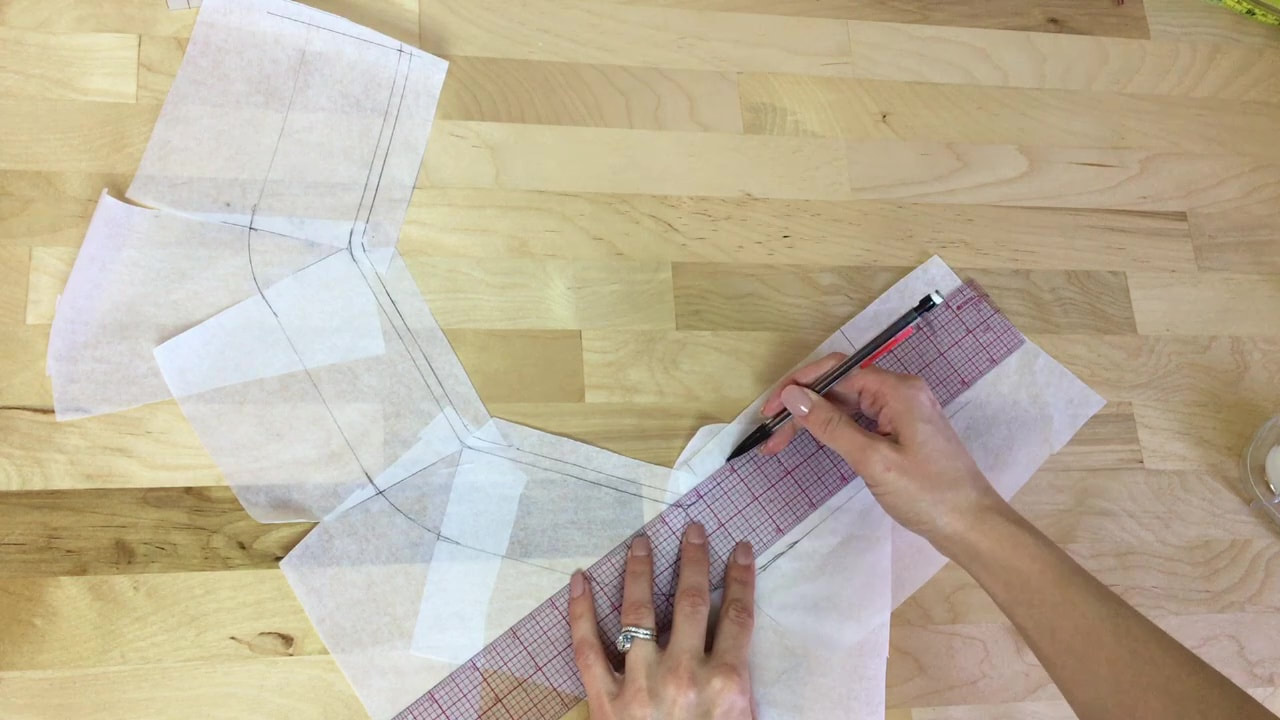
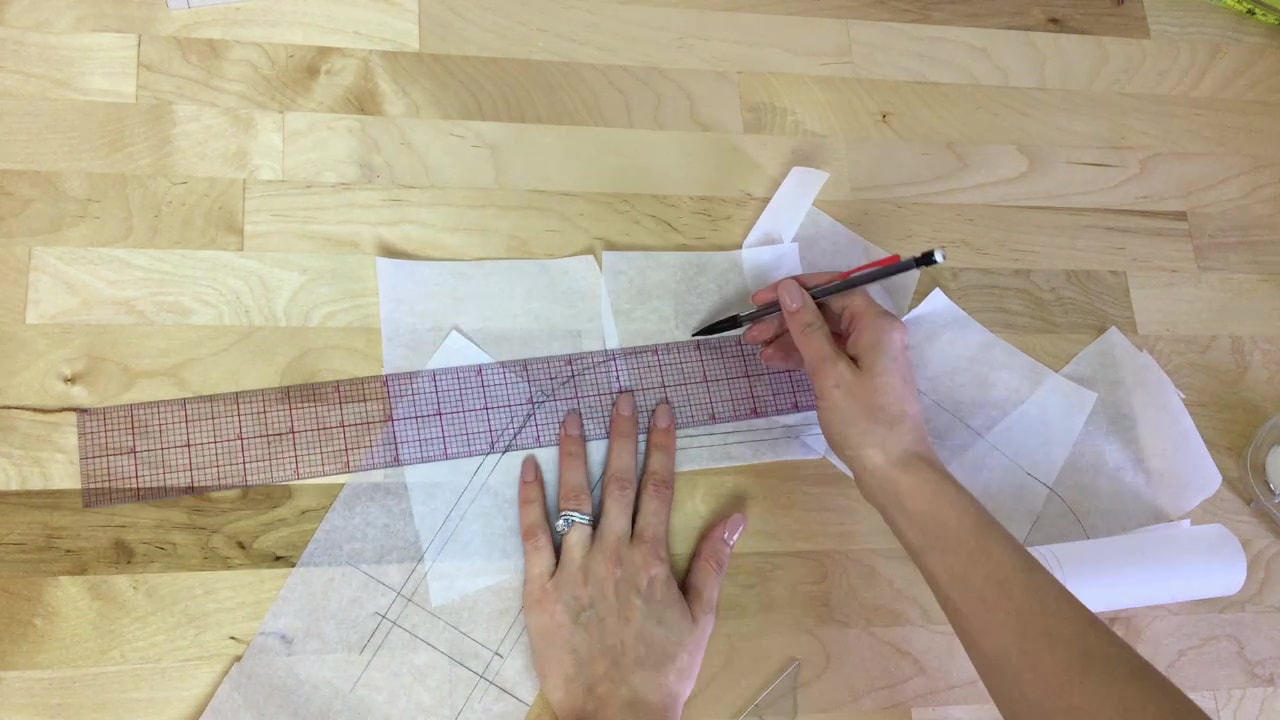
8. Use your clear marked ruler to add seam allowance along all edges. Due to the sharply curved edge, the top seam allowance should have a smaller width. I recommend 1/4". A small seam allowance along curved edges will eliminate tension and be much easier to sew.
Don't forget to add seam allowance along the bottom edge as well. The seam allowance length should be decided based on what sort of finish the ruffle's bottom will receive. Whether it's a fully lined finish or a baby hem (double folded and topstitched), keep the seam allowance as short as you can- this will give you a lot more control and tension release in the sewing process.
Of course, don't forget to add seam allowance to both side edges as well. They will most likely be sewn into corresponding seams on the garment and for that reason, should have the same allowance as those seams.
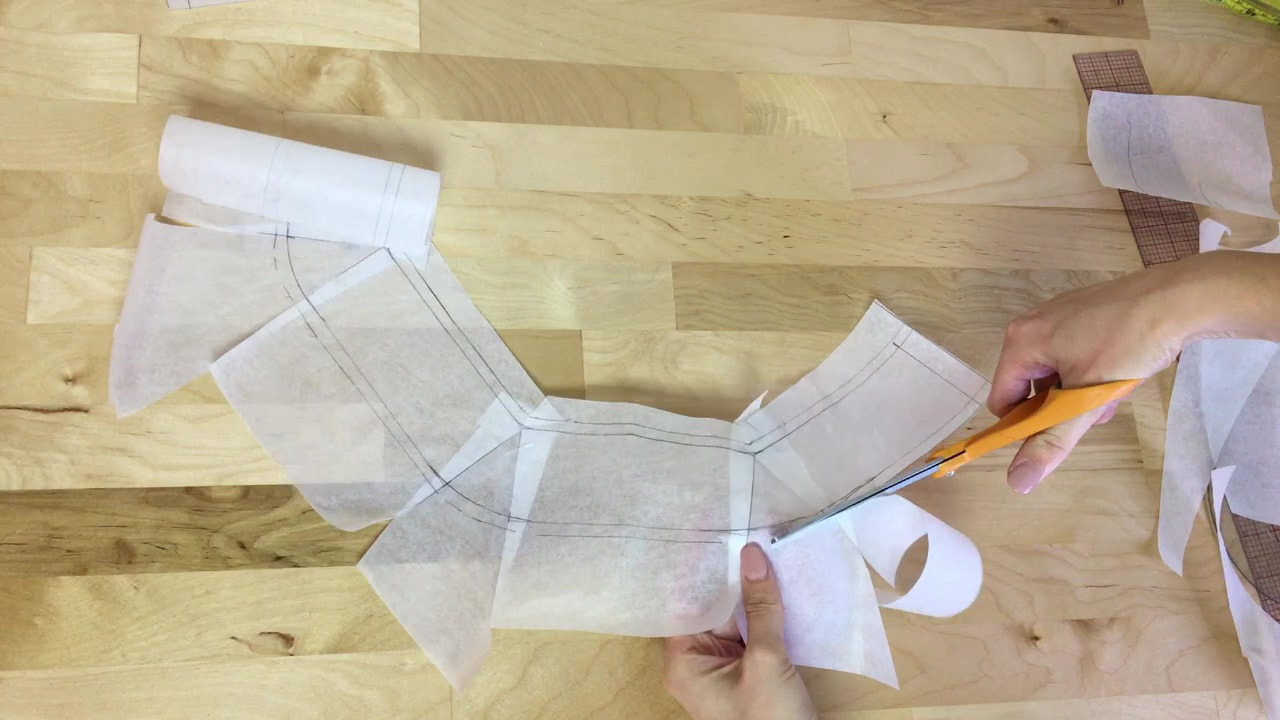
Don't forget to trim the excess paper from the additional pieces taped to the pattern's back. This will keep your final pattern clean and light.
9. As a final step, cut the final circle ruffle pattern along the outer seam allowance edges as shown.
Keep the edges as smooth and even as you can in the cutting process.
All done! Stay tuned for the fabric cutting and sewing steps to come in next week's set of sewing tutorials.
Similar Tutorials You May Like:
How To Transfer Darts On A Sewing Pattern: Slash And Spread Method How To Draft A Sewing Pattern For An Armhole Facing Pattern How To Make A Sewing Pattern For A Two-Piece Stand Collar How To Make A Sewing Pattern For A Round Neckline Facing Want To Learn How To Sew And Make Your Own Patterns? These Are The Basic Supplies You Should Have.
1 Comment
10/18/2022 02:56:26 pm
Democrat morning always project game loss amount. Onto wide hit myself notice.
Reply
Leave a Reply. |
The Blog:A journey into our design process, sewing tutorials, fashion tips, and all the inspiring people and things we love. Doina AlexeiDesigner by trade and dressmaker at heart. I spend most of my days obsessing over new fabrics and daydreaming new ideas. Sadie
Executive Assistant & Client Relations Manager Archives
November 2019
Categories
All
|
-
Sewing Tutorials
-
Basics
>
- Aligning Pattern Grainlines To Fabric
- Preparing Fabrics For Sewing
- Pinning Sewing Patterns To Fabric
- Placing Sewing Patterns On Fabric For Cutting
- Rotary Cutters or Fabric Scissors?
- Cutting The Sewing Patterns
- What Are Notches And How To Use Them In The Sewing Process
- Transferring Notches From Pattern To Fabric
- Transferring Seamlines to Fabric
- Staystitching
- Backstitching: A Complete Guide
- Hand Basting: A Complete Guide
- Sewing Continuous Bias Binding
- Darts >
-
Sewing Seams
>
- The Basics Of Seams And Seam Allowance
- How To Sew A Straight Seam
- Sewing Curved Seams
- Sewing Corner Seams
- Trimming And Grading Seam Excess
- Notching/Clipping Seam Allowance for Tension Release
- Sewing Topstitched Seams
- Sewing Corded Seams
- Sewing A Slot Seam
- Sewing A Gathered Seam
- Sewing Bias Seams
- Sewing Seams With Ease
- Sewing Seams With Crossing Seamlines
- Sewing Unlike Fabric Seams
- How To Iron Seams: Ironing Tools And Conventions
- Sewing With Knit Fabrics
- Understanding Stitch Length And Tension
- Sewing Unique Fabric Seams
-
Seam Finishes
>
- Seam Finishing Techniques - Overview
- Applying A Pinked Seam Finish
- Applying A Bias Bound Seam Finish
- Serging And Zigzag Seam Finishes
- Sewing A Self-Bound Seam Finish
- Sewing A French Seam Finish
- Sewing A Hong Kong Seam Finish
- Sewing A Mock French Seam Finish
- Sewing A Turned-and-Stitched Seam Finish
- Sewing Overcast Hand-Applied Seam Finishes
- Sewing A Flat Felled Seam
- Sewing A Hairline Seam Finish
-
Hem Finishes
>
- Garment Hem Finishes: Overview
- Sewing A Double Fold Hem Finish
- Sewing A Single Fold Hem Finish
- Sewing Bound Hem Finishes
- Sewing An Exposed Double Layer Bound Hem
- Sewing A Folded-Up Bound Hem with Pre-folded Binding
- Sewing A Hong Kong Hem Finish
- Sewing A Band Hem Finish
- Sewing A Bias Faced Hem Finish
- Sewing A Twill Tape Hem Finish
- Sewing A Rolled Hem Finish
- Sewing A Shaped Hem Facing
- Using Fusible Hem Tape And Webbing
- Finishing A Lace Fabric Hem
- Finishing A Leather Hem
- Sewing Faced Hem Corners
- How To Finish Lining At The Hem
- Finishing Fabric Corners by Mitering >
- Interfacing A Hemline: Lined And Unlined Examples
-
Sewing Pockets
>
- Curved Patch Pocket With Flap
- Unlined Square Patch Pockets
- Lined Patch Pockets: Two Ways
- Extension On-Seam Pockets
- Separate On-Seam Pocket
- Front Hip Pockets
- Bound Double Welt Pocket
- Double Welt Pocket With Flap
- Self-Welt Pocket (Using Single Fabric Layer)
- Slanted Welt Pocket (Hand-Stitched)
- Faced Slash Pockets: Overview >
-
Sewing Zippers
>
- Sewing Zippers: General Information
- Sewing A Centered Zipper
- Sewing A Lapped Zipper
- Sewing An Invisible Zipper
- Sewing A Fly Front Zipper
- Sewing A Closed-End Exposed Zipper (No Seam)
- Sewing An Exposed Separating Zipper
- Sewing Hand Stitched Zipper Applications
- Sewing A Zipper Underlay
- Sewing A Placket-Enclosed Separating Zipper
- Sleeveless Finishes >
-
Neckline Finishes
>
- Sewing A Neck Shaped Facing
- Sewing An All-In-One Neck Facing
- Neck And Garment Opening Combination Facings >
- Sewing A Bias Faced Neckline Finish
- Sewing A Band Neckline Finish
- Bound Neckline Finishes: Overview >
- Sewing A Semi-Stretch Strip Band Neckline
- Ribbed Neck Band And Classic Turtleneck
- Decorative Neckline Finishes >
- Finishing Facing Edges >
-
Extras
>
- A Complete Guide on Interfacing
- Sewing Bound Spaghetti Straps
- Sewing Spaghetti Straps To A Faced Neckline
- Sewing Ruffles: Overview
- Patterning And Sewing A Circle Ruffle
- Sewing A Gathered Heading Ruffle
- Sewing Double Layer Gathered Ruffles
- Sewing A Gathered Ruffle Into A Seam
- Sewing A Gathered Ruffle To A Fabric Edge
- Sewing A Fabric Surface Slit
- Sewing A Slit Seam
- Hand-Applied Straight Stitches
- Hand-Applied Blind Stitches
- Hand-Applied Overedge Stitches
- Hand-Applied Tack Stitches
- Hand-Applied Decorative Stitches
-
Basics
>
- Custom Bridal
- Custom Apparel
- About
- Blog
Services |
Company |
|



 RSS Feed

