|
I love on-seam pockets so much that I could sew one with my eyes closed. Simple, yet extremely functional, on-seam or in-seam pockets (whatever you want to call them) work with almost all garments without altering them aesthetically. As you'll see below, they are also very simple to sew and will elevate just about any design. I like to add my own spin on it by making the pocket bag a contrasting color or print. It's a great way to add character and a pop of color to the garment without overwhelming it! On-seam pockets are composed of two parts: the underlayer, which is sewn to the front piece of the garment, and an identical layer sewn to the back garment piece. When put together, the two layers form the pocket bag. Conventionally, these two pieces are identical in shape and are the mirror copies of each other. This facilitates the process of cutting and matching them to each seam edge. The easiest way to draft a sewing pattern for an on-seam pocket is to use your garment's front pattern piece as a guide. Using the seam that the pocket will be sewn into, sketch out the shape of the pocket bag. Mark all the appropriate notches for matching and sewing the pocket pieces later. For a full tutorial on drafting this skirt pocket pattern, check out this tutorial: How To Make A Sewing Pattern For A Skirt On-Seam Pocket. Seeing the pocket pattern being drafted should hopefully help you visualize how each piece fits into the finished clothing item. One thing I love about on-seam pockets is that just like a patch pocket, you can add them to any of your clothing items without having to alter the shape of the seams or make significant changes to the overall design. If that's something you're looking to do with any of your existing dresses or bottoms, check out this tutorial on how to insert a pocket into a finished seam: How To Add A Side Seam Pocket To A Dress 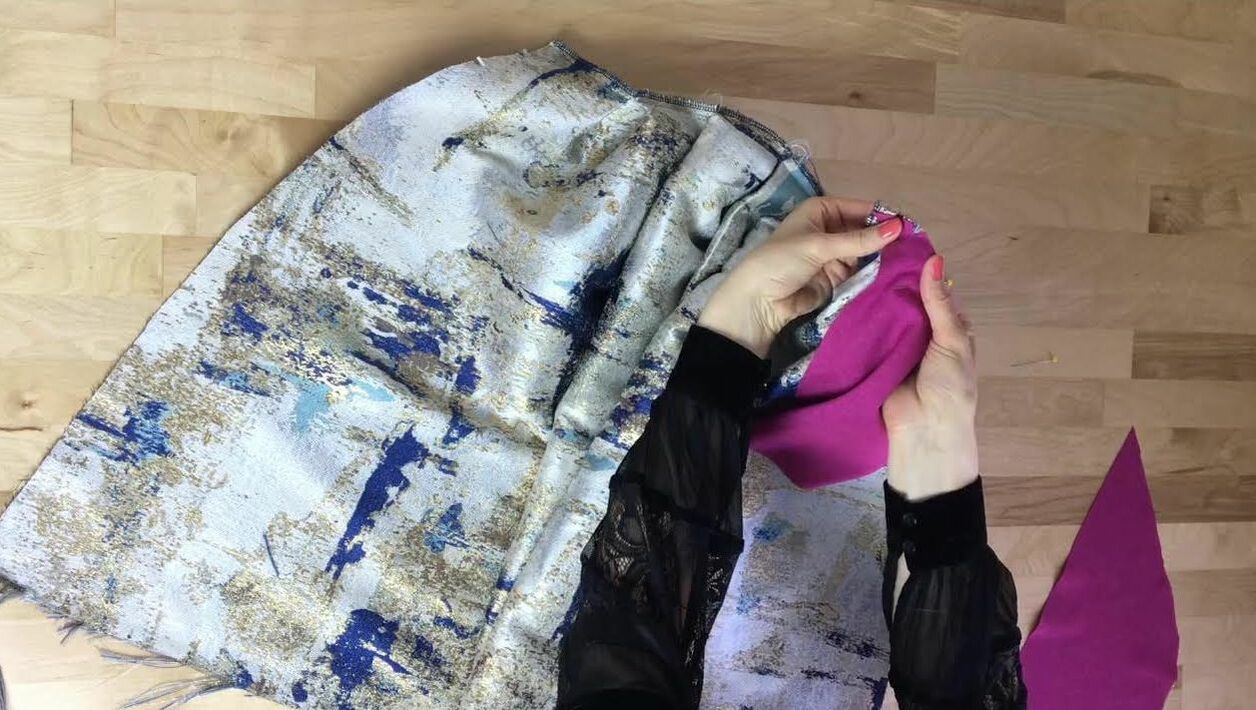 1. Sew the individual pocket pieces before stitching the seam. Take the front skirt piece and align one of the pocket layers to the edge of the seam, making sure all corresponding notches are matched. Pin the pocket layer to the skirt edge, inserting the pins in perpendicular direction. 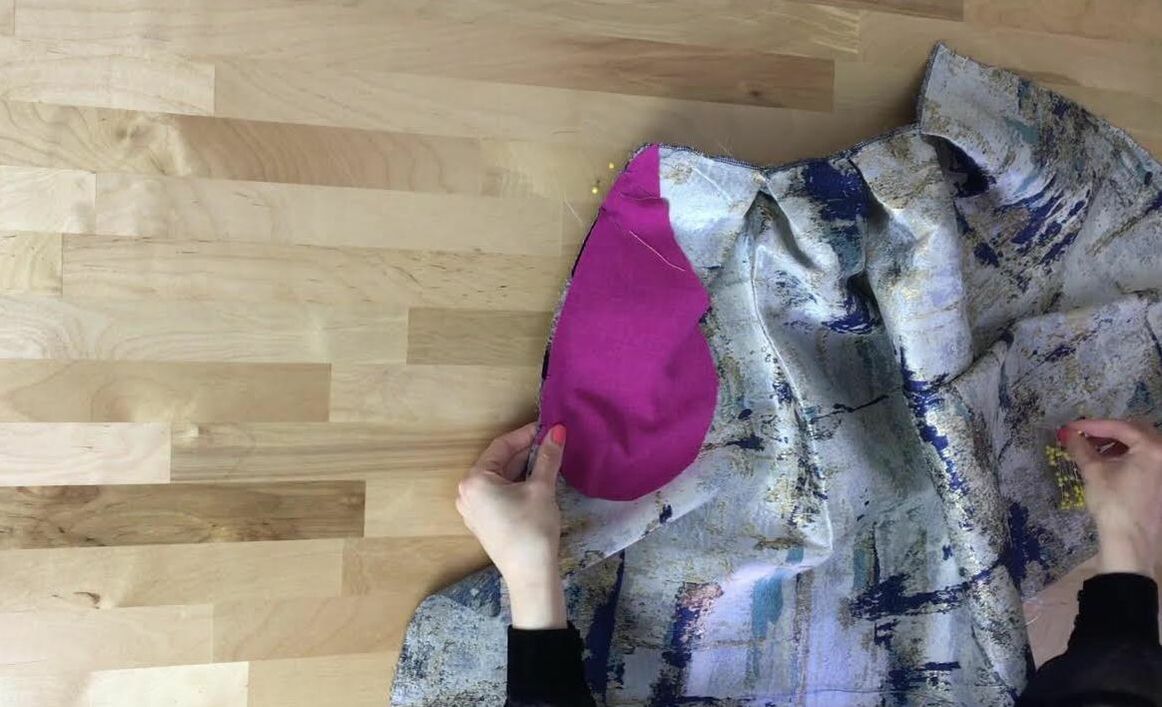 2. Repeat the process with the back skirt piece, pinning the pocket layer to the skirt edge as shown above. Keep in mind how the skirt seam will eventually be sewn. You'll notice that each pocket piece is sewn to the opposite sides on the front and back skirt layers. When the seam is aligned with the front and back face sides touching, the pocket layers will overlap and align naturally on top of each other. 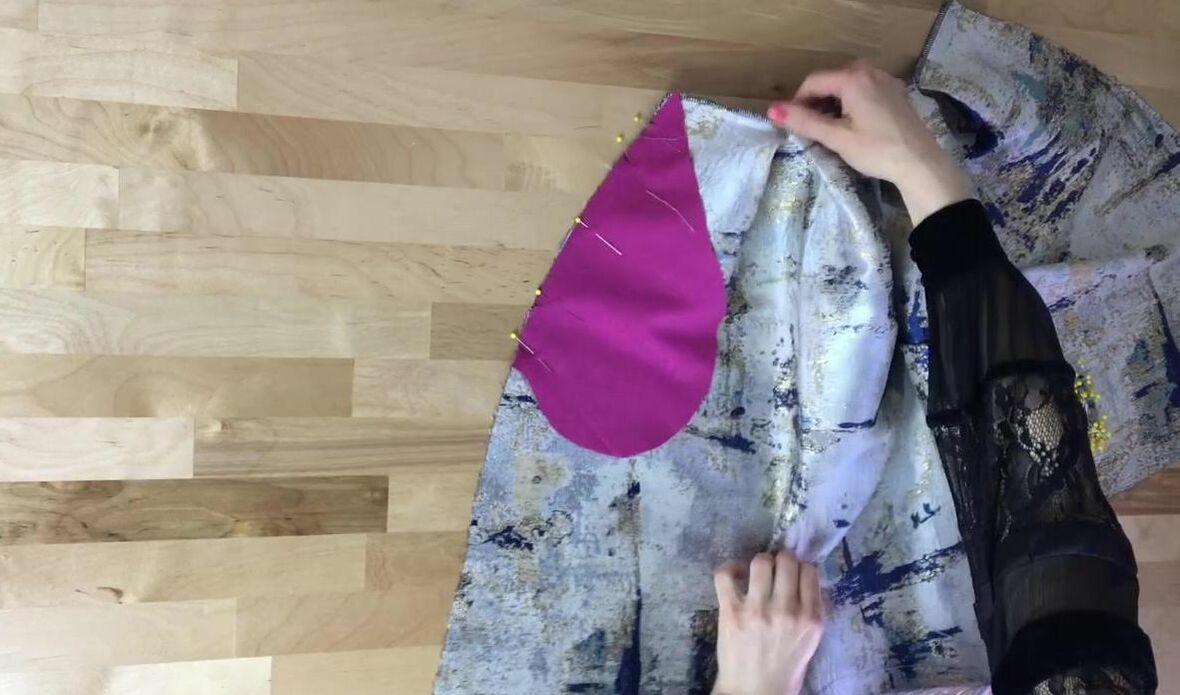 As noted above, pin perpendicular to the edge for easy pin removal during the machine stitching process. 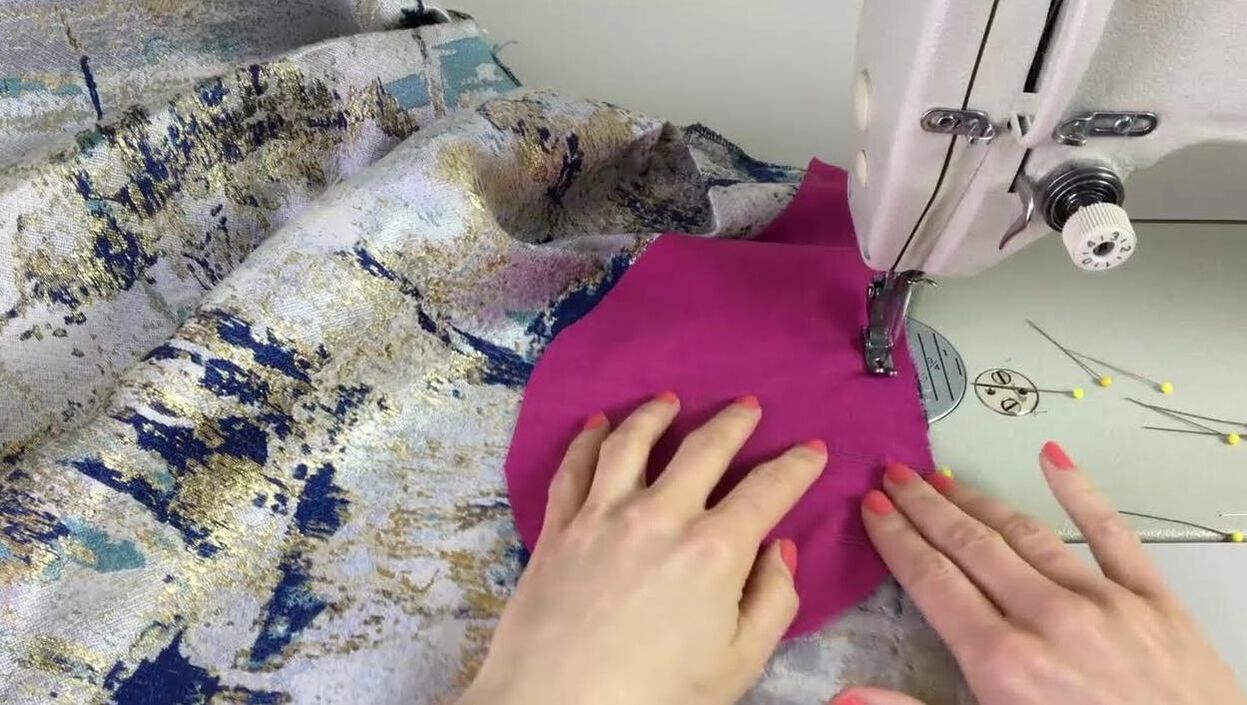 3. Machine stitch each pocket piece to the edge of the front and back skirt respectively following your designated seam allowance. As always, my seam allowance is 1/2". 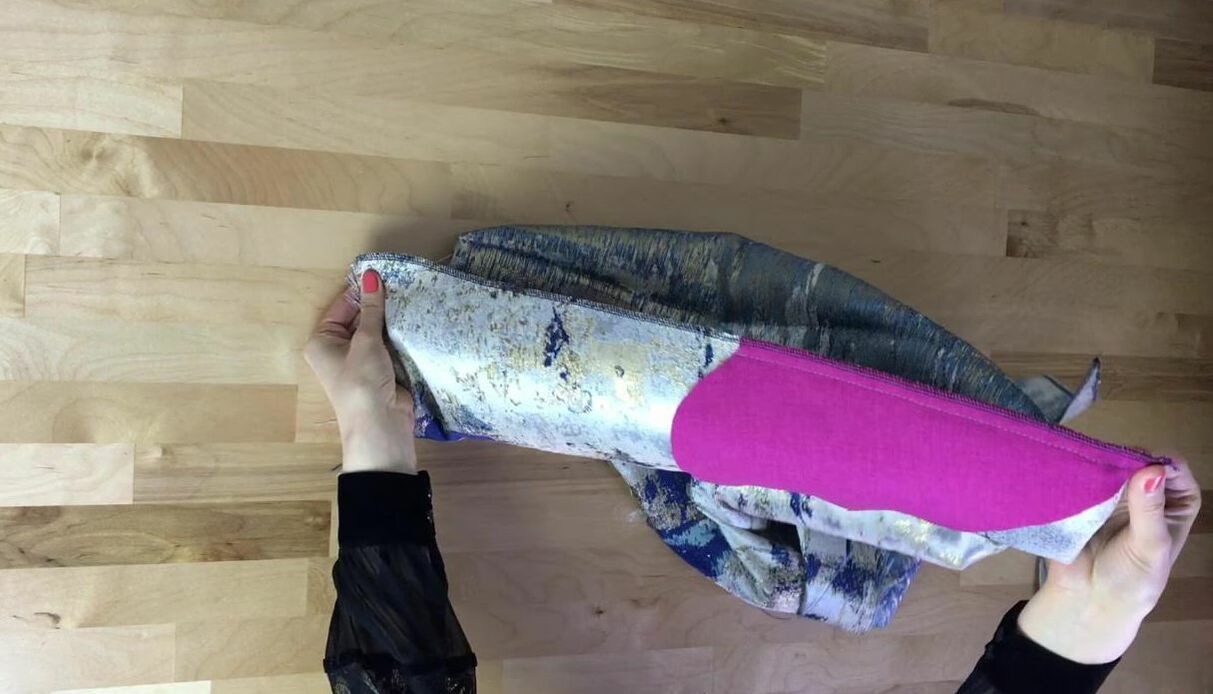 4. Use a zig zag stitch on your home sewing machine (or a serging stitch if you have an overlock machine) to clean finish the raw edges of the skirt seam and pocket layer as shown above. 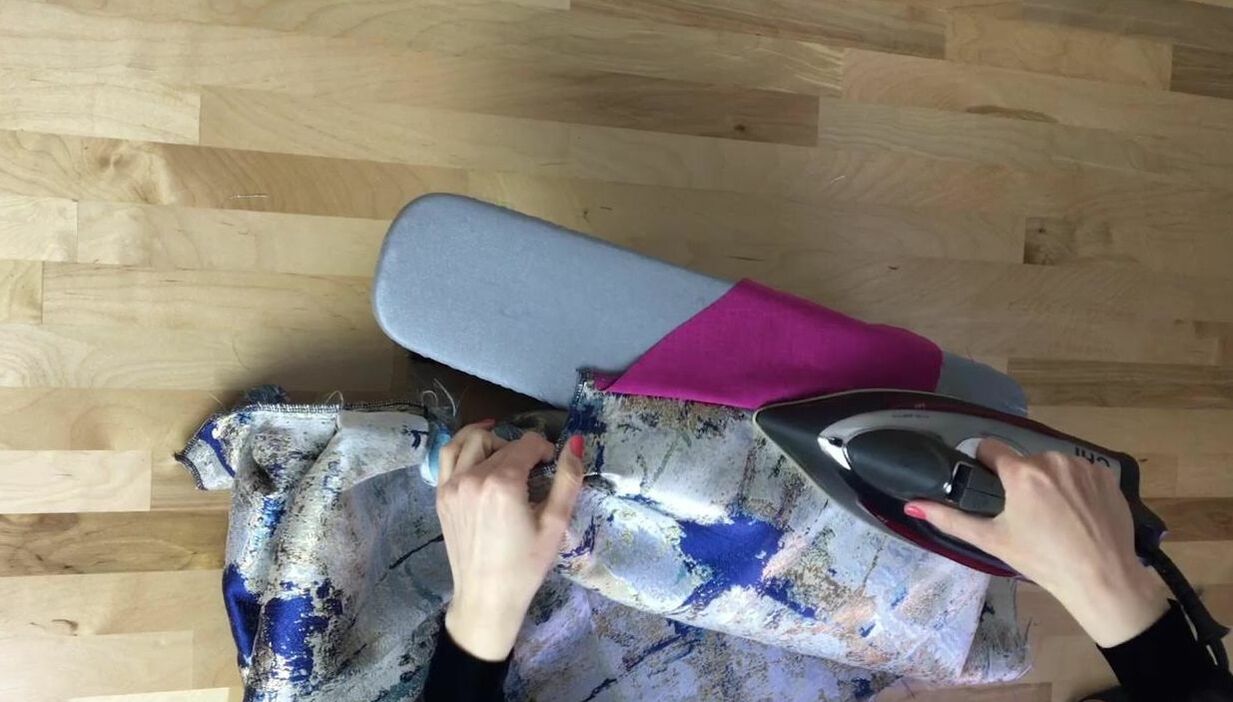 5. Iron the pocket layer away from the skirt edge keeping the seam allowance flat and pointing towards the pocket layer underneath as shown above. Repeat for both the front and back skirt pieces. 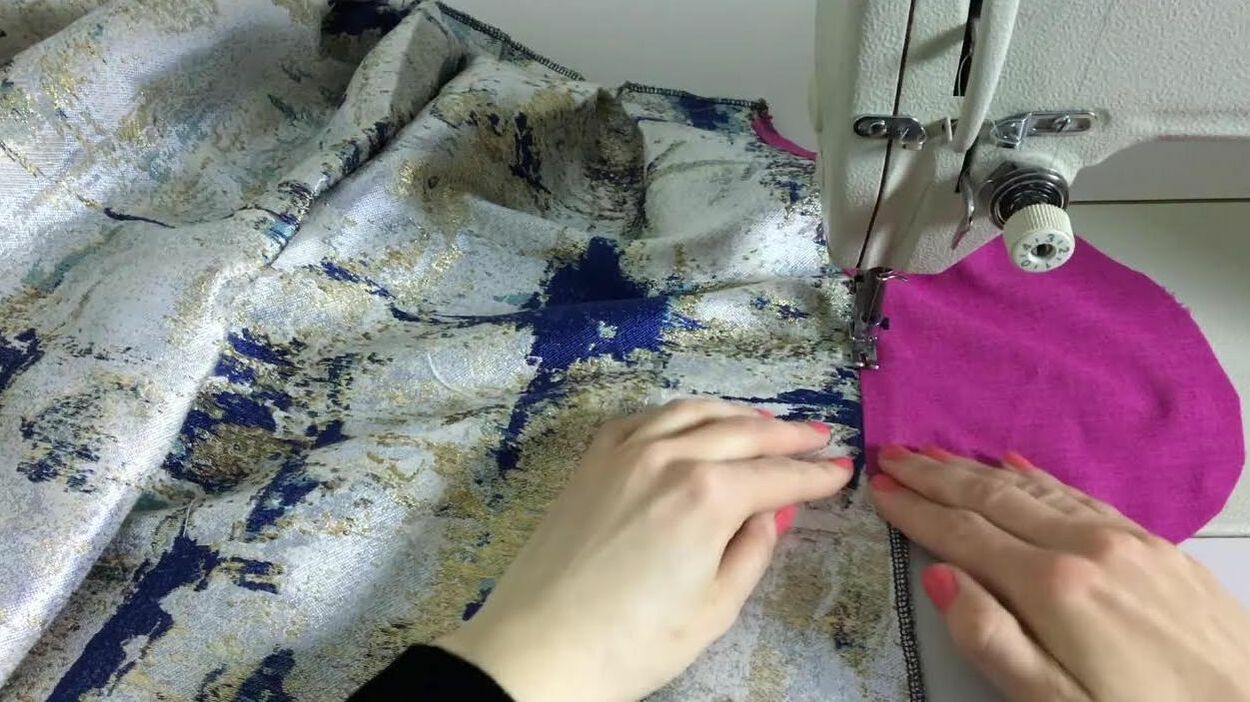 6. Complete the following step only on the front skirt piece: Understitch the front pocket layer (underlayer) through the seam allowance underneath at about 1/8" from the seamline (shown above). Understitching will prevent the underlayer from rolling towards the outside of the garment. The underlayer of an on-seam pocket corresponds to the front skirt piece and is usually more prone to poking out of the finished pocket if not understitched. The pocket layer corresponding to the back skirt does not need to be understitched since it naturally lays flat during wear. 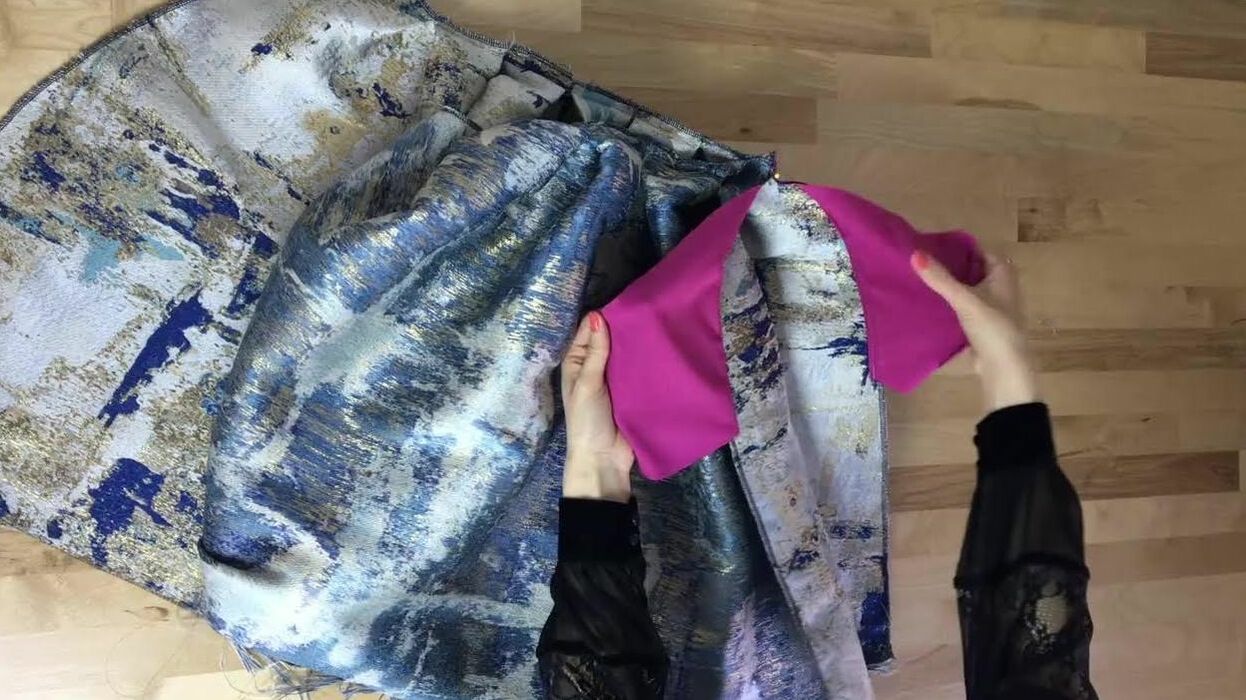 7. Now that the pocket pieces are connected, the seam is ready to be sewn. Overlap the front and back skirt pieces such that the face sides are touching. Match the edges of both skirt seam and pocket pieces. The pocket layers naturally align in the process. 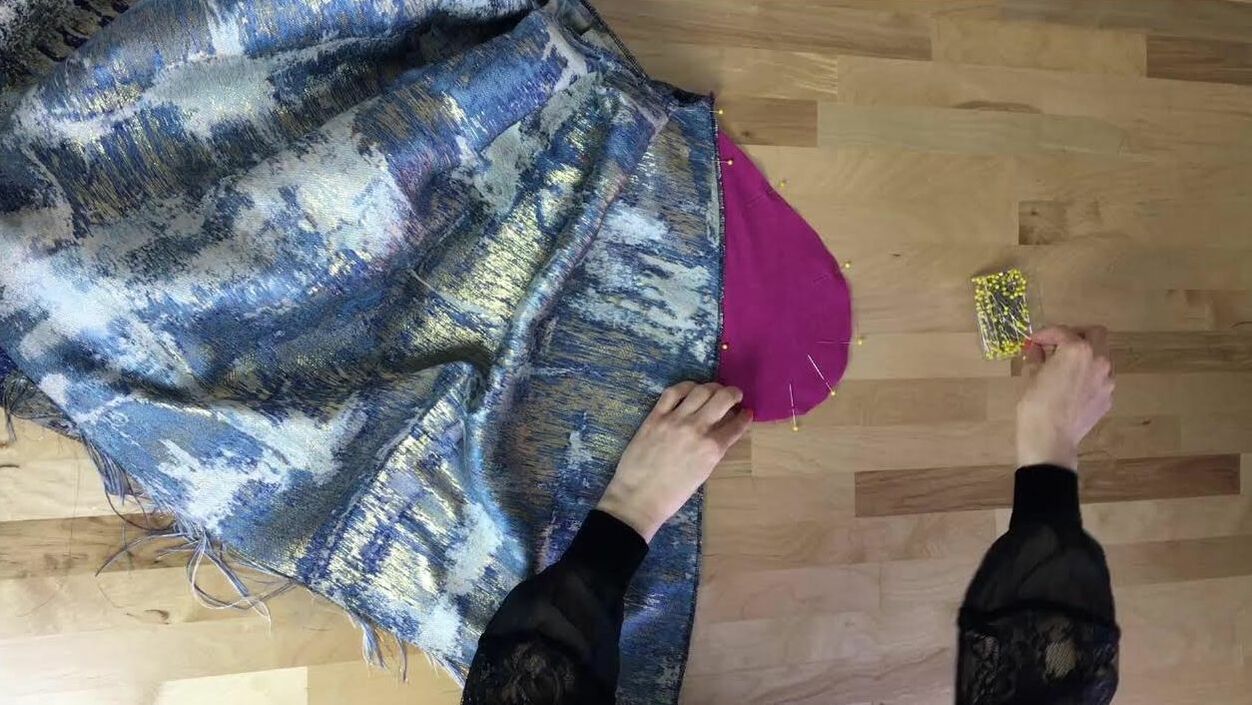 8. Pin the top of the seam up to the top of the pocket opening. Use the pocket notches as a guide. Pin the pocket layers together positioning the pins horizontally for easy removal. 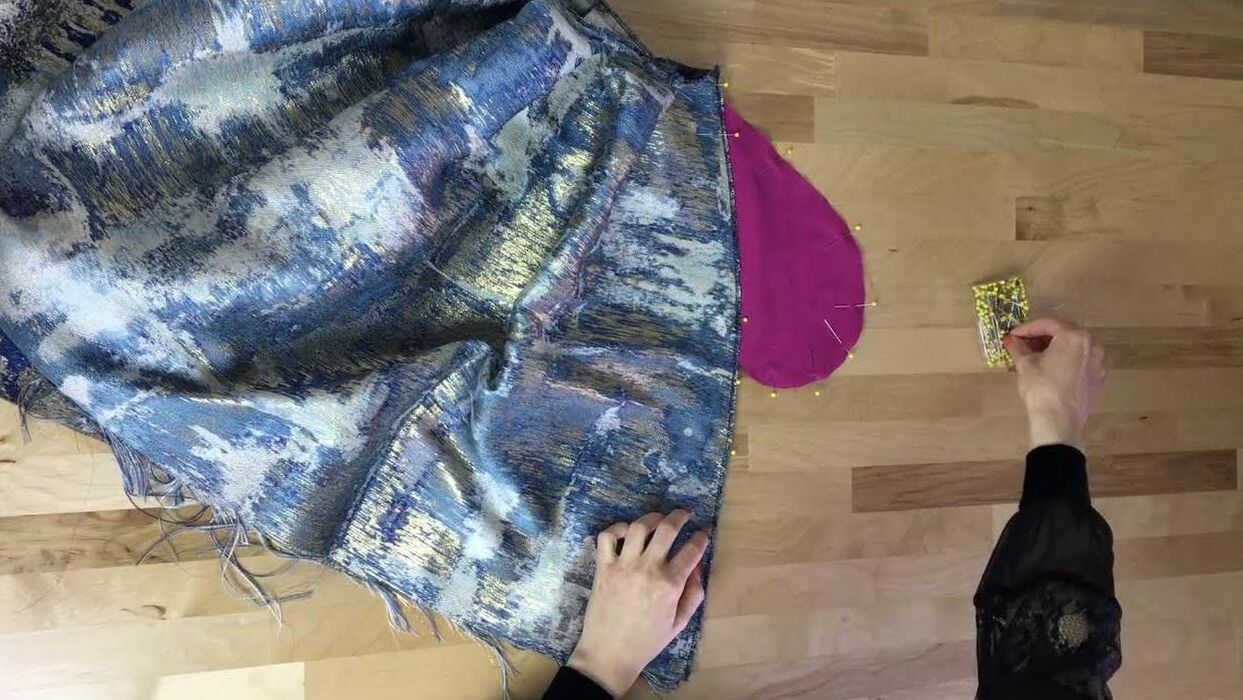 Continue pinning the bottom of the seam starting at the bottom opening of the pocket and pinning all the way down to the skirt hem. 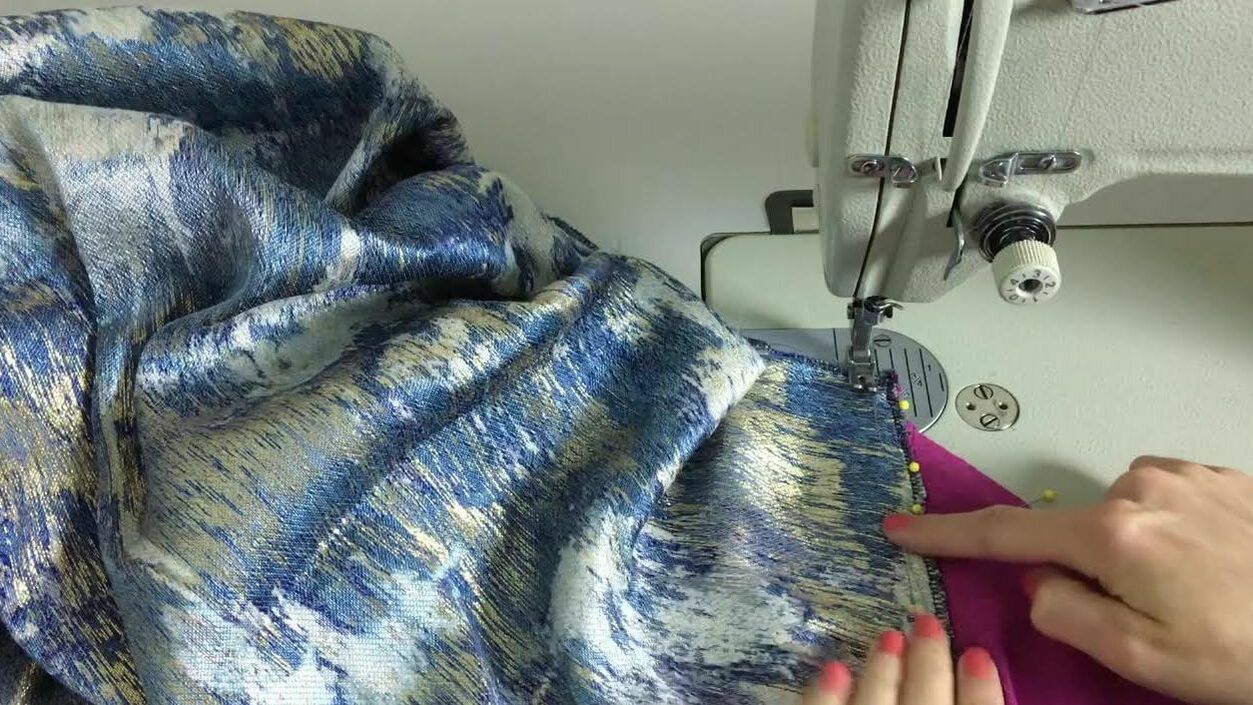 9. Next, stitch the top of the seam. Starting at the top of the skirt seam, sew only up to the top pocket opening shown above. 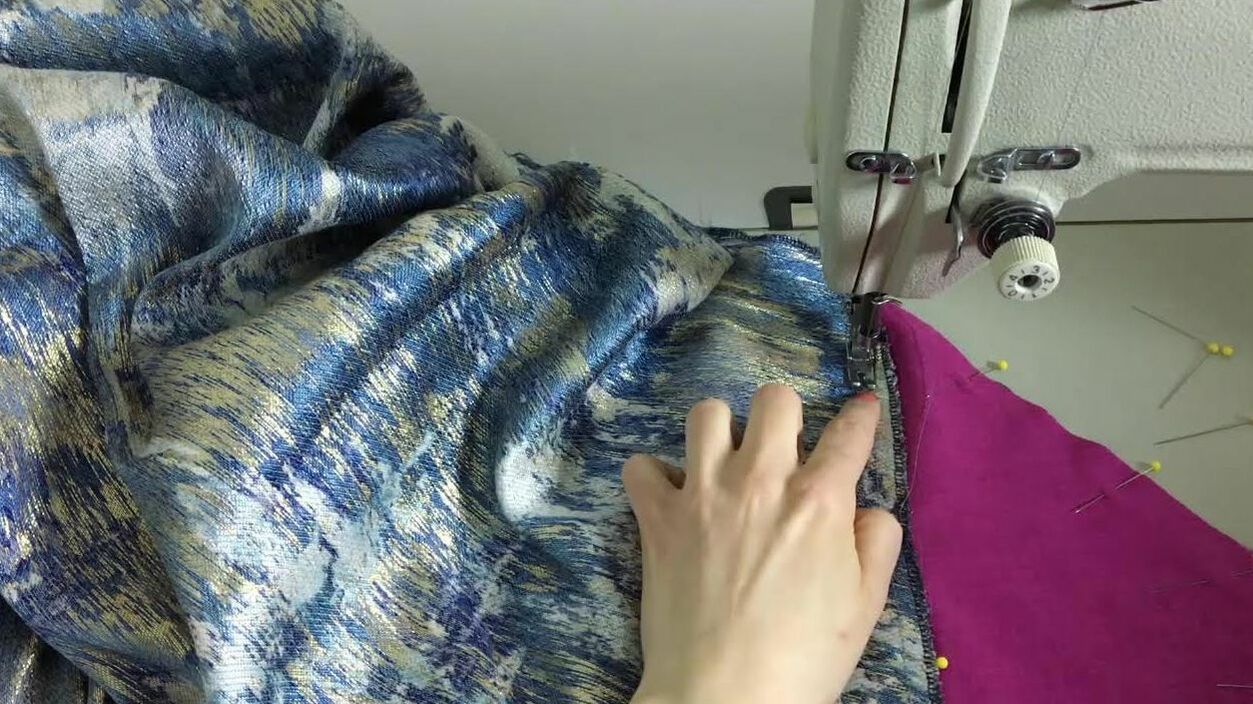 You will have to reinforce your stitch at the top pocket opening so that it doesn't come unstitched during wear. The best way to do this is to stitch back and forth turning the seam in opposite directions during the process as shown in the step below. Keep in mind that pockets need to be durable enough to withstand a lot of strain. At this point, leave the needle inserted at the top opening of the pocket. 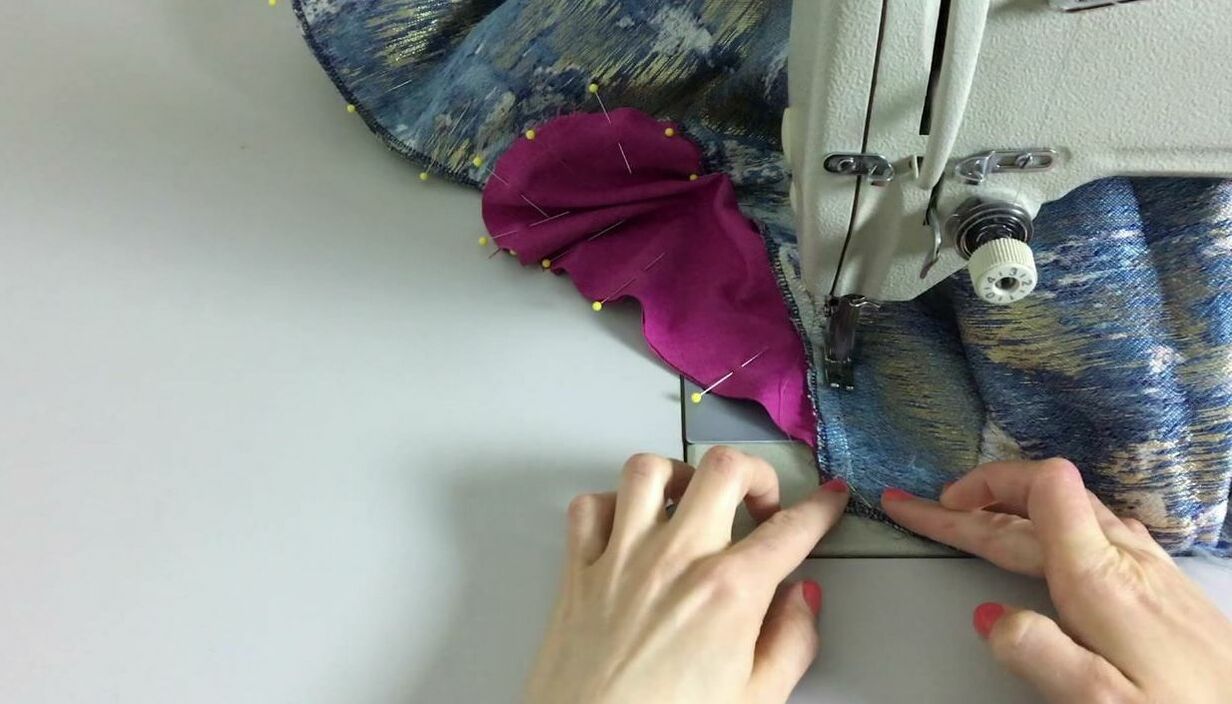 Next, turn the entire seam the opposite direction and stitch a couple of inches up as shown. 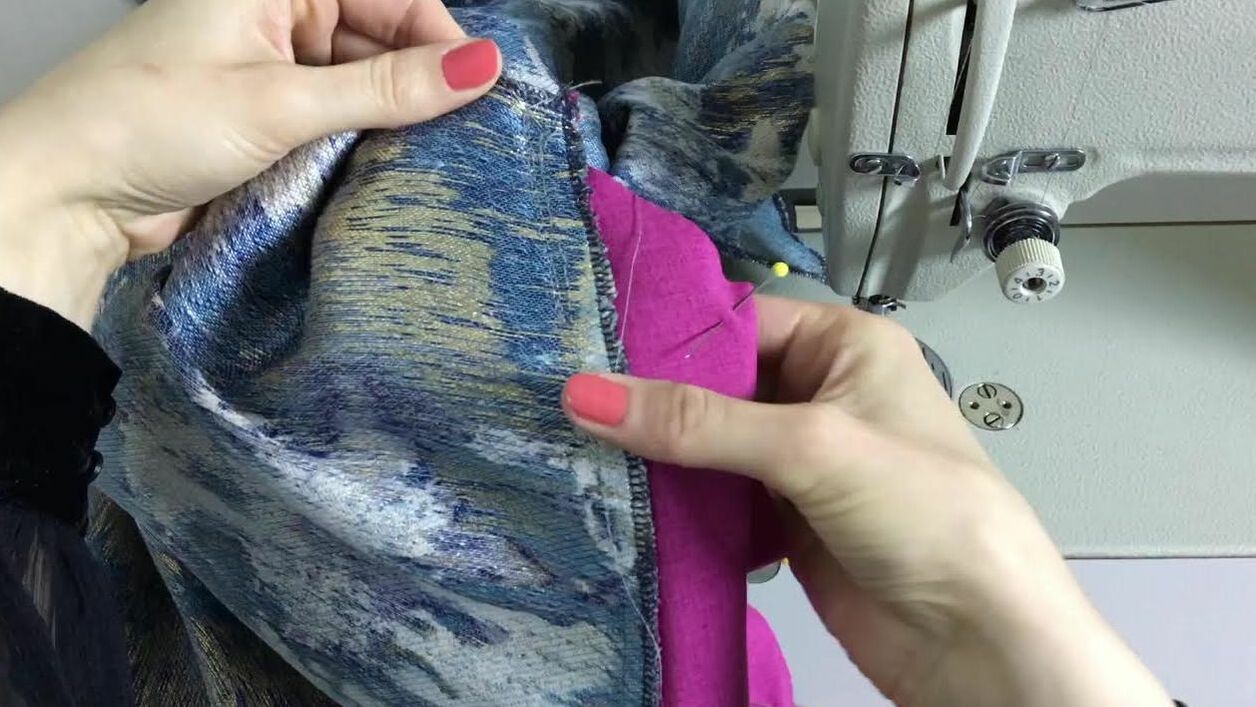 The two rows of stitches should be enough to properly reinforce the pocket opening at the top. 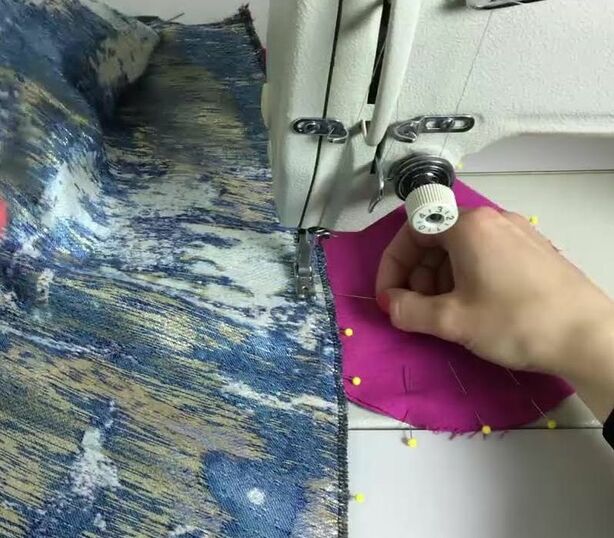 10. Next, begin another machine stitch at the bottom opening of the pocket bag. Stitch a few inches down. Leaving the needle in, turn the seam the opposite way and stitch again up to the starting point (shown below). 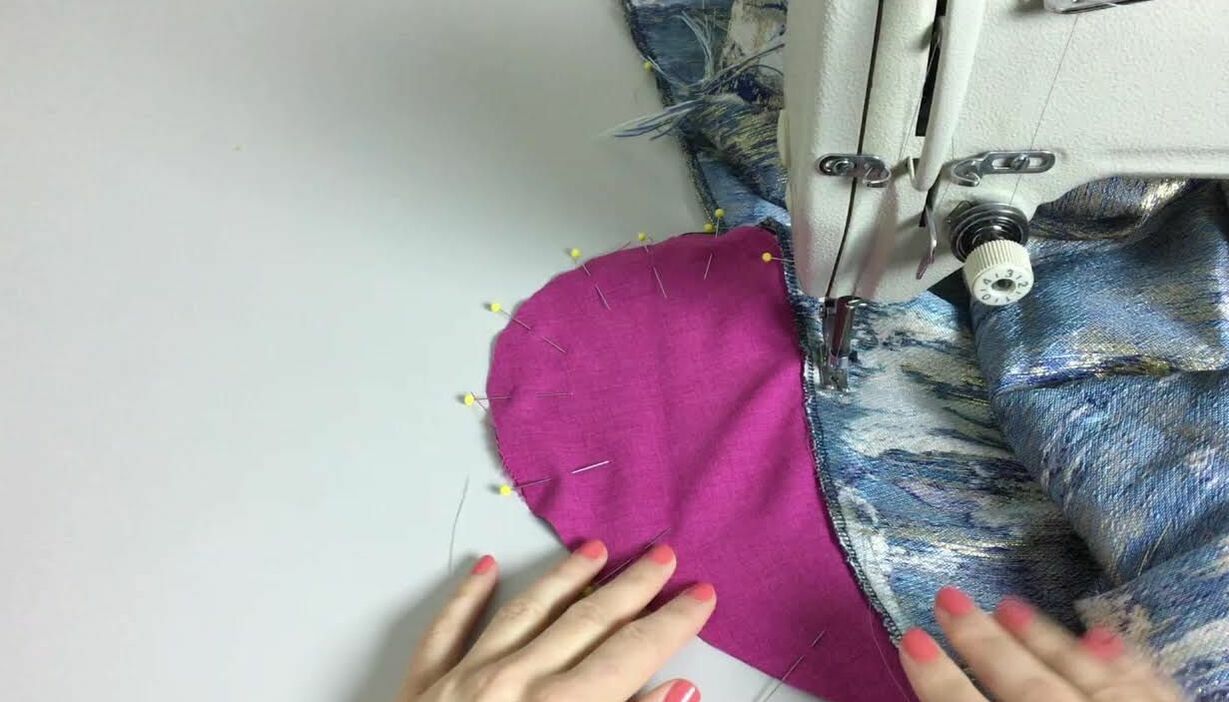 The needle is now inserted at the starting point of the initial stitch. 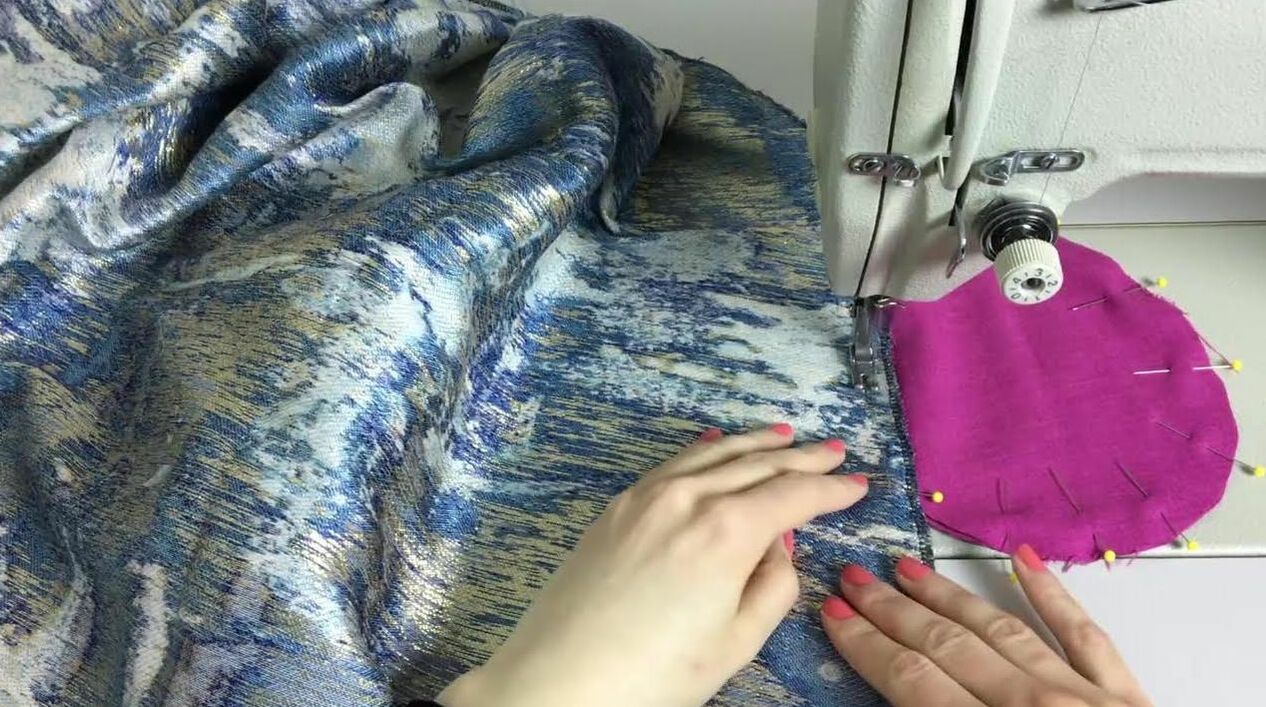 Leaving the needle inserted, turn the seam again in the opposite direction (initial position). 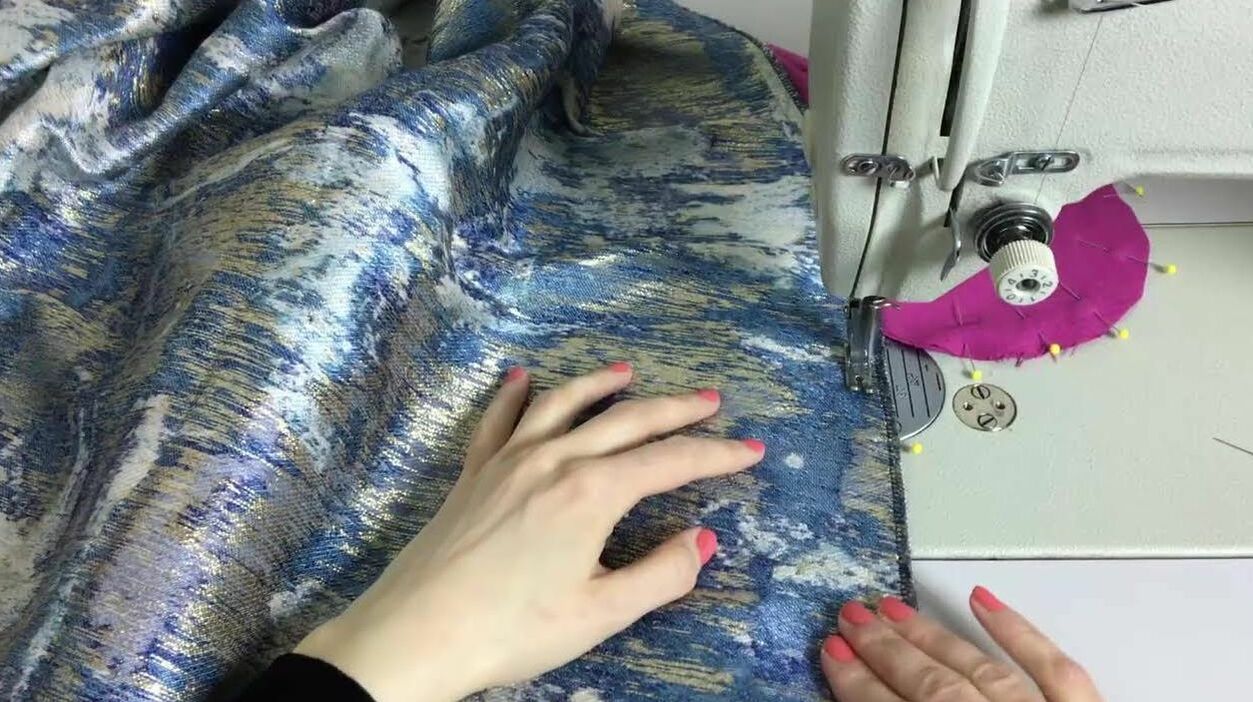 Continue stitching the rest of the seam following the designated seam allowance. As always, my seam allowance is 1/2".  11. Stitch all the way down to the skirt hem. 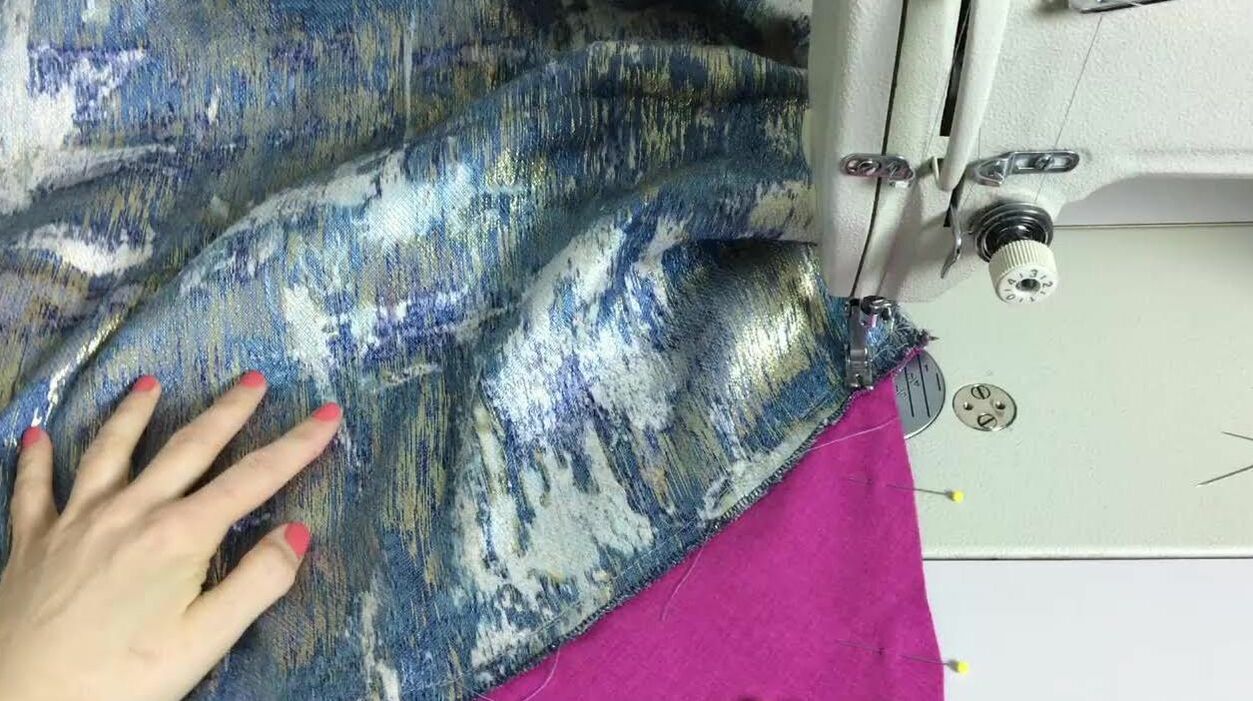 12. Last but not least, sew the pocket bag closed. Starting at the top of the pinned pocket layers, stitch down at the designated seam allowance following the curved edge of the pocket bag. I recommend starting the stitch from the skirt seam allowance so that the pocket bag is completely sealed at the top. 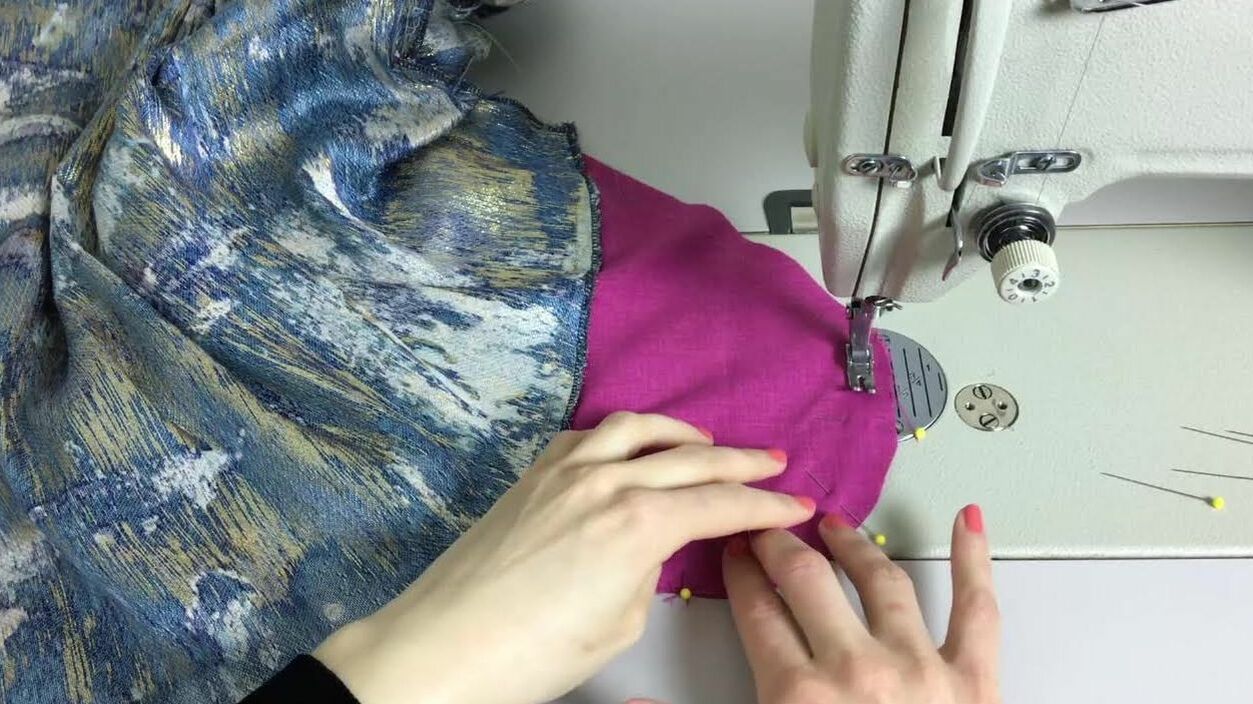 13. If you don't feel comfortable stitching curved edges, go slower along the bottom most curved edge keeping an eye on the seam allowance guide. Although the pocket bag is hidden on the inside of the garment, it's important to keep the stitch smooth so that the finished pocket feels and functions properly. 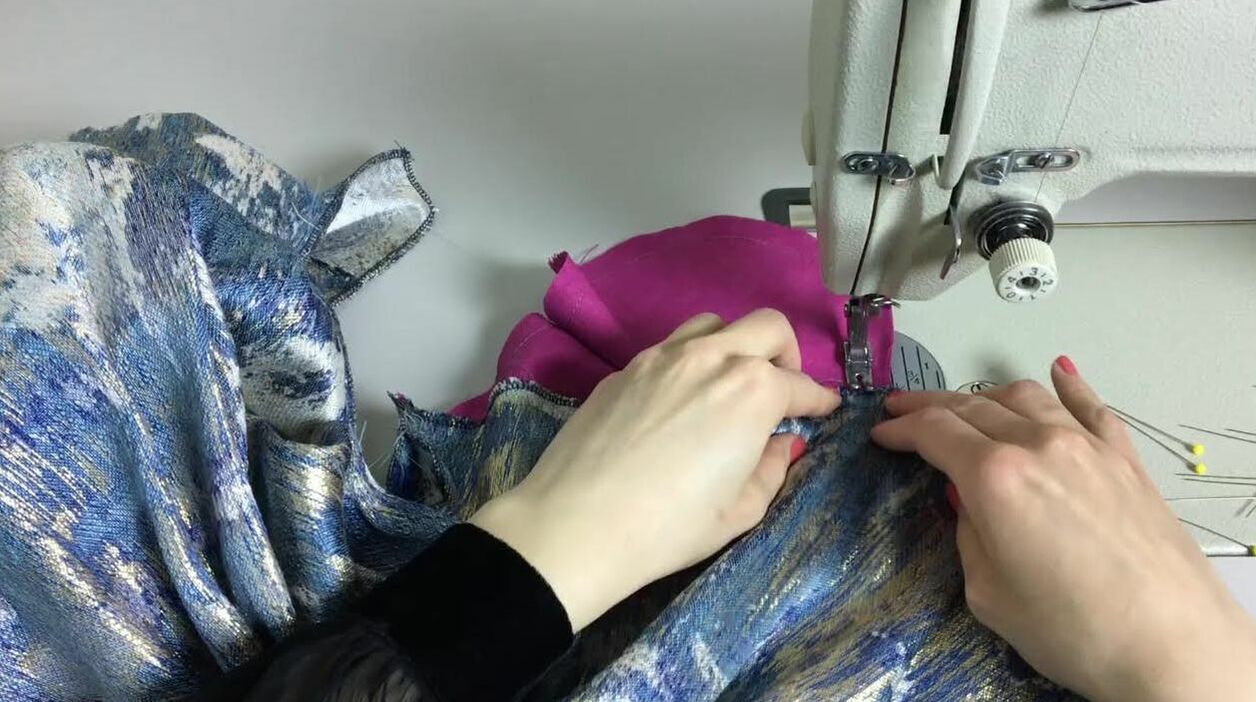 14. When you get to the bottom of the pocket bag, stitch halfway into the skirt seam allowance. Doing so will ensure that the bottom of the pocket bag is completely sealed! Backstitch on your sewing machine to reinforce and prevent the stitch from coming undone. 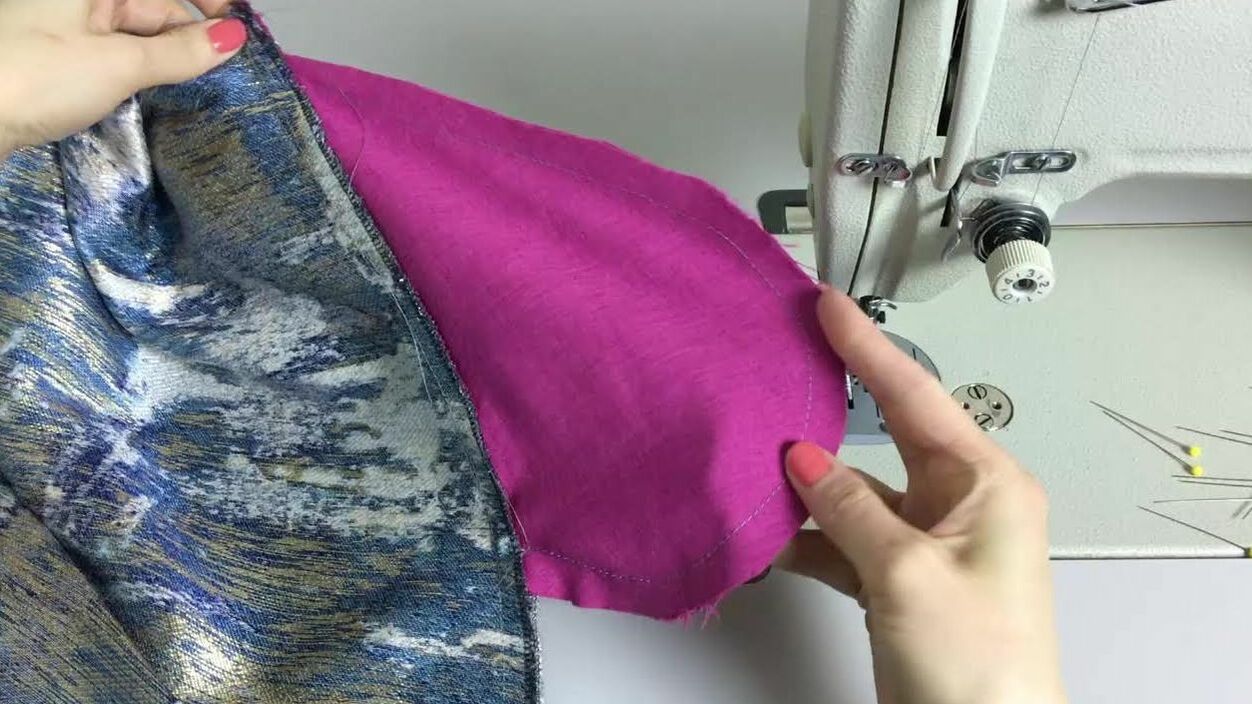 15. Once the pocket bag is stitched, clean finish its raw edges using the finish technique of your choice. I like to use a serging stitch (zig zag stitch alternative) as it keeps the pocket light and less bulky. If you'd like a higher quality finish, you can use binding or sew the pocket bag using a french seam (a bit more complicated). 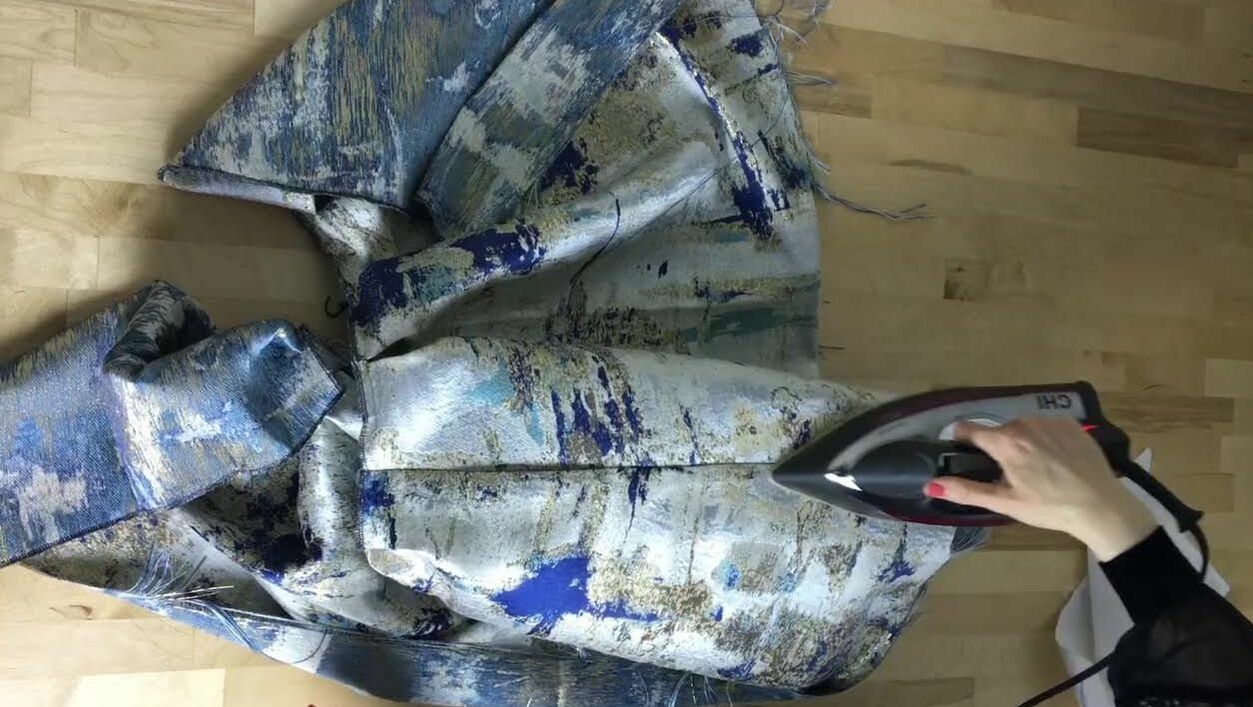 16. Seams housing on-seam pockets are always ironed with the seam allowance and the pocket bag pointing towards the front. That's pretty logical considering that side pockets are always positioned on the front. Iron the seam on the face of the garment as shown above. You should also iron the top edge of the pocket opening (shown in the video tutorial above). I like to use a sleeve ironing board for this process! Similar Tutorials You May Like: How To Sew A Seam: The 3 Rules How To Understitch During Sewing And Why It Is Needed How To Add A Side Seam Pocket To A Dress Video Tutorial: How To Make A Sewing Pattern For An On-Seam Pocket How To Backstitch By Hand And Using Your Sewing Machine How To Finish Seam Raw Edges: 4 Easy Ways
0 Comments
Leave a Reply. |
The Blog:A journey into our design process, sewing tutorials, fashion tips, and all the inspiring people and things we love. 
Doina AlexeiDesigner by trade and dressmaker at heart. I spend most of my days obsessing over new fabrics and daydreaming new ideas. 
Sadie
Executive Assistant & Client Relations Manager Archives
November 2019
Categories
All

|

-
Sewing Tutorials
-
Basics
>
- Aligning Pattern Grainlines To Fabric
- Preparing Fabrics For Sewing
- Pinning Sewing Patterns To Fabric
- Placing Sewing Patterns On Fabric For Cutting
- Rotary Cutters or Fabric Scissors?
- Cutting The Sewing Patterns
- What Are Notches And How To Use Them In The Sewing Process
- Transferring Notches From Pattern To Fabric
- Transferring Seamlines to Fabric
- Staystitching
- Backstitching: A Complete Guide
- Hand Basting: A Complete Guide
- Sewing Continuous Bias Binding
- Darts >
-
Sewing Seams
>
- The Basics Of Seams And Seam Allowance
- How To Sew A Straight Seam
- Sewing Curved Seams
- Sewing Corner Seams
- Trimming And Grading Seam Excess
- Notching/Clipping Seam Allowance for Tension Release
- Sewing Topstitched Seams
- Sewing Corded Seams
- Sewing A Slot Seam
- Sewing A Gathered Seam
- Sewing Bias Seams
- Sewing Seams With Ease
- Sewing Seams With Crossing Seamlines
- Sewing Unlike Fabric Seams
- How To Iron Seams: Ironing Tools And Conventions
- Sewing With Knit Fabrics
- Understanding Stitch Length And Tension
- Sewing Unique Fabric Seams
-
Seam Finishes
>
- Seam Finishing Techniques - Overview
- Applying A Pinked Seam Finish
- Applying A Bias Bound Seam Finish
- Serging And Zigzag Seam Finishes
- Sewing A Self-Bound Seam Finish
- Sewing A French Seam Finish
- Sewing A Hong Kong Seam Finish
- Sewing A Mock French Seam Finish
- Sewing A Turned-and-Stitched Seam Finish
- Sewing Overcast Hand-Applied Seam Finishes
- Sewing A Flat Felled Seam
- Sewing A Hairline Seam Finish
-
Hem Finishes
>
- Garment Hem Finishes: Overview
- Sewing A Double Fold Hem Finish
- Sewing A Single Fold Hem Finish
- Sewing Bound Hem Finishes
- Sewing An Exposed Double Layer Bound Hem
- Sewing A Folded-Up Bound Hem with Pre-folded Binding
- Sewing A Hong Kong Hem Finish
- Sewing A Band Hem Finish
- Sewing A Bias Faced Hem Finish
- Sewing A Twill Tape Hem Finish
- Sewing A Rolled Hem Finish
- Sewing A Shaped Hem Facing
- Using Fusible Hem Tape And Webbing
- Finishing A Lace Fabric Hem
- Finishing A Leather Hem
- Sewing Faced Hem Corners
- How To Finish Lining At The Hem
- Finishing Fabric Corners by Mitering >
- Interfacing A Hemline: Lined And Unlined Examples
-
Sewing Pockets
>
- Curved Patch Pocket With Flap
- Unlined Square Patch Pockets
- Lined Patch Pockets: Two Ways
- Extension On-Seam Pockets
- Separate On-Seam Pocket
- Front Hip Pockets
- Bound Double Welt Pocket
- Double Welt Pocket With Flap
- Self-Welt Pocket (Using Single Fabric Layer)
- Slanted Welt Pocket (Hand-Stitched)
- Faced Slash Pockets: Overview >
-
Sewing Zippers
>
- Sewing Zippers: General Information
- Sewing A Centered Zipper
- Sewing A Lapped Zipper
- Sewing An Invisible Zipper
- Sewing A Fly Front Zipper
- Sewing A Closed-End Exposed Zipper (No Seam)
- Sewing An Exposed Separating Zipper
- Sewing Hand Stitched Zipper Applications
- Sewing A Zipper Underlay
- Sewing A Placket-Enclosed Separating Zipper
- Sleeveless Finishes >
-
Neckline Finishes
>
- Sewing A Neck Shaped Facing
- Sewing An All-In-One Neck Facing
- Neck And Garment Opening Combination Facings >
- Sewing A Bias Faced Neckline Finish
- Sewing A Band Neckline Finish
- Bound Neckline Finishes: Overview >
- Sewing A Semi-Stretch Strip Band Neckline
- Ribbed Neck Band And Classic Turtleneck
- Decorative Neckline Finishes >
- Finishing Facing Edges >
-
Extras
>
- A Complete Guide on Interfacing
- Sewing Bound Spaghetti Straps
- Sewing Spaghetti Straps To A Faced Neckline
- Sewing Ruffles: Overview
- Patterning And Sewing A Circle Ruffle
- Sewing A Gathered Heading Ruffle
- Sewing Double Layer Gathered Ruffles
- Sewing A Gathered Ruffle Into A Seam
- Sewing A Gathered Ruffle To A Fabric Edge
- Sewing A Fabric Surface Slit
- Sewing A Slit Seam
- Hand-Applied Straight Stitches
- Hand-Applied Blind Stitches
- Hand-Applied Overedge Stitches
- Hand-Applied Tack Stitches
- Hand-Applied Decorative Stitches
-
Basics
>
- Custom Bridal
- Custom Apparel
- About
- Blog

 RSS Feed
Services |
Company |
|
