|
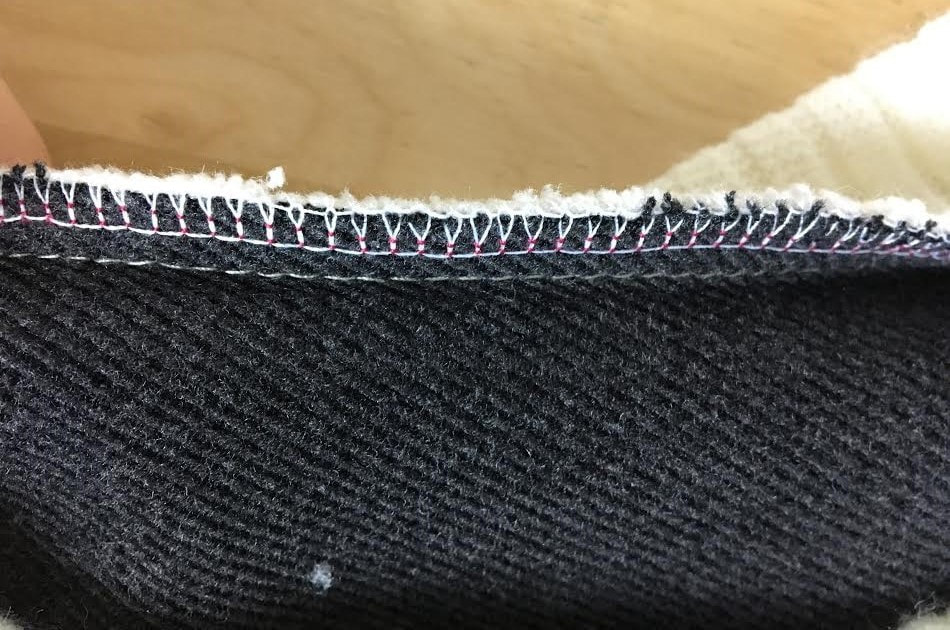
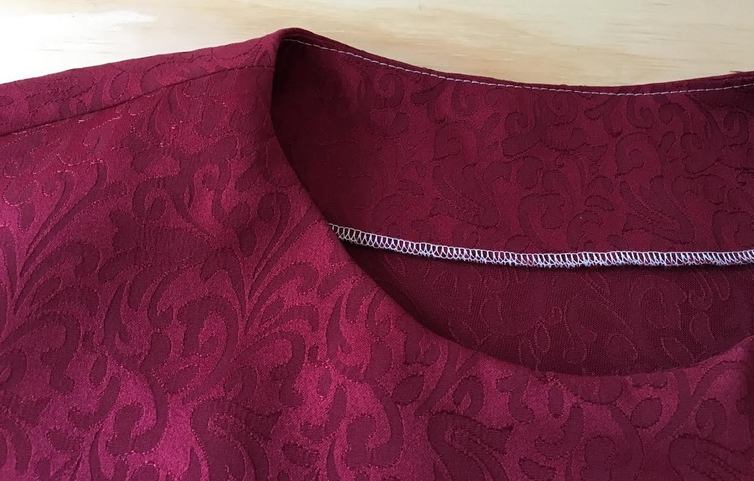
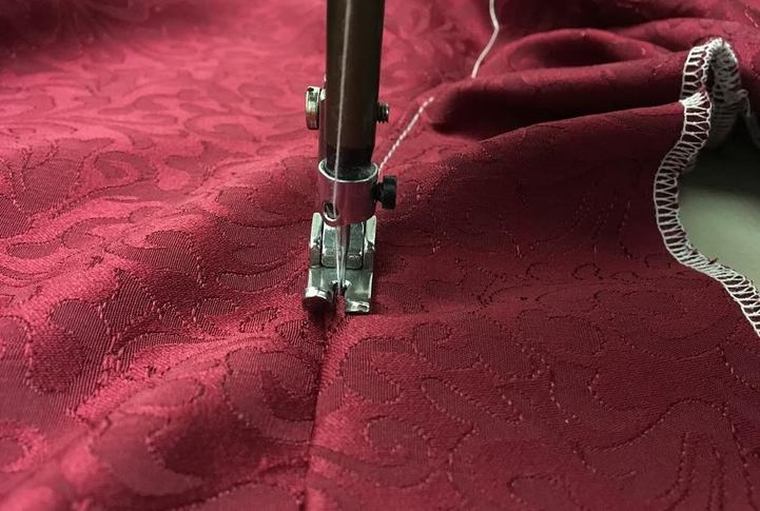
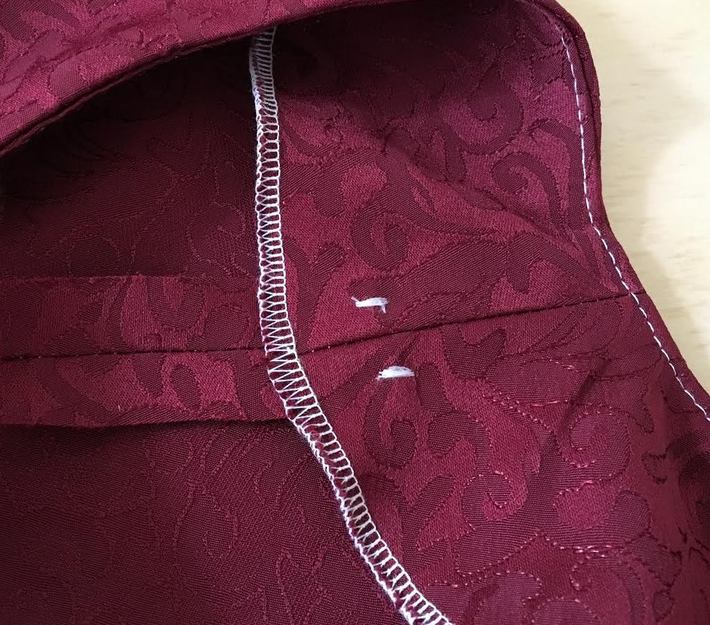
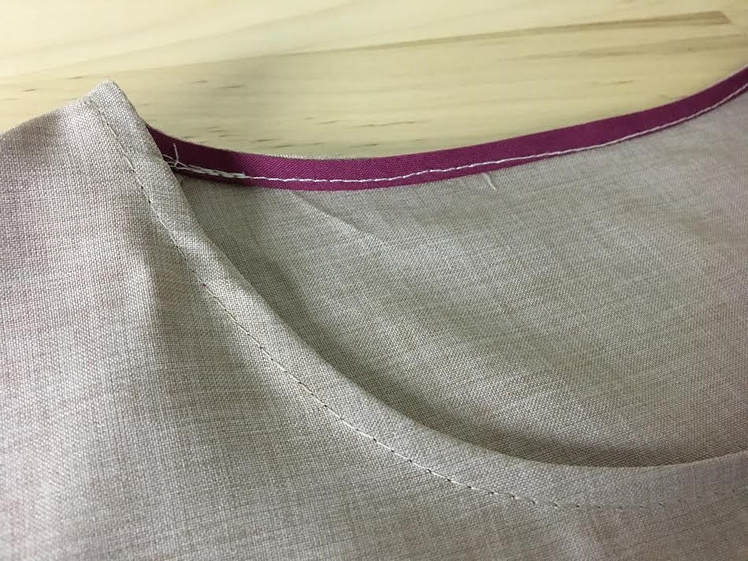
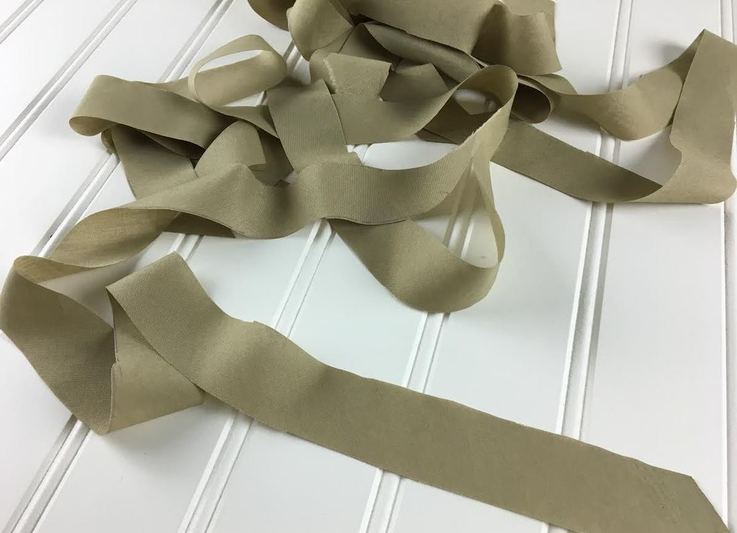
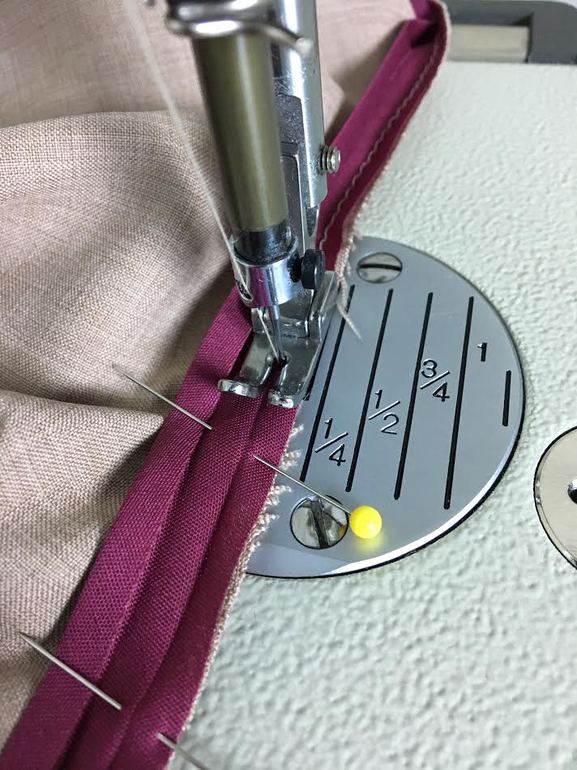
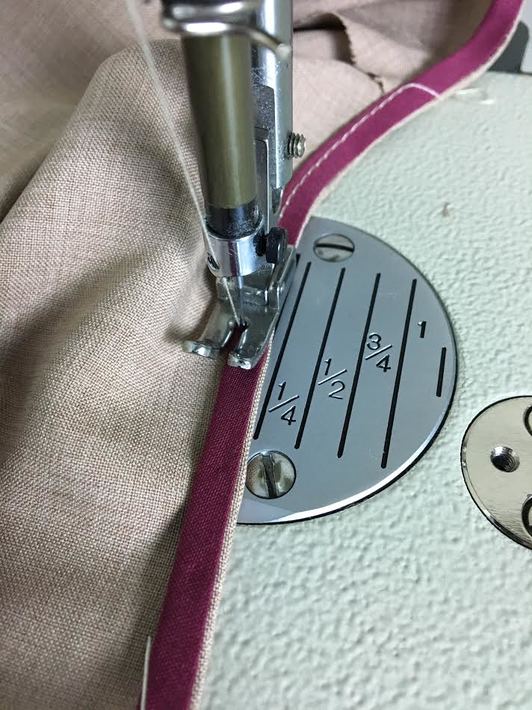
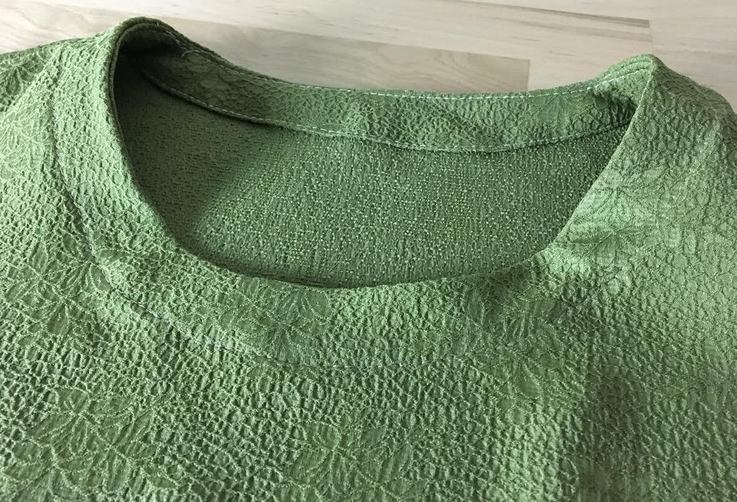
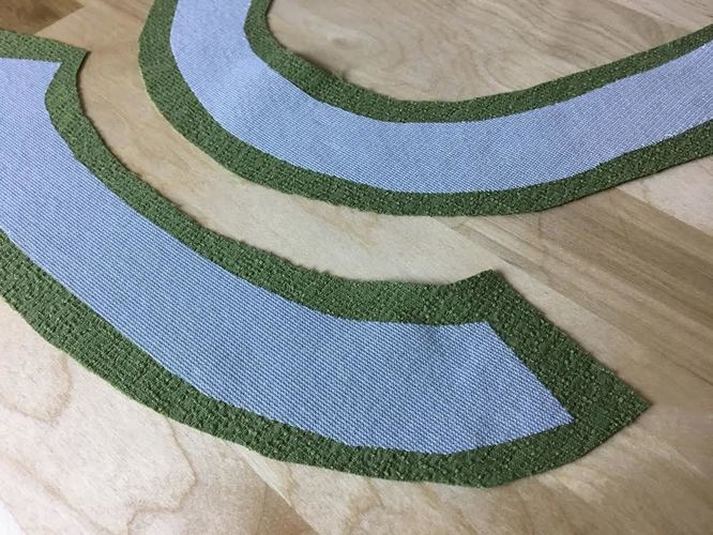
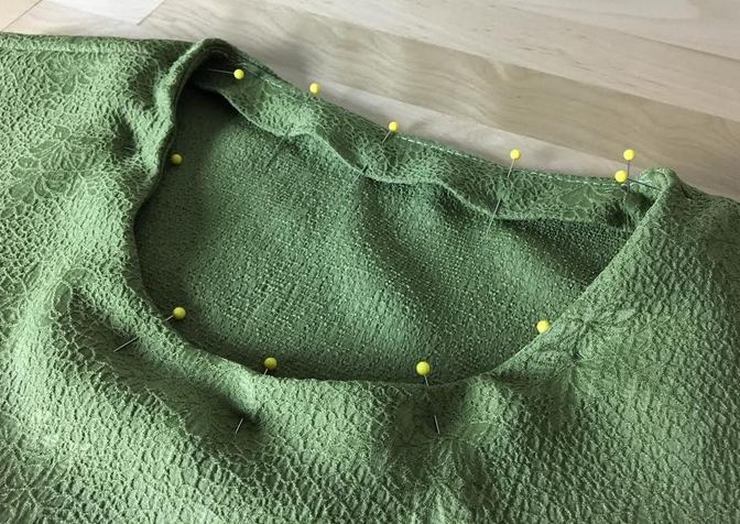
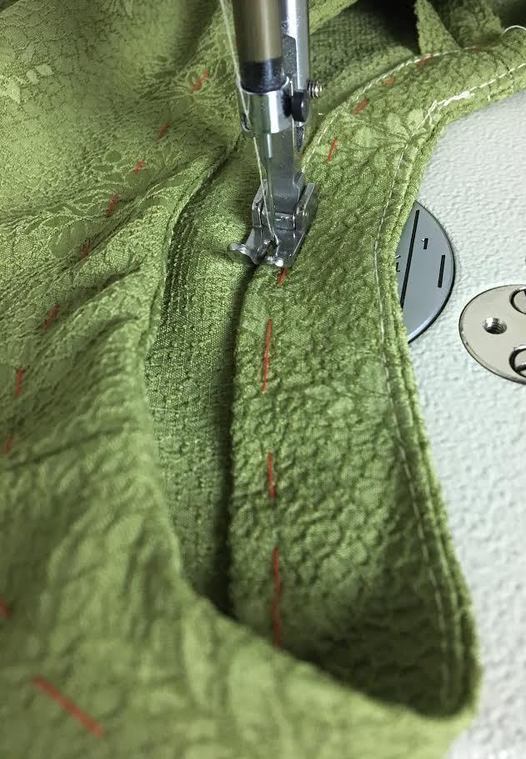
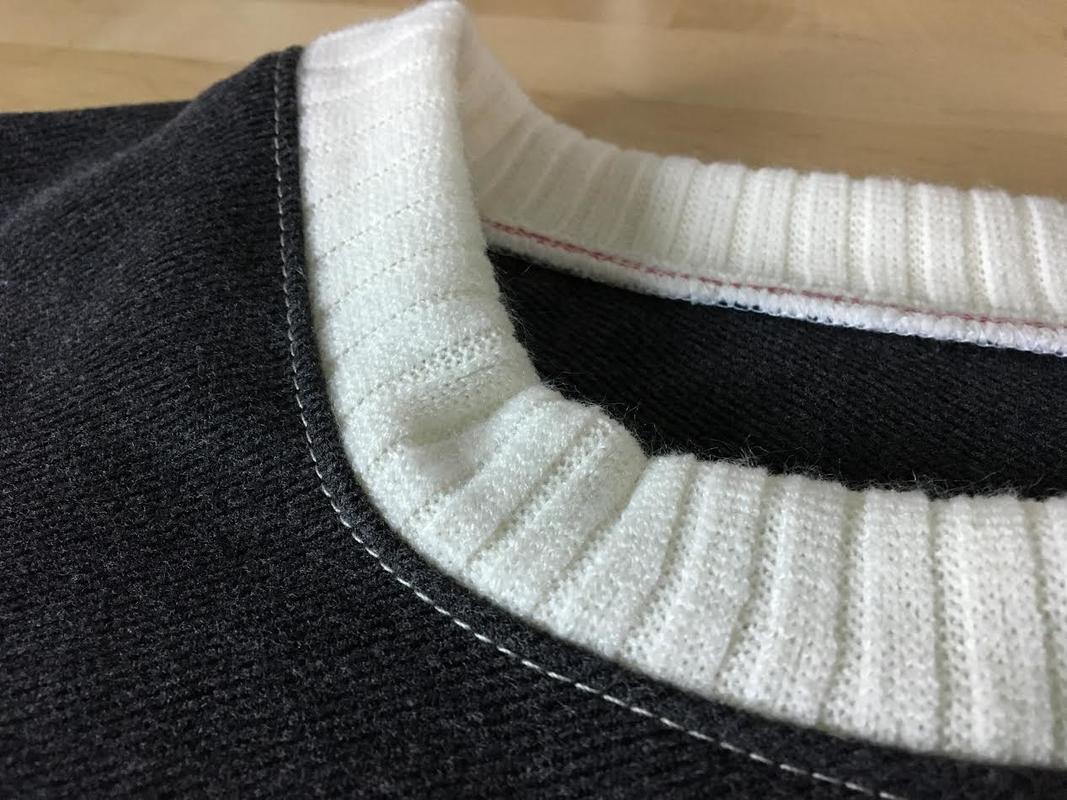
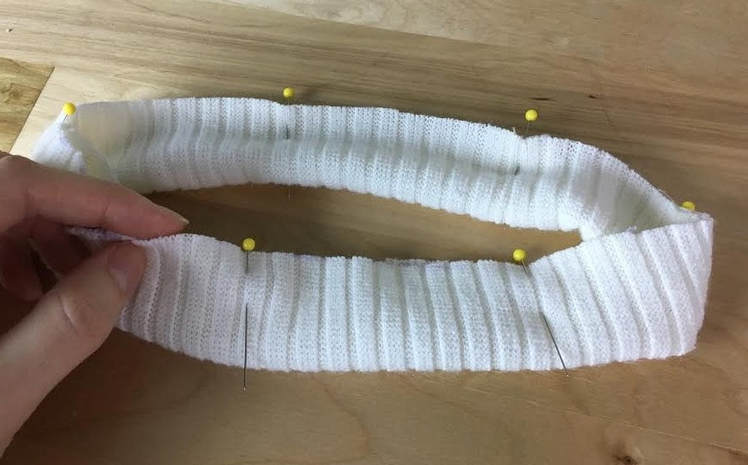
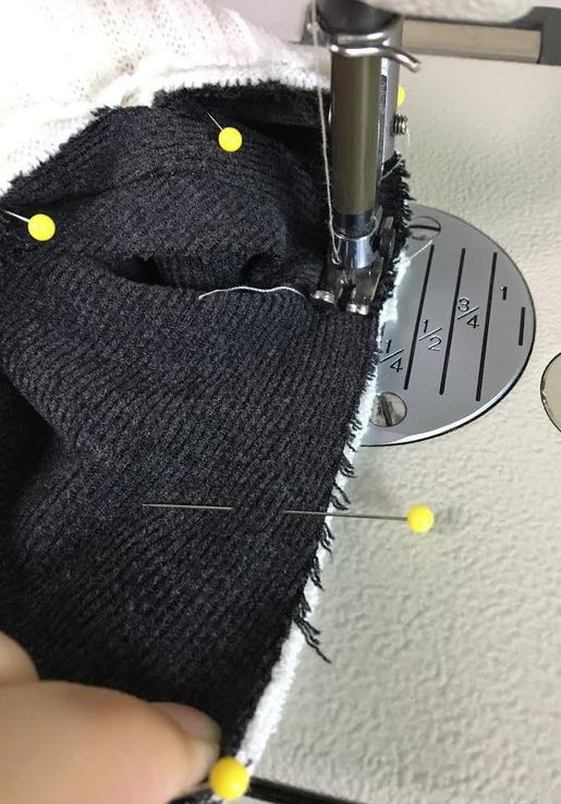
If you are in the process of learning how to sew, no doubt you already know the two main rules of dressmaking: Iron every seam as you go AND don’t leave any fraying raw edges of fabric unfinished. The ironing part is pretty self-explanatory right? But what about fabric raw edges? Although this is a choice left to the designer's discretion, it is important to note that not all fabric edges on a garment are suitable to be left unfinished regardless of design. Leaving fabric edges unfinished on a clothing item is something that needs to be decided cautiously contingent on the vulnerability and fraying of the fabric weave at hand. Most woven fabrics are susceptible to fraying thus they must receive some form of edge reinforcement. Fabrics that don't fray due to their weave (such as knits) should still be clean finished either with a serging stitch or zig zag application on your home sewing machine in order to achieve a longer lasting, durable finish. There are, of course, instances where you can forgo fabric edge finishing all together. Examples of these include leather and some suede fabrics that can sustain structure and durability without the need for additional reinforcement. Despite being able to use your discretion regarding edge finishing, necklines should never be left unfinished regardless the fabric. Why? Mainly because if a neckline is not reinforced by some kind of finish, it will stretch and eventually lose its shape and structure. In addition, tears and rips will occur from wear, especially from taking the garment on and off over time, creating major functional and durability issues. Now that you know to never leave the edge of a neckline unfinished, here are 4 common sewing techniques you can use to clean-finish them properly depending on fabric and design. You can access a step-by-step tutorial of each by clicking on the titles bellow. 1. Sewing a Curved Neck FacingIf you haven’t done so already, check out our tutorial on how to draft your own neck facing pattern. Once you have drafted the facing sewing pattern based on your garment, you can learn how to cut and sew it by following the steps in: How To Cut and Sew a Neckline Facing. A curved neck facing is perhaps the first technique you will learn as a sewing beginner. Although it sounds a bit difficult to sew, if you follow all the steps correctly from the beginning, you'll find that sewing a facing has a very intuitive quality to it. Perhaps what matters most when deciding what neckline finish technique to apply is the style of the clothing item itself, the fabric it is constructed of and whether your design must not include any topstitching, collars or bands. To break it down a bit further, neck facings are commonly used on tailored garments that require a smoother, more structured finish. For that reason, you'll find them on business-wear like women's tailored dresses, tops and some blazers. Facings are also applied when lining is used. You'll notice that in classic lined garment a facing is required to maintain stability along the neckline and armhole edges. The facing is then connected to the lining on the inside of the garment serving as a connector between the garment's outer edges and the lining underneath. Lining is usually constructed of much thinner material so you'll find that if this step is skipped and the lining is sewn directly to the edges of a garment (such as those of a curved neckline and armholes), the lining will flip towards the outside of the garment lacking stability and smoothness. Deciding whether to add a neckline facing doesn't only depend on the style of the garment but also the type of fabric being used. Medium to heavy weight fabrics that are thicker in nature will withstand the use of a neck facing best. The reason is that facings in general require a more stable, substantial fabric in order to structurally maintain the curve of the neckline and lay flat on the inside of a garment. The thinner and flimsier the fabric, the more difficult it will be to get this fabric to lay flat and keep the edges of the neckline smooth and stable. In some cases, it is possible to sew a neckline facing that is thin and lightweight if the interfacing that backs it is sturdy enough to maintain the stability of both the facing and neckline edge. On that note, it is important to keep in mind that all facings are either fully or partially backed with interfacing. Interfacing serves as a stabilizer and adds increased structure and durability. Using interfacing is important in achieving a smooth, flat finish keeping the fabric of the facing pointing inwards in a more secure fashion. Of course interfacing should be chosen based on the facing fabric and for best results, it should neither be too thin nor too thick in relation to the surface it is applied to. 2. Finishing a Curved Neckline With BindingBinding is perhaps the most commonly used method for clean finishing raw edges, especially those tricky curved ones on necklines and armholes. It is considered a more casual, inexpensive finish requiring the use of either double fold or single fold binding. The binding itself is available in a few different widths. Choosing the right one for your garment depends mainly on the type of fabric being used. The thicker the fabric, the wider the binding should be. Vise versa, a fine lightweight material like crepe de chine or chiffon works best with smaller width binding. On that same note, when sewing along curved edges, it is always a good idea to use a thinner binding width (or as small as you can manage depending on the fabric) as this will fold better and be more flexible along the most curved portions. Because bound necklines are usually present on casual, more lightweight garments (both knit and woven), you'll find that the most readily used binding width is anywhere from 1/4"-5/8". As a sewing beginner you will most likely work with 1/4" binding which is available at local fabric and craft stores in both double and single fold styles. Ideally, binding should be made of the same fabric as the clothing item at hand. All binding strips are cut on the bias of the fabric as they require a slight stretch in order to mold along more curved edges. If the binding lacks this subtle stretch and flexibility, the neckline finish will result in some tension issues causing creasing and wrinkling along its edge. If you want to achieve a fully professional result, you can take it a step further and learn how to make your own double folded binding here: How To Make Double Folded Bias Binding for Clean Finishing Fabric Raw Edges. To further understand the general idea of binding- it encases the raw edge of the fabric thus offering stability and preventing it form fraying. In most cases, the unfolded binding strip is sewn to the edge of the neckline then folded, following the binding's natural fold lines, over the raw edge of the neckline to encase it. Once this step is performed, the binding is then folded once more inwards, thus hiding it on the inside of the garment. A stitch is finally applied along the inner fold of the binding thus keeping it permanently folded and positioned towards the inside as described. Now that you know more about how binding is connected to the garment, lets talk about the application of a bound neckline finish in fashion: When should it be used and what does it entail? As mentioned above, binding is considered a more casual finish. This is due to the fact that when fully sewn, it features a topstitch on the face of the garment which is applied to keep the binding permanently folded on the inside of the garment. Lighter-weight fabrics can handle this topstitch very well as it blends in nicely with the edge of the neckline without creasing it or creating tension issues. Although biding can be applied by hand in a few steps, on a mass production level, clothing manufactures use sewing machines that can apply it in one single step. For that reason, it is a less expensive finish used on almost all casual dresses and blouses. If you are reading this because you can't decide what neckline finish to apply to the clothing item you are sewing, then first and foremost, pay attention fabric. If your fabric is very thin and lightweight, we recommend a binding finish. This will not only be easier to apply it will also result in a more professional finish. If your fabric is thicker and heavier, we recommend using a facing. Since it requires to be folded a few times to encase the fabric raw edge, binding is tricky to sew along thick fabric edges with increased fraying. If you try to fold a thick, highly fraying fabric edge a few times, you will find that the layers of the fold are not only too thick to comfortably sew through (especially along curved edges), these bulky layers of fabric are unable to fold properly and will not maintain their shape. 3. Sewing a Topstitched Facing Neck BandAs opposed to a regular neckline facing, a topstitched facing band is actually stitched to the body of the garment to keep the facing down and enclose all fabric raw edges. It is usually thinner in width than a classic neckline facing and features a visible stitch on the face side of the garment. Sewing a topstitched facing band is a bit more difficult than a classic neck facing. However, it allows for more stability and overall durability with the help of that extra topstitch. Just like a regular facing, it requires the use of interfacing to maintain the neckline's structure and smoothness, and follows most of the same steps as a regular neckline facing. As a last step however, the edge of the facing is either folded inwards or serged and stitched to the body of the garment. As opposed to a classic neck facing, the addition of the topstitch, visible on the face of the garment, allows for a more casual look. Just like a regular facing however, a topstitched facing band works best when used with medium to heavy weight fabrics contingent on the fact that it can withstand the addition of the topstitch described. If the fabric is too thin or flimsy, the faced band can sometimes crease the surface of the fabric being too bulky and heavy in relation to the rest of the garment. A topstitched neck band works great with textured fabrics due to the fact that the topstitching blends into the texture of the fabric's surface. This allows for some room for error and eliminates the issue of creasing, thus achieving a smoother appearance. A topstitched neck band is also most appropriate for fabrics that fray easily since the band encloses all the raw edges of the fabric for increased durability. On that note, a topstitched facing band is a lot more functional and can withstand wear and washing much better. It is a common occurrence that when washing faced garments in a regular wash cycle, the facing will need to be re-ironed to return it to its original shape. For that reason, it is always recommended to dry clean garments featuring a neck facing. By contrast, a topsticthed faced band can withstand washing in a regular washing machine quite well. The addition of that final stitch prevents the band from losing its shape or flipping to the outside of the garment eliminating the re-ironing need. When sewing, it is up to you whether you want to add a topstitched facing band or a classic facing to clean finish the raw edges of a neckline. However, keep in mind the elements described above. If you want to achieve a more casual, easy-care garment, a topstitched neck band is most recommended. If you are sewing a more formal garment, opt for a regular neck facing in order to achieve a cleaner, more tailored look. Regardless, always experiment with both options before deciding which one works for your project best. 4. Sewing A Ribbed CollarWhile not all garments work with this very casual neckline finish, adding a rib knit collar to a woven garment provides a classic juxtaposition of stretch and texture. Ribbing bands are actually very commonly applied to casual knit garments. However, they can be used just as effectively along woven necklines, especially when both fabrics are heavier weight featuring more textured. The good news is that once you get past a few logistical details related to sewing a ribbed collar, you will most likely fall in love with how easy and convenient this finish is. So when should you use it? Granted, it is not that commonly found on a regular curved woven neckline, but the style itself seems to always work aesthetically on more casual styles. Design wise, it allows for a color blocking option by giving you the choice of having the rib knit color contrast the rest of the garment. For a more subtle look however, it is not difficult to find the perfect color match between the color of the rib knit and that of the garment's. As a result, you can achieve a beautiful textural combination that creates just enough uniqueness without compromising wearability and comfort. Sewing a ribbed collar is not difficult to do. There is however one important rule to keep in mind if you aught to achieve the correct structure and fit. When not stretched, the initial fabric strip comprising the ribbed band should be a few inches shorter than the length of the neckline it is sewn to. During the process of the band being permanently stitched to the neckline's edge, the rib knit is stretched evenly in the stitching process to match the length of the garment's neckline. Check out a step-by-step guide and learn more about this technique here: How To Sew a Ribbed Collar On a Curved Neckline Because it is slightly stretched in the sewing process, the ribbed band lays flat and maintains it's structure once permanently connected to the neckline. If you ignore this essential rule, you'll find that the final ribbed collar may be flimsy and droop down to expose the wrong side of the garment/seams. The most common issues with ribbed collars that are not constructed properly are their ultimate lack of structure and proper fit. As is true for any neckline finish (or sewing for that matter), fabric choice will have an effect on the final result. It is of course, necessary to use the proper fabrics for the finishes you choose. This is true especially when combining non-stretch woven fabrics with knits. Because the collar needs to maintain the neckline's structure and stability, it is important that the weight and thickness of the rib knit is similar (or compliments) that of the woven fabric comprising the body of the garment. When working with a thicker woven fabric or one that features more texture and structure, it is always more suitable to choose a thicker, bulkier rib knit for the collar. Not only will this offer the stability necessary to withstand the weight of the garment's body, it will also provide a well balanced design visually and aesthetically.
0 Comments
Leave a Reply. |
The Blog:A journey into our design process, sewing tutorials, fashion tips, and all the inspiring people and things we love. Doina AlexeiDesigner by trade and dressmaker at heart. I spend most of my days obsessing over new fabrics and daydreaming new ideas. Sadie
Executive Assistant & Client Relations Manager Archives
November 2019
Categories
All
|
-
Sewing Tutorials
-
Basics
>
- Aligning Pattern Grainlines To Fabric
- Preparing Fabrics For Sewing
- Pinning Sewing Patterns To Fabric
- Placing Sewing Patterns On Fabric For Cutting
- Rotary Cutters or Fabric Scissors?
- Cutting The Sewing Patterns
- What Are Notches And How To Use Them In The Sewing Process
- Transferring Notches From Pattern To Fabric
- Transferring Seamlines to Fabric
- Staystitching
- Backstitching: A Complete Guide
- Hand Basting: A Complete Guide
- Sewing Continuous Bias Binding
- Darts >
-
Sewing Seams
>
- The Basics Of Seams And Seam Allowance
- How To Sew A Straight Seam
- Sewing Curved Seams
- Sewing Corner Seams
- Trimming And Grading Seam Excess
- Notching/Clipping Seam Allowance for Tension Release
- Sewing Topstitched Seams
- Sewing Corded Seams
- Sewing A Slot Seam
- Sewing A Gathered Seam
- Sewing Bias Seams
- Sewing Seams With Ease
- Sewing Seams With Crossing Seamlines
- Sewing Unlike Fabric Seams
- How To Iron Seams: Ironing Tools And Conventions
- Sewing With Knit Fabrics
- Understanding Stitch Length And Tension
- Sewing Unique Fabric Seams
-
Seam Finishes
>
- Seam Finishing Techniques - Overview
- Applying A Pinked Seam Finish
- Applying A Bias Bound Seam Finish
- Serging And Zigzag Seam Finishes
- Sewing A Self-Bound Seam Finish
- Sewing A French Seam Finish
- Sewing A Hong Kong Seam Finish
- Sewing A Mock French Seam Finish
- Sewing A Turned-and-Stitched Seam Finish
- Sewing Overcast Hand-Applied Seam Finishes
- Sewing A Flat Felled Seam
- Sewing A Hairline Seam Finish
-
Hem Finishes
>
- Garment Hem Finishes: Overview
- Sewing A Double Fold Hem Finish
- Sewing A Single Fold Hem Finish
- Sewing Bound Hem Finishes
- Sewing An Exposed Double Layer Bound Hem
- Sewing A Folded-Up Bound Hem with Pre-folded Binding
- Sewing A Hong Kong Hem Finish
- Sewing A Band Hem Finish
- Sewing A Bias Faced Hem Finish
- Sewing A Twill Tape Hem Finish
- Sewing A Rolled Hem Finish
- Sewing A Shaped Hem Facing
- Using Fusible Hem Tape And Webbing
- Finishing A Lace Fabric Hem
- Finishing A Leather Hem
- Sewing Faced Hem Corners
- How To Finish Lining At The Hem
- Finishing Fabric Corners by Mitering >
- Interfacing A Hemline: Lined And Unlined Examples
-
Sewing Pockets
>
- Curved Patch Pocket With Flap
- Unlined Square Patch Pockets
- Lined Patch Pockets: Two Ways
- Extension On-Seam Pockets
- Separate On-Seam Pocket
- Front Hip Pockets
- Bound Double Welt Pocket
- Double Welt Pocket With Flap
- Self-Welt Pocket (Using Single Fabric Layer)
- Slanted Welt Pocket (Hand-Stitched)
- Faced Slash Pockets: Overview >
-
Sewing Zippers
>
- Sewing Zippers: General Information
- Sewing A Centered Zipper
- Sewing A Lapped Zipper
- Sewing An Invisible Zipper
- Sewing A Fly Front Zipper
- Sewing A Closed-End Exposed Zipper (No Seam)
- Sewing An Exposed Separating Zipper
- Sewing Hand Stitched Zipper Applications
- Sewing A Zipper Underlay
- Sewing A Placket-Enclosed Separating Zipper
- Sleeveless Finishes >
-
Neckline Finishes
>
- Sewing A Neck Shaped Facing
- Sewing An All-In-One Neck Facing
- Neck And Garment Opening Combination Facings >
- Sewing A Bias Faced Neckline Finish
- Sewing A Band Neckline Finish
- Bound Neckline Finishes: Overview >
- Sewing A Semi-Stretch Strip Band Neckline
- Ribbed Neck Band And Classic Turtleneck
- Decorative Neckline Finishes >
- Finishing Facing Edges >
-
Extras
>
- A Complete Guide on Interfacing
- Sewing Bound Spaghetti Straps
- Sewing Spaghetti Straps To A Faced Neckline
- Sewing Ruffles: Overview
- Patterning And Sewing A Circle Ruffle
- Sewing A Gathered Heading Ruffle
- Sewing Double Layer Gathered Ruffles
- Sewing A Gathered Ruffle Into A Seam
- Sewing A Gathered Ruffle To A Fabric Edge
- Sewing A Fabric Surface Slit
- Sewing A Slit Seam
- Hand-Applied Straight Stitches
- Hand-Applied Blind Stitches
- Hand-Applied Overedge Stitches
- Hand-Applied Tack Stitches
- Hand-Applied Decorative Stitches
-
Basics
>
- Custom Bridal
- Custom Apparel
- About
- Blog
Services |
Company |
|



 RSS Feed

