|
I have a problem with loosing things. Yes, I’m the person that spends a good 10 minutes looking for car keys every morning. The smaller the objects the easier they are to loose and more difficult they are too find. Since old habits die hard, I have a similar issue in my sewing studio where over time, pins have disappeared into oblivion never to be found or seen again. 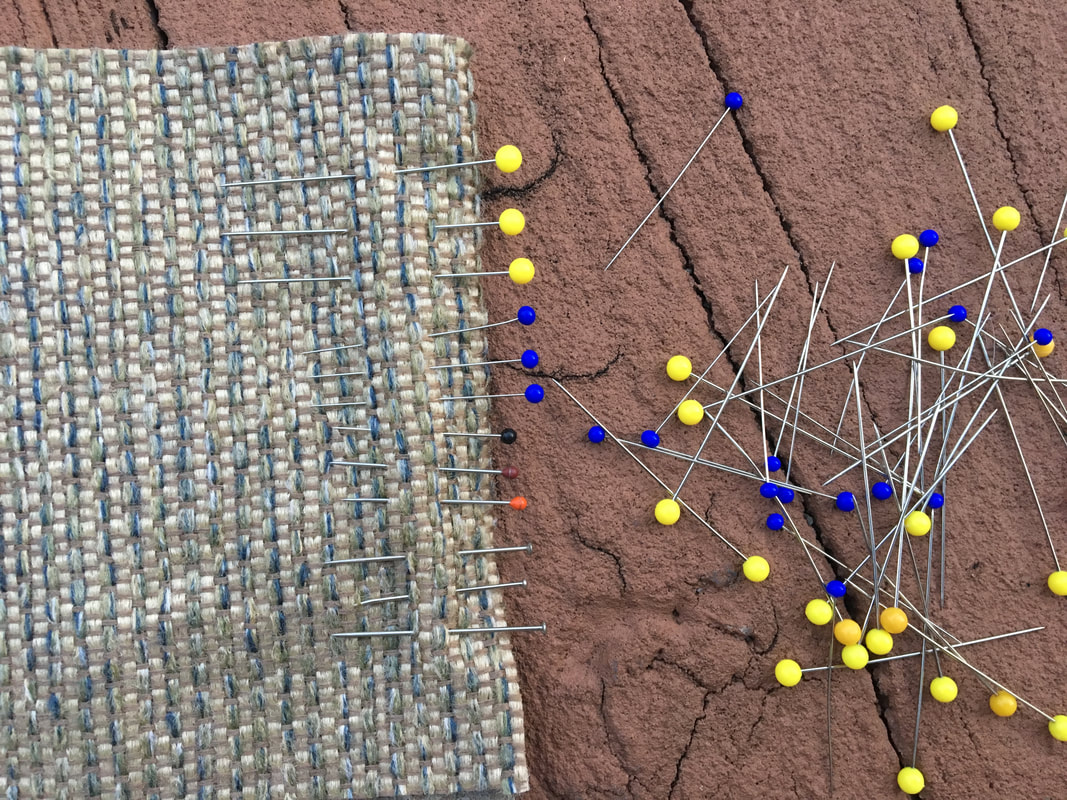 There is no denying the fact that the sewing process requires the use of lots of pinning. While I genuinely attempt to collect each fallen pin at the end of a work day, some fall through the cracks both literally and metaphorically speaking. In an effort to replenish my sewing pin collection, I ran over to the fabric store for what was supposed to be a five minute shopping session. Instead, I spend a good 20 minutes trying to decide what sewing pins I should get. Something as simple as sewing pins can impact sewing speed, comfort and functionality. If you are at the beginning of the road, I encourage you to start with the right set of sewing pins as this will help you optimize your construction process! Here are 4 main factors to consider: 1. Pin Length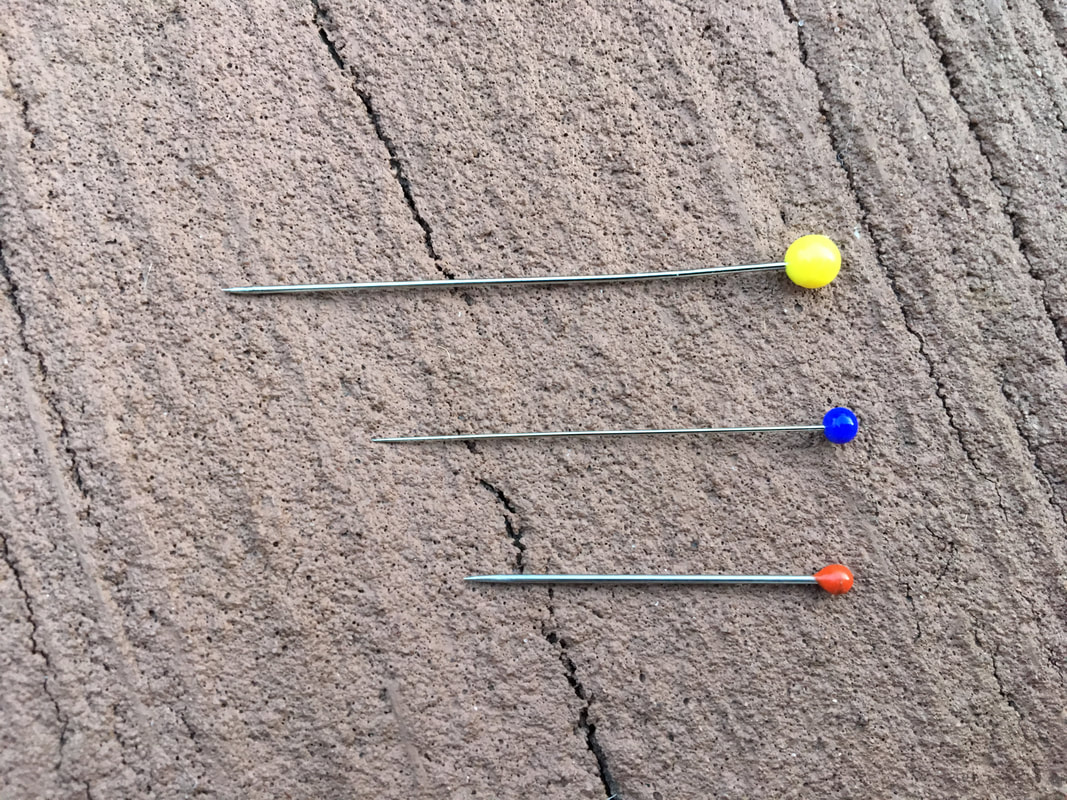 Generally, the longer the pins are, the thicker they will be. Longer, thicker pins are used for thicker fabrics or to hold several layers of medium to heavy weight fabrics together. I personally love to work with longer pins as they allow for a lot more control and are easy to see and physically handle. Conventionally, the pins considered to be longest measure 1 ¼” in length. A medium size is about 1 1/16” while the shortest pins measure about 1”. The length of your sewing pins should be chosen based on the fabrics at hand, of course. I always think it’s a good idea to have a set of long, thick pins and another of thin, smaller silk pins. These two options will cover a large range of sewing projects allowing you lots of flexibility. I’ll tell you more about my preferences below! 2. Needle Thickness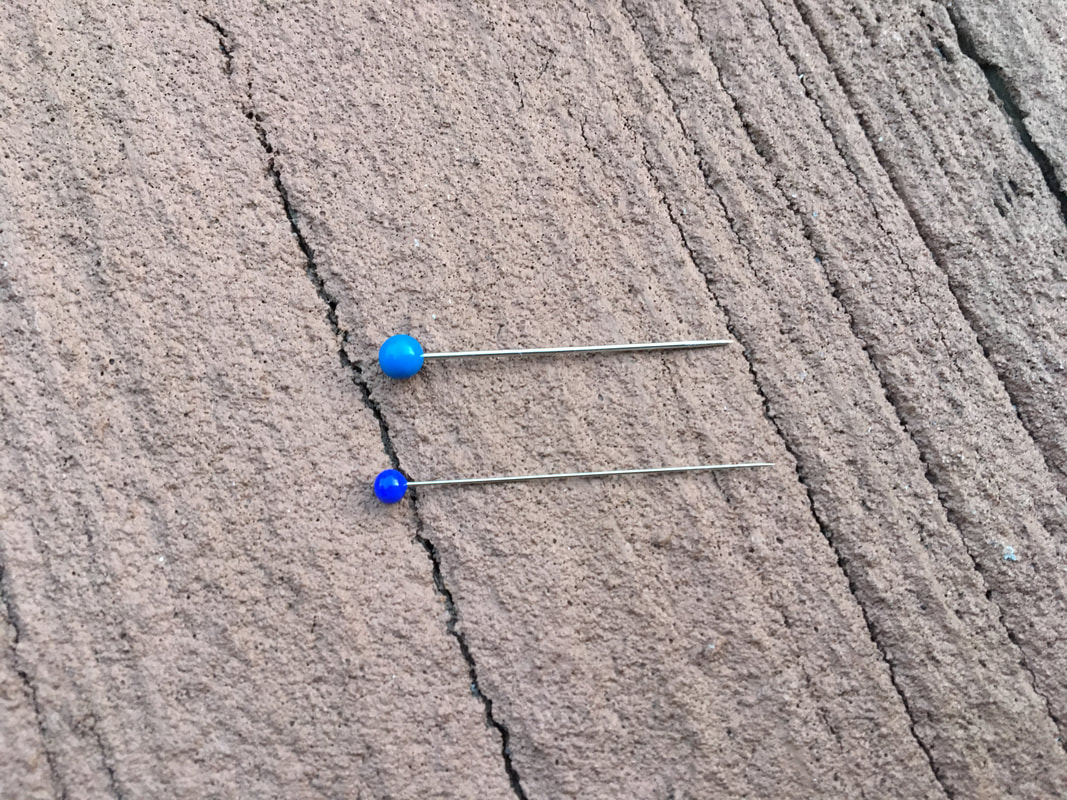 I touched a bit on needle thickness in the length section above but there are actually a few additional factors to consider related to thickness alone. If you’ve been sewing as long as I have you know that pins tend to bend, especially when misused. Thick, sturdy pins should be used on dense, thick or high pile fabrics. 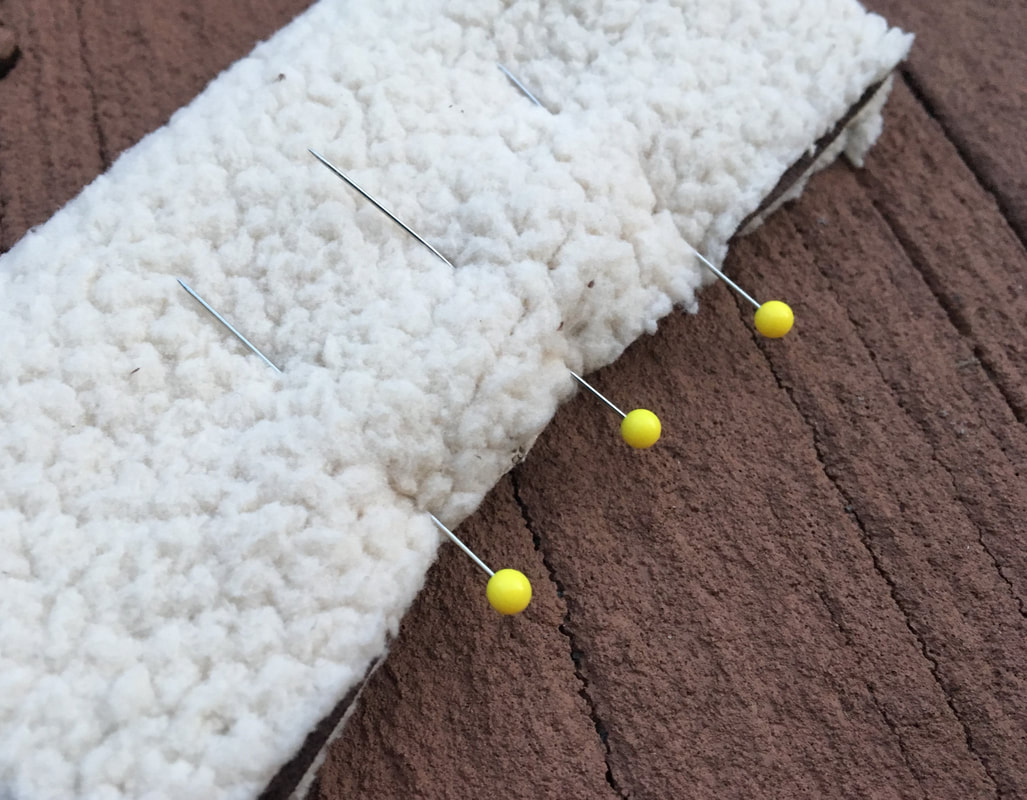 Not only will they offer more precise handling, thicker pins will withstand the strength and structure of the fabric weave. Vise versa, thick, bulky pins are not suitable for fine fabrics like those made of silk for example. Not only do they risk damaging the surface of the fabric, they offer less control over thin, flimsy structures and are often not sharp enough to smoothly go through all fabric layers without leaving a mark. Keep these two concepts in mind as you decide on the appropriate pins to use for a special fabric. 3. Pin Head Style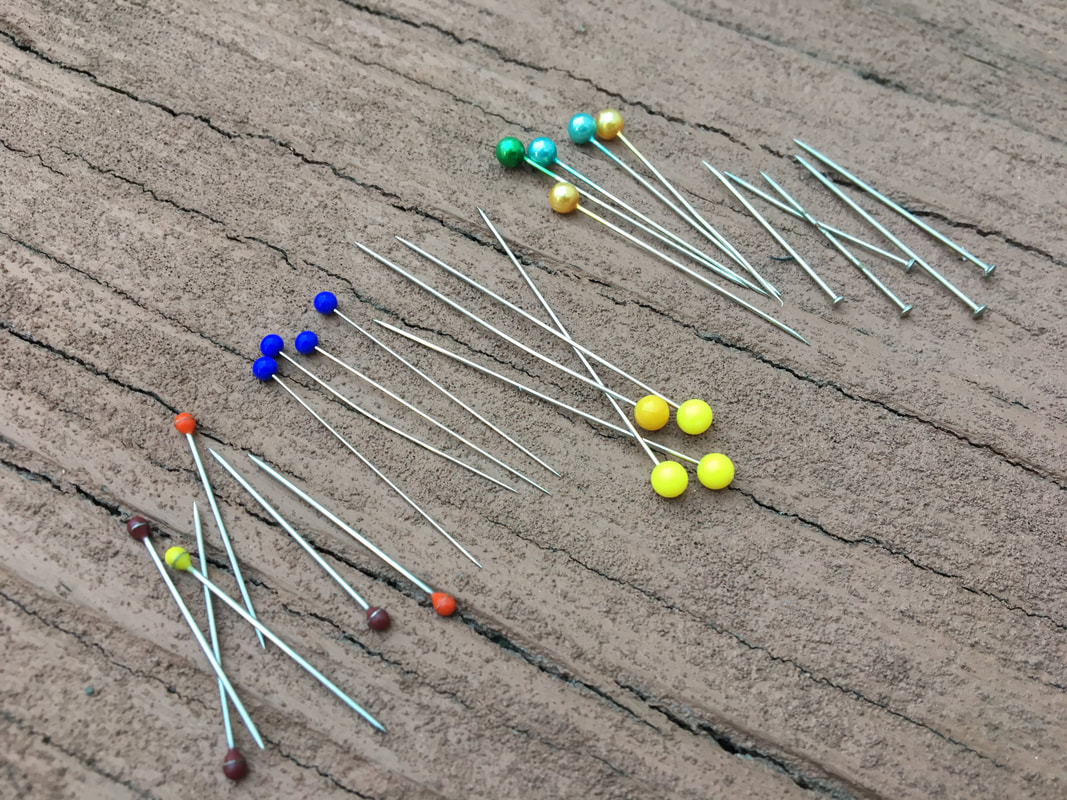 My favorite topic- pin style. There are 3 predominant pin head finishes you have definitely come across at some point or another: T shape, ball head, and flat head. Quite frankly, I never paid much attention to this until I realized the big difference each style makes in the sewing process. Turns out there is indeed a reason for each finish and guess what it depends on? You guessed it! Fabric. Here’s the general brake down by use: 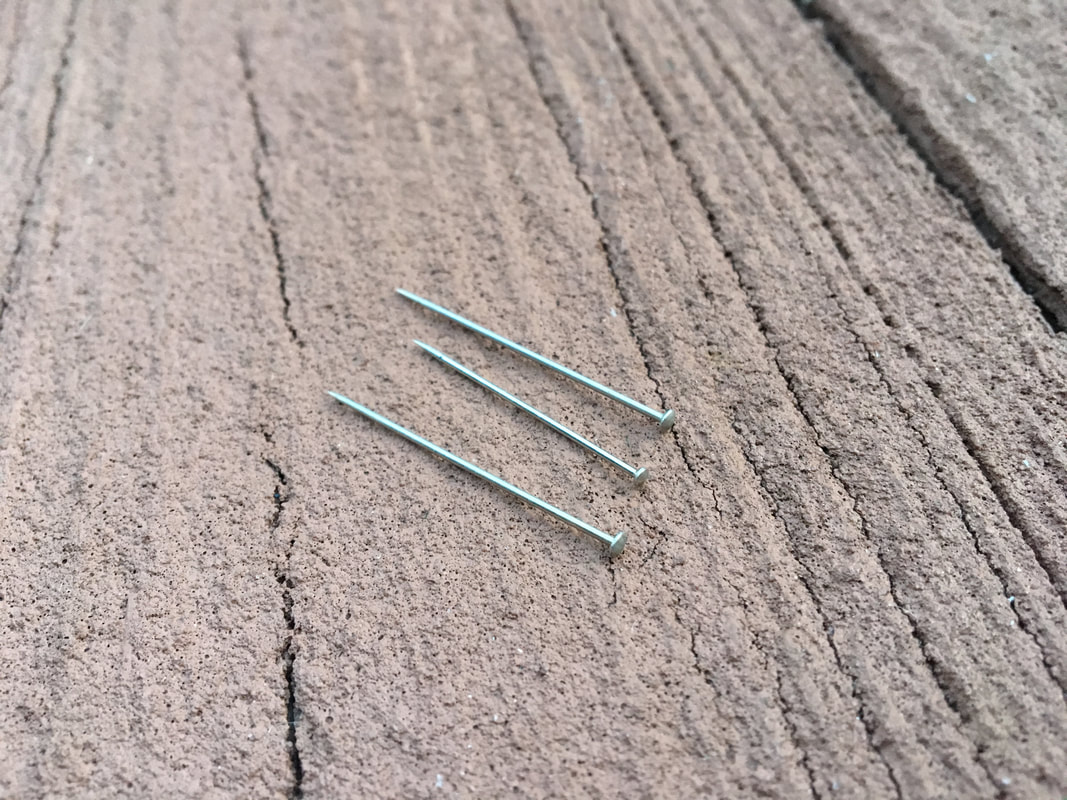 Flat head pins: These pins allow for less visibility making them more suitable for draping where the pined seams should visibly resemble the seams on a finished garment. They are usually much shorter and a bit more difficult to handle due to the small flat head. If you look carefully, their shape resembles that of a traditional nail. Since flat head pins are generally smaller in length, they are most suitable for lighter weight fabrics and/or thinner layers. 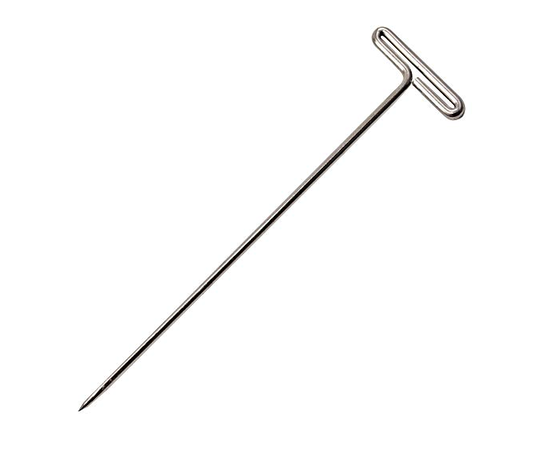 Via www.amazon.com T shaped pins: T shaped pins are usually much longer and have a pronounced T extension at the opposite end. These pins are used for work with loosely woven fabrics or thick pile fabrics. The T end stops the pins from sliding through loosely woven fabrics or disappearing underneath high pile/texture. 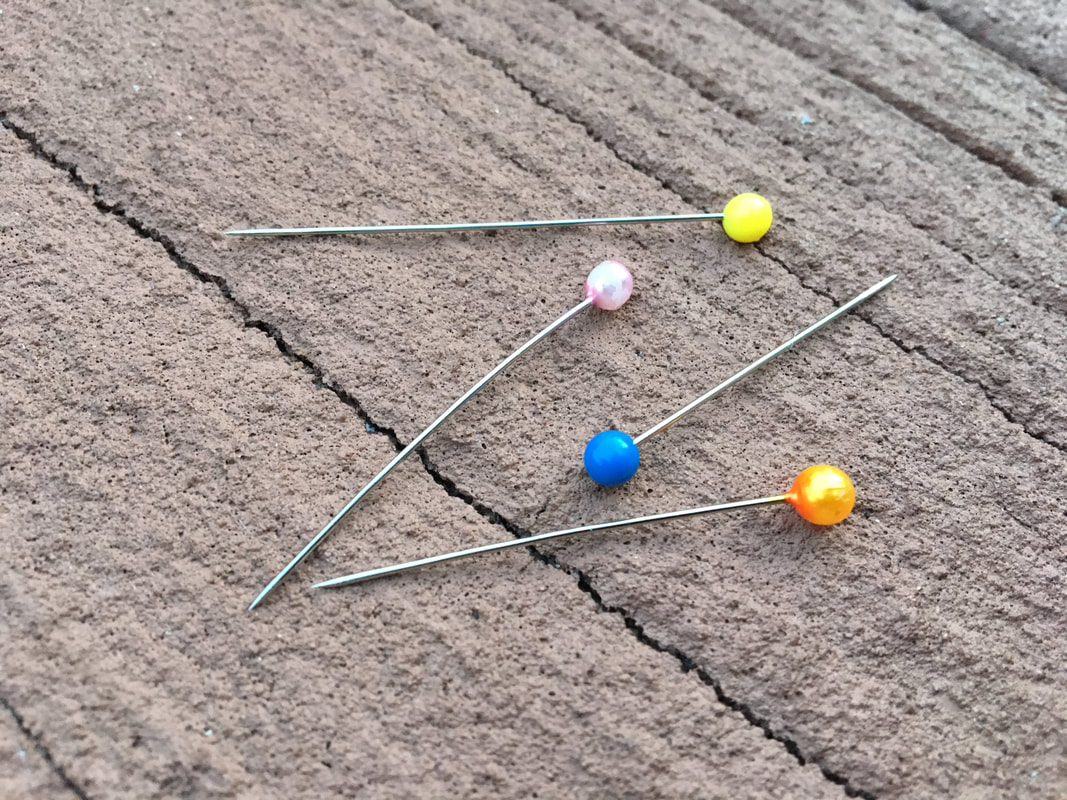 Ball head pins (usually color): My favorite of all pins, ball head pins are the most commonly used pins in dressmaking both by beginners and advanced seamstresses alike. The ball head allows for more visibility and easier handling. Today, you can find ball head pins in many different lengths and thicknesses providing suitability with various light to heavy weight fabrics. 4. Sharp Or Ball Point NeedleThe concept of a sharp and ball point needle end is the same one applicable to any hand sewing or machine needle style out there. The universal rule is that sharp needles are used on woven fabrics and some tightly woven knits, while a ball point is used on knit fabric, especially loosely woven ones. Pins follow the same logic: A sharp pin works great with most regular woven and knit fabrics while ball point pins work best for sweater and other loose knits. I would say however that if you are simultaneously pinning though a paper pattern, you may choose to use a sharp point regardless of fabric as this will provide a smoother paper insertion process. 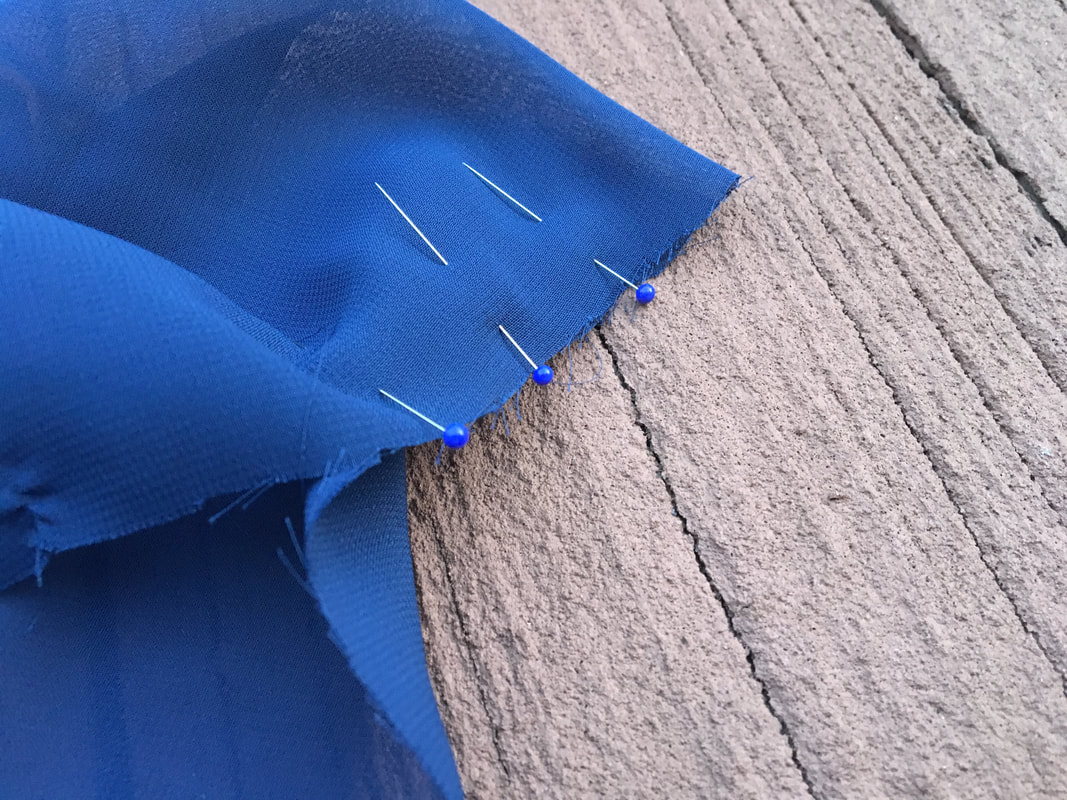 The pins I like to use: I’ve worked with just about every style pin you can think of and I always go back to two basics I love: Regular quilting pins with a ball head and thin silk pins with a ball head. I prefer the ball head finish as it allows me a better grip and more stability and comfort when handling. Plus the color addition makes them much easier to spot when collected at the end of the work day! As far as T shaped pins, I don’t use them very often as I haven’t really worked with loosely woven or high pile fabrics as much. Regardless, I suggest you keep a pack of these just in case. If you want to get serious about dressmaking and are in the process of collecting your tools, I suggest starting with the two sets of pins noted above and match their use to each one of your projects. Try to keep them separate if you can- speaking from experience, mine always end up intermingling after a while. Similar Tutorials You May Like: How To Sew A Seam: The 3 Rules 6 Sewing Hacks For Te Creative Seamstress 4 Practice Exercises For Getting Comfortable With Your Sewing Machine Learn To Sew: Sewing Terms You Should Know As A Beginner Want To Learn How To Sew And Make Your Own Patterns: These Are The Supplies You Need To Have.
0 Comments
Leave a Reply. |
The Blog:A journey into our design process, sewing tutorials, fashion tips, and all the inspiring people and things we love. 
Doina AlexeiDesigner by trade and dressmaker at heart. I spend most of my days obsessing over new fabrics and daydreaming new ideas. 
Sadie
Executive Assistant & Client Relations Manager Archives
November 2019
Categories
All

|

-
Sewing Tutorials
-
Basics
>
- Aligning Pattern Grainlines To Fabric
- Preparing Fabrics For Sewing
- Pinning Sewing Patterns To Fabric
- Placing Sewing Patterns On Fabric For Cutting
- Rotary Cutters or Fabric Scissors?
- Cutting The Sewing Patterns
- What Are Notches And How To Use Them In The Sewing Process
- Transferring Notches From Pattern To Fabric
- Transferring Seamlines to Fabric
- Staystitching
- Backstitching: A Complete Guide
- Hand Basting: A Complete Guide
- Sewing Continuous Bias Binding
- Darts >
-
Sewing Seams
>
- The Basics Of Seams And Seam Allowance
- How To Sew A Straight Seam
- Sewing Curved Seams
- Sewing Corner Seams
- Trimming And Grading Seam Excess
- Notching/Clipping Seam Allowance for Tension Release
- Sewing Topstitched Seams
- Sewing Corded Seams
- Sewing A Slot Seam
- Sewing A Gathered Seam
- Sewing Bias Seams
- Sewing Seams With Ease
- Sewing Seams With Crossing Seamlines
- Sewing Unlike Fabric Seams
- How To Iron Seams: Ironing Tools And Conventions
- Sewing With Knit Fabrics
- Understanding Stitch Length And Tension
- Sewing Unique Fabric Seams
-
Seam Finishes
>
- Seam Finishing Techniques - Overview
- Applying A Pinked Seam Finish
- Applying A Bias Bound Seam Finish
- Serging And Zigzag Seam Finishes
- Sewing A Self-Bound Seam Finish
- Sewing A French Seam Finish
- Sewing A Hong Kong Seam Finish
- Sewing A Mock French Seam Finish
- Sewing A Turned-and-Stitched Seam Finish
- Sewing Overcast Hand-Applied Seam Finishes
- Sewing A Flat Felled Seam
- Sewing A Hairline Seam Finish
-
Hem Finishes
>
- Garment Hem Finishes: Overview
- Sewing A Double Fold Hem Finish
- Sewing A Single Fold Hem Finish
- Sewing Bound Hem Finishes
- Sewing An Exposed Double Layer Bound Hem
- Sewing A Folded-Up Bound Hem with Pre-folded Binding
- Sewing A Hong Kong Hem Finish
- Sewing A Band Hem Finish
- Sewing A Bias Faced Hem Finish
- Sewing A Twill Tape Hem Finish
- Sewing A Rolled Hem Finish
- Sewing A Shaped Hem Facing
- Using Fusible Hem Tape And Webbing
- Finishing A Lace Fabric Hem
- Finishing A Leather Hem
- Sewing Faced Hem Corners
- How To Finish Lining At The Hem
- Finishing Fabric Corners by Mitering >
- Interfacing A Hemline: Lined And Unlined Examples
-
Sewing Pockets
>
- Curved Patch Pocket With Flap
- Unlined Square Patch Pockets
- Lined Patch Pockets: Two Ways
- Extension On-Seam Pockets
- Separate On-Seam Pocket
- Front Hip Pockets
- Bound Double Welt Pocket
- Double Welt Pocket With Flap
- Self-Welt Pocket (Using Single Fabric Layer)
- Slanted Welt Pocket (Hand-Stitched)
- Faced Slash Pockets: Overview >
-
Sewing Zippers
>
- Sewing Zippers: General Information
- Sewing A Centered Zipper
- Sewing A Lapped Zipper
- Sewing An Invisible Zipper
- Sewing A Fly Front Zipper
- Sewing A Closed-End Exposed Zipper (No Seam)
- Sewing An Exposed Separating Zipper
- Sewing Hand Stitched Zipper Applications
- Sewing A Zipper Underlay
- Sewing A Placket-Enclosed Separating Zipper
- Sleeveless Finishes >
-
Neckline Finishes
>
- Sewing A Neck Shaped Facing
- Sewing An All-In-One Neck Facing
- Neck And Garment Opening Combination Facings >
- Sewing A Bias Faced Neckline Finish
- Sewing A Band Neckline Finish
- Bound Neckline Finishes: Overview >
- Sewing A Semi-Stretch Strip Band Neckline
- Ribbed Neck Band And Classic Turtleneck
- Decorative Neckline Finishes >
- Finishing Facing Edges >
-
Extras
>
- A Complete Guide on Interfacing
- Sewing Bound Spaghetti Straps
- Sewing Spaghetti Straps To A Faced Neckline
- Sewing Ruffles: Overview
- Patterning And Sewing A Circle Ruffle
- Sewing A Gathered Heading Ruffle
- Sewing Double Layer Gathered Ruffles
- Sewing A Gathered Ruffle Into A Seam
- Sewing A Gathered Ruffle To A Fabric Edge
- Sewing A Fabric Surface Slit
- Sewing A Slit Seam
- Hand-Applied Straight Stitches
- Hand-Applied Blind Stitches
- Hand-Applied Overedge Stitches
- Hand-Applied Tack Stitches
- Hand-Applied Decorative Stitches
-
Basics
>
- Custom Bridal
- Custom Apparel
- About
- Blog
 RSS Feed
Services |
Company |
|
