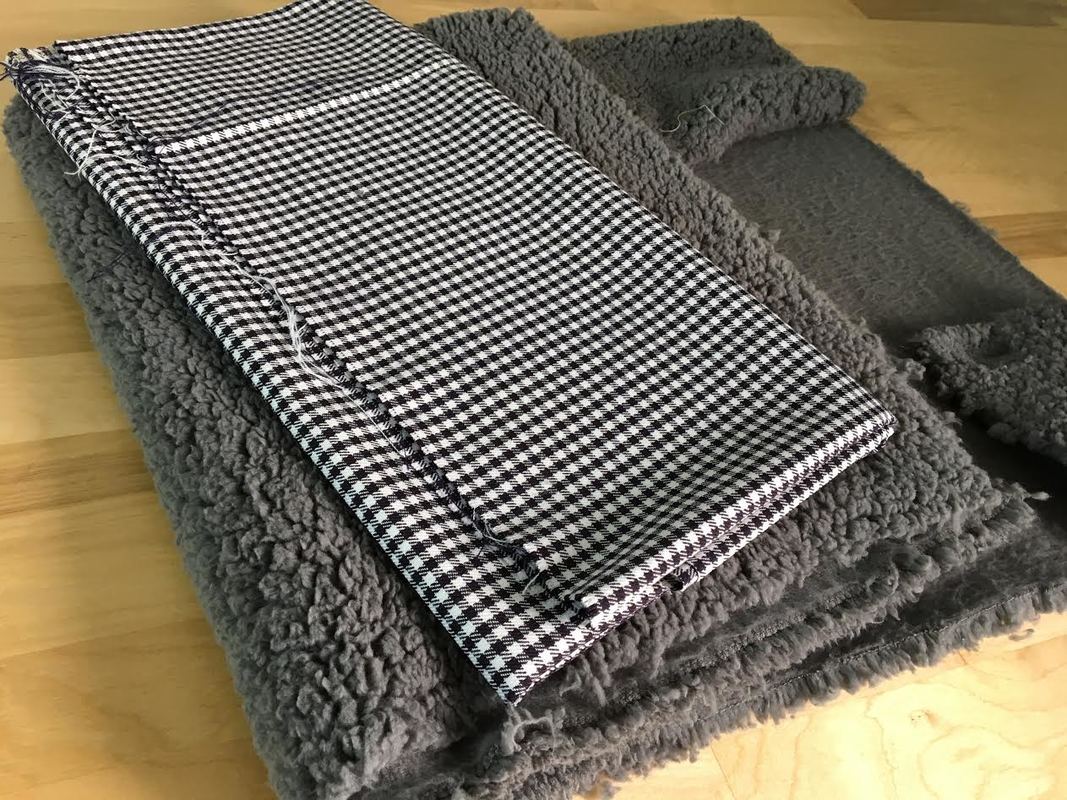
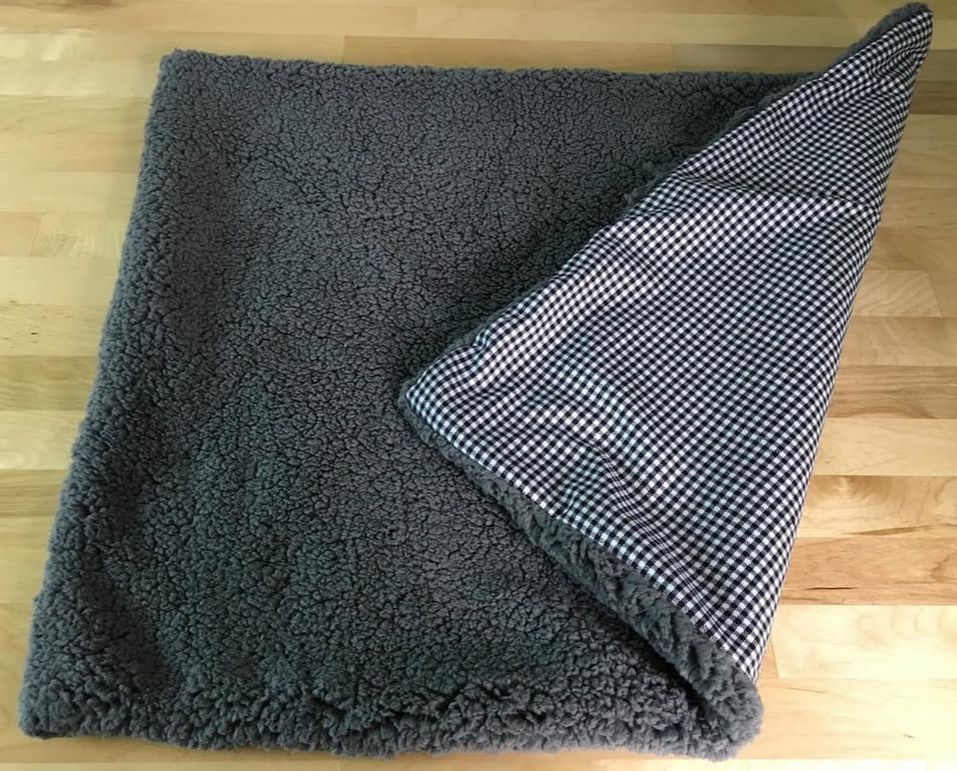
How To Make A Pet Bed Using Remnant Fabrics: Step-By-Step Simple Sewing Guide With Pictures.7/31/2018 Let's admit it- our pets are our children and we would do (and spend!) anything for them. That also includes delving into the world of DIY to make that special family member something they love to play with or sleep on. If you've explored other craft projects or you love to sew, chances are, you always have some decent-length remnant fabrics laying around that you might not have the heart to recycle yet. Perhaps, you put your remnants in the I'll need it for something one day pile? When the idea finally comes, it is always nice to have those extra pieces of fabric to put to good use. A month or so ago, I was on a mission to organize my studio. The fabrics and sewing patterns were piling up to the ceiling so naturally, it was time for the difficult task of sorting through what gets recycled and what stays. Many of the fabric remnants I've collected over the years had to go (painfully). As I was rummaging through remnants of old projects, I came across one fabric piece that was so soft and plushy I simply couldn't let it go. The fabric in question? A plushy, knit fleece I purchased a while ago when I was testing materials for a new project. The remnant piece itself was maybe about 30 x 40 inches but so soft and comfortable against the skin, I simply did not have the heart to throw in the recycle pile. The solution? Why not use the entire length to sew a pet bed for my kitty (and a future puppy, of course!). To make a conventional pet bed with a plush sleeping surface, it's best to use a non-plush, sturdy fabric on the bed's underside. The underside is the surface that normally takes a lot of beating during use as it corresponds to the floor. From a design standpoint, using two different fabrics in a pet bed design gives you the ability to choose contrast colors and prints that capture your pet's personality best. Of course, sewing a pet bed on your own allows for a lot more freedom in size, color, shape and customization. The best part is, a simple pet bed is not difficult to make and should not be at all costly, especially if you use left over fabrics. To fill the dogie (or kitty) bed, you will first need to invest in some fiber fill. Fiber fill is usually a fibrous polyester fill (also called poly fill) conventionally used to stuff cushions, plush toys and other home decor items. It should be very easy to find at your local fabric or craft store. Bags of fiber fill are available in different sizes so you can adjust your purchase based on how big your pet bed needs to be. If you have never worked with any sort of fiber fill before, you'll probably find it to be fairly easy and fun to play with! The process of watching something 2-dimensional come alive in a 3-dimensional form is quite rewarding in itself. Below, you'll find a step-by-step DIY guide on how to make a simple pet bed from start to finish. Adjust your sizing according to how big you need the pet bed to be, or the length/width of the remnant fabrics you are re-purposing. Sewing Tools And Materials For this project you will need:
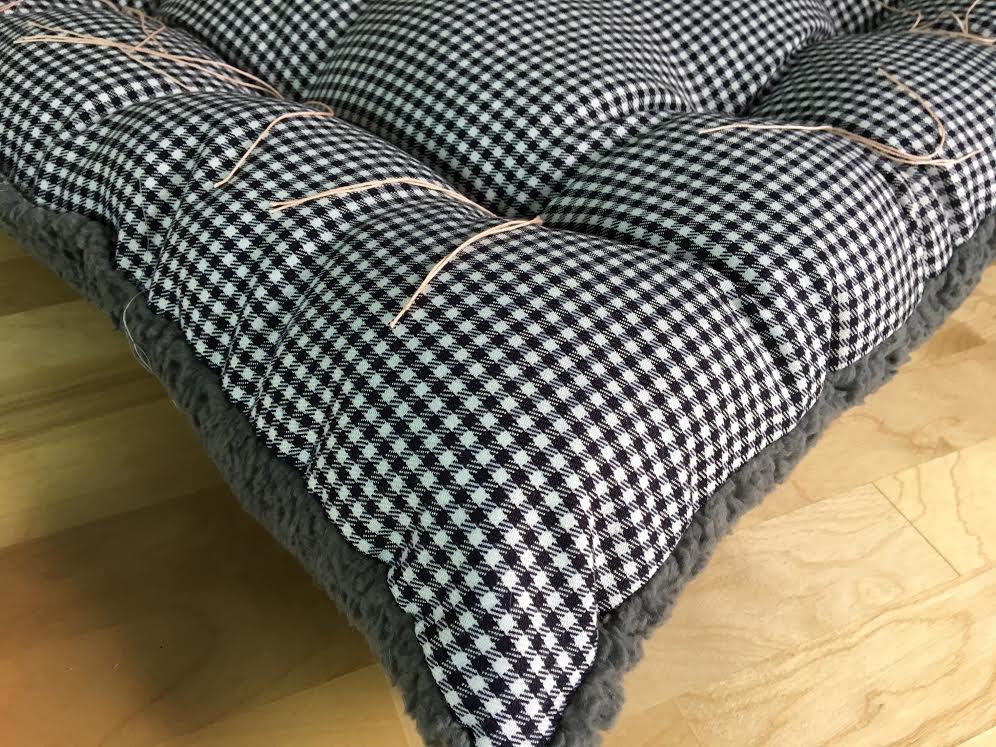
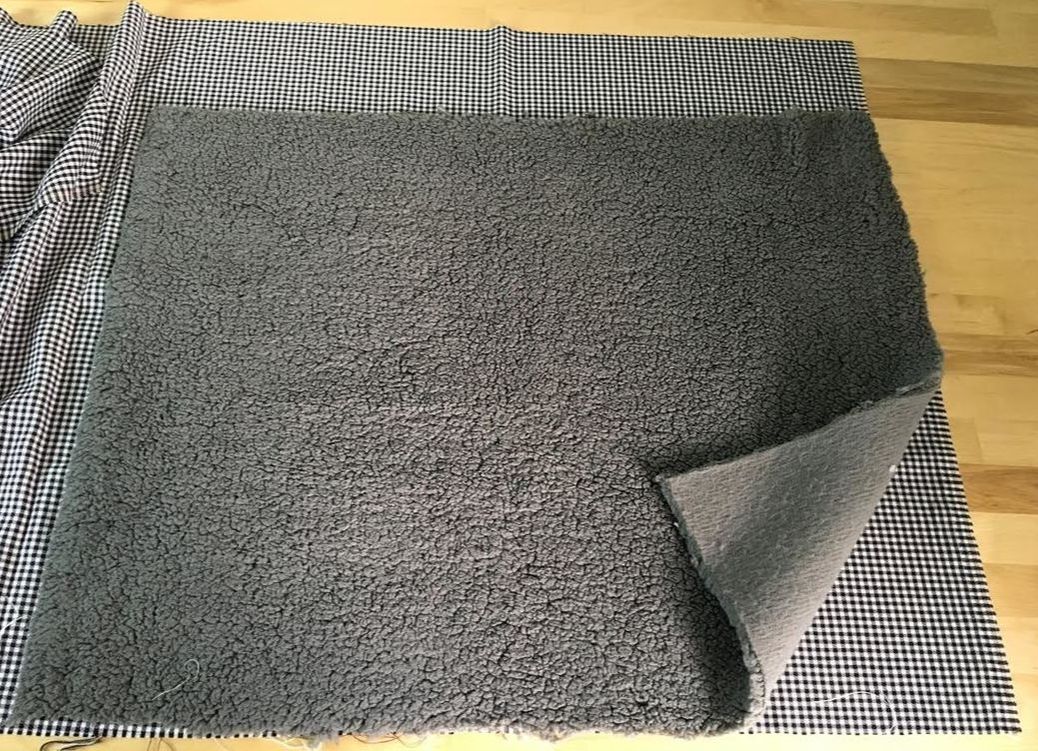
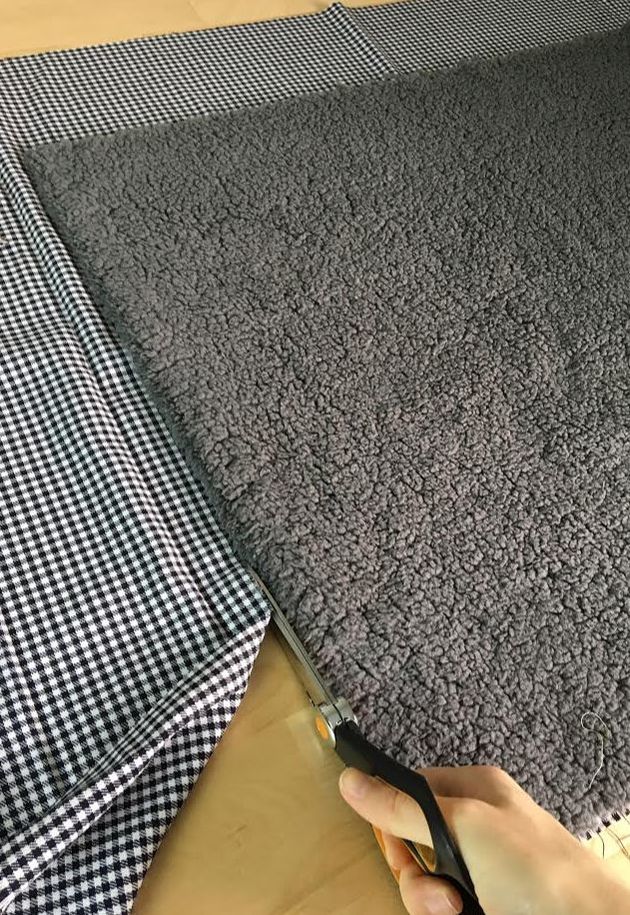
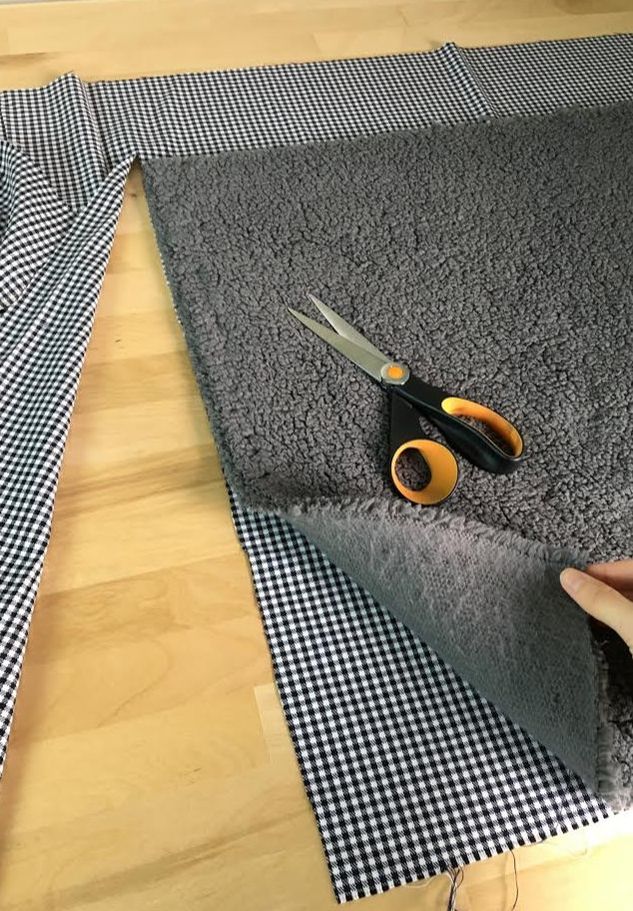
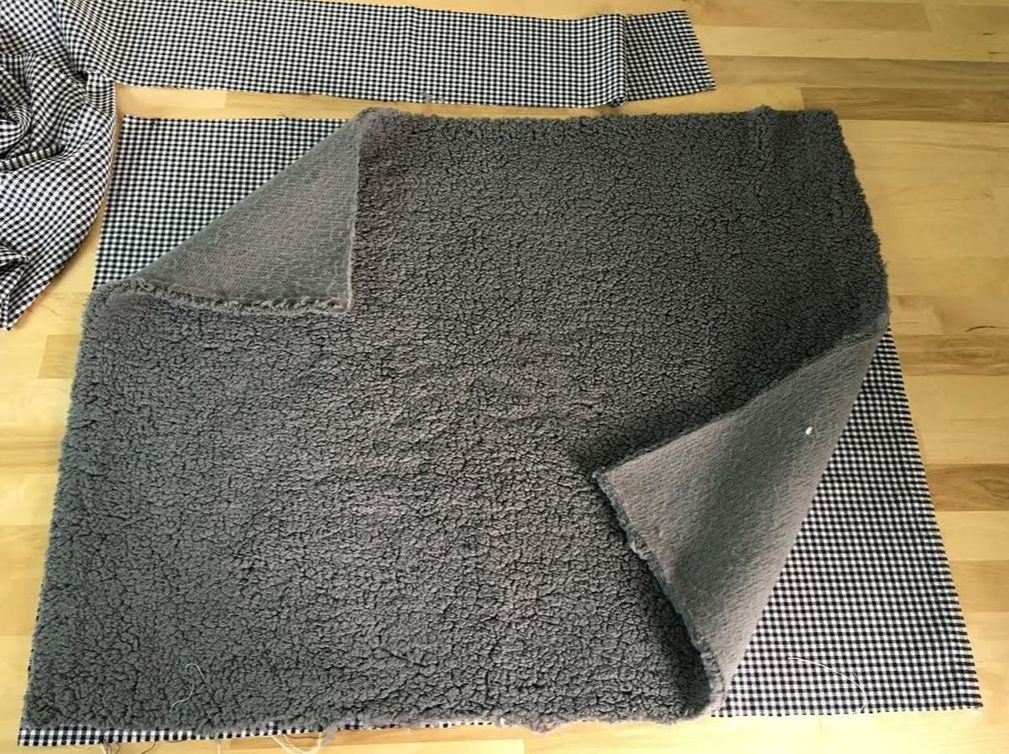
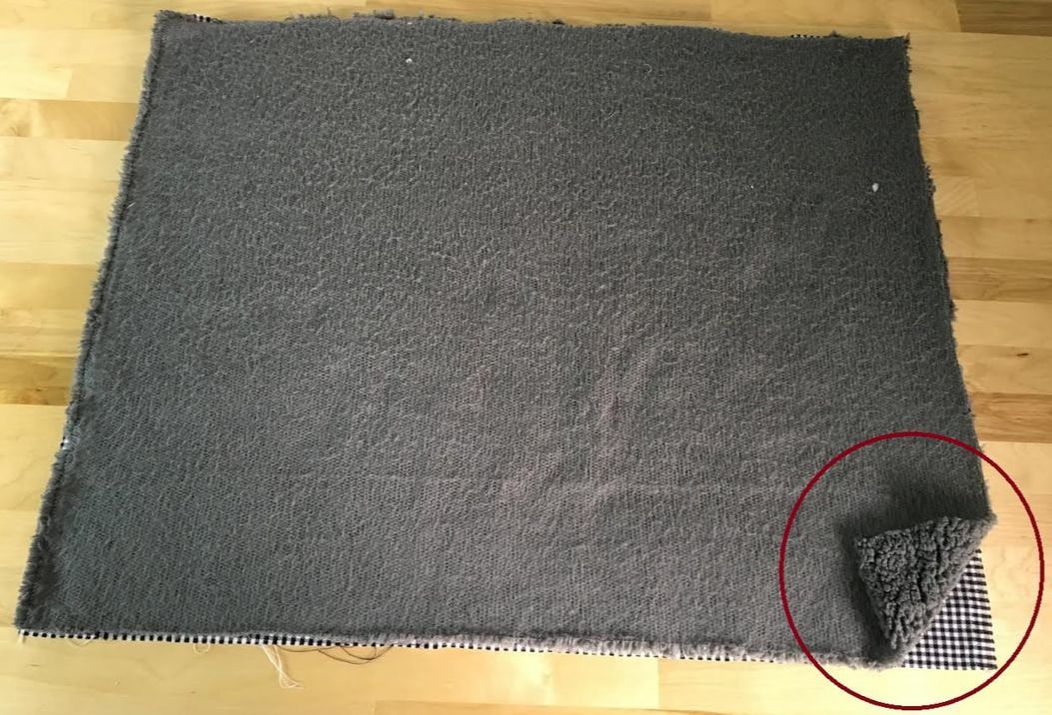
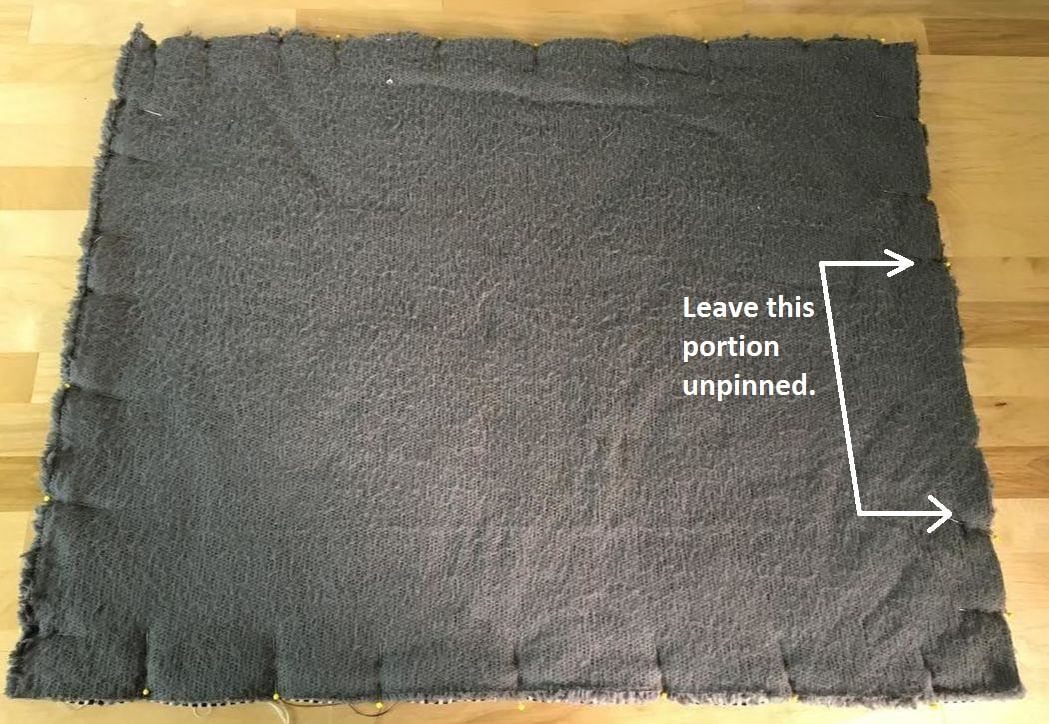
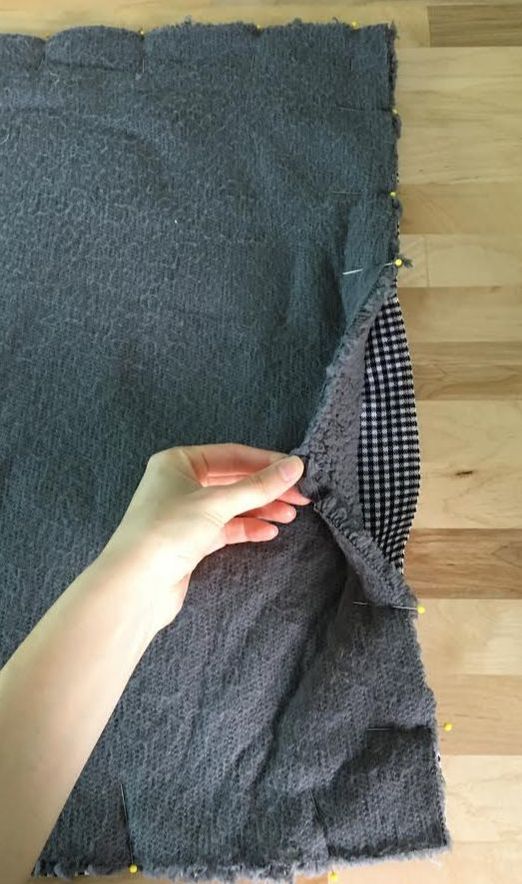
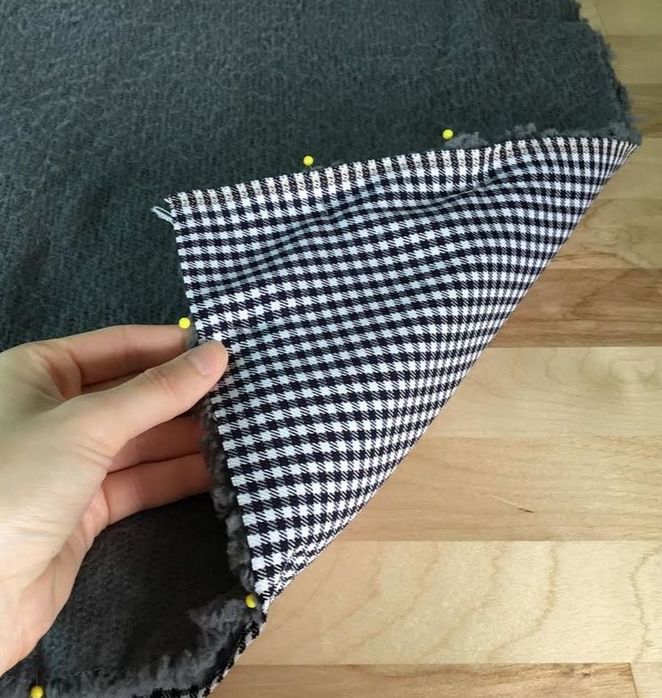
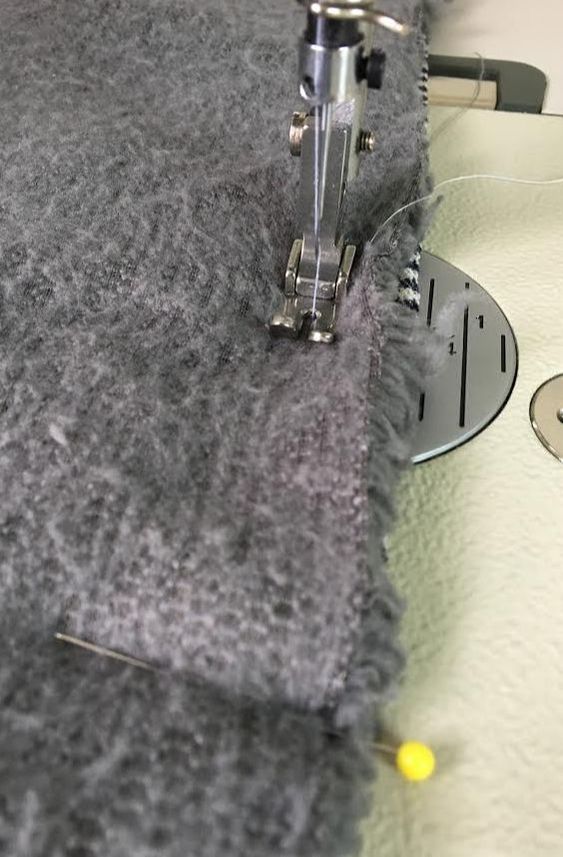
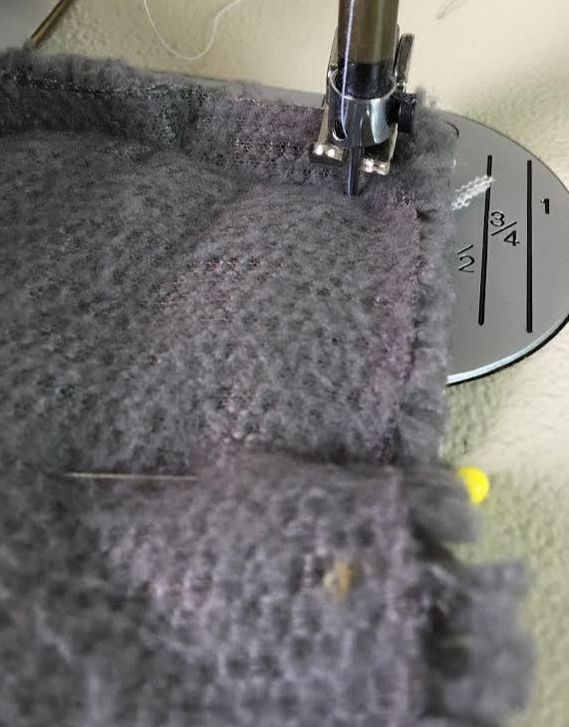
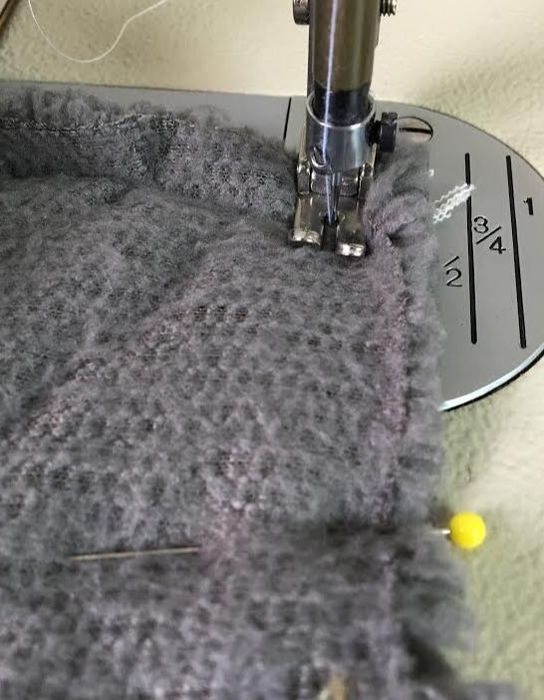
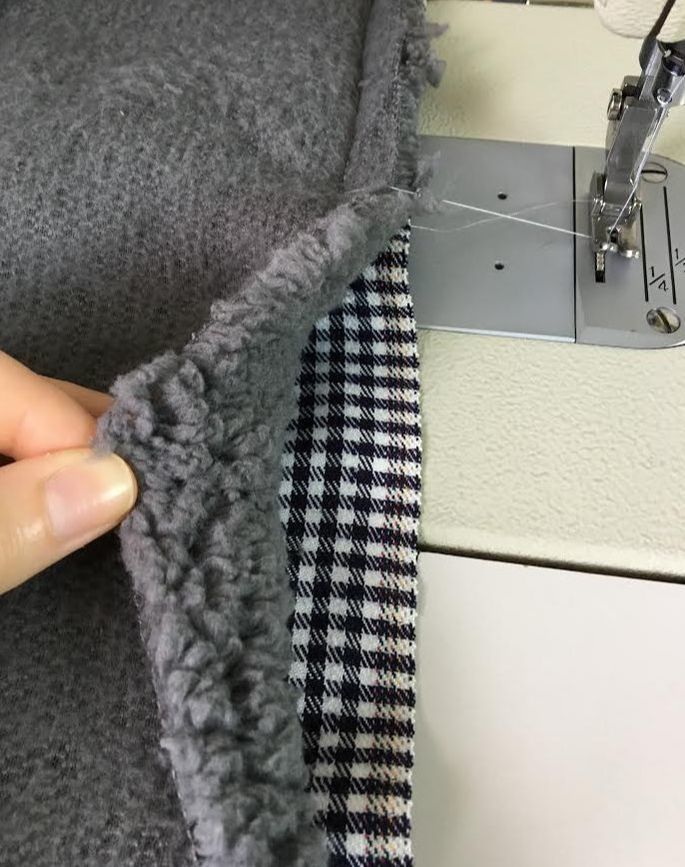
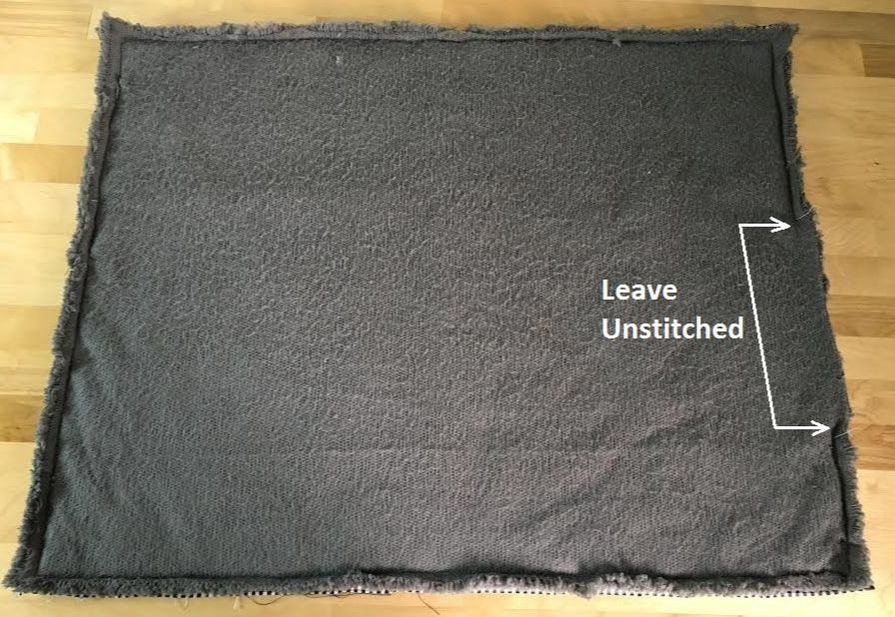
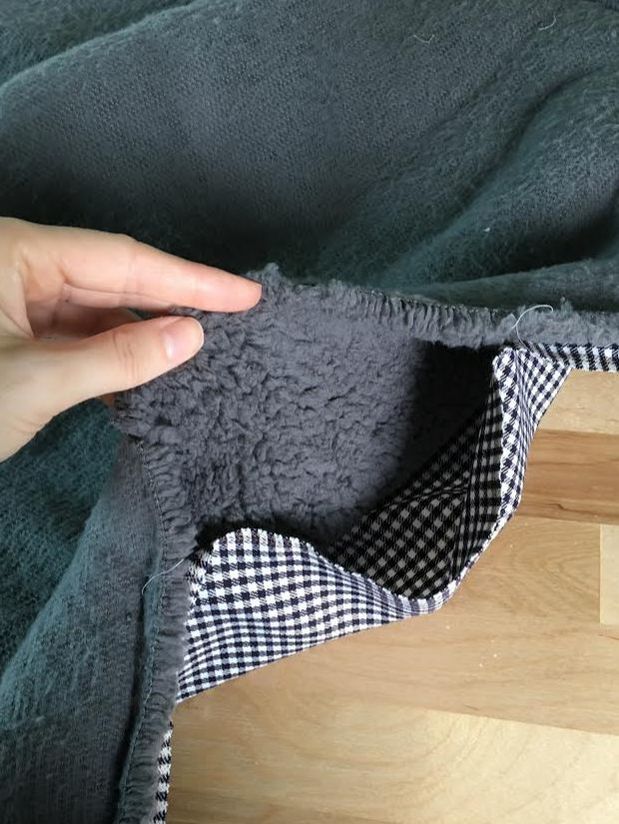
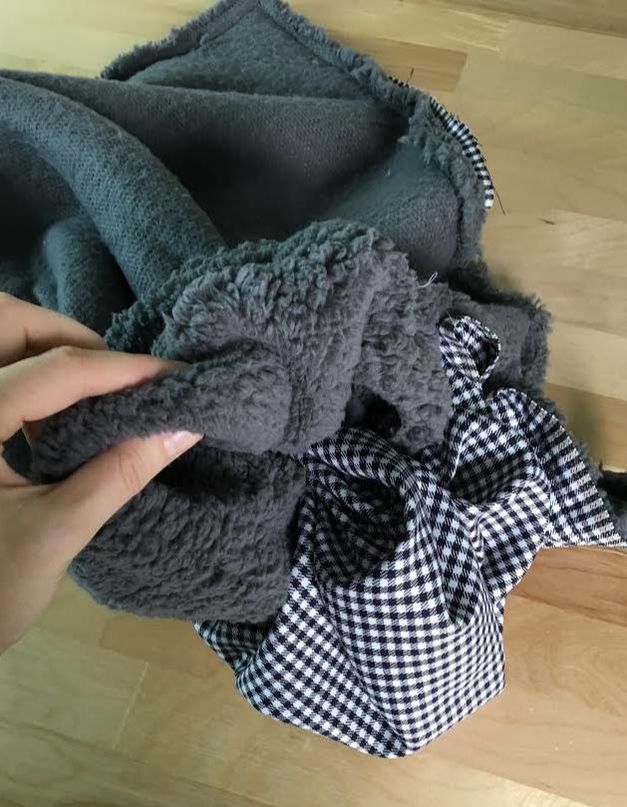
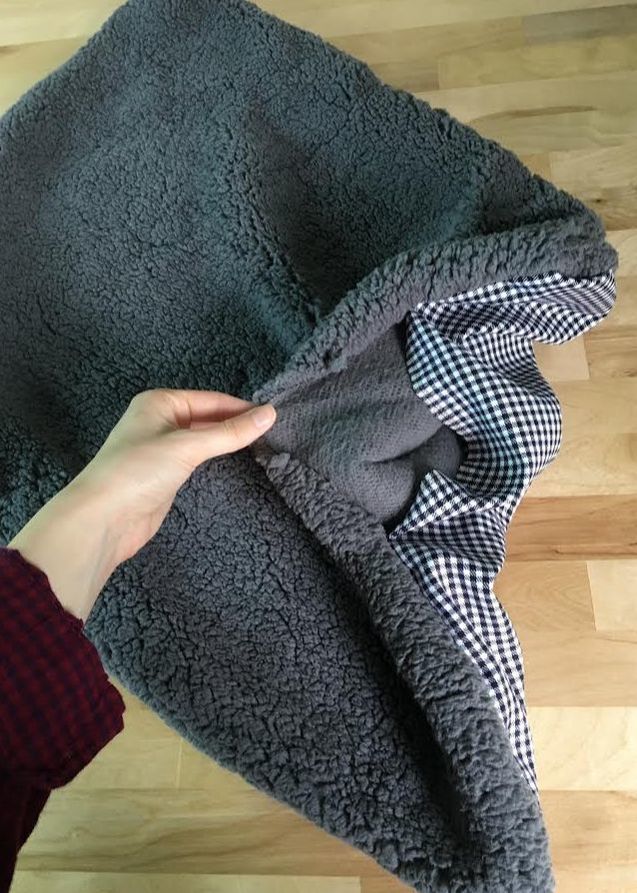
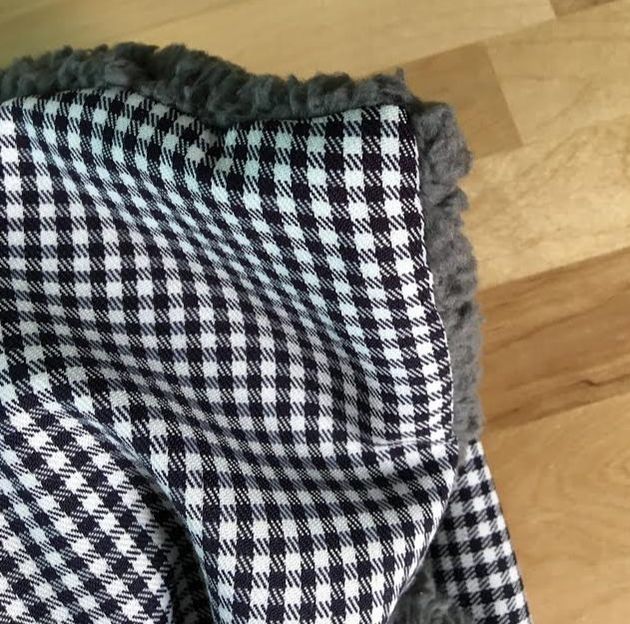
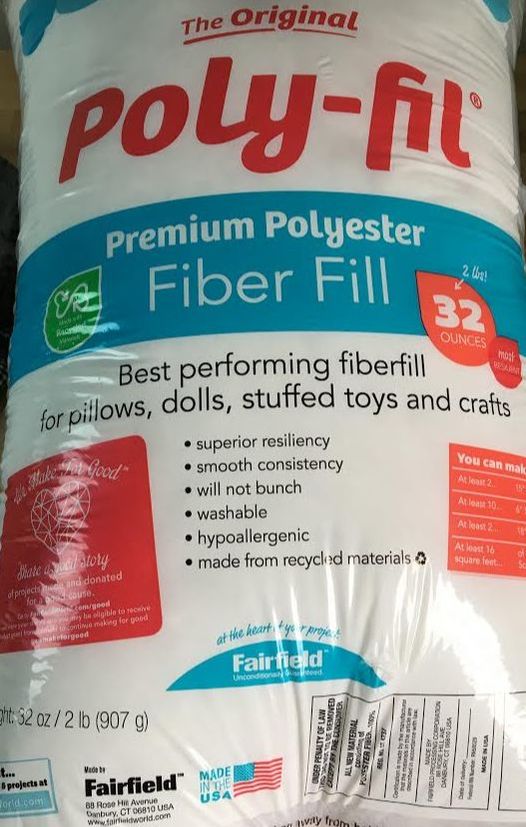
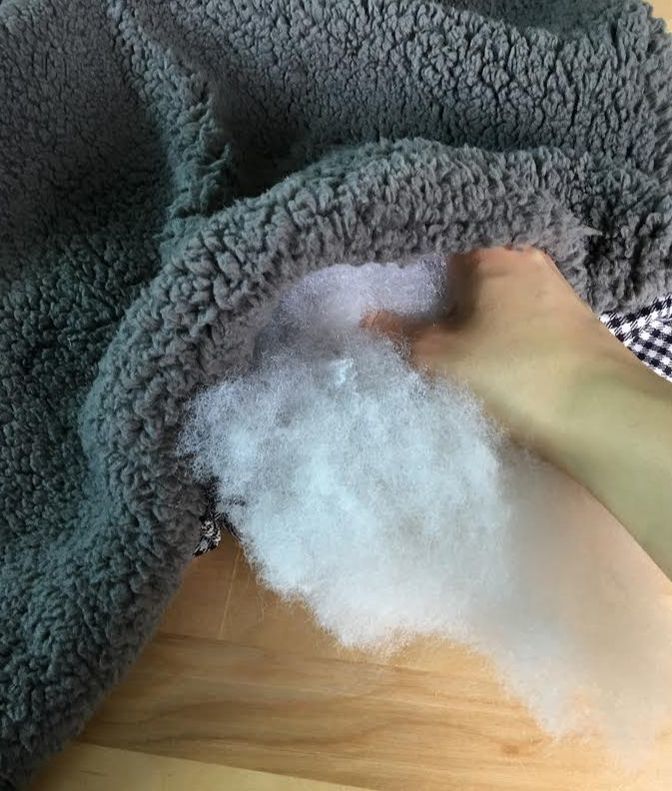
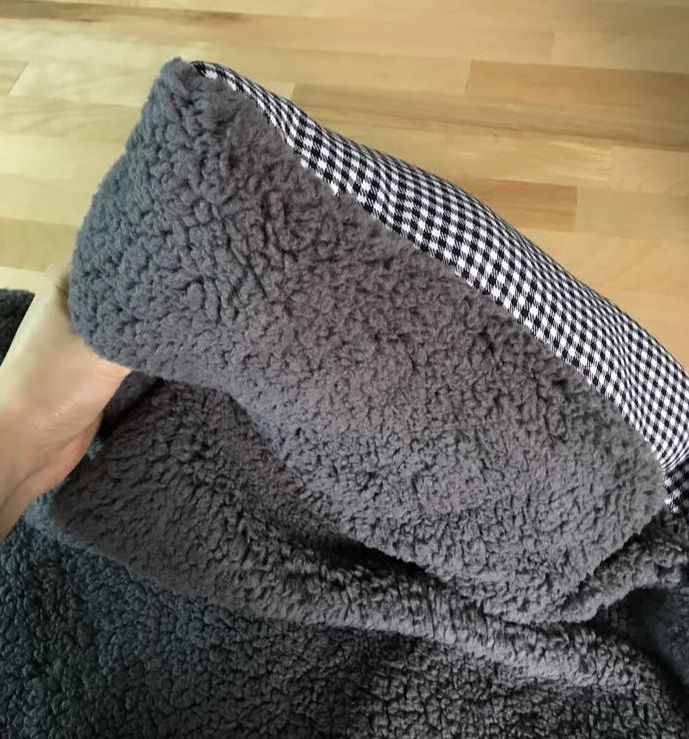
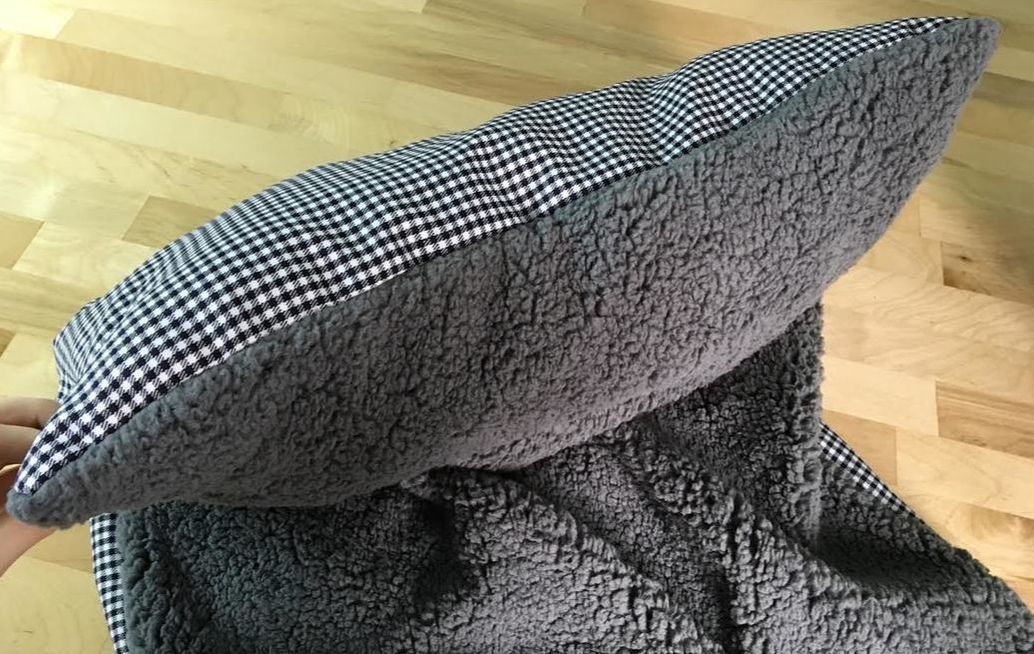
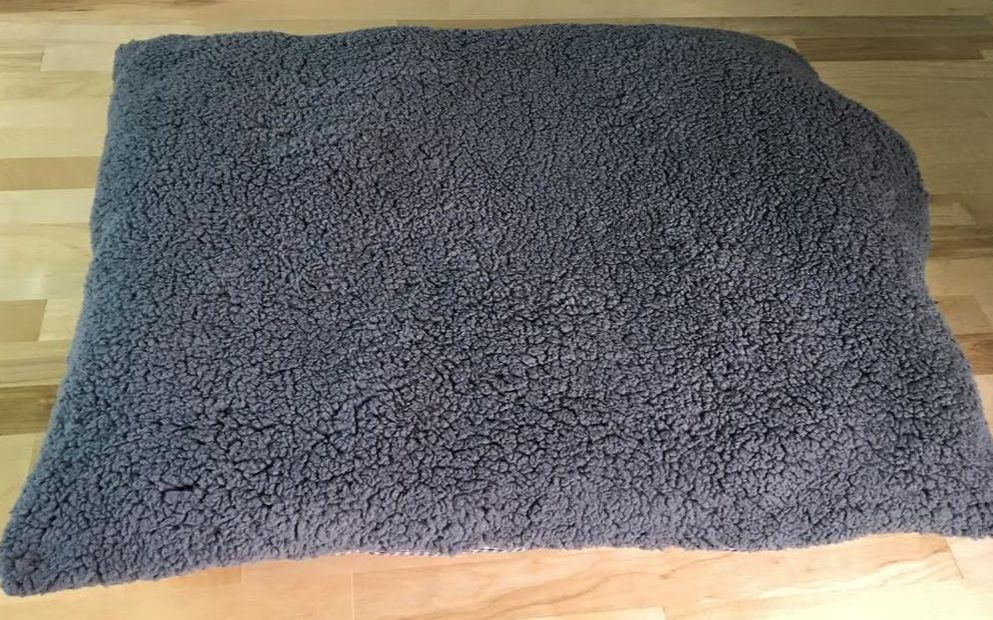
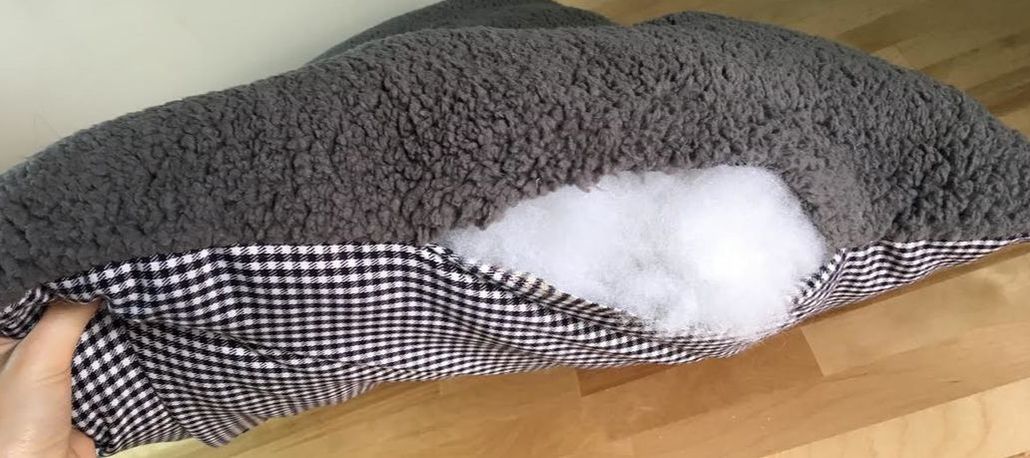
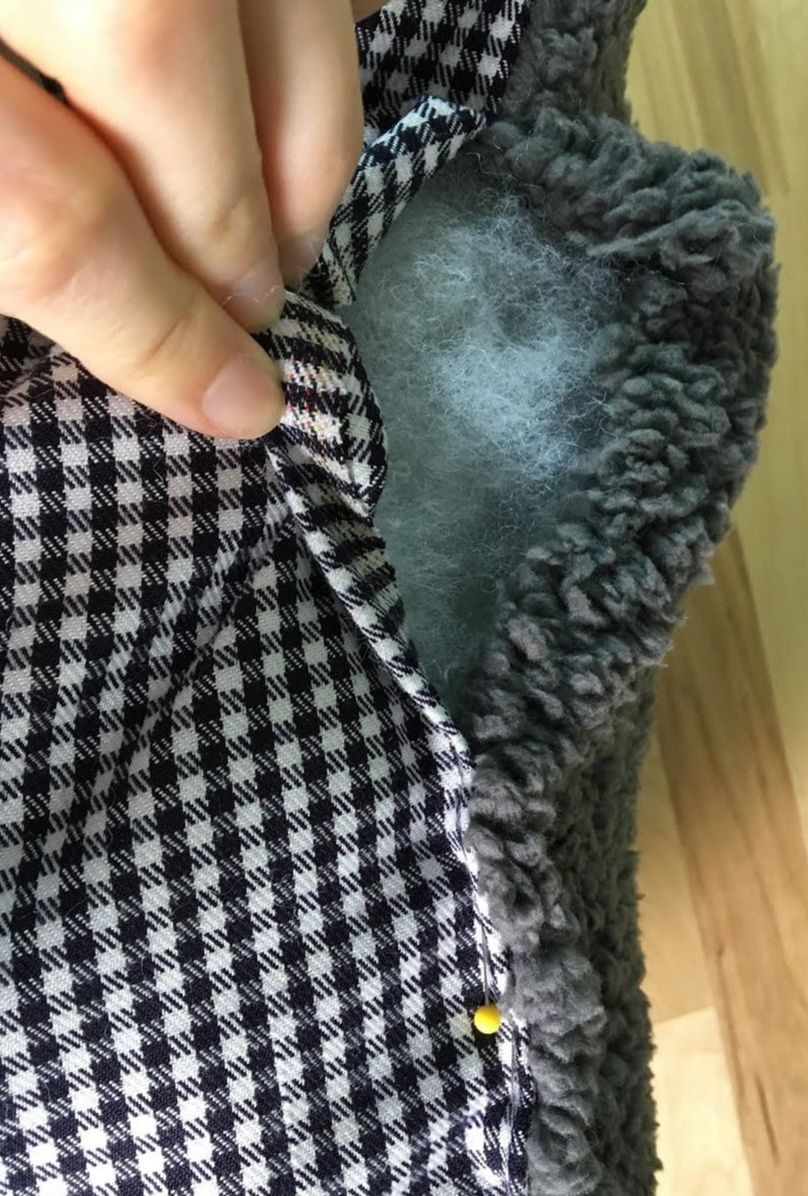
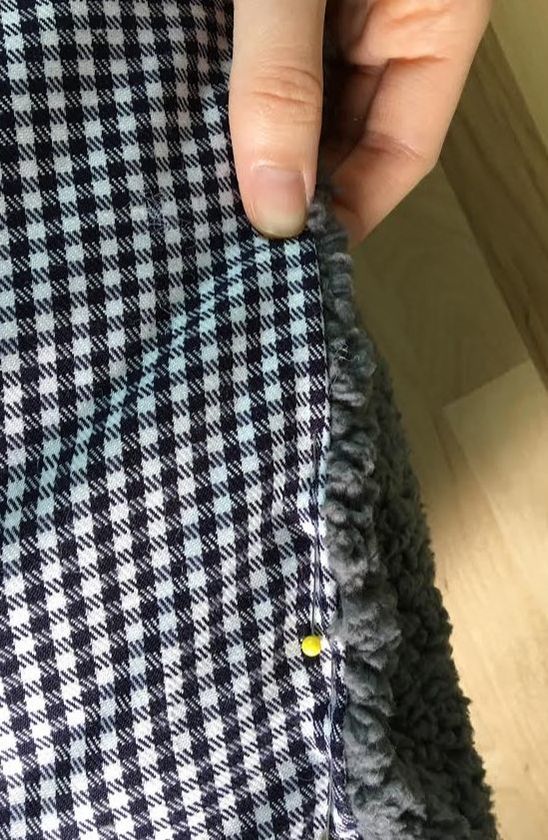
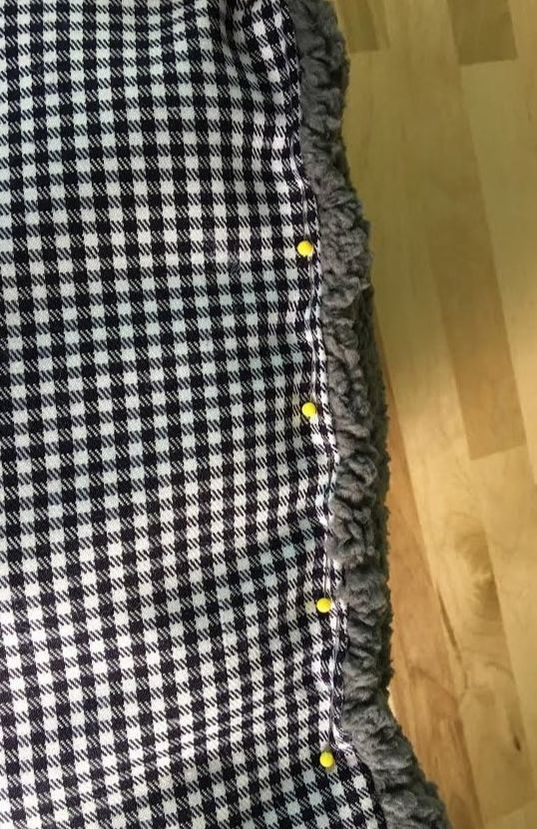
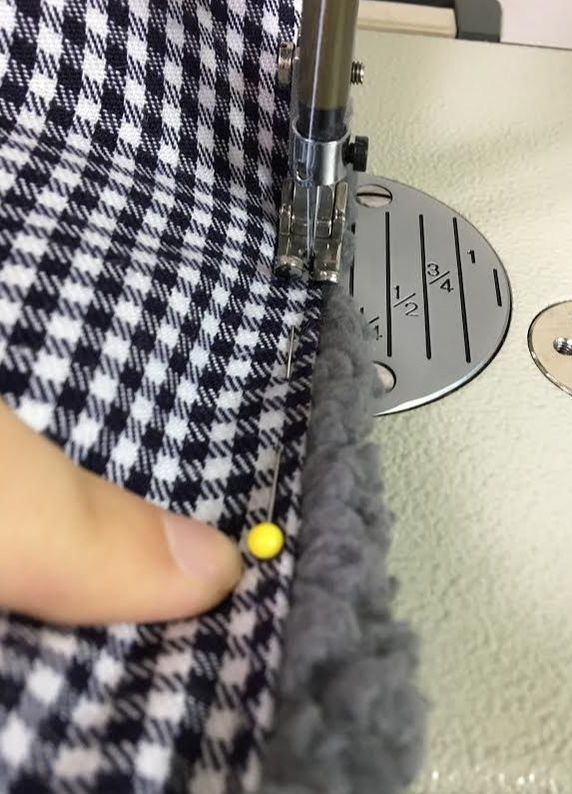
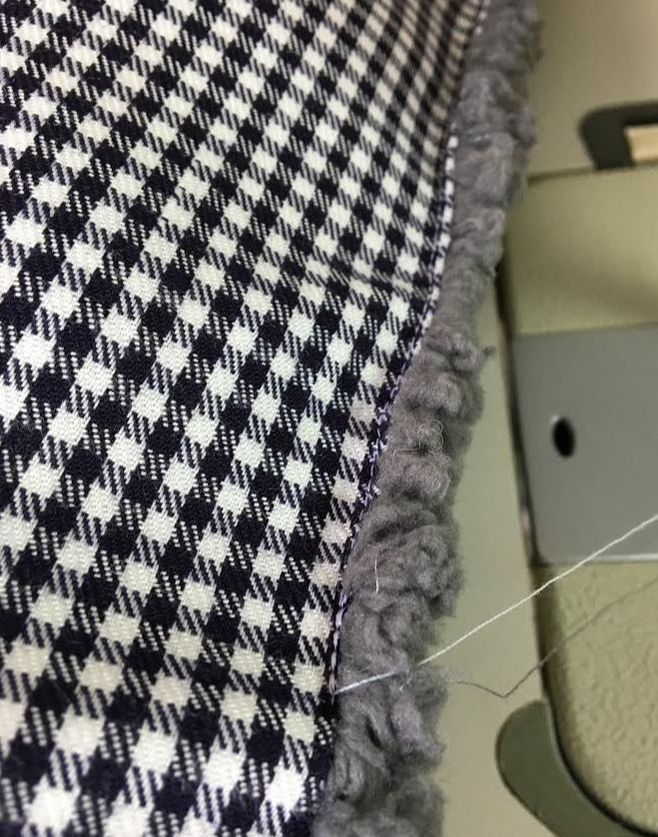
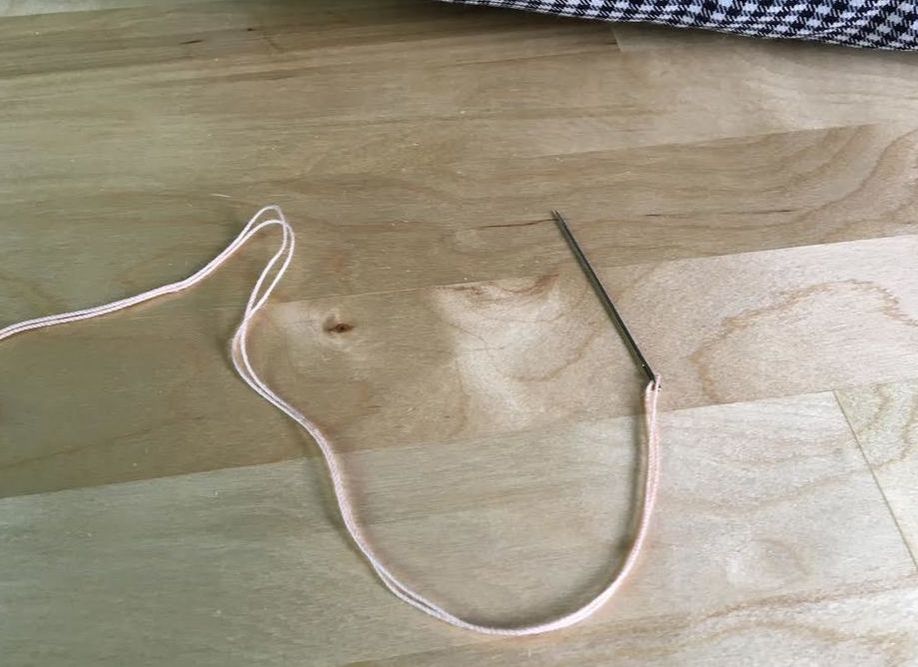
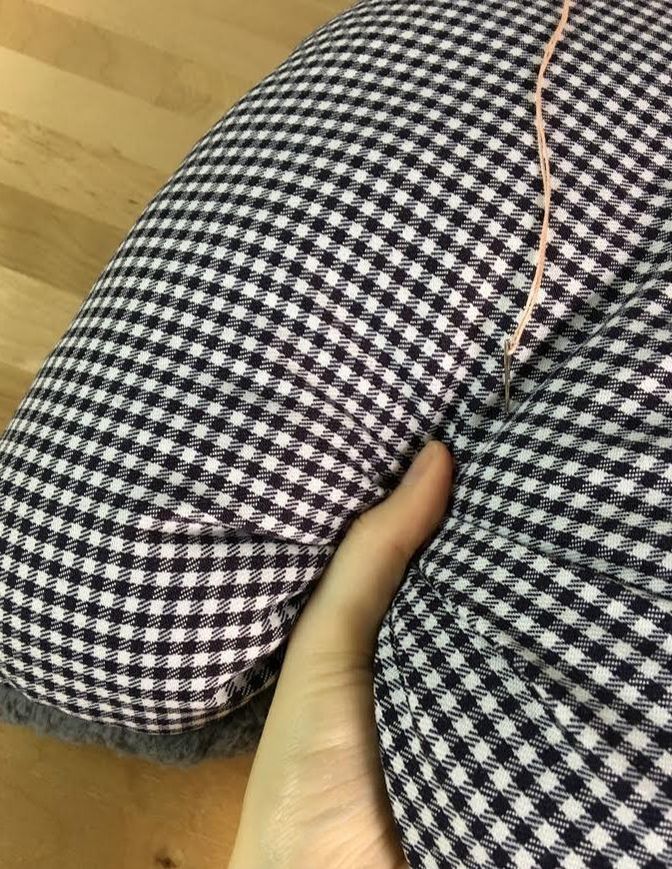
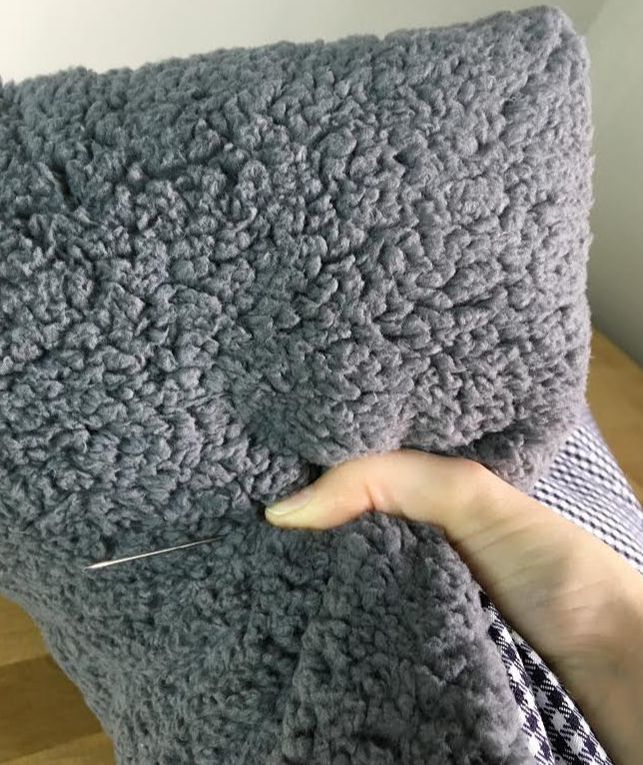
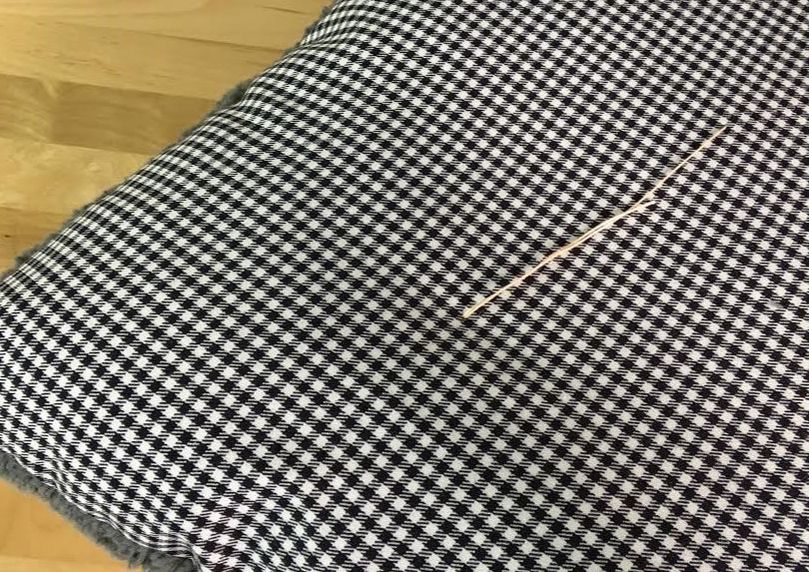
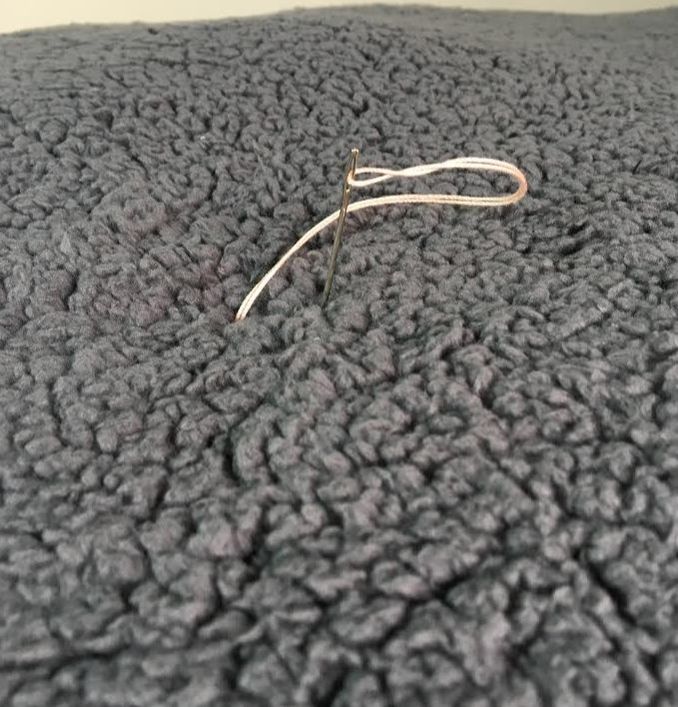
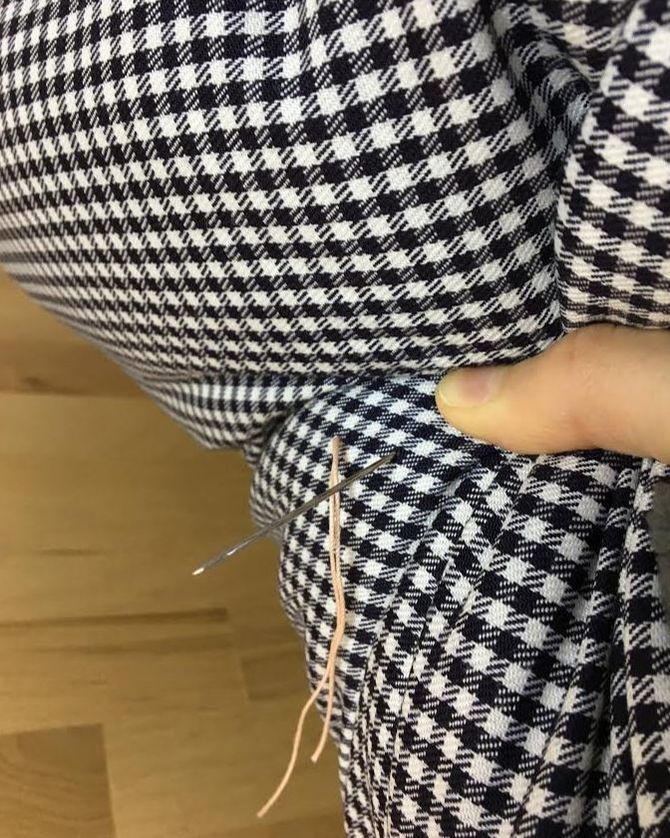
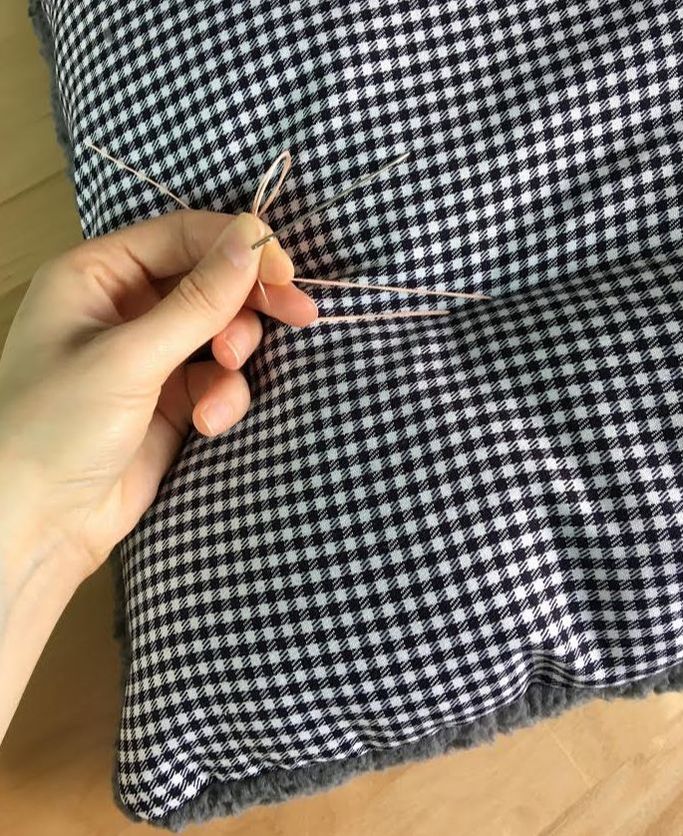
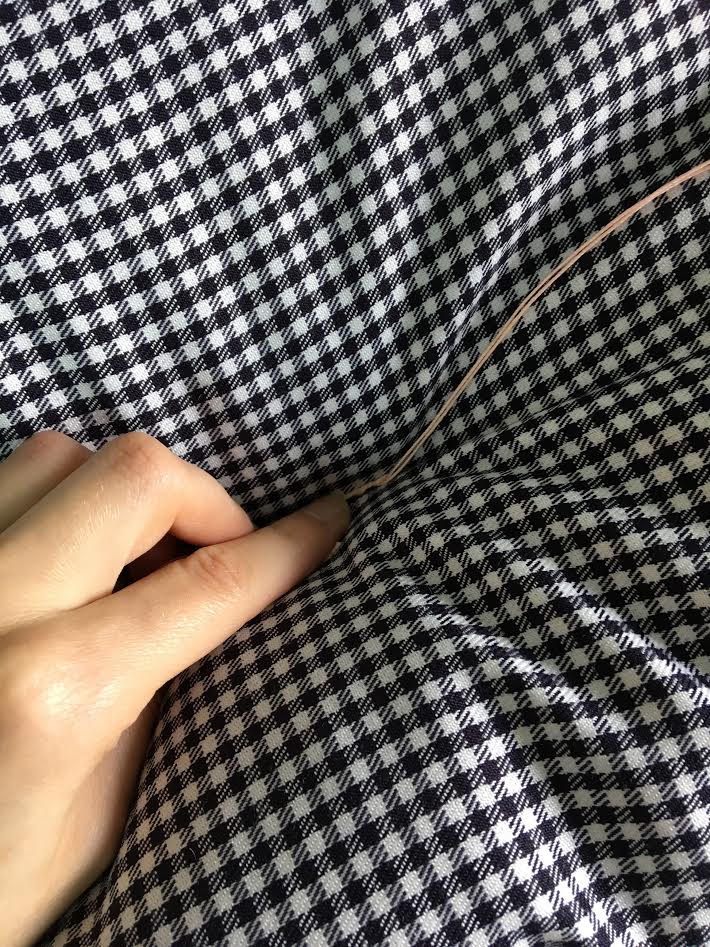
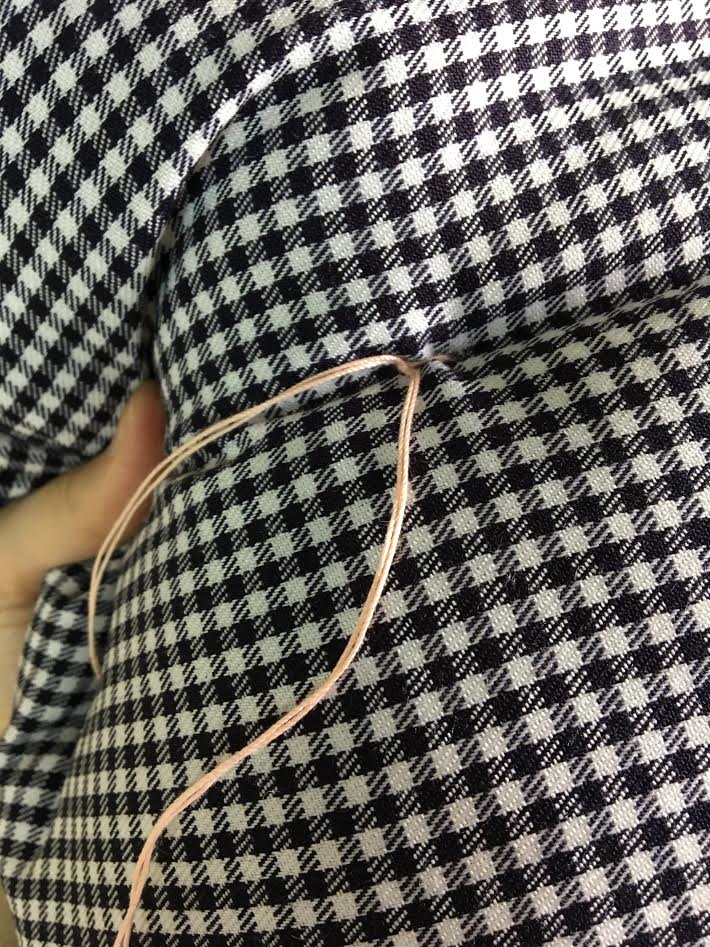
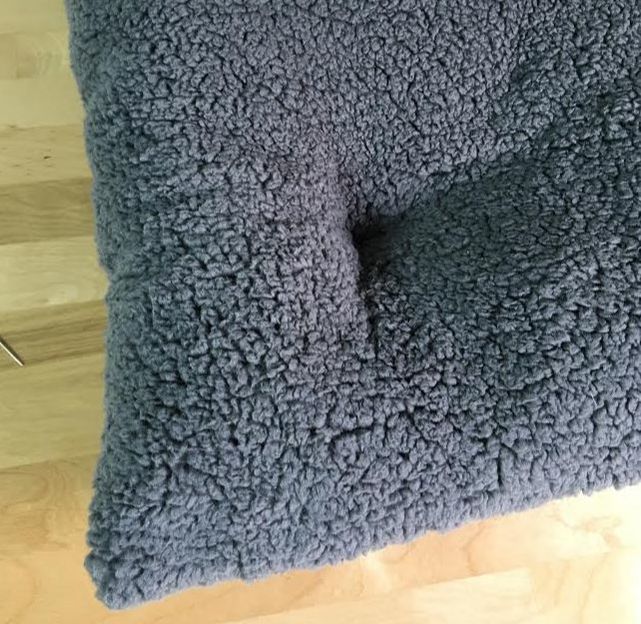
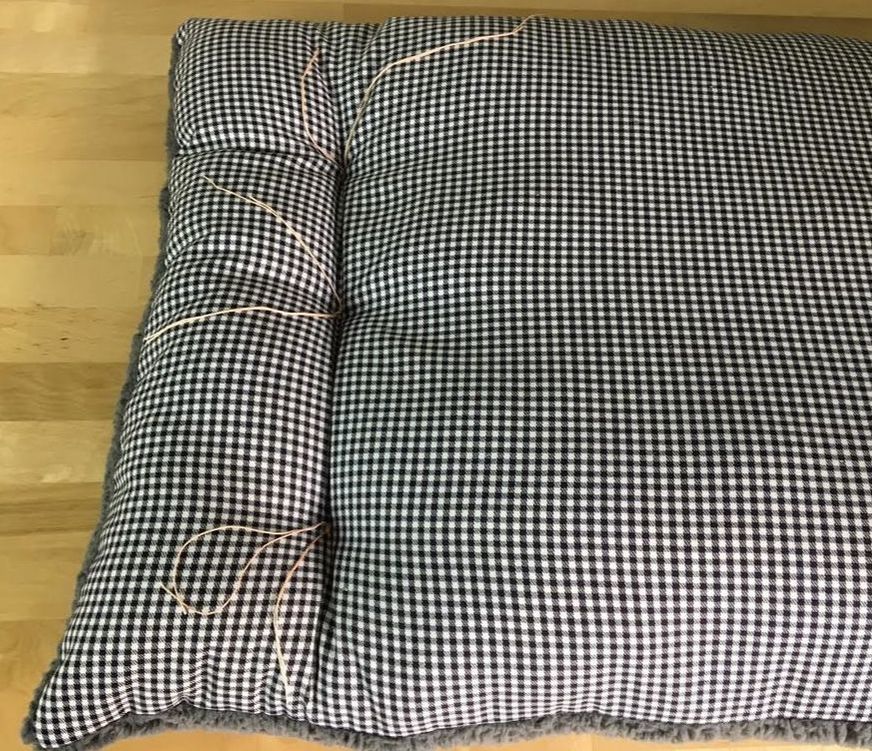
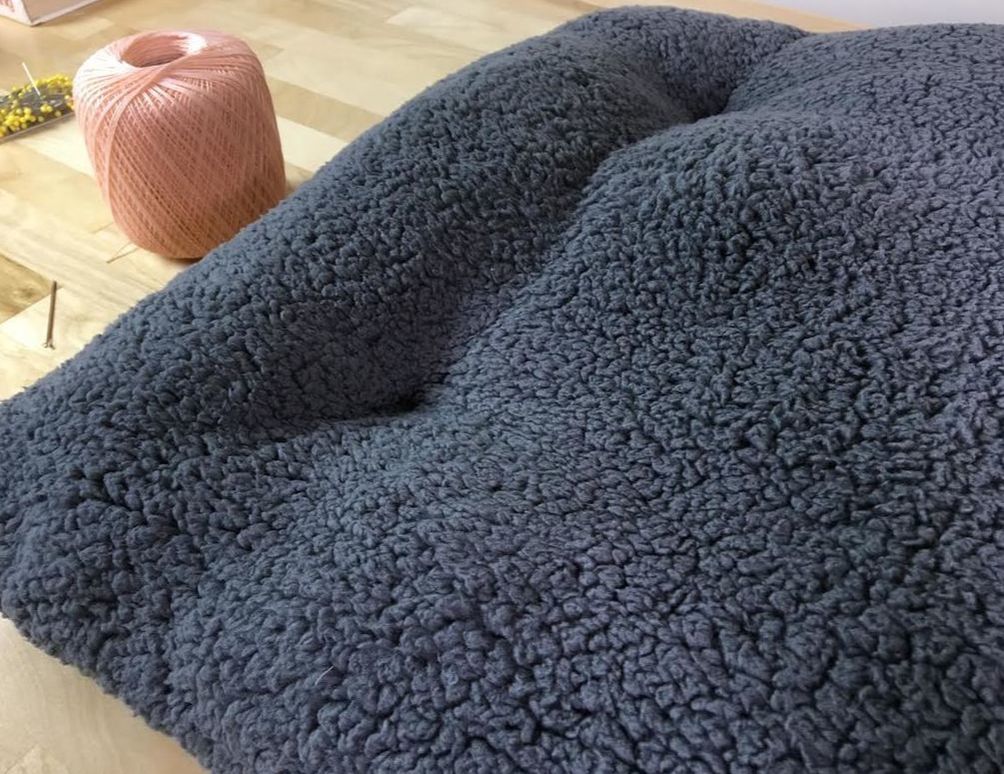
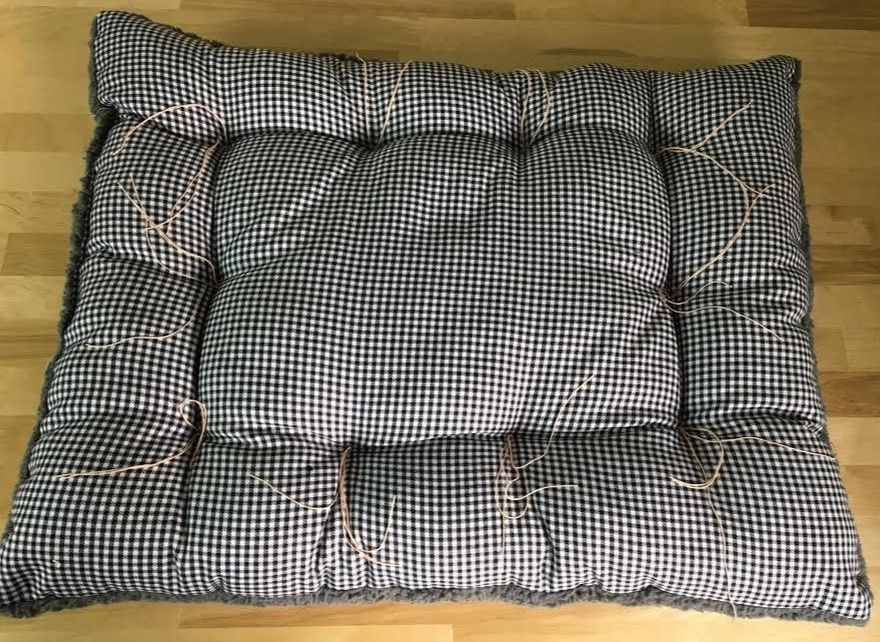
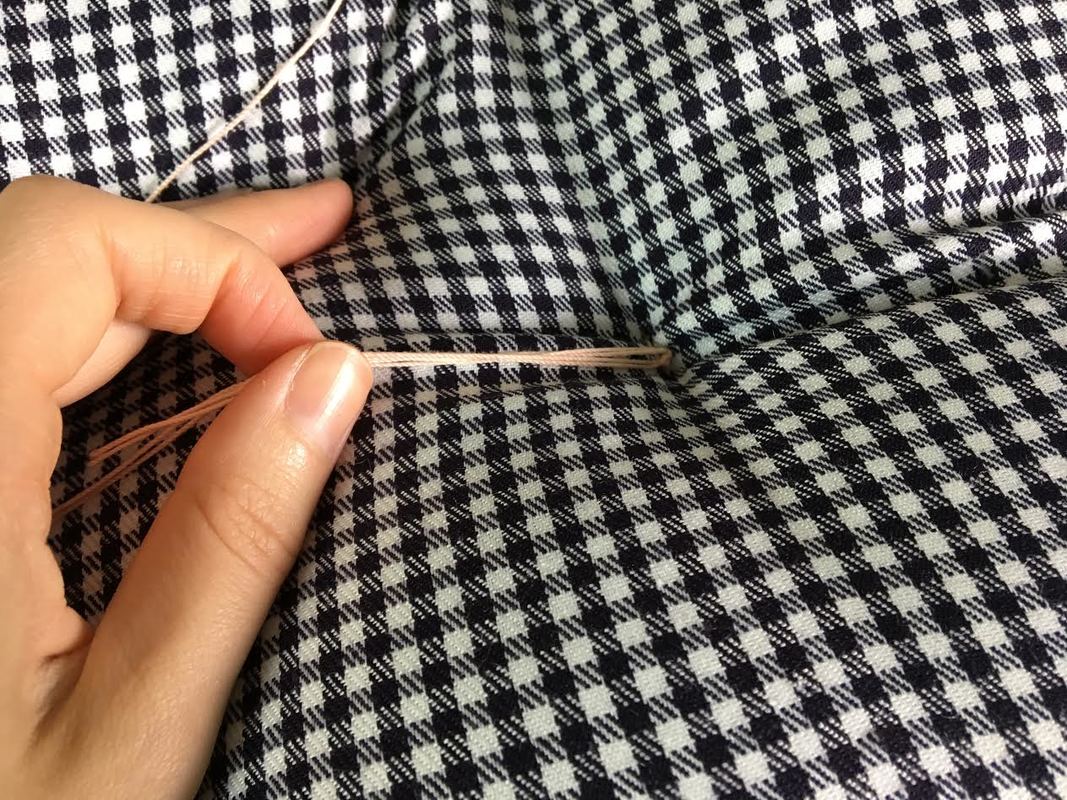
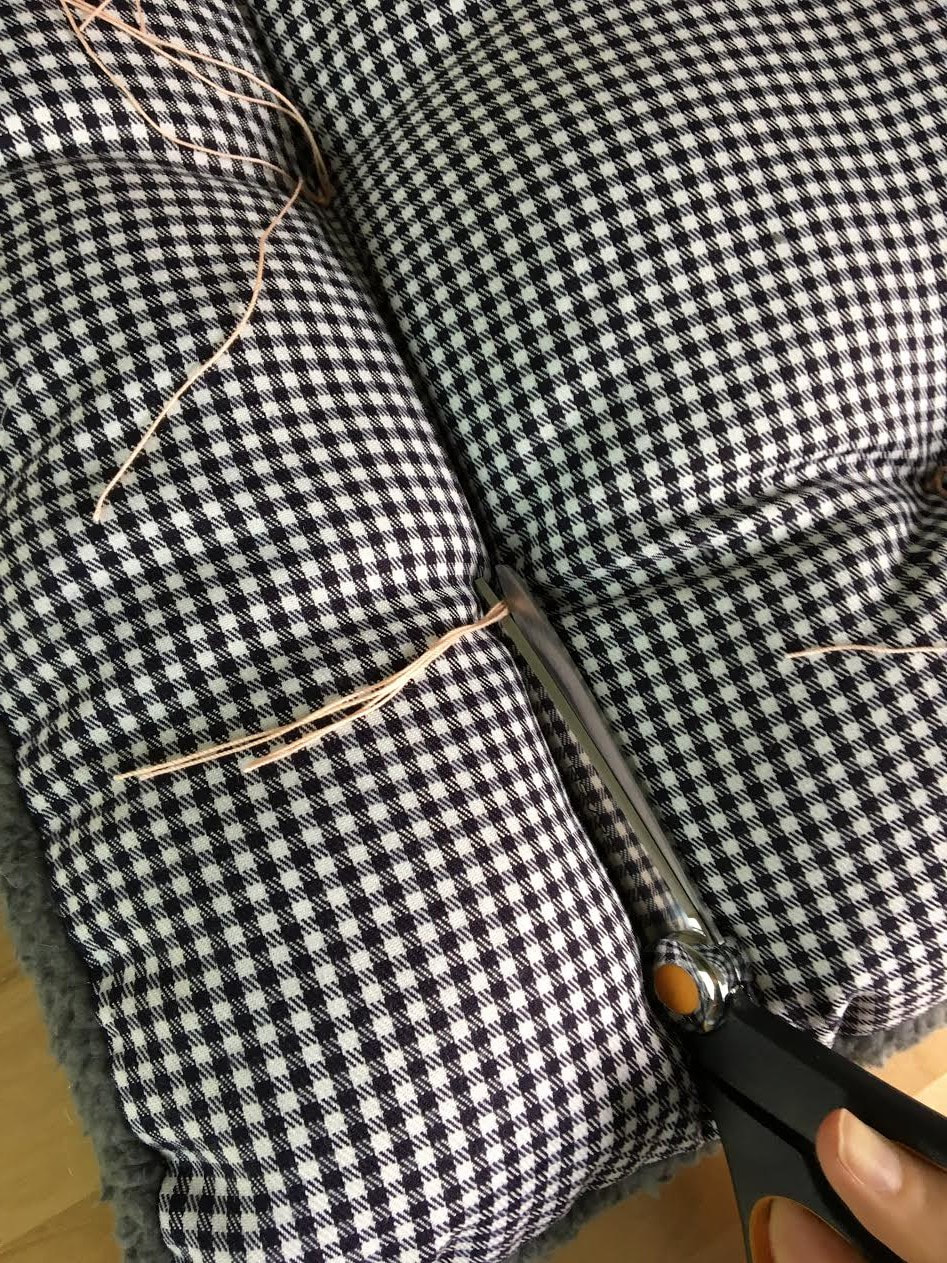
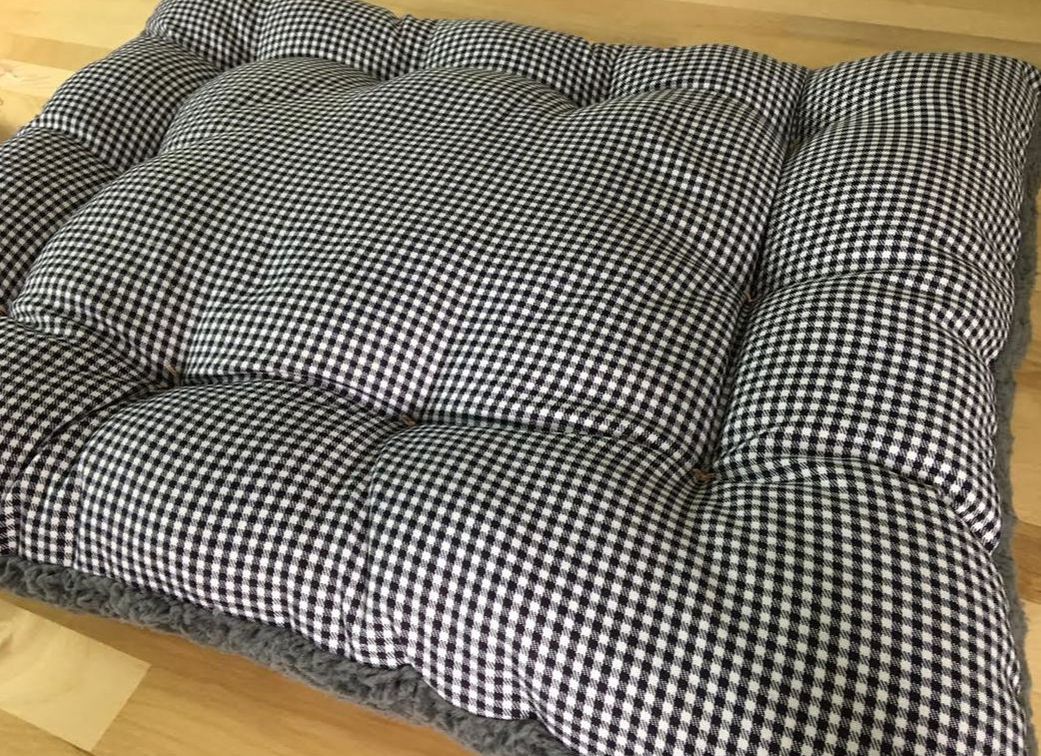
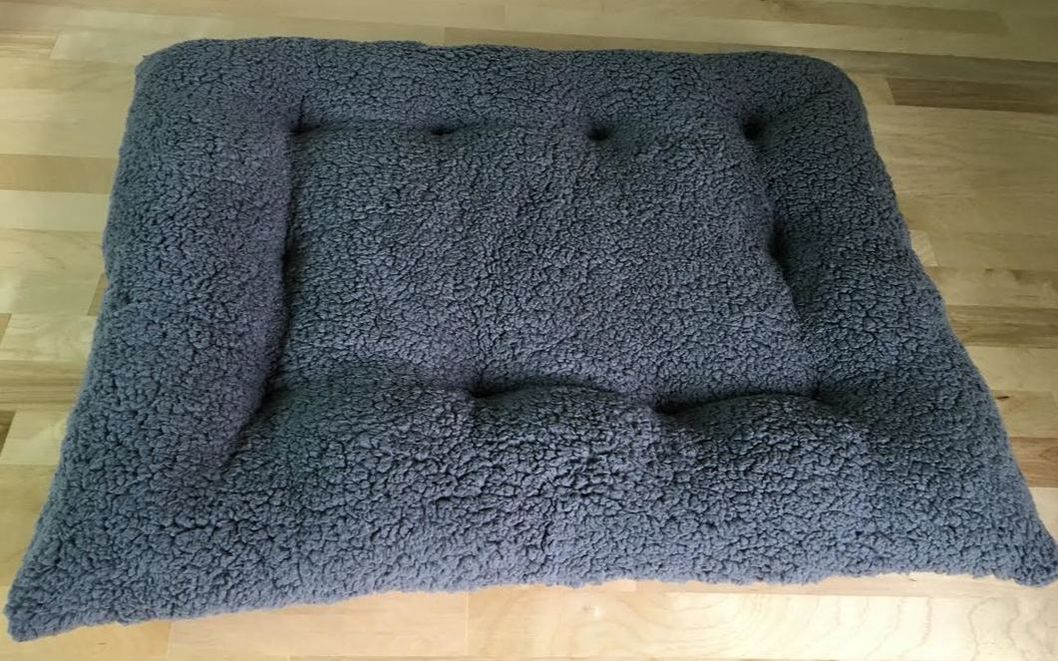
How To Make The Pet Bed Pouch From Scratch 1. Once you have the fabrics for the sleeping surface and underside chosen, cut the thicker fabric (in this case, the fleece fabric) into the desired rectangle (or square) size of the pet bed. In this tutorial, the entire fleece fabric piece was trimmed into a rectangular shape, using the maximum amount of fabric available. Next, place the trimmed rectangular fabric on top of the second uncut fabric layer and align the corners a shown above. If needed, place a few pins through both fabric layers to secure them for the cutting steps to follow. 2. Using the top fabric layer as a guide, cut the second fabric layer underneath, following the rectangular edges accurately. Make sure to keep the top fabric as stable as you can such that the fabric piece underneath is cut according to top layer's rectangular shape, replicating its shape and size accordingly. You should now have two identical rectangular pieces. They will be sewn to one another to form the pouch for the pet bed. 3. Next, align both rectangular cut pieces such that the face sides of both fabric layers are enclosed on the inside, and the wrong sides of the fabric are facing the outside. In this tutorial, the face side of the sleeping surface is the fleece's plush side. 4. Pin the two layers of fabric together along all the edges, inserting the pins perpendicular to the selvage edge. Leave a portion of about 5-10 inches unpinned. This unpinned section will not be stitched until after the fabric pouch is filled with poly fill to complete the pet bed. Once the edges are permanently machine stitched, the inside of this rectangular pouch will be turned outwards through this unpinned portion, exposing the face of the pet bed and enclosing the fabric raw edges on the inside. Make sure all the edges are lined up and matching perfectly as you pin. If you are using fabrics that are slippery and a bit more difficult to work with, it may help to temporarily hand baste the two layers of fabric together to keep them in place during the machine stitching process below. 5. Starting at the bottom end of the section left unpinned (very important!), start stitching the two layers of fabric together at the desired seam allowance. On the topic of seam allowance: You should use a larger seam allowance when working with thick, bulky fabrics to ensure the final seam is sturdy and doesn't come undone with use. Since this particular project uses a large pile fleece, a longer 3/4" seam allowance is used to facilitate the stitching process, as well as ensure a durable final seam. To ensure the corners are sewn at a straight angle, follow these simple steps: 1. When you approach the corner, leave the needle securely inserted through both layers of fabric, and lift the presser foot. 2. Keeping the presser foot in upward position, turn the layers of fabric at 90 degrees such that the other unstitched edge is now aligned to the appropriate seam allowance guide on your sewing machine. 3. Drop the presser foot and continue sewing. 6. Stop stitching when you arrive at the top portion of the section left unpinned. Backstitch to lock the stitch. Backstitching will prevent the stitch from coming undone in the steps to follow. About 5-10 inches should remain unstitched as shown in the image above. Doing so will provide a gap through which to turn the fabric on its face side and eventually, fill the pet bed pouch with polyfill (shown below). 7. Now for the fun part! Pull the face of the fabric through the unstitched portion, thus turning the pet bed pouch on its right side. All you have to do is simply roll the fabric layers through the open gap. The fabric naturally comes out and realigns itself on the face side. Now that the seam allowance (fabric raw edges) and the wrong side of the fabric is enclosed on the inside of the pouch, you're almost ready to start filling the pet bed with poly fill. Almost, but not yet. There is still a little detail to be addressed when sewing self-finished rectangular shapes such as the one in this tutorial: the straight corners. If you look at all the corners at this stage, you'll find that they sort of lack angular definition. That's OK if you are not too concerned with the aesthetic aspect of this. Conventionally, any time you sew layers of fabric together that feature angular edges, you should always make sure the corners are pulled out to form a clean, defined angle. There is a whole section in dressmaking on sewing corners and the various techniques used to clean finish them. You can learn some related techniques in this sewing tutorial: How To Sew Self-Finished Inner and Outer Corners. 8. To achieve a professional look, use a pin to gently bring out each one of the corners. To do so, grab the stitch or the fabric right at the corner point and gently pull forward to expose its angular shape. How To Fill The Pet Bed With Fiber Fill And Reseal Its Edges. It is up to you what fiber fill you choose at the fabric store. If you are trying to save some money, go for the least expensive as there isn't much of a difference between the various brands. I always like to look for the hypoallergenic poly fill made from recyclable materials. Why? Well, remember polyester is a fiber made from a polymer which is also used in the manufacture of plastic. Vise versa, plastic can be melted down and recycled into polyester fibers which in return, are often used to make poly fill. This is a great way to recycle and reduce plastic waist. Choose the amount of fiber fill based on how big your pet bed is. You'll find that the bags are packed pretty tightly so a little bag often goes a long way. 1. Remove a handful of fiber fill from the bag and stuff the pet bed pouch through its unstitched opening as shown above. Filling the pet bed little by little allows for a more evenly spread fill, and provides increased control over the pet bed's final thickness and bounce. Always fill the corner first! Work your way into the farthest corners first, stuffing them with enough fiber fill to achieve a defined structure. 2. Fill the farthermost corners first and work your way towards the open gap. This is good practice for any time you work with fiber fill. Always fill the smaller spaces and farther corners first before moving to the wider areas and finally, towards the unstitched access point. 3. Continue filling the pet bed pouch with fiber fill evenly until you feel you've reached the desired thickness/bounce level. It is really up to you how thick you make the pet bed. However, try not to over stuff it or fill it too densely. Since you'll be adding some tufting to this design, localized stitches will be applied through the entire thickness of the filled bed. To facilitate this process, leave enough wiggle room in the poly fill so that you can insert a large needle all the way through without too much of a struggle. Now that the pet bed pouch is filled, the unstitched gap is ready to be permanently closed. You can do this by hand, using a blind stitch, or by top stitching the edges closed with your sewing machine (shown below). What matters is that whatever sewing technique is used, the closed gap is not noticeable along the edge of the finished pet bed. Before you permanently stitch this access point, make sure you are completely finished filing the pet bed with fiber fill. Keep in mind that once stitched, all access to the inside of the bed container will be lost. 4. To close the access gap, fold its edges in at about 1/2" or (whatever seam allowance you used to sew the two rectangular fabric pieces together). Align the folded edges together such that the raw edges (seam allowance) are enclosed on the inside. Align the fold lines of the top and bottom fabric layers on top of each other and insert a few pins to hold the overlapping fabric folds in place as shown above. 5. Continue pinning the two folds together as shown above until the entire gap is closed. If you are working with fleece fabric that has a tall pile (like the one in this tutorial). Make sure the pins go all the way through the fabric as they can be a bit difficult to spot on the plush side. 6. Starting at the top of the pinned gap, top stitch through all layers of fabric underneath so that both top and bottom edges are securely connected to one another. When working with high-pile plushy fabrics, this task can be a pit tricky since the stitch becomes invisible on the plush side. To ensure that both edges are closed efficiently, stitch farther in from the folded edges. If you are a sewing beginner with minimal experience, you may need to temporarily hand baste these folded layers together prior to machine stitching. Backstitch at the beginning and end of your machine stitch to ensure the gap is securely closed during future use. A Simple Tufting Technique Using Thread And Needle Tufting is perhaps the easiest way to shape the sleeping area of the pet bed. Adding localized tufts along the edge of the pet bed provides a way to change from a pillow look to more of a pet bed look. The tufting method shown below is simple using just a larger wide-eye needle and sturdy crochet thread. The needle should be long and thick enough to go through all the filled layers of the pet bed, while the thread strong enough to be pulled and knotted to form the tufting. The best part about using tufting for shaping a pet bed is you can add as many tuft dimples as you want, wherever dense or more spread out. Tufting that is denser will allow for a more pronounced shape while tufting applied farther apart provide a more subtle, less controlled shape. 1. To start with, thread your wide-eye needle with the durable yarn/thread of your choice, and double it as shown above. In this tutorial, a thick yet smooth crochet yarn was used. Doubling the thread will add extra strength and durability both during the tufting process and later, during use. Always give yourself enough thread length to work with. About 14" of double thread should be enough but of course, it depends on your project, your comfort level and how thick your customized pet bed is. In this tutorial, localized tufting will be applied evenly along the edges of the rectangular pet bed to form a sleeping area indent. 2. Insert the needle through the back (underside) of the pet bed at the location where you'd like the tuft to be placed. Carefully pull the needle all the way trough to the face side of the pet bed as shown in the image above. Leave enough thread length on the underside of the pet bed (shown above) for knotting the tuft in the steps to follow. 3. With one hand, hold on the open end of the thread on the underside to prevent it from sliding out. With your other hand, insert the needle at about 1" away from the initial insertion through the face side (plush side) and back through to the underside of the pet bed. The needle should come out at about 1" away from hanging thread as shown above. Think of this step as applying a 1 inch long stitch through all the filled layers of the pet bed. 4. Now that you have both ends of the thread on the underside of the pet bed, holding securely, pull them towards you with a bit of force. It is at this stage that you'll find out if the thread/yarn used is strong enough to withstand the tufting application. 5. Knot the two loose ends of the double thread together as tightly as you can. You may need to use your finger to hold the first knot in place and quickly apply the second knot without loosening the first one. This will definitely take a few tries to master but once you've got it down, you'll be on a roll! The knot should correspond to the underside of the pet bed (in this case, the printed side) and be tightly knotted to form tufting, or a dimple, on both front and back sides of the pet bed. On the face of the pet bed, you should not be able to see the thread at all. It is conveniently buried in the plushy surface of the fleece fabric, and hidden in the dimple structure of the tufting. 6. Use the stitching method described above to apply additional tufting along the edge of the pet bed. Keep the tufts evenly distributed and aligned in a straight line. On the face side, you'll start to see the sleeping surface of the pet bed come alive. Tufting applied along the edges flattens the inner surface of the bed, while also making the edges more raised and pronounced. This edge tufting technique is great for creating a subtle border. 7. Repeat the stitch tufting process along the edge of the pet bed as desired. It is really up to you how dense you want the tufting. In this tutorial, the dimples are applied just enough to form a good sleeping surface indentation. 8. Once finished, finalize the pet bed by cutting all the excess loose threads/yarn hanging from the tufting knots. Cut at about 1/4" away from the knot itself. It is very important that you avoid cutting too close to the knot or you risk accidentally cutting through it or compromising its durability over time. The pet bed is now complete! The awesome thing about this particular design is its reversibility, allowing for either side to be the face as desired. Of course, the plush side is the softest and most comfortable- Needles to say, that will make the best sleeping surface for your pet. Follow the steps in this tutorial to customize your own pet bed by choosing desired size, fabric combinations and tufting density and location. It is simple to make and truly rewarding when our furry family members make it a favorite.
1 Comment
4/27/2023 08:57:34 am
A good night’s sleep can actually make your dog smarter. Rest is the best way to improve your dog’s memory.
Reply
Leave a Reply. |
The Blog:A journey into our design process, sewing tutorials, fashion tips, and all the inspiring people and things we love. Doina AlexeiDesigner by trade and dressmaker at heart. I spend most of my days obsessing over new fabrics and daydreaming new ideas. Sadie
Executive Assistant & Client Relations Manager Archives
November 2019
Categories
All
|
-
Sewing Tutorials
-
Basics
>
- Aligning Pattern Grainlines To Fabric
- Preparing Fabrics For Sewing
- Pinning Sewing Patterns To Fabric
- Placing Sewing Patterns On Fabric For Cutting
- Rotary Cutters or Fabric Scissors?
- Cutting The Sewing Patterns
- What Are Notches And How To Use Them In The Sewing Process
- Transferring Notches From Pattern To Fabric
- Transferring Seamlines to Fabric
- Staystitching
- Backstitching: A Complete Guide
- Hand Basting: A Complete Guide
- Sewing Continuous Bias Binding
- Darts >
-
Sewing Seams
>
- The Basics Of Seams And Seam Allowance
- How To Sew A Straight Seam
- Sewing Curved Seams
- Sewing Corner Seams
- Trimming And Grading Seam Excess
- Notching/Clipping Seam Allowance for Tension Release
- Sewing Topstitched Seams
- Sewing Corded Seams
- Sewing A Slot Seam
- Sewing A Gathered Seam
- Sewing Bias Seams
- Sewing Seams With Ease
- Sewing Seams With Crossing Seamlines
- Sewing Unlike Fabric Seams
- How To Iron Seams: Ironing Tools And Conventions
- Sewing With Knit Fabrics
- Understanding Stitch Length And Tension
- Sewing Unique Fabric Seams
-
Seam Finishes
>
- Seam Finishing Techniques - Overview
- Applying A Pinked Seam Finish
- Applying A Bias Bound Seam Finish
- Serging And Zigzag Seam Finishes
- Sewing A Self-Bound Seam Finish
- Sewing A French Seam Finish
- Sewing A Hong Kong Seam Finish
- Sewing A Mock French Seam Finish
- Sewing A Turned-and-Stitched Seam Finish
- Sewing Overcast Hand-Applied Seam Finishes
- Sewing A Flat Felled Seam
- Sewing A Hairline Seam Finish
-
Hem Finishes
>
- Garment Hem Finishes: Overview
- Sewing A Double Fold Hem Finish
- Sewing A Single Fold Hem Finish
- Sewing Bound Hem Finishes
- Sewing An Exposed Double Layer Bound Hem
- Sewing A Folded-Up Bound Hem with Pre-folded Binding
- Sewing A Hong Kong Hem Finish
- Sewing A Band Hem Finish
- Sewing A Bias Faced Hem Finish
- Sewing A Twill Tape Hem Finish
- Sewing A Rolled Hem Finish
- Sewing A Shaped Hem Facing
- Using Fusible Hem Tape And Webbing
- Finishing A Lace Fabric Hem
- Finishing A Leather Hem
- Sewing Faced Hem Corners
- How To Finish Lining At The Hem
- Finishing Fabric Corners by Mitering >
- Interfacing A Hemline: Lined And Unlined Examples
-
Sewing Pockets
>
- Curved Patch Pocket With Flap
- Unlined Square Patch Pockets
- Lined Patch Pockets: Two Ways
- Extension On-Seam Pockets
- Separate On-Seam Pocket
- Front Hip Pockets
- Bound Double Welt Pocket
- Double Welt Pocket With Flap
- Self-Welt Pocket (Using Single Fabric Layer)
- Slanted Welt Pocket (Hand-Stitched)
- Faced Slash Pockets: Overview >
-
Sewing Zippers
>
- Sewing Zippers: General Information
- Sewing A Centered Zipper
- Sewing A Lapped Zipper
- Sewing An Invisible Zipper
- Sewing A Fly Front Zipper
- Sewing A Closed-End Exposed Zipper (No Seam)
- Sewing An Exposed Separating Zipper
- Sewing Hand Stitched Zipper Applications
- Sewing A Zipper Underlay
- Sewing A Placket-Enclosed Separating Zipper
- Sleeveless Finishes >
-
Neckline Finishes
>
- Sewing A Neck Shaped Facing
- Sewing An All-In-One Neck Facing
- Neck And Garment Opening Combination Facings >
- Sewing A Bias Faced Neckline Finish
- Sewing A Band Neckline Finish
- Bound Neckline Finishes: Overview >
- Sewing A Semi-Stretch Strip Band Neckline
- Ribbed Neck Band And Classic Turtleneck
- Decorative Neckline Finishes >
- Finishing Facing Edges >
-
Extras
>
- A Complete Guide on Interfacing
- Sewing Bound Spaghetti Straps
- Sewing Spaghetti Straps To A Faced Neckline
- Sewing Ruffles: Overview
- Patterning And Sewing A Circle Ruffle
- Sewing A Gathered Heading Ruffle
- Sewing Double Layer Gathered Ruffles
- Sewing A Gathered Ruffle Into A Seam
- Sewing A Gathered Ruffle To A Fabric Edge
- Sewing A Fabric Surface Slit
- Sewing A Slit Seam
- Hand-Applied Straight Stitches
- Hand-Applied Blind Stitches
- Hand-Applied Overedge Stitches
- Hand-Applied Tack Stitches
- Hand-Applied Decorative Stitches
-
Basics
>
- Custom Bridal
- Custom Apparel
- About
- Blog
Services |
Company |
|



 RSS Feed

