|
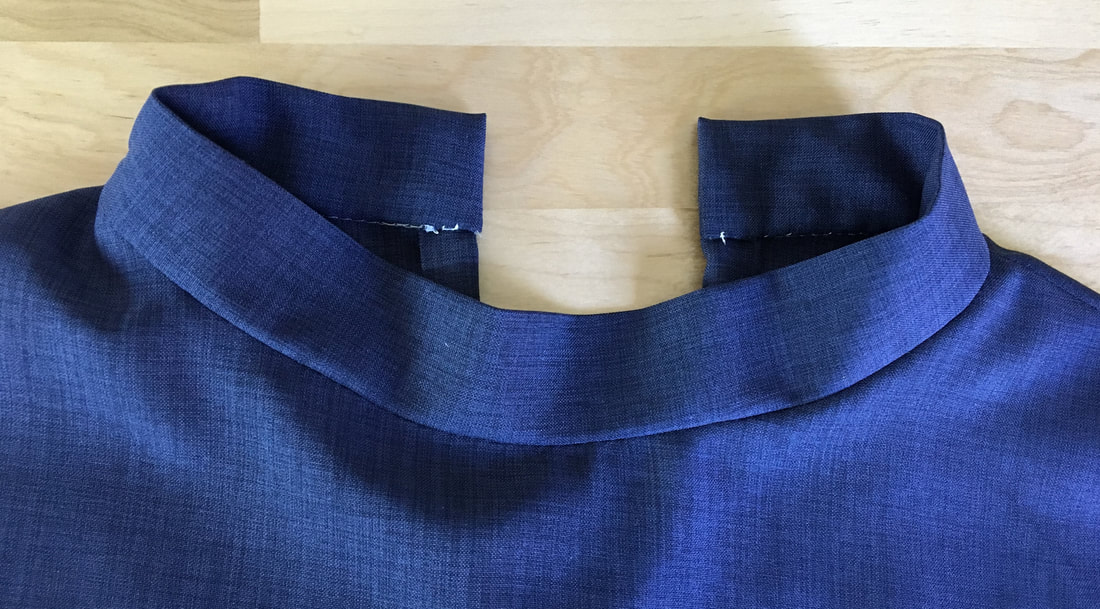
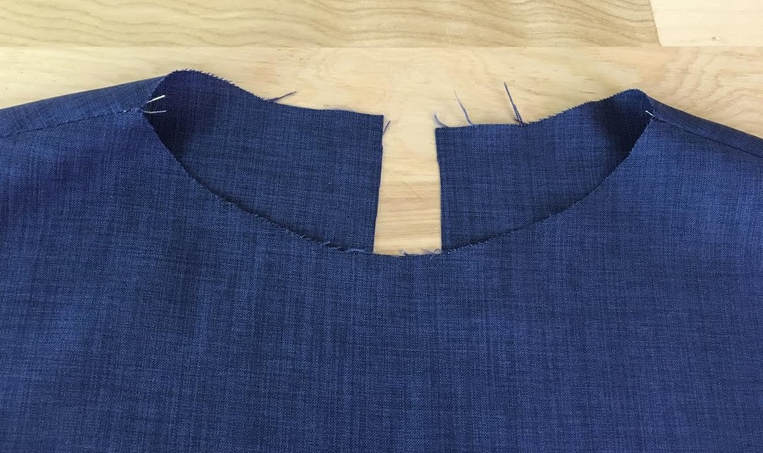
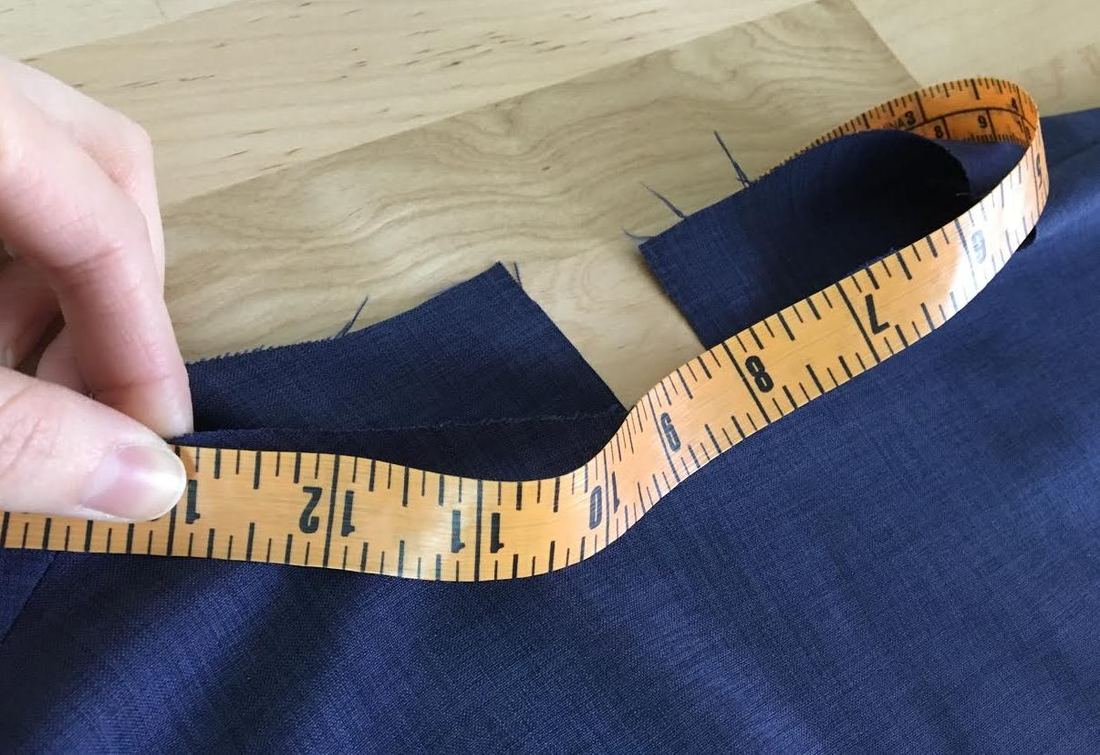
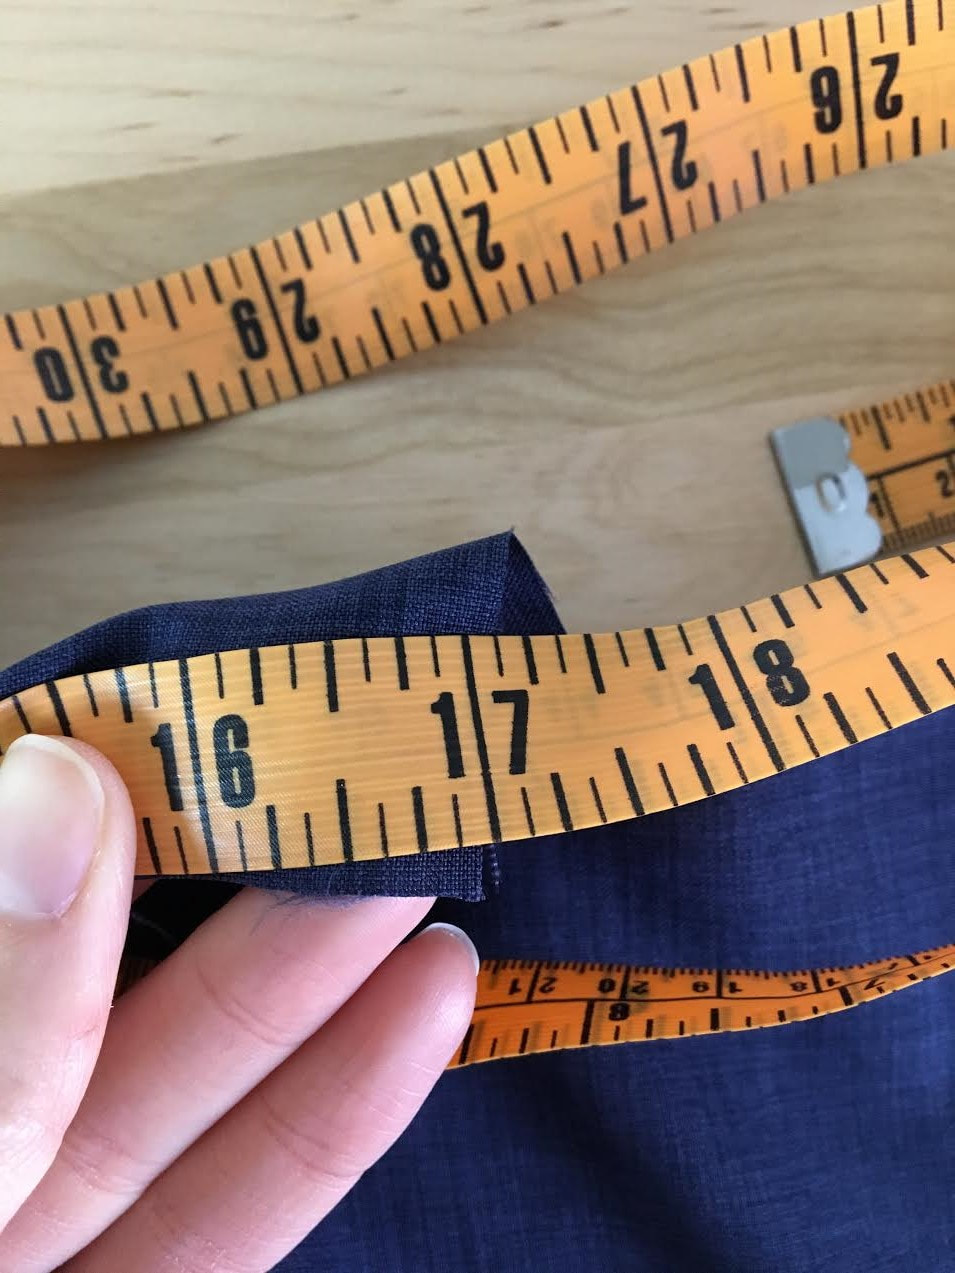
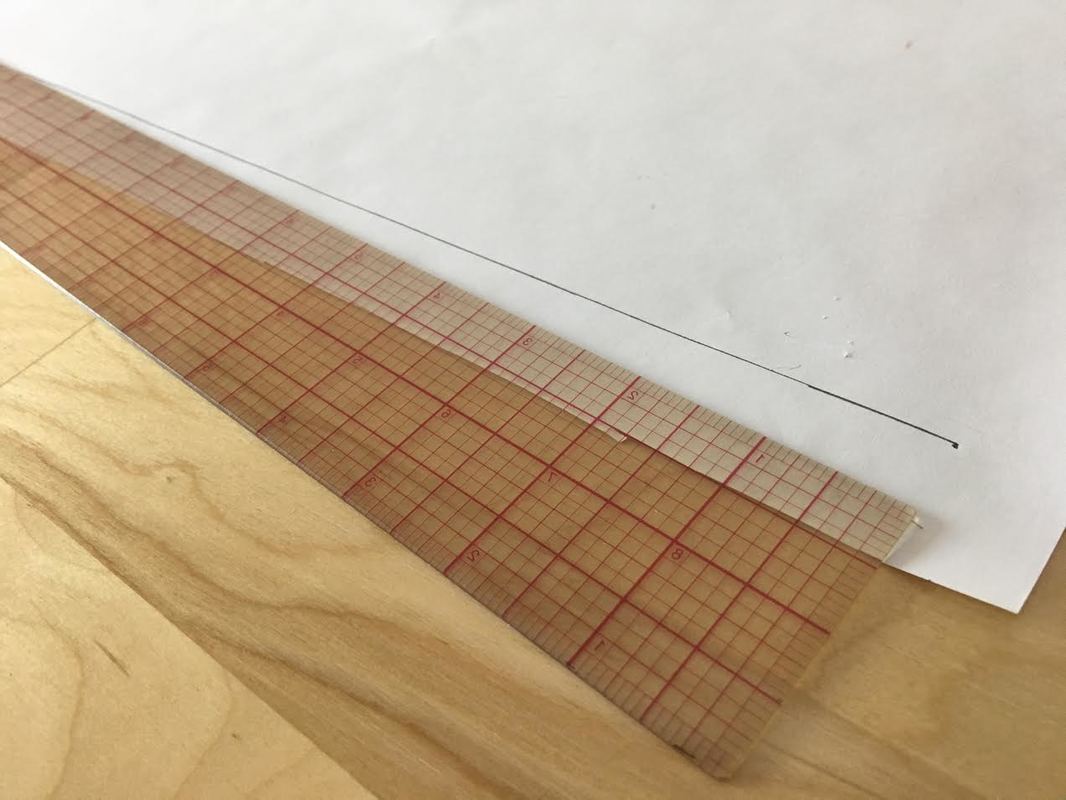
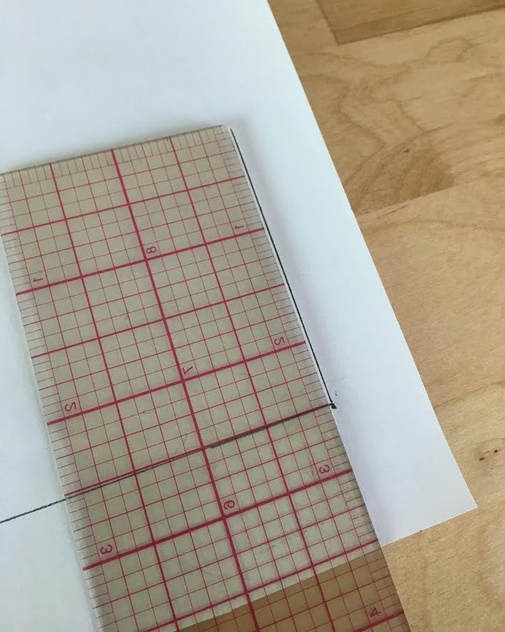
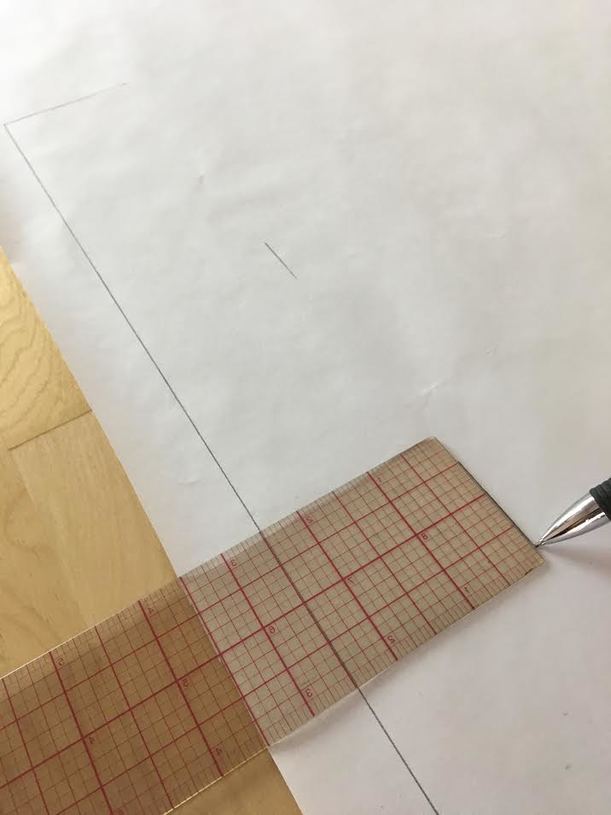
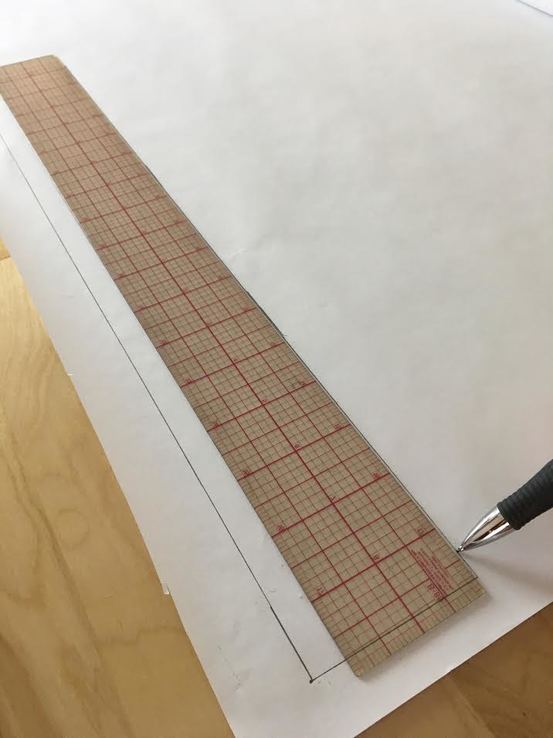
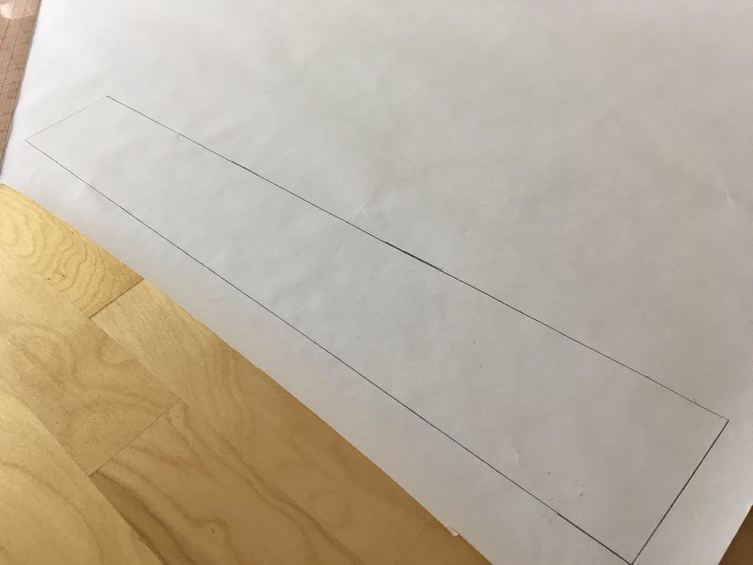
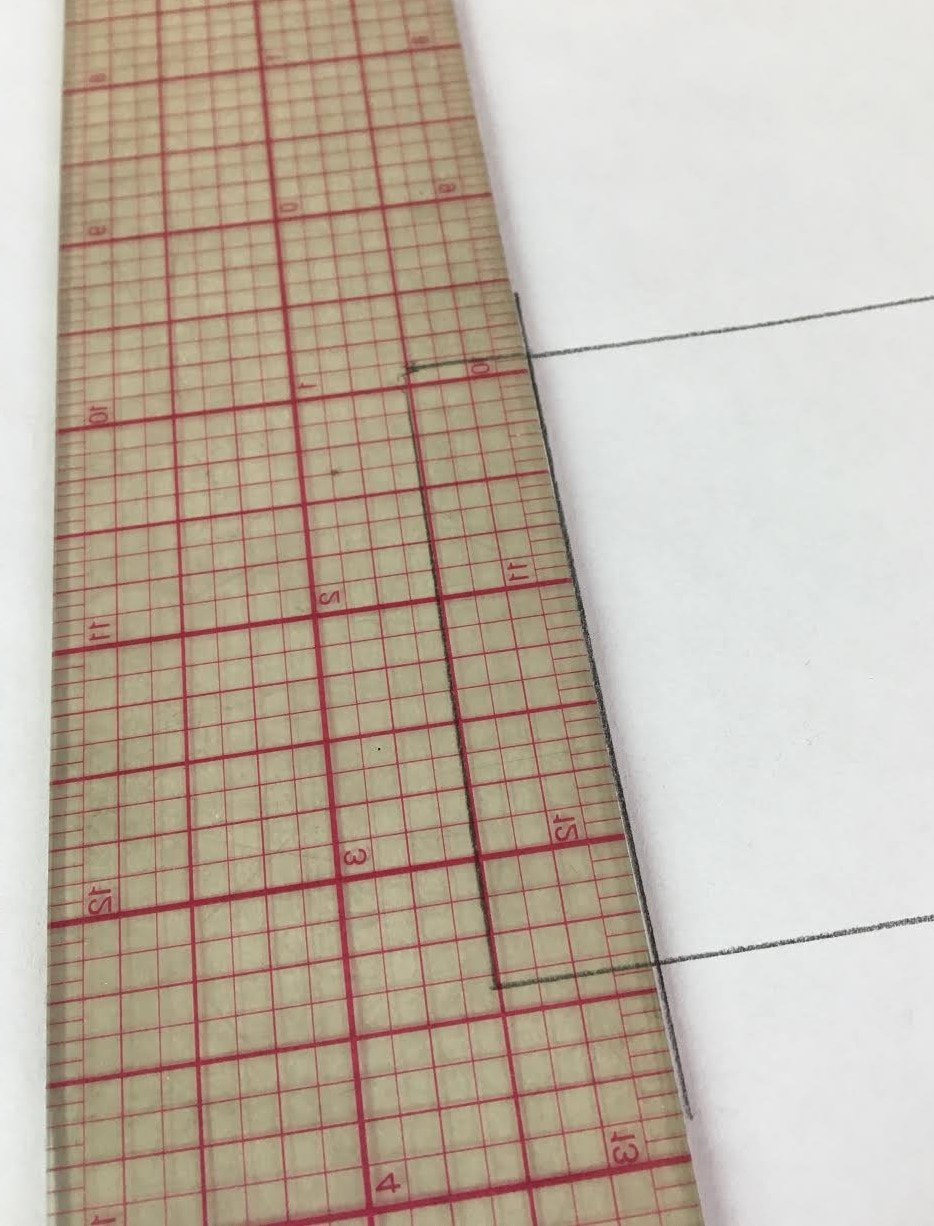
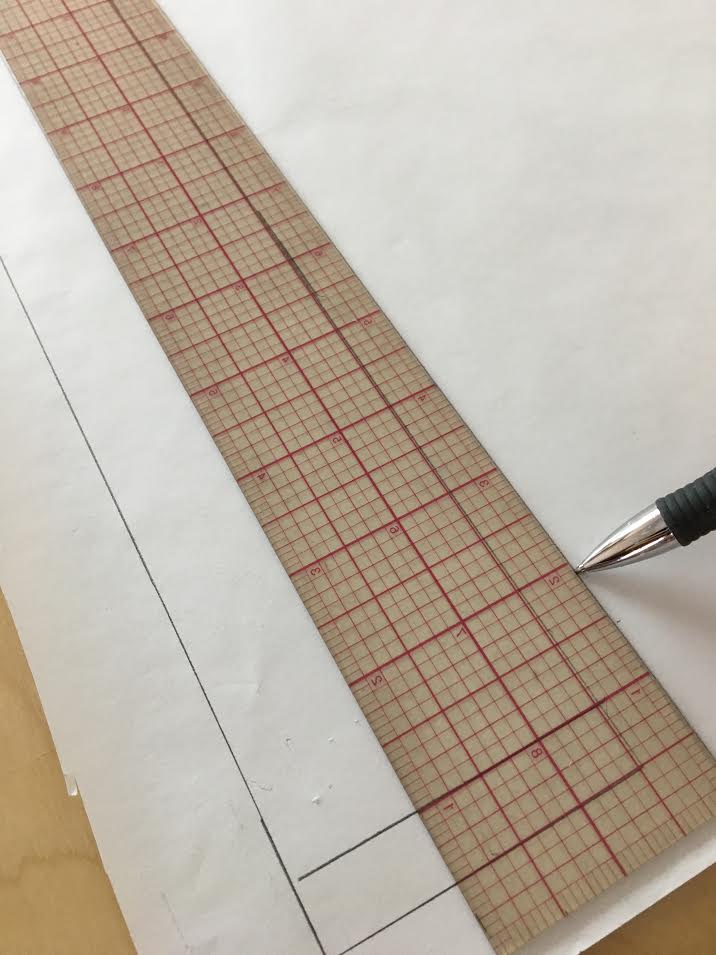
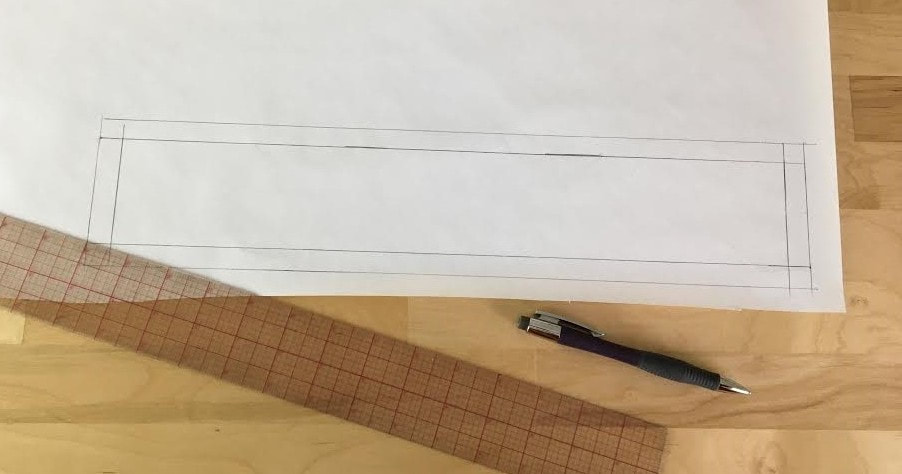
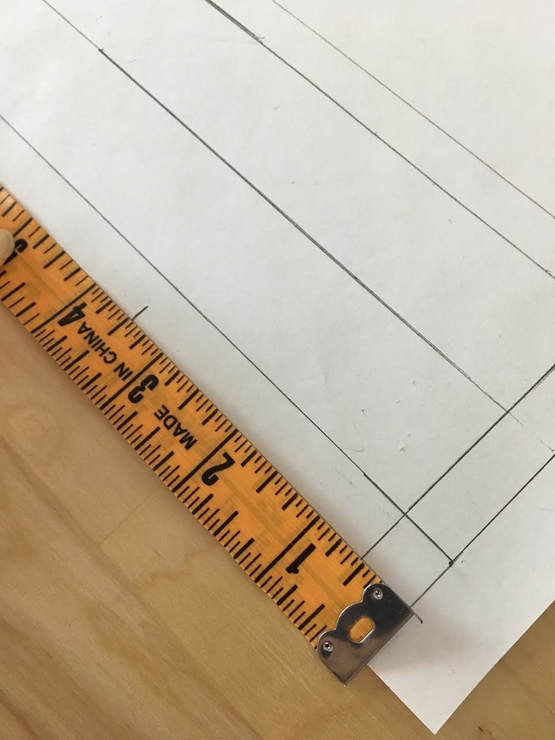
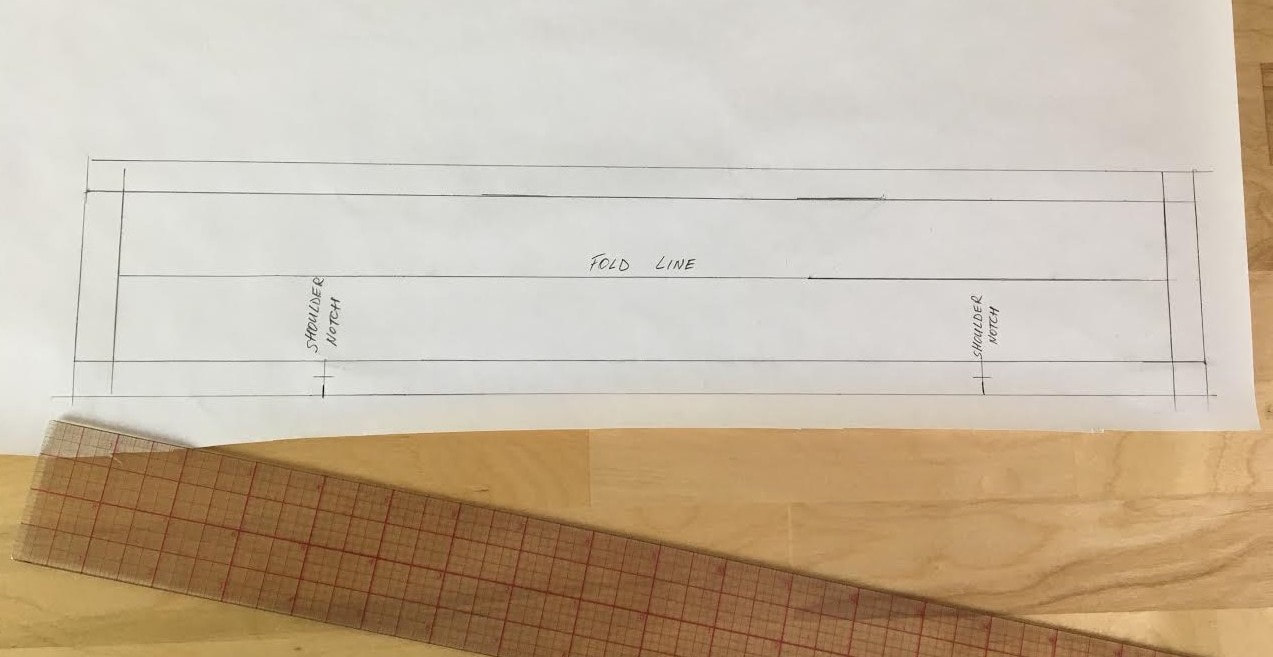
Standing or stand collars will never go out of style. A standing collar's simplicity and clean lines can be applied to just about any style and any garment whether it is a woven or a knit. As a sewing beginner (if you are one), you'll certainly strive to learn how to sew a few basic collar applications- A stand collar is one of them. It is simple to pattern, sew and understand construction-wise, and can be used in combination with other styles of collars such as rolled and classic shirt collars. As a beginner, a simple standing collar is a great way to learn the basic techniques applied to sewing all sorts of collars from simple to more complex. Before getting to the sewing steps, it is actually quite helpful to learn how to make a pattern for a basic stand collar. Drafting a stand collar pattern is quite simple and it helps you understand the neckline area better also allowing you the ability to control the design, size and shape of the standing collar. The best way to get started is with the most basic of standing collars- a rectangular one piece collar that gets folded onto itself to create the collars backing. As you'll see from the steps to follow, making the pattern from scratch is actually quite simple if you have the neckline measurements at hand. In this case, there is a center back seam at the garment's back. In order to sew a stand collar with a slit, a seam (whether at the center back or center front) is required. 1. Starting on one edge of the center back seam, measure along the curve of the neckline carefully using measuring tape as shown. Measure around the neckline until you reach the other edge of the center back seam as shown. Note this measurement. In this tutorial the total neckline measurement is 17". Keep in mind that this also includes the center back seam allowance which is 1/2" on both center back edge. What this means is that the actual length of the finished collar (when all the seam allowance is clean finished) is actually 16". If this sounds a bit confusing, don't worry! Everything will become much clearer as you move down the steps below. NOTE: It is so important in pattern-making that you have the right tools. You don't need to spend a lot on complicated french curves and rulers because truly, only a few basic tools will be used for almost all pattern drafting steps. Just invest in the 18" clear plastic ruler shown above, which you can find at almost all art and craft stores, and a simple french curve. Learn more about the basic tools you need here: Want To Learn How to Sew and Make Your Own Patterns? These Are The Basic Supplies You Need To Have. 2. Using the ruler, draw a straight line measuring the entire length of the neckline (from step 1 above). In this tutorial, the total neckline measurement including center back seam allowance is 17 inches. 3. Decide on the width of the final stand collar and double this measurement. For example, in this tutorial, the width of the final stand collar is 1 1/4". We've taken this measurement and doubled it to allow the collar to fold onto itself. When doubled, the final measurement for the width of the rectangular pattern becomes 2.5" At both edges of the horizontal line you drew, mark a perpendicular vertical line measuring 2.5". Repeat this step on both ends of the 17" horizontal line. As you can see form the image above, the clear plastic ruler that is broken down into 1/16" increments, allows you to place the ruler such that you achieve a perfectly perpendicular angle at the correct measurement (2.5") from the bottom. 4. Measure along the entire horizontal line up 2.5" as shown and mark with dash lines. 5. Using the ruler, connect the dash lines to form a rectangle. This rectangular shape, when folded over, will serve as the stand collar- but we're not done yet! We still have to add seam allowance.
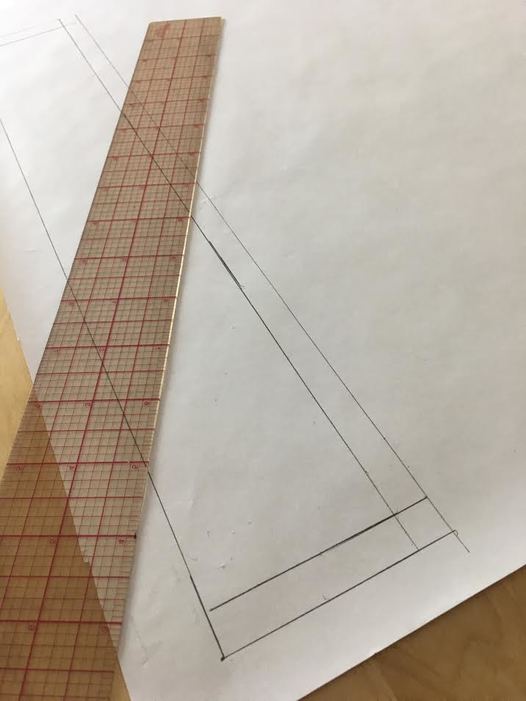
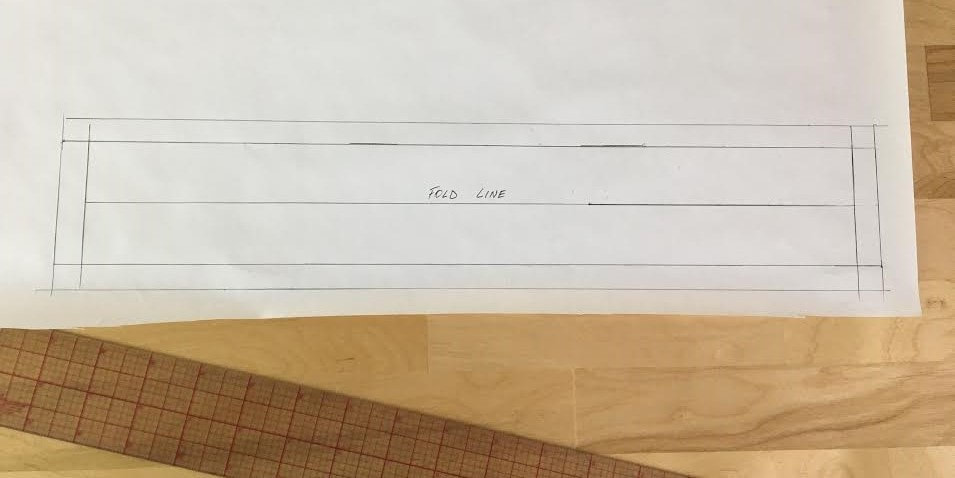
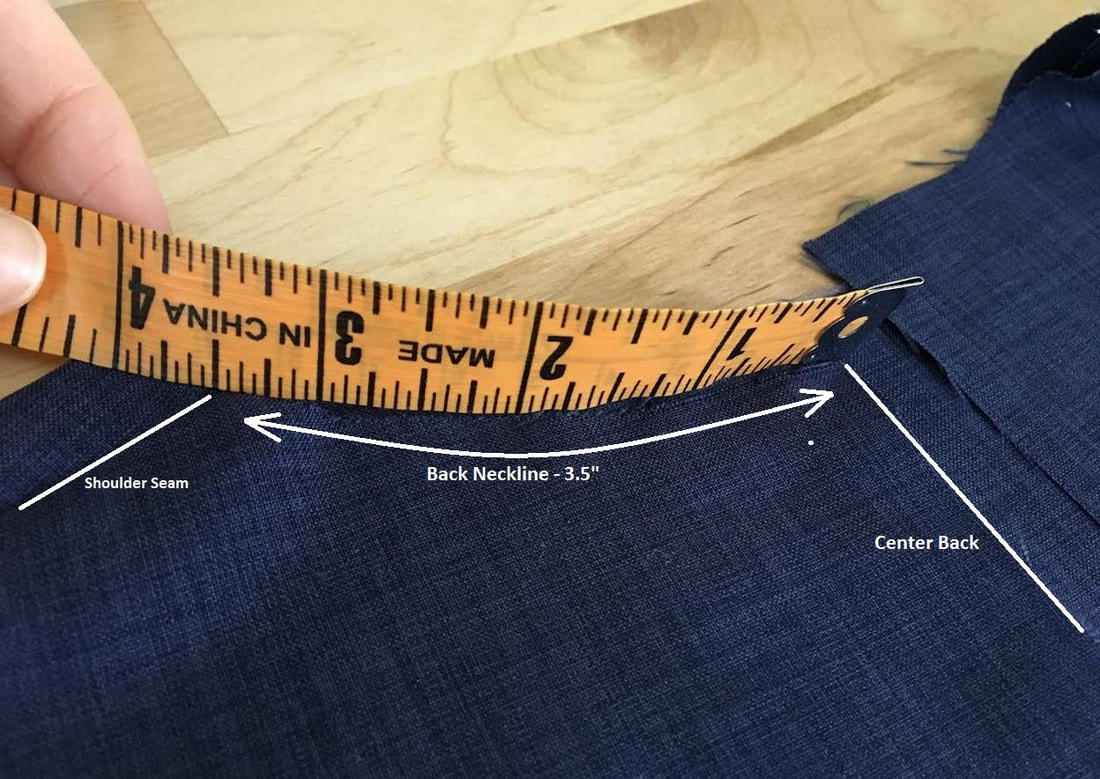
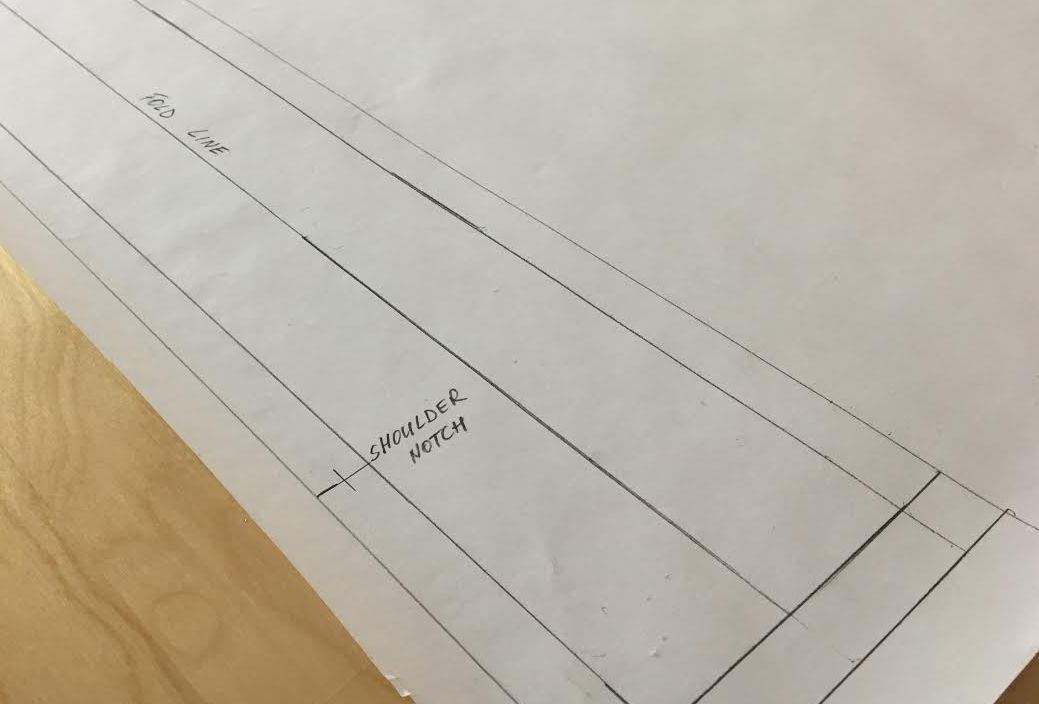
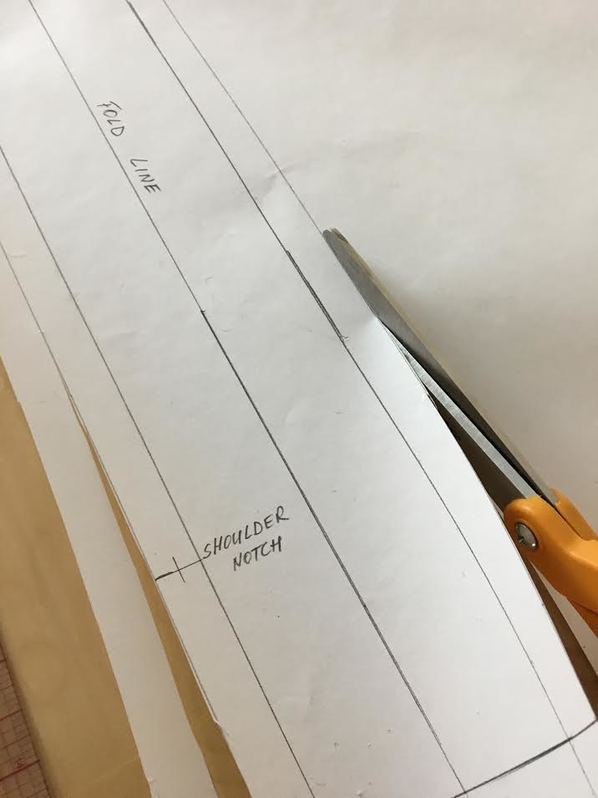
Thus, add 1/2" on both top and bottom of the rectangle lengthwise. With the seam allowance now added, just a few more important marking steps, and you're done! As mentioned above, a rectangular one piece stand collar gets folded onto itself lengthwise for clean finishing purposes. To make this more clear, it helps to mark the fold line on the actual sewing pattern. The fold line is the exact halfway point lengthwise between the top and bottom lengthwise edges of the rectangular pattern. Using a ruler, draw a straight line to mark this halfway line. Write "fold line" on top of this line so that it is not confused with a seam line. Next, it is extremely important that you mark the shoulder notches. This will make it so much easier in the sewing process. 8. To do this, go back to the garment's neckline and using a measuring tape, measure from the edge of the center back to the shoulder seam as shown. The total measurement in this case is 3 1/2". Keep in mind that this measurement includes the 1/2" (half inch) seam allowance at the center back edge. 9. With this measurement in hand, go back to the collar pattern and measure from the outer most edge towards the inside of the rectangle and place a vertical dash mark at 3 1/2" (3.5"). Repeat the same step on the other side of the rectangle. 10. Extend the vertical line into the seam allowance and and add a horizontal dash to form a "T" shape thus marking the shoulder notch. The final pattern should have two shoulder notches along the seam allowance. The outer edges of the rectangle correspond to the center back edges on the garment- the standing collar slit will be placed at the center back opening. Remember the slit of a standing collar always gets sewn into a seam on the garment. Once the fabric is cut using the pattern (as you'll see the next tutorial: How to cut and sew a one piece rectangular sewing pattern), the fabric is half-interfaced, folded onto itself and both shoulder notches on the collar are aligned to the shoulder seams of the garment. To complete the sewing pattern, carefully cut along the outer edge of the rectangle to separate it from the rest of the paper.
1 Comment
Lesley
4/30/2021 08:37:00 am
Thank you for this! I have the perfect fabric and have been struggling to find this collar!
Reply
Leave a Reply. |
The Blog:A journey into our design process, sewing tutorials, fashion tips, and all the inspiring people and things we love. Doina AlexeiDesigner by trade and dressmaker at heart. I spend most of my days obsessing over new fabrics and daydreaming new ideas. Sadie
Executive Assistant & Client Relations Manager Archives
November 2019
Categories
All
|
-
Sewing Tutorials
-
Basics
>
- Aligning Pattern Grainlines To Fabric
- Preparing Fabrics For Sewing
- Pinning Sewing Patterns To Fabric
- Placing Sewing Patterns On Fabric For Cutting
- Rotary Cutters or Fabric Scissors?
- Cutting The Sewing Patterns
- What Are Notches And How To Use Them In The Sewing Process
- Transferring Notches From Pattern To Fabric
- Transferring Seamlines to Fabric
- Staystitching
- Backstitching: A Complete Guide
- Hand Basting: A Complete Guide
- Sewing Continuous Bias Binding
- Darts >
-
Sewing Seams
>
- The Basics Of Seams And Seam Allowance
- How To Sew A Straight Seam
- Sewing Curved Seams
- Sewing Corner Seams
- Trimming And Grading Seam Excess
- Notching/Clipping Seam Allowance for Tension Release
- Sewing Topstitched Seams
- Sewing Corded Seams
- Sewing A Slot Seam
- Sewing A Gathered Seam
- Sewing Bias Seams
- Sewing Seams With Ease
- Sewing Seams With Crossing Seamlines
- Sewing Unlike Fabric Seams
- How To Iron Seams: Ironing Tools And Conventions
- Sewing With Knit Fabrics
- Understanding Stitch Length And Tension
- Sewing Unique Fabric Seams
-
Seam Finishes
>
- Seam Finishing Techniques - Overview
- Applying A Pinked Seam Finish
- Applying A Bias Bound Seam Finish
- Serging And Zigzag Seam Finishes
- Sewing A Self-Bound Seam Finish
- Sewing A French Seam Finish
- Sewing A Hong Kong Seam Finish
- Sewing A Mock French Seam Finish
- Sewing A Turned-and-Stitched Seam Finish
- Sewing Overcast Hand-Applied Seam Finishes
- Sewing A Flat Felled Seam
- Sewing A Hairline Seam Finish
-
Hem Finishes
>
- Garment Hem Finishes: Overview
- Sewing A Double Fold Hem Finish
- Sewing A Single Fold Hem Finish
- Sewing Bound Hem Finishes
- Sewing An Exposed Double Layer Bound Hem
- Sewing A Folded-Up Bound Hem with Pre-folded Binding
- Sewing A Hong Kong Hem Finish
- Sewing A Band Hem Finish
- Sewing A Bias Faced Hem Finish
- Sewing A Twill Tape Hem Finish
- Sewing A Rolled Hem Finish
- Sewing A Shaped Hem Facing
- Using Fusible Hem Tape And Webbing
- Finishing A Lace Fabric Hem
- Finishing A Leather Hem
- Sewing Faced Hem Corners
- How To Finish Lining At The Hem
- Finishing Fabric Corners by Mitering >
- Interfacing A Hemline: Lined And Unlined Examples
-
Sewing Pockets
>
- Curved Patch Pocket With Flap
- Unlined Square Patch Pockets
- Lined Patch Pockets: Two Ways
- Extension On-Seam Pockets
- Separate On-Seam Pocket
- Front Hip Pockets
- Bound Double Welt Pocket
- Double Welt Pocket With Flap
- Self-Welt Pocket (Using Single Fabric Layer)
- Slanted Welt Pocket (Hand-Stitched)
- Faced Slash Pockets: Overview >
-
Sewing Zippers
>
- Sewing Zippers: General Information
- Sewing A Centered Zipper
- Sewing A Lapped Zipper
- Sewing An Invisible Zipper
- Sewing A Fly Front Zipper
- Sewing A Closed-End Exposed Zipper (No Seam)
- Sewing An Exposed Separating Zipper
- Sewing Hand Stitched Zipper Applications
- Sewing A Zipper Underlay
- Sewing A Placket-Enclosed Separating Zipper
- Sleeveless Finishes >
-
Neckline Finishes
>
- Sewing A Neck Shaped Facing
- Sewing An All-In-One Neck Facing
- Neck And Garment Opening Combination Facings >
- Sewing A Bias Faced Neckline Finish
- Sewing A Band Neckline Finish
- Bound Neckline Finishes: Overview >
- Sewing A Semi-Stretch Strip Band Neckline
- Ribbed Neck Band And Classic Turtleneck
- Decorative Neckline Finishes >
- Finishing Facing Edges >
-
Extras
>
- A Complete Guide on Interfacing
- Sewing Bound Spaghetti Straps
- Sewing Spaghetti Straps To A Faced Neckline
- Sewing Ruffles: Overview
- Patterning And Sewing A Circle Ruffle
- Sewing A Gathered Heading Ruffle
- Sewing Double Layer Gathered Ruffles
- Sewing A Gathered Ruffle Into A Seam
- Sewing A Gathered Ruffle To A Fabric Edge
- Sewing A Fabric Surface Slit
- Sewing A Slit Seam
- Hand-Applied Straight Stitches
- Hand-Applied Blind Stitches
- Hand-Applied Overedge Stitches
- Hand-Applied Tack Stitches
- Hand-Applied Decorative Stitches
-
Basics
>
- Custom Bridal
- Custom Apparel
- About
- Blog
Services |
Company |
|



 RSS Feed

