 Photo from thinkstock.com So you own a charming small store in a charming location. You have a website, a Facebook, Twitter page and an Instagram, you have your regular customers that bring in a steady flow of sales each month, you attend local events and do trunk shows, and still you can't get a reasonable amount of new customers through that door. If only they did, they would never want to leave... It sounds like you're doing everything right by basic marketing standards: You have a social media presence, you get involved in the community, and you already have a following. Unfortunately, that is not enough. In this day and age people get bombarded with new ideas and products, new eCommerce websites (that are directly competing with your store) and a variety of attention-grabbing ad campaigns on social media and television. You have to stand out. The trick however is not to stand out the way every other business is doing it. If you use a little bit of psychology, some innovation and lots of patience you can consistently bring in new customers and see steady increases in your sales and overall business- You'll just have to get a little creative. It's time to focus specifically on your local customer base and what exactly their needs are, how can you pique their interest and get them to check out your beautiful store or boutique, and how do you get them to come back? Here are 5 unusual ideas that might be of help: 1. First and foremost if you don't already have a customer database, start one. It will pay off over time. The best thing to do is ask customers who are checking out at the register if they would like to be on your customer list and make sure you get their correct email address. Don't be too pushy of course but you can mention that you often offer coupons by email- your regulars will love getting deals from your store and will want to come back and use their discounts. However, don't stop there, the idea is to get a little creative right? When you offer discounts by email, send one coupon for your costumer and offer a second one if they bring friend/family member in. Of course you can set the guidelines and time frame for using the discounts but keep them easy to use and not confusing. 2. Find an innovative, attention-grabbing, perhaps "crazy" product and use it to pique customer interest and get them through the door. I've seen this strategy work over and over again. People's nature is to explore and discover new things- we get bored easily and like to be intrigued. This is where you come in. Do some research on unique product listing websites and find something a little wacky that could fit with your store's mood- Think attention grabbing. Once you get your new inventory in, post it on all your social media, send an email to your customers (remember that customer list we were talking about?) and when your regular customers come in show it to them and be excited about it! They will likely remember it and tell their friends and family about the cool stuff you carry prompting them to want to check it out for themselves. 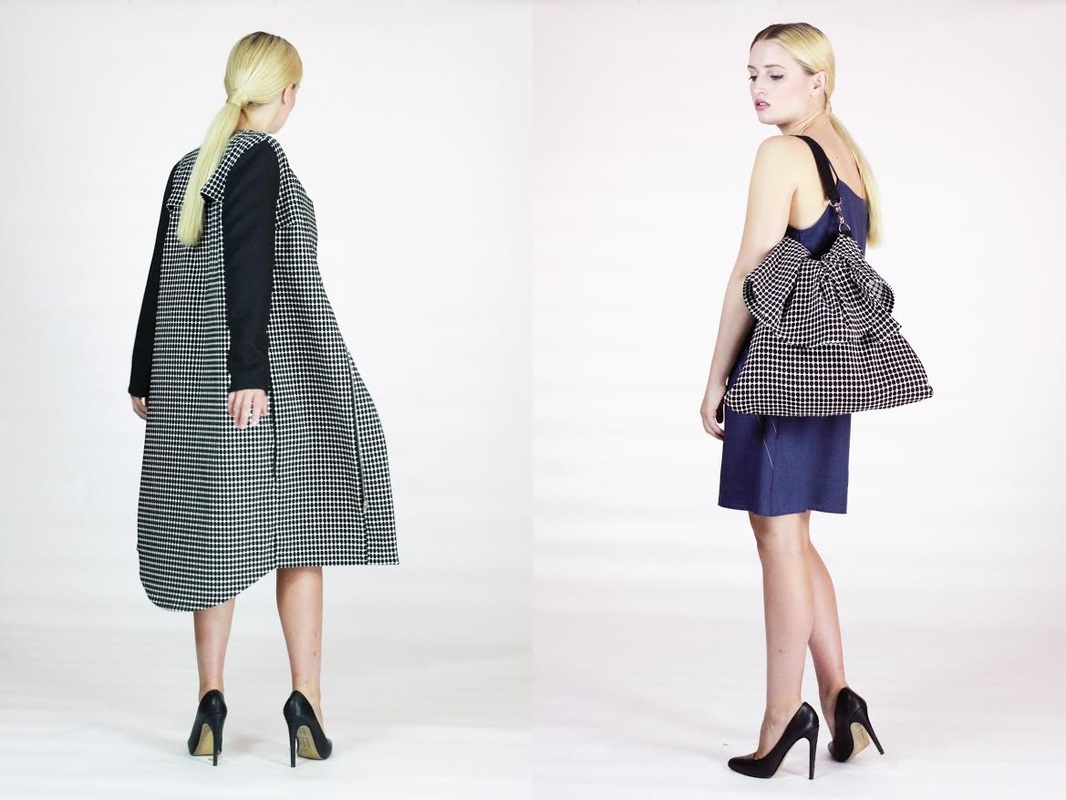 Check out this unique jacket that transforms into a bag, called the 11:11 Jacket 3 Do some research and find a product that is trending right now but that no one carries in your area (even if it doesn't completely fit with your product theme). It will get people calling and inquiring. This idea is basically the opposite of the one mentioned above-It is one that helps you relate to those potential consumers that love trendy products. Perhaps it is a new kid's toy all the parents are trying to get their hands on, or maybe a new accessory that everyone wants- whichever one it is, get it in your store and attract some fresh faces. Keep in mind that this will be a temporary influx of new people until the next cool thing comes along, but the good news is that a percentage of customers that will discover your store during that period will probably stick around and become regulars. 4 Build a project with another business in your area. This idea will be a lot more time and energy consuming but it's worth it. Perhaps there is a cause you care about or you want to organize an event, the idea is to get in touch with another business in your area and come up with something that will have a positive outcome for both. You want to make yourself visible to their customer base and your customers will familiarize themselves with another local business (mutually beneficial!). However, don't do this with your competitor. Remember, you don't want to loose some of your customers, you want to attract new ones. This step will require some persistence and energy on your part. First you'll have to do some research and start making some phone calls. To make your new collaboration more meaningful, see if you can work with a local organization that stands for something you're passionate about. A great example is your local ASPCA- you can organize a project that helps them put more pets up for adoption and promotes a great image for your store. It will give you meaning, and who wouldn't want to work with pups and kittens??  Image from www.boredpanda.com This shelter took dogs out for Pupuccinos to help them find new homes! (helps both shelter AND Starbucks) 5. See if you can organize pop-up shops at big events in your area (especially if you live close to a big city). This is another idea that will require a little bit of extra time and investment on your part. If there are any big events coming up, perhaps a play, opera or a festival near you, call the organizers and see if they will allow you to host a pop up shop during the event. Not all events will allow you to do this, but many will be glad to work with you. Keep in mind, this is an opportunity to display your store in front of new customers, so make sure you preserve your image and present yourself well. The idea is to bring a variety of products but don't over-clutter. Keep your price-points low-medium: customers that meeting you for the first time will not always buy the most expensive, you'll have to give them a taste of your products at a reasonable cost first. Always have brochures and business cards ready to hand out.  Photo from www.biglunchextras.com Be patient! Attracting new business is a long term, consistent effort- commit to it but don't forget to have fun and be creative!
0 Comments
Leave a Reply. |
The Blog:A journey into our design process, sewing tutorials, fashion tips, and all the inspiring people and things we love. 
Doina AlexeiDesigner by trade and dressmaker at heart. I spend most of my days obsessing over new fabrics and daydreaming new ideas. 
Sadie
Executive Assistant & Client Relations Manager Archives
November 2019
Categories
All

|

-
Sewing Tutorials
-
Basics
>
- Aligning Pattern Grainlines To Fabric
- Preparing Fabrics For Sewing
- Pinning Sewing Patterns To Fabric
- Placing Sewing Patterns On Fabric For Cutting
- Rotary Cutters or Fabric Scissors?
- Cutting The Sewing Patterns
- What Are Notches And How To Use Them In The Sewing Process
- Transferring Notches From Pattern To Fabric
- Transferring Seamlines to Fabric
- Staystitching
- Backstitching: A Complete Guide
- Hand Basting: A Complete Guide
- Sewing Continuous Bias Binding
- Darts >
-
Sewing Seams
>
- The Basics Of Seams And Seam Allowance
- How To Sew A Straight Seam
- Sewing Curved Seams
- Sewing Corner Seams
- Trimming And Grading Seam Excess
- Notching/Clipping Seam Allowance for Tension Release
- Sewing Topstitched Seams
- Sewing Corded Seams
- Sewing A Slot Seam
- Sewing A Gathered Seam
- Sewing Bias Seams
- Sewing Seams With Ease
- Sewing Seams With Crossing Seamlines
- Sewing Unlike Fabric Seams
- How To Iron Seams: Ironing Tools And Conventions
- Sewing With Knit Fabrics
- Understanding Stitch Length And Tension
- Sewing Unique Fabric Seams
-
Seam Finishes
>
- Seam Finishing Techniques - Overview
- Applying A Pinked Seam Finish
- Applying A Bias Bound Seam Finish
- Serging And Zigzag Seam Finishes
- Sewing A Self-Bound Seam Finish
- Sewing A French Seam Finish
- Sewing A Hong Kong Seam Finish
- Sewing A Mock French Seam Finish
- Sewing A Turned-and-Stitched Seam Finish
- Sewing Overcast Hand-Applied Seam Finishes
- Sewing A Flat Felled Seam
- Sewing A Hairline Seam Finish
-
Hem Finishes
>
- Garment Hem Finishes: Overview
- Sewing A Double Fold Hem Finish
- Sewing A Single Fold Hem Finish
- Sewing Bound Hem Finishes
- Sewing An Exposed Double Layer Bound Hem
- Sewing A Folded-Up Bound Hem with Pre-folded Binding
- Sewing A Hong Kong Hem Finish
- Sewing A Band Hem Finish
- Sewing A Bias Faced Hem Finish
- Sewing A Twill Tape Hem Finish
- Sewing A Rolled Hem Finish
- Sewing A Shaped Hem Facing
- Using Fusible Hem Tape And Webbing
- Finishing A Lace Fabric Hem
- Finishing A Leather Hem
- Sewing Faced Hem Corners
- How To Finish Lining At The Hem
- Finishing Fabric Corners by Mitering >
- Interfacing A Hemline: Lined And Unlined Examples
-
Sewing Pockets
>
- Curved Patch Pocket With Flap
- Unlined Square Patch Pockets
- Lined Patch Pockets: Two Ways
- Extension On-Seam Pockets
- Separate On-Seam Pocket
- Front Hip Pockets
- Bound Double Welt Pocket
- Double Welt Pocket With Flap
- Self-Welt Pocket (Using Single Fabric Layer)
- Slanted Welt Pocket (Hand-Stitched)
- Faced Slash Pockets: Overview >
-
Sewing Zippers
>
- Sewing Zippers: General Information
- Sewing A Centered Zipper
- Sewing A Lapped Zipper
- Sewing An Invisible Zipper
- Sewing A Fly Front Zipper
- Sewing A Closed-End Exposed Zipper (No Seam)
- Sewing An Exposed Separating Zipper
- Sewing Hand Stitched Zipper Applications
- Sewing A Zipper Underlay
- Sewing A Placket-Enclosed Separating Zipper
- Sleeveless Finishes >
-
Neckline Finishes
>
- Sewing A Neck Shaped Facing
- Sewing An All-In-One Neck Facing
- Neck And Garment Opening Combination Facings >
- Sewing A Bias Faced Neckline Finish
- Sewing A Band Neckline Finish
- Bound Neckline Finishes: Overview >
- Sewing A Semi-Stretch Strip Band Neckline
- Ribbed Neck Band And Classic Turtleneck
- Decorative Neckline Finishes >
- Finishing Facing Edges >
-
Extras
>
- A Complete Guide on Interfacing
- Sewing Bound Spaghetti Straps
- Sewing Spaghetti Straps To A Faced Neckline
- Sewing Ruffles: Overview
- Patterning And Sewing A Circle Ruffle
- Sewing A Gathered Heading Ruffle
- Sewing Double Layer Gathered Ruffles
- Sewing A Gathered Ruffle Into A Seam
- Sewing A Gathered Ruffle To A Fabric Edge
- Sewing A Fabric Surface Slit
- Sewing A Slit Seam
- Hand-Applied Straight Stitches
- Hand-Applied Blind Stitches
- Hand-Applied Overedge Stitches
- Hand-Applied Tack Stitches
- Hand-Applied Decorative Stitches
-
Basics
>
- Custom Bridal
- Custom Apparel
- About
- Blog
 RSS Feed
Services |
Company |
|
