|
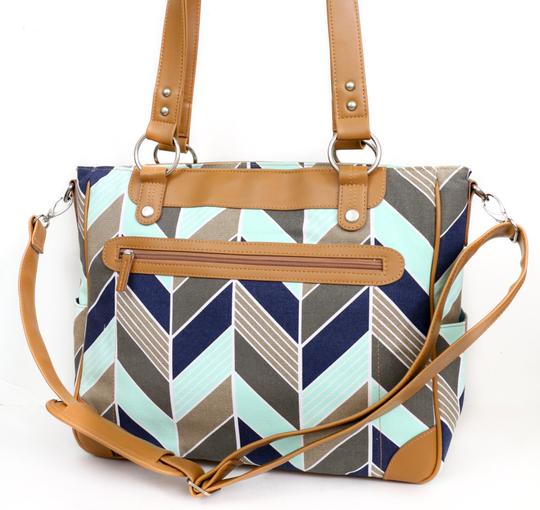
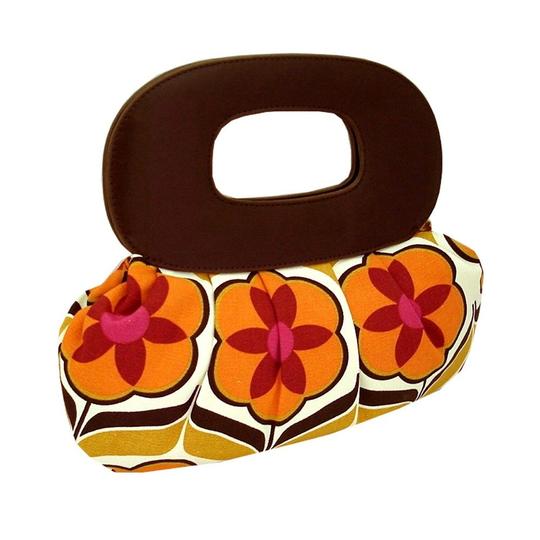
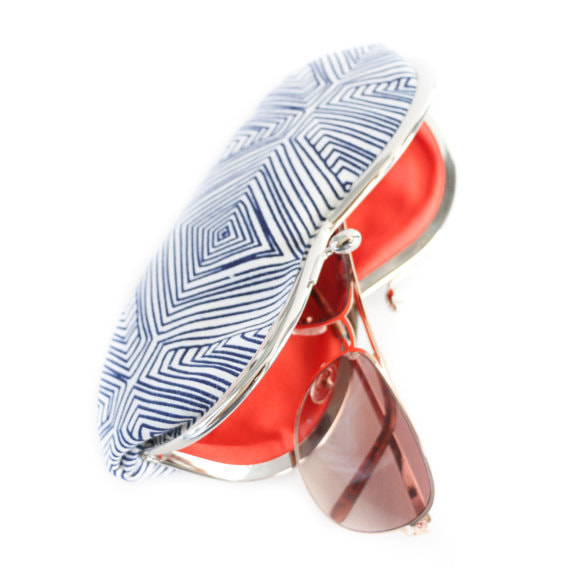
Color is at the forefront of Kailo Chic, a lifestyle and accessories brand that offers vibrant accessories, home goods, decor and beyond. Kailo Chic products brighten any space they are incorporated into, adding a touch of effortless happiness and whimsy. Founded by Kara Whitten in 2005, Kailo Chic developed form a simple, on-the-whim purchase at the fabric store into a full time, nationwide business. Aside from colorful products ranging from accessories to one-of-a-kind vases and wrapping paper, Kara added A Kailo Chic Life blog to the business, featuring unique DYI ideas and crafts that remain true to the brand.  Kara Whitten of Kailo Chic Kara finds everything around her inspiring and it certainly shows in her vibrant work. Behind the beautifully colorful design, there is a uniquely inspiring story. In 2005, she found herself freshly out of college with a chemical engineering degree, a new job, and the task of planning a wedding. Within the first week at her new job, she says she simply freaked out and quit. Somehow, her truly creative and vibrant personality (which shows in every single piece she designs/makes) just couldn't be confined by a having a boss or working a 9-to-5 in a lab for the rest of her life. The brand was born the day she went to the fabric store in search of her wedding dress fabric. While browsing the store, she found a pattern for a unique handbag. She bought some fabric with the little money she had left, went home and made the handbag that same day. This was the very first project that marked the conception of Kailo Chic. Things just naturally snowballed from there- She followed her own process, learned from every experience, and gave the brand the opportunity to grow organically on its own. 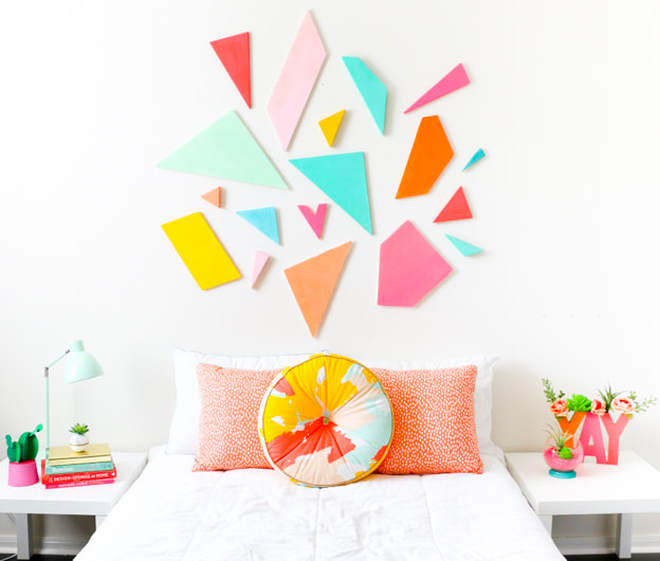 Photo courtesy of Kailo Chic In the interview to follow, Kara shares her unique story, incredible love for color, and creative process. Find out what's in store for Kailo Chic next and how she got a successful business off the ground while working a full time job. Her encouraging words are a must-read for those that dream of breaking out a 9-to-5 lifestyle and channel their individual creativity. Your work is beautifully vibrant with a modern art-deco feel to it. Where do you draw your artistic inspiration? I really draw my inspiration from all around me. The aisles of Target, the colors in my favorite clothes, even the craft store. It really is all the things together that gives me inspiration for all my ideas. 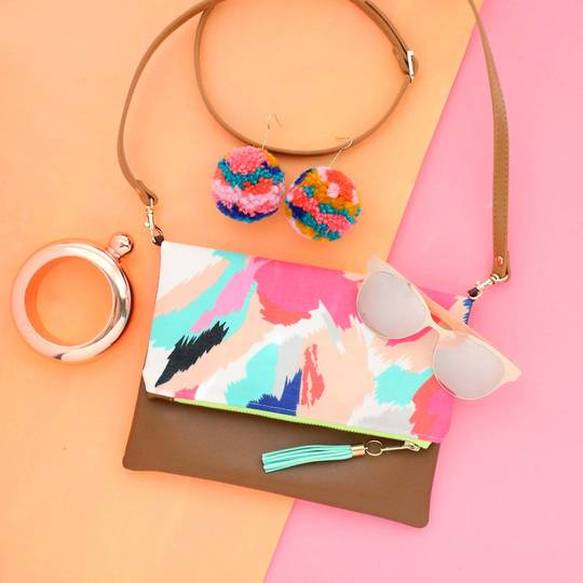 Photo courtesy of Kailo Chic Where does this strong love for color originate? What does color mean to you? Possibly from my mom (our childhood home had colorful splatter painted concrete floors!), but as long as I can remember I have loved color and wearing it, so it was only natural that I started to decorate with it in my own home. Color just makes me happy. Sure I could decorate with all neutrals, but I just feel that is so bland. Color uplifts my mood and makes me smile. 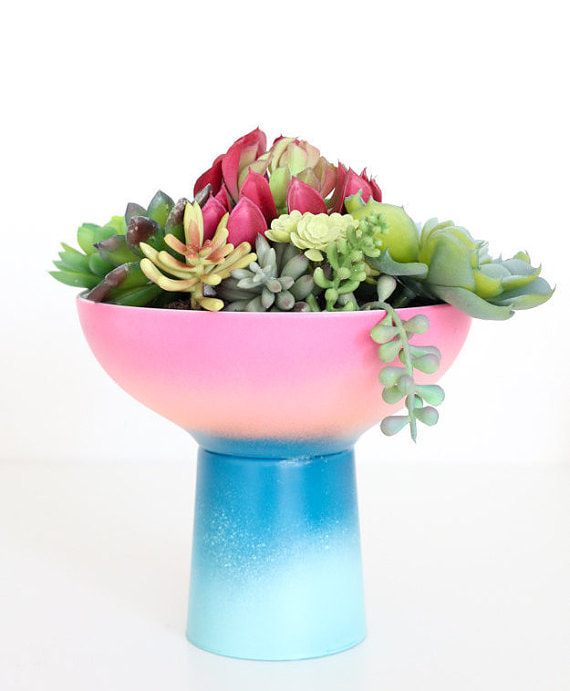 Photo courtesy of Kailo Chic What was the first product you designed/made and how did that propel you to diversify and develop other products? The first product I made was a clutch from a handbag pattern I found in the craft store. I found some pretty black and white floral fabric and sewed up the clutch using the pattern. I loved it so much that I made a few more and took them to a local consignment shop to see if they would try selling them. They did and I continued making new styles of bags and selling them along with other small accessory items like headbands, jewelry, and wallets for around 10 years before venturing into the blog world. After blogging for a year and a half I realized I should sell some of the projects I was making for the blog because as much as someone might like an item, not everyone wants to make it themselves. So now, any DIY project that isn't completely time consuming and is easy to make more-than-one-of, I offer for sale to those that would rather buy than shop. 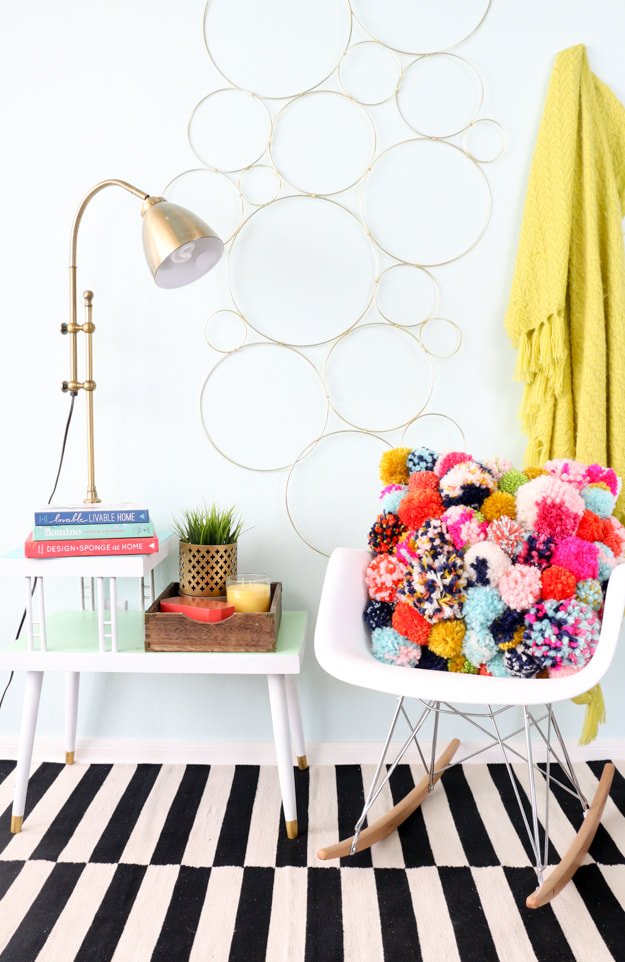 Photo courtesy of Kailo Chic Is Kailo Chic a lifestyle brand? Is there a particular message behind the brand and your work? I would consider it a lifestyle brand for work, home, play, and everyday. I don't know that I have a particular message behind the brand, but I want everyone to feel comfortable adding a little splash of color to their life whether it is through a wallet, a vase, or a throw pillow... Color can make everyone happy! 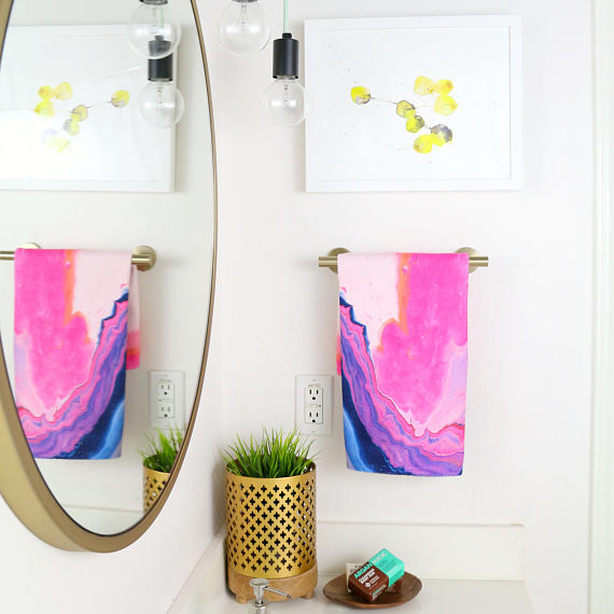 Photo courtesy of Kailo Chic What are your favorite materials or media to work with and why? I love felt, clay, and paint. Spray paint is probably my favorite supply because it can quickly transform almost any object into something vibrant and colorful!
Photos courtesy of Kailo Chic "I want everyone to feel comfortable adding a little splash of color to their life whether it is through a wallet, a vase, or a throw pillow... Color can make everyone happy!" Can you describe your work/design process? Do you start with the color and prints and then come up with a product, or do all the elements come together at the same time? What are the design-to-production steps for you? Every item is different. Sometimes it takes me playing around with supplies to come up with a fun idea, and sometimes I have the idea just pop in my brain and I know exactly what I want to create. Once the idea comes together though, I pretty much whip it out ASAP. That's the benefit of having a room full of craft supplies. I pretty much have everything I need already on hand to create most of my ideas.
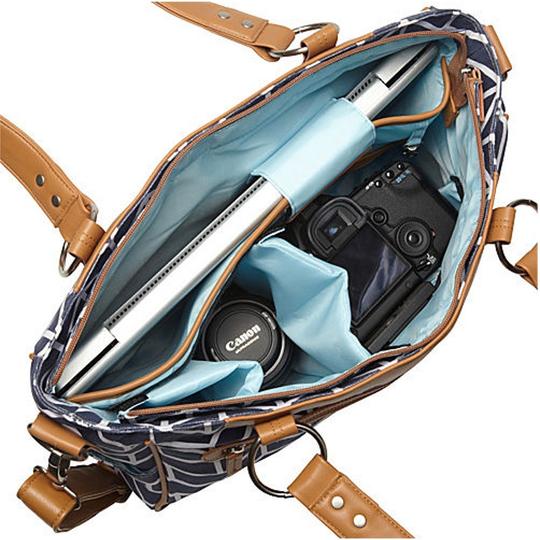
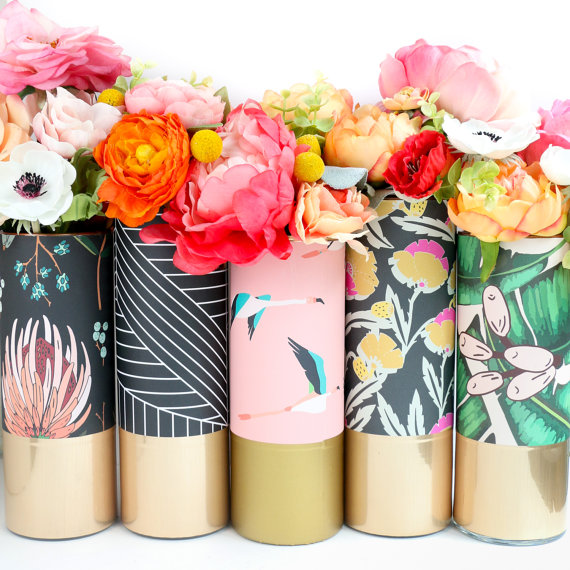
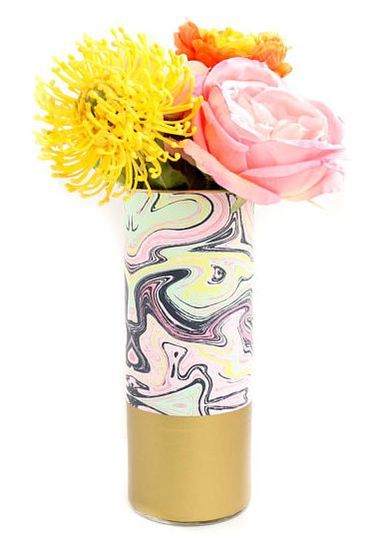
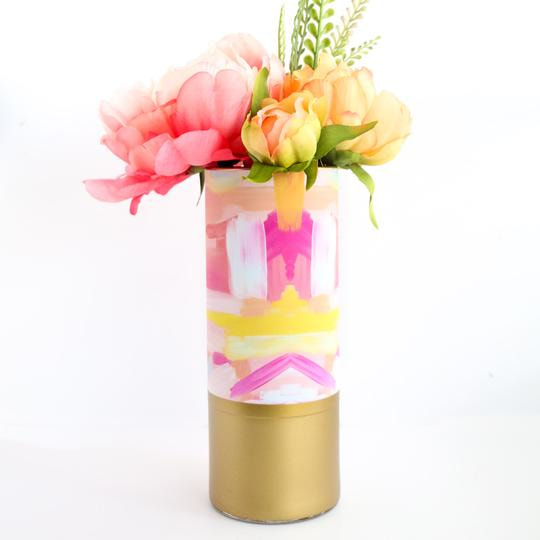
Kailo Chic Laptop Bag. Photo courtesy of Kailo Chic What are your favorite Kailo Chic designs or products up to date and why? I love all of my home decor pieces, but my favorite new item has to be my vases, because who doesn't love flowers? A colorful patterned vase just makes fresh flowers so much better.
Photos courtesy of Kailo Chic What inspired you to add a DIY and crafts branch to your business? Honestly I was tired of making the same things over and over again for 10 years. I just needed a new creative outlet and since I have always been an crafter, it just seemed like a natural fit to start blogging about all the crafts I already made. I originally also wanted to have a home decorating and renovating aspect as well as a food and gardening side (all my other passions), but crafting was just so easy and really took off. Maybe one day I'll add back in a few of my other passions too! 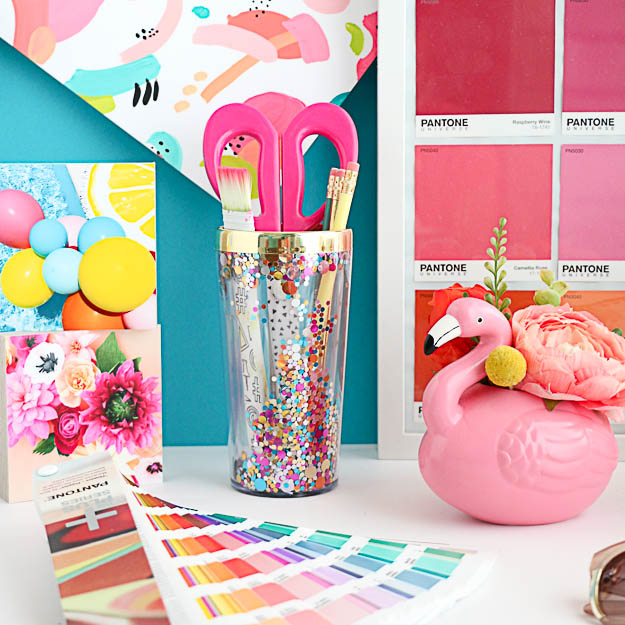 Photo courtesy of Kailo Chic "I just needed a new creative outlet and since I have always been an crafter, it just seemed like a natural fit to start blogging about all the crafts I already made." I loved reading your story about how you started the business. You have a very unique story and perhaps quite relatable to other creative souls that feel a bit “stuck” at a job they don’t like. Thinking back to the time you quit your first job and started sewing, can you describe what that feeling was like? Liberating or uncertain? I just knew I didn't want to work in a lab for the rest of my life and didn't want a job that took over (unless I was working for myself). I have never been one to work well with having a boss. Since I had just graduated with a chemical engineering degree, I knew I would be able to find another job eventually, so I wasn't too uncertain, I just needed to occupy my time while I searched for a job!
Photos courtesy of Kailo Chic What advice would you give to someone who wants to follow in your footsteps but perhaps doesn’t have the courage? My advice is to always just do it. Just start. The longer you wait, the longer it will take to ever get anywhere. That doesn't mean you have to quit your job right away, but start that blog, start that business or side hustle. I worked for two years doing both my full time job and my business before quitting to pursue it full time. So it is possible to do both. But really it's just a matter of starting. Once you are in it, it kind of just propels itself. 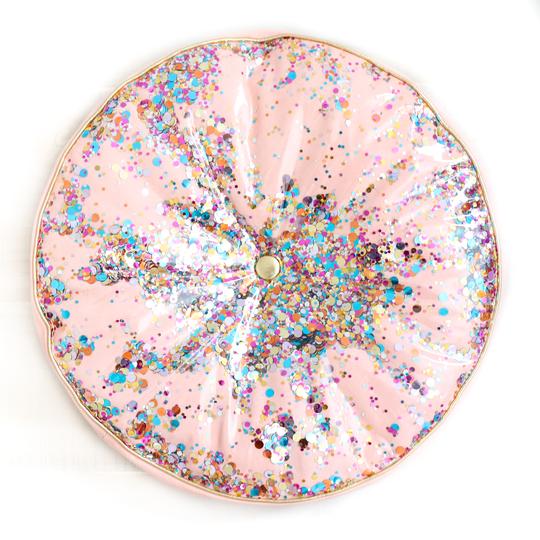 Photo courtesy of Kailo Chic Did the business grow within the first year or was there a bit of a struggle associated with getting it off the ground? How did you overcome these challenges? Since I wasn't depending on the business to make money, it really wasn't a struggle. Just a slow progression. For two years I reinvested my earnings back in the business since I had my regular income to lean on. That meant adding new patterns, going to more craft shows, traveling for trade shows, marketing, and advertising. But with every new business, you have to give it time to really start making you a living wage. So don't put too much pressure on yourself to make it profitable before it's ready.
Photos courtesy of Kailo Chic
What keeps you inspired and motivated in your work each day? I just love making and creating and seeing people enjoy what I do. That is motivation enough for me. But I also know my family depends on me, so in the tough times when I am stressed and overworked, I remember why and who I am doing this business for. 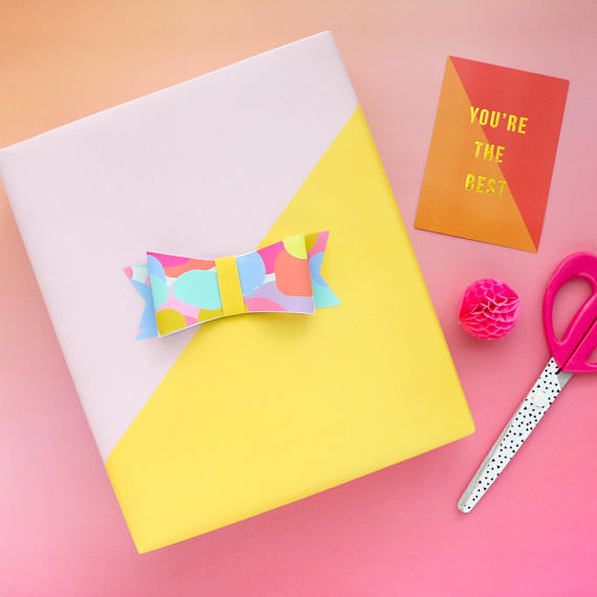 Photo courtesy of Kailo Chic What is next for Kailo Chic? Where do you see the brand in 5-10 years? Right now I am trying on all the hats and just started helping out with some local events. I hope to one day be a large brand with products nationwide. It would be my dream to partner with other brands to create collections that I get to design. Who really knows what the future holds- I never would have imagined this path that I am on now even 5 years ago. 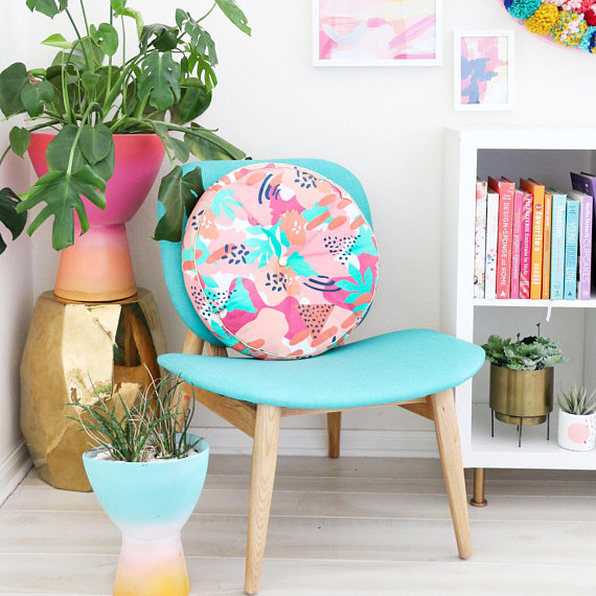 Photo courtesy of Kailo Chic " I also know my family depends on me, so in the tough times when I am stressed and overworked, I remember why and who I am doing this business for. "
0 Comments
Leave a Reply. |
The Blog:A journey into our design process, sewing tutorials, fashion tips, and all the inspiring people and things we love. 
Doina AlexeiDesigner by trade and dressmaker at heart. I spend most of my days obsessing over new fabrics and daydreaming new ideas. 
Sadie
Executive Assistant & Client Relations Manager Archives
November 2019
Categories
All

|

-
Sewing Tutorials
-
Basics
>
- Aligning Pattern Grainlines To Fabric
- Preparing Fabrics For Sewing
- Pinning Sewing Patterns To Fabric
- Placing Sewing Patterns On Fabric For Cutting
- Rotary Cutters or Fabric Scissors?
- Cutting The Sewing Patterns
- What Are Notches And How To Use Them In The Sewing Process
- Transferring Notches From Pattern To Fabric
- Transferring Seamlines to Fabric
- Staystitching
- Backstitching: A Complete Guide
- Hand Basting: A Complete Guide
- Sewing Continuous Bias Binding
- Darts >
-
Sewing Seams
>
- The Basics Of Seams And Seam Allowance
- How To Sew A Straight Seam
- Sewing Curved Seams
- Sewing Corner Seams
- Trimming And Grading Seam Excess
- Notching/Clipping Seam Allowance for Tension Release
- Sewing Topstitched Seams
- Sewing Corded Seams
- Sewing A Slot Seam
- Sewing A Gathered Seam
- Sewing Bias Seams
- Sewing Seams With Ease
- Sewing Seams With Crossing Seamlines
- Sewing Unlike Fabric Seams
- How To Iron Seams: Ironing Tools And Conventions
- Sewing With Knit Fabrics
- Understanding Stitch Length And Tension
- Sewing Unique Fabric Seams
-
Seam Finishes
>
- Seam Finishing Techniques - Overview
- Applying A Pinked Seam Finish
- Applying A Bias Bound Seam Finish
- Serging And Zigzag Seam Finishes
- Sewing A Self-Bound Seam Finish
- Sewing A French Seam Finish
- Sewing A Hong Kong Seam Finish
- Sewing A Mock French Seam Finish
- Sewing A Turned-and-Stitched Seam Finish
- Sewing Overcast Hand-Applied Seam Finishes
- Sewing A Flat Felled Seam
- Sewing A Hairline Seam Finish
-
Hem Finishes
>
- Garment Hem Finishes: Overview
- Sewing A Double Fold Hem Finish
- Sewing A Single Fold Hem Finish
- Sewing Bound Hem Finishes
- Sewing An Exposed Double Layer Bound Hem
- Sewing A Folded-Up Bound Hem with Pre-folded Binding
- Sewing A Hong Kong Hem Finish
- Sewing A Band Hem Finish
- Sewing A Bias Faced Hem Finish
- Sewing A Twill Tape Hem Finish
- Sewing A Rolled Hem Finish
- Sewing A Shaped Hem Facing
- Using Fusible Hem Tape And Webbing
- Finishing A Lace Fabric Hem
- Finishing A Leather Hem
- Sewing Faced Hem Corners
- How To Finish Lining At The Hem
- Finishing Fabric Corners by Mitering >
- Interfacing A Hemline: Lined And Unlined Examples
-
Sewing Pockets
>
- Curved Patch Pocket With Flap
- Unlined Square Patch Pockets
- Lined Patch Pockets: Two Ways
- Extension On-Seam Pockets
- Separate On-Seam Pocket
- Front Hip Pockets
- Bound Double Welt Pocket
- Double Welt Pocket With Flap
- Self-Welt Pocket (Using Single Fabric Layer)
- Slanted Welt Pocket (Hand-Stitched)
- Faced Slash Pockets: Overview >
-
Sewing Zippers
>
- Sewing Zippers: General Information
- Sewing A Centered Zipper
- Sewing A Lapped Zipper
- Sewing An Invisible Zipper
- Sewing A Fly Front Zipper
- Sewing A Closed-End Exposed Zipper (No Seam)
- Sewing An Exposed Separating Zipper
- Sewing Hand Stitched Zipper Applications
- Sewing A Zipper Underlay
- Sewing A Placket-Enclosed Separating Zipper
- Sleeveless Finishes >
-
Neckline Finishes
>
- Sewing A Neck Shaped Facing
- Sewing An All-In-One Neck Facing
- Neck And Garment Opening Combination Facings >
- Sewing A Bias Faced Neckline Finish
- Sewing A Band Neckline Finish
- Bound Neckline Finishes: Overview >
- Sewing A Semi-Stretch Strip Band Neckline
- Ribbed Neck Band And Classic Turtleneck
- Decorative Neckline Finishes >
- Finishing Facing Edges >
-
Extras
>
- A Complete Guide on Interfacing
- Sewing Bound Spaghetti Straps
- Sewing Spaghetti Straps To A Faced Neckline
- Sewing Ruffles: Overview
- Patterning And Sewing A Circle Ruffle
- Sewing A Gathered Heading Ruffle
- Sewing Double Layer Gathered Ruffles
- Sewing A Gathered Ruffle Into A Seam
- Sewing A Gathered Ruffle To A Fabric Edge
- Sewing A Fabric Surface Slit
- Sewing A Slit Seam
- Hand-Applied Straight Stitches
- Hand-Applied Blind Stitches
- Hand-Applied Overedge Stitches
- Hand-Applied Tack Stitches
- Hand-Applied Decorative Stitches
-
Basics
>
- Custom Bridal
- Custom Apparel
- About
- Blog

 RSS Feed
Services |
Company |
|
