|
Luna Pines is a jewelry and lifestyle brand sporting a deep connection to nature. Started by Amanda Lachapelle in 2012, it offers natural crystal jewelry that is thoughtfully designed and carefully pieced together to allow the natural elements to truly shine. Every crystal is lovingly handpicked by Amanda herself to create everlasting jewelry that is well-balanced aesthetically and energetically. The brand's name, Luna Pines, gives away the designer's love for nature, implying her strong connection to the moon (luna) and the beautiful pine trees of New England, where she grew up and began her artistic quest. 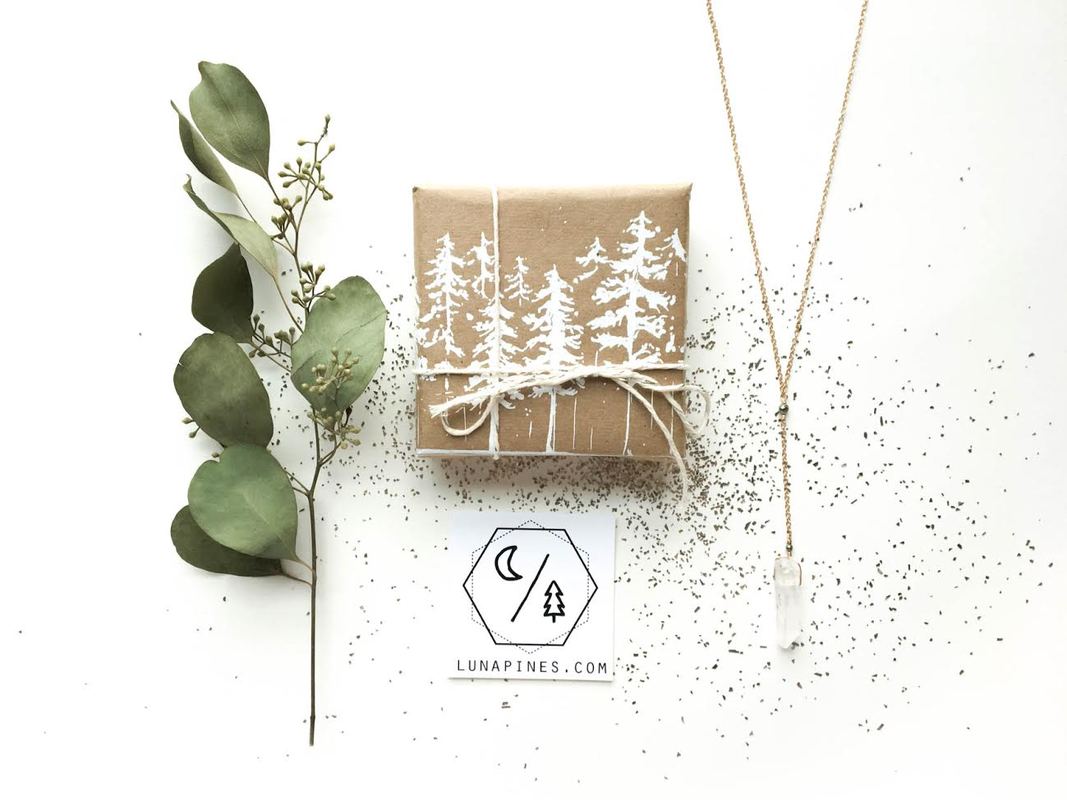 Photo courtesy of Luna Pines What stands apart in Amanda Lachapelle's work is clean design mixed with a pleasantly surprising twist. The attention to detail is evident in her design aesthetic, artistic process and careful branding. As you look at each individual piece, you will always find a unique detail, whether it is in the form of a sweet moon charm or an interesting chain extension, marking the jewelry as uniquely hers. Amanda's multi-faceted design aesthetic represents every element of the brand, from her thoughtful Eco-friendly packaging to her care for using environmentally friendly materials all around. She goes beyond aesthetics, inspiring a socially conscious change using Luna Pines as a voice. 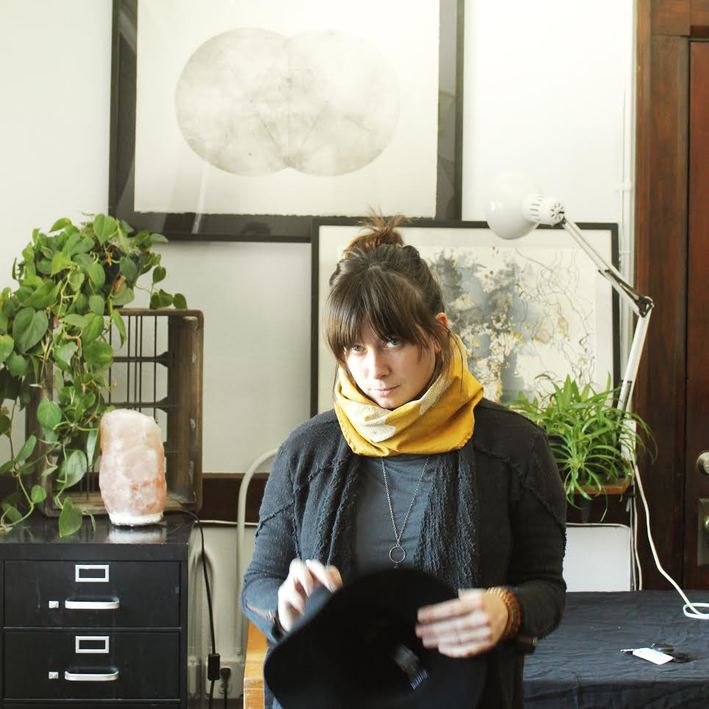 Amanda Lachapelle of Luna Pines Each piece is carefully crafted in her Clinton (MA) studio, where she spends most of her time designing, making jewelry and sometimes finding inspiration among busy days crafting and filling orders. Her studio is where she feels truly happy, motivating her to keep designing and evolving everyday regardless of the challenges or success she attains. As you'll find from the inspiring conversation to follow, Amanda of Luna Pines is a well balanced artist that understands the importance of paralleling her work with her family life, maintaining consistent love and care for both. Explore a story of hard work, dedication and true passion for her work in this week's interview feature with Amanda Lachapelle of Luna Pines. How did the name “Luna Pines” come about? What is its significance/meaning for you and the brand? My friend actually came up with the name for me. I’ve always had a strong connection with the moon and celestial bodies and this has been evident in my work. She suggested “Luna” as a reference to the moon, and “Pines” to acknowledge my New England roots. I had just moved back to Massachusetts from Oaxaca, Mexico, so this name felt like a perfect fit.  Photo courtesy of Luna Pines What is the greatest point of inspiration in your work and how does this connect to your design aesthetic? My greatest point of inspiration comes from the natural world. I’m so fascinated by it! This comes through in my choice of materials. I draw inspiration from everything around me when it comes to designing. Currently, I’m very interested in minimalist style, mid-century modern furniture, and abstract gestural paintings. I think it’s really neat how this influences my work.  Photo courtesy of Luna Pines Do you have a “thinking” place or space that helps you re-charge artistically? I don’t really, which is why I’m grateful for the ebbs and flows of small business. I find that I’m often so busy filling orders and preparing for events, I don’t have a lot of time to work on new designs. I take advantage of inspiration as it comes to me, whether it’s a quick scribble in a sketchbook or a quick mock up design if the supplies are handy. I’m grateful I spend the majority of my time in my studio, it makes it much easier to have that flexibility.  Photo courtesy of Luna Pines When did you discover your love for crystals and natural minerals? What persuaded you to incorporate them into jewelry design? My mother would tell you I’ve been obsessed since childhood! To me, it goes back about 8 years ago when I had been going to the flea market that had this one vendor selling incredible stones, crystals and fossils. Every time I went, I would pick up handfuls of new stones. I wasn’t making jewelry at the time and honestly never would've imagined what my interest would grow into. "I take advantage of inspiration as it comes to me, whether it’s a quick scribble in a sketchbook or a quick mock up design if the supplies are handy." It is said that natural minerals carry certain energies that are soothing and healing- how do you personally perceive the healing nature of crystals and what connects you to them on a personal level? Do you have a favorite crystal and why? I think this is a very interesting idea. I, personally, do believe that the crystals carry positive energy. I think that the energy crystals brings you needs to be met with a willingness to accept and work together with them- If that makes sense. My favorite stone in aquamarine. It carries the energy of the sea, which has always been a very healing place for me.  Photo courtesy of Luna Pines On that same note, how do you source the crystals used in your jewelry- do you hand pick each piece? What is your process for finding the perfect natural materials to incorporate into your unique jewelry? I do hand pick each one! This has always been a very important aspect to me because the same stone can look so many different ways. I go to gem and mineral trade shows and search for the perfect stones. Sometimes I know what I am looking for, but I always allow myself freedom to discover new stones or different cuts of my favorites. " I think when I focus on competing with my “self” it keeps me from getting hung up on what other artists are doing. " Speaking of jewelry, when did you discover jewelry-making and what was the first piece you ever made? One year (2011) I wanted to give my friend a necklace with a crystal on it and could not find one! So I decided to make it myself. This started me down the path of jewelry making and continued my fascination with crystals. 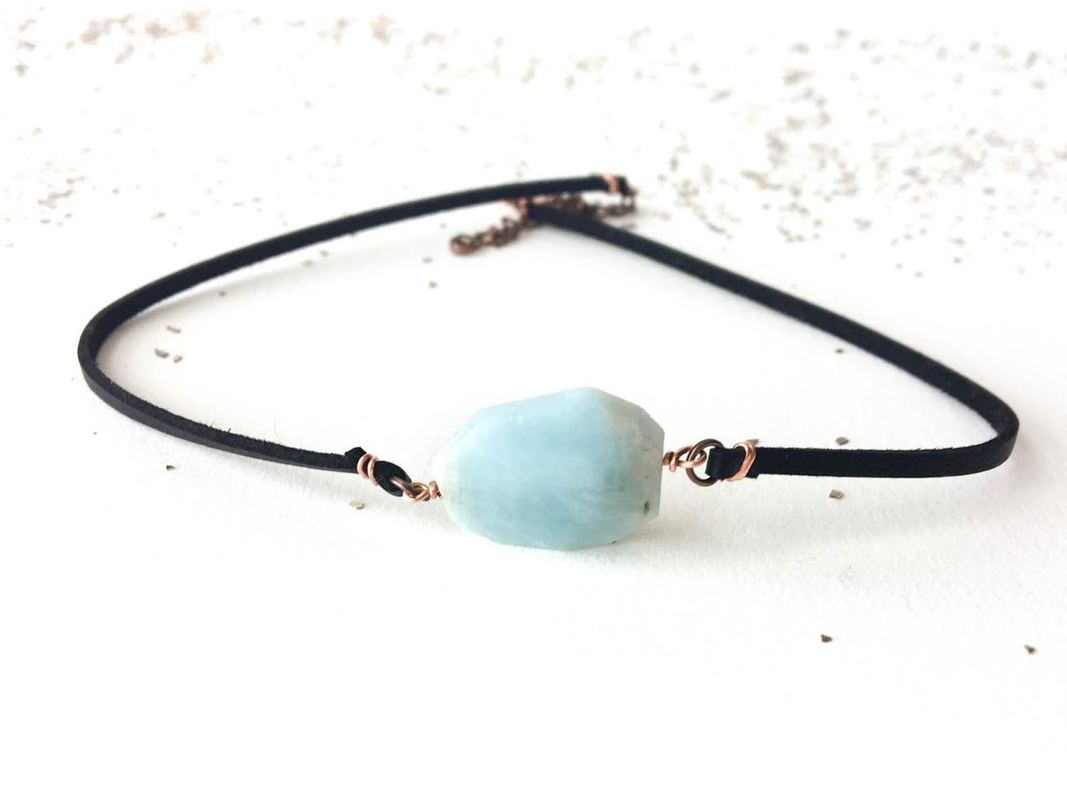 Photo courtesy of Luna Pines What materials do you enjoy working with best and are you experimenting with any new techniques/materials at the moment? I like to work with sterling silver because of the amount of creative freedom it allows. Currently, I’ve been working with rose gold and gold and really having fun! It’s interesting to see how the different color chains play off the colors of the stones. 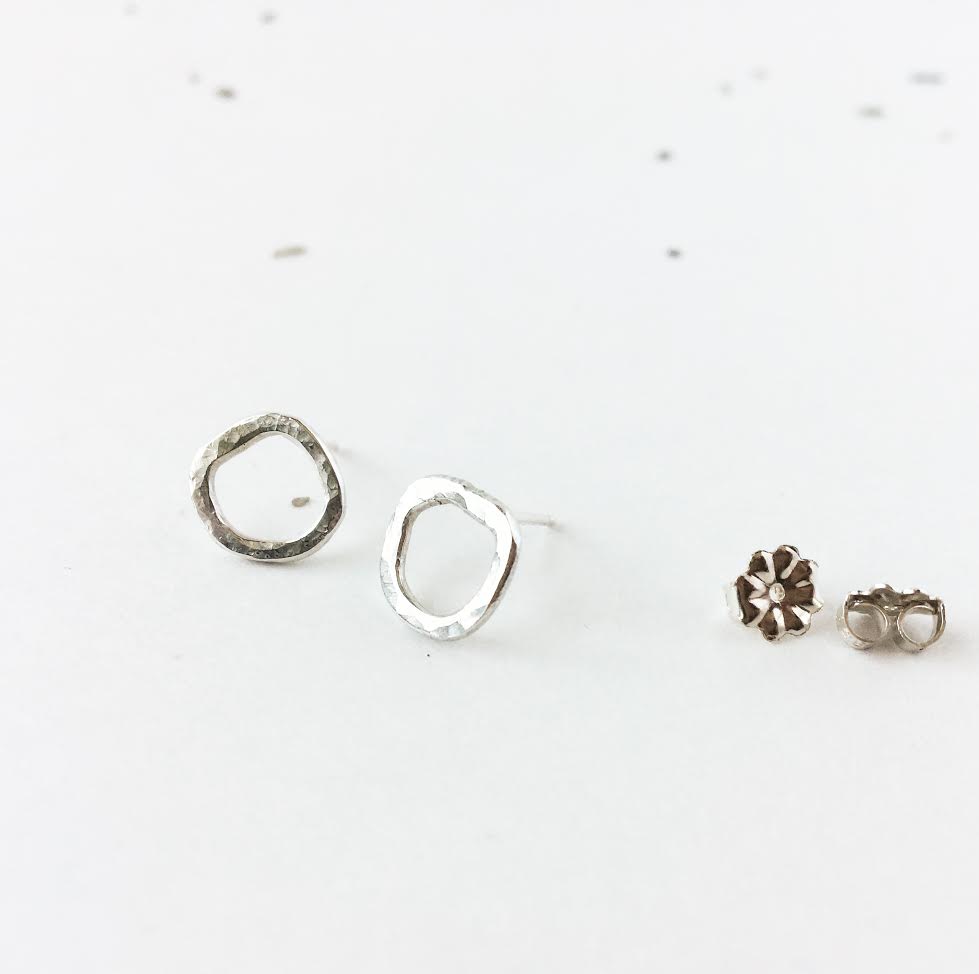 Photo courtesy of Luna Pines What is your work/design process like? Is it a meticulously planned process that starts with a sketch or do you use a more freehand approach? My design process is very freeform, but when it comes to actually producing pieces for a customer or event, then I work in a very meticulous way. I have a weekly schedule to follow in the studio to keep me organized. I do have a set time to work on new designs where I just see where my creativity takes me. Sometimes this is fruitful, other times it’s not, but I always learn something! 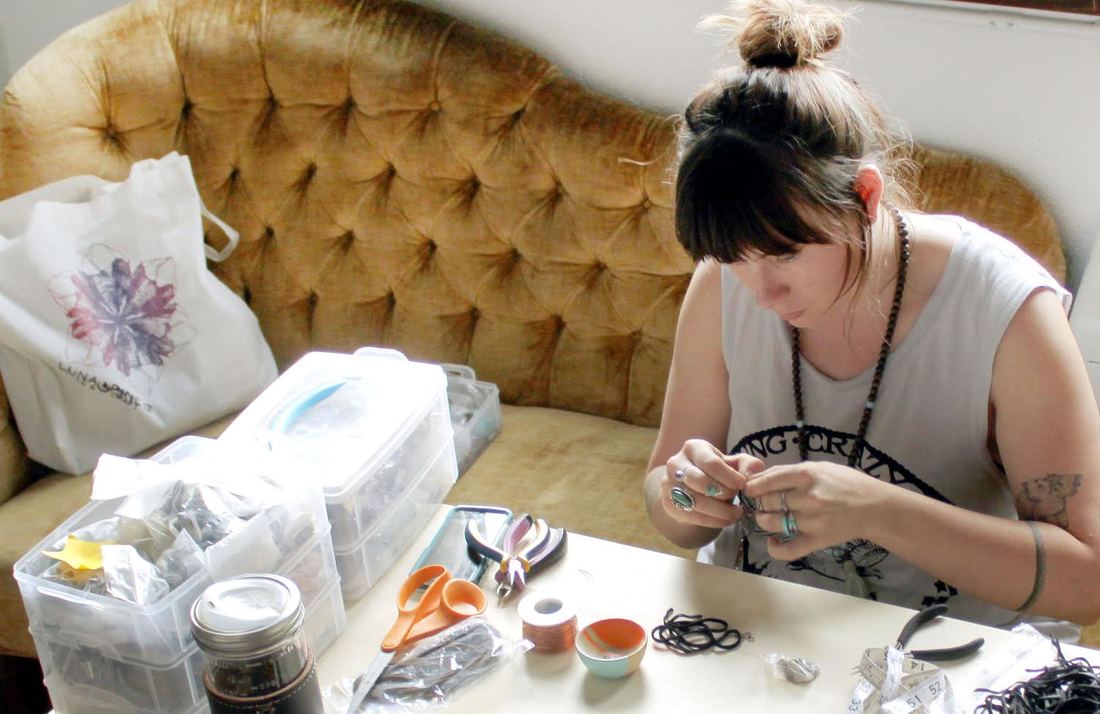 Photo courtesy of Luna Pines What has been the greatest challenge(s) and set-backs in your work so far and how did you overcome them? I studied printmaking and fine art in college and for a long time I was determined to merge my college education with my jewelry work. Last year I finally accepted that at this moment, I do not have the capacity to make both of these aspects shine, so I’ve dropped the printing and textiles from Luna Pines. I think I am still figuring out how to overcome this, and I see Luna Pines growing a lot in 2018. I still make time for drawing, painting, and printing and hope to have my work in a solo gallery show later this year. 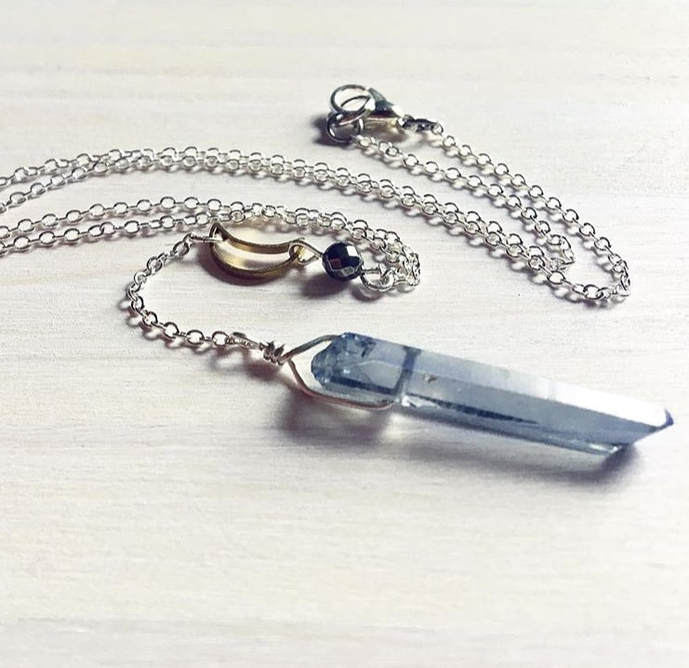 Photo courtesy of Luna Pines "I do have a set time to work on new designs where I just see where my creativity takes me. Sometimes this is fruitful, other times it’s not, but I always learn something! " What keeps you truly motivated each day? The freedom of being my own boss and flexibility that offers is what keeps me motivated. It’s taken me about 5 years to get to this point and I’m so grateful to be able to wake up and spend everyday in my studio. I know that if, somehow, this business doesn’t work out then I’ll need to go get a “real job” and that scares the shit out of me! 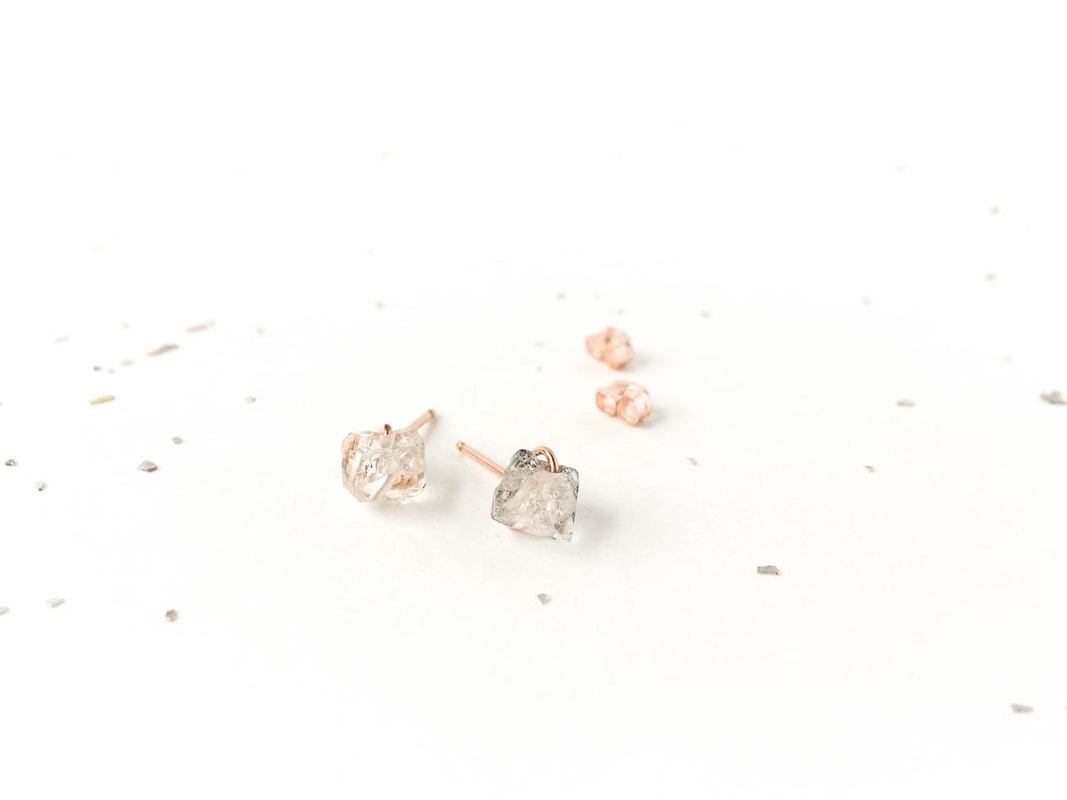 Photo courtesy of Luna Pines How do you maintain your personal edge in such a competitive market? That’s a challenge every artist is facing. I am always looking for new ways to challenge myself in studio, whether it’s mastering a new technique, pushing my own personal design boundaries, or seeking ways to perfect my existing designs. I think when I focus on competing with my “self” it keeps me from getting hung up on what other artists are doing. It’s just helpful to keep that negative energy away. 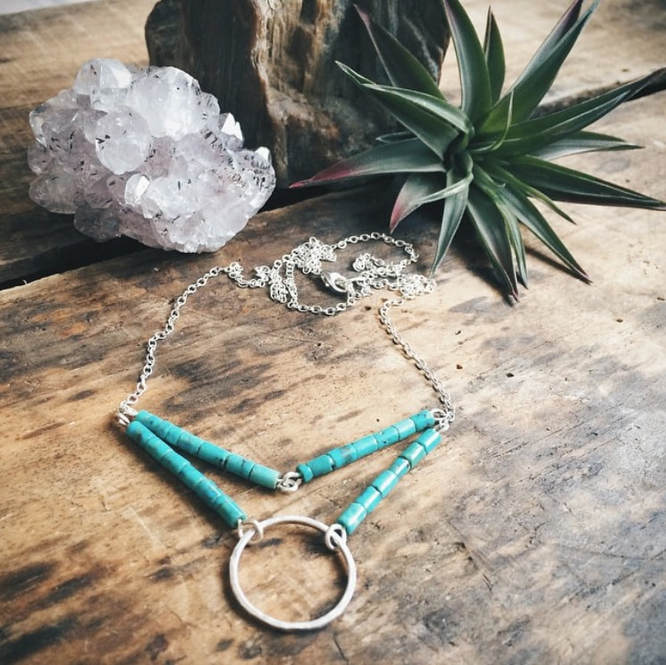 Photo courtesy of Luna Pines " It’s taken me about 5 years to get to this point and I’m so grateful to be able to wake up and spend everyday in my studio. " Where is Luna Pines headed? Where do you hope to see the brand years from now? In the near future, I’m revamping my business and studio to be sustainable and 100% eco-friendly. I’m working on redesigning all my packaging and changing my suppliers to more environmentally conscious companies. This year, Luna Pines went 100% vegan which was very important to me. In the long term, I’m hoping to get my work into small shops and boutiques across the country. Right now, my work can be found in a handful of shops across New England, but I think there’s a market for it on the west coast too (and everywhere in between!). I’m hoping that an expansion of wholesale would allow me to focus in on more seasonal lines, a stronger online presence, and allow for more quality time spent with my family. 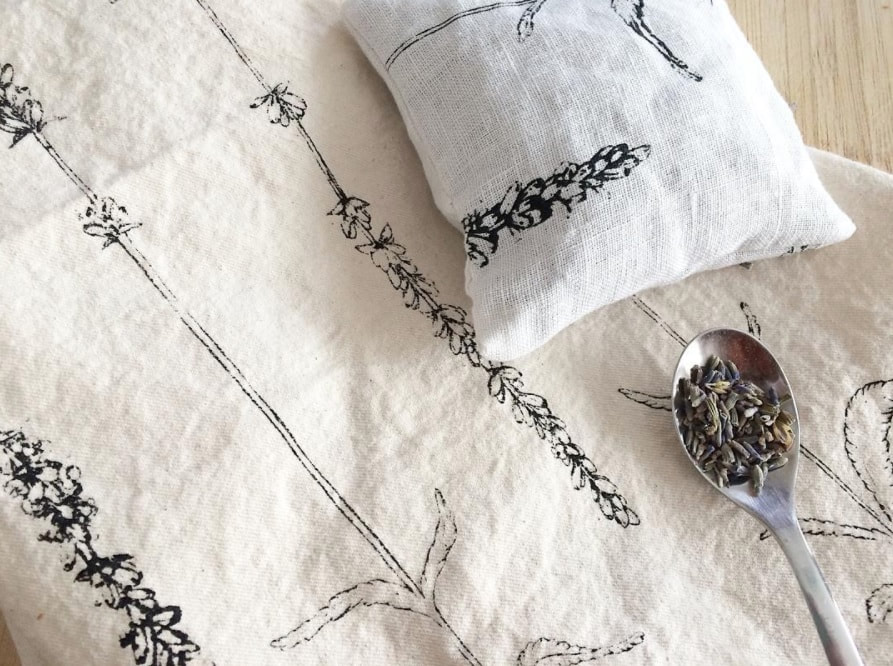 Photo courtesy of Luna Pines What advice would you give to someone who wants to follow in your footsteps and start a jewelry/lifestyle brand? I would tell them to get to work. Even on the days that it’s hard and you don’t want to. Even on the days when nothing seems to go your way. Especially on your most successful days because there’s always room for improvement. If it was easy everyone would do it, but the result of your hard work is absolutely worth it. 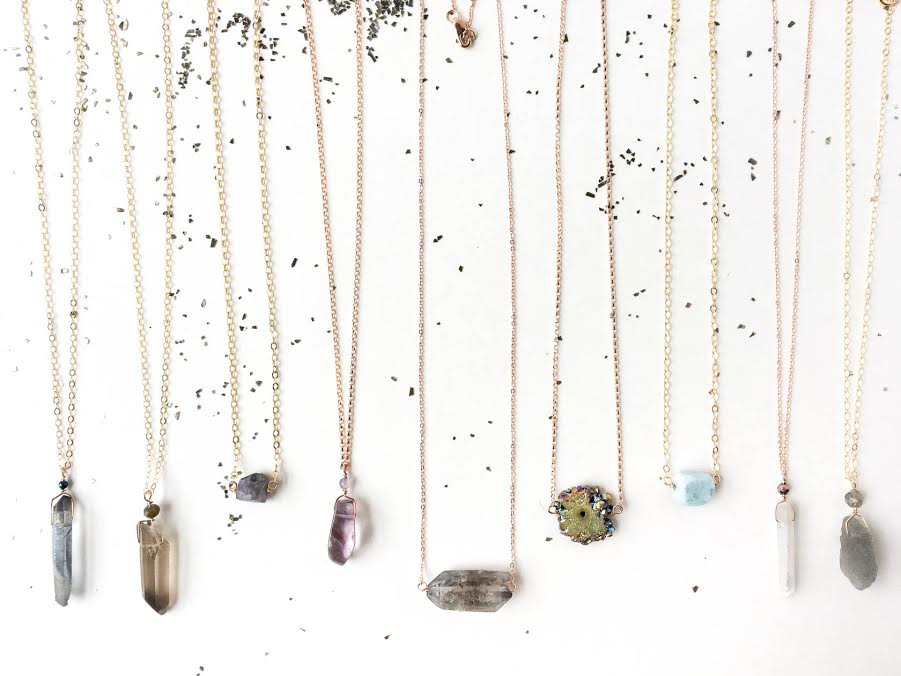 Photo courtesy of Luna Pines "If it was easy everyone would do it, but the result of your hard work is absolutely worth it. "
1 Comment
8/19/2022 04:36:34 am
Wow! This is beautiful collection of classic jewellery. Love all the jewellery pieces. Thanks for sharing. Leave a Reply. |
The Blog:A journey into our design process, sewing tutorials, fashion tips, and all the inspiring people and things we love. 
Doina AlexeiDesigner by trade and dressmaker at heart. I spend most of my days obsessing over new fabrics and daydreaming new ideas. 
Sadie
Executive Assistant & Client Relations Manager Archives
November 2019
Categories
All

|

-
Sewing Tutorials
-
Basics
>
- Aligning Pattern Grainlines To Fabric
- Preparing Fabrics For Sewing
- Pinning Sewing Patterns To Fabric
- Placing Sewing Patterns On Fabric For Cutting
- Rotary Cutters or Fabric Scissors?
- Cutting The Sewing Patterns
- What Are Notches And How To Use Them In The Sewing Process
- Transferring Notches From Pattern To Fabric
- Transferring Seamlines to Fabric
- Staystitching
- Backstitching: A Complete Guide
- Hand Basting: A Complete Guide
- Sewing Continuous Bias Binding
- Darts >
-
Sewing Seams
>
- The Basics Of Seams And Seam Allowance
- How To Sew A Straight Seam
- Sewing Curved Seams
- Sewing Corner Seams
- Trimming And Grading Seam Excess
- Notching/Clipping Seam Allowance for Tension Release
- Sewing Topstitched Seams
- Sewing Corded Seams
- Sewing A Slot Seam
- Sewing A Gathered Seam
- Sewing Bias Seams
- Sewing Seams With Ease
- Sewing Seams With Crossing Seamlines
- Sewing Unlike Fabric Seams
- How To Iron Seams: Ironing Tools And Conventions
- Sewing With Knit Fabrics
- Understanding Stitch Length And Tension
- Sewing Unique Fabric Seams
-
Seam Finishes
>
- Seam Finishing Techniques - Overview
- Applying A Pinked Seam Finish
- Applying A Bias Bound Seam Finish
- Serging And Zigzag Seam Finishes
- Sewing A Self-Bound Seam Finish
- Sewing A French Seam Finish
- Sewing A Hong Kong Seam Finish
- Sewing A Mock French Seam Finish
- Sewing A Turned-and-Stitched Seam Finish
- Sewing Overcast Hand-Applied Seam Finishes
- Sewing A Flat Felled Seam
- Sewing A Hairline Seam Finish
-
Hem Finishes
>
- Garment Hem Finishes: Overview
- Sewing A Double Fold Hem Finish
- Sewing A Single Fold Hem Finish
- Sewing Bound Hem Finishes
- Sewing An Exposed Double Layer Bound Hem
- Sewing A Folded-Up Bound Hem with Pre-folded Binding
- Sewing A Hong Kong Hem Finish
- Sewing A Band Hem Finish
- Sewing A Bias Faced Hem Finish
- Sewing A Twill Tape Hem Finish
- Sewing A Rolled Hem Finish
- Sewing A Shaped Hem Facing
- Using Fusible Hem Tape And Webbing
- Finishing A Lace Fabric Hem
- Finishing A Leather Hem
- Sewing Faced Hem Corners
- How To Finish Lining At The Hem
- Finishing Fabric Corners by Mitering >
- Interfacing A Hemline: Lined And Unlined Examples
-
Sewing Pockets
>
- Curved Patch Pocket With Flap
- Unlined Square Patch Pockets
- Lined Patch Pockets: Two Ways
- Extension On-Seam Pockets
- Separate On-Seam Pocket
- Front Hip Pockets
- Bound Double Welt Pocket
- Double Welt Pocket With Flap
- Self-Welt Pocket (Using Single Fabric Layer)
- Slanted Welt Pocket (Hand-Stitched)
- Faced Slash Pockets: Overview >
-
Sewing Zippers
>
- Sewing Zippers: General Information
- Sewing A Centered Zipper
- Sewing A Lapped Zipper
- Sewing An Invisible Zipper
- Sewing A Fly Front Zipper
- Sewing A Closed-End Exposed Zipper (No Seam)
- Sewing An Exposed Separating Zipper
- Sewing Hand Stitched Zipper Applications
- Sewing A Zipper Underlay
- Sewing A Placket-Enclosed Separating Zipper
- Sleeveless Finishes >
-
Neckline Finishes
>
- Sewing A Neck Shaped Facing
- Sewing An All-In-One Neck Facing
- Neck And Garment Opening Combination Facings >
- Sewing A Bias Faced Neckline Finish
- Sewing A Band Neckline Finish
- Bound Neckline Finishes: Overview >
- Sewing A Semi-Stretch Strip Band Neckline
- Ribbed Neck Band And Classic Turtleneck
- Decorative Neckline Finishes >
- Finishing Facing Edges >
-
Extras
>
- A Complete Guide on Interfacing
- Sewing Bound Spaghetti Straps
- Sewing Spaghetti Straps To A Faced Neckline
- Sewing Ruffles: Overview
- Patterning And Sewing A Circle Ruffle
- Sewing A Gathered Heading Ruffle
- Sewing Double Layer Gathered Ruffles
- Sewing A Gathered Ruffle Into A Seam
- Sewing A Gathered Ruffle To A Fabric Edge
- Sewing A Fabric Surface Slit
- Sewing A Slit Seam
- Hand-Applied Straight Stitches
- Hand-Applied Blind Stitches
- Hand-Applied Overedge Stitches
- Hand-Applied Tack Stitches
- Hand-Applied Decorative Stitches
-
Basics
>
- Custom Bridal
- Custom Apparel
- About
- Blog
 RSS Feed
Services |
Company |
|
