Understanding Shaped Neckline Facings In Dressmaking
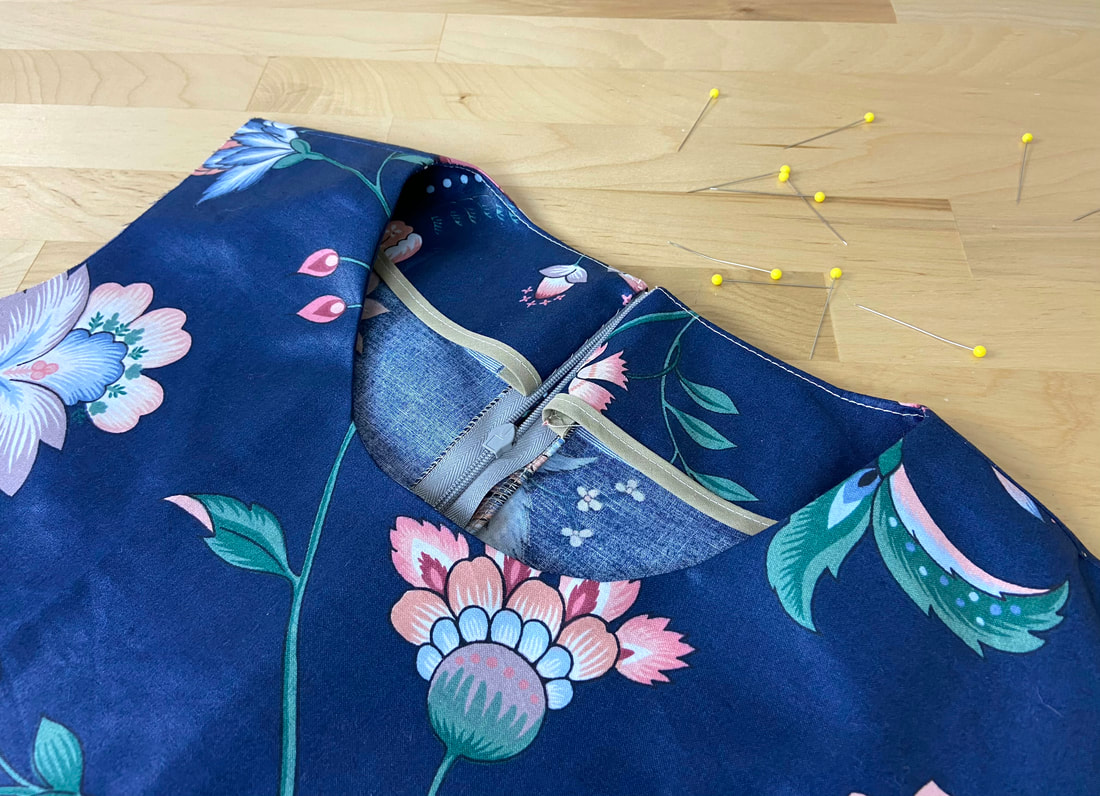
A neckline facing is cut at the exact shape of the neck area it finishes. The facing unit is stitched to the neckline after which it is flipped to the inside of the garment to enclose all raw edges. In its finished position, the facing lays flat against the wrong side of the garment and should not be visible on the garment's face side. As a result, the faced neckline edge is a well-defined, smooth curve with no stitching visible on the right side of the garment.
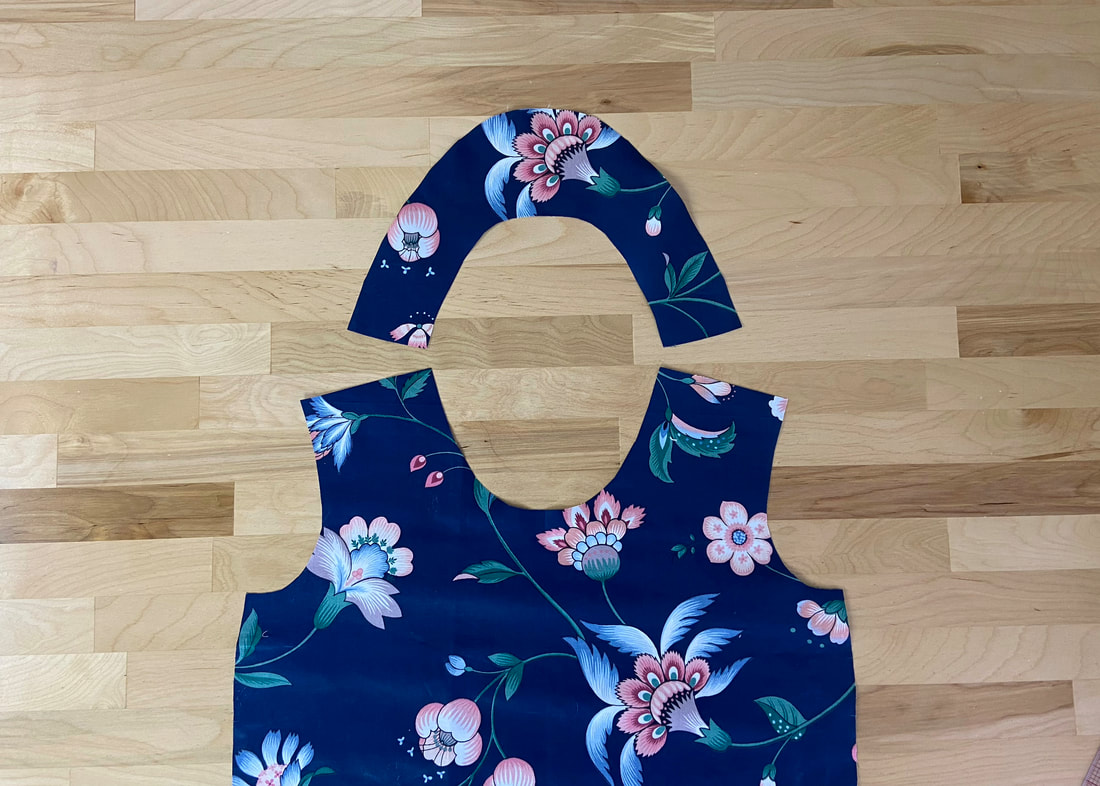
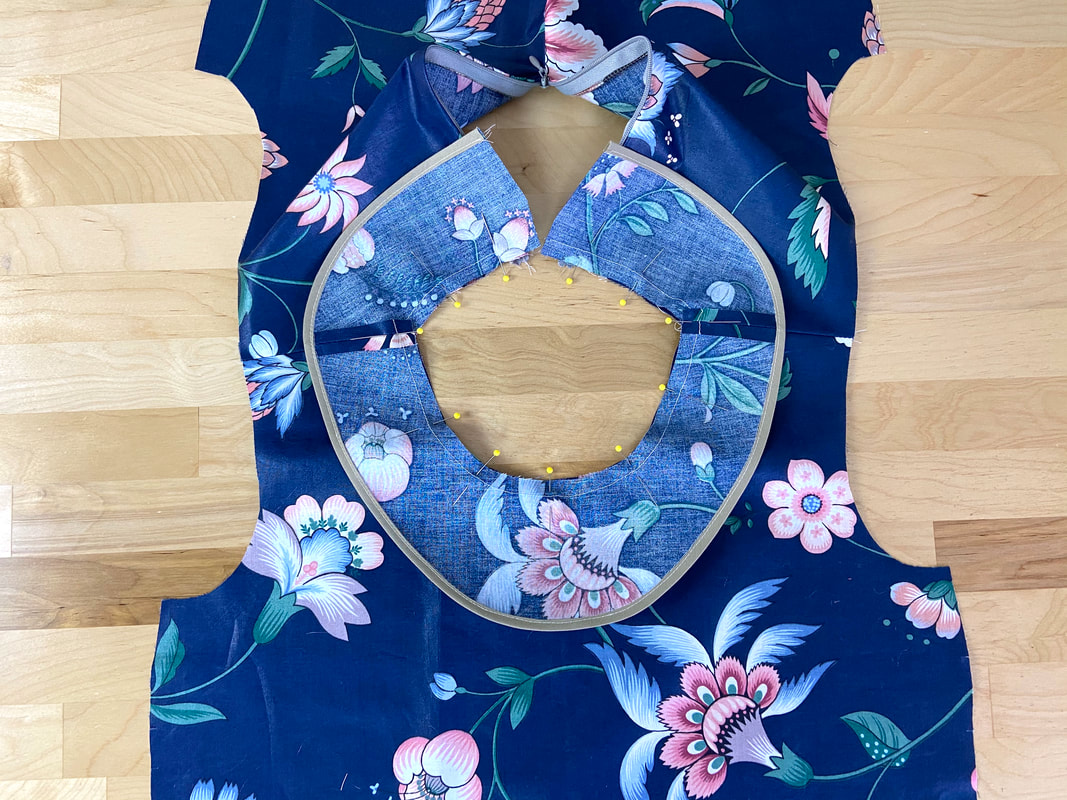
The facing pieces corresponding to the garment's front and back neckline are conventionally cut using separate sewing patterns. The patterns should be aligned and cut such that they are the mirror image of the garment's neckline (as pictured above). This alignment will ensure that when stitched and finished, the facing's right side corresponds to the inside of the garment and both layres' wrong sides are touching.
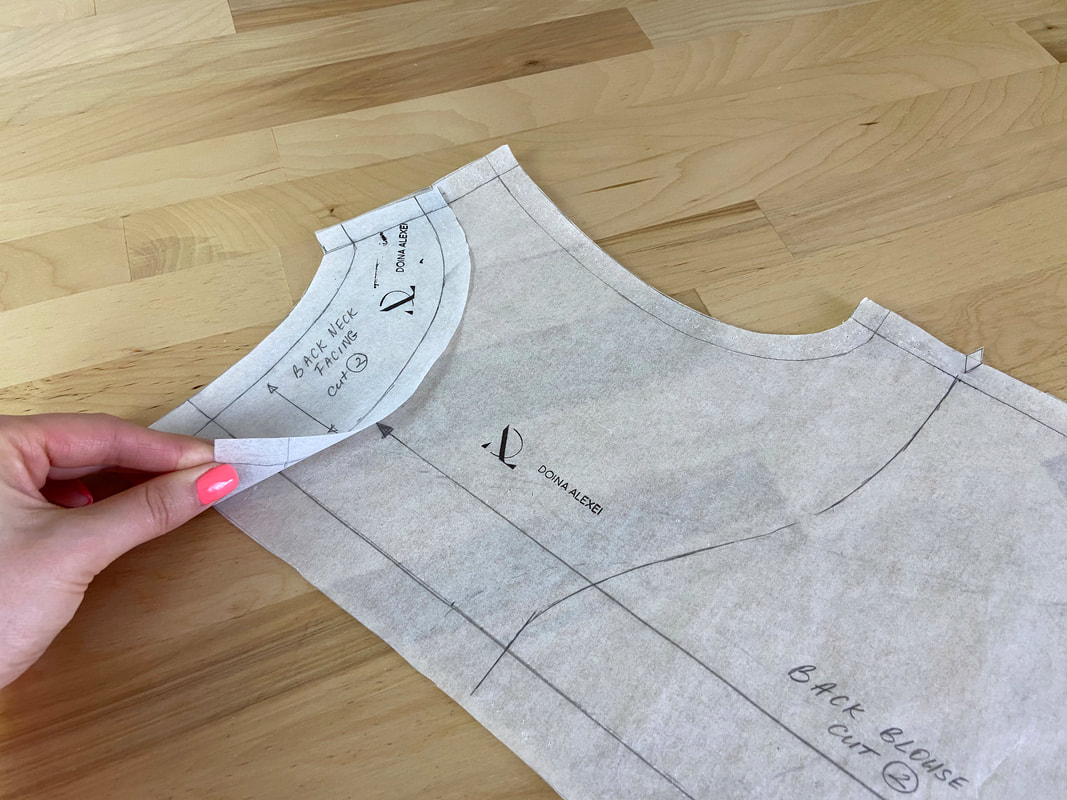
Facing patterns are easily drafted using the main garment patterns. When drafting a shaped neck facing, the facing's outline is drawn directly on the garment patterns using the neck seamline as a guide. The resulting outline is then transferred to a separate piece of paper to complete the facing pattern. All facing pieces should fit perfectly within the garment's neckline edges as shown above.
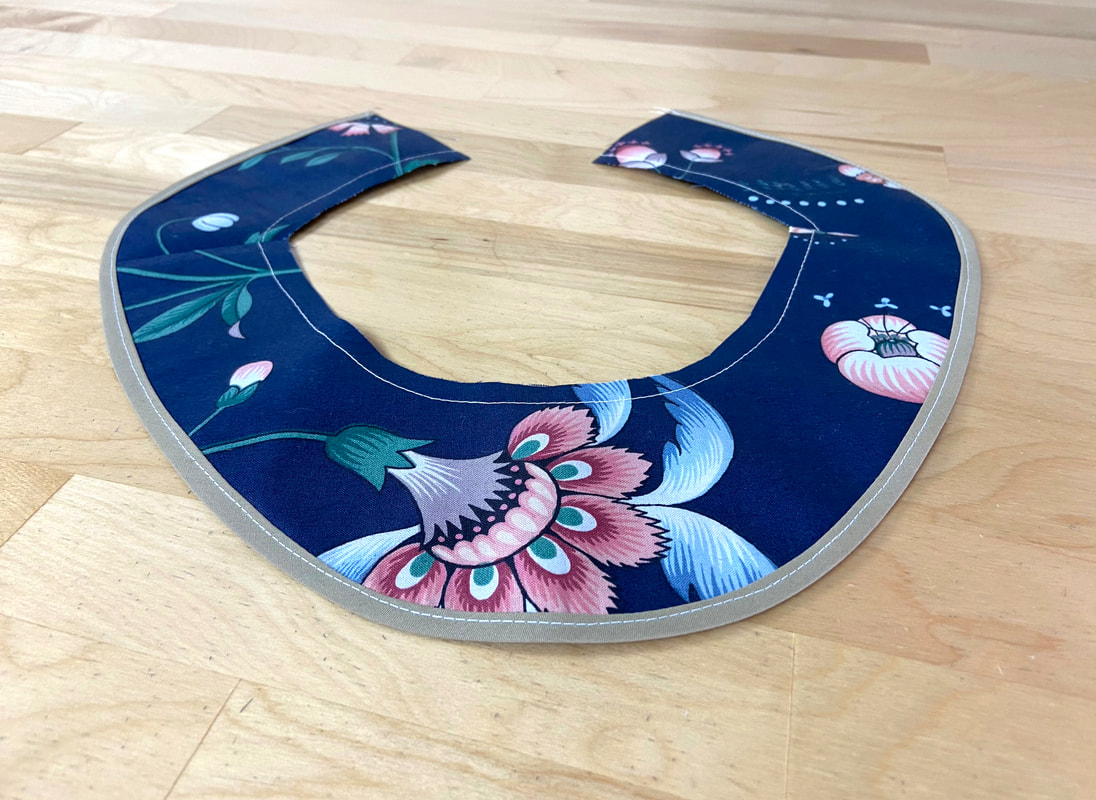
Before attaching the facing to the garment's neckline, each facing portion should be staystitched along its inner curved edge to stabilize this vulnerable area and prevent it from stretching out of shape during the construction process. The full facing compartment is then stitched, usually at the shoulder seams, to match the shape of the garment's neckline.
Prior to aligning and stitching this facing compartment to the garment, it is helpful to first clean-finish the facing's outer edge using the technique of your choice. This, of course, should only be done if your garment is unlined and the facing's outer edge will be fully visible on the garment's wrong side. It is completely acceptable to clean-finish this edge after the facing has been attached to the garment's neckline, but you'll find that this is often more uncomfortable and difficult to do at this stage.
Prior to aligning and stitching this facing compartment to the garment, it is helpful to first clean-finish the facing's outer edge using the technique of your choice. This, of course, should only be done if your garment is unlined and the facing's outer edge will be fully visible on the garment's wrong side. It is completely acceptable to clean-finish this edge after the facing has been attached to the garment's neckline, but you'll find that this is often more uncomfortable and difficult to do at this stage.
Once the facing compartment is complete with its outer edge clean finished, it is aligned flat on top of the garment layer with fabric face sides touching. In addition, the facing and garment neck edges should align perfectly, and any corresponding seams (usually the shoulder seams) should overlap and match perfectly.
The shoulder seams will often serve as a great starting point for aligning the facing layer as it provides a guideline for ensuring all corresponding edges fall naturally into place. As a result, the facing unit should lay flat against the garment layer underneath.
Note: To keep all edges/layers properly aligned, as well as to facilitate the machine stitching process, insert the pins perpendicular to the edges as pictured above.

