Two Ways To Align Decorative Trim To A Closed Armhole Edge
When finishing an armhole edge with decorative trim, one thing is clear: The trim has to efficiently hide the armhole's raw edges. But how do you handle the trim's open ends, especially when working with a fully closed edge like that of the armscye? Luckily, there are two techniques you can use to handle these open ends. For best results, the method should be chosen based on the trim's thickness and shape.
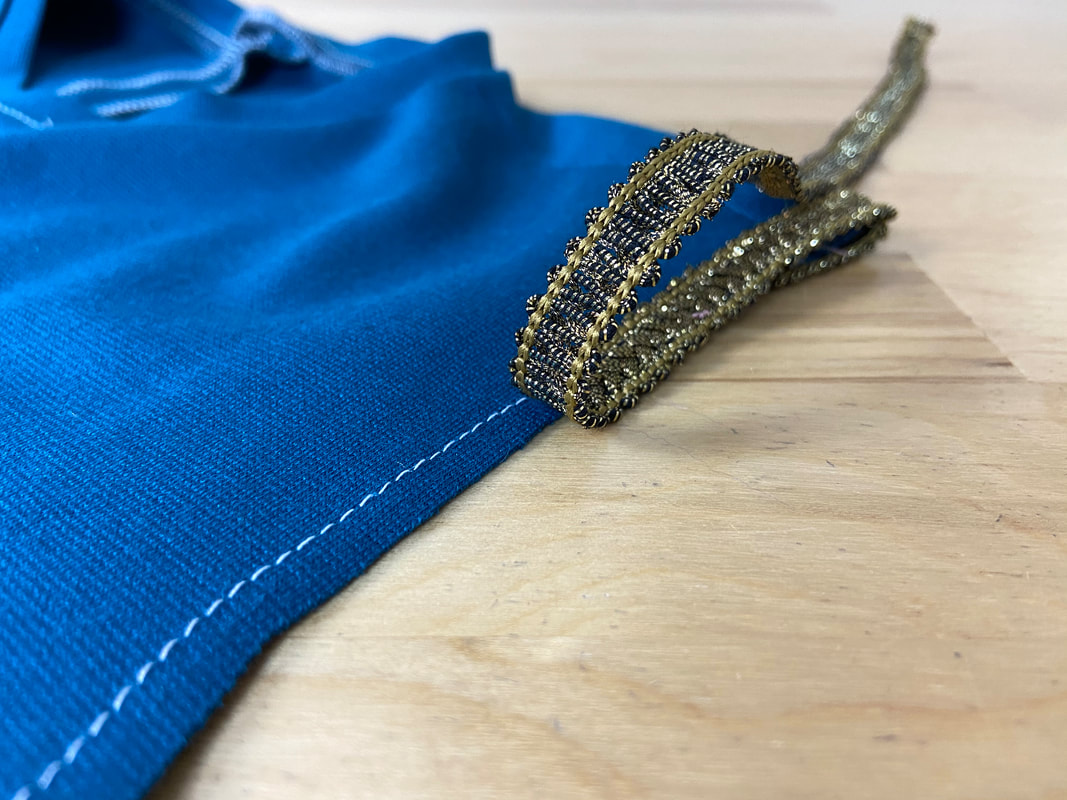
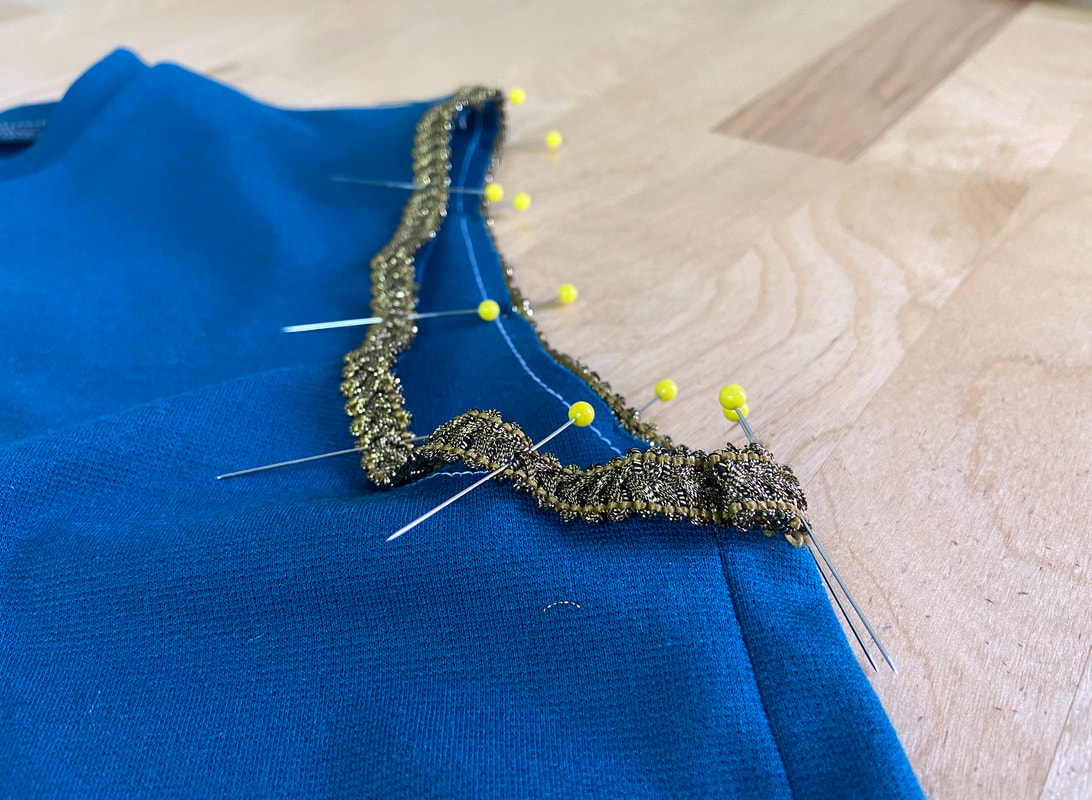
If working with a bulkier, thicker trim, fold the trim's starting end inward at about 1/2" and align the folded edge with the garment's underarm seam (or side seam).
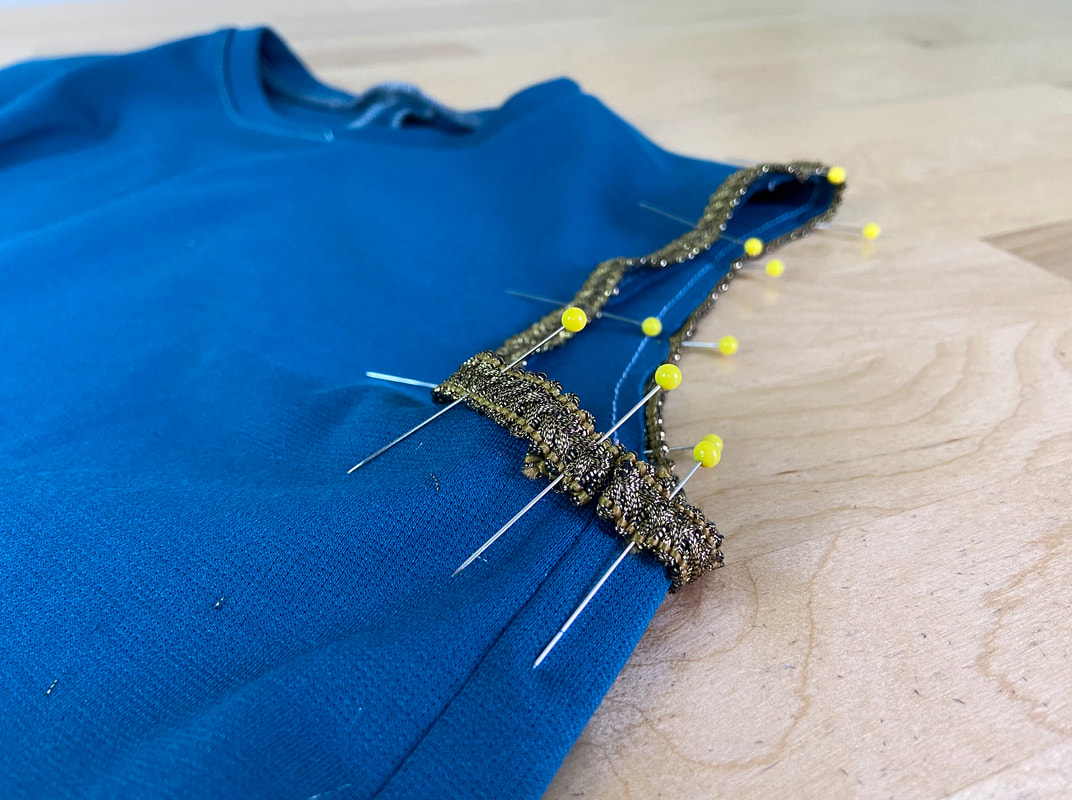
Continue aligning and pinning the trim to the armhole edge until you arrive back at the underarm seam, or the trim's starting end. At this point, cut the excess trim at about 1/2" past the garment's seam and fold this excess inward at 1/2". Align this second end such that the resulting fold line abuts the other (initial) folded end, and is perfectly in line with the garment's underarm seam as pictured above.
Once aligned, the trim can be permanently attached to the armhole edge either by machine or by hand.
If the trim is thinner and lays flatter, you can choose to fold only one of its ends during the clean-finishing process.
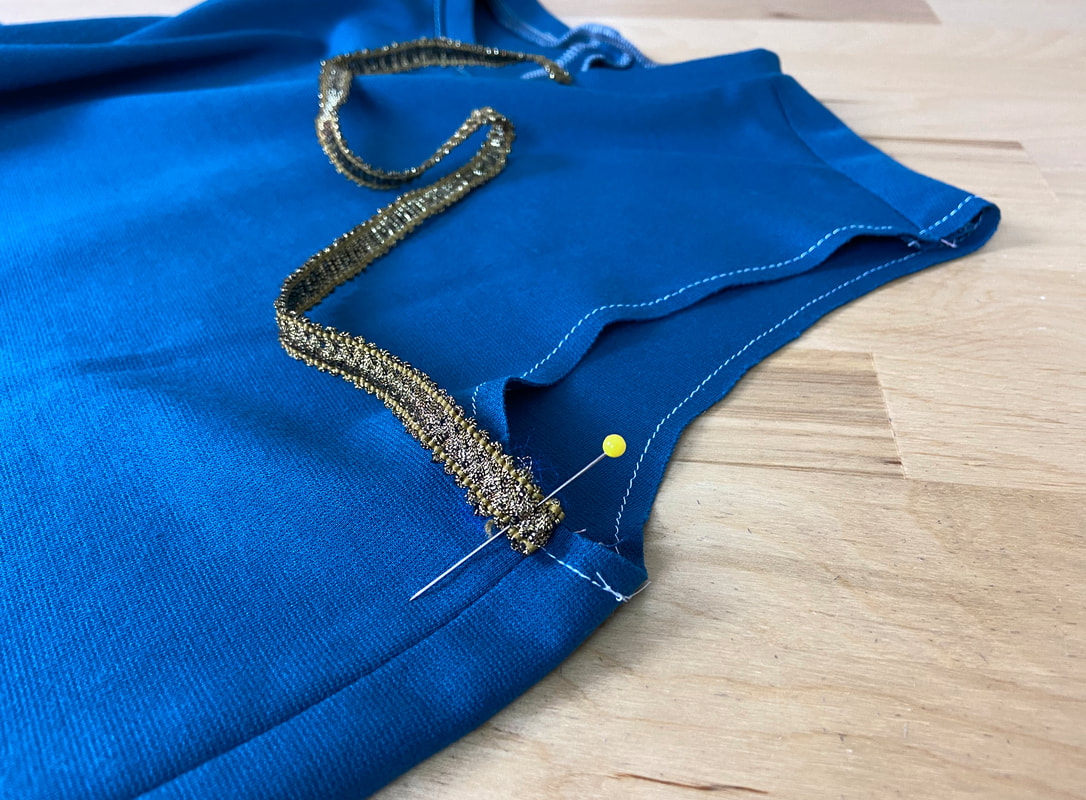
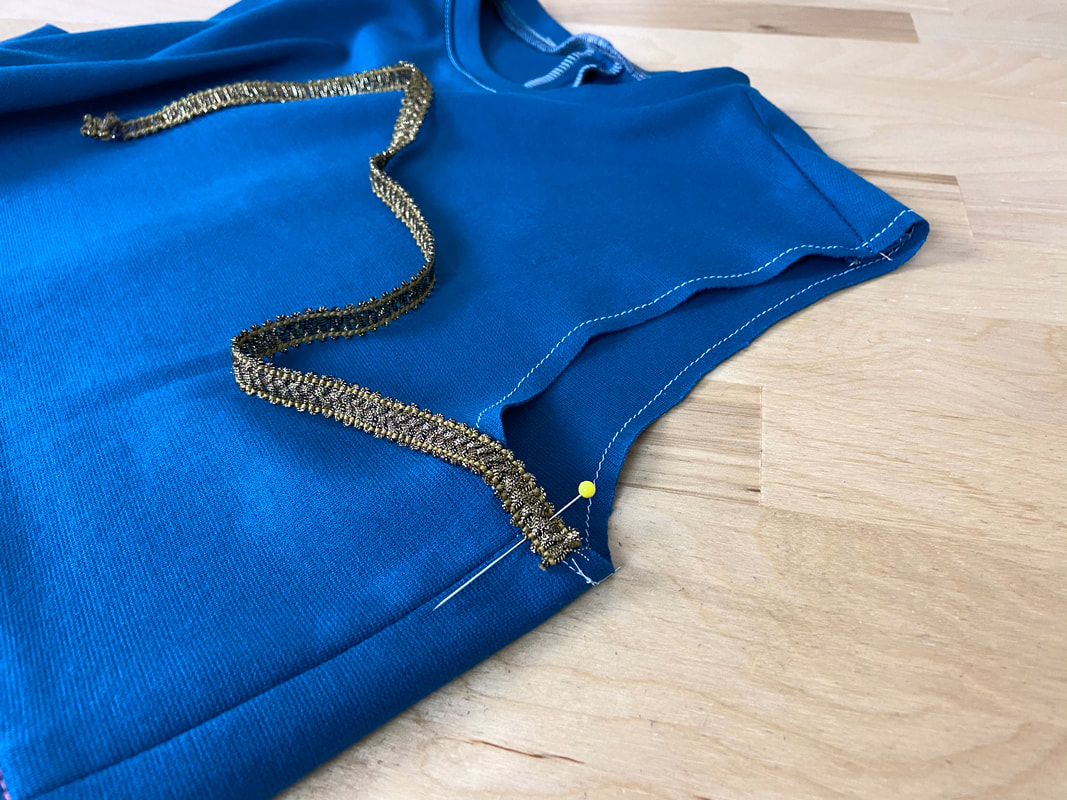
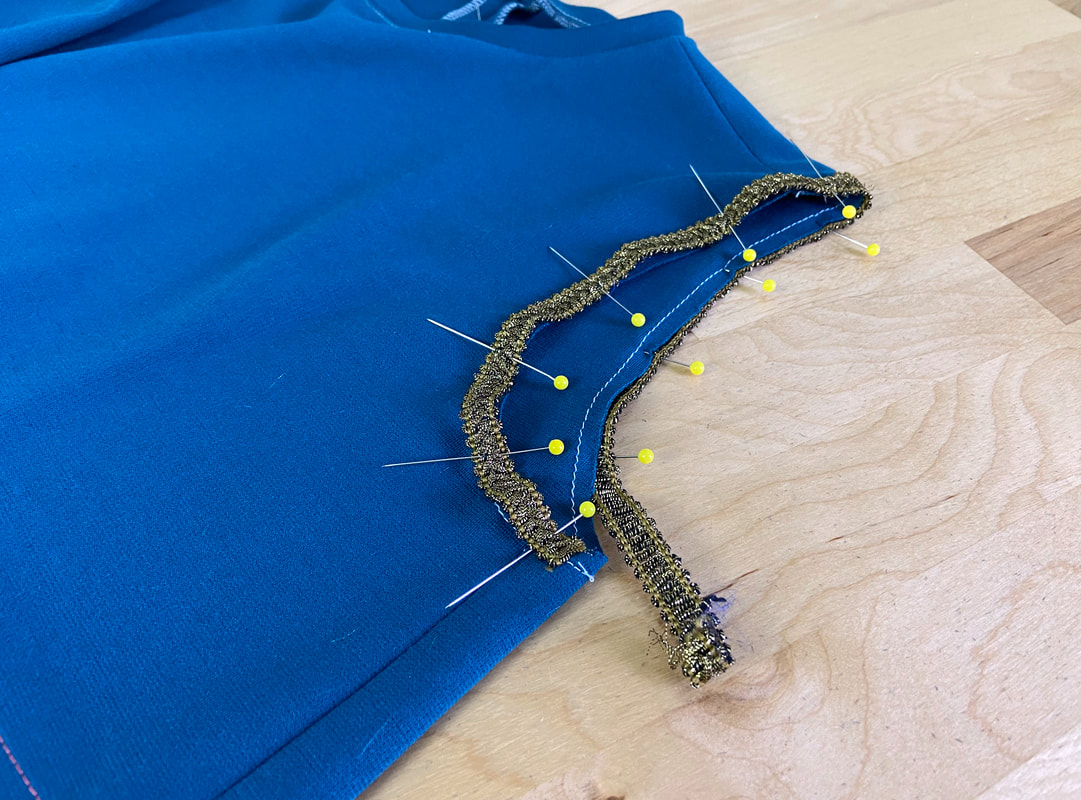
Start by aligning the trim end at about 1/2" past the garment's underarm seam as shown in the left image above. Continue aligning and pinning the decorative trim until you arrive at the trim's starting point (or underarm seam). Place the end of the trim over the garment seam and cut the trim's excess at about 1/2" distance past this seam.
Start by aligning the trim end at about 1/2" past the garment's underarm seam as shown in the left image above. Continue aligning and pinning the decorative trim until you arrive at the trim's starting point (or underarm seam). Place the end of the trim over the garment seam and cut the trim's excess at about 1/2" distance past this seam.
To encase the trim's raw edges, fold the end of the trim and align the resulting folded edge with the garment's seam, fully covering the trim's initial unfolded, raw end underneath.

