How To Stabilize And Secure A Shaped Facing Layer With A Cross Tack
Shaped facings provide a classic way to finish garment edges. A faced technique results in a clean, structured finish with no visible topstitching on the garment's right side.
On the other hand, due to the lack of topstitching, which can often be used to keep fabric layers perfectly positioned, facings tend to shift out of alignment if not properly stabilized at key areas on the garment's wrong side. Luckily, this is quite simple and intuitive to do:
On the other hand, due to the lack of topstitching, which can often be used to keep fabric layers perfectly positioned, facings tend to shift out of alignment if not properly stabilized at key areas on the garment's wrong side. Luckily, this is quite simple and intuitive to do:
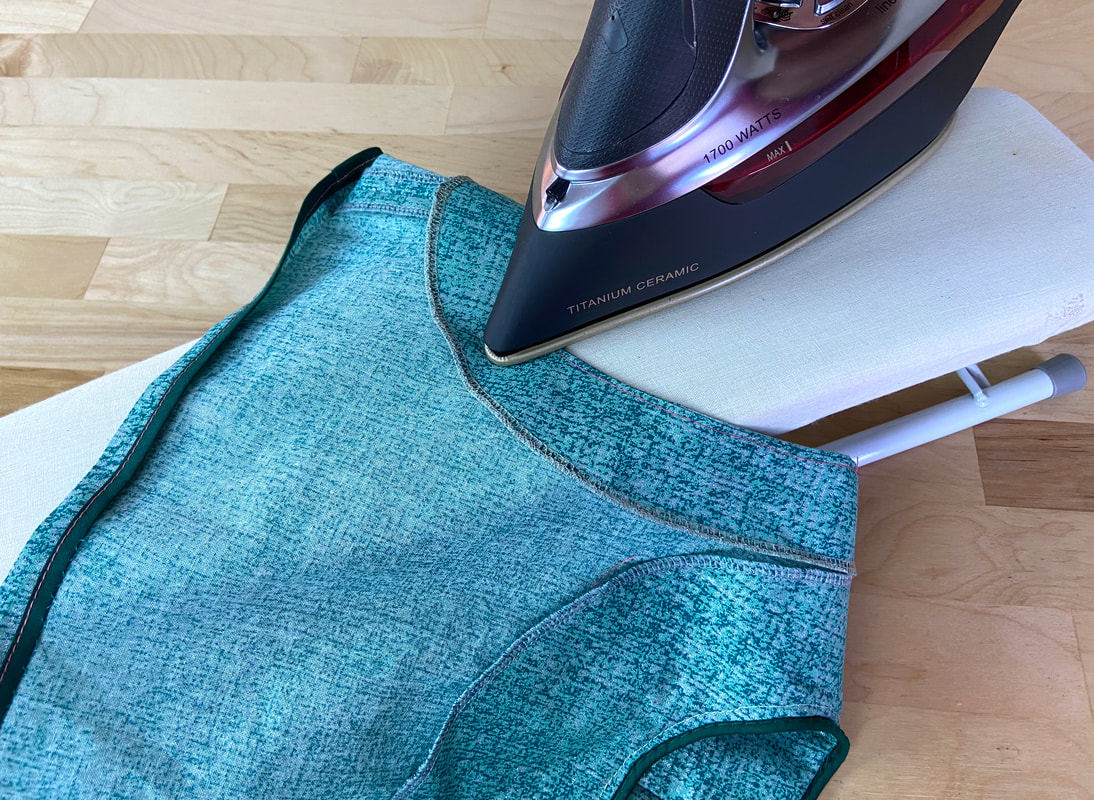
Once the facing is fully stitched and understitched, it is important to iron the finished faced edge as this will not only flatten and smooth out the faced edge(s), it will also keep the facing layer more securely aligned in its correct position.
Unfortunately, ironing alone does only about 60% of the job. Without some additional stabilizing, the facing layer tends to shift out of alignment, creating discomfort during wear, or flip entirely to the outside of the garment (especially after the first wash cycle).
Unfortunately, ironing alone does only about 60% of the job. Without some additional stabilizing, the facing layer tends to shift out of alignment, creating discomfort during wear, or flip entirely to the outside of the garment (especially after the first wash cycle).
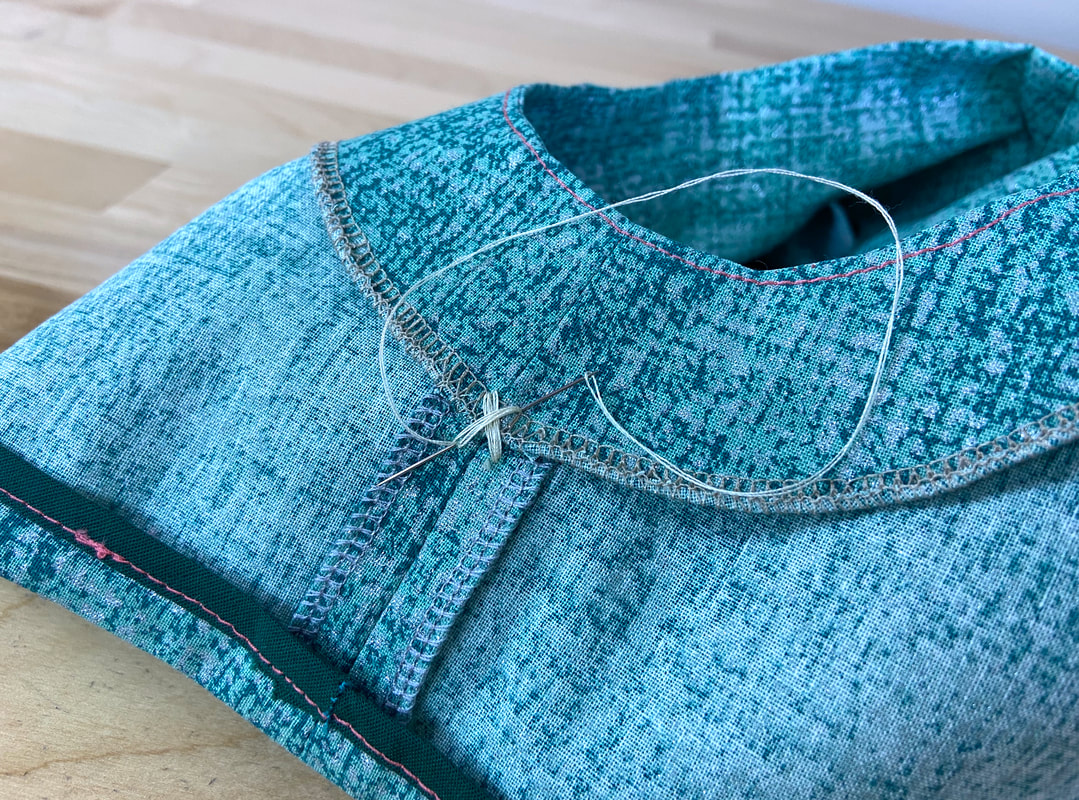
To ensure that the facing layer remains unwavering throughout the garment's lifecycle, the facing edge should be tacked down by hand at each garment seam on the garment's wrong side. You can use a simple whipstitch tack or a cross tack as shown above.
Before hand-tacking, make sure the facing's seams align perfectly on top of their corresponding garment seams. The tack is then applied through the facing edge and the garment's seam allowance layers only.
Before hand-tacking, make sure the facing's seams align perfectly on top of their corresponding garment seams. The tack is then applied through the facing edge and the garment's seam allowance layers only.
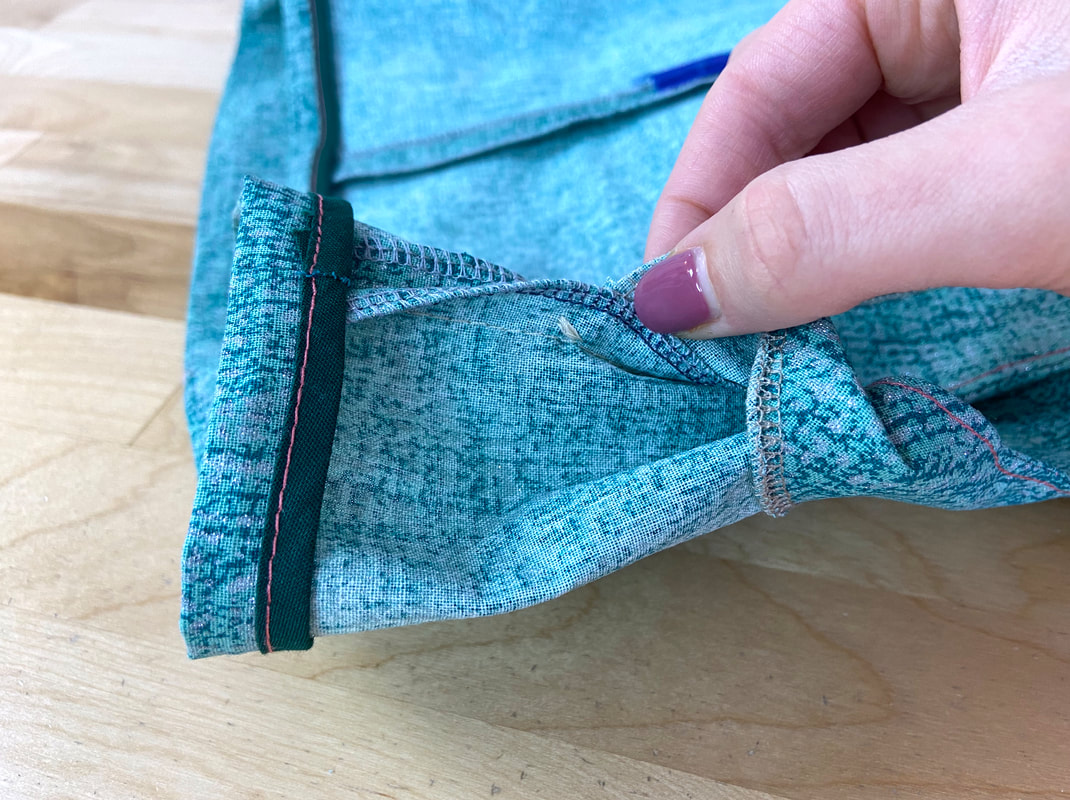
Once the tack application is complete, the seam allowance should fully lift away from the garment at the stitched location - this will confirm you have correctly stitched only through the seam allowance without catching the garment surface underneath.
Conventionally, stabilizing hand tacks are added at each garment seam intersecting the facing layer. For example, in this case, an armhole shaped facing is hand-tacked with the tacks applied at each shoulder seam and underarm seam to fully complete each faced armhole application.
Conventionally, stabilizing hand tacks are added at each garment seam intersecting the facing layer. For example, in this case, an armhole shaped facing is hand-tacked with the tacks applied at each shoulder seam and underarm seam to fully complete each faced armhole application.
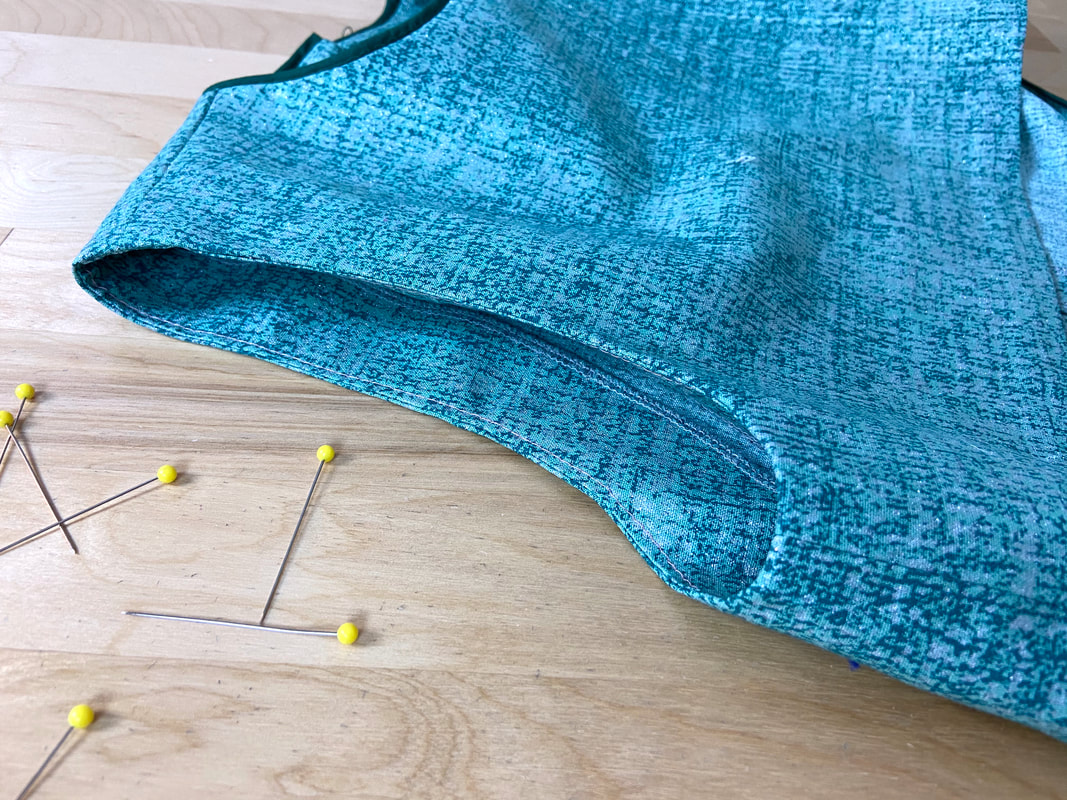
These stabilizing tacks are purely functional and should not be visible on the garment's face side. They should also not cause any tension or pulling within the garment's surface, which is why it is essential that the facing layer is aligned correctly and laid completely flat prior to tacking. In the finished application, the facing should remain flat and perfectly aligned during wear as well as the garment's regular wash cycles.


