Four Conventional Ways To Clean-Finish Garment Armholes
Here are four conventional and most-widely used techniques to finish armhole edges:
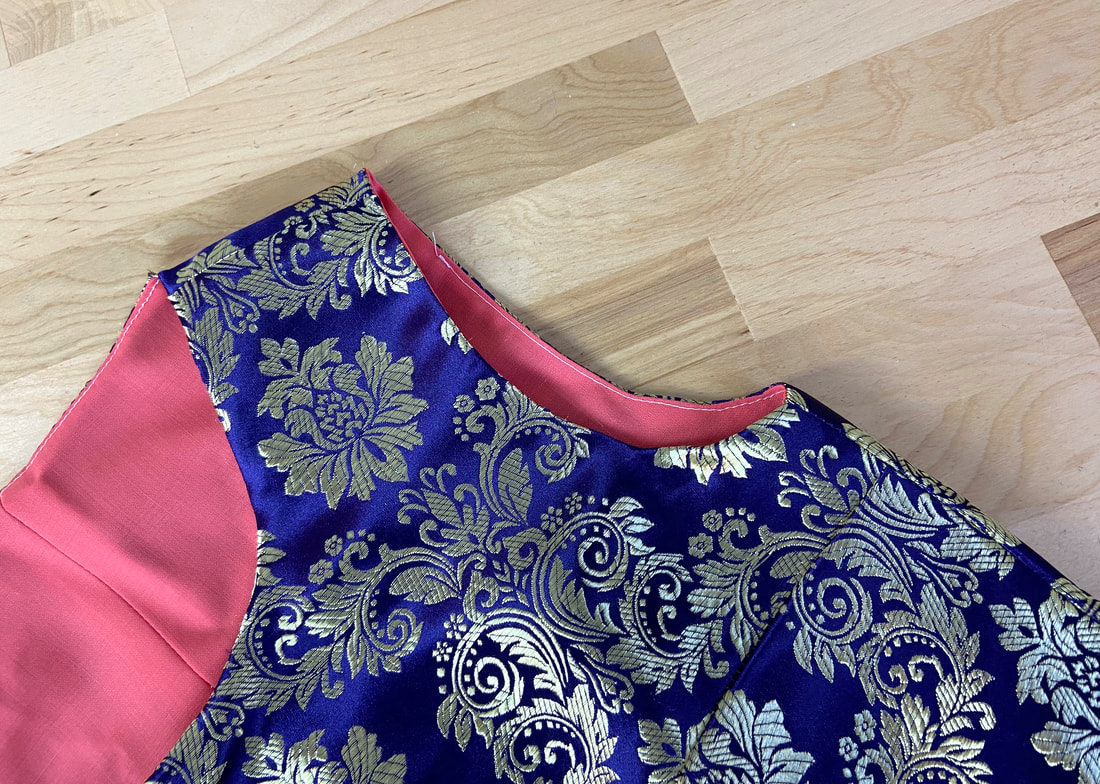
Lining: Lining is cut at exactly the same shape as the garment layer it backs, and used to clean-finish not only armhole and neckline edges but also the entire wrong side of the garment.
With a lining application, the armhole and neckline edges should form smooth, even edges with no topstitching visible on the garment's face side. By design, the finished armhole edges will look identical to the finished neckline.
While lining is a convenient all-in-one technique, it does not work for all fabrics and all designs. It is considered a more tailored, dressy finish with the lining layer adding some overall thickness and structure to the completed garment.
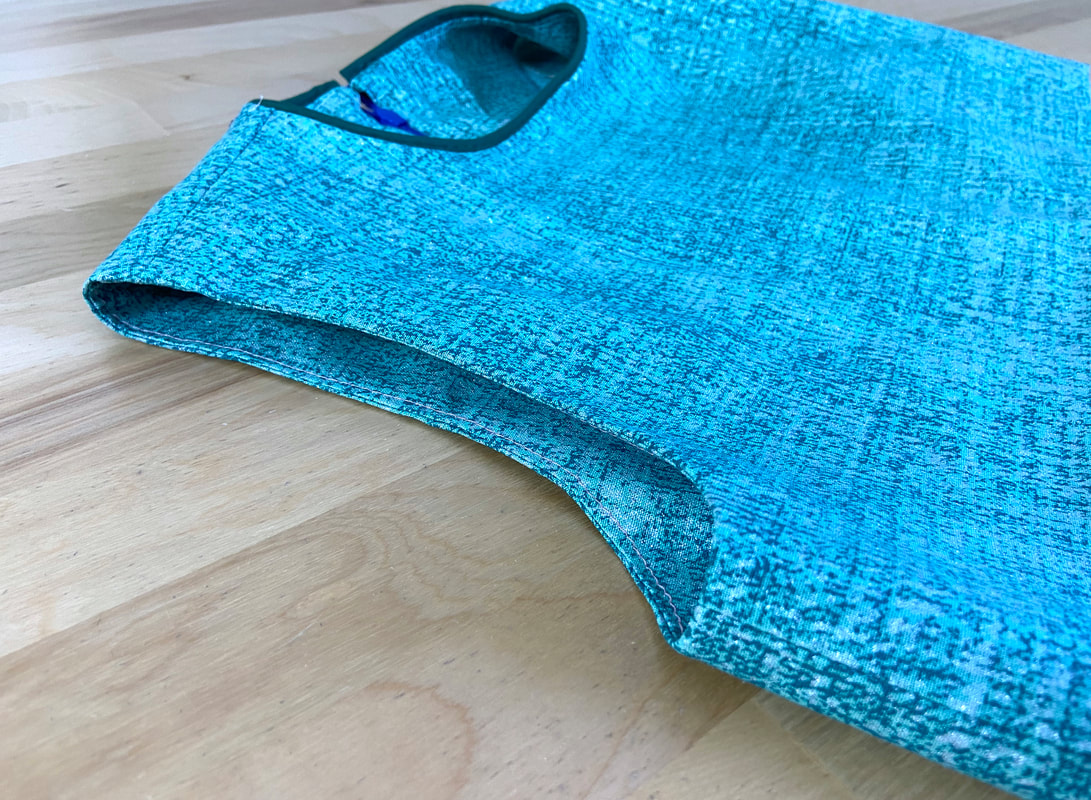
A shaped armhole facing: A shaped facing can be used to finish any garment edge by enclosing its raw edges and molding to the exact area it finishes.
Shaped facings are most commonly used at the neckline, armhole, garment opening, and hemline. When it comes to clean-finishing an armhole edge, a facing provides a more tailored, structured finish with no stitching visible on the garment's right side.
The facing compartment is usually about 2"-3" in width, and cut to the exact shape of the front and back armhole area it finishes. Once the facing is stitched to the armhole edge, it is simply flipped to the wrong side of the garment thus enclosing all raw edges.
A shaped facing is similar to lining but instead of a single layer finishing both armhole and neckline edges simultaneously, each armhole (and neckline) requires a separate facing compartment.
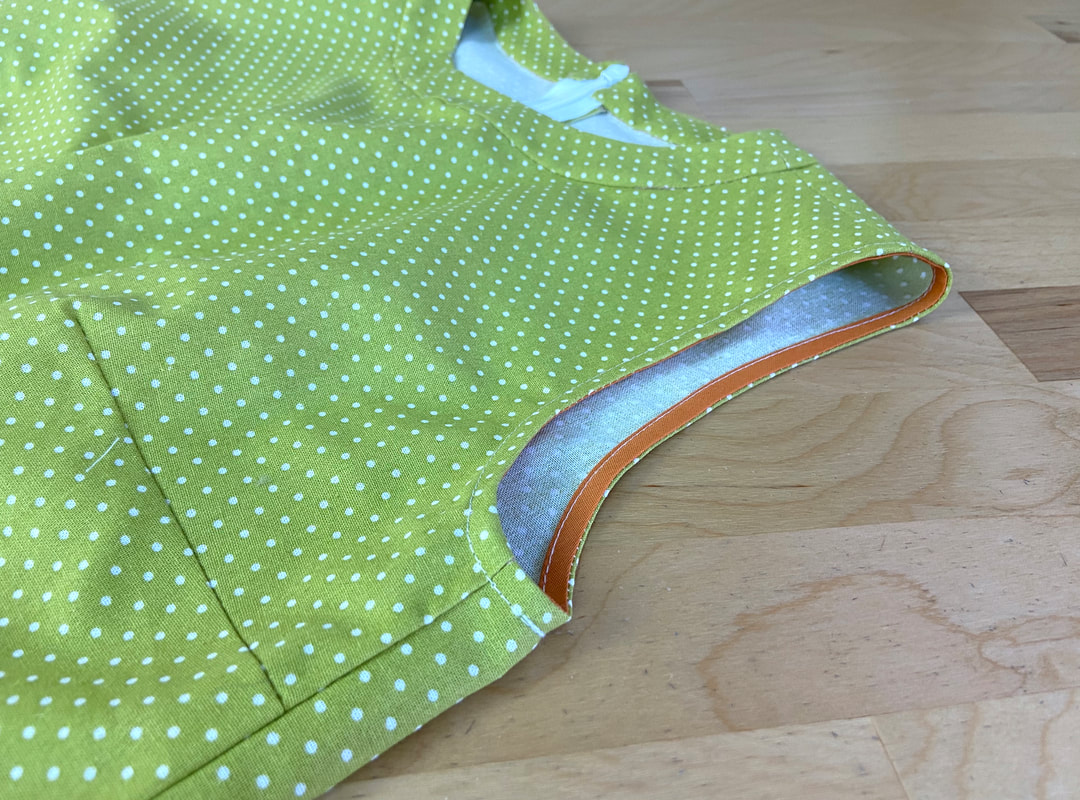
Binding: To sew a bound armhole finish, you can use any type of binding including single layer, double layer, pre-folded and pre-packaged bias binding strips. A bias bound armhole finish is considered a more casual application having the ability to maintain the garment's lightness and drape.
Bias binding is constructed from fabric strips cut on the bias grain. This diagonal fabric grain provides enough stretch and flexibility allowing the bias binding to mold along curved armhole edges without causing any strain or tension.
With a bound finish, the binding strip simply encloses the armhole's raw edge. It can be left exposed for a more decorative finish, folded under and topstitched (as shown above), or blindstitched by hand.
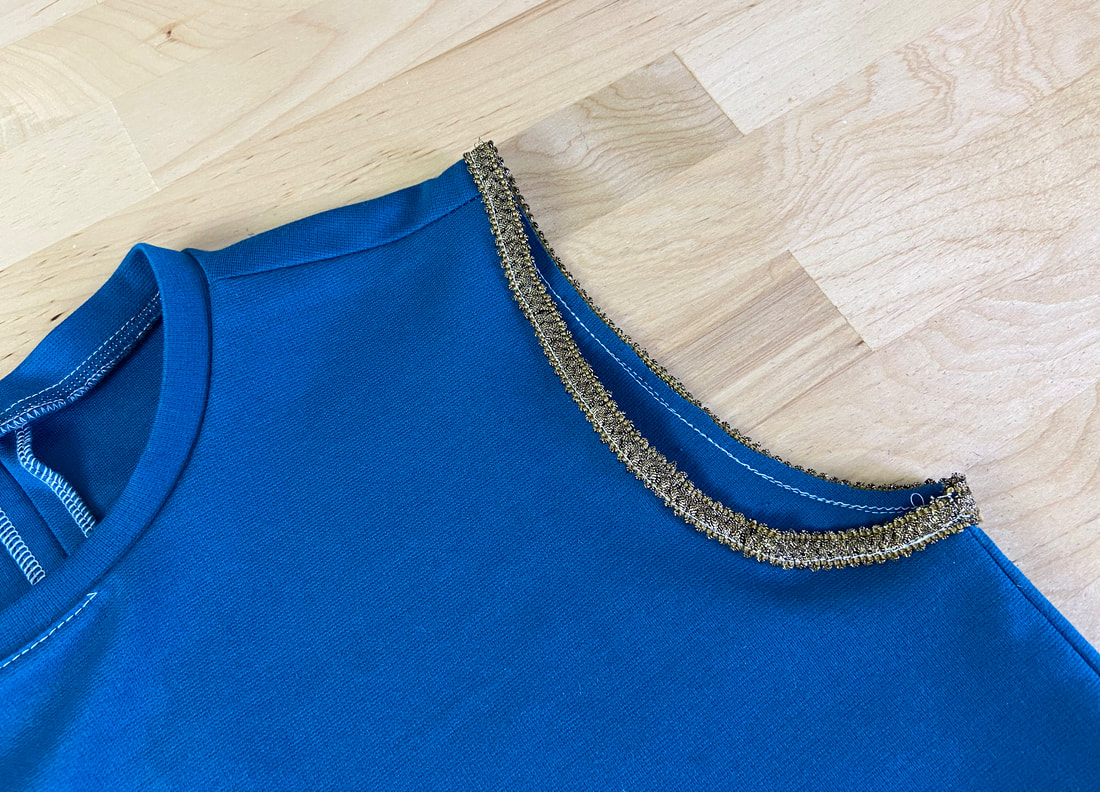
A decorative trim: If you prefer decorative-functional mix, you can finish armhole edges using your choice of decorative trim. This technique works better with fabrics that have little-to-no-fraying when cut, and maintain some structure and stability along their cut edges.
Instead of folding or enclosing the armhole's raw edges, the decorative trim is simply aligned to cover and hide the armhole edges from the right side of the garment. The trim should be chosen carefully so that not only does it work well with the overall garment design, it also fully covers these raw edges.
Before applying the trim, it is good practice to stabilize both armhole edges with a straight machine stitch and/or serging (or zigzag stitch) to prevent any possible fraying and unraveling.


