
How To Finish Armhole Edges With Pre-Packaged Bias Binding
|
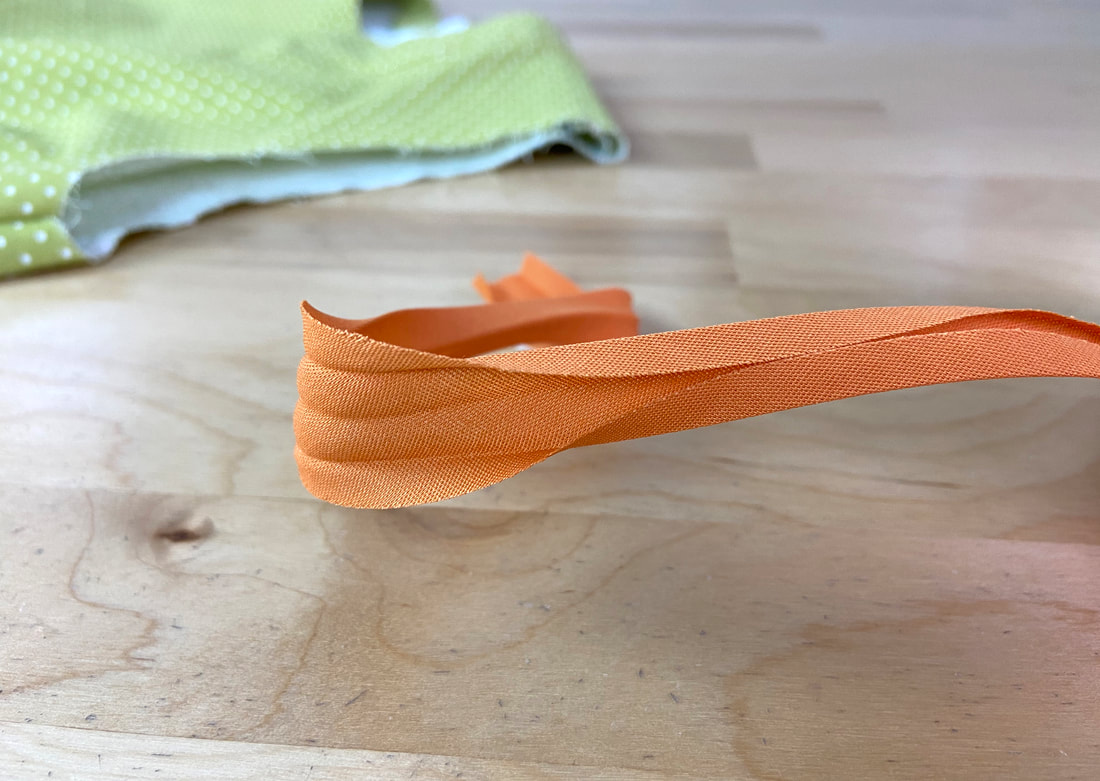
A pre-packaged bias binding is ready to use, and conventionally pre-folded in either single or double fold style. In this example, a double fold pre-packaged binding is used to finish a curved armhole edge. The binding is attached similar to a single layer bias binding, but in this case, the binding's folded crease lines are used as a stitching guide.
|
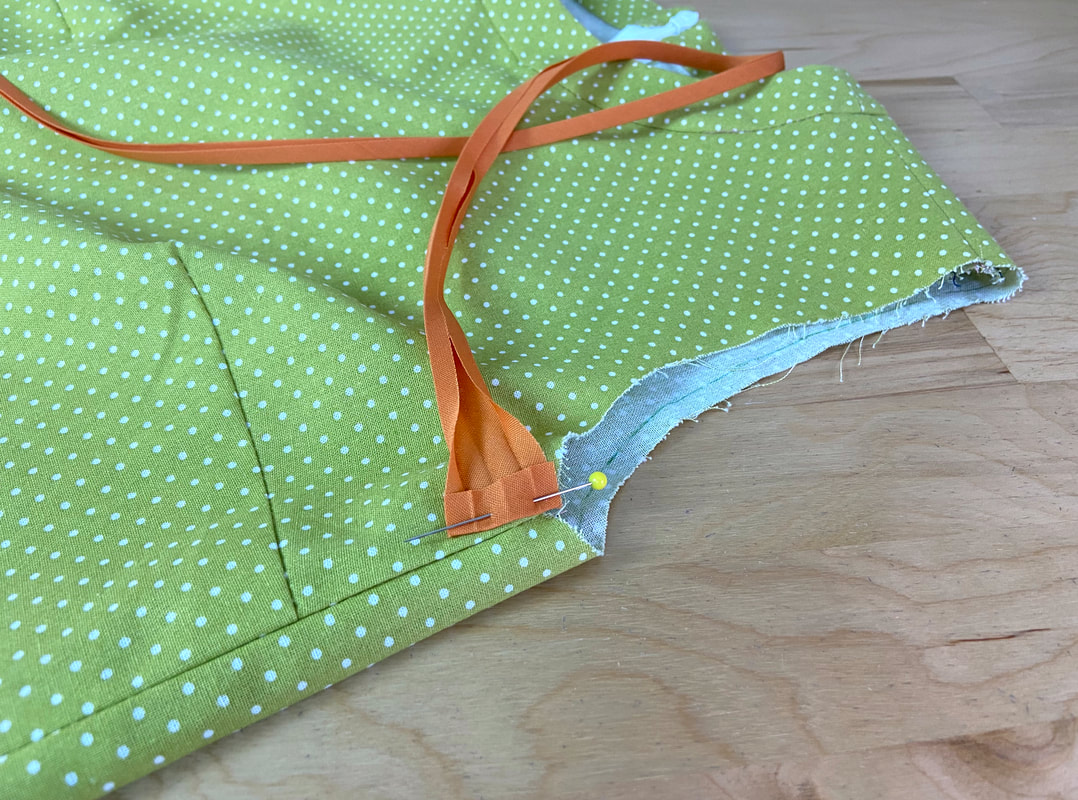
1. Open the binding strip and fold one of its ends toward the binding's wrong side at about 1/4"-1/2". Align this folded edge to the garment's side seam, located at the underarm, with face sides touching and edges aligning. Insert a pin perpendicular to the edges to secure the layers together.
|
|
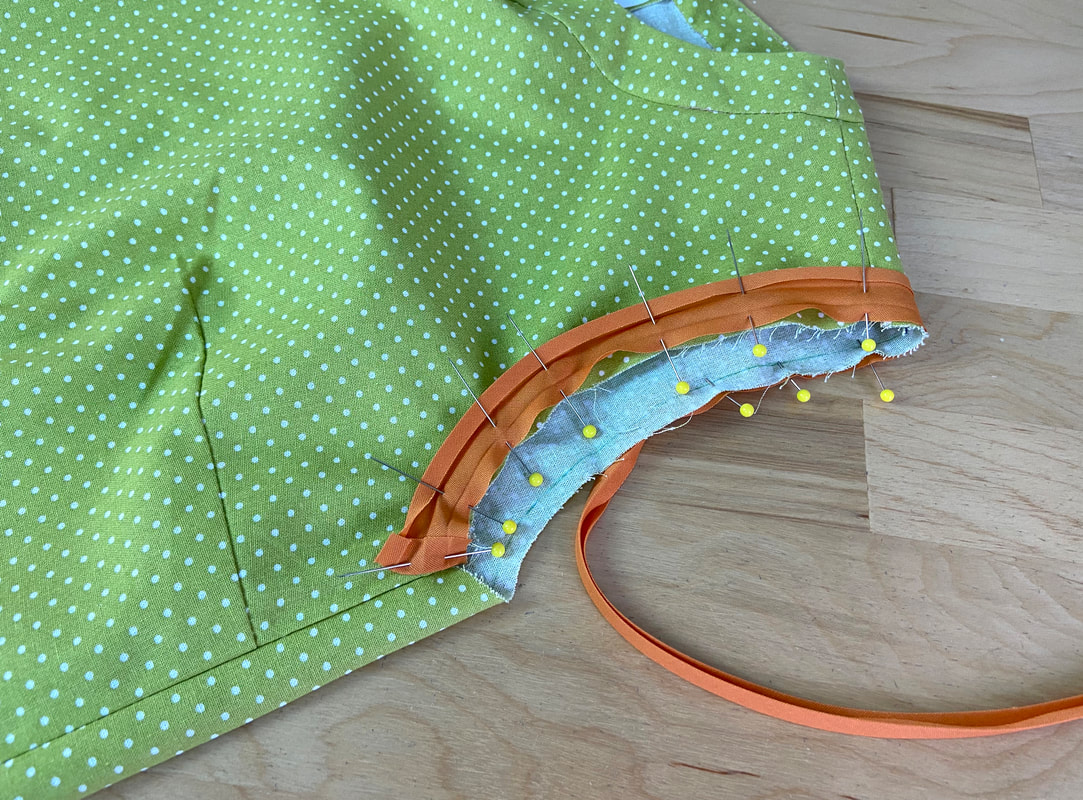
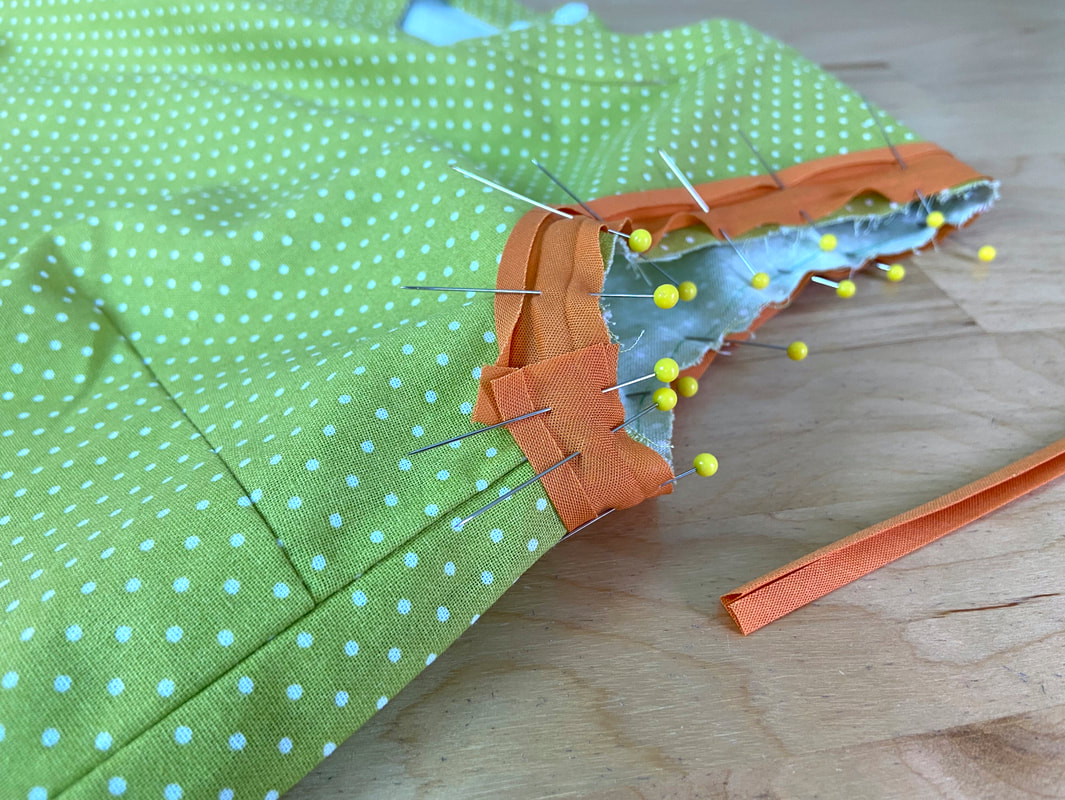
2. Continue aligning and pinning the binding edge to that of the armhole, inserting pins perpendicularly to keep the layers aligned. Pin until you arrive at the binding's starting point. At this location, trim the binding strip excess such that its end overlaps the folded end by approximately 1/2". Bring the trimmed binding over the folded end and insert a pin to keep all layers aligned.
Note: Prior to machine stitching, it helps to hand baste the binding and armhole edges as this will provide increased stability during the machine stitching process.
Note: Prior to machine stitching, it helps to hand baste the binding and armhole edges as this will provide increased stability during the machine stitching process.
|
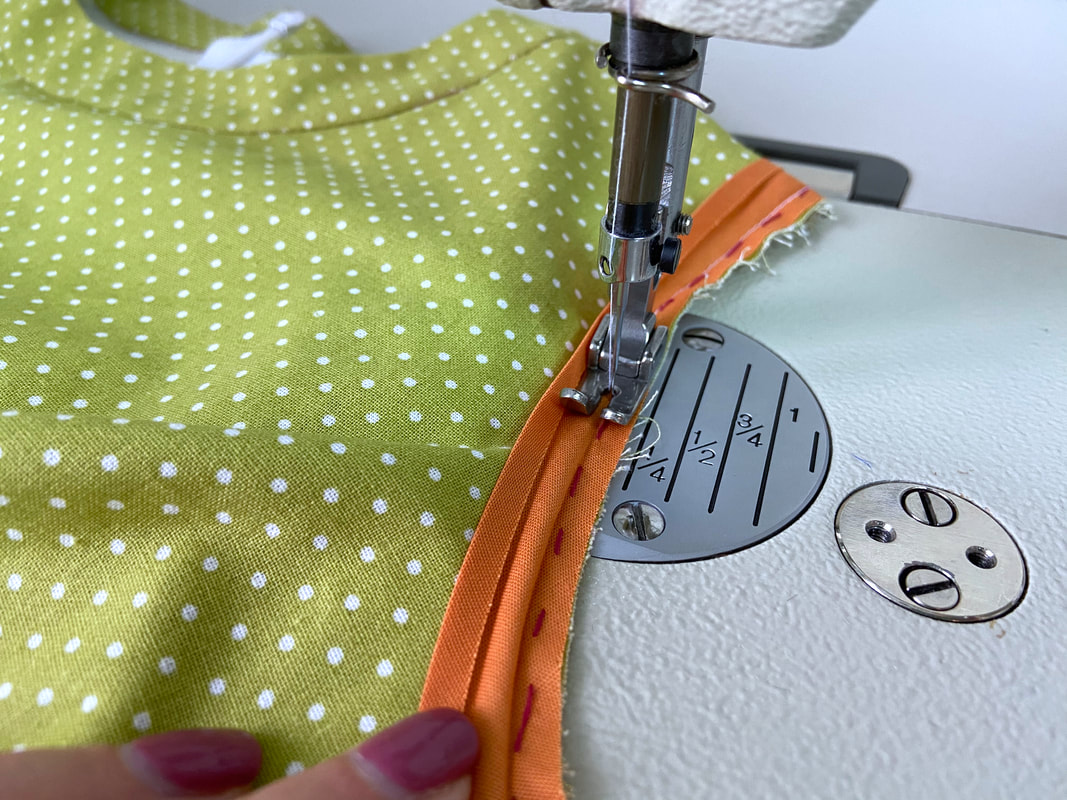
3. Machine stitch the binding strip following the crease line as a guide. You can stitch directly on top of the crease (if this is more comfortable for you) or a little to the right of it.
|
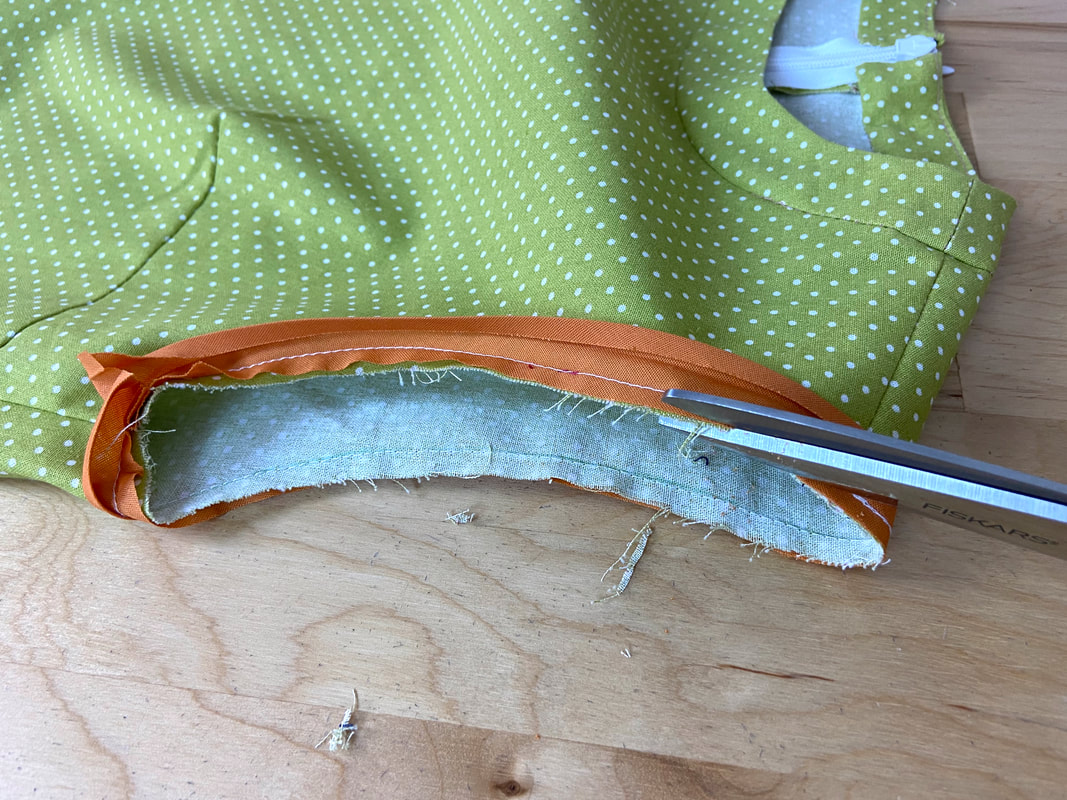
4. Once stitched, trim the seam allowance excess either in areas where it appears wider, or about 1/16" along the entire edge. Trimming some of this bulk will facilitate folding the binding layer over the raw armhole edge.
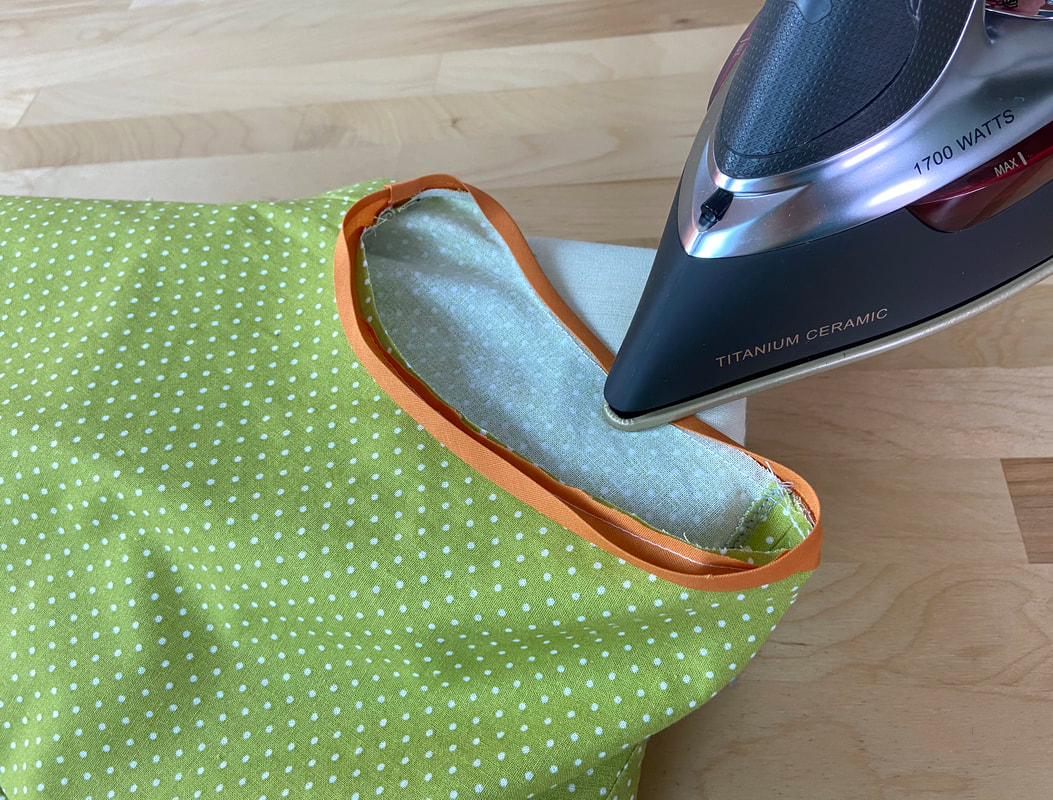
5. Next, let the double-fold binding wrap around the armhole edge. This will happen intuitively following the pre-folded lines. All raw edges should be fully enclosed in the slot created by the double-fold binding.
Iron the binding to secure it in this alignment. If your binding application is exposed, you can blindstitch or topstitch it in this position at this point.
In this tutorial, the binding is folded under (one more time) and topstitched.
Iron the binding to secure it in this alignment. If your binding application is exposed, you can blindstitch or topstitch it in this position at this point.
In this tutorial, the binding is folded under (one more time) and topstitched.
|
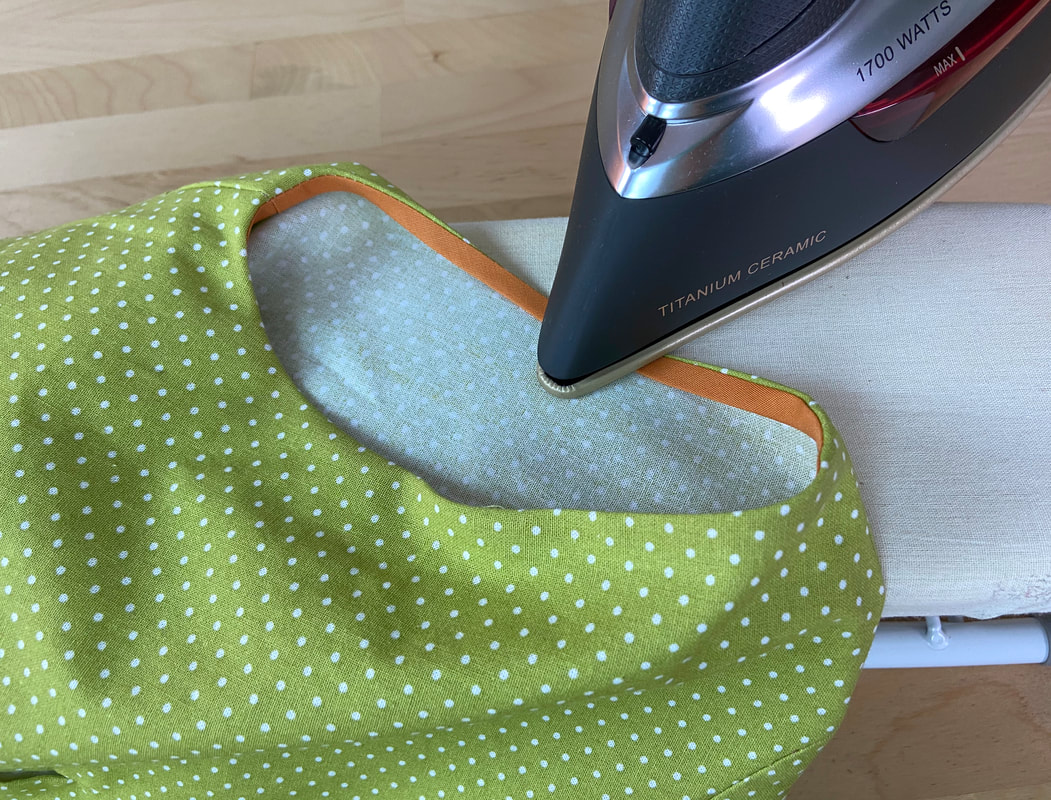
6. Fold the binding one more time toward the wrong side of the garment and iron the binding layers in this position.
|
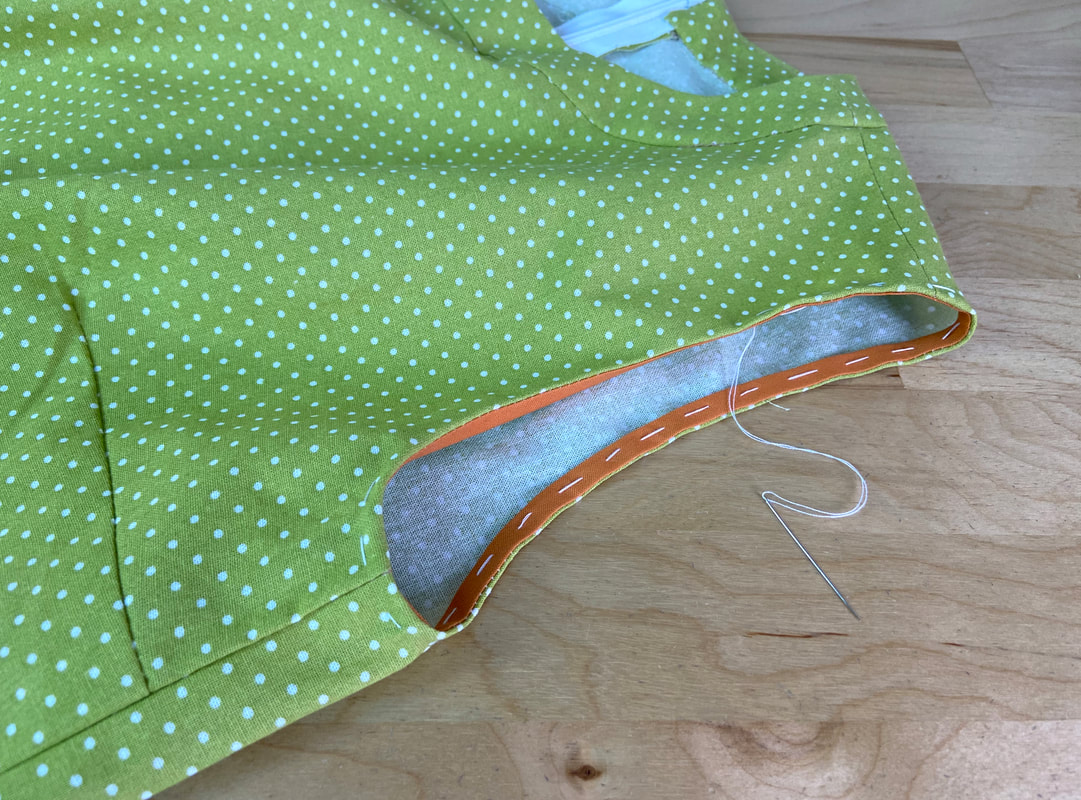
7. Again, it is extremely helpful to hand baste the binding layers flat as doing so will prevent them from shifting out of place or rippling under the presser foot. This temporary hand basting stitch can be easily removed with a seam ripper when no longer needed.
|
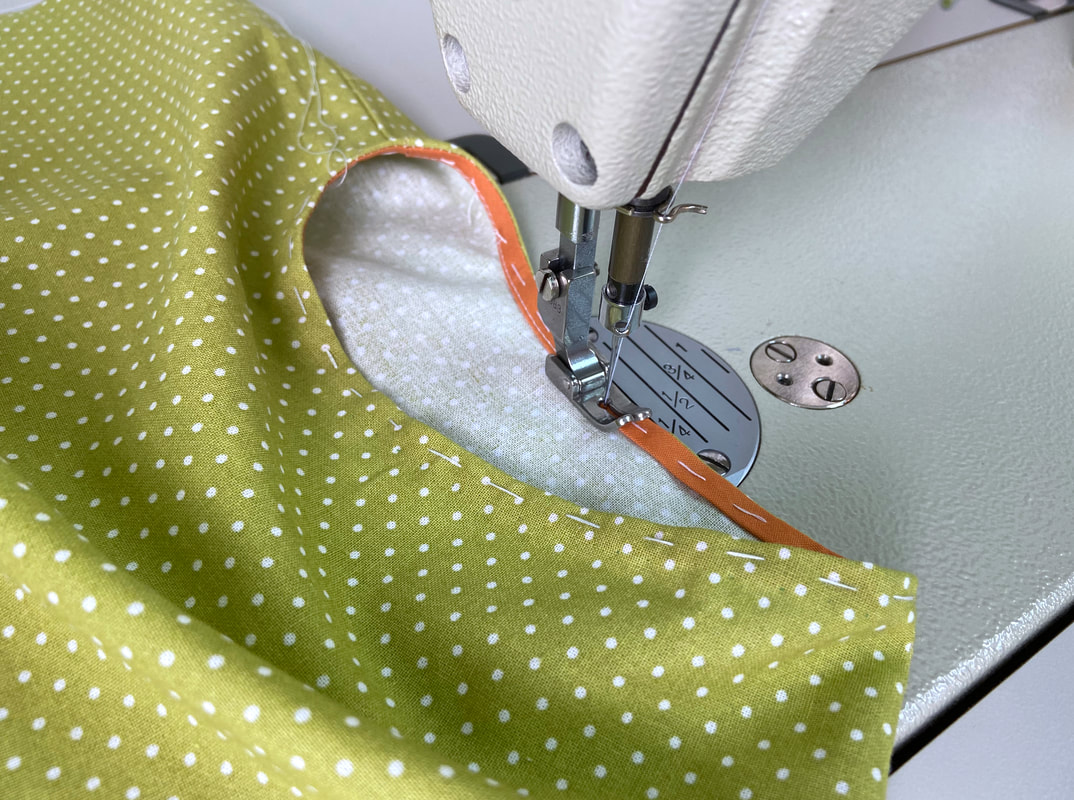
8. From the wrong side of the armhole, stitch the binding following its open folded edge as a guide. If you are a sewing beginner, keep in mind that it may take some practice to apply this stitch smoothly, especially at the underarm's more curved area.

|
Once stitched, remove the hand basting with a seam ripper, and iron the finished armhole edge to flatten and even out any tension created by the final topstitch.
