How To Align And Finish Binding Ends Along A Closed Armhole Edge
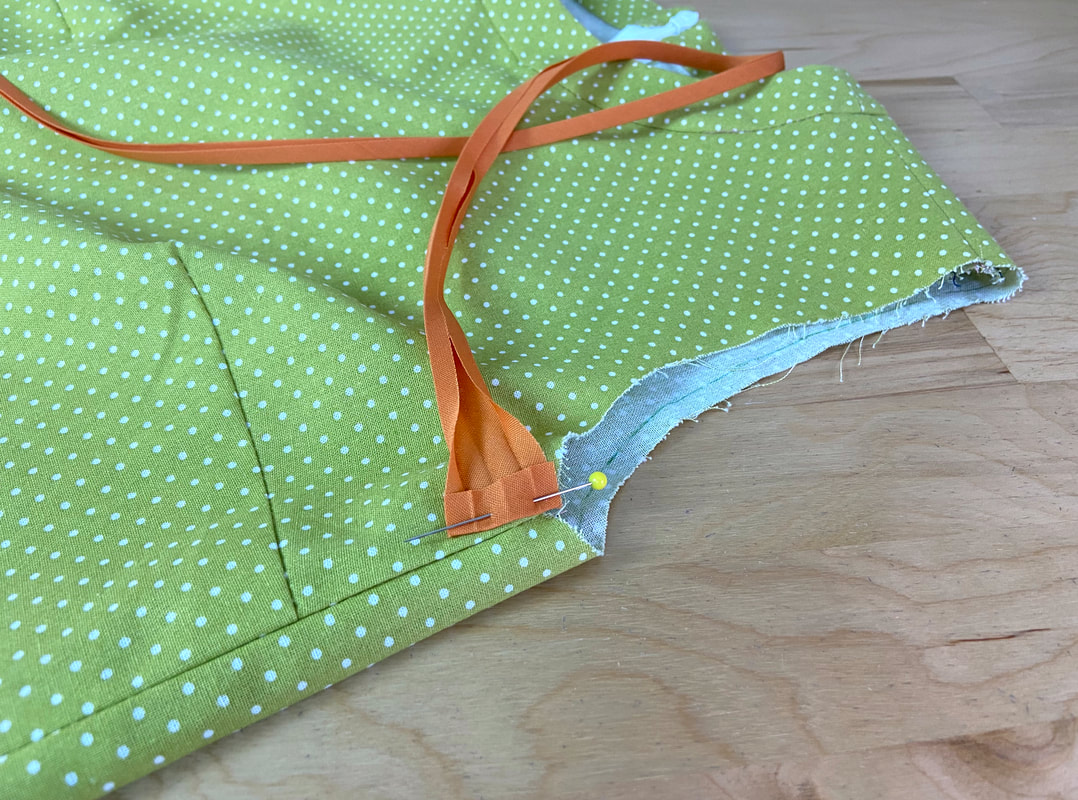
When sewing binding to a closed armhole edge, the binding strip should be aligned starting at the underarm, corresponding to the garment's side seam. If working with pre-folded binding, open the binding strip and fold one of its ends at about 1/2" toward the binding's wrong side. Align the binding's folded end to the garment side seamline and insert a pin perpendicular to the armhole's edge to secure.
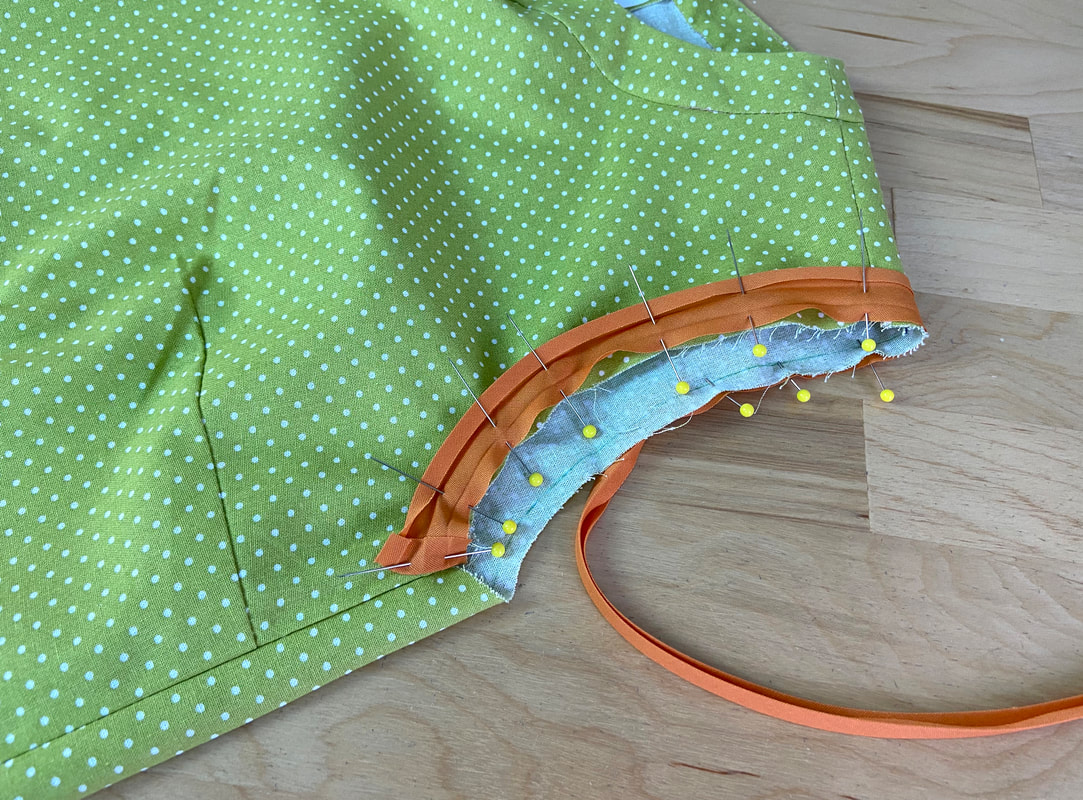
Continue aligning and pinning the binding to the armhole opening with both garment and binding edges perfectly aligning. Insert pins perpendicular to the edges as this will keep the layers more securely in place during the steps to follow.
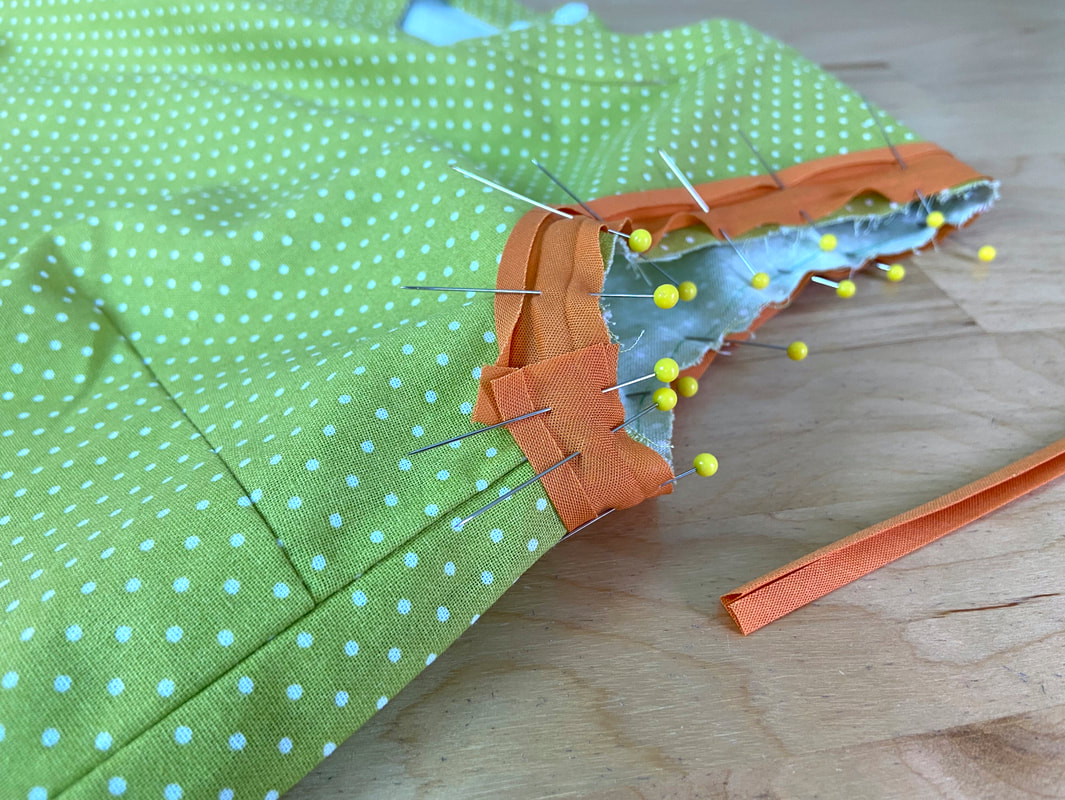
When arriving at the binding's folded end (beginning), trim the excess binding such that its end overlaps the folded portion by approximately 1/2" . Place the binding's trimmed end on top of the other folded end, and insert another pin perpendicularly through all layers as pictured above.
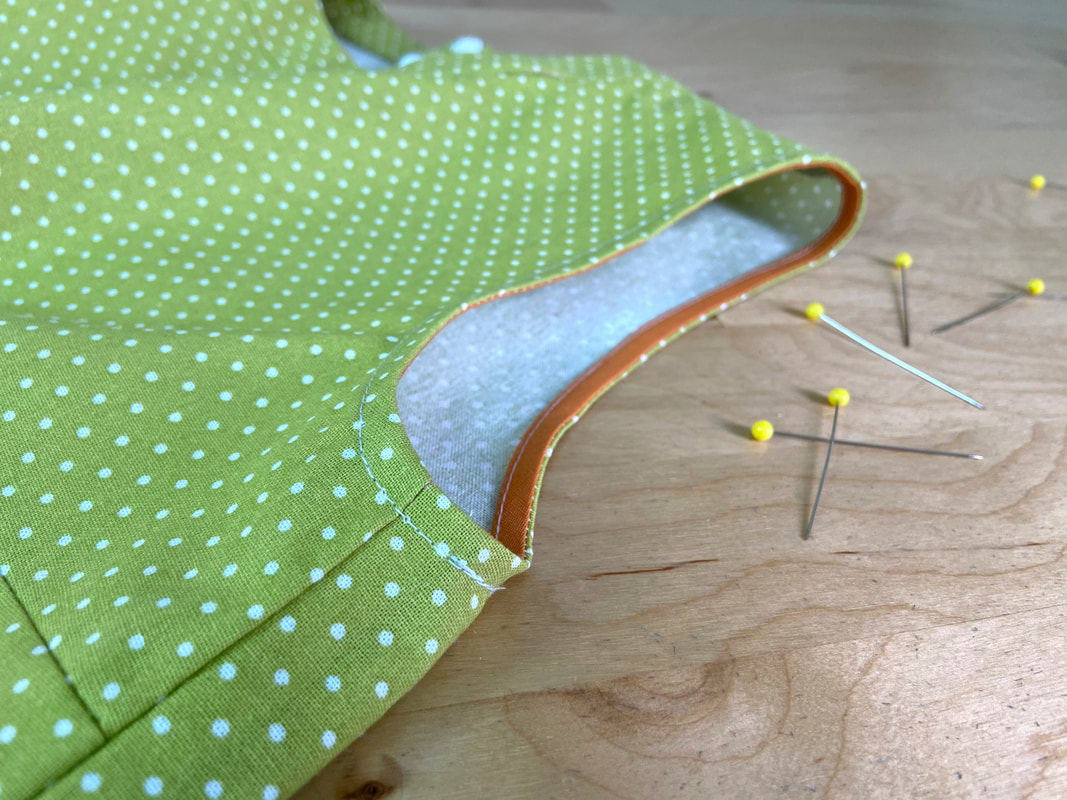
Once the binding is permanently stitched to the armhole edge and the binding is flipped to its right side, the folded end will overlap the unfolded one thus naturally enclosing the binding's raw edges.
In the finished application, the overlapping binding ends should be hidden at the underarm, resulting in a clean, smooth finish with no fabric raw edges visible anywhere along the bound armhole.


