How To Align A Front Separating Zipper Under A Placket Using A Machine Basting Stitch
Ever wondered how you can perfectly align a separating zipper under a side placket? Here is a simple technique you can use to always achieve an accurate zipper alignment:
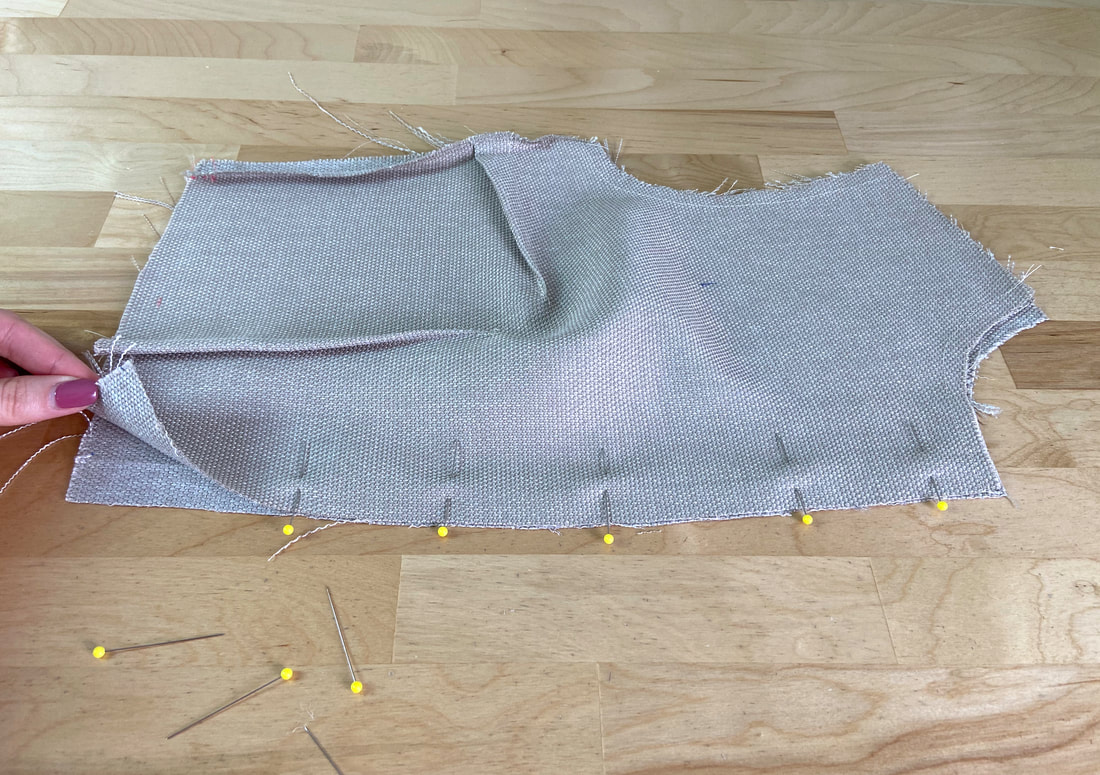
1. Align the garment opening edges (housing the separating zipper) with face sides touching and edges aligning as you would any regular seam. Insert pins perpendicularly to keep the two layers aligned.
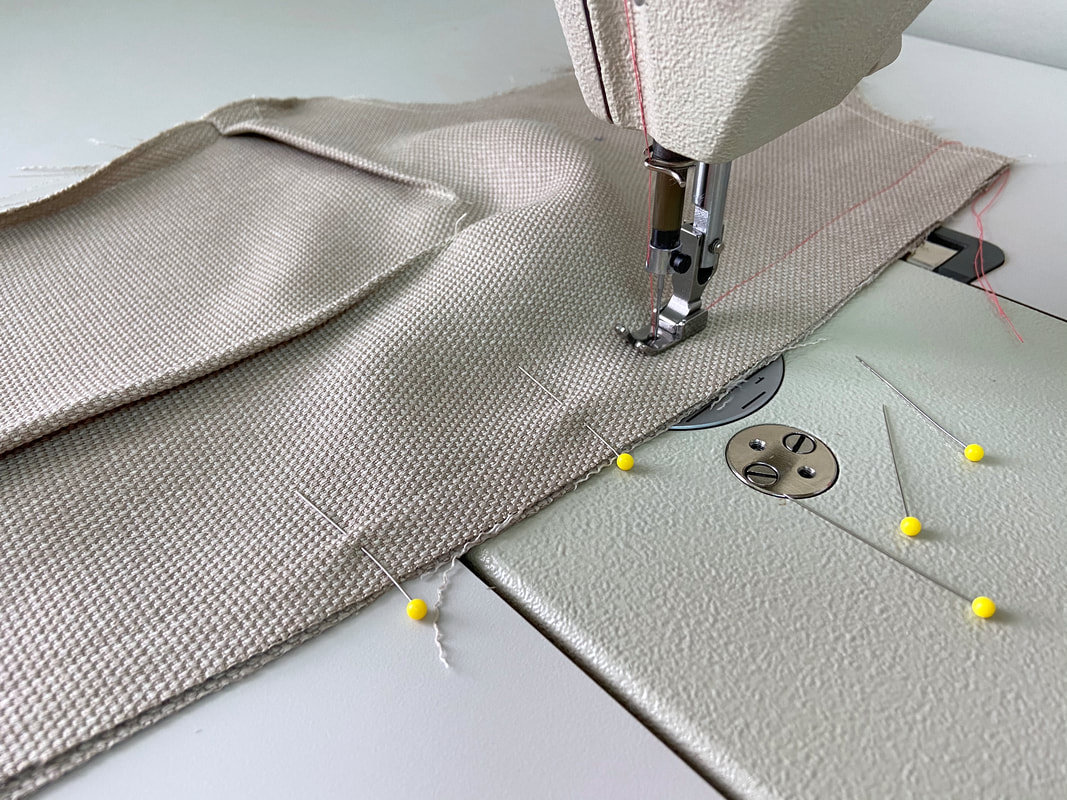
2. Switch your machine's stitch setting to the longest stitch length available- this is called machine basting. Machine baste the pinned edges at the designated seam allowance. In this example, the seam allowance is 1". Remove each pin as you approach it.
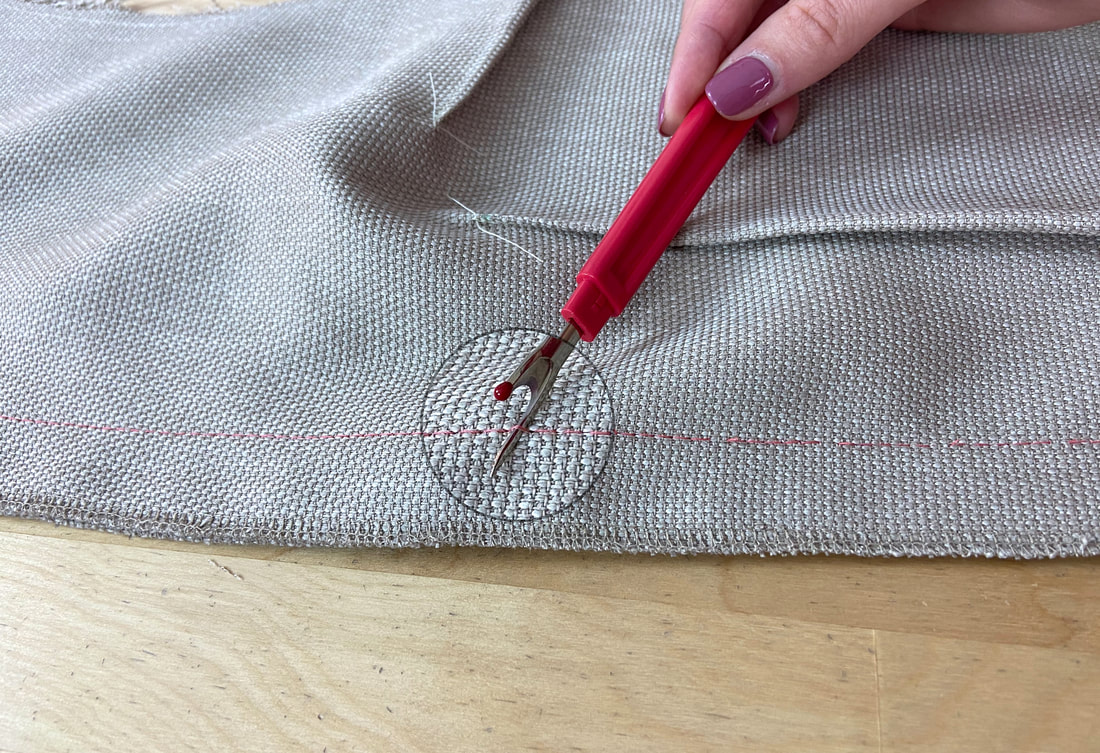
3. Using a seam ripper, clip every 5-6 stitches along the entire garment opening.
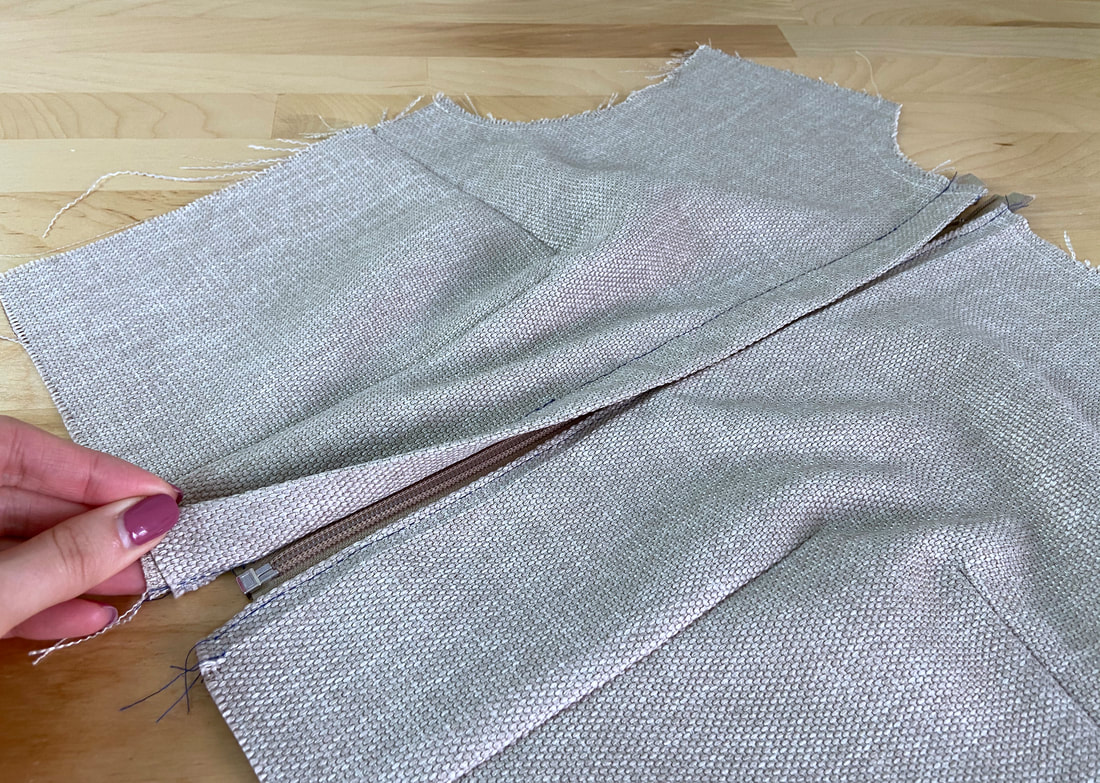
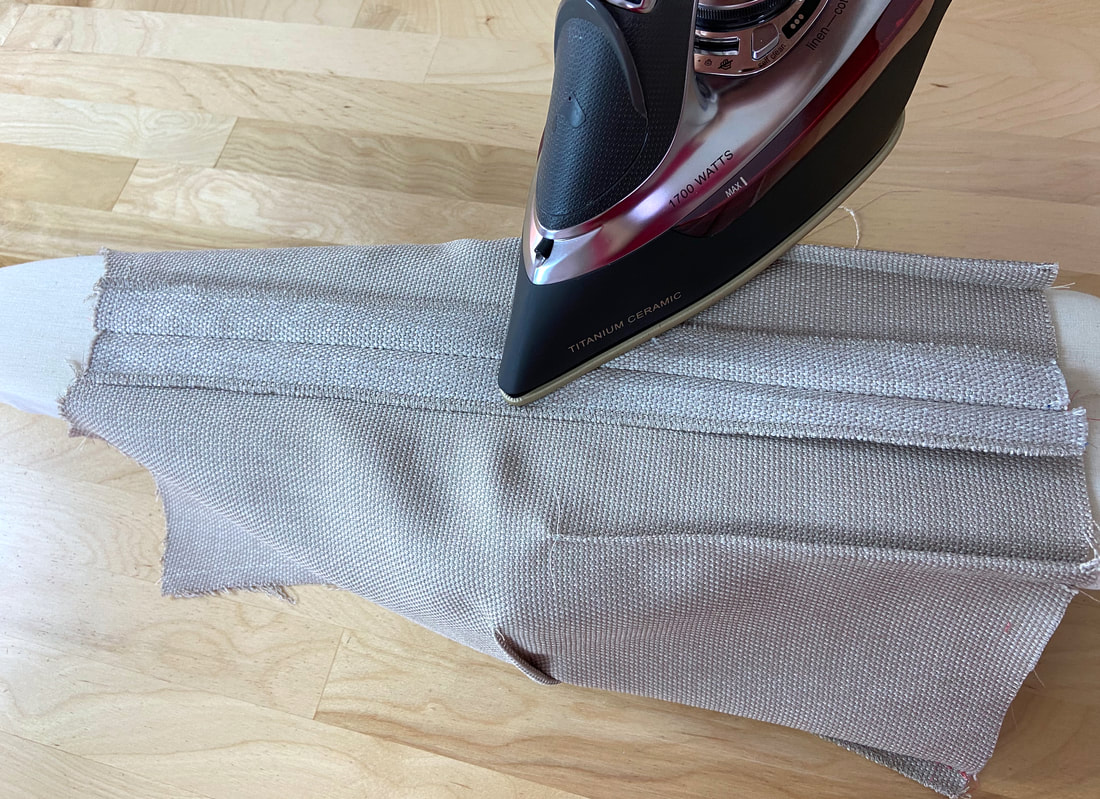
4. Iron the seam with the seam allowance layers open (as shown above). For optimal comfort, iron from the wrong side of the seam but be careful not to accidentally pull the edges apart. Try to handle the seam as gently as possible from this point forward.
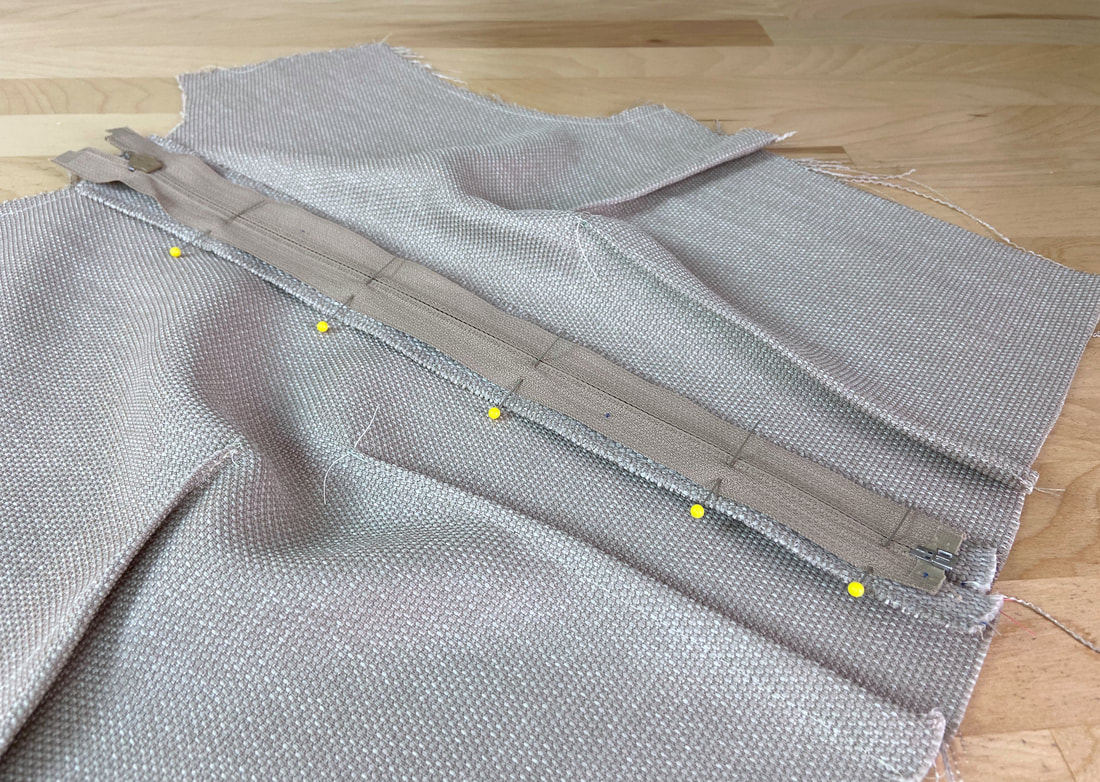
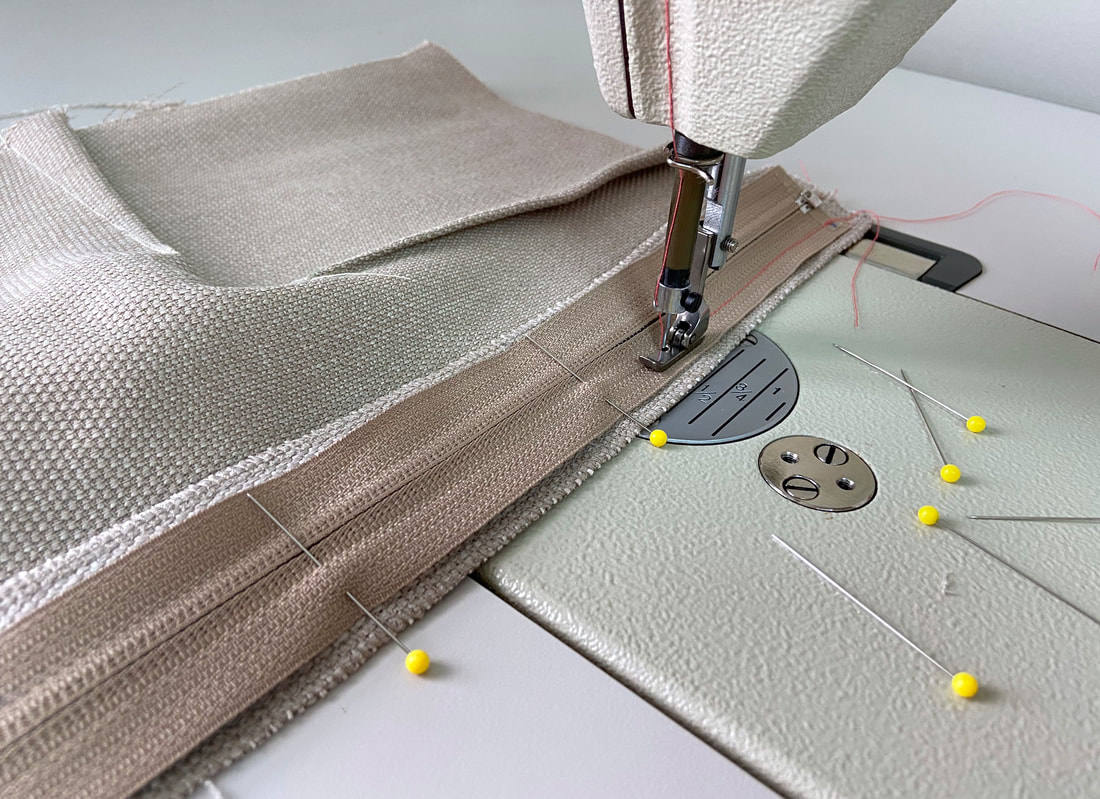
5. Keeping the zipper closed, align and stitch it to the seam allowance layers as needed. Use the closed (basted) seamline as a guide in the alignment process.
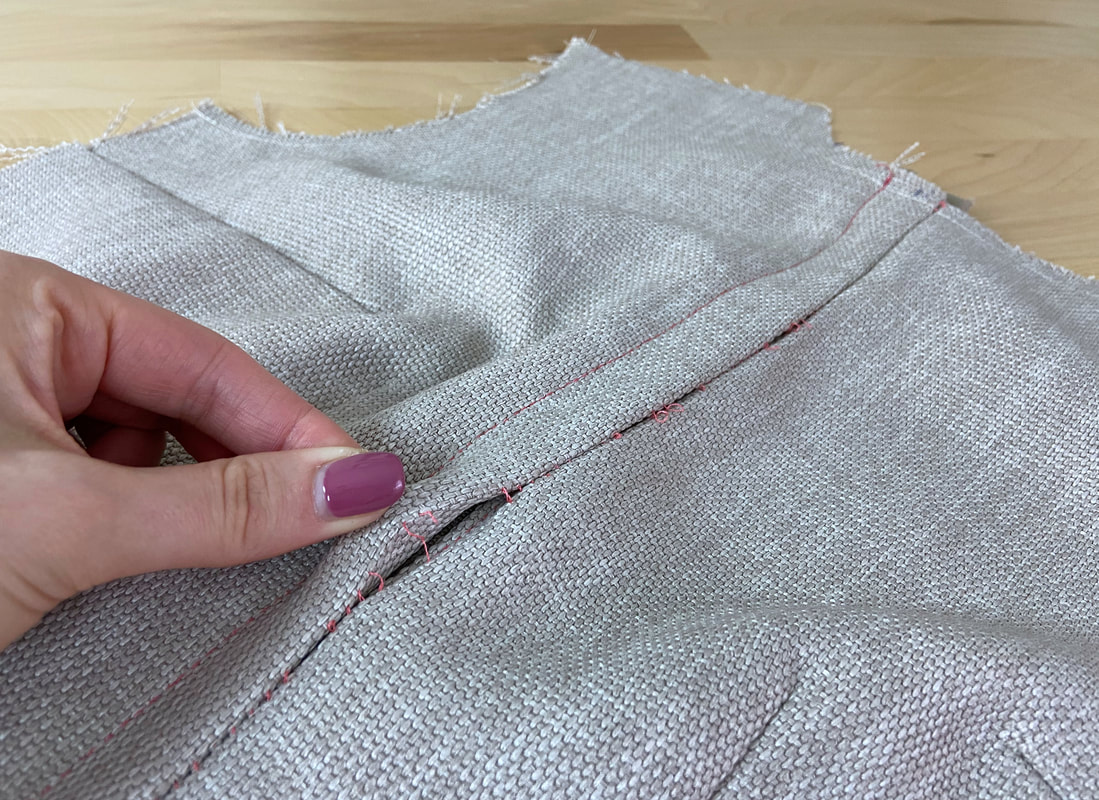
6. Once the zipper is attached and the placket is topstitched, all you have to do is gently pull the seam edges apart. This will naturally separate the clipped basting stitch resulting in a perfectly aligned zipper application with the zipper fully covered by the placket on top. Once the entire seam is separated, remove any loose threads that remain stuck along the garment opening edges.

