Mini Tutorial: How To Sew A Closed-End Exposed Zipper
A closed-end exposed zipper is stitched into the fabric surface as opposed to a seam. A facing or a stay is used to clean-finish the slot that houses it.
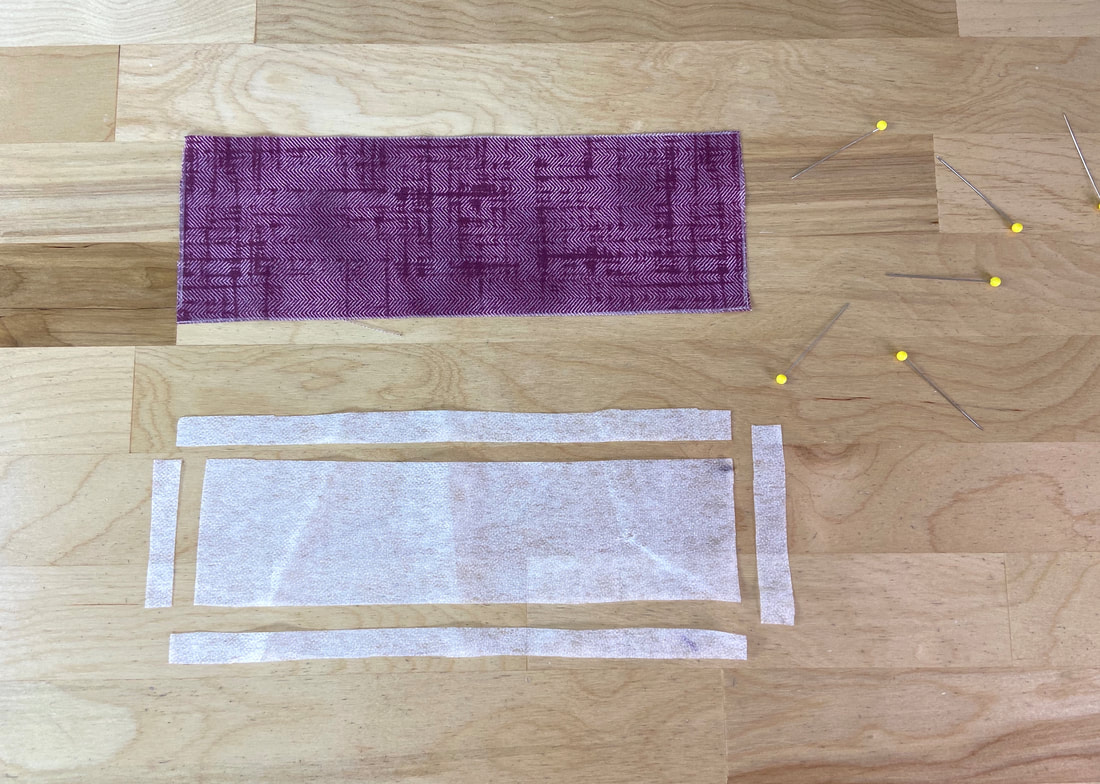
1. Measure and cut the zipper slot facing and a matching interfacing piece. This facing should be about 2"-3" longer than the zipper length and approximately 3" wide. Trim 3/8"- 1/2" off from all interfacing edges as shown above.
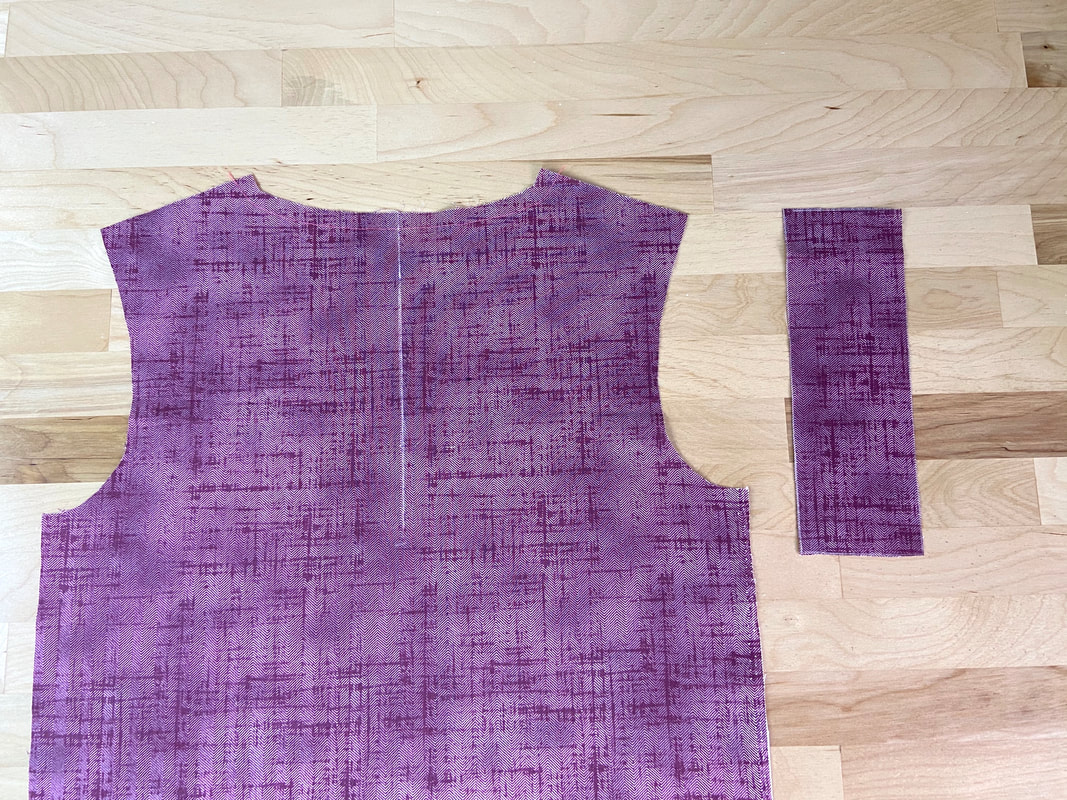
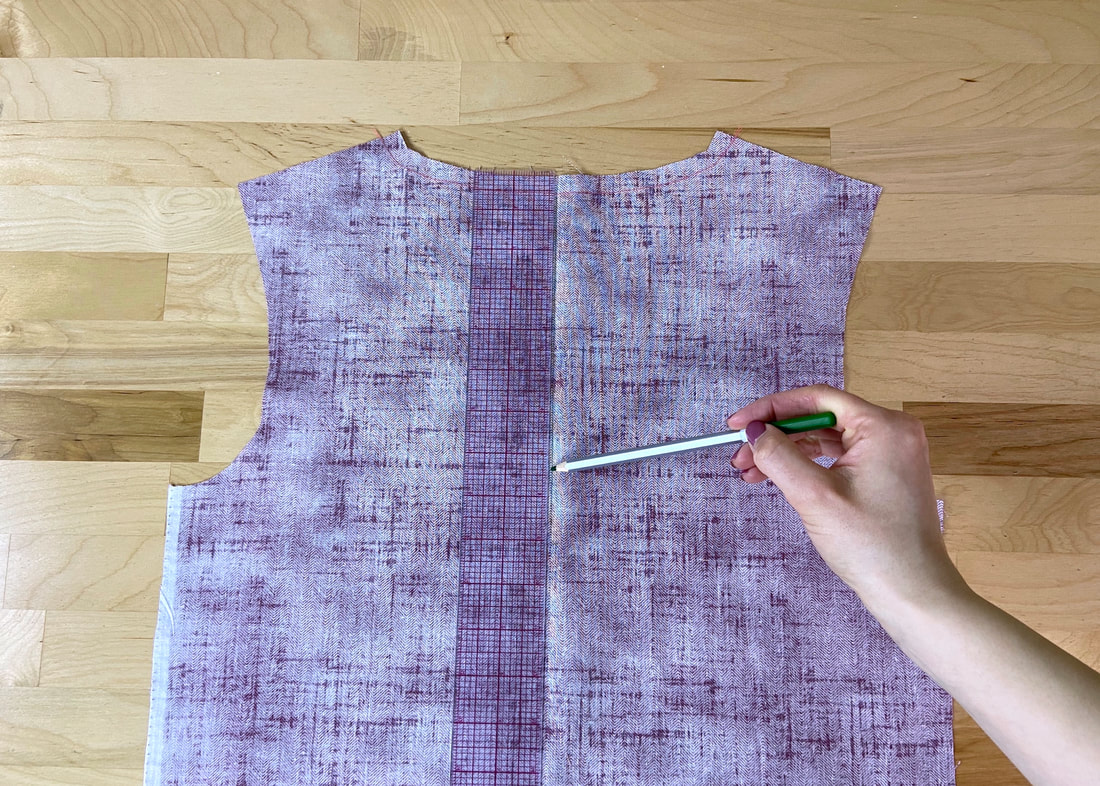
2. Using tailor's chalk or a quilting pencil, mark the desired zipper location directly on the garment's right side.
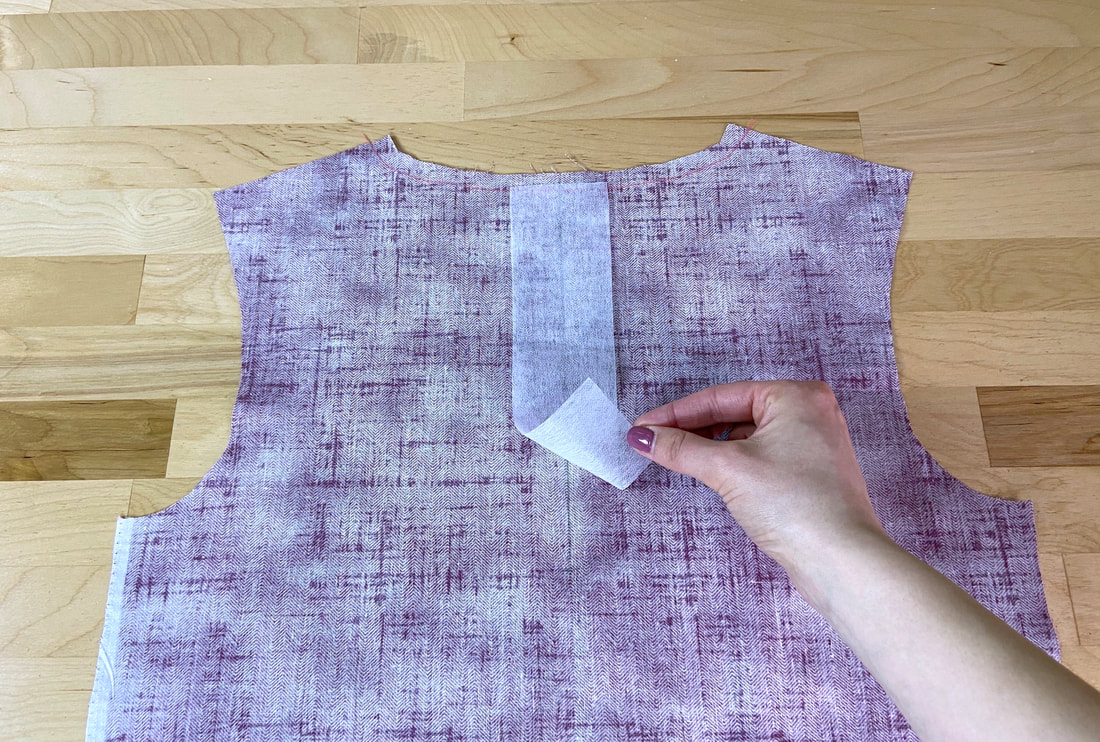
3. Transfer the line to the wrong side of the garment (at the same exact location). Center the interfacing to this marked line and and fuse it to the wrong side of the garment.
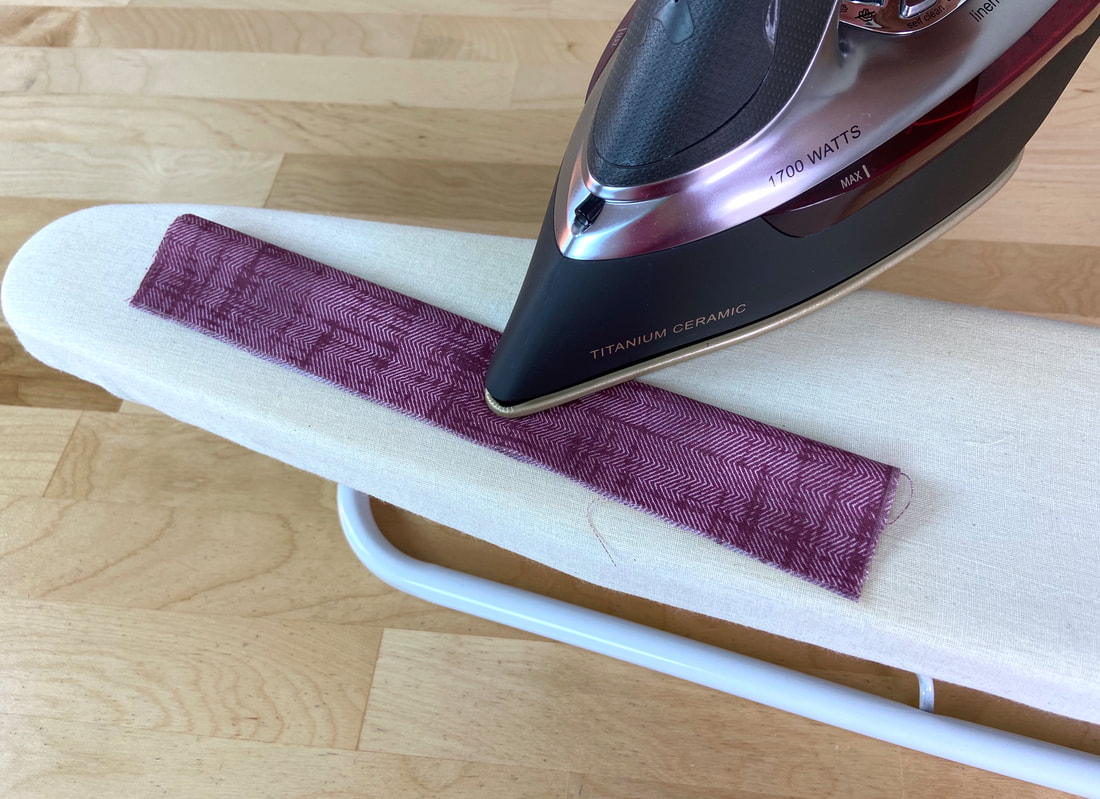
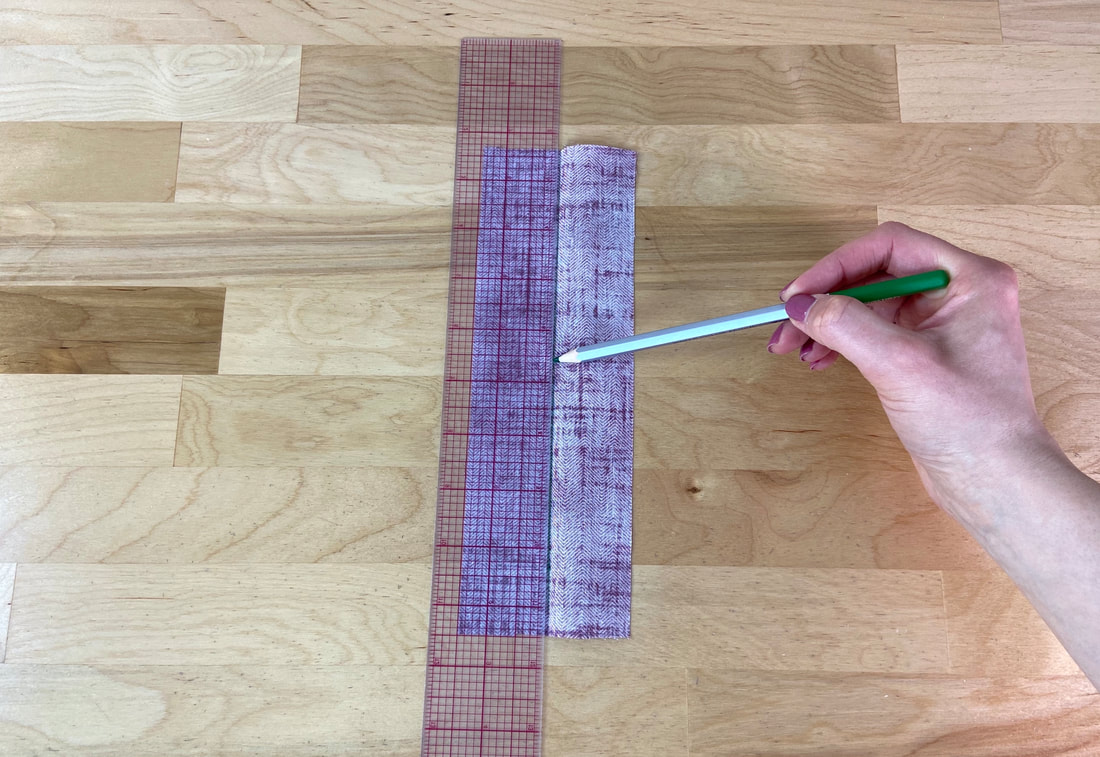
4. Mark the facing's center line. The easiest way to find and mark this line is to fold the facing lengthwise in half and iron the fold to mark a crease line. You can then use this crease to further mark it with a quilting pencil or tailor's chalk.
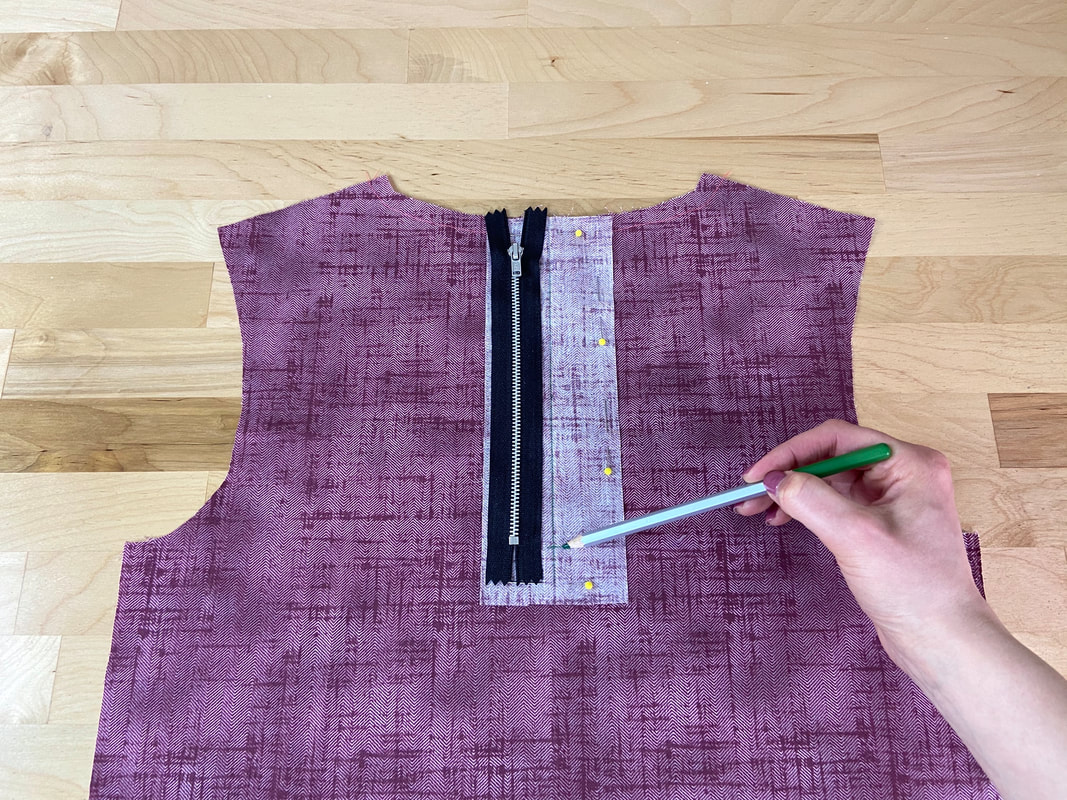
5. Align the facing to the garment with fabric right sides touching the marked center lines aligning. Pin the facing layer to the garment in this position.
Use the zipper as a guide to mark the bottom of the zipper opening- this location should correspond to the zipper's bottom stop.
Use the zipper as a guide to mark the bottom of the zipper opening- this location should correspond to the zipper's bottom stop.
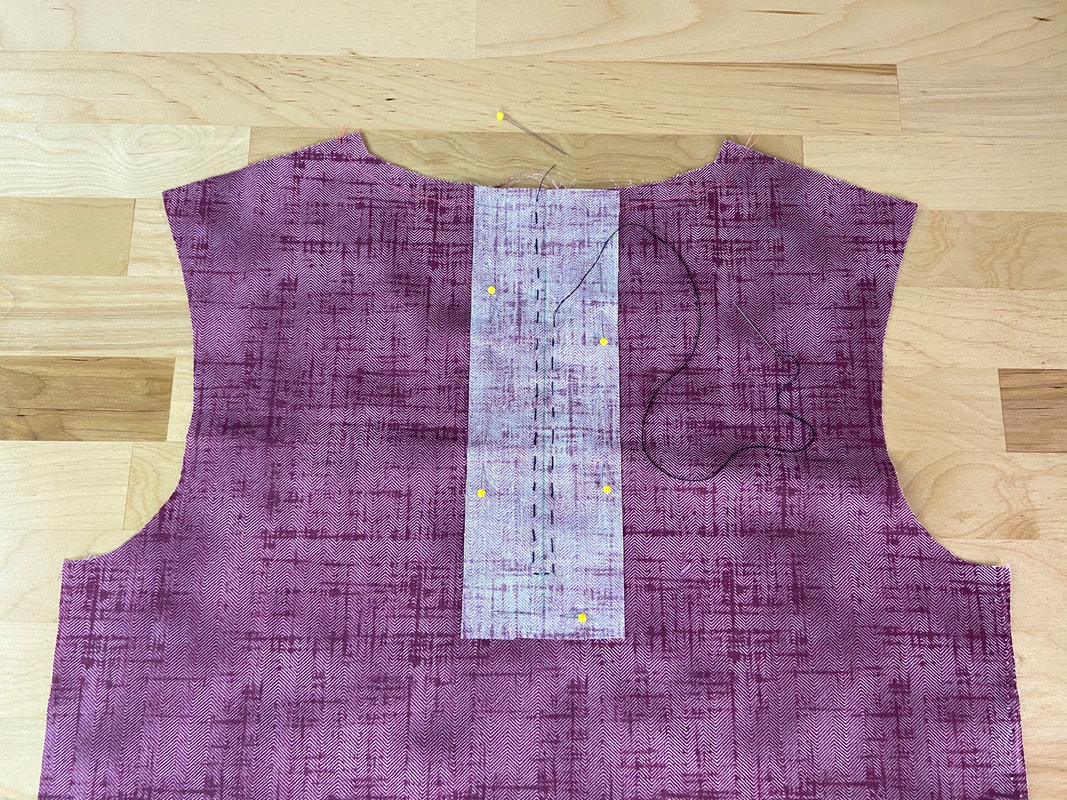
6. To facilitate the stitching process, hand baste at about 1/4" on each side of the center line pivoting the stitch in a rectangular structure at the bottom. The hand basting marks the zipper's slot opening edges and aside from keeping the fabric layers perfectly aligned, it provides a guide to follow in the stitching process.
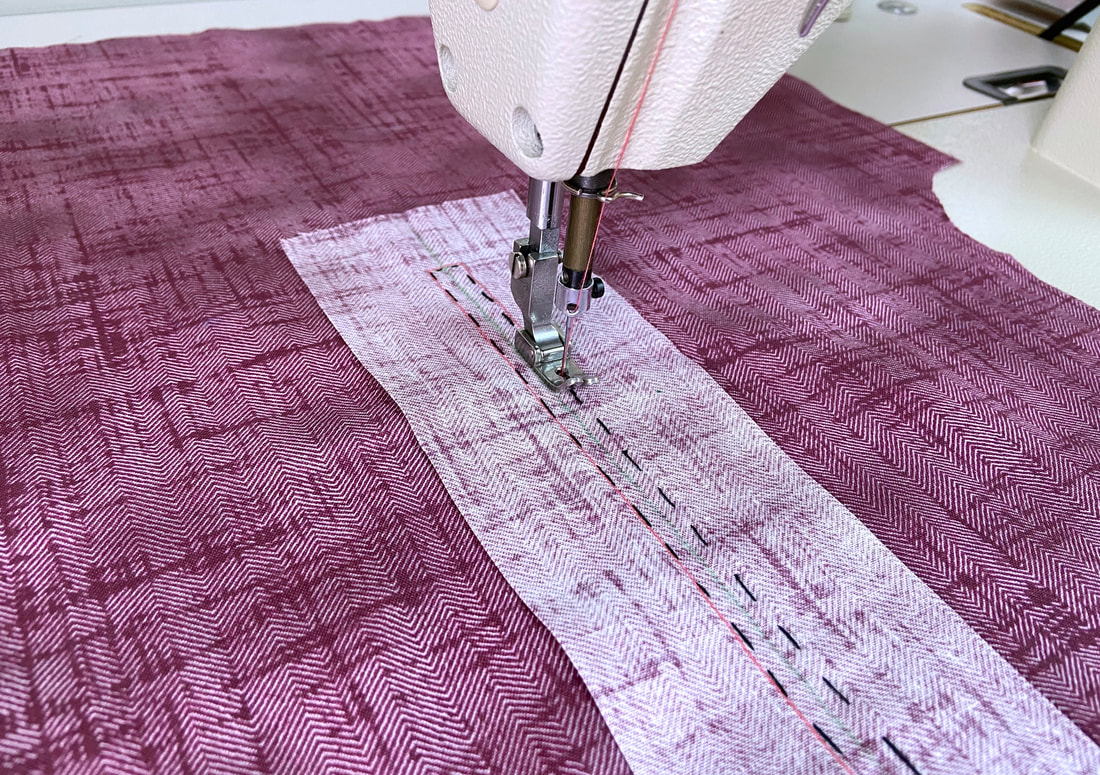
7. Starting from the top, stitch following the hand basted lines. To complete the rectangular stitch, pivot along the right angles at the bottom moving back up to the top of the garment. Once stitched, remove the hand basting as it is no longer needed.
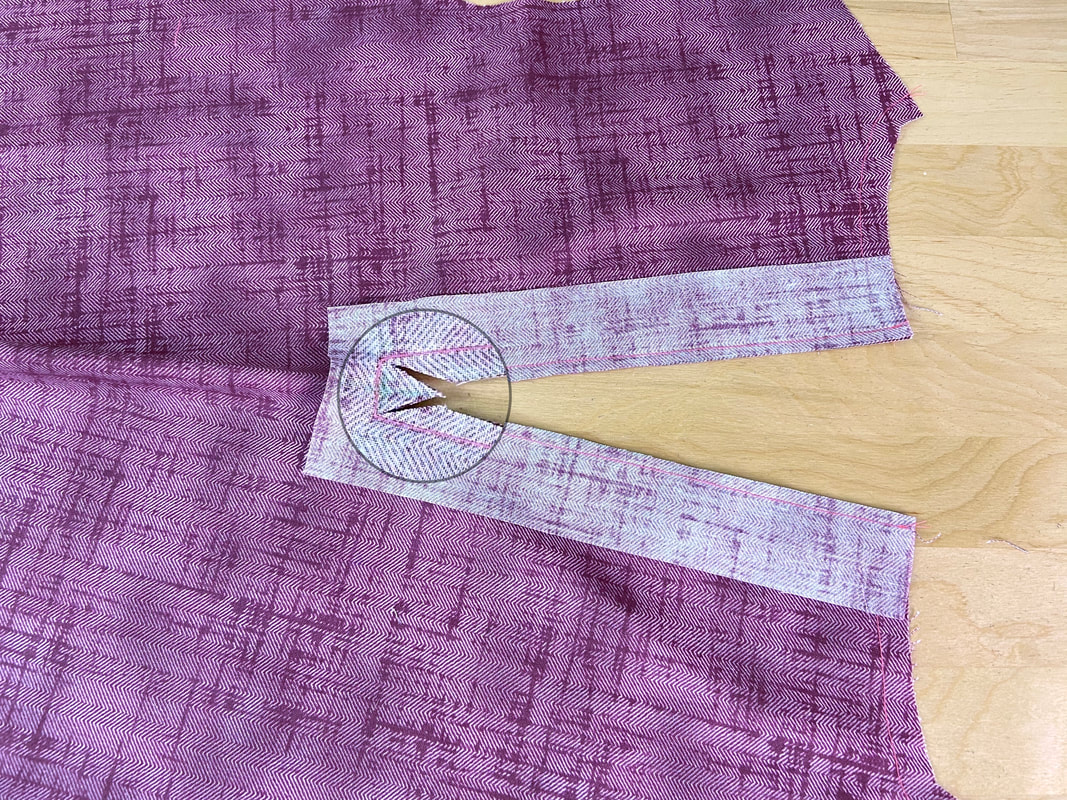
8. Next, cut the garment and facing layers following the marked center line until you arrive at about 1/2" from the bottom horizontal stitch. At this point, cut into each corner as close as you can to the stitch being careful not to accidentally slash through it. As a result, a triangle-shaped extension should form.
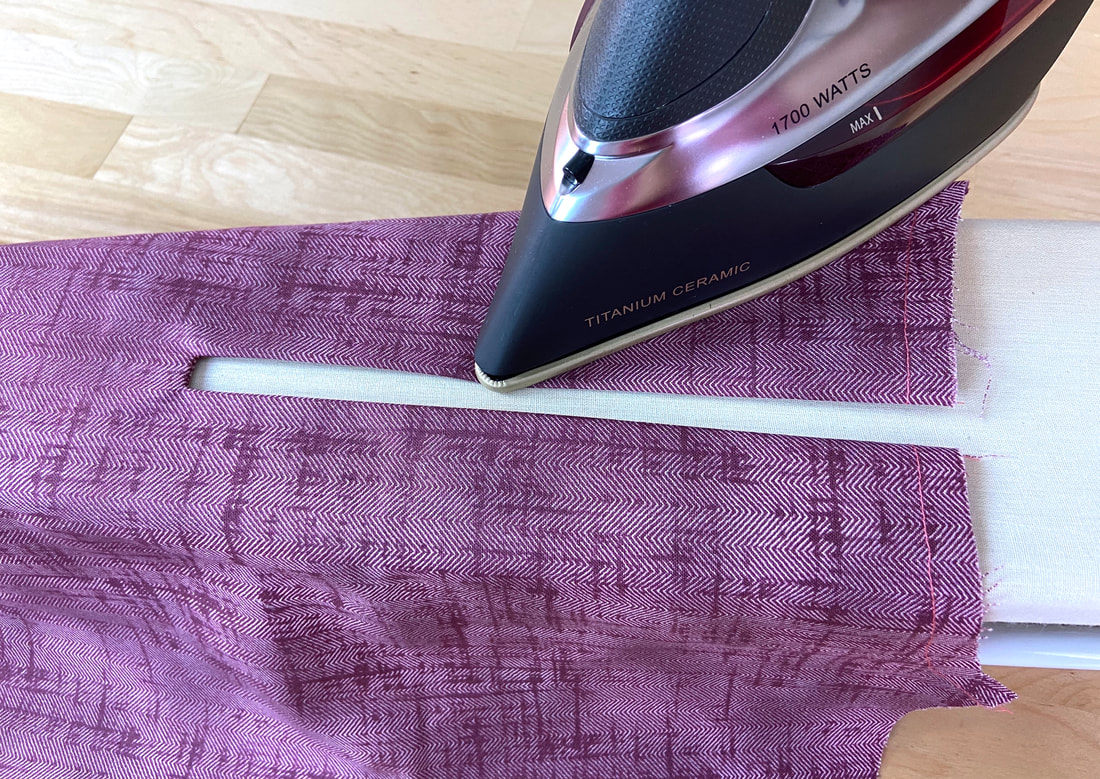
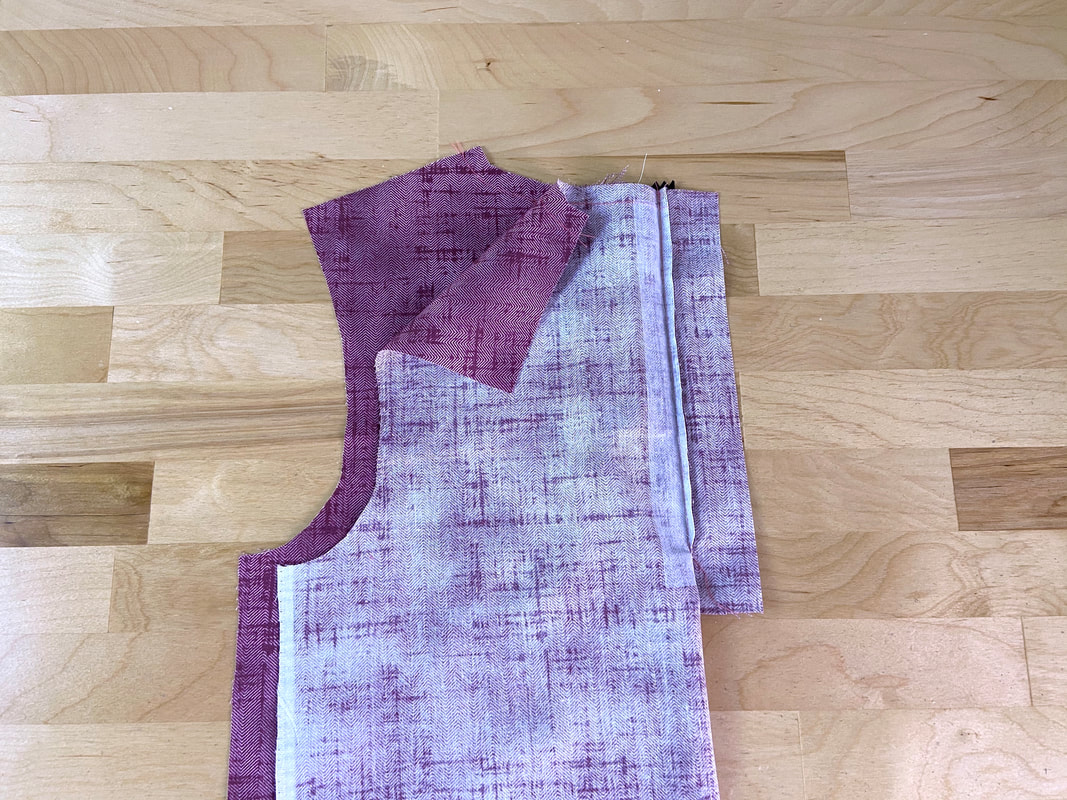
9. Flip the facing layer to the wrong side of the garment and iron the clean-finished edges to expose a perfectly rectangular slot opening.
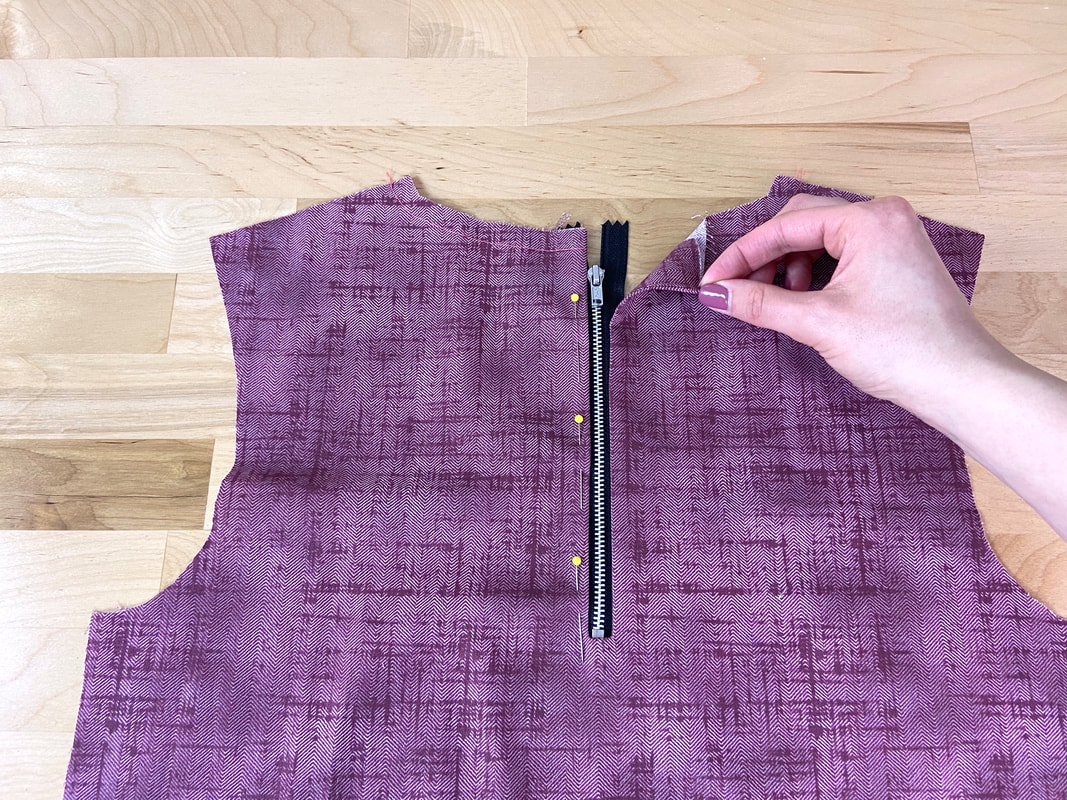
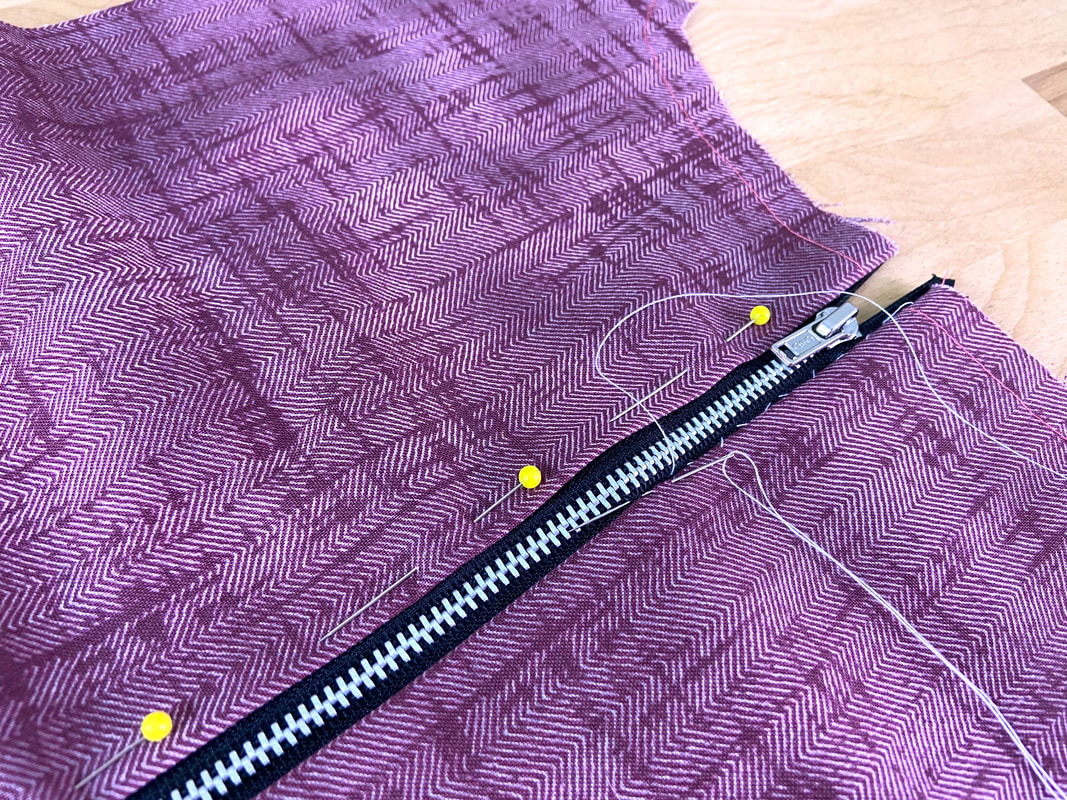
10. Center the closed-end zipper along the slot opening and insert a few pins to keep the zipper aligned. To ensure the zipper is stitched evenly on both sides, slip baste through the slot edges and zipper tape as shown above. Once the hand basting is applied, remove all pins as they are no longer needed.
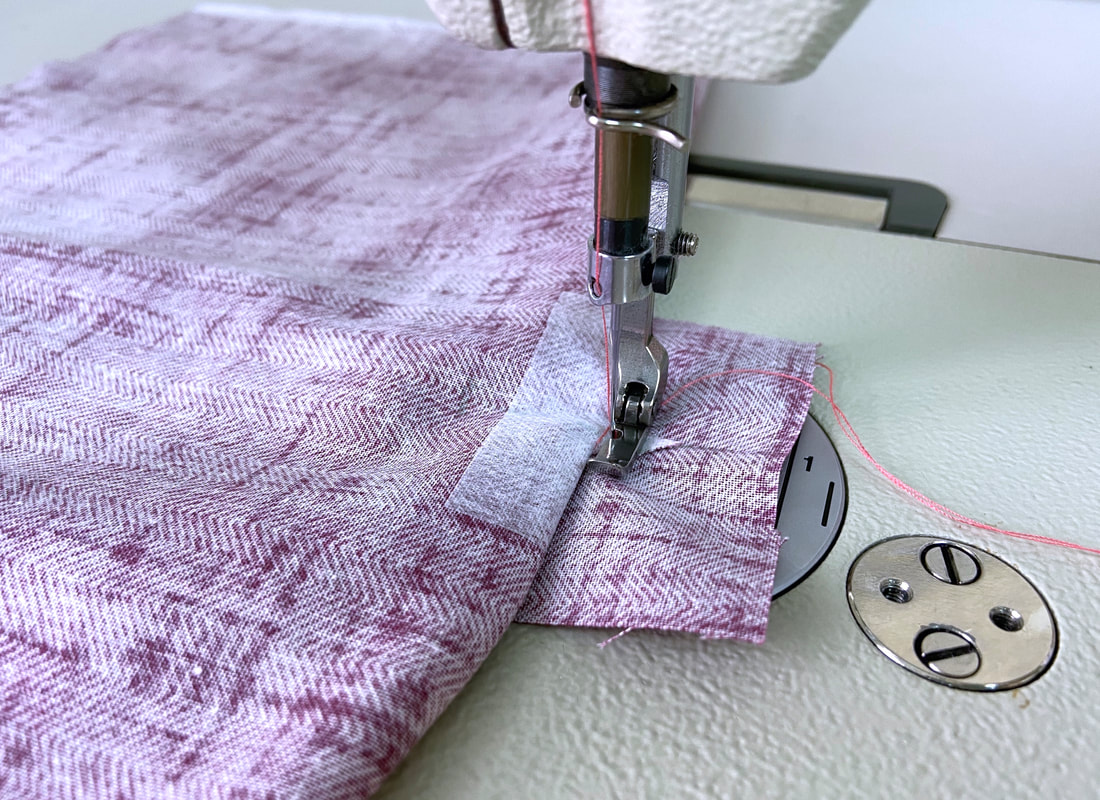
11. Fold the bottom garment layer up, and using a zipper presser foot, stitch at the base of the triangle extension and facing layer underneath. The zipper foot ensures that the stitch is applied right next to the existing stitch at the bottom of the triangle slot.
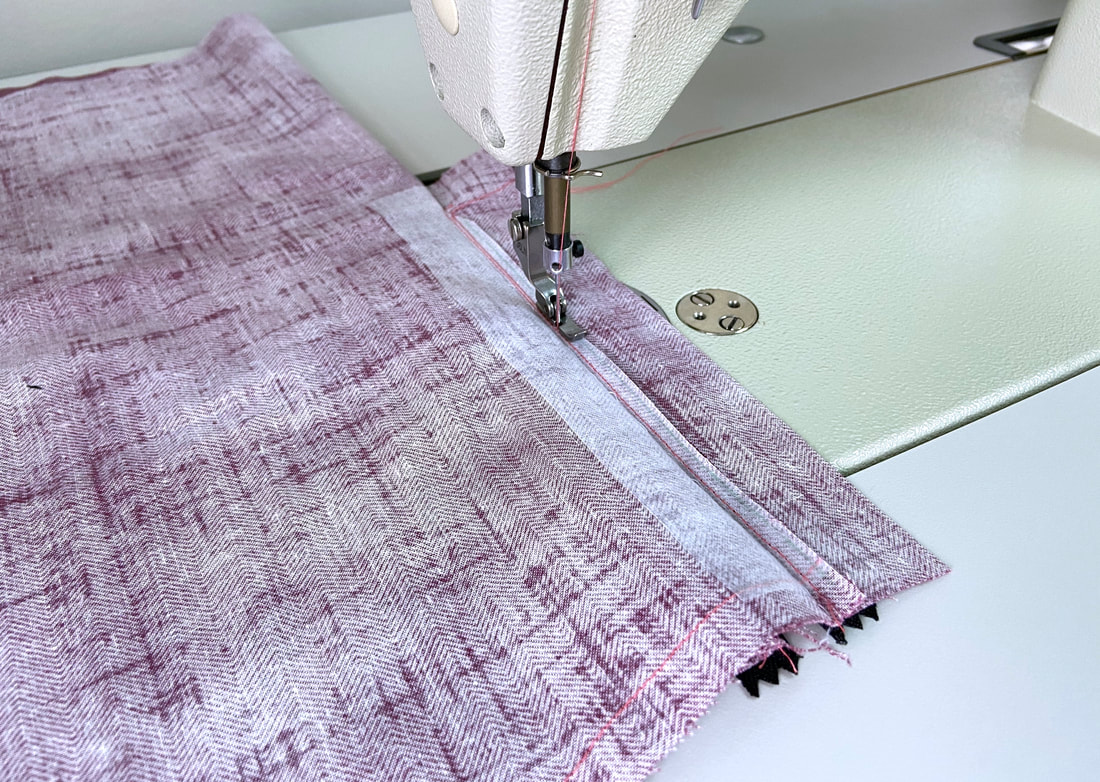
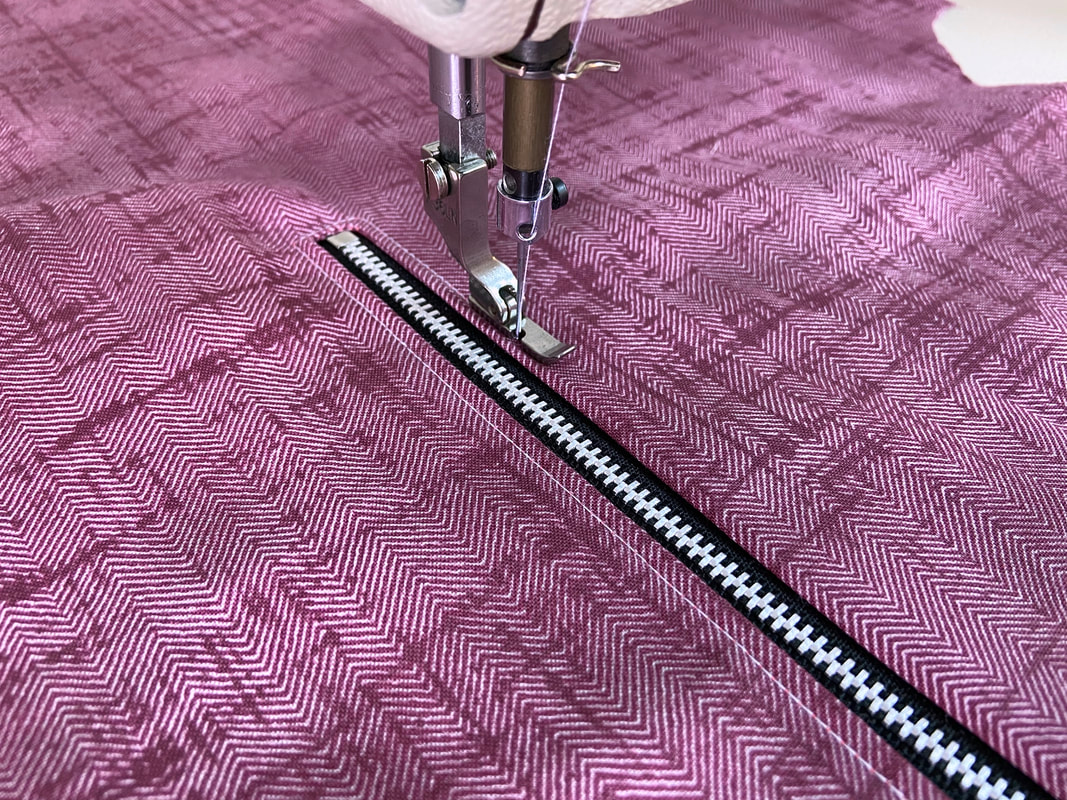
12. Next, peal the garment layer on each side to expose the seam allowance and facing layer (underneath). Using a zipper foot again, machine stitch following the existing stitch as a guide. Repeat this stitching process on both sides of the zipper teeth.
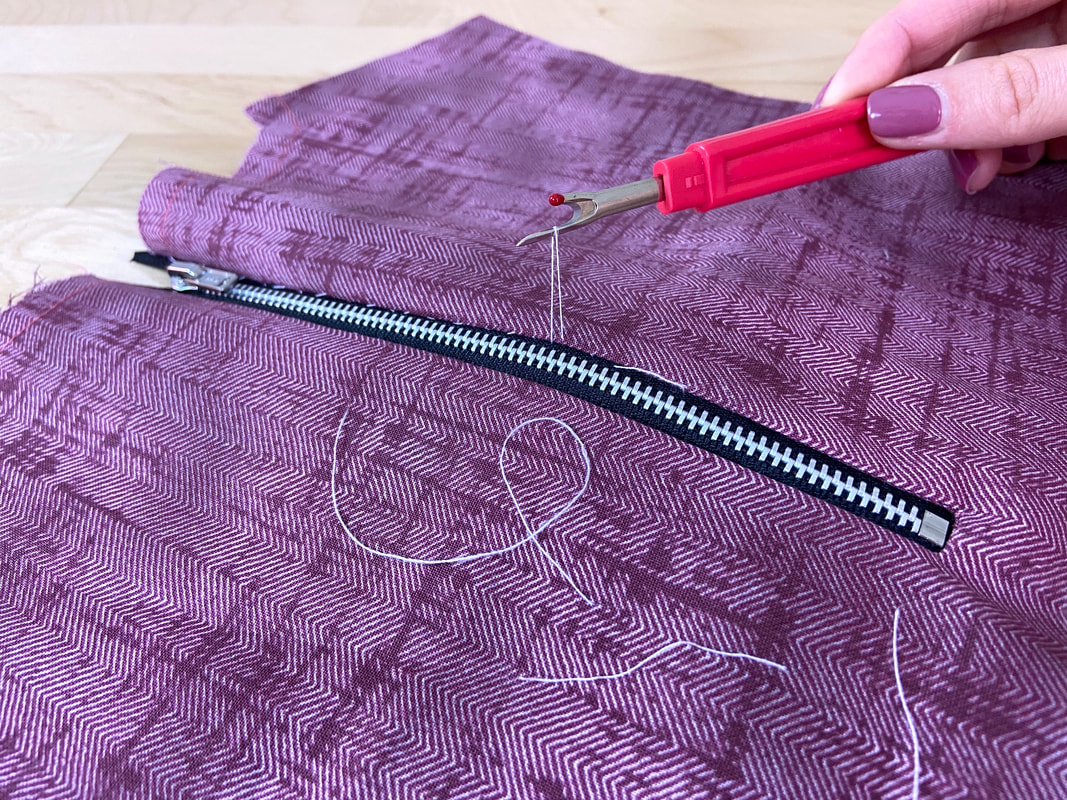
13. Last but not least, use a seam ripper to remove the hand-applied slip basting.
As an extra decorative element, you can add a contrast color topstitch along all zipper sides.

