A Simple Trick To Sewing Fly-Front Zipper Applications
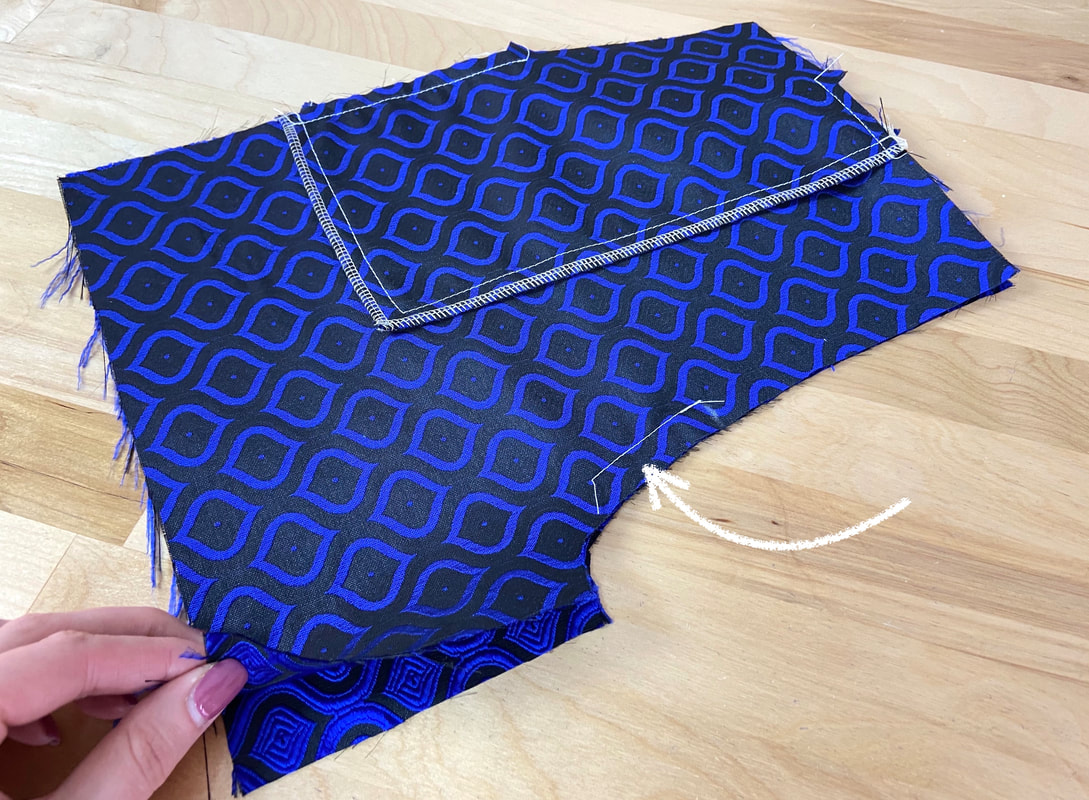
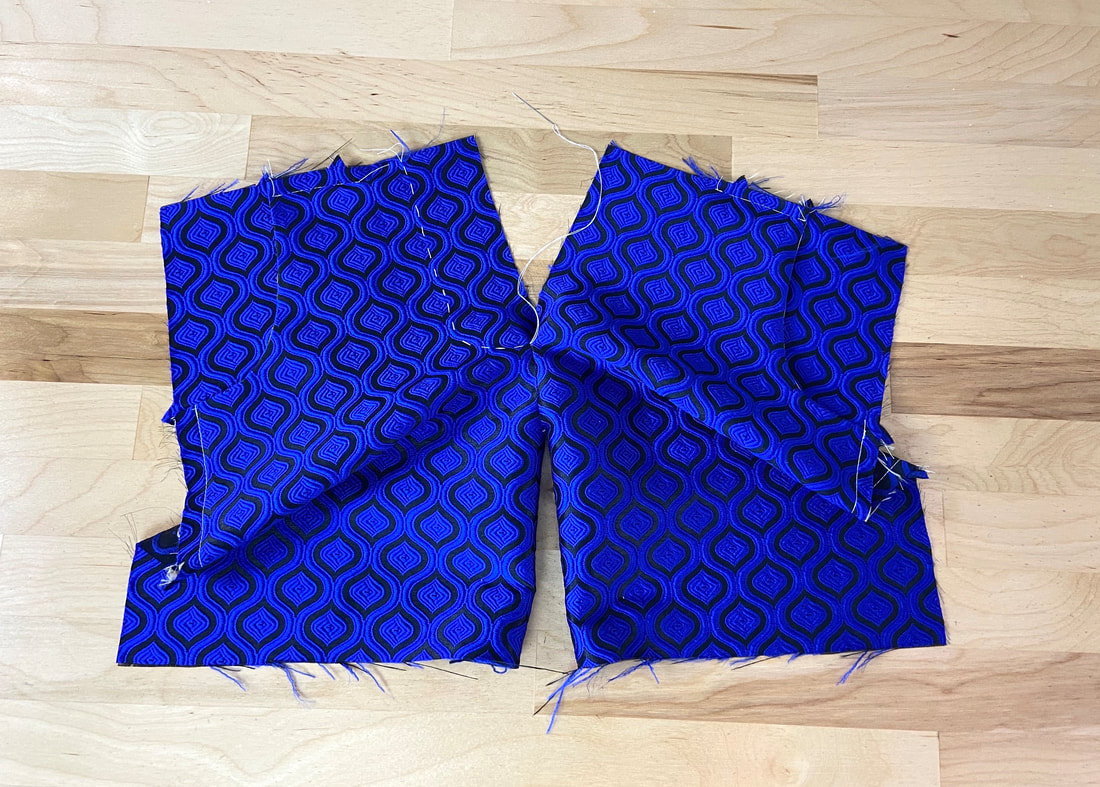
Sewing Tip: When sewing a fly zipper application, it may be helpful to only topstitch the crotch seam partially at the top, starting at the desired zipper location and ending about 1.5"- 2" down. Once the fly is fully stitched and all zipper components attached, the crotch seam can be completed to the end of the curved seam.
Partially stitching the crotch seam in this manner allows the fabric to lay flat when marking the placket line and attaching the zipper and its components.
When sewing a fly-front zipper application, you want to be able to move the two seam edges and garment portions apart as needed while also keeping them as flat as possible on the table during the marking and zipper alignment process. The more comfort and flexibility, the more accuracy you'll have in the construction process, especially when machine stitching!
When sewing a fly-front zipper application, you want to be able to move the two seam edges and garment portions apart as needed while also keeping them as flat as possible on the table during the marking and zipper alignment process. The more comfort and flexibility, the more accuracy you'll have in the construction process, especially when machine stitching!
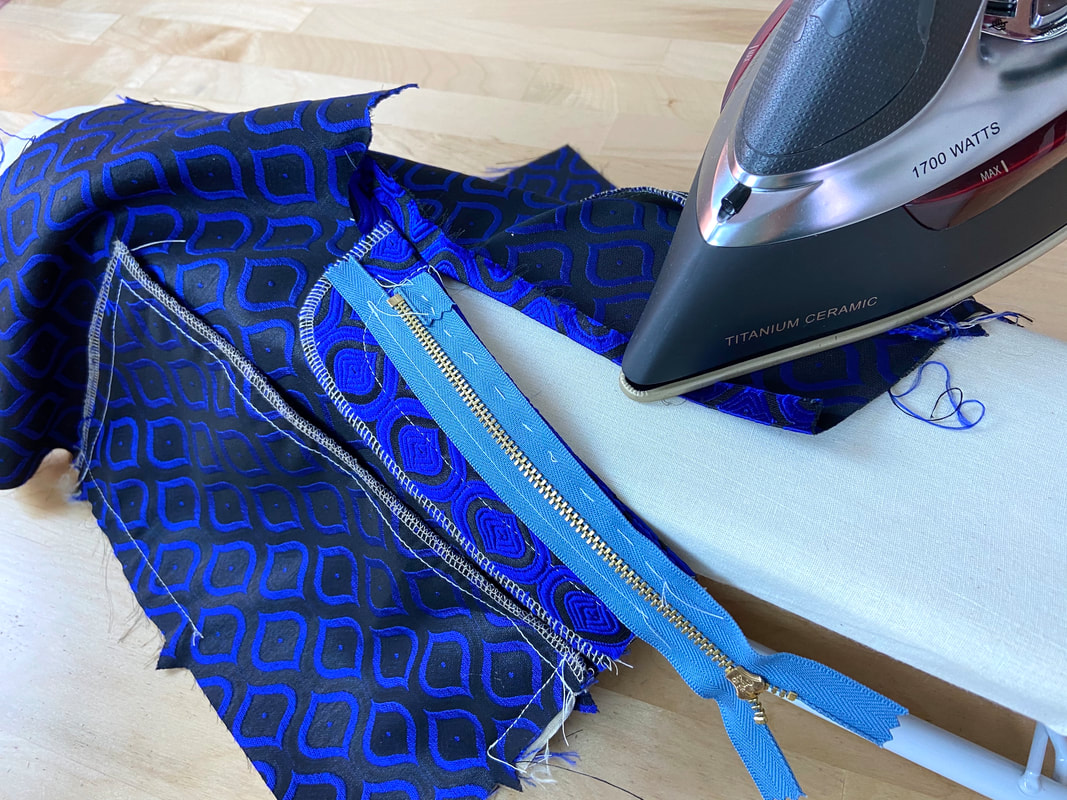
Another aspect to consider is that some areas that need to be ironed during the zipper application process will be easier to handle, without the added tension and pulling otherwise created by a fully stitched curved seam. The smoother and flatter the garment layers, the more comfortable it will be to complete the zipper application.
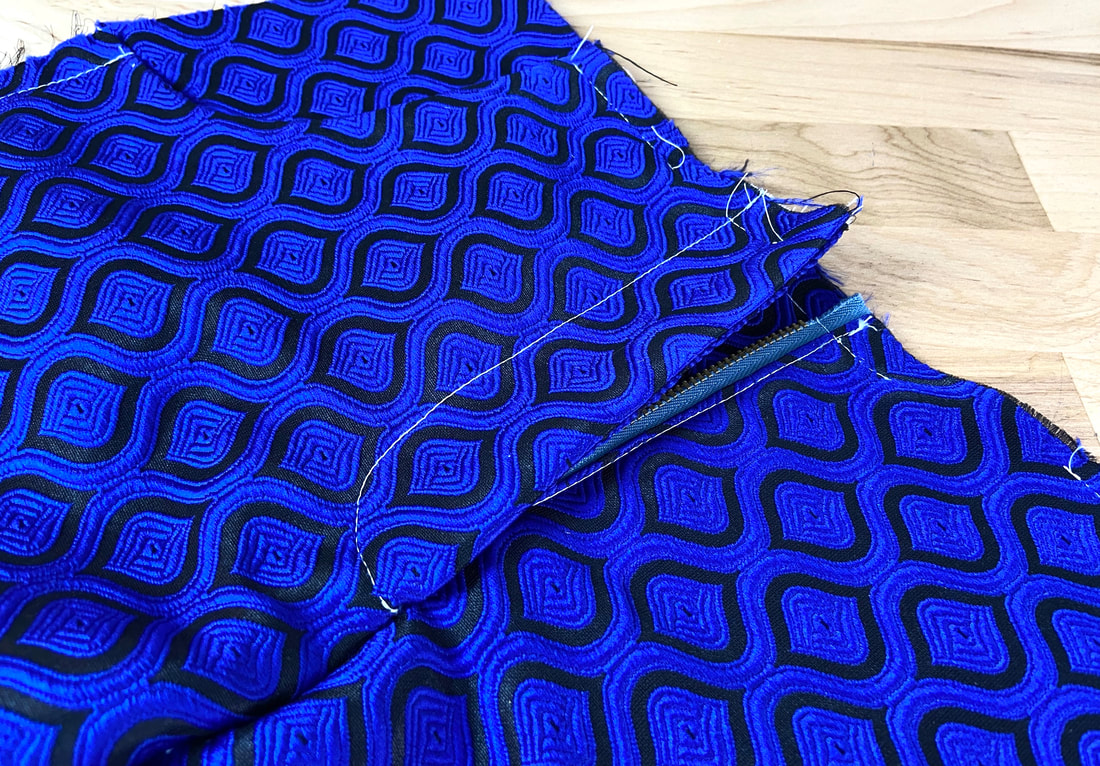
Keeping the body of the garment as tension-free as possible will also help you topstitch the zipper placket evenly and smoothly. When the bottom portion of the crotch seam is left open, the top portion will lay flat which will naturally provide a more comfortable canvas to accurately topstitch on.


