Mini Tutorial: How To Shorten A Metal Separating Zipper At Home
A separating zipper can be shortened at home using a method slightly different than that of conventional closed-end zippers. As opposed to the zipper excess being trimmed at the bottom, a separating zipper is shortened from the top, working with each portion of the zipper chain separately.
Although in the example below, the separating zipper is constructed of metal chain, you can use the same technique with plastic coil separating zippers.
Although in the example below, the separating zipper is constructed of metal chain, you can use the same technique with plastic coil separating zippers.
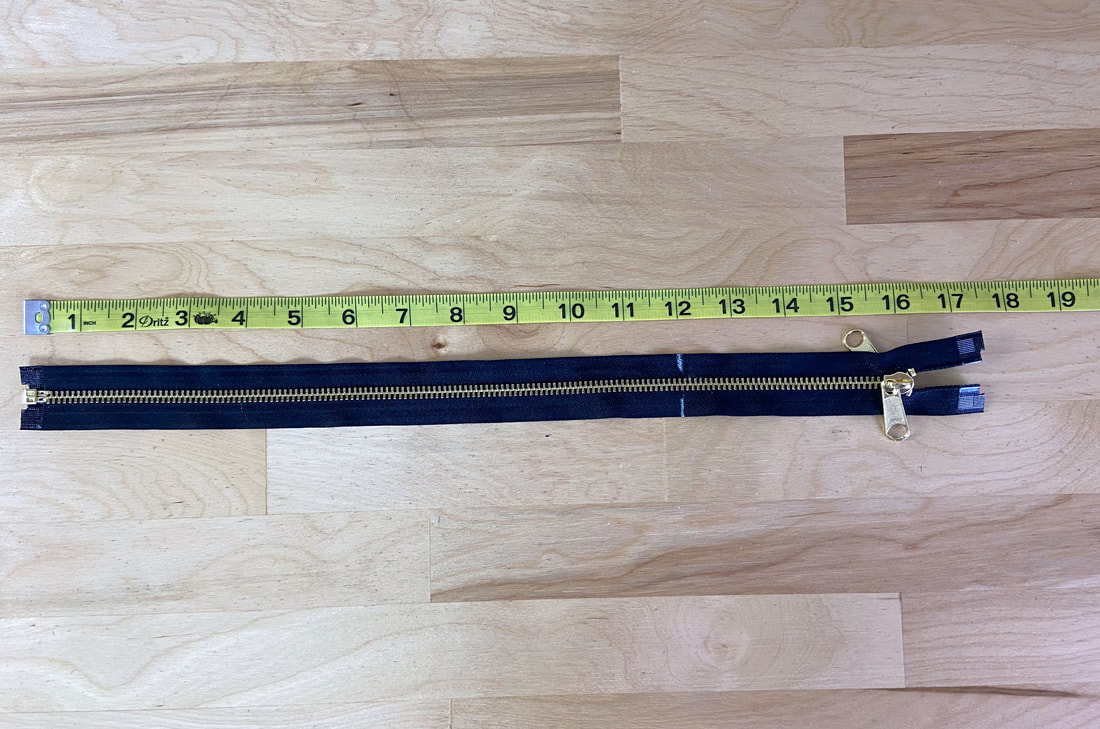
1. Start by measuring the desired zipper length from the bottom up, and mark this location on both zipper tapes using tailors chalk or a quilting pencil. Since the zipper chain will remain open throughout the shortening process, it is important to mark both sides equally.
In this example (image above), the separating zipper is shortened to 12".
In this example (image above), the separating zipper is shortened to 12".
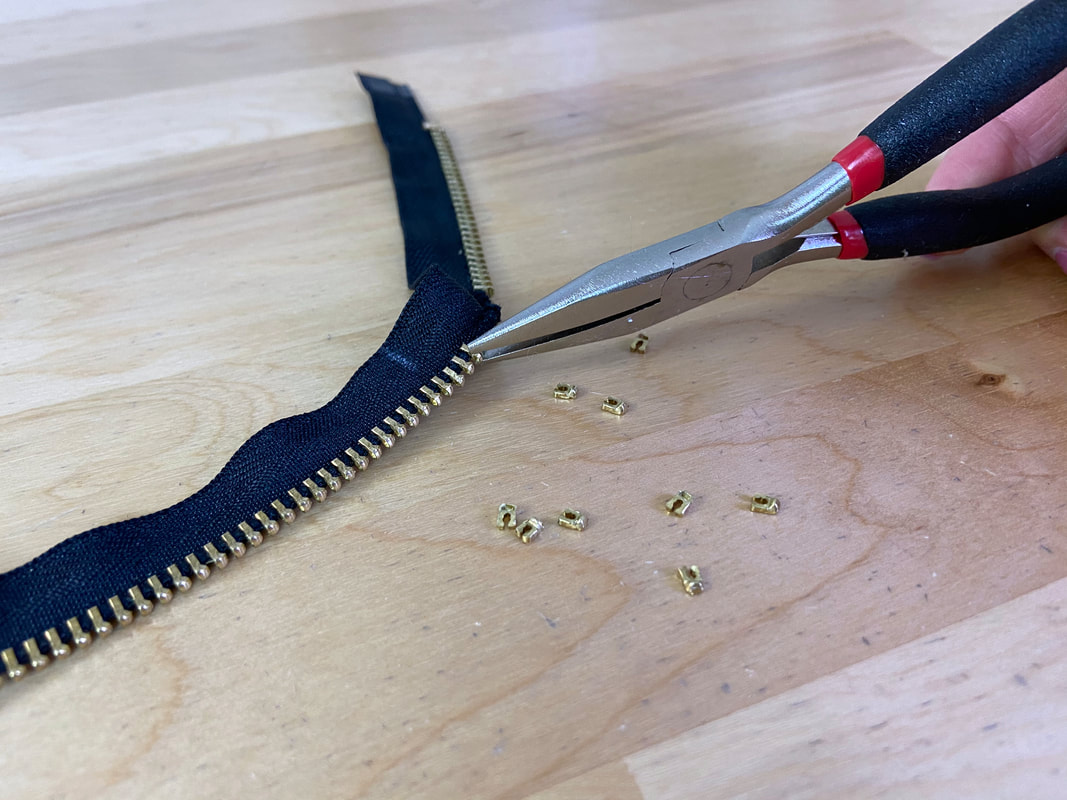
2. Using a regular set of flat-nose pliers, remove each individual coil/crimp from a 3/4" (approximately) portion above the marked chalk lines. Getting the best grip of each individual metal crimp in the removal process will take some practice - it may be easiest to grab and pull each crimp from its outer edge (or the portion not overlapping the zipper tape).
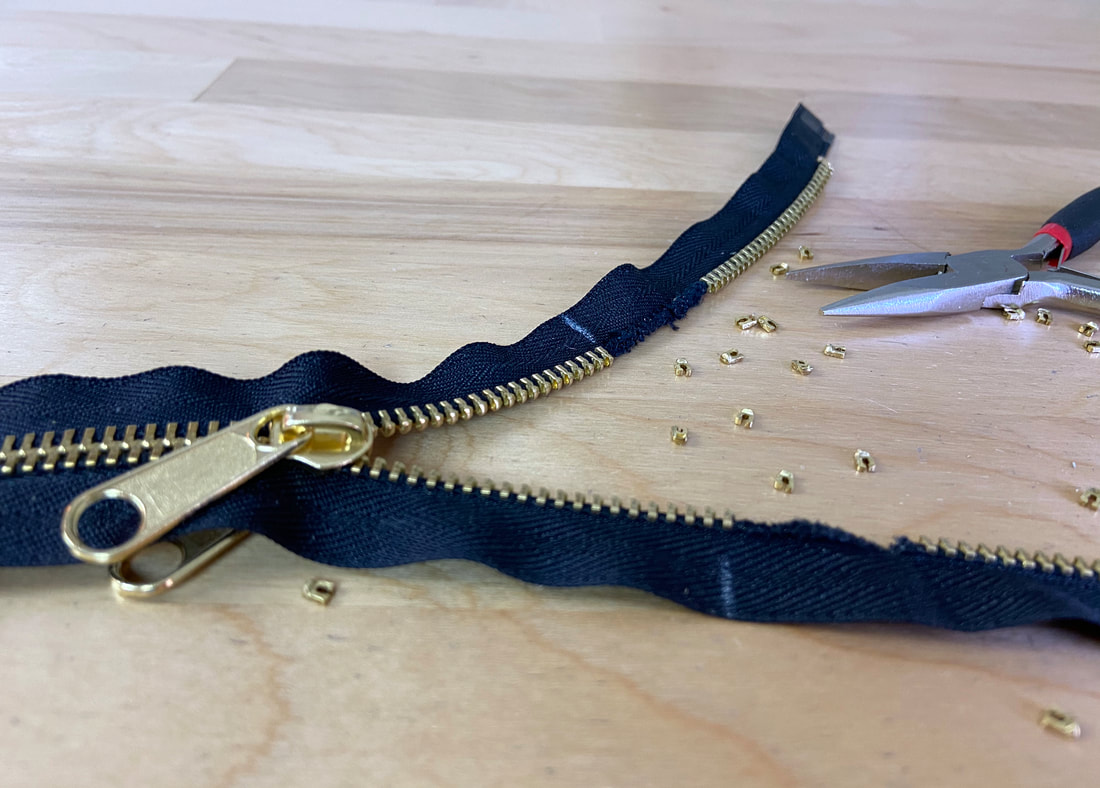
3. Continue removing the individual crimps along the zipper tape portions stopping at each one of the marks (as shown above).
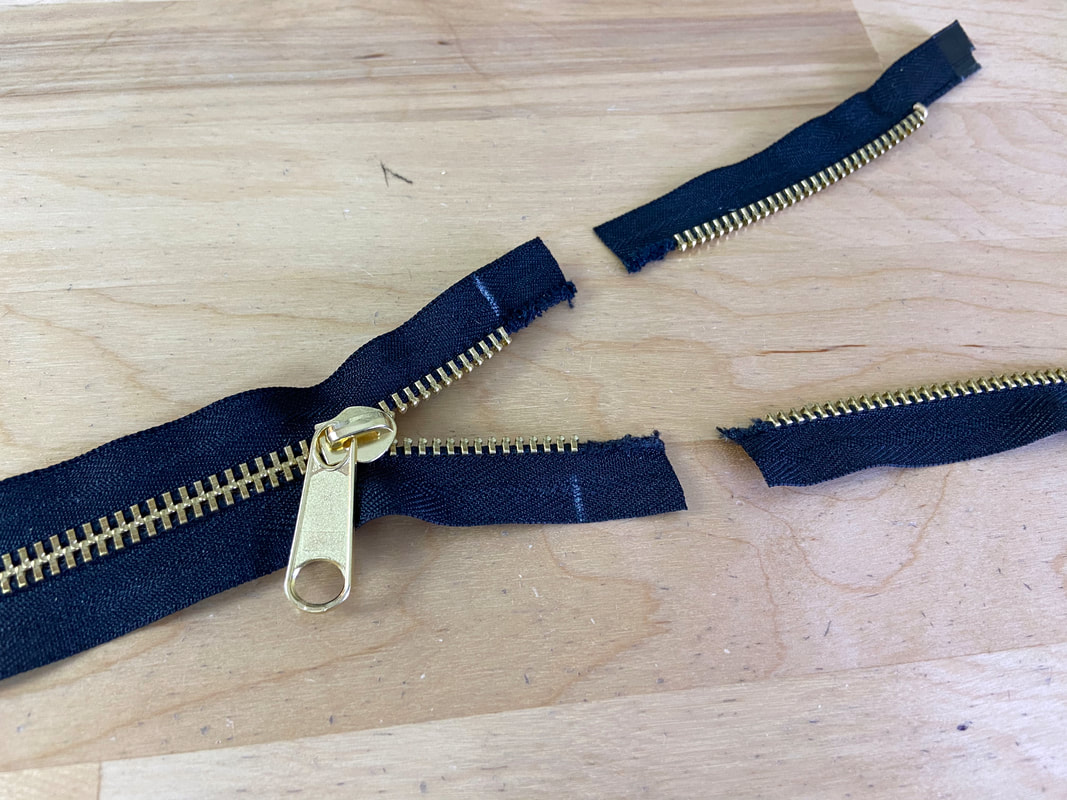
4. Last but not least, trim the excess zipper chain at about 1/2" above the marked chalk lines.


